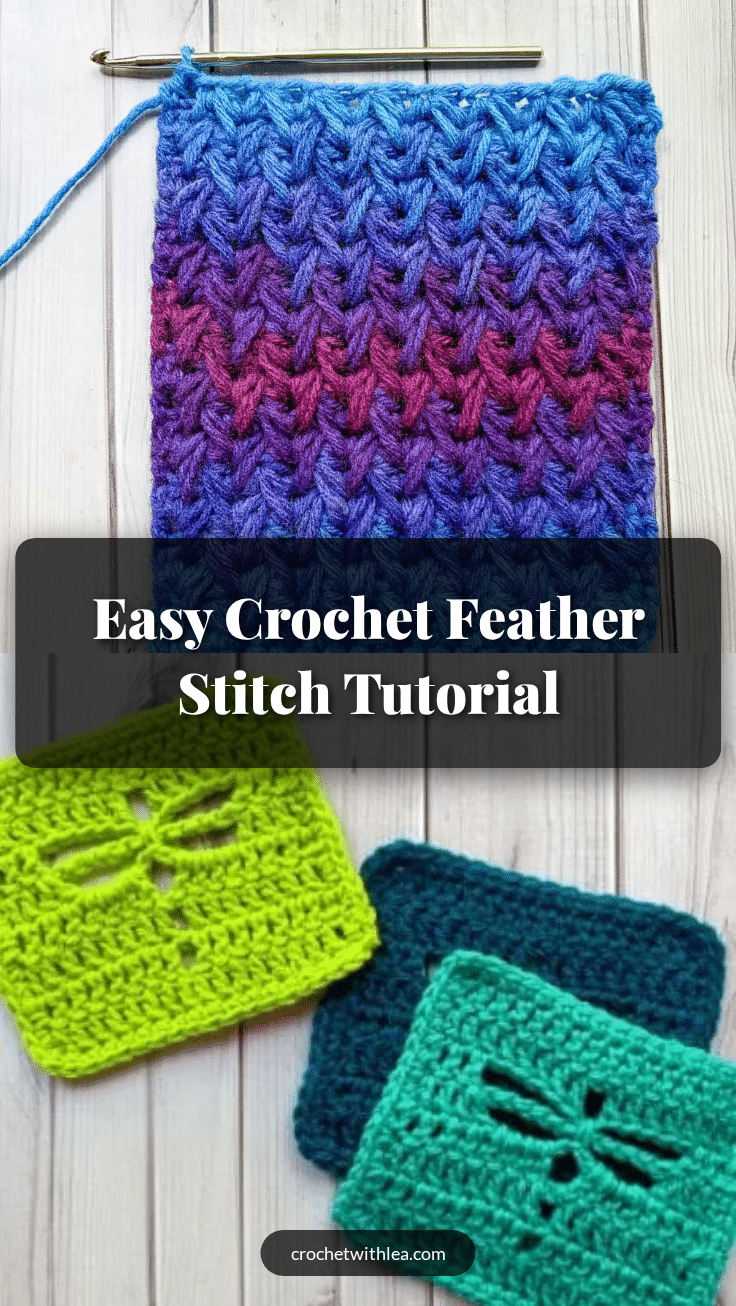
The Crochet Feather Stitch is a thick, beautiful textured stitch that creates a dense, “feather-like” fabric perfect for making cozy accessories. While the source project is a hat, this stitch tutorial focuses on mastering the technique in rows, which you can then use to create cowls, scarves, blankets, and pillows. This stitch is best for intermediate to advanced crocheters who are comfortable with multiple loops and consistent tension.
Gift and Use Ideas
Because the feather stitch creates a dense and warm fabric, it is an excellent choice for handmade gifts that provide comfort. A feather stitch hat is a stylish and practical gift for cold weather, while the same stitch pattern works beautifully for a chunky scarf or a throw blanket for the couch. The texture adds visual interest to home decor items like pillow covers, making it a versatile stitch for both wearable accessories and household items.
Project Overview
This tutorial teaches you how to crochet the feather stitch in rows. The stitch involves a multi-step process that creates a unique, raised texture. It is a one-row repeat after the initial setup rows, making it relatively easy to memorize once you understand the technique. The resulting fabric is thick and sturdy, ideal for projects that require warmth and structure.
Materials
- Worsted weight yarn
- 5 mm crochet hook
- Tapestry needle
Gauge and Finished Size
Specific gauge and finished size measurements are not provided for this stitch tutorial. The focus is on maintaining consistent tension and drawing up each loop to the same height to ensure the stitches look even. You can adjust the width of your project by crocheting an even number of chains for your starting chain.
Abbreviations
The following abbreviations are used in this pattern (US terms):
- ch = chain
- hdc = half double crochet
- yo = yarn over
Pattern Notes
- Yarn: Worsted weight yarn is suggested. Avoid fuzzy yarns so the feather texture remains visible.
- Tension: Keep tension fairly consistent. Draw up each loop to the same height to get even stitches.
- Swatching: This is a stitch tutorial. To create a full project, adjust the starting chain width as needed.
Pattern Instructions
Here is how to crochet the feather stitch in rows.
Row 1
Start by chaining an even number (the source chained 20). Hdc in the second ch from the hook. Continue to make hdc for the rest of the row (19). Then ch x1 and turn.
Row 2
Hdc in the first stitch. *Ch x1 + skip 1 stitch. Hdc in the next stitch.* Repeat from * for the rest of the row. Then ch x1 and turn.
Row 3
Hdc in first stitch, then ch x1. Next make the feather stitch. You will make a feather stitch working in the ch-space, the hdc under it and the next ch-space.
- YO, insert hook into the next ch-space, yo, and pull up a loop (3 loops on hook).
- YO, insert hook in the hdc that is under the ch-space, yo, and pull up a loop (5 loops on hook).
- YO, insert hook into the next ch-space, yo, and pull up a loop (7 loops on hook).
- YO, pull the yarn through all 7 loops on the hook.
- Ch x1.
You will make the next feather stitch starting in the ch-space you last worked in, the hdc underneath it and the next ch-space. Continue making feather stitches until the end of the row. Finish the last feather stitch with a ch. Then hdc in the last stitch. Then ch x1 and turn.
Row 4
Hdc in the first stitch. Ch x1. Now you will make a feather stitch working in the ch-space, the ch-space under it, and the next ch-space. Ch x1.
*To make the next feather stitch work in the ch-space you last worked in, the ch-space under it, and the next ch-space. Ch x1.*
Repeat from * for the rest of the row. Ch x1 after the last feather stitch and make a hdc in the last stitch. Then ch x1 and turn.
Row 5 and Onwards
Repeat Row 4.
Assembly
As this is a stitch tutorial, assembly instructions are not provided. You can use your swatch or project to create hats, scarves, or blankets by sewing pieces together as needed.
Tips
- Tension: Maintain an even tension so your loops don’t become too loose or too tight. This takes practice, so you may want to start on a small project.
- Hook size: The feather crochet stitch creates a dense fabric. Use a larger hook for a more drapier fabric.
- Count your loops: It is easy to get lost in the feather stitch. Make sure you have exactly 7 loops on your hook before going through all the loops.
FAQs
Is the feather crochet stitch a yarn eater?
Absolutely. It uses multiple loops for one stitch and creates a dense fabric at the end.
What is the feather stitch used for?
It is great for blankets, scarves, pillows, and hats.
How many rows repeat is the feather crochet stitch?
After the first 4 rows, it is a one-row repeat stitch that is worked into 2 rows.
What type of yarn should I use?
Worsted weight yarn is recommended. Avoid fuzzy yarns so the texture is visible.
Is this stitch suitable for beginners?
This stitch is best for intermediate to advanced crocheters due to the multiple loops and tension requirements.
Pin This Crochet Pattern!