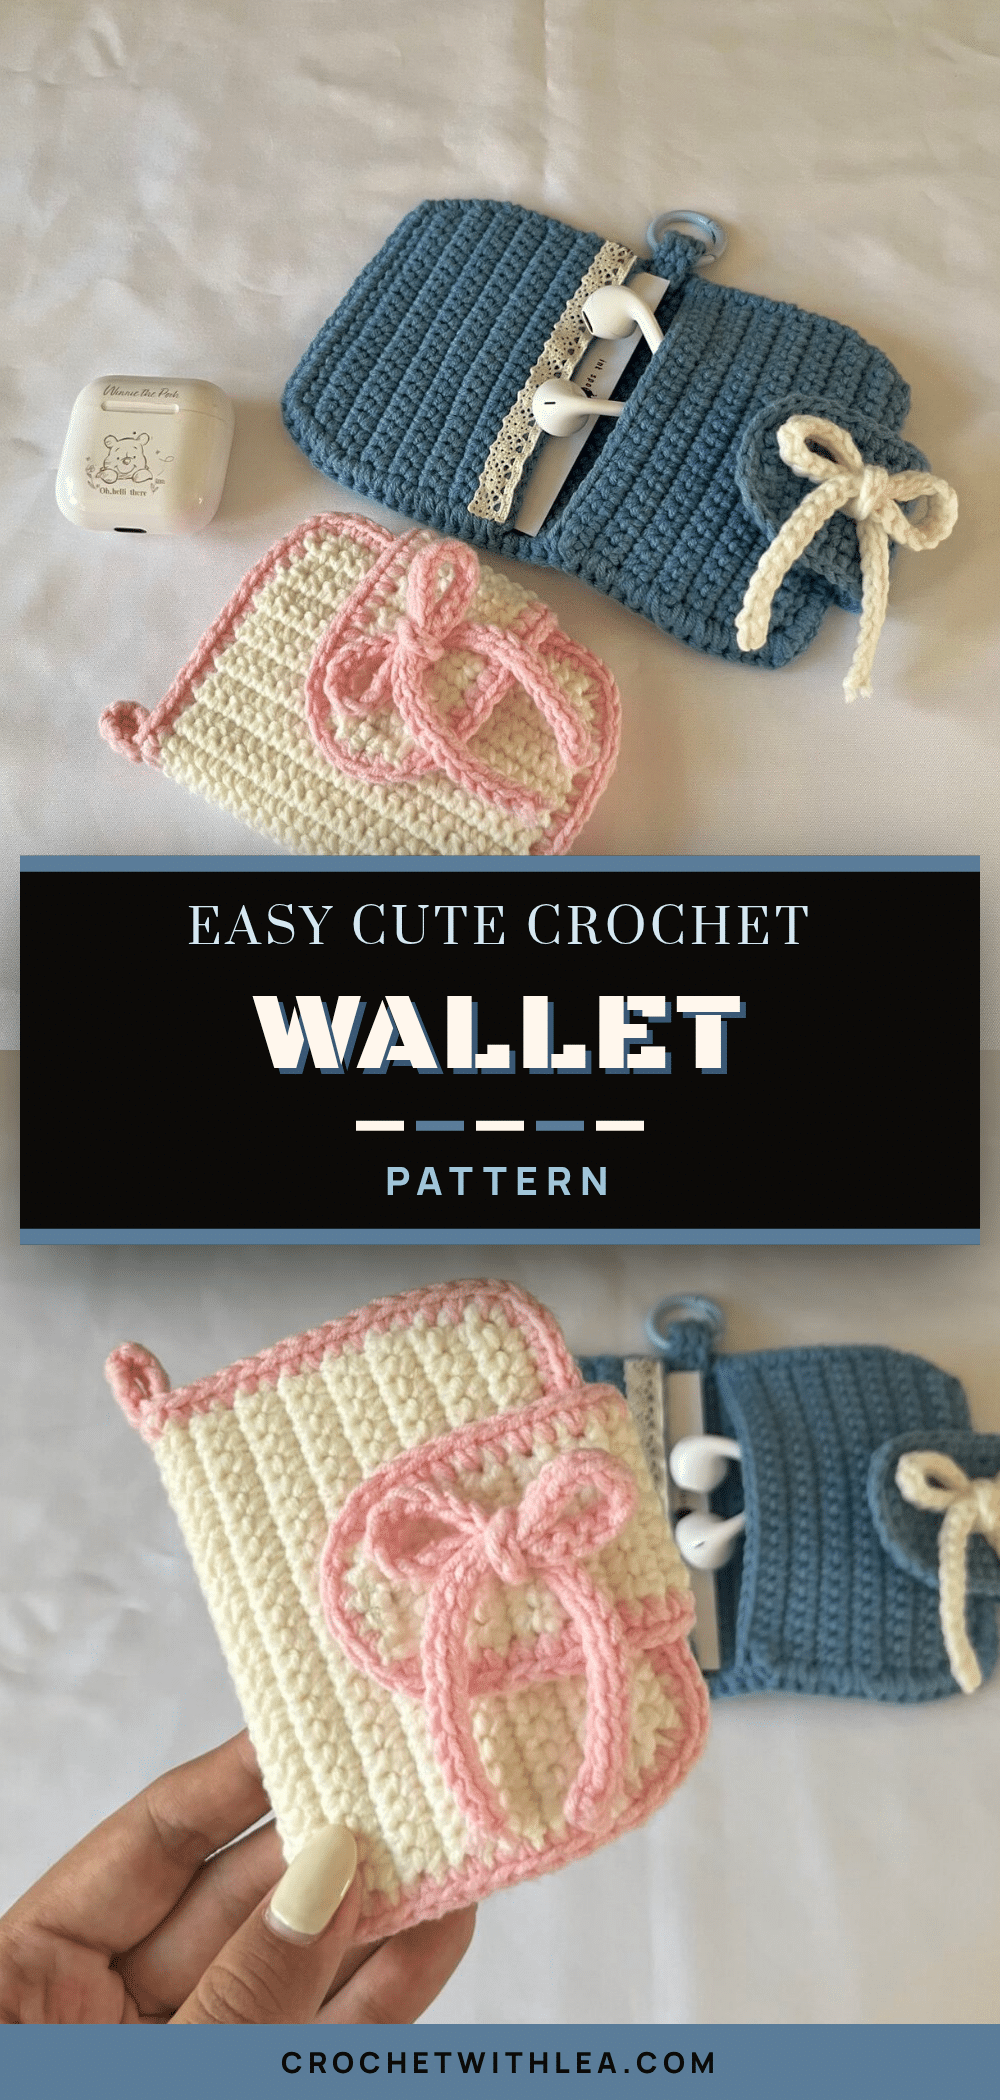
There is something undeniably satisfying about holding a finished crochet project that is as functional as it is adorable. This wallet is the perfect example: a tidy, squishy accessory that looks cute enough to display but is sturdy enough to hold your essentials. It’s the kind of handmade gift that brings a smile to the recipient’s face, combining a soft aesthetic with practical utility. Whether you are looking for a quick weekend project or a thoughtful present for the holidays, this beginner-friendly design delivers on charm and ease.
Why the Finished Piece Stands Out
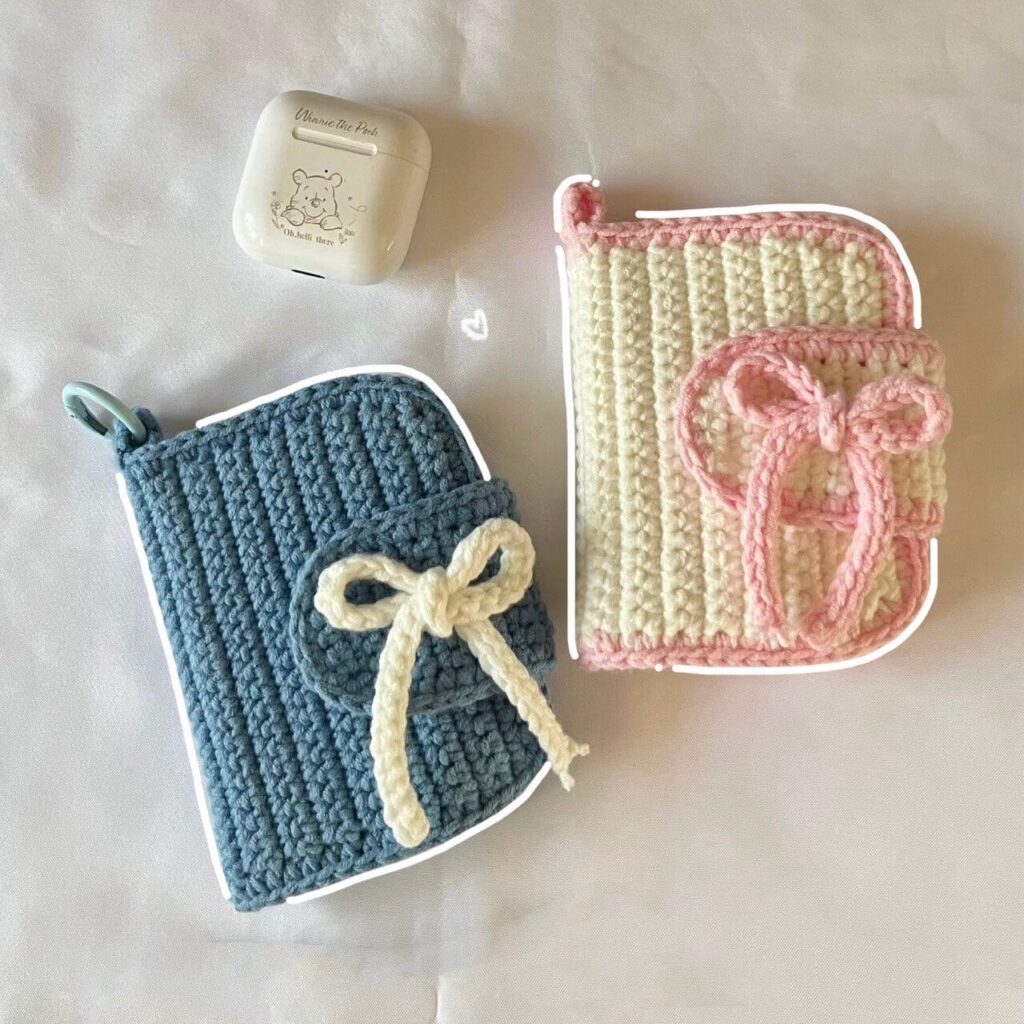
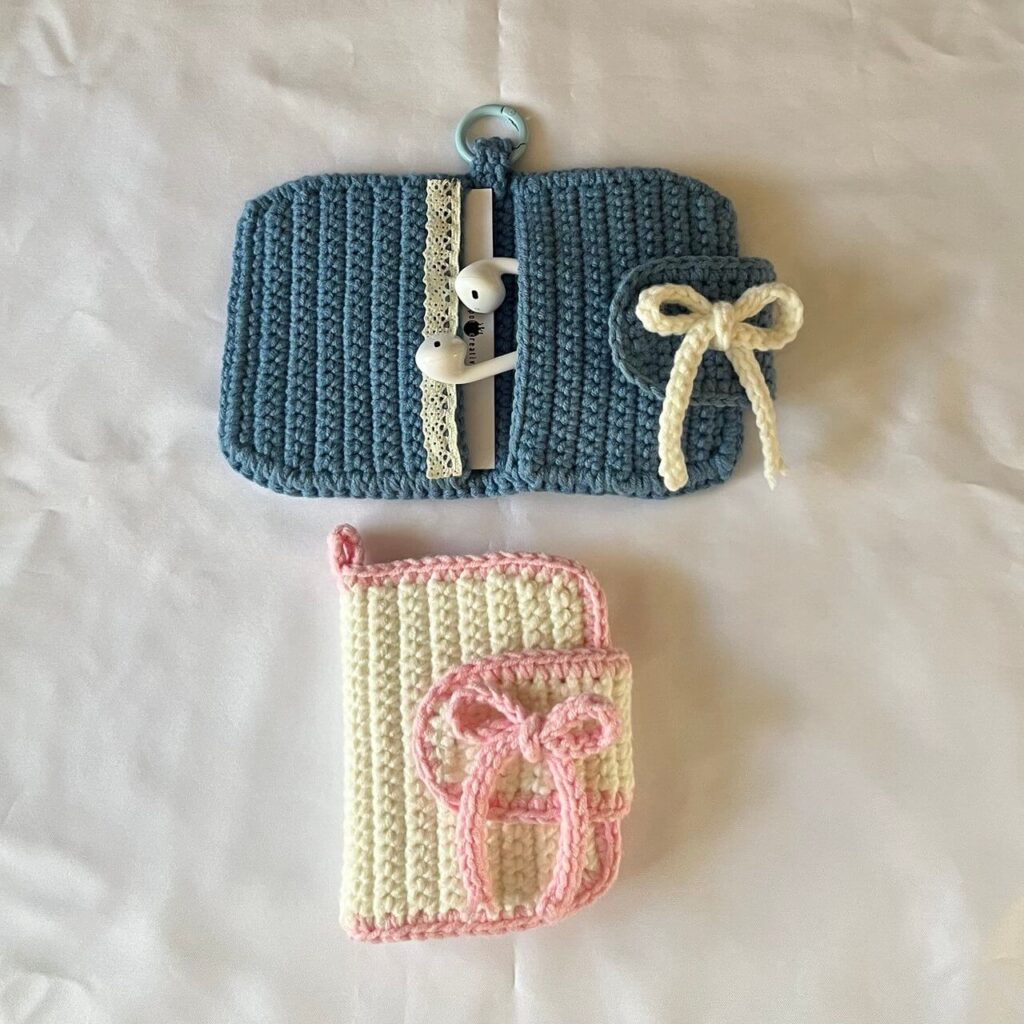
What makes this wallet truly special is its blend of structure and softness. Unlike rigid leather wallets, this version offers a gentle, plush feel that is comforting to hold. The design features a classic flap closure and a dedicated keyring loop, ensuring your coins and cards stay secure without sacrificing style. The inclusion of a ribbon detail adds a touch of vintage flair, making it a standout accessory for everyday carry. It is proof that crochet can be both whimsical and highly organized, creating a piece that feels personal and crafted with care.
Project Overview
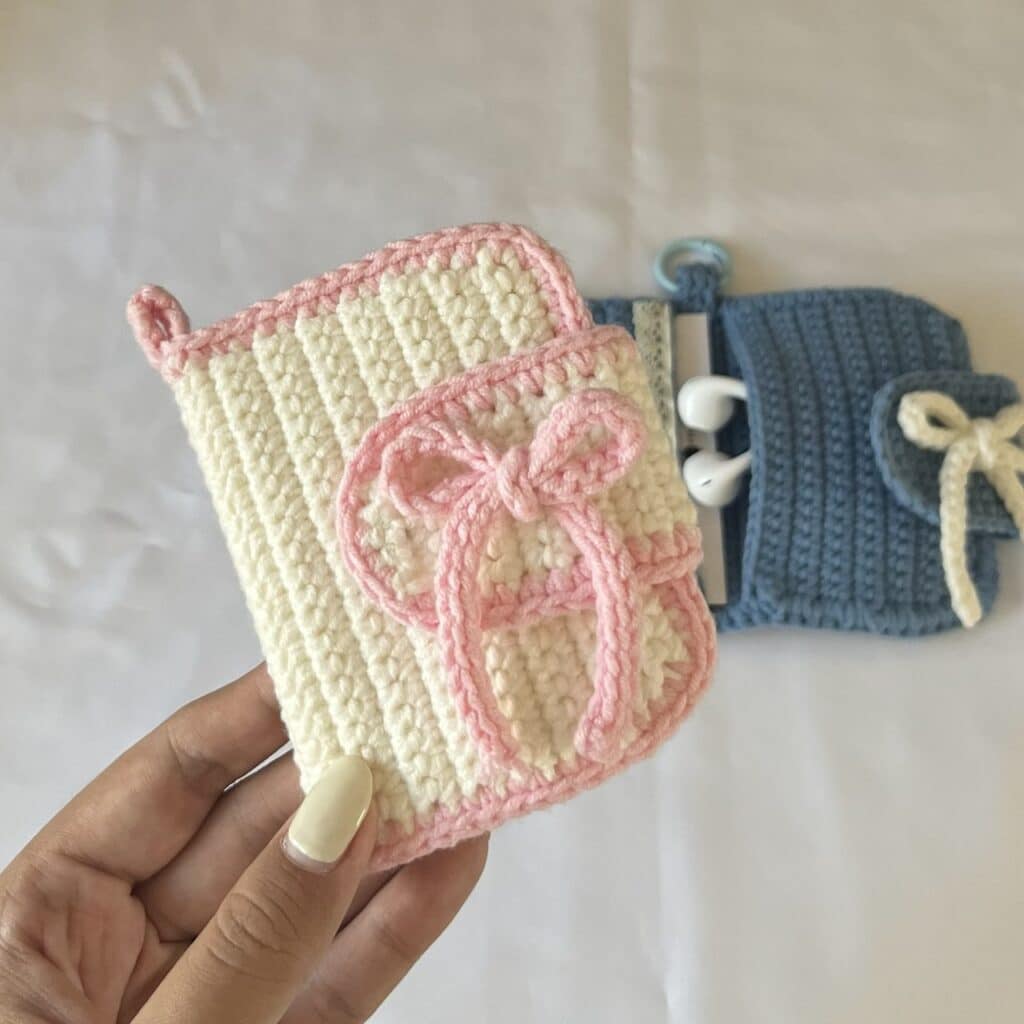
This pattern creates a compact, usable crochet wallet designed specifically for beginners. It features a main body panel, two side pockets, a flap closure, a keyring loop, and a decorative ribbon. The construction is largely “no-sew,” relying on crochet stitches to join the components together, which simplifies the assembly process. The project is quick to make and requires only about 100g of yarn.
Materials
- Yarn: Approximately 100g. The source uses Xuefeier milk cotton yarn, but any Cotton, Acrylic, or Sport weight yarn in your choice of color will work.
- Crochet Hook: 3mm hook. A 4mm hook is recommended optionally for the ribbon chain to facilitate easier slip stitching.
- Notions: Stitch markers, darning needle, and scissors.
Gauge and Finished Size
Specific gauge measurements and finished dimensions are not provided in the source pattern. The pattern relies on stitch counts to achieve the correct shape. It is recommended to check your tension to ensure the fabric is not too loose, which could cause the wallet to sag, or too tight, which might make assembly difficult.
Abbreviations
Abbreviations are in US terminology.
- Ch: Chain
- st: Stitch
- R: Round / Row
- sc: Single crochet
- inc: Increase
- dec: Decrease
- slst: Slip stitch
- *: Repeat
- []: Total stitch count in each round/row
Pattern Notes
- Beginner Friendly: This pattern is designed to be accessible for those new to crochet.
- Stitch Count Flexibility: When joining the panel and pockets, the technical stitch count is 104 sc. However, missing one or two stitches is acceptable as long as the result looks neat. Similarly, when edging the flap, having a difference of one or two stitches from the target count is fine.
- Hook Suggestion: For the ribbon, using a larger hook (4mm) for the initial chain can make it easier to insert the hook into the back bumps for slip stitches.
- Visual Aid: The source suggests following a video tutorial for the assembly and edging steps to ensure accuracy and save time.
Pattern Instructions
The Body Panel
Start with a slip knot and make 19 ch.
- R1: Starting from the 2nd ch from the hook, 1 sc into each ch [18]
- R2: Ch1, Turn, 1 inc, 16 sc, 1 inc [20]
- R3: Ch1, Turn, 20 sc [20]
- R4: Ch1, Turn, 1 inc, 18 sc, 1 inc [22]
- R5-R30: Ch1, Turn, 22 sc (26 rows) [22]
- R31: Ch1, Turn, 1 dec, 18 sc, 1 dec [20]
- R32: Ch1, Turn, 20 sc [20]
- R33: Ch1, Turn, 1 dec, 16 sc, 1 dec [18]
- R34: Ch1, Turn, 18 sc [18]
Cut the yarn.
Pockets (make 2)
Start with a slip knot and make 19 ch.
- R1: Starting from the 2nd ch from the hook, 1 sc into each ch [18]
- R2: Ch1, Turn, 1 inc, 16 sc, 1 inc [20]
- R3: Ch1, Turn, 20 sc [20]
- R4: Ch1, Turn, 1 inc, 18 sc, 1 inc [22]
- R5-R15: Ch1, Turn, 22 sc (11 rows) [22]
Cut the yarn.
Assembly
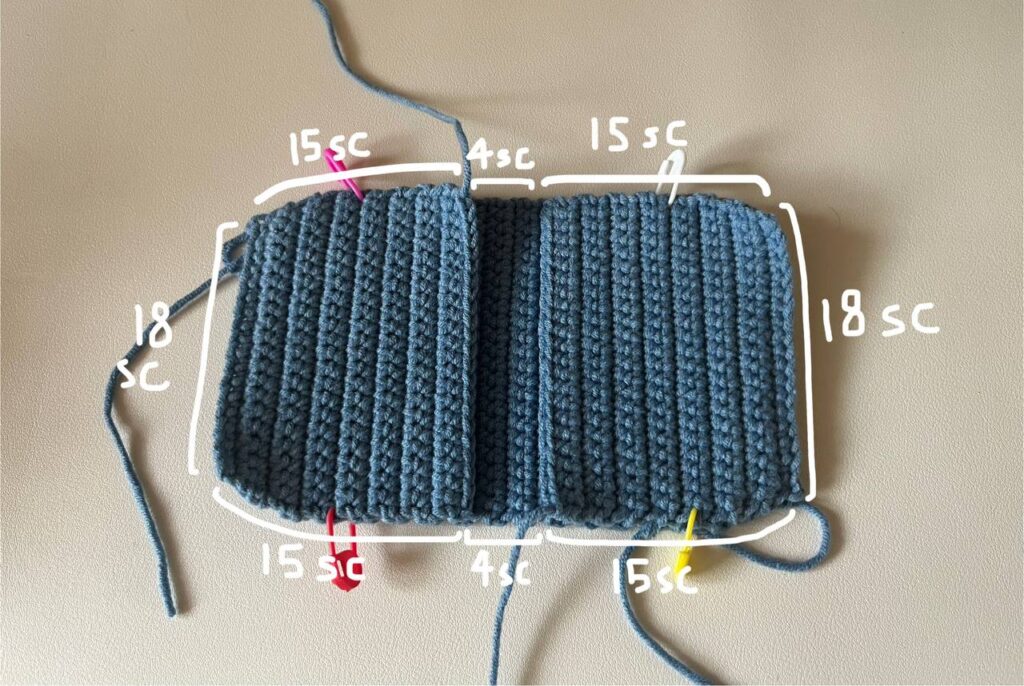
Place each pocket on either side of the body panel. Ensure the rows are aligned and positioned directly against one another. Begin at the corner of the last row of the body panel (or any starting point of your preference) and insert your hook through both the body panel and the pocket.
Crocheting the Panel and Pockets Together
Work 15 sc along both the body panel and the pocket. Next, make 4 sc on the body panel alone. Continue with 15 sc along the body panel and the next pocket. Work 18 sc across the first row of the body panel and the pocket. Then, make 15 sc along the body panel and the pocket. Make 4 sc on the body panel alone. Repeat 15 sc along the body panel and the final pocket. Finish with 18 sc along the last row of the body panel and the first row of the pocket. Cut the yarn and weave in the ends.
Note: Technically, you will have 104 sc from crocheting the panel and pockets together, but it is okay if you miss one or two stitches as long as the end result looks nice and clean!
Flap
Go back to the first row of either pocket (your choice) where you previously crocheted 18 sc to join it with the body panel. Choose the middle 8 sc out of 18. These 8 stitches will be the base for crocheting the flap directly.
- R1: Bring the yarn & Ch1, 1 sc into each st [8]
- R2-R7: Ch1, Turn, 8 sc (6 rows) [8]
- R8-R9: Ch1, Turn, 3 sc, 2 ch, skip 2 sc, 3 sc (2 rows) [6 sc, 2 ch]
- R10: Ch1, Turn, 3 sc, 2 sc (on ch), 3 sc [8]
- R11-R12: Ch1, Turn, 8 sc (2 rows) [8]
- R13: Ch1, Turn, 1 dec, 4 sc, 1 dec [6]
- R14: Ch1, Turn, 1 dec, 2 sc, 1 dec [4]
Cut the yarn.
Edging the Flap: Now, crochet along the flap to make it look cleaner. Start at the bottom right side and bring the yarn to begin. Ch 1, work 14 sc along the first side, 4 sc across the last row of the strap, and 14 sc along the third (last) side. Here again, you should have a total of 32 sc, but it is okay if there is a difference of one or two stitches as long as it looks neat.
Keyring Loop
Go back to the middle 2 sc out of 4 sc on the body panel between the two pockets.
- R1: Bring the yarn, Ch1, 2 sc [2]
- R2-R7: Ch1, Turn, 2 sc (6 rows) [2]
Cut the yarn leaving a long tail. Sew the final row along the bottom of the 1st row to form a loop.
Ribbon
Start with a slip knot and make 60 ch. Here, it is recommended to use a bigger hook (4mm) to make chains so that you can easily insert into the back bumps for the slip stitches. Make 1 slst into each back bump of the chains all the way until the end. [59 slst]
Tips
- Patience with Edging: The edging or bordering parts require a little patience. Take your time to ensure stitches are even for a professional finish.
- Use Visual Aids: For the assembly and edging steps, following a video tutorial can be very helpful for visualizing how the pieces are joined and how the hook should be inserted.
- Hook Choice: Don’t hesitate to switch to a 4mm hook for the ribbon chain if you find it difficult to catch the back bumps with a 3mm hook.
FAQs
What type of yarn is best for this wallet?
The pattern works well with Cotton, Acrylic, or Sport weight yarn. Milk cotton yarn provides a soft, smooth finish, but any yarn in this weight category will work.
Do I need to sew the pockets on?
No, this pattern is designed to be largely “no-sew.” The pockets are joined to the body panel using crochet stitches directly.
Can I make the wallet larger?
Yes, you can adjust the size by adding or removing rows to the Body Panel and Pockets. Keep in mind that changing the size may affect the fit of the flap and keyring loop.
Why is a 4mm hook recommended for the ribbon?
Using a larger hook for the initial chain creates a looser, more open chain structure, making it easier to insert your hook into the back bumps for the slip stitches.
Is this pattern suitable for absolute beginners?
Yes, the pattern is designed to be beginner-friendly. It uses basic stitches like single crochet, increases, and decreases, and the construction is straightforward.
Pin This Crochet Pattern!