Have you ever started a crochet project only to realize halfway through that you forgot to turn your work? It is a classic beginner mistake that leaves you with a twisted, lopsided piece that looks nothing like the pattern intended. It can feel discouraging, but this cute two-tone crochet pouch is designed to be forgiving and straightforward. The structure relies on simple rows and single crochet stitches, making it easy to spot and fix errors. You do not need advanced skills to create a functional and adorable accessory, just a willingness to learn and a steady hand.
Maker Notes
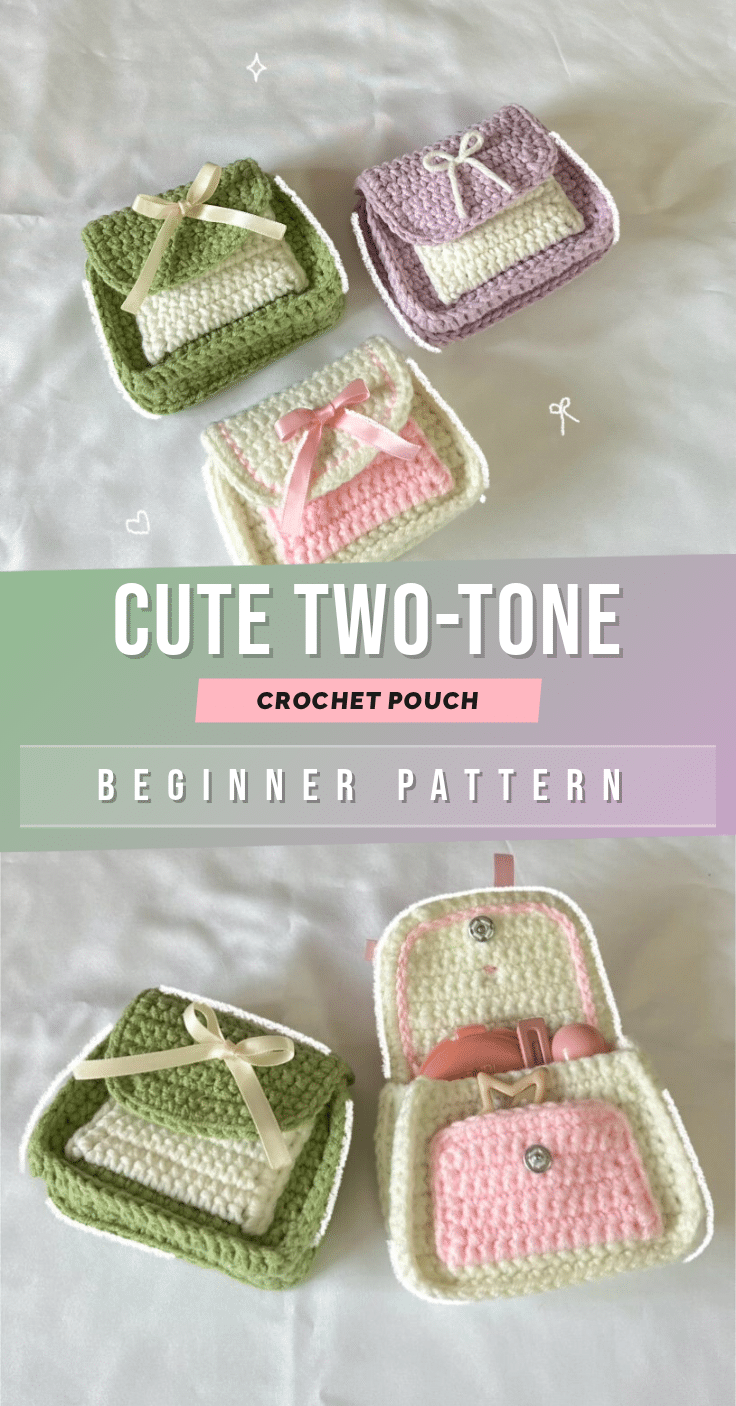
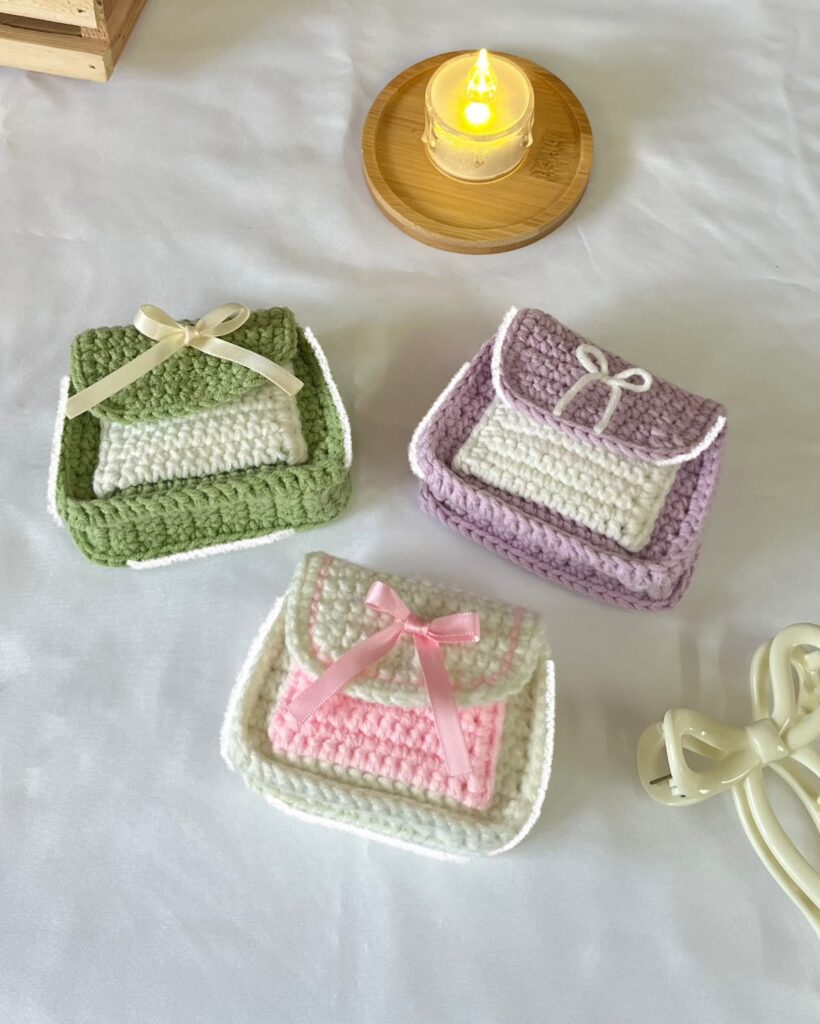
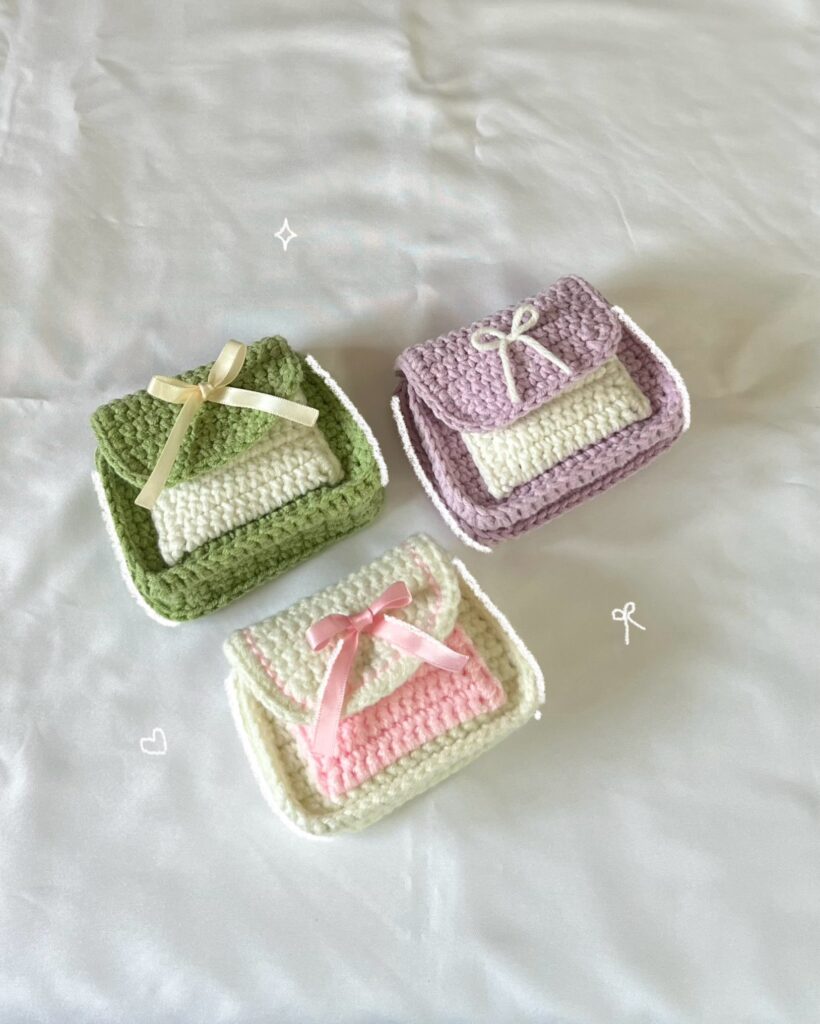
This pattern creates a charming, coquette-style pouch perfect for storing small essentials. The two-tone design allows you to mix colors to match your personal style, whether you prefer a classic white and purple combination or something more vibrant. The construction uses a connecting panel that wraps around the sides, creating a sturdy base while keeping the profile slim. The inclusion of an internal pocket adds practicality, making it ideal for phones, cards, or makeup. The final touches, like the surface slip stitches and the optional satin bow, elevate the look from a simple project to a polished handmade gift.
Project Overview
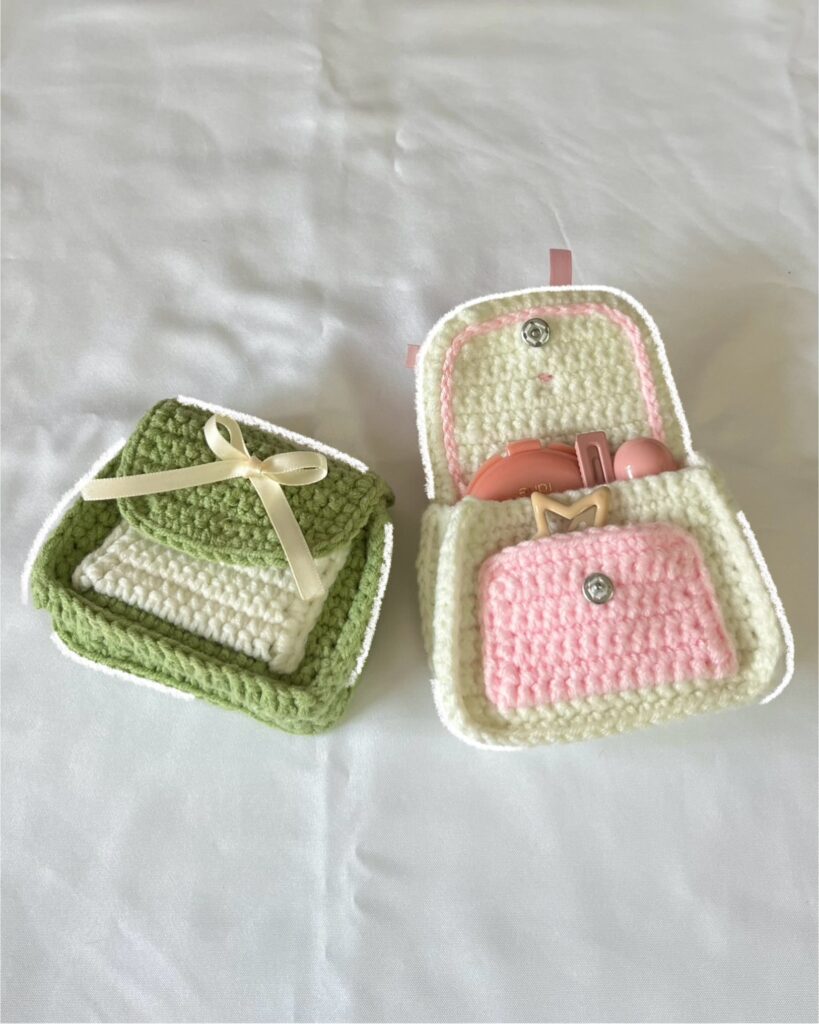
This beginner-friendly pattern guides you through creating a two-tone crochet pouch with a flap, internal pocket, and snap closure. The project is worked in rows using single crochet stitches, with decreases used to shape the flap. The construction involves crocheting two main panels and a long connecting strip that joins them along three sides. The pattern uses US terminology throughout.
Materials
- Yarn: Cotton, Acrylic, or Sport weight yarn in White (~10g) and Light Purple (~50g). You can use any yarn color of your choice.
- Crochet Hook: 3mm
- Darning needle
- Scissors
- Snap buttons
- Pink blusher (optional, for finishing)
- Satin silk ribbon (0.6cm width, optional, for the bow)
Gauge and Finished Size
Gauge and finished size measurements are not provided in the source pattern. The size of the pouch will depend on your tension and the specific yarn weight used. Ensure your stitch count matches the pattern to achieve the intended dimensions.
Abbreviations
Abbreviations are in US terminology.
- Ch – Chain
- st – stitch
- R – round / row
- sc – single crochet
- dec – decrease
- slst – slip stitch
- BLO – back loops only
- FLO – front loops only
- [ ] – total stitch count in each round
Pattern Notes
We use rows to crochet the panels. Begin each new row with a chain 1 (Ch 1). Then, the crochet piece will be turned to work on the next row. Ch1 is NOT included in our total stitch count.
Pattern Instructions
First Panel
Use any yarn color of your choice. Start with a slip knot.
- Make 19ch.
- R1: Starting from the 2nd ch from the hook, 1sc in each ch [18]
- R2-R10: Ch1, Turn, 1sc in each stitch (9 rows) [18]
- R11: Ch1, Turn, 1dec, 14sc, 1dec [16]
- R12: Ch1, Turn, 1sc in each stitch [16]
- R13: Ch1, Turn, 1dec, 12sc, 1dec [14]
Cut the yarn.
The Connecting Panel
Use any yarn color of your choice. Start with a slip knot.
- Make 7ch.
- R1: 1sc in each ch (starting from the 2nd ch from the hook) [6]
- R2-R44: Ch1, Turn, 1sc in each stitch (43 rows) [6]
Connecting with the first panel: The three sides of the first panel apart from the upper side will be connected with the connecting panel. We will connect with sc in each row of the two panels, starting from the left side.
- 13sc (on the left side), 18sc (in the bottom), 13sc (on the right side)
Cut the yarn.
Second Panel
Use any yarn color of your choice. Start with a slip knot.
- Make 19ch.
- R1: 1sc in each ch (starting from the 2nd ch from the hook) [18]
- R2: Ch1, Turn, 3sc, (in FLO, 12sc), 3sc [18]
- R3-R10: Ch1, Turn, 1sc in each stitch (8 rows) [18]
- R11: Ch1, Turn, 1dec, 14sc, 1dec [16]
- R12: Ch1, Turn, 1sc in each stitch [16]
- R13: Ch1, Turn, 1dec, 12sc, 1dec [14]
DO NOT cut the yarn.
Flap
Start with light purple yarn. Insert the hook onto the rightmost sc of R13 from the first panel (the panel without the pocket) and bring the yarn.
- R1: Ch1, 1sc in each stitch [14]
- R2-R10: Ch1, Turn, 1sc in each stitch (9 rows) [14]
- R11: Ch1, Turn, 1dec, 10sc, 1dec [12]
- R12: Ch1, Turn, 1dec, 8sc, 1dec [10]
Cut the yarn.
Internal Pocket
Make the pocket in the BLO of R2 from the second panel. Use a different color for the pocket, preferably White.
- Insert the hook into the very first BLO of R2 from the second panel and bring the yarn.
- R1: Ch1, 1sc in each BLO [12]
- R2-R8: Ch1, Turn, 1sc in each stitch (7 rows) [12]
Cut the yarn.
Final Touches
We will continue to crochet the sides of the pocket. Insert the hook into the stitch on the right side at the bottom of the pocket and bring the light purple yarn.
- Ch1, 12sc (on the right side), 10sc (on the upper side), 12sc (on the left side)
- Ch1 and cut the yarn.
Surface Slip Stitches: Now, we will make surface slip stitches on the cover. From the inner side of the cover, insert the hook into the right bottom of the cover below the edge and bring the white yarn. Make slst in each stitch along the three sides of the cover. Cut the yarn when you reach the left bottom of the cover and weave in the ends.
Snap Button: Sew the snap button to the pouch. Using the darning needle, sew the snap button, one side on the pocket and another on the cover.
Adding Bow: Cut the white yarn of about 8 inches (You can also use satin silk if you prefer). Using the darning needle, insert it into the cover, taking out the two yarn tails from either side of a stitch. Tie the yarn into a ribbon. Cut the remaining long ends.
Assembly
Connect the second panel in the same way as in the first panel. Continue working with the uncut yarn at the end of the second panel. The three sides of the second panel apart from the upper side will be connected with the connecting panel. We will connect with sc in each row of the two panels, starting from the left side.
- 13sc (on the left side), 18sc (in the bottom), 13sc (on the right side)
Cut the yarn.
We will continue to crochet the sides of the pocket. Insert the hook into the BLO of R2 at the bottom of the pocket and bring the white yarn.
- Ch1, 8sc (on the right side), 12sc (on the upper side), 8sc (on the left side)
Cut the yarn, leaving a long tail. Using the darning needle, sew the left side first with the left yarn tail. After that side, move the yarn to the right side by going through the stitches in the pouch. Sew the right side to the pouch. Weave in the end and cut the yarn.
Tips
- Do not miss out any details! Open the video tutorial as you crochet along to make the process more effective and time-saving.
- Ensure you turn your work at the end of every row to maintain the correct orientation of the stitches.
- Use a darning needle to weave in ends securely to prevent unraveling.
FAQs
What type of yarn is best for this pouch?
Cotton, Acrylic, or Sport weight yarn works well. Cotton provides structure, while acrylic offers softness. Choose a color combination that suits your style.
Do I need to use a 3mm hook?
The pattern recommends a 3mm hook. Using a different hook size may alter the gauge and the final size of the pouch, so it is best to stick with the recommended size for the intended fit.
How do I attach the snap button?
Use a darning needle and yarn to sew one side of the snap button to the inside of the flap (cover) and the other side to the inside of the main pouch body, aligning them so the pouch closes securely.
Can I skip the internal pocket?
Yes, you can skip the pocket section if you prefer a simpler design. However, the pocket adds functionality for organizing small items.
How do I make the bow?
Cut an 8-inch piece of white yarn or satin silk. Insert the darning needle through the cover, bring out two tails from either side of a stitch, and tie them into a ribbon. Trim the ends to your desired length.
Pin This Crochet Pattern!