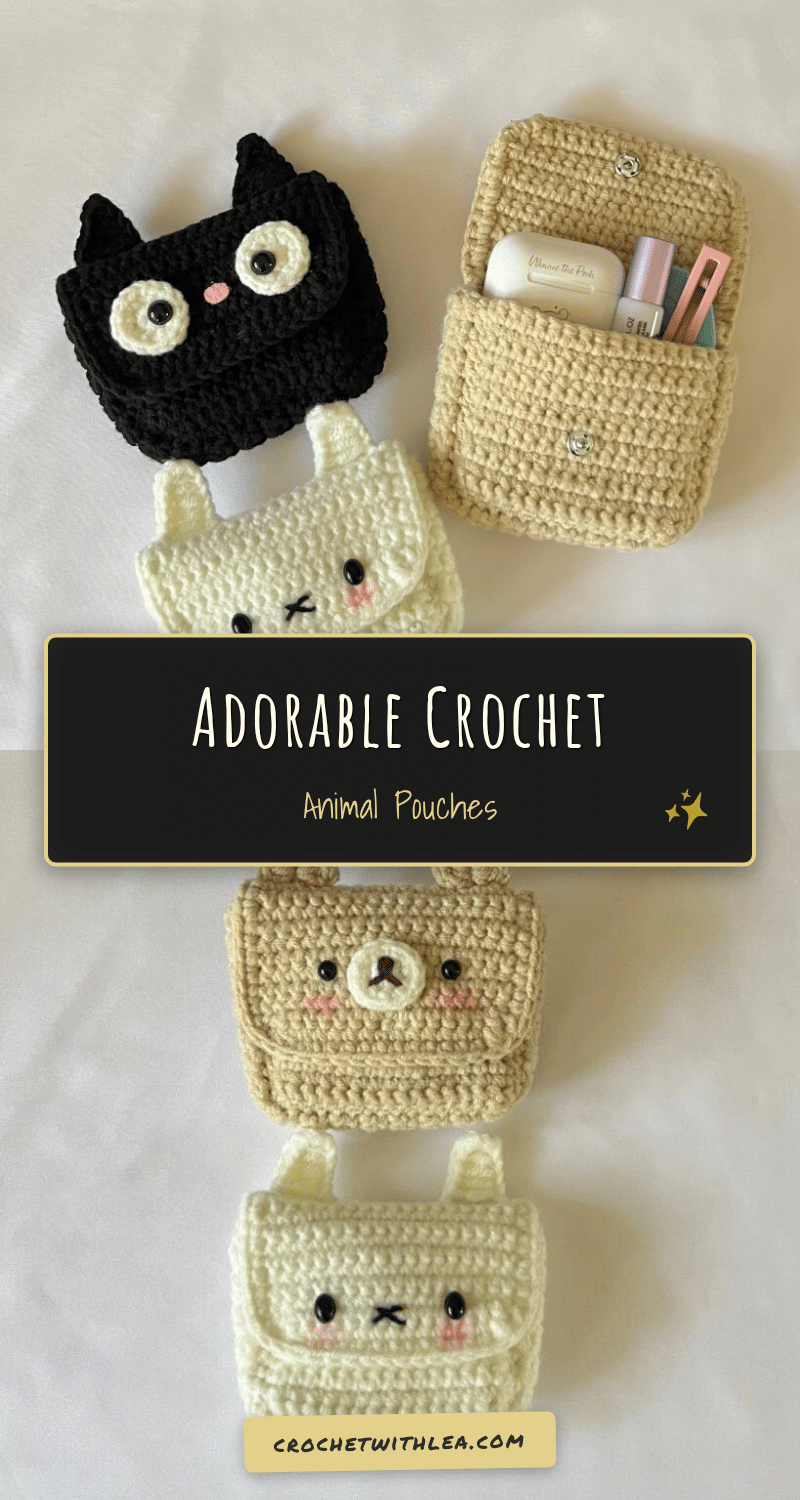
There is a specific kind of magic that happens when the house goes quiet and the only sound is the rhythmic click of a hook. It’s that cozy ritual of settling in with a small batch of yarn, counting stitches one by one, and letting the tension of the day melt away with every relaxing repeat. These cute crochet animal pouches are the perfect companion for such an evening. They are small enough to finish quickly but detailed enough to feel like a genuine accomplishment. Whether you are looking for a gift for a little one or a functional accessory for your own keys and coins, this pattern invites you to slow down and enjoy the process of creation.
Small Details That Make It Better
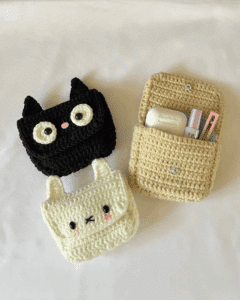
What makes these pouches truly special is the versatility of the design. The base structure is simple and sturdy, but the charm lies entirely in the face details you choose to add. By swapping out the ears and facial features, you can transform the same base into a soft beige bear, a sleek black cat, or a classic Miffy-style bunny. I recommend choosing yarn colors that contrast nicely with your face details; for instance, using white yarn for facial features against a black cat base creates a striking, clean look. The texture of the single crochet stitches gives the pouch a smooth, durable finish that holds its shape well, making it ideal for everyday use. Plus, the flap closure adds a practical element that keeps small items secure while adding a cute, rounded silhouette to the top.
Project Overview
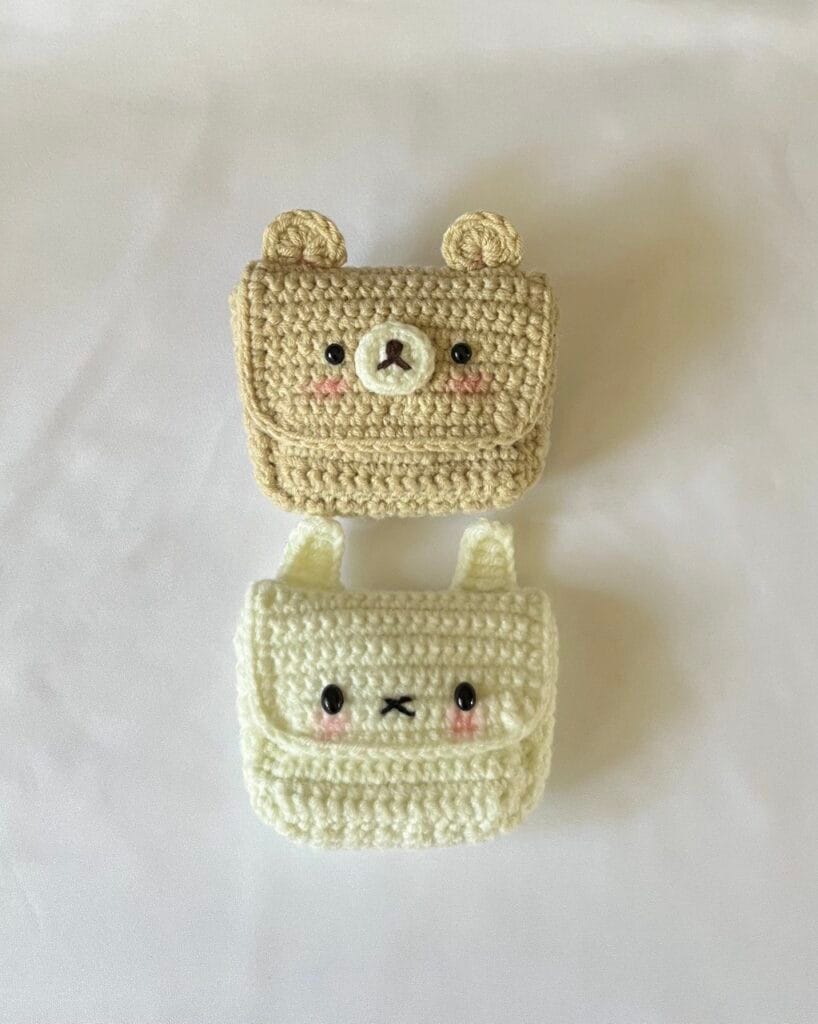
This pattern guides you through creating a functional crochet purse with a flap closure. The design features two main body panels connected by a long strip to form the base, with a separate flap section that folds over the top. The pattern includes instructions for three distinct animal variations: a Bear, a Black Cat, and a Bunny (Miffy style). Each variation requires specific ears and facial details that are attached to the flap. This project is excellent for practicing consistent tension and learning how to assemble flat pieces into a 3D object.
Materials
- Yarn: Cotton, Acrylic, or Sports yarn (approximately 50g for the entire purse). You can choose any color for the main base. The source used Beige, White, and Black. You will also need White yarn for face details.
- Crochet Hook: 2.5mm or 3mm hook.
- Facial Details: 5×8 mm oval eyes OR black felt cloth for eyes, and pink felt cloth for the nose.
- Tools: Darning needle, glue, scissors, and pink blusher (optional, for cheeks).
Abbreviations
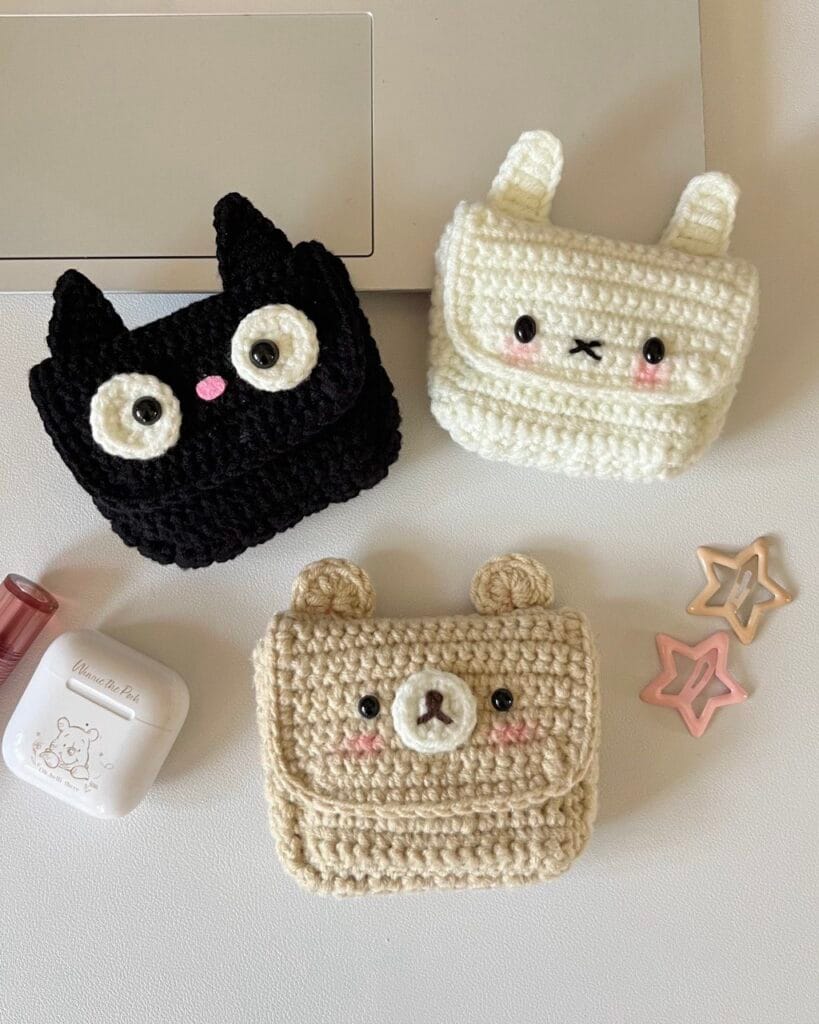
The following abbreviations are used in this pattern:
- Ch: Chain
- mr: Magic ring
- st: Stitch
- R: Round / Row
- sc: Single crochet
- inc: Increase
- dec: Decrease
- hdc: Half double crochet
- dc: Double crochet
- tr: Treble crochet
- slst: Slip stitch
- *: Repeat
- []: Total stitch count in each round
Pattern Notes
- It is highly recommended to follow a video tutorial alongside this pattern to ensure details are not missed and the process is time-saving.
- After Row 1 (R1), turn your work and make Ch1 to begin every new row unless otherwise stated.
- Always cut the yarn leaving a long tail for sewing when instructed.
- Be careful to flip the purse inside out to form the flap after sewing the base panels.
- You can choose any side of the purse to make the flap.
- After making individual pieces, attach them to the flap using glue or by sewing them in place to create animal faces.
Pattern Instructions
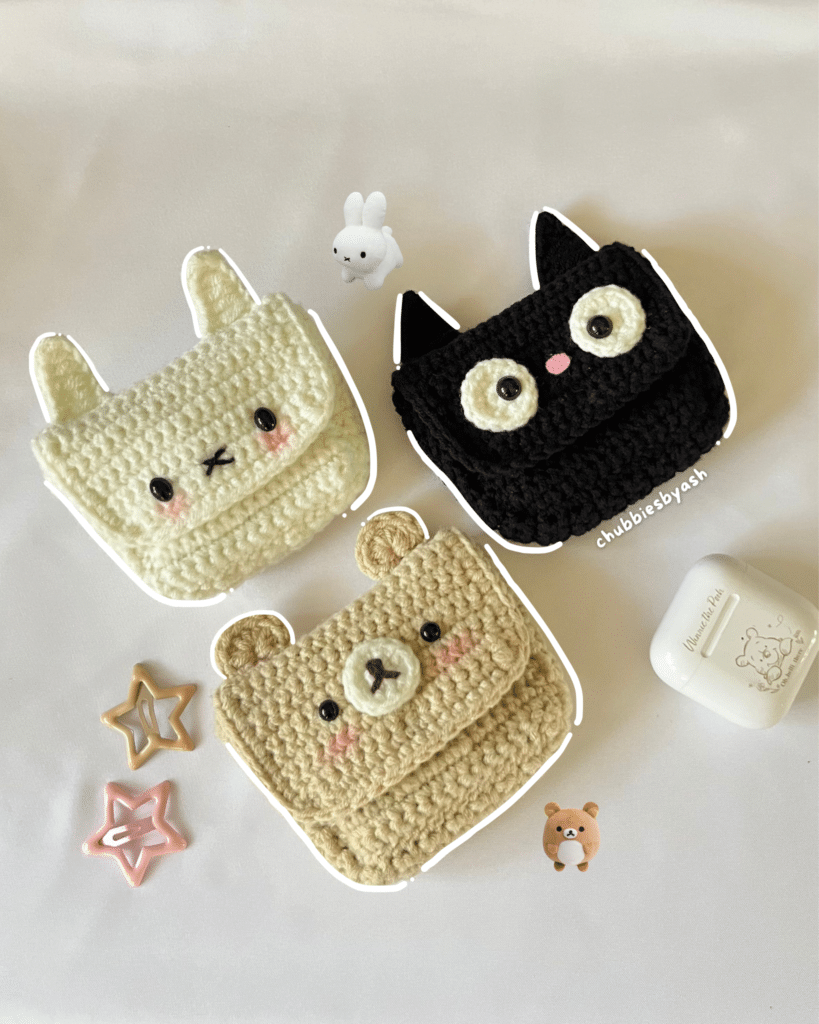
Body Panels (Make 2)
These two panels form the front and back of the pouch.
- Start with a slip knot and make 17 ch.
- R1: Start from the second chain from the hook, 16 sc. [16]
- After R1, turn and make Ch1 to begin every new row.
- R2-R13: Ch1 and turn, 16 sc. [16]
- Cut the yarn, leaving a long tail for sewing.
The Connecting Panel
This panel forms the bottom base of the purse.
- Start with a slip knot and make 6 ch.
- R1: Start from the second chain from the hook, 5 sc. [5]
- After R1, turn and make Ch1 to begin every new row.
- R2-R42: Ch1 and turn, 5 sc. [5]
- Cut the yarn, leaving a long tail for sewing.
Flap
The flap covers the opening of the pouch. You can choose any side of the assembled purse to attach this section.
- R1: Insert the hook into the sc before the seam, ch1 and make 1 sc, 16 sc (into the last row of the panel), 1 sc into the sc after the seam. [18]
- After R1, turn and make Ch1 to begin every new row.
- R2-R11: Ch1 and turn, 18 sc. [18]
- R12: Ch1 and turn, 1 dec, 14 sc, 1 dec. [16]
- R13: Ch1 and turn, 1 dec, 12 sc, 1 dec. [14]
- Ch1 and cut the yarn.
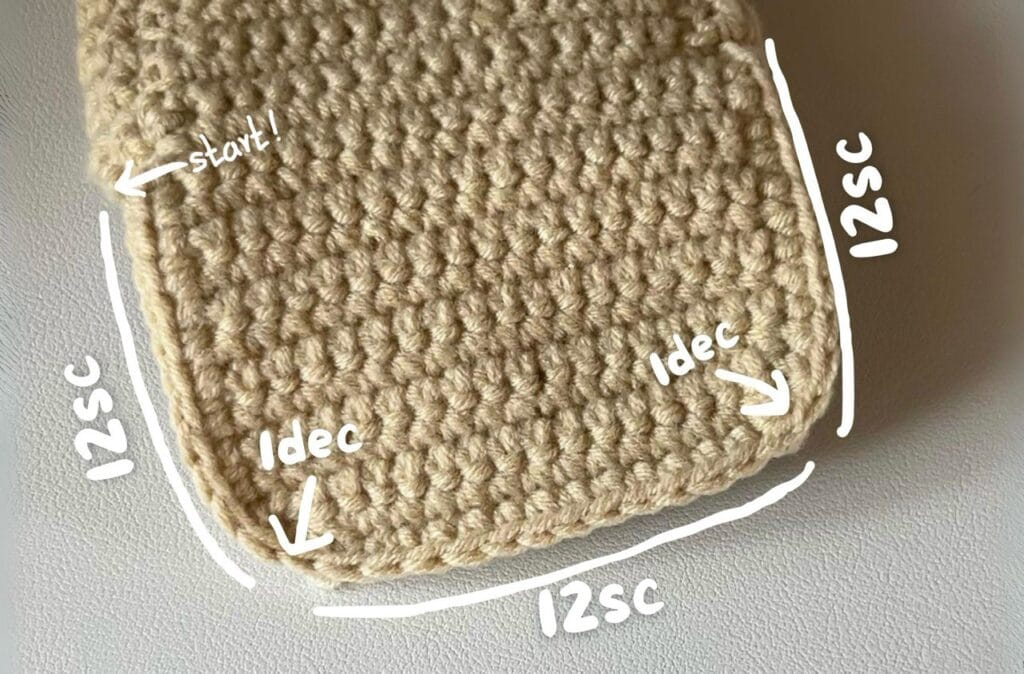
Flap Edging
Now, crochet along the 3 sides of the flap to smooth out the edges.
- Work the following pattern along the three sides: 12 sc (on the first side), 1 dec, 12 sc, 1 dec (on the last row of the flap), 12 sc (on the last side).
- Cut the yarn and weave in the ends.
Animal Details
Choose the details corresponding to the animal you wish to create. These are attached to the flap.
Bear’s Nose
- R1: In mr, make 6 sc. [6]
- R2: 6 inc. [12]
- Cut the yarn and weave in the ends.
Bear’s Ears (Make 2)
- Make 7 hdc in mr.
- Cut the yarn, leaving a long tail for sewing.
Black Cat’s Eyes (Pupil)
- R1: In mr, 7 sc. [7]
- R2: 7 inc. [14]
- Cut the yarn and weave in the ends.
Black Cat’s Ears
- Make 6 ch and start from the 2nd ch from the hook; 1 sc, 1 hdc, 1 dc, 2 tr. [5]
- We will crochet the ears directly onto the purse, on the 12th row counting from the last edging row of the flap.
Miffy’s (Bunny) Ears
- Ch7 and start from the 2nd ch from the hook; 1 hdc, 4 dc. [5]
- We will crochet the ears directly onto the purse, on the 12th row counting from the last edging row of the flap.
Assembly
- Sew the Panels Together: Place the connecting panel in between the two similar body panels you made. Sew the two panels on each side of the connecting panel in a U shape to form the base of the purse.
- Flip the Purse: After sewing, flip the purse inside out to make the flap. Be careful to flip the piece before making the flap!
- Attach Details: After making the individual animal pieces (ears, noses, eyes), attach them to the flap using glue or by sewing them in place to create the animal faces. You can use pink blusher for cheeks if desired.
- Final Touches: Weave in all remaining ends securely.
Tips
- Consistency is key. Ensure you are turning your work correctly after R1 to maintain the rectangular shape of the panels.
- When sewing the connecting panel, use the long tails left for sewing to create a sturdy seam that can hold the weight of items inside the pouch.
- If you are new to basic crochet stitches, this pattern is a great way to practice sc, hdc, dc, and tr in a practical project.
- For the flap edging, take your time to distribute the decreases evenly so the edge remains smooth and doesn’t pucker.
FAQs
What type of yarn is best for this pattern?
The pattern works well with Cotton, Acrylic, or Sports yarn. Cotton is recommended for a durable, structured finish, while acrylic offers softness. Approximately 50g is needed for the entire purse.
How do I attach the ears for the Black Cat and Bunny?
For these variations, the ears are crocheted directly onto the purse. Specifically, you attach them on the 12th row counting from the last edging row of the flap.
Can I use a larger hook if my tension is tight?
Yes, the pattern suggests a 2.5mm or 3mm hook. If you find the fabric too stiff, you might try a slightly larger hook, but be aware this may affect the final size and the fit of the flap.
How do I make the flap close properly?
The flap is designed to fold over the front. The edging row helps it lay flat. If you need a closure, you can add a small button or a snap to the flap and the body of the pouch during assembly.
Is this pattern suitable for beginners?
This pattern is suitable for beginners who are comfortable with basic stitches and turning rows. The assembly involves sewing flat pieces together, which is a fundamental skill. If you need a refresher on basics, you might check out this pattern for additional practice.
Pin This Crochet Pattern!