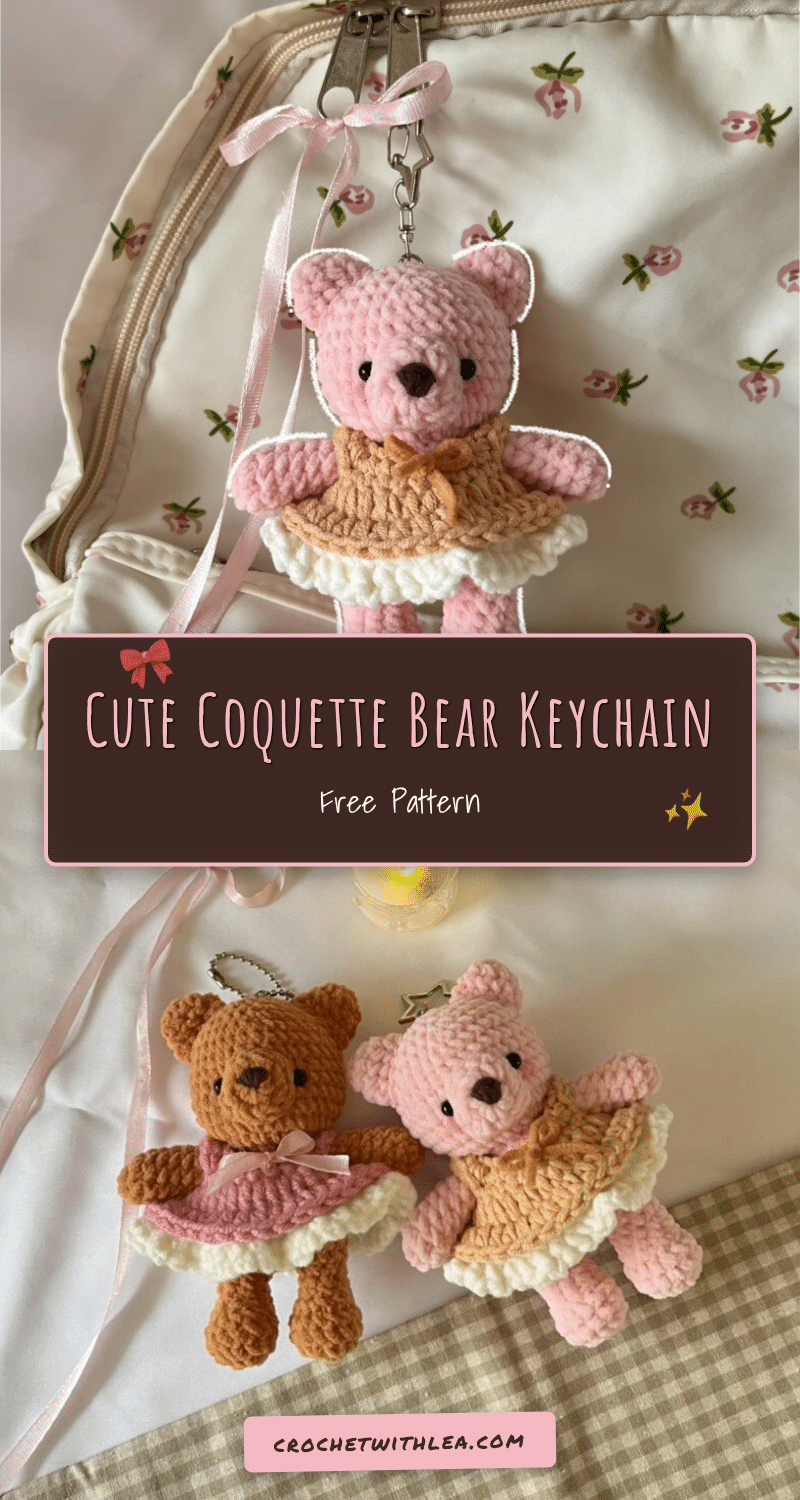
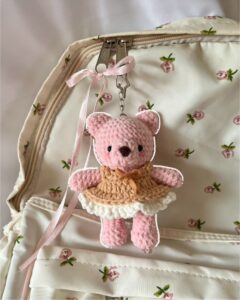
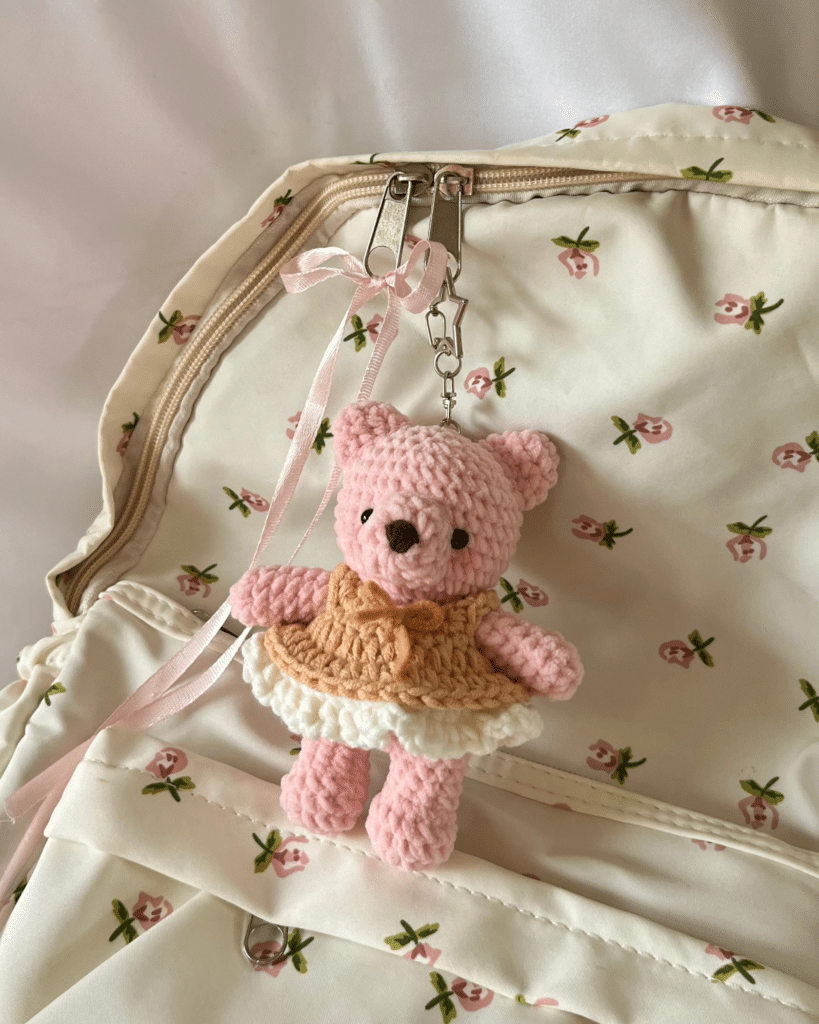
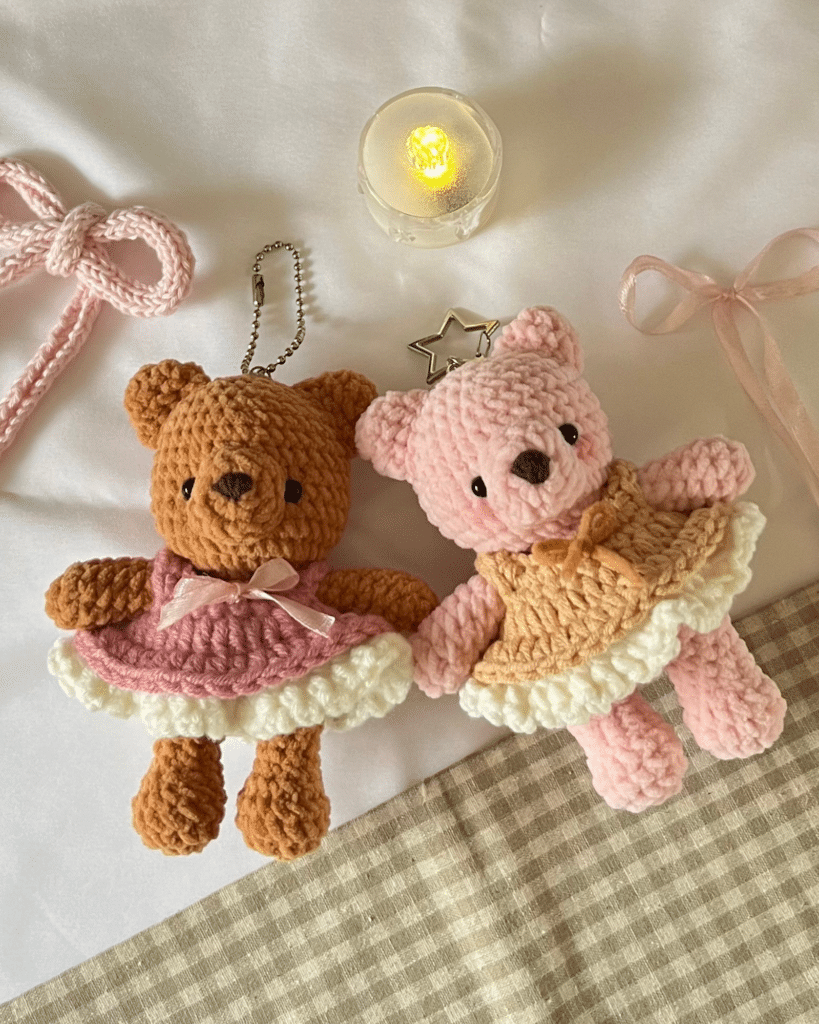
This adorable coquette bear keychain is the perfect blend of cute and useful. It is incredibly giftable, squishy, and tidy enough to hang on your bag or keys without taking up much space. The soft chenille body paired with the delicate pink dress makes it a display-worthy little companion that brings a smile to anyone who sees it.
Why the Finished Piece Stands Out
The charm of this project lies in its texture and styling. The recommended thin chenille yarn gives the bear a plush, velvety finish that feels wonderful to hold. The “coquette” aesthetic is achieved through the tiny, layered dress made from cotton or acrylic yarn, which contrasts beautifully with the soft body. Adding a satin ribbon bow and a touch of blush under the eyes elevates the design from a simple amigurumi to a detailed character piece. It is a quick project that yields a high-impact result, perfect for using up small scraps of pink and white yarn.
Project Overview
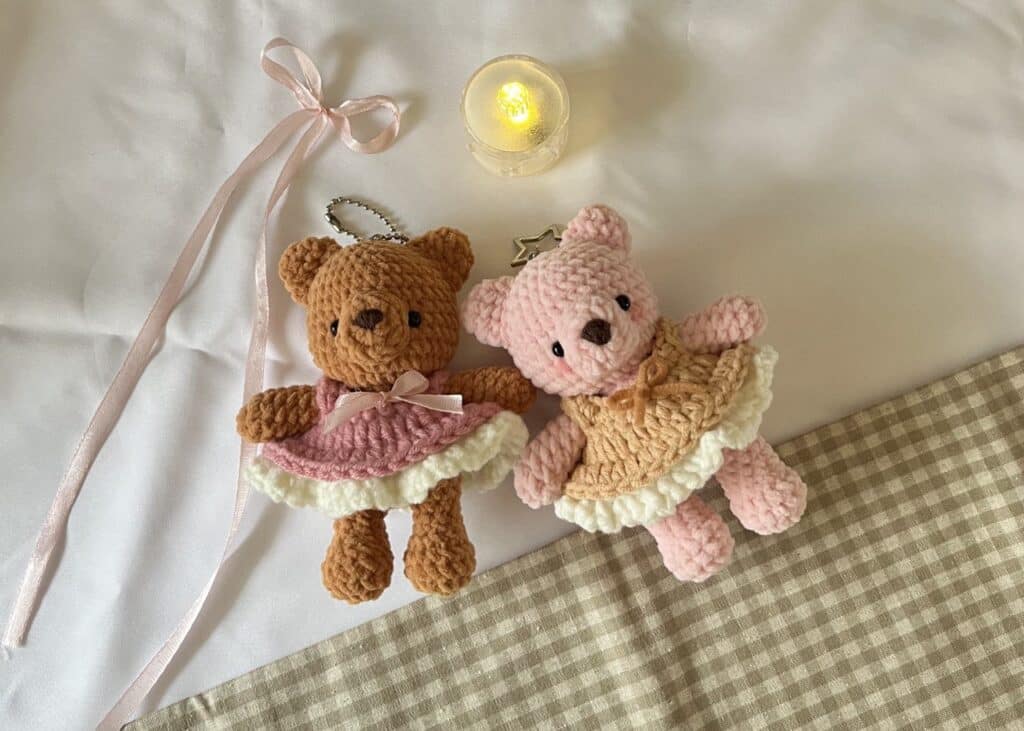
This pattern guides you through creating a small amigurumi bear keychain. The project involves crocheting the body, legs, head, and ears in one continuous piece (except for the hands and ears which are attached), followed by crafting a separate two-layer dress. The finished piece is small enough to be a keychain but substantial enough to be a standalone decoration.
Materials
- Body: Thin Chenille Yarn (Recommended)
- Dress: Beige Cotton, Acrylic, or Sports Yarn (5ply) in Pink and White
- Hook: 3mm crochet hook
- Stuffing: Stuffing materials
- Eyes: Safety eyes or plastic eyes
- Tools: Darning needle, scissors
- Extras: Satin ribbon (optional for bow), thin brown yarn (for nose embroidery), blush (optional)
Abbreviations
Abbreviations are in US terminology.
- Ch – Chain
- st – stitch
- R – round / row
- sc – single crochet
- inc – increase
- dec – decrease
- hdc – half double crochet
- slst – slip stitch
- FLO – front loop only
- BLO – back loop only
- * – repeat
- [] – total stitch count in each round
Pattern Notes
- Abbreviations are in US terminology.
- Do not miss out any details! Open the accompanying video tutorial as you crochet along to make the process more effective and timesaving.
- Connecting legs and hands can be tricky for beginners; refer to the specific video sections for detailed explanations.
Pattern Instructions
Hands (make 2)
Start with magic ring. Use chenille yarn for the body part!
- R1 8sc in mr [8]
- R2 1sc in each st [8]
- R3-R8 1sc in each st (6rounds) [8]
Stuff the hands lightly. Close the hands by crocheting the opposite stitches together with 4sc. Cut the yarn.
Legs (make 2)
Start with magic ring.
- R1 7sc in mr [7]
- R2 7inc [14]
- R3-R4 1sc in each st (2 rounds) [14]
- R5 3sc, 4dec, 3sc [10]
- R6-R7 1sc in each st (2rounds) [10]
Stuff the legs lightly. Cut the yarn after finishing the first leg, but DO NOT cut the yarn after the second leg.
Connecting the Legs and Continuing the Body
Make 2 more sc on second leg before connecting to the 1st leg. R8 is the connecting round of 2 legs.
- R8 Ch3, (connect to the first leg starting at second from the last st with sc) 1sc in each st of first leg (10), 1sc each in upper loops of ch3 (3) 1sc in each st of second leg (10) 1sc each in lower loops of ch3 (3). [26]
Connecting legs can be a bit tricky for beginners. Watch the tutorial part for details.
- R9 10sc, 3inc, 12sc, 1inc [30]
- R10-R15 1sc in each st (6 rounds) [30]
- R16 (4sc, 1dec)*5 [25]
- R17 (3sc, 1dec)*5 [20]
We’re connecting the hands to the body in the next row (round) by crocheting them together. Stuff the body as you go.
- R18 2sc, 4sc together with the hand, 6sc, 4sc together with the hand, 4sc [20]
- R19 10dec [10]
Head
Reset the rows here and continue from last st of the body.
- R1 10inc [20]
- R2 (1sc, 1inc)*10 [30]
- R3 (4sc, 1inc)*6 [36]
- R4-R9 1sc in each st (6 rounds) [36]
- R10 (4sc, 1dec)*6 [30]
- R11 (3sc, 1dec)*6 [24]
Start stuffing the head and continue stuffing after each following round.
- R12 (2sc, 1dec)*6 [18]
- R13 (1sc, 1dec)*6 [12]
- R14 6dec [6]
Cut the yarn leaving a long tail to close the head. Watch the video part to see how to close amigurumi head.
Ears (make 2)
Start with magic ring.
- R1 8sc in magic ring. [8]
- R2 (3sc, 1inc)*2 [10]
- R3 1sc in each st [10]
Close the ears by crocheting the opposite stitches together with 5sc just like we did for hands. Leave a long tail to sew onto the head. Sew the ears on R9 to R12 in line with the hands.
Nose
Start with magic ring. For every round in the nose, slst to the first st to close the round, and ch1 to start another round. Ch1 and slst are NOT included in our total stitch count.
- R1 7sc in magic ring, 1slst in first st [7]
- R2 ch1, 7inc, 1slst [14]
- R3 ch1, 1sc in each st, 1slst [14]
Cut the yarn and leave a long tail to sew onto the head. Using a thin brown yarn, embroidered a small triangle shape. Sew the nose on R4 to R7 of the head in the middle.
Eyes
Glue the eyes on R6 next to the nose. For eye indentation, with the same color yarn as the head, insert yarn to the inner sides of each eye, wrap it around the half of the eyes and pull tight. Watch the video part for more details.
Dress
Start with slip knot with a long tail using pink cotton yarn.
- 24ch
- R1 Starting from 2nd ch from the hook, (2sc, 1inc)*7, 2sc [30]
- R2 ch1 and turn, 4sc, 4ch, skip 6sc, 10sc, 4ch, skip 6sc, 4sc [26, including the ch]
- R3 ch2, (1hdc, 1hdc inc)*13 [39]. Connect to the first hdc of R3 with slst to make a round.
- R4 FLO, ch2, 1hdc in each st, 1slst [39]. Cut the yarn.
Using white yarn, we’re continuing onto the back loops of R4 to make another layer of the dress. Start from the back loop next to the slst.
- R1 BLO, ch2, 1hdc in each st, 1slst [39]
- R2 Ch1, (1sc, ch2)*39. After the last ch2, slst to the first sc and cut the yarn.
Assembly
- Weave in the ends and put the dress onto the bear.
- Sew the two sides of the dress together from the first row.
- Make a bow in front of the dress using ribbon or yarn.
- Put some blush under the eyes for the final touch.
Tips
- Refer to the video tutorial for connecting legs and hands, as these steps can be tricky for beginners.
- When closing the head, ensure you leave a long tail to weave in securely.
- For the dress, the white layer is worked into the back loops of the pink layer’s final round to create a ruffled effect.
FAQs
What yarn is best for the bear body?
Thin Chenille yarn is recommended for the body to achieve that soft, plush look. However, you can use any soft yarn that fits your 3mm hook.
Can I use safety eyes instead of glued plastic eyes?
The pattern suggests gluing plastic eyes for a specific look, but you can use safety eyes if you prefer. Adjust the placement accordingly.
How do I attach the hands to the body?
The hands are attached during Round 18 of the body. You crochet the hand stitches together with the body stitches using the “4sc together” instruction.
Why is the dress made in two colors?
The pink layer forms the base, and the white layer is worked into the back loops of the pink layer to create a delicate, ruffled petticoat effect.
Is this pattern suitable for beginners?
It is an intermediate pattern due to the leg connection and hand attachment steps. However, following the video tutorial closely makes it manageable for dedicated beginners.
Pin This Crochet Pattern!