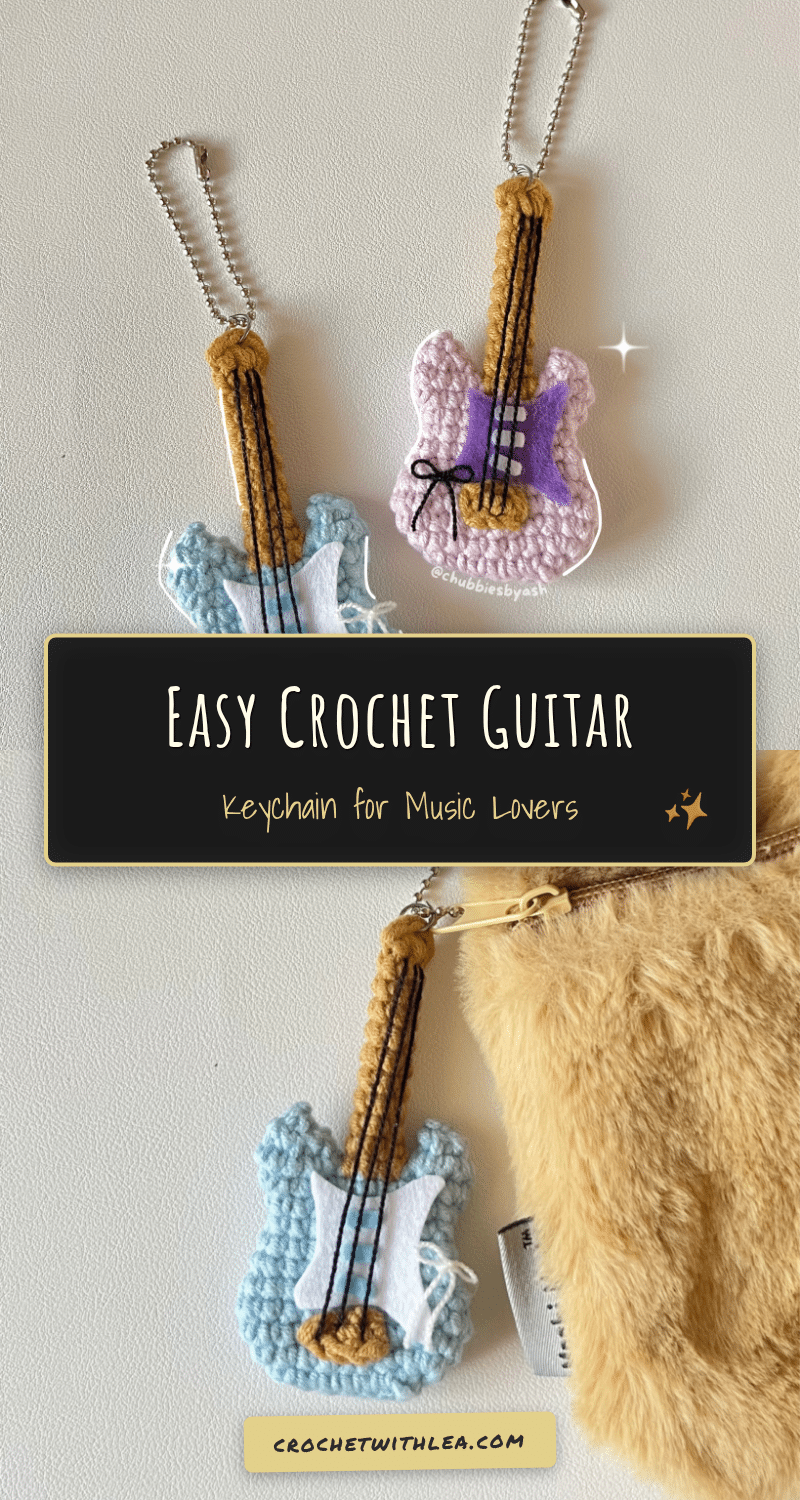
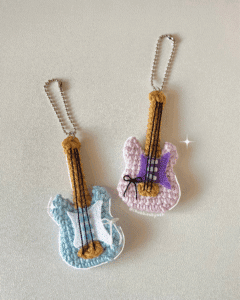
There is something undeniably charming about turning a few strands of yarn into a miniature instrument. This Easy Crochet Guitar Keychain Pattern captures the spirit of rock and roll in a compact, adorable form. It serves as the perfect handmade gift for musicians, music teachers, or anyone who appreciates a little melody in their daily carry. Whether you are looking to add a unique touch to your keys or create a fun accessory for a music-themed bag, this project offers a satisfying way to practice shaping and joining techniques.
Seasonal Styling Ideas
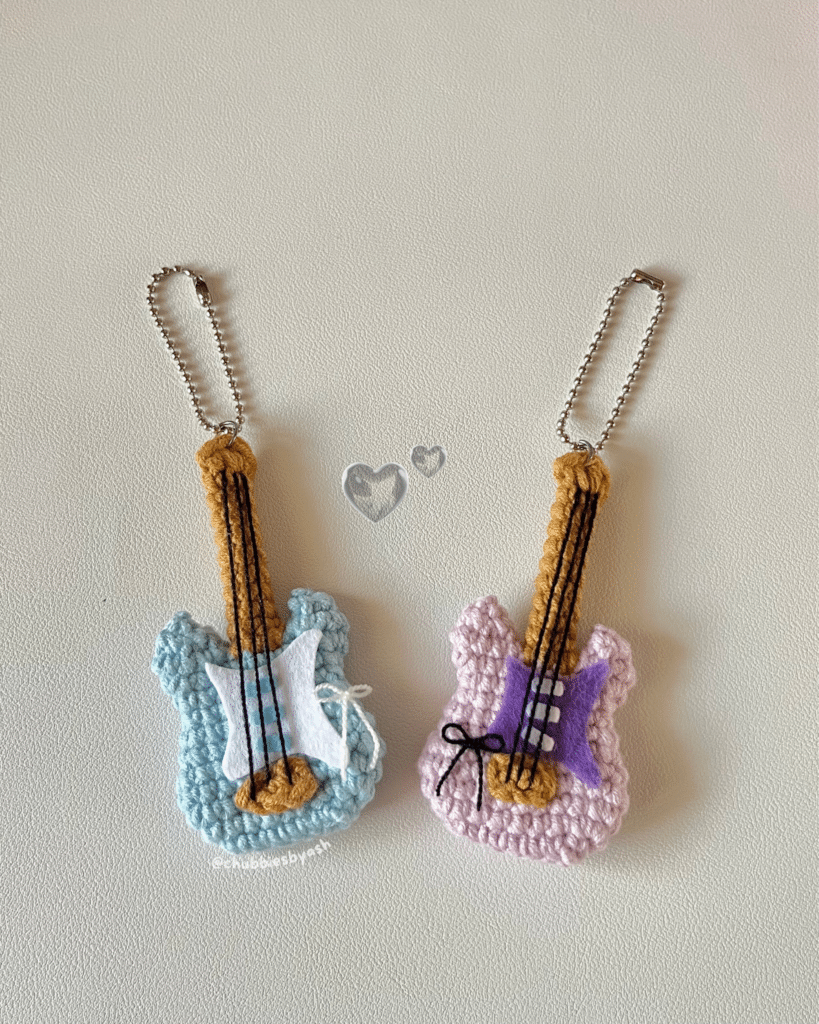
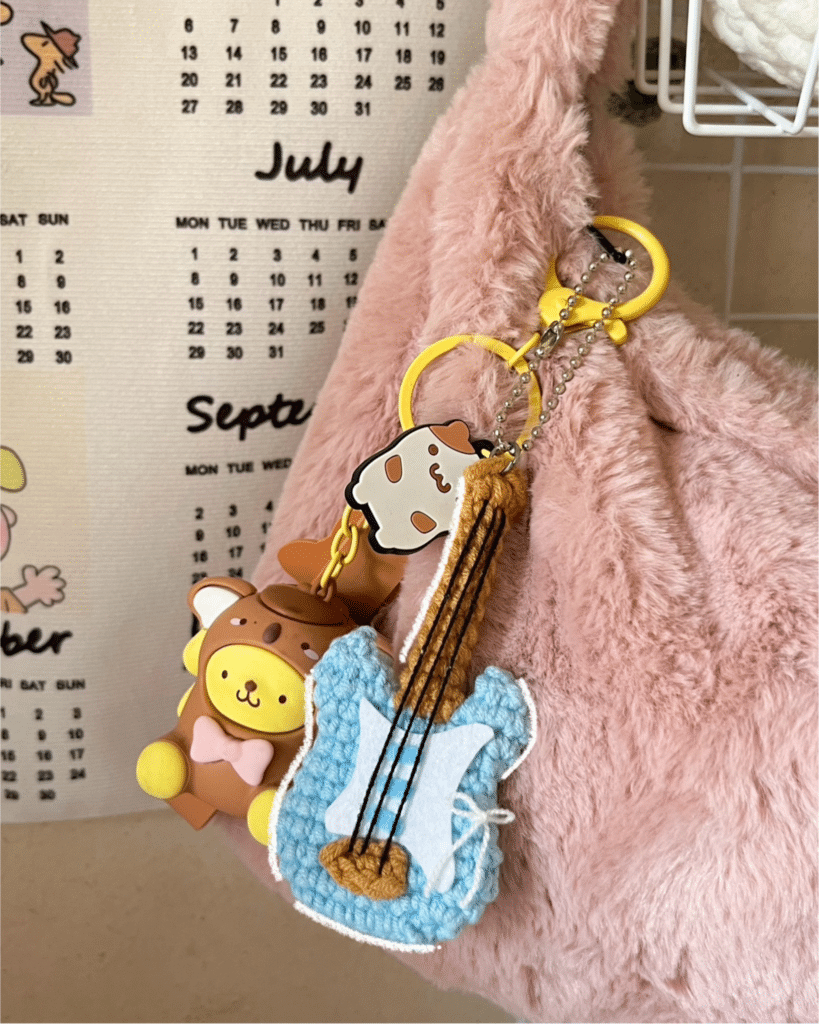
While a guitar keychain is a year-round delight, it fits particularly well into the rhythm of the holiday season. Imagine gifting these to music teachers during the winter holidays or using them as unique ornaments for a Christmas tree adorned with musical themes. During warmer months, they add a playful pop of color to festival backpacks or beach bags. The compact size makes them ideal for “stocking stuffer” ideas or as a small token of appreciation for band members and choir directors. You can also swap the yarn colors to match school colors for a personalized touch that celebrates local talent.
Project Overview
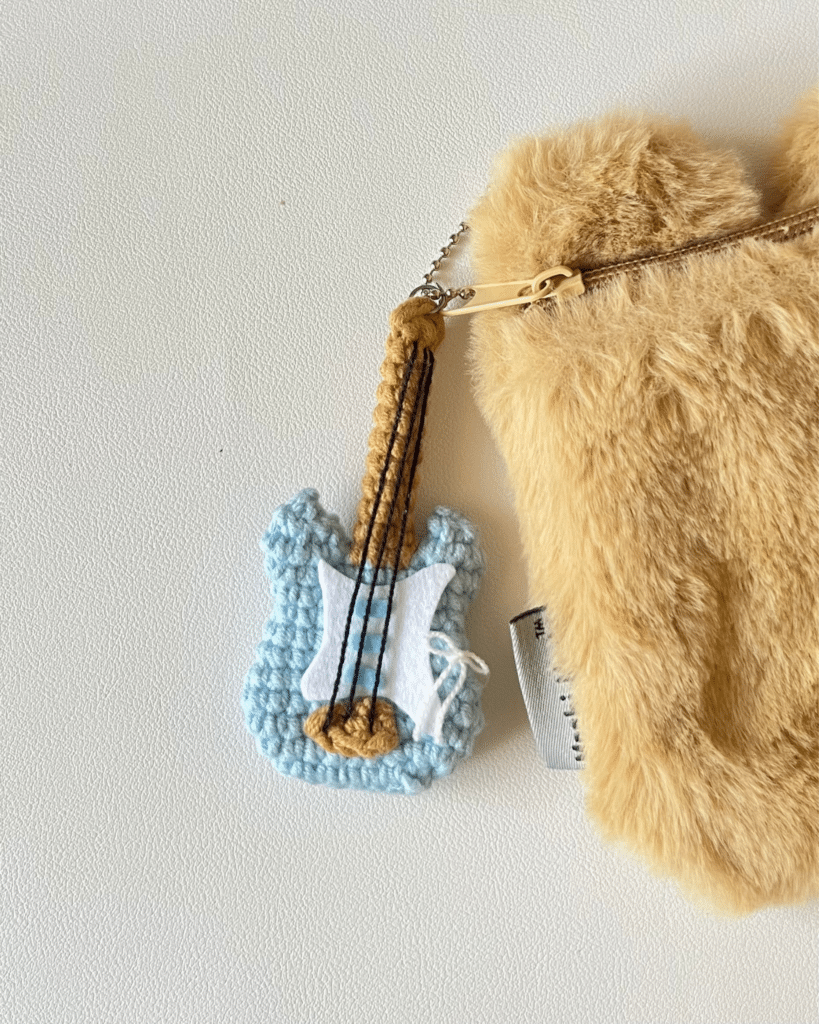
This amigurumi project creates a detailed miniature guitar using joined rounds and color changes. The pattern guides you through shaping the body, forming the neck, and constructing a separate bridge piece. Finishing touches involve assembling felt components for the pick guard and pickups, along with sewing on yarn strings. It is a project that rewards attention to detail, resulting in a sturdy and visually accurate miniature instrument.
Materials
- Sports Yarn (5ply) in light blue, light brown, and black
- 2.5mm crochet hook
- Stuffing materials
- Felt in white and light blue
- Darning needle
- Scissors
- Glue (for felt components)
Crochet Abbreviations
Abbreviations are in US terminology.
- Ch – Chain
- mr – magic ring
- st – stitch
- R – round
- sc – single crochet
- inc – increase
- dec – decrease
- dc – double crochet
- hdc – half double crochet
- slst – slip stitch
- * – repeat
- [] – total stitch count in each round
Pattern Notes
For the body of the guitar, this pattern utilizes joined rounds. This means you will connect with a slst into the 1st sc after every round. Start every new round with a Ch1, and begin your stitches from the sc that you just made a slst into. Please note that the Ch1 and slst are NOT included in our total stitch count. It is helpful to keep a video tutorial open while crocheting to ensure the process is effective and to avoid missing any details.
Pattern Instructions
Body
Start with a slip knot using light blue yarn.
- R1 Make ch8, starting from the 2nd ch from the hook, 6sc, 1inc (into the last ch), 5sc (into each lower part of the ch), 1inc, 1slst [15]
- R2 ch1, 7sc, 3sc in one st, 6sc, 3sc in one st, 1slst [19]
- R3 ch1, 7sc, 2inc, 8sc, 2inc, 1slst [23]
- R4 ch1, 23sc, 1slst [23]
- R5 ch1, 8sc, 1dec, 10sc, 1dec, 1sc, 1slst [21]
- R6 ch1, 7sc, 1dec, 9sc, 1dec, 1sc, 1slst [19]
- R7 ch1, 19sc, 1slst [19]
- R8 ch1, 7sc, 1dec, 8sc, 1dec, 1slst [17]
- R9 ch1, 7sc, 1inc, 8sc, 1inc, 1slst [19]
- R10 ch1, 7sc, 2inc, 8sc, 2inc, 1slst [23]
DO NOT cut the yarn as we will continue the neck of the guitar with a different yarn color.
Neck of the Guitar
Locate 3 opposite stitches on the center of the body from both sides. There will be a total of 6sc. To the 1 st from the right of 3 st in either side, attach light brown color yarn and start making the neck.
- R1 3sc on one side of body and 3sc on another. [6]
- R2-R10 1sc into each st (9 rounds) [6]
Close the neck by crocheting opposite stitches together with 1sc, 1hdc inc, 1sc, ch1 [4]. Cut the yarn and weave in the ends.
Finishing the Body
There are 9 st on the right side where we left the yarn uncut on the Body.
- R1 1sc into each st [9]
- R2 4dec, 1sc [5]
Cut the yarn and leave a long tail. Close the hole by sewing with darning needle.
On the left side, there are 8st. Attach yarn right next to the neck of the guitar. Close the hole just like on the right side at the end.
- R1 1sc into each st [8]
- R2 4dec [4]
Bridge
Start with a slip knot using light brown yarn.
- Ch4, 3sc, ch1 [3]
Cut the yarn leaving a long tail. Sew it to the center of the body 3 rounds up from the bottom.
Adding Details, Pick Guard, Pick Ups
Cut the white felt cloth into the shape of pick guard and glue it to the body. Cut the light blue felt cloth into the shape of pick ups and glue them onto pick guard. Use thin black yarn to sew strings.
Assembly
Once all components are crocheted, assemble the felt pieces onto the body as described in the instructions. Use the long tail from the bridge to sew it securely to the center of the body. Ensure the neck is firmly attached to the body by weaving in the ends. Finally, use the darning needle to close the remaining holes at the base of the guitar body, ensuring the stuffing is secure and the shape is maintained.
Tips
- Do not miss out any details! Open a video tutorial as you crochet along to make the process more effective and timesaving.
- Watch tutorial segments for specific explanations on joining rounds and closing holes.
- When closing the remaining hole at the end, use the darning needle to weave the yarn tail through the final stitches for a neat finish.
FAQs
What type of yarn is best for this pattern?
The pattern calls for Sports Yarn (5ply). This weight provides enough detail for the small stitches while remaining durable for a keychain that will be handled frequently.
Can I use a different hook size?
A 2.5mm hook is recommended to ensure the stitches are tight enough to hold the stuffing and maintain the shape of the miniature guitar. Using a larger hook may result in loose stitches and visible gaps.
How do I attach the neck to the body?
The neck is worked directly onto the body using joined rounds. You attach the light brown yarn to specific stitches on the body and crochet the neck upwards, ensuring it is centered for a balanced look.
What if I don’t have felt?
Felt is used for the pick guard and pickups to add a realistic visual detail. If you do not have felt, you can substitute it with small pieces of fabric or even crochet small flat circles in contrasting colors to attach to the body.
Is this pattern suitable for beginners?
This project is accessible for crocheters who are comfortable with basic stitches and shaping. The use of joined rounds and color changes adds a layer of technique that is great for practice, but the instructions are straightforward.
Pin This Crochet Pattern!