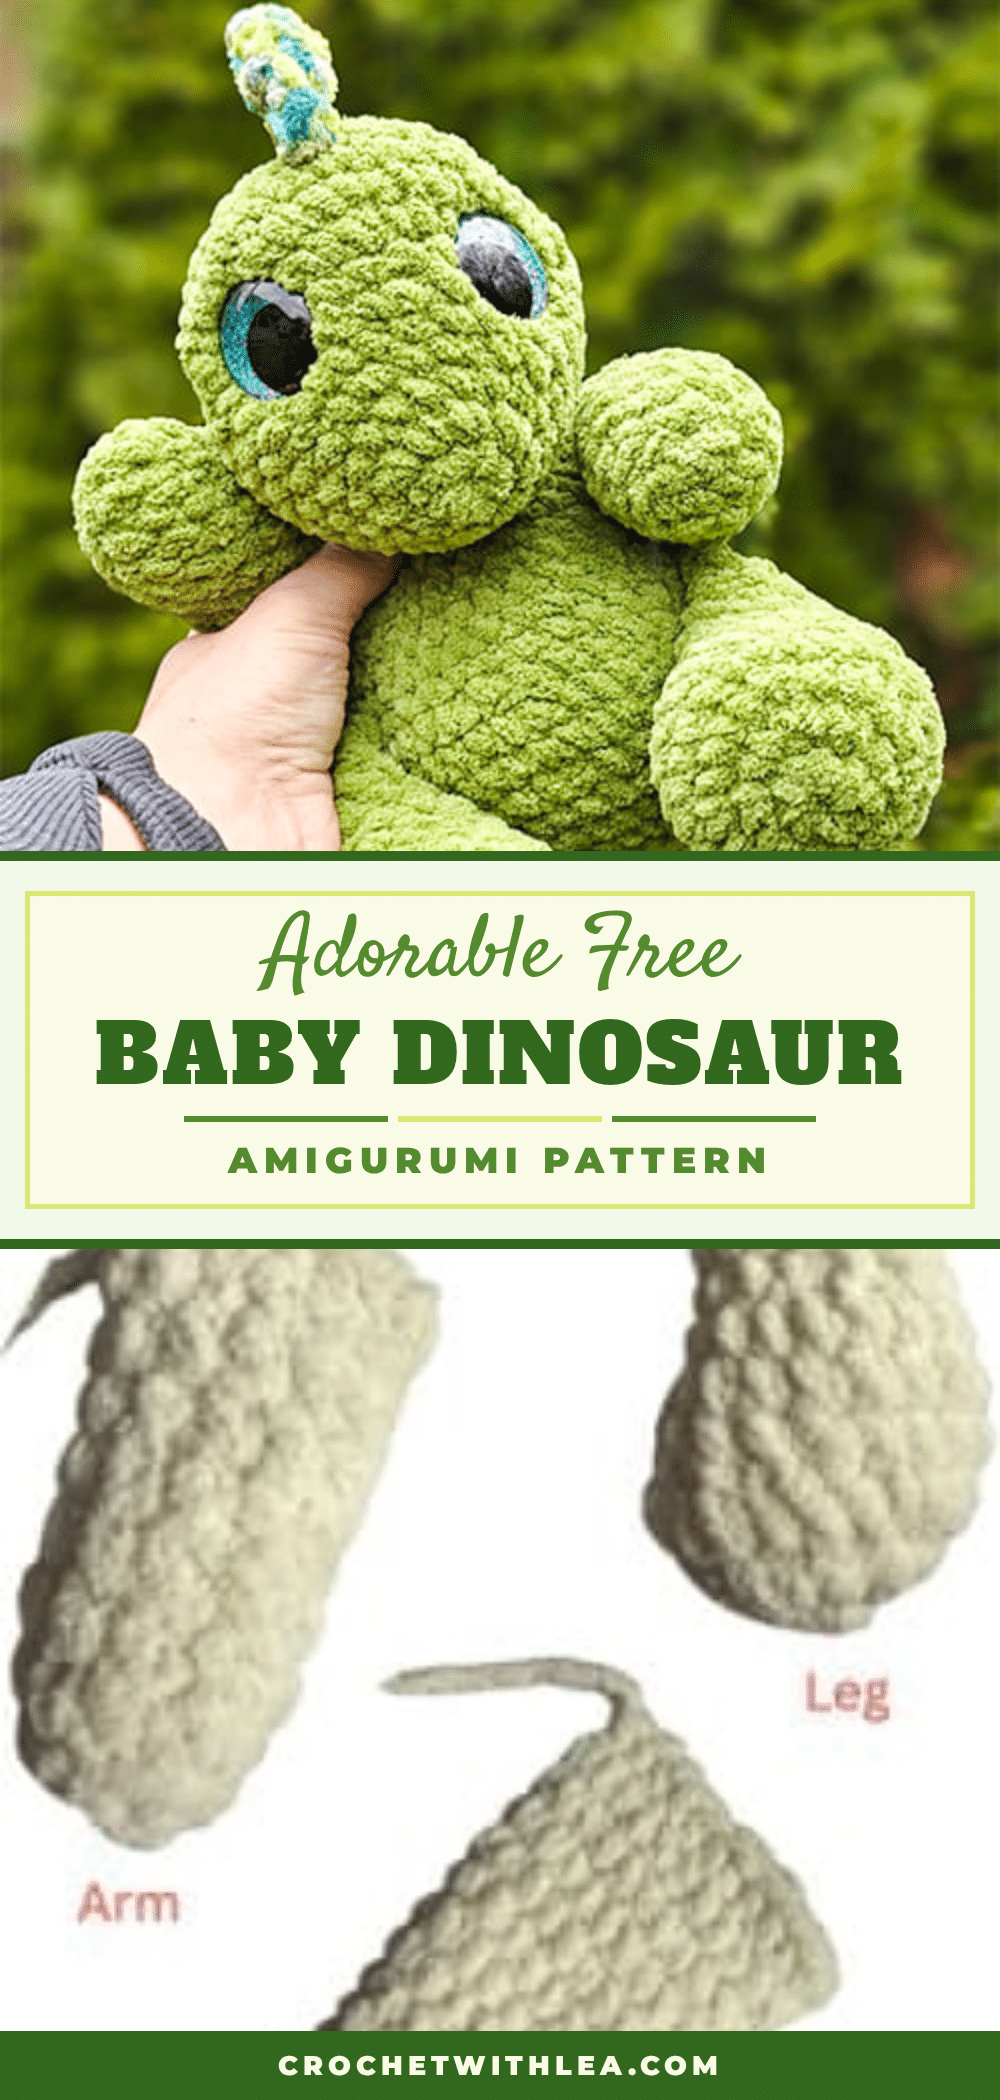
It is completely normal to worry that your first amigurumi project might end up with a wonky shape or a lopsided face. Many crocheters fear that the math of increases and decreases will go wrong, leaving them with a blob instead of a dinosaur. However, this plush baby dinosaur pattern is designed to be forgiving and approachable. The chunky limbs and soft, plush texture help mask minor tension inconsistencies, making it a perfect confidence-builder for beginners who are comfortable with basic shaping and simple assembly.
Maker Notes
What makes this specific design stand out is the choice of materials. Using a plush or velvet yarn, such as Bernat Blanket, gives the dinosaur a gentle, huggable texture that feels more like a comforting companion than a rigid toy. The large safety eyes and soft tail create a lovable character that works beautifully as a nursery gift or a baby shower present. While standard amigurumi often features bears or bunnies, this prehistoric theme offers a playful twist that is both unique and timeless. The “squishy” feel of the body and the option to adjust the number of spikes allow you to customize the charm to your liking.
Project Overview
This free pattern guides you through creating a cuddly baby dinosaur using basic crochet stitches. The project is structured to be beginner-friendly, focusing on simple assembly and shaping. You will create the head first, followed by the body, tail, arms, legs, and spikes, before assembling them into a complete plush toy.
Materials
- Weight 6 yarn (Bernat Blanket recommended)
- Desired hook size (5mm recommended)
- Darning needle
- Scissors
- Safety eyes (Choose size based on dino; 30mm used in source)
- Poly fill or doll stuffing
Abbreviations
- MR- magic ring
- sc- single crochet
- inc- increase
- dec- decrease
- FO- fasten off
- CC- color change
- Xn- number of times to repeat
- (N)- total stitches in your round
Pattern Notes
- Stuffing: Stuff the body lightly only up to round 9. Leaving half the body unstuffed creates a squishy feel.
- Spikes: The source pattern uses 7 spikes, but you may use less depending on the size of your dino.
Pattern Instructions
Head
- 8 sc in mr (8)
- 8 inc (16)
- 16 sc (16)
- (1sc, inc)x8 (24)
- 24 sc (24)
- (2sc, Inc)x8 (32)
- 32 sc (32)
- 23sc, 8inc, 1sc (40) (These increases will be the top of your head. Make adjustments to center them if necessary.)
- 9-10. 40sc 2 rounds (40)
- (3sc, dec)x8 (32)
- (2sc, dec)x8 (24)
- Insert eyes between rounds 7-8. About 6 visible stitches apart.
- 13. 24sc (24) Stuff firmly now.
- 14. 12 dec (12)
- 15. 6 dec (6) FO, leave a tail and sew your hole shut.
Body
- 8 sc in mr (8)
- 8 inc (16)
- (1sc, inc)x8 (24)
- (2sc, inc)x8 (32)
- 32 sc (32)
- (3sc, inc)x8 (40)
- 7-8.40sc-2 rounds (40)
- (3sc, dec)x8 (32)
- 10-12.32 sc – 3 rounds (32)
- (2sc, dec)x8 (24)
- 14-16. 24sc – 3 rounds (24)
- (1sc, dec)x8 (16)
- 18-19. 16sc-2 rounds (16)
- Fold in half. 8sc through the top to close. FO, leave long tail for sewing.
Note: Stuff lightly only up to round 9. Leaving half the body unstuffed for a squishy feel.
Tail
Do not stuff.
- 3 sc in mr (3)
- 3 inc (6)
- 6 inc (12)
- 4-5. 12sc 2 rounds (12)
- (5sc, inc)x2 (14)
- 14 sc (14)
- (6sc, inc)x2 (16)
- 16 sc (16)
- (7sc, inc)x2 (18)
- 18 sc (18)
- (8sc, inc)x2 (20)
- (9sc, inc)x2 (22)
- 22 sc (22)
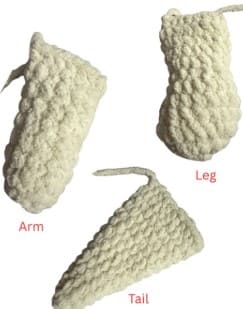
- Fold in half, 11sc across the top to close. FO. Leave tail for sewing.
Arms (2)
- 6 sc in mr (6)
- 6 inc (12)
- 3-9. 12sc – 7 rounds (12)
- Stuff lightly, fold in half, 6sc across top to close. FO. leave tail for sewing.
Legs (2)
Stuff as you go. Stuff only to about round 8.
- 8 sc in mr (8)
- 8 inc (16)
- (1sc, inc)x8 (24)
- 24 sc (24)
- 4dec, 16sc (20)
- 20 sc (20)
- 7sc, 4dec, 5sc (16)
- 8-13.16sc-6 rounds
- Fold in half. 8sc through the top to close. (Make sure you fold from heel to toe.) FO, leave tail for sewing.
Spikes (7)
Do not stuff.
- 4 sc in mr (3)
- (1sc,inc)x2 (6)
- 6 sc (6)
- Fold in half. 3 sc across top to close. FO, leave tail for sewing.
Note: I made 7 spikes but you may use less depending on the size of your dino.
Assembly
- Sew your body on to the middle bottom of your head.
- Sew your arms diagonally on rounds 14-17 of the body.
- Sew your legs slightly diagonally on rounds 6-11 of the body.
- Sew your tail straight on the back of the body between rounds 6-7.
- Sew your spikes down the middle of your head, back and tail. I placed 2 on the head, 3 on the back and 2 on the tail.
Tips
- For a unique texture, consider using plush or velvet yarn to enhance the huggable feel.
- Adjust the stuffing level in the body to create a softer, squishier toy.
- You can customize the number of spikes to change the silhouette of your dinosaur.
FAQs
What yarn is best for this pattern?
The pattern recommends Weight 6 yarn, such as Bernat Blanket, to achieve the plush, velvet texture that makes the dinosaur soft and cuddly.
How many spikes should I make?
The source pattern uses 7 spikes total (2 on the head, 3 on the back, and 2 on the tail), but you can use fewer depending on the size of your dino and your preference.
How do I position the safety eyes?
Insert the safety eyes between rounds 7 and 8 of the head, keeping them about 6 visible stitches apart.
Is this pattern suitable for beginners?
Yes, it is considered beginner-friendly if you are comfortable with basic shaping and simple assembly. The instructions use standard amigurumi stitches.
How should I stuff the body?
Stuff the body lightly only up to round 9. Leaving the upper half unstuffed creates a squishy feel rather than a firm, rigid toy.
Pin This Crochet Pattern!