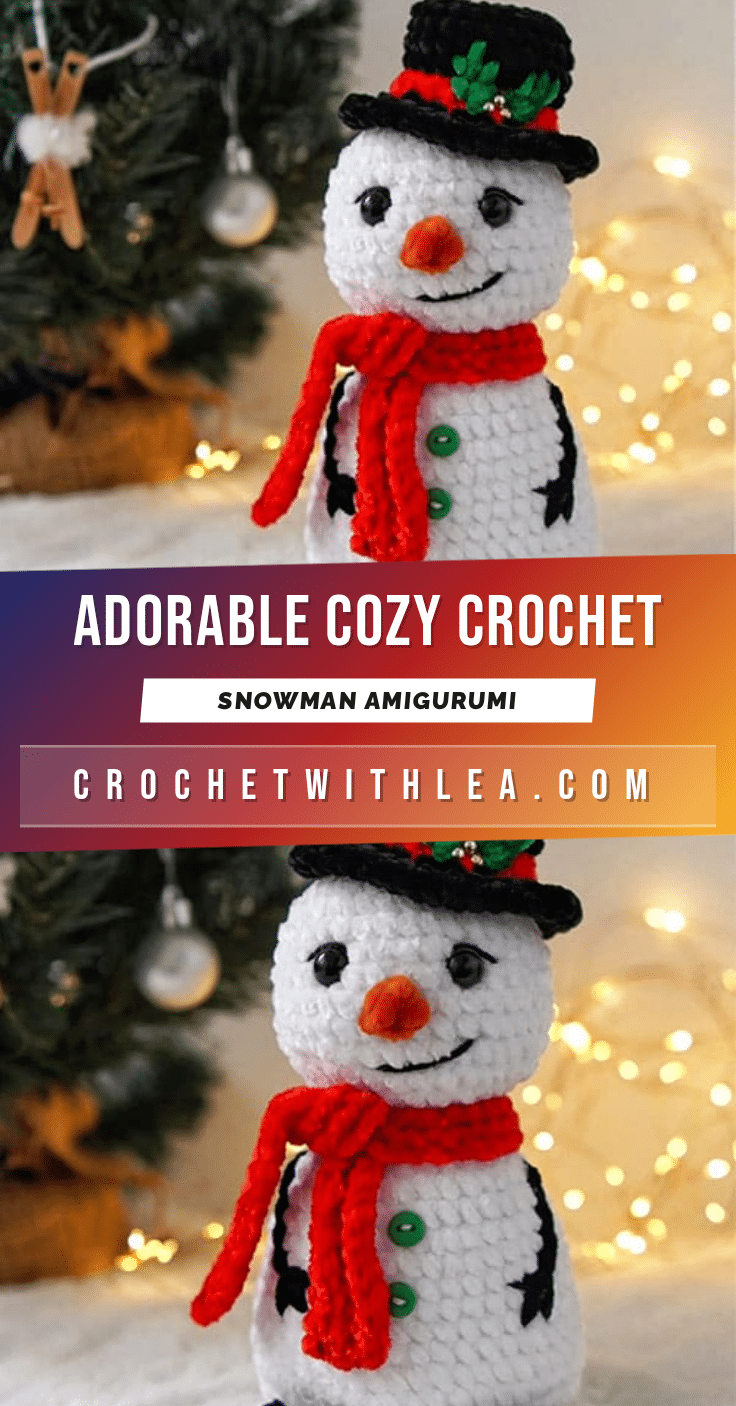
There is something truly heartwarming about handmade Christmas decorations, and a crochet snowman plush is one of those timeless pieces that instantly brings a smile to your face. This adorable amigurumi snowman fits perfectly into the cozy spirit of the holiday season. Whether you place it under the Christmas tree, on a shelf, or gift it to a loved one, it feels personal, warm, and full of joy. If you enjoy festive christmas crochet projects, an amigurumi crochet snowman is a wonderful choice. It doesn’t require advanced skills, yet the result looks detailed and charming. From the tiny carrot nose to the soft scarf and classic hat, every stitch adds character. Best of all, this project is small enough to finish in a short time, making it ideal for busy crafters during the holidays.
Texture and Stitch Notes
What makes this snowman pattern particularly delightful is the interplay of textures and the forgiving nature of the shaping. The body relies on standard single crochet rounds to create a smooth, plump sphere, but the magic happens in the details. The brim of the hat utilizes a slip stitch worked into the front loop only (FLO), creating a distinct ridge that gives the hat structure and a vintage look. The scarf adds another layer of texture with its own slip stitch rows, offering a soft, dense fabric that drapes nicely around the neck. The most unique textural element is the nose, which uses a partial puff stitch to create a dimensional, carrot-like protrusion. These small stitch variations prevent the pattern from feeling monotonous and add professional finishing touches that elevate the final look.
Project Overview
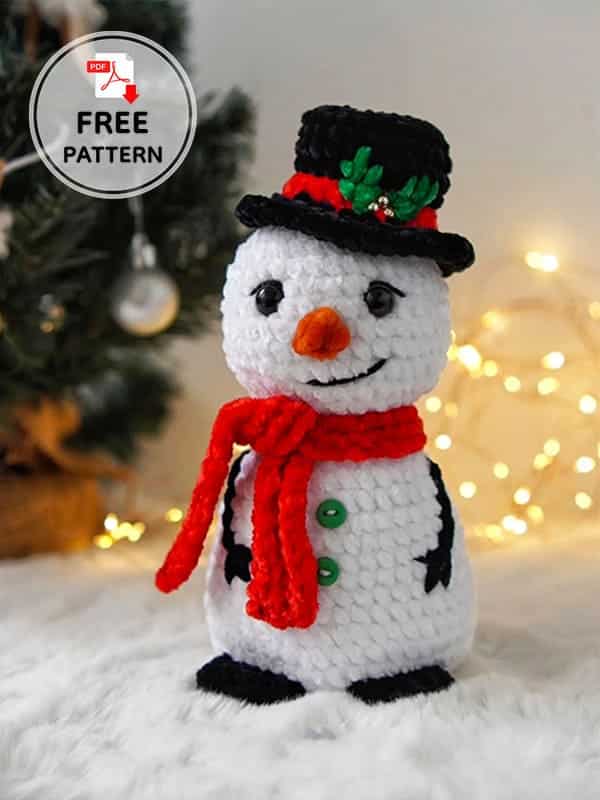
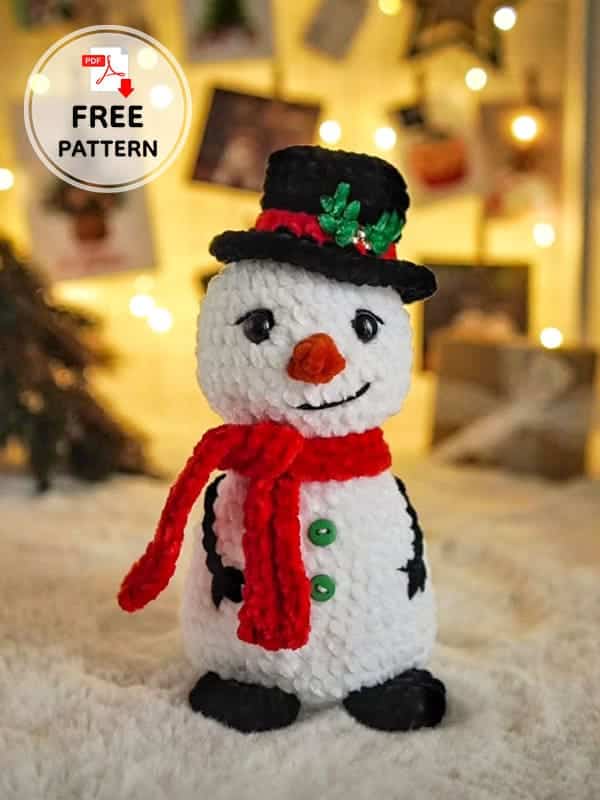
This pattern guides you through creating a complete snowman plush, including the head and body, a two-toned hat, feet, and a scarf. The design is beginner-friendly, making it an excellent first project for those new to amigurumi. The shapes are simple and forgiving, meaning small imperfections only add to the charm. The pattern also allows for customization; you can change scarf colors, add buttons, or adjust facial expressions to make your snowman one of a kind.
Materials
- Yarn: Plush yarn 50g/85m (I use YarnArt dolce baby) in the following colors:
- White (Body)
- Black (Hat brim, hat top, feet)
- Red (Hat band, scarf)
- Orange (Nose)
- Green (Optional for embroidery on hat)
- Hook: Suitable for your yarn (I used the hook size 2.5mm)
- Notions:
- Stitch marker or contrasting thread
- Long needle for sewing
- Scissors
- Sewing pins
- Fiberfill
- Safety eyes 10mm
- Buttons 9mm (2 pcs.)
- Black sport weight yarn for embroidery (I use yarnart jeans)
- Little beads for embroidery on a hat (3 pcs.)
Gauge and Finished Size
Gauge and finished size measurements are not provided in the source pattern. Due to the nature of plush yarn and individual tension, your finished size may vary slightly. The pattern is designed to be worked to the stitch counts provided.
Abbreviations
- MR: Magic ring
- sc: Single crochet
- inc: Increase
- dec: Decrease
- ch: Chain
- puff st: Puff stitch: (yarn over, insert hook into stitch, yarn over, pull a loop) repeat 3 more times, pull the yarn through all 9 loops.
- slst: Slip stitch
- *6: Number of repeats
- (12): Total number of stitches in a round
- BLO: Back loop only
- FLO: Front loop only
Pattern Notes
A crochet snowman plush is more than just a decoration. It’s a keepsake that can be used year after year. Unlike store-bought ornaments, handmade amigurumi pieces carry memories — of the time you spent crocheting, the music playing in the background, and the excitement of preparing for Christmas. This type of project is also very beginner-friendly. If you are new to amigurumi, a snowman is a great place to start because the shapes are simple and forgiving. Even small imperfections only make the snowman look more charming and unique. Another great advantage is customization. You can easily change the colors of the scarf, add buttons, or give your snowman a different facial expression. This flexibility makes every amigurumi crochet snowman feel one of a kind.
Pattern Instructions
Head-Body
Crochet with white yarn.
- 6 sc in a MR (6)
- 6 inc (12)
- (1 sc, inc)*6 (18)
- 1 sc, inc, (2 sc, inc)*5, 1 sc (24)
- (3 sc, inc)*6 (30)
- 2 sc, inc, (4 sc, inc)*5, 2 sc (36)
- 7-12. 36 sc (36) – 6 rounds. Insert safety eyes between 8th and 9th rounds at a distance of 6 sc.
- 13. 2 sc, dec, (4 sc, dec)*5, 2 sc (30)
- 14. (3 sc, dec) 6 (24)
- 15. 1 sc, dec, (2 sc, dec)*5, 1 sc (18)
- 16. (4 sc, dec)*3 (15)
- 17. FLO 15 inc (30). Stuff the toy as you go.
- 18. 30 sc (30)
- 19. 2 sc, inc, (4 sc, inc)*5, 2 sc (36)
- 20. 36 sc (36)
- 21. (5 sc, inc) 6 (42)
- 22-25. 42 sc (42) – 4 rounds
- 26. 3 sc, inc, (6 sc, inc)*5, 3 sc (48)
- 27-29. 48 sc (48)-3 rounds
- 30. BLO 3 sc, dec, (6 sc, dec)*5, 3 sc (42)
- 31. (5 sc, dec)*6 (36)
- 32. 2 sc, dec, (4 sc, dec)*5, 2 sc (30)
- 33. (3 sc, dec)*6 (24)
- 34. 1 sc, dec, (2 sc, dec)*5, 1 sc (18)
- 35. (1sc, dec) 6 (12)
- 36. 6 dec (6). Pull the hole closed, fasten off, cut the yarn and weave in the yarn ends.
Hat
Start crocheting with black yarn.
- 8 sc in a MR
- 8 inc (16)
- (1 sc, inc)*8 (24)
- 4. BLO 24 sc (24)
- 5-6. 24 sc (24) – 2 rounds
- Change the yarn color to red, but do not cut the black yarn.
- 7. FLO 24 sl st (24)
- 8. BLO 24 sc (24)
- Change the yarn color to black and cut off the red yarn.
- 9. FLO (1sc,inc)*12 (36)
- 10. (4sc,inc)*6 (42). Fasten off and leave a long tail for sewing.
Using green plush yarn, embroider holly leaves onto the hat using small stitches as shown in the photos below. Sew the beads between the leaves.
Feet (make 2)
Crochet with black yarn (but you can also use white yarn if you want your snowman to be barefoot).
- 6 sc in a MR (6)
- 6 inc (12)
- 3. 12 sc (12). Stuff the piece a little bit if you want or just leave it empty as I did.
- 4. Fold the piece in half and crochet through both sides. 6 sc (6). Fasten off and leave a long tail for sewing.
Scarf
Crochet with red yarn. Work in rows. Crochet a chain of the required length so that it can be easily tied around the neck of your snowman and there are long enough ends left (in my case, the length was ch60).
- ch61, start in the second ch from the hook: 60 sl st (60) turn
- 2-4. ch1, BLO 60 sl st (60) turn-3 rows
Fasten off and weave in the yarn ends.
Assembly
- Nose: Crochet the snowman’s nose with orange yarn. Insert the hook under the stitch in the center of the face, one row below the bottom edge of the eyes as shown in the first photo below. Pull the yarn under this stitch and crochet a partial puff stitch: (yarn over, insert hook into stitch, yarn over, pull up a loop) – repeat one more time, yarn over, pull the yarn through all 5 loops on your hook, ch 1, 1 sc into the same stitch on the face. Fasten off and weave in the yarn ends.
- Face Details: Using black sport weight yarn, embroider the smile and eyelashes as shown in the photos below.
- Arms: Using pins, mark the places where the arms will be located symmetrically on both sides. Turn the toy upside down. Insert the hook under the stitches on the body and using black plush yarn, crochet a sl st along the line marked with pins. I got 6 stitches. Fasten off and leave a long tail. Use the yarn tail to embroider the fingers as shown on the photos below. If this method seems difficult or inconvenient to you, you can simply embroider the arms on the body.
- Hat: Stuff the hat but not too much, giving it the desired shape. Sew on the hat at a slight angle toward the snowman’s head (it’s better to sew it at the 7th round of the hat so the brim sticks out a little bit).
- Buttons: Sew buttons in the center of the belly.
- Feet: Sew the feet using the FLO of the 29th round of the body at a distance of 3 stitches from each other in the center.
Here’s your amigurumi snowman ready, Merry Christmas!
Tips
- Stuff the toy as you go to maintain shape.
- Stuff the feet piece a little bit if you want or just leave it empty as I did.
- Stuff the hat but not too much, giving it the desired shape.
FAQs
What type of yarn is best for this snowman?
The pattern recommends plush yarn (50g/85m), such as YarnArt dolce baby, for the main body and accessories. This creates a soft, fuzzy texture typical of amigurumi plushies.
Can I change the colors of the snowman?
Yes, the pattern notes highlight customization as a great advantage. You can easily change the colors of the scarf, hat, or even use white yarn for the feet if you want a barefoot snowman.
Is this pattern suitable for beginners?
Absolutely. The project does not require advanced skills. The shapes are simple and forgiving, making it a great starting point for those new to amigurumi.
How do I make the nose?
The nose is created using a partial puff stitch directly onto the face using orange yarn. It involves pulling up loops and pulling through multiple loops on the hook to create a 3D effect.
How should I attach the hat?
Stuff the hat lightly and sew it on at a slight angle. For the best look, sew it at the 7th round of the hat so the brim sticks out slightly.
Pin This Crochet Pattern!