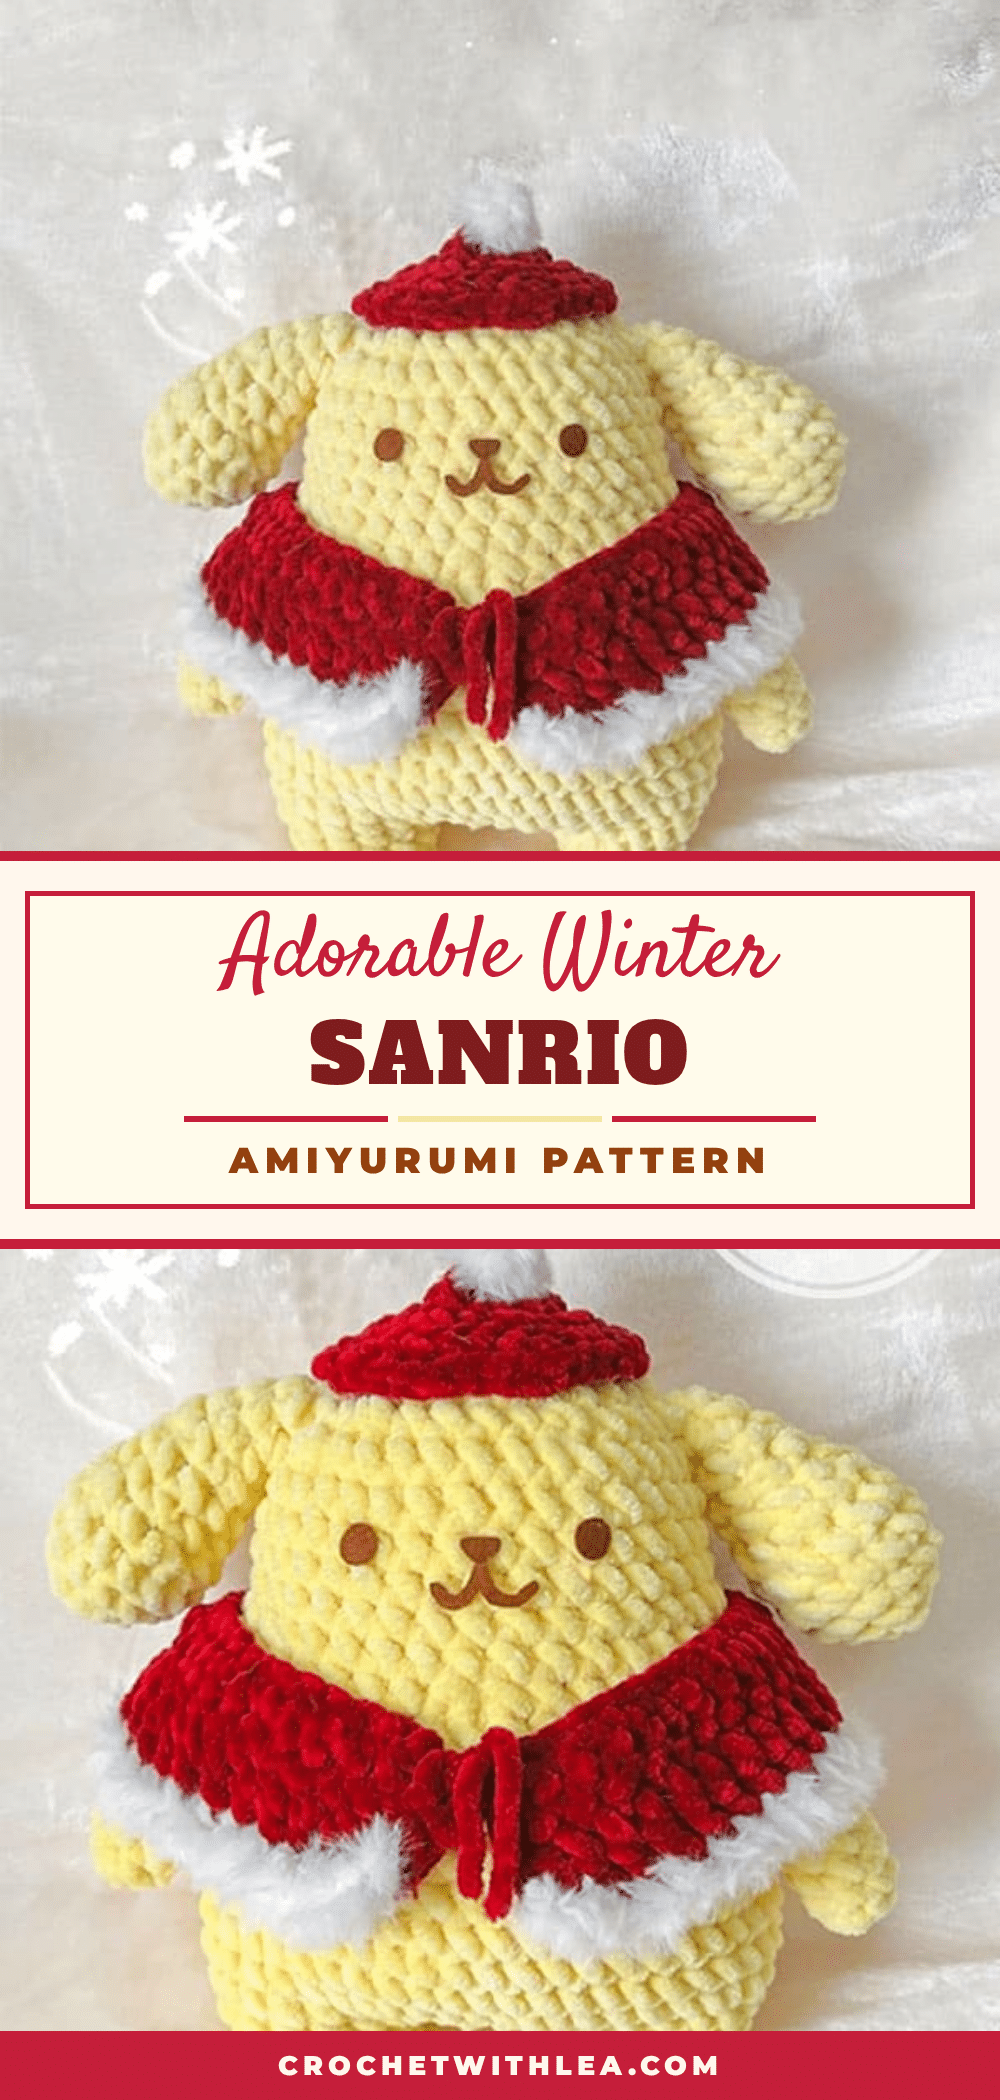
Have you ever started a crochet project only to panic because your stitch count feels slightly off, or you worry you’ve twisted your magic ring? It happens to the best of us. The good news is that this adorable Winter Sanrio Amigurumi pattern is forgiving and straightforward. With simple shapes and minimal complex shaping, you won’t need to stress over intricate details. It is designed to be easy to make, allowing you to focus on the fun of assembling your little friend rather than worrying about technical perfection.
Maker Notes
This pattern brings a cozy, festive vibe to your crochet stash. The choice of yellow for the character creates a cheerful base, while the red and white accessories add that classic holiday pop. I love that the shawl uses a fluffy or chenille yarn option; it adds such a soft, tactile contrast to the smooth main body. Because the head, body, and legs are worked as one continuous piece, you spend less time sewing seams and more time enjoying the process. It’s the perfect quick project for a Christmas party gift or a cute desk companion.
Project Overview
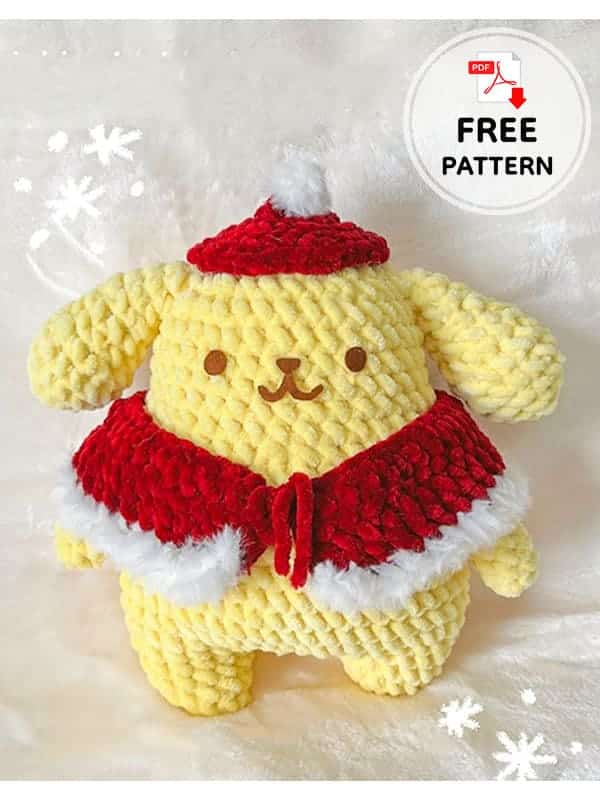
This winter-themed Sanrio crochet pattern features a cute rabbit character prepared for the holidays. The design is beginner-friendly because it requires few details and uses simple stitches. The body is constructed as a single piece from the legs up to the head, while the arms and ears are worked separately and attached later. The project is finished with a festive red and white shawl and a hat.
Design Credit
Design by: xochitlmochi_crochet
Materials
- Yarn: Size 6 yarn in yellow, red, and white.
- Optional Yarn: Fluffy white yarn or chenille white yarn for the shawl and hat trim.
- Crochet Hook: Appropriate for your yarn weight.
- Stuffing: Polyfil stuffing.
- Tools: Stitch marker, tapestry needle, scissors.
- Details: Felt for the eyes and nose.
Abbreviations
- sc: single crochet
- MR: magic ring
- dc: double crochet
- inc: increase
- dec: decrease
- ch: chain
- FO: fasten off
- hdc: half double crochet
- BBL: bobble stitch
- BLO: back loop only
Pattern Instructions
Legs/Body/Head
Work in yellow yarn.
- R1: 6 sc in MR (6)
- R2: inc x6 (12)
- R3: (5sc, inc) x2 (14)
- R4: sc around. FO, repeat R1-R4 but do not FO with second leg instead ch 6 insert your hook into the first leg and sc this will count as the first sc of the next row.
- R5: 14 sc around first leg, 6 hdc into the 6 ch, 14 sc around second leg, 6 hdc into otherside of 6 ch (40)
- R6: 38 sc, inc (40)
- R7: (4sc, inc) x8 (48)
- R8-12: sc around (48) (5 rounds)
- R13: (10sc, dec) x4 (44)
- R14: (9sc, dec) x4 (40)
- R15: sc around (40)
- R16: (8sc, dec) x4 (36)
- R17-22: sc around (36) (6 rounds)
- R23: (5sc, dec) x5, sc (31)
- R24: (3sc, dec) x6, sc (25)
- R25: (1sc, dec) x7, sc (17)
- R26: dec x8, sc (9) FO, sew closed.
Ears (Make 2)
Work in yellow yarn.
- R1: 5 sc in MR (5)
- R2: inc x5 (10)
- R3: (sc, inc) x5 (15)
- R4-5: sc around (15) (2 rounds)
- R6: (sc, dec) x5 (10)
- R7: sc around (10)
- R8: (sc, dec) x3, sc (7)
- R9-10: sc around (7) (2 rounds) Stuff lightly.
- R11: (sc, dec) x2, sc (5) FO sew closed sew onto R23/R24 of head.
Arms (Make 2)
Work in yellow yarn.
- R1: 7 sc in MR (7)
- R2-7: sc around (7) (6 rounds) Stuff, FO and sew closed place on R12/R13 of body/head.
Shawl
Starting in red yarn:
- R1: ch 50, in the 2nd ch from the hook dc all the way down ch 1 turn (48)
- R2: 49 hdc ch 1 turn (49)
- R3: change to white fluffy yarn and 49 sc (49) FO and leave a tail. You should have a long piece with fluff on the bottom, bring it behind his body above his arms and wrap it around to the front use the tail ends to secure the ends together and (optional: make a bow with the yarn).
Hat
In red yarn:
- R1: 8 sc in MR (8)
- R2: inc x8 (16)
- R3: (sc, inc) x8 (24)
- R4: BLO: (2sc, inc) x8 (32) FO weave in ends. With your fluffy / white yarn create a slip knot. Insert hook into the top of the hat and make a BBL.
Assembly
Once all components are complete, follow these steps to bring your amigurumi to life:
- Face Details: Cut felt for the eyes and nose. Place the eyes on R19 about 4 stitches apart with the nose in between the eyes.
- Ears: Sew the ears onto R23/R24 of the head.
- Arms: Sew the arms onto R12/R13 of the body/head.
- Shawl: Bring the shawl behind the body above the arms, wrap it around to the front, and secure the ends together using the tail ends. Add a bow if desired.
- Hat: Place the hat on the head. If the bobble stitch (BBL) is difficult, you may attach a craft store pompom or an acrylic yarn pompom to the top instead.
Tips
- If the BBL (bobble stitch) is hard to make for the hat trim, you can opt for a pompom from the craft store or a pompom made of acrylic yarn.
- Because the head, body, and legs are crocheted in one piece, ensure you join the legs correctly in Round 5 to avoid gaps.
- Use a stitch marker to keep track of the beginning of each round, especially when working the continuous rounds of the body.
FAQs
What size yarn is used for this pattern?
The pattern calls for Size 6 yarn in yellow, red, and white.
Do I need to stuff the ears?
Yes, the instructions specify to stuff the ears lightly before closing them in Round 11.
How do I attach the shawl?
Bring the shawl behind the body above the arms, wrap it around to the front, and use the tail ends to secure the ends together. You can optionally make a bow with the yarn.
What is a BBL stitch?
BBL stands for Bobble Stitch. It is used on the hat for a fluffy trim. If you find this difficult, a pompom is an acceptable alternative.
Where should I place the arms?
The arms should be sewn onto R12/R13 of the body/head.
Pin This Crochet Pattern!