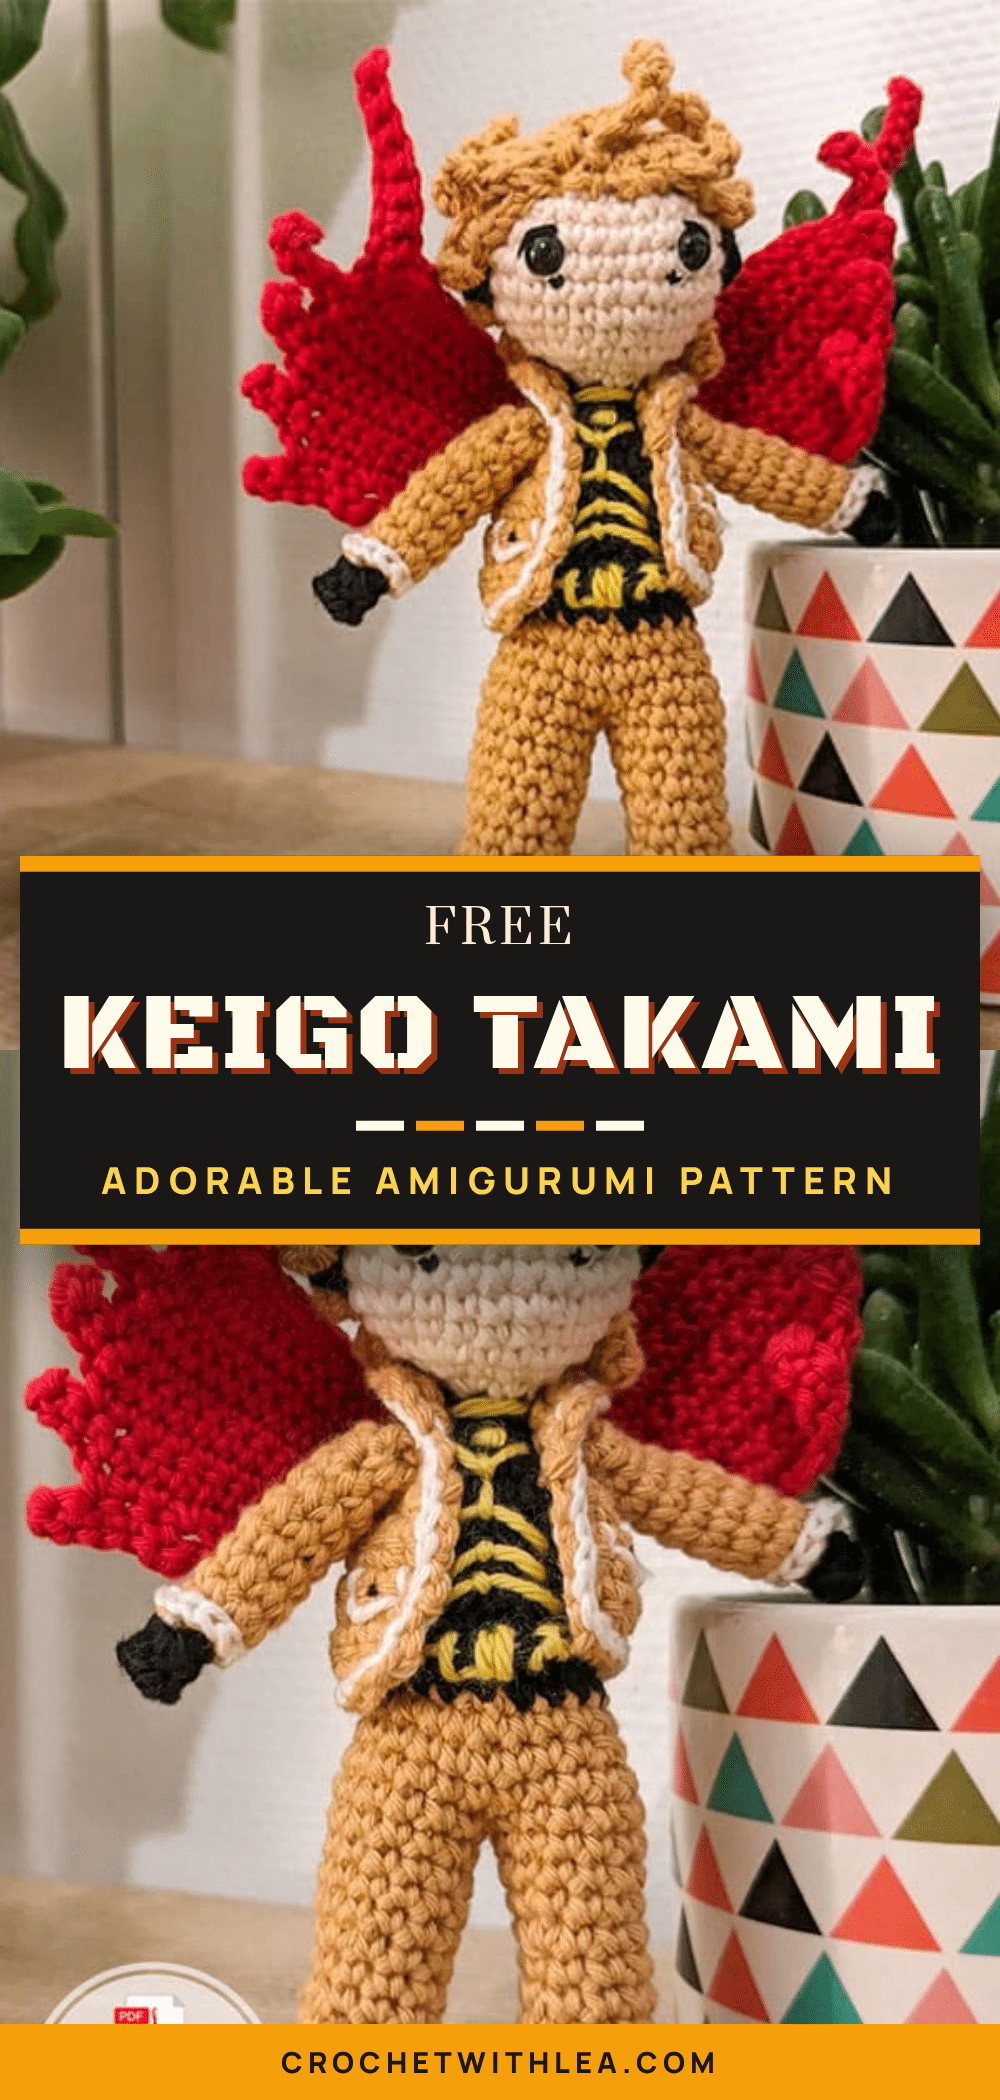
It is a common fear among crocheters that their first amigurumi attempt will end up with a lopsided head or a body that looks more like a potato than a character. You worry about tension, stitch counts, and whether your stuffing will ever look right. But here is the good news: this Keigo Takami pattern is designed to be forgiving and straightforward. The structured rounds and clear shaping instructions guide your hands, ensuring that even if you are new to the craft, you can create a charming, recognizable figure. This project proves that you don’t need years of experience to bring a beloved anime character to life.
Maker Notes
Keigo Takami, also known as Hawks, has a very distinct look with his coffee-toned uniform and striking red wings. When working on this pattern, I recommend using a yarn with a slight sheen for the red wings to give them a vibrant, eye-catching pop against the matte finish of the brown jacket. The hair pieces are quite numerous, so don’t be intimidated by the quantity; they are small and quick to make. I suggest grouping them by length (upper, middle, lower) to keep your workspace organized. The texture of the jacket benefits from the triple crochet stitches in the first round, which create a lovely, slightly open weave that mimics fabric. Take your time with the embroidery details around the eyes; they bring the character’s personality to life.
Project Overview
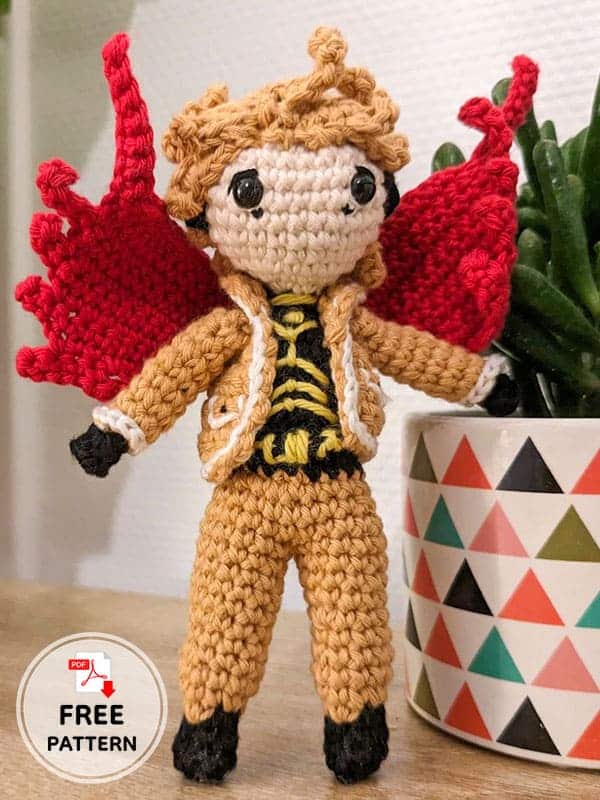
This pattern allows you to create an adorable amigurumi version of Keigo Takami from My Hero Academia. The project involves crocheting several distinct components—legs, body, head, jacket, sleeves, hair strands, headstems, and wings—which are then assembled to form the complete character. The design features a detailed uniform with a jacket, belt, and signature red wings.
Materials
- Yarn in the following colors:
- Light brown
- Skin tone
- Red
- Yellow
- Black
- White
- Brown (for the jacket)
- Crochet hook (appropriate size for your yarn)
- Stuffing
- Safety eyes
- Yarn needle for assembly
Gauge and Finished Size
Specific gauge measurements and finished dimensions are not provided in the source pattern. It is recommended to use a hook size that matches your yarn weight to ensure your amigurumi remains firm and does not show gaps in the stitching.
Abbreviations
The following abbreviations are used in this pattern:
- sc: single crochet
- ch: chain
- slst: slip stitch
- inc: increase
- dec: decrease
- dc: double crochet
- tr: triple crochet
- hdc: half double crochet
- (instruction)x6: repeat 6 times
- (): total of stitches
Pattern Notes
- Design by: melocrochette
- Work in continuous rounds unless otherwise stated.
- Mark the beginning of each round with a stitch marker.
Pattern Instructions
Legs (Make 2)
Rd 1. In black, in a magical loop 8 sc (8)
Rd 2-3. 8 sc (8)
Rd 4. (1sc, 1 dec, 1 sc)x2 (6)
Rd 5. In light brown, 6 inc (12)
Rd 6-7. 12 sc (12)
Rd 8. (2sc, 1 dec, 2sc)x2 (10)
Rd 9. 10 sc (10)
Rd 10. (4sc, 1inc)x2 (12)
Rd 11-14. 12 sc (12)
Body
Rd 16. 6 sc, 12 sc in the other leg, 6 sc in the initial leg (24)
Rd 17. 5 sc, 1 dec, 10 sc, 1 dec, 5 sc (22)
Rd 18. 20 sc (20)
Start to stuff.
Rd 19. In black, 4 sc, 1 dec, 3 sc, 1 dec, 3 sc, 1 dec, 2 sc, 1 dec (16)
Rd 20-25. 16 sc (16)
Rd 26. (1sc, 1dec)x8 (12)
Stuff.
Rd 27. 6 dec (6)
Rd 28. 6 sc (6)
Head
Rd 29. In skin tone, 6 inc (12)
Rd 30. (1sc, 1inc)x6 (18)
Rd 31. (1sc, 1inc, 1sc)x2 (24)
Rd 32. 24 sc (24)
Rd 33. (3sc,1inc)x6 (30)
Rd 34-36. 30 sc (30)
Rd 37. (3sc,1dec)x6 (24)
Add safety eyes between rd 35 and 36, with 5st between each. Embroider in black details around the eyes and start to stuff.
Rd 38. (1sc, 1 dec, 1sc)x6 (18)
Rd 39. (1sc, 1dec)x6 (12)
Stuff.
Rd 40. 6 dec (6)
Jacket
Rd 1. In brown, 13 ch. In 3rd st from the hook, 2tr, inc in tr (2tr in same st), 4tr, 1 inc in tr, 2 tr (12)
Rd 2. 3 ch, 1 slst in the 1st st of initial ch, on the other size of the work. Then, 2 ch, starting in 2nd st from hook 3sc, 1 inc, 6 sc, 1 inc, 2 sc (15)
Rd 3. 2 ch, starting in 2nd st from hook, 2 sc, 3 ch, skip 3st, 6 sc, 3 ch, skip 3st, 2 sc (16)
Rd 4. (2sc, 1inc, 1sc)x4 (20)
Rd 5-10. 1 ch, 20 sc (20)
With a white yarn, crochet sl st all around the jacket. Embroider the pockets.
Sleeves (Make 2)
In light brown, in the holes created for the sleeves, start a first round in the 8 st like on the picture, starting on the bottom right. 3 sc, 1 hdc, 3 dc, 1 hdc (8)
Rd 2. 3 sl st, 1 sc, 3 hdc, 1 sc (8)
Rd 3-9. 8 sc (8)
Rd 10. In black, in back loop only 4 dec (4)
Rd 11. (1 inc, 1 sc)x2 (6sc)
With a white yarn, crochet sl st around rd 10.
Belt
In black, 9 ch. Embroider the belt and the body with a yellow yarn.
Lower Hair
In light brown, 13 ch, starting from 2nd st from the hook, (1 sl st, 5 ch, starting in 2nd st from the hook 4 sc, 1 sl st in next st of the initial ch)x6
Upper Hair (Make 11)
In light brown, 7 ch, 6sc.
Middle Hair
In light brown, 9 ch, starting from 2nd st from the hook:
- Strand 1: 1 sl st, 4 ch, 3 sc, 1 sl st in next st of chain.
- Strand 2-3: 1 sl st, 6 ch, 5 sc, 1 sl st in next st of chain.
- Strand 4: 1 sl st, 4 ch, 3 sc, 1 sl st in next st of chain.
Headst (Make 2)
In black, in a magical loop, 6 sc. Close with 1 sl st. Sew.
Wings (Make 2)
In red, 13 ch. The next rows are formed perpendicular to this base chain.
Rd 1 in the 2nd st from jook, 1 sc, 5 ch
Rd 2: turn, 5 sc, 1 ch, 1 sc in next st of chain
Rd 3: 1 sl st in next st of chain, turn, 6 sc, 4 ch
Rd 4: turn, 9 sc, 1 ch, 1 sc in next st of chain
Rd 5:1 sl st in next st of chain, turn, 9 sc, 4 ch
Rd 6: turn, 12 sc, 1 sc in the next st of chain
Rd 7: 1 sl st in next st of chain, turn, 11 sc, 6 ch
Rd 8 turn, 16 sc, 1 ch, 1 sc in next st of chain
Rd 9: 1 sl st in next st of chain, turn, 14 sc, 9 ch
Rd 10: turn, 22 sc, 1 ch, 1 sc in next st of chain
Rd 11: 1 sl st in next st of chain, turn, 15 sc, 1 sl st. To make the wings you can follow the template:
Assembly
- Sew the legs to the body at the start of Round 16.
- Attach the head to the body.
- Sew the sleeves to the jacket armholes.
- Attach the jacket to the body.
- Sew the wings to the back of the jacket.
- Embroider the belt and the body with a yellow yarn.
- Attach the hair pieces (upper, middle, lower) to the head using the headstems.
Tips
- Ensure your stuffing is firm but not over-stuffed, especially in the head and body, to maintain the shape.
- When embroidering the eyes and details, use a sharp needle to avoid pulling the yarn too tight.
- Use a stitch marker to keep track of your rounds, as the pattern uses continuous rounds.
FAQs
What type of yarn is best for this pattern?
The pattern lists specific colors including light brown, skin tone, red, yellow, black, white, and brown. A cotton or acrylic blend yarn works well for amigurumi as it holds its shape and is durable.
How do I attach the wings?
The wings are made separately in red yarn. Once completed, they are sewn onto the back of the jacket. The pattern suggests following a template for the wing shape if needed.
Why are there so many hair pieces?
Keigo Takami’s character design features layered hair. The pattern includes upper hair (11 pieces), middle hair strands, and lower hair strands to recreate this voluminous look accurately.
How do I handle the color changes in the body?
The body starts with black yarn for the legs, transitions to light brown, and then uses black again for the lower torso details. Change colors at the end of the last stitch of the previous round to keep the transition clean.
Can I use a different hook size?
While the source does not specify a hook size, it is important to use a hook that creates a tight fabric so the stuffing does not show through. If your stitches are loose, try a smaller hook.
Pin This Crochet Pattern!