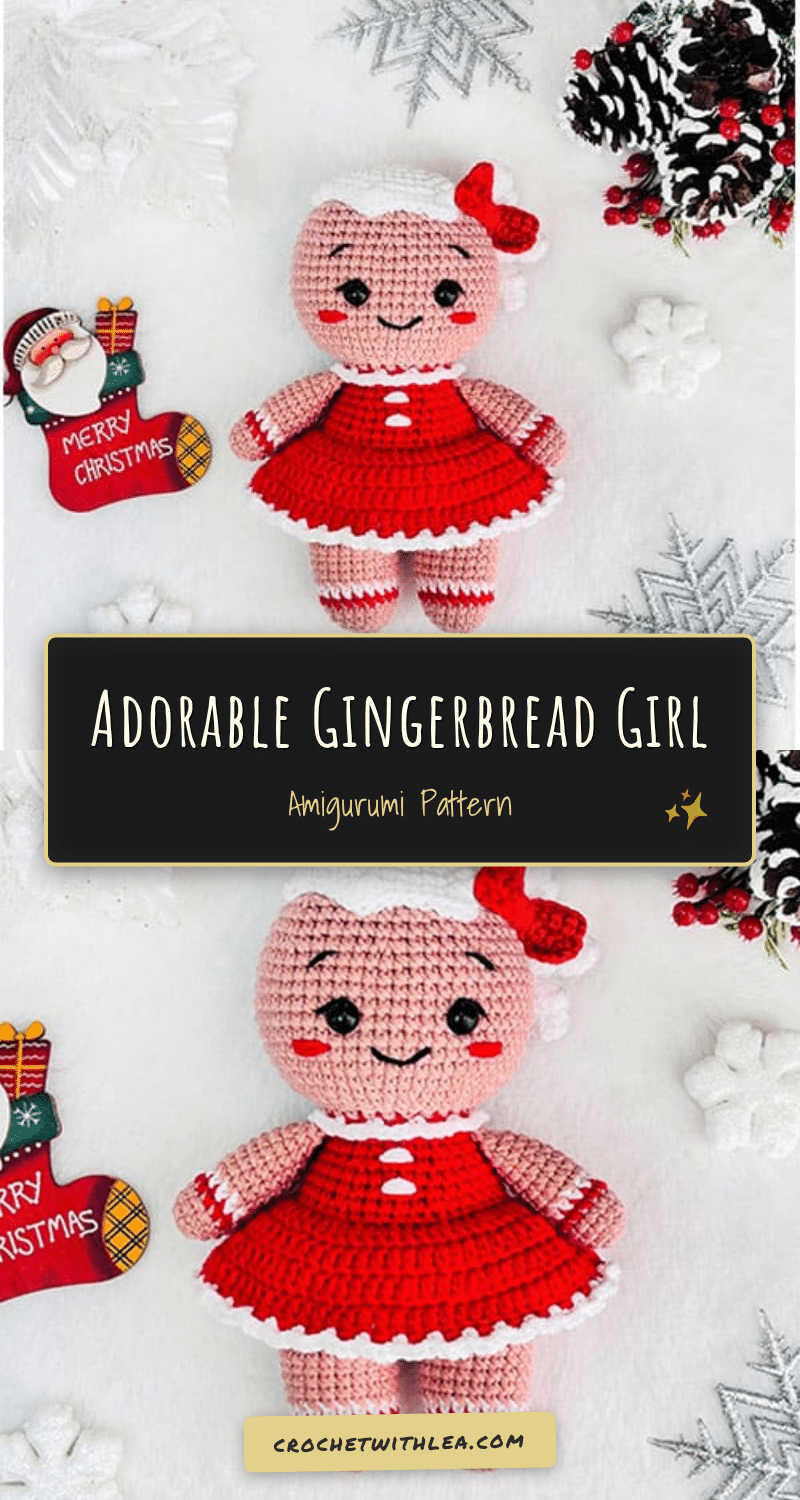
There is something undeniably sweet about bringing a handmade character to life, especially when that character is as charming as the Gingerbread Girl. This amigurumi pattern offers a delightful way to capture the cozy spirit of the holiday season. Whether you are looking for a unique gift for a child, a festive addition to your Christmas tree, or a sweet companion for your winter decor, this easy-to-medium difficulty project is the perfect choice. The structured instructions guide you through creating a detailed doll with a classic red dress, white hair, and a sweet embroidered face.
Seasonal Styling Ideas
Once your Gingerbread Girl is complete, the possibilities for display are endless. Her classic color palette of beige, red, and white makes her versatile enough for various settings. She sits perfectly on a mantelpiece alongside stockings and pinecones, adding a touch of handmade warmth to your holiday traditions. Because she is approximately 15-16 cm tall, she is an ideal size for a nursery shelf or a child’s playroom, where she can serve as a comforting friend. For a festive touch, consider hanging her from a ribbon on your Christmas tree, or pair her with a matching Gingerbread Boy amigurumi to create a cute holiday couple for your holiday table centerpiece.
Project Overview
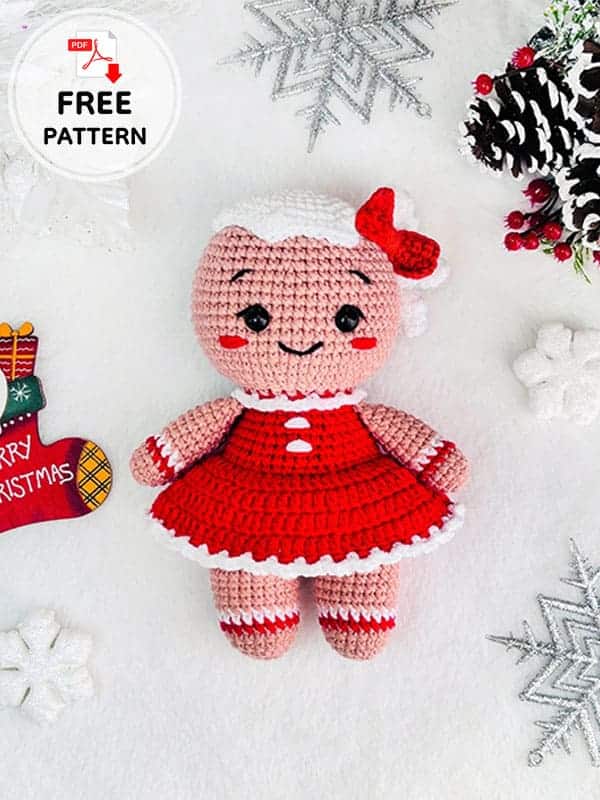
This project is an amigurumi doll pattern designed for crocheters with an easy to intermediate skill level. It is considered beginner-friendly, making it accessible for those new to the craft while still offering enough detail to be satisfying for experienced makers. The pattern includes instructions for the arms, legs, body, dress, head, hair, and ribbon accessories.
Materials
- Yarn: Sport weight yarn in three colors:
- Beige (Source uses Alize Cotton Gold 446)
- Red (Source uses Alize Cotton Gold 56)
- White (Source uses Alize Cotton Gold 55)
- Thread: Black thread for embroidering eyebrows and mouth
- Eyes: Safety eyes, 7-8 mm
- Hook: 2 mm crochet hook
- Stuffing: Polyester fiber fill
Gauge and Finished Size
Using the recommended materials, the finished toy is approximately 15-16 cm (6″) tall. The pattern is designed to be worked with a 2 mm hook and sport weight yarn to achieve this size.
Abbreviations
The pattern uses standard crochet abbreviations. While specific abbreviation lists are not provided in the source, the following are used throughout the instructions:
- sc: Single crochet
- inc: Increase
- dec: Decrease
- dc: Double crochet
- hdc: Half double crochet
- ch: Chain
- sl st: Slip stitch
- st(s): Stitch(es)
Pattern Notes
- Difficulty: Easy to medium. This is a beginner-friendly amigurumi pattern.
- Color Changes: Pay close attention to color change instructions, particularly in the arms and body, to ensure the dress and skin tones align correctly.
- Stuffing: Stuff the body firmly, especially in the neck area, to maintain the doll’s shape. The arms are only stuffed on the lower half.
Pattern Instructions
Arms
Start crocheting with the beige yarn. Stuff only the lower half of the arms.
- 6 sc into a magic ring (6)
- 6 inc (12)
- 3-4. 12 sc (2 rounds)
- Change the yarn to red color.
- 5. 12 sc
- Change the yarn to white color.
- 6. 12 sc
- Change the yarn to beige color.
- 7-13. 12 sc (7 rounds)
- 14. (4 sc, dec)*2 (10)
- 15. Crochet only 4 sc, adjusting if necessary, to align the color changes from rounds 5 and 6 at the center of the arm. Flatten the arm and work 5 sc through both layers to close. Fasten off and cut the yarn, leaving a tail for sewing.
Legs
Start crocheting with the beige yarn. Stuff as you go.
- 6 sc into a magic ring (6)
- 6 inc (12)
- 3. (sc, inc)*6 (18)
- 4. (5 sc, inc)*3 (21)
- 5. 21 sc
- Change the yarn to red color.
- 6. 21 sc
- Change the yarn to white color.
- 7. 21 sc
- Change the yarn to beige color.
- 8-12. 21 sc (5 rounds)
Note: For the left leg, fasten off and cut the yarn. For the right leg, do not fasten off, as we will continue crocheting the body from this point.
Body
Continue crocheting with the beige color. Stuff as you go.
- Crochet 6 sc more on the right leg, join the left leg and crochet 21 sc on it. Crochet 21 sc on the right leg and place the marker here (42) (The marker is in the back).
- (6 sc, inc)*6 (48)
- 3-8. 48 sc (6 rounds)
- 9. (6 sc, dec)*6 (42)
- Change the yarn to red color:
- 10. 42 sc
- 11. Back loops only: 42 sc
- 12. (5 sc, dec)*6 (36)
- 13-14. 36 sc (2 rounds)
- 15. (4 sc, dec)*6 (30)
- 16-17. 30 sc (2 rounds)
- 18. (3 sc, dec)*6 (24)
- Change the yarn to beige color:
- 19. Back loops only: 24 sc
Note: Stuff the body firmly, especially in the neck. Don’t cut the beige yarn, we will continue with the head, but we need to finish the dress first.
Dress
To make the collar, take the white yarn and attach it to the front loops left in round 24. Crochet with the body turned upside down:
- (chain 3, skip 1 st, sc in the second stitch)*12. Make a sl st, fasten off and cut the white yarn. Hide the thread inside.
Now we will make the skirt. Take the red yarn and attach it to the front loops left in round 11. Crochet with the body turned upside down:
- 1. chain 2, (2 dc, inc dc)*14, sl st (56)
- 2. chain 2, 56 dc, sl st (56)
- 3. chain 2, (3 dc, inc dc)*14, sl st (70)
- 4. chain 2, 70 dc, sl st (70)
- Change the yarn to white color.
- 5. (chain 3, skip 1 st, sc in the second stitch)*35. Make a sl st, fasten off and cut the yarn. Hide it inside.
Optional: You can embroider two white buttons under the collar.
Head
Continue crocheting with the beige color. Stuff as you go.
- Front loops only: (2 sc, inc)*8 (32)
- (3 sc, inc)*8 (40)
- 2 sc, inc, (4 sc, inc)*7, 2 sc (48)
- (5 sc, inc)*8 (56)
- 5-12. 56 sc (8 rounds)
- 13. (5 sc, dec)*8 (48)
- 14-15. 48 sc (2 rounds)
- Insert the safety eyes between rounds 8 and 9 with 8 sc apart them. There must be 6 sc visible.
- 16. 3 sc, dec, (6 sc, dec)*5, 3 sc (42)
- 17. (5 sc, dec)*6 (36)
- 18. 2 sc, dec, (4 sc, dec)*5, 2 sc (30)
- 19. (3 sc, dec)*6 (24)
- 20. sc, dec, (2 sc, dec)*5, sc (18)
- 21. (sc, dec)*6 (12)
- 22. 6 dec (6)
Make sure that the head is stuffed firmly. Close the opening and hide the yarn inside.
Embroidery:
- Using a black thread, embroider the eyebrows in round 12. They are 2 st long and with 9 st between them.
- Embroider the mouth in round 6. It’s 4 st long.
- Optional: Embroider black lashes.
- Using the red yarn, embroider the cheeks between rounds 6 and 7. They are 3 st long.
Hair
Crochet the wig with the white yarn:
- 8 sc into a magic ring (8)
- 8 inc (16)
- (sc, inc)*8 (24)
- (3 sc, inc)*6 (30)
- (4 sc, inc)*6 (36)
- 6. 36 sc
- 7. (5 sc, 4 hdc in one stitch)*6 (54)
Make a sl st, fasten off and cut the yarn, leaving a long tail for sewing. Sew the wig to the top of the head.
Curls:
Now we will make the curls: Make chain 22 and crochet 20 inc dc on it, starting in the third chain from the hook. Repeat this process by making another chain of 22 stitches and working 20 inc dc into it. Do this one more time. Fasten off and cut the yarn, leaving a long tail for sewing. Now, you have a set of three curls. Sew them to one side of the wig to form a ponytail.
Ribbon
Crochet with the red yarn.
- Make chain 11 and crochet 10 sc on it, starting in the second chain from the hook.
- 2-5. chain 1, turn, 10 sc (4 rounds)
Fasten off and cut the yarn. Hide the thread inside. Thread a needle through the ribbon. Wrap the yarn around the ribbon a few times and secure with a knot. Sew the ribbon in front of the ponytail.
Assembly
- Sew the arms to the sides of the body in round 17.
- Sew the wig to the top of the head.
- Sew the curls to one side of the wig to form a ponytail.
- Sew the ribbon in front of the ponytail.
Tips
- Stuffing: Stuff only the lower half of the arms to keep the hands floppy and cute. Stuff the body firmly, especially in the neck, to support the head.
- Alignment: When closing the arms in round 15, adjust the stitches to ensure the color changes from the dress rounds align at the center of the arm.
- Face Placement: Ensure the safety eyes are inserted securely between rounds 8 and 9, with 8 sc between them, to maintain the correct facial structure.
FAQs
What size hook should I use for this pattern?
The pattern recommends using a 2 mm crochet hook with sport weight yarn to achieve the finished size of approximately 15-16 cm (6″).
Can I use a different yarn weight?
The pattern is designed for sport weight yarn. Using a different weight will alter the finished size and gauge. If you switch yarns, you may need to adjust your hook size and stitch counts.
How do I attach the dress to the body?
The dress is worked directly onto the front loops of the body. The collar is attached to the front loops of round 24, and the skirt is attached to the front loops of round 11. You crochet with the body turned upside down to work these sections.
Is this pattern suitable for beginners?
Yes, the difficulty level is easy to medium, making it a beginner-friendly amigurumi pattern. It uses basic stitches like single crochet, increases, and decreases.
How do I make the hair curls?
Each curl is made by chaining 22 and then working 20 increased double crochets (inc dc) into the chain, starting from the third chain from the hook. You will make three of these curls to form the ponytail.
Pin This Crochet Pattern!