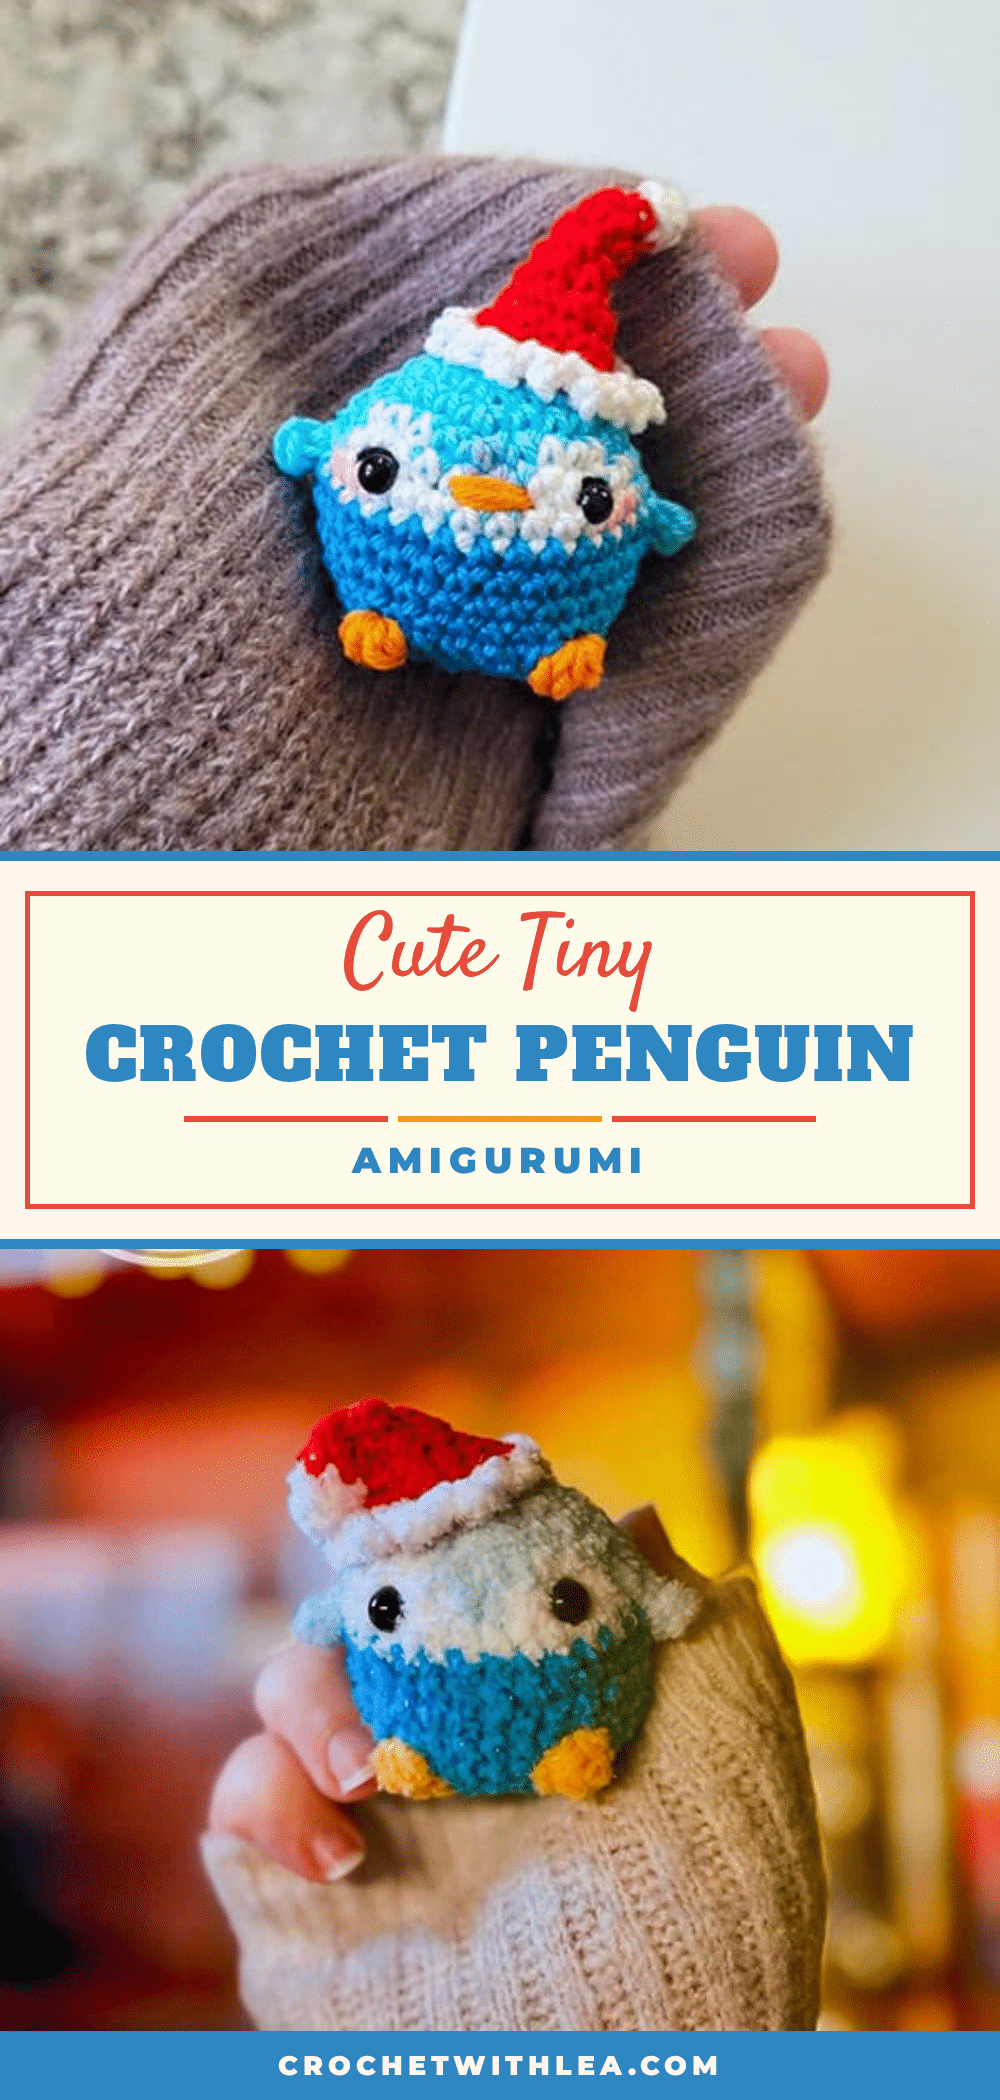
There is a specific kind of magic that happens when you pull a loop of soft yarn through a magic ring. The hook is in your hand, the yarn is ready on the table, and suddenly, a tiny, round shape begins to take form. It’s quiet work, focused and rhythmic, but the result is often a burst of joy. This is where Glen comes in. He starts as a simple circle of light blue chenille and grows into a charming, holiday-ready companion. Grab your hook and let’s bring this little guy to life.
Why This Project Works
Glen the Tiny Crochet Penguin is more than just a cute decoration; it is a celebration of texture and simplicity. The choice of chenille yarn is the star here. Known for its soft, velvety finish, chenille gives Glen a plush, almost fuzzy appearance that is incredibly inviting to touch. This makes him particularly suitable for small children, as the fabric is gentle and the construction is sturdy.
The design relies on a clean color palette—light blue, white, and red—that pops beautifully against the soft texture. The addition of the bobble stitches for the feet adds a unique textural element that breaks up the smooth rounds of the body, giving Glen character without requiring complex shaping. It is a project that rewards patience with a high-end look, perfect for Christmas tree ornaments, gift toppers, or a standalone desk buddy.
Project Overview
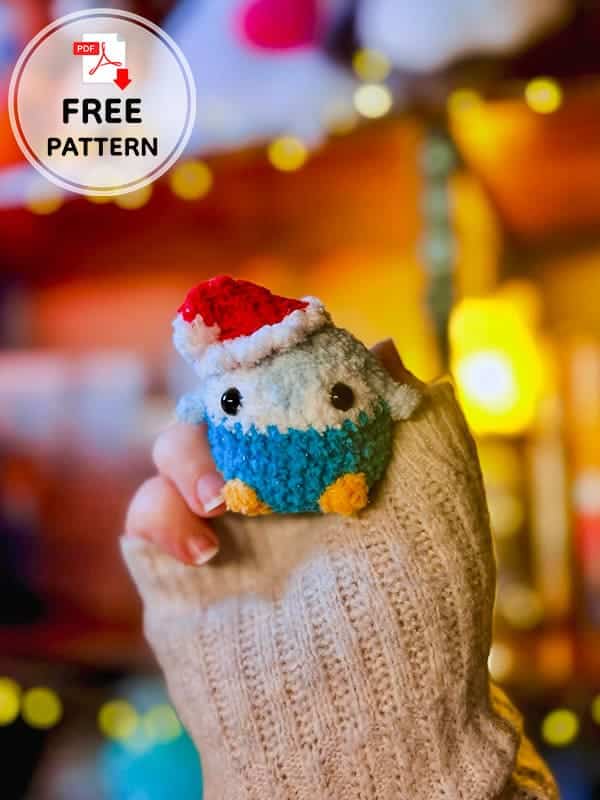
This pattern creates a tiny crochet penguin named Glen, designed by eliyarnart. It is a simple amigurumi project that utilizes basic stitches with a few special techniques for the feet and hat. The penguin is designed to be soft and safe for play, making it an excellent beginner-to-intermediate project for those who enjoy plush toys.
Materials
- Hook: 5mm
- Yarn: Size 4 medium weight chenille yarn in the following colors:
- Light blue (Body)
- Blue (Body detail)
- White (Belly and Hat trim)
- Red (Hat body)
- Orange (Beak)
- Accessories:
- 12 mm Safety eyes
- Fiberfill stuffing
- Tapestry needle
- Stitch marker
- Scissors
Gauge and Finished Size
Specific gauge and finished measurements are not provided in the source pattern. The size is determined by the yarn weight and hook size used. Ensure your tension is consistent to maintain the shape of the amigurumi.
Abbreviations
- St: Stitch
- MR: Magic ring
- Ch: Chain
- Sc: Single crochet
- Hdc: Half double crochet
- Dc: Double crochet
- Dec: Decrease
- Inc: Increase
- FO: Fasten off
- CC: Change color
- BO: Bobble stitch
- slst: Slip stitch
- BLO: Back loop only
Pattern Notes
- Color Guide: White, Light blue, Blue, Orange.
- Yarn Choice: The pattern specifies chenille yarn, which is soft and ideal for children’s toys.
- Stitching: Work in continuous rounds unless otherwise stated. Use a stitch marker to keep track of the beginning of each round.
- Stuffing: The pattern notes to “stuff a lot” in Round 13 to ensure the penguin holds its shape well.
Pattern Instructions
Glen the Penguin Body
Color: Start with light blue yarn.
- R1: 6 sc in a mr (6)
- R2: 6 inc (12)
- R3: (sc, inc) * 6 (18)
- R4: (2sc, inc) * 6 (24)
- R5: 3sc, inc, 4sc, sc in the same st, 2 sc, sc, inc, sc, 2 sc, sc, sc in the same st, (3sc, inc) x 2 (30)
- R6: 8 sc, 5 sc, 2 sc, 5 sc, 10 sc (30)
- R7: 7 sc, ch 3, in the 2nd ch from the hook make 2 hdc, sc, 12 sc, sc, ch 3, in the 2nd ch from the hook make 2 hdc, 9 sc (30)
- R8-11: 30 sc (30) – work 4 rounds
- R12: 11 sc, BO of 4 hdc, 5 sc, BO of 4 hdc, 12 sc (30)
Assembly Note: Add safety eyes (12 mm) between R6 and R7, spaced 4 visible stitches apart.
- R13: (3sc, dec) x 6 (24). Add fiber fill at this stage (stuff a lot).
- R14: (sc, dec) x 8 (16)
- R15: 8 dec (8). Cut yarn and sew closed.
The Christmas Hat
Color: Start with white yarn.
- R1: 4 sc in mr (4)
- R2: 4 sc (4)
- R3: CC to red. BLO 4 sc (4)
- R4: inc, 3 sc (5)
- R5: 5 sc (5)
- R6: (inc, sc) x 2, inc (8)
- R7: 8 sc (8)
- R8: (inc, sc) x 4 (12)
- R9: 12 inc. Cut a long tail of red yarn to sew the hat.
- R10: CC to white. slst, ch 2, (2 slst, ch 2) until the end of the row.
Assembly
- Hat Attachment: Sew the hat to the head of the penguin. To create the classic floppy tip of a Christmas hat, insert the needle at R3 of the hat body and pull the yarn back into the hat at R4. This folds the tip over and secures it.
- Beak: Sew the beak using the orange chenille yarn. Position it centrally between the eyes.
- Finishing: Weave in all loose ends securely.
Tips for Success
- Bobble Stitches: The BO (Bobble stitch) used for the feet adds texture. Ensure you follow the specific instruction for “BO of 4 hdc” carefully to maintain the foot shape.
- Stuffing: Because chenille yarn can be dense, ensure you add enough stuffing in Round 13 so the penguin stands upright and doesn’t look deflated.
- Safety Eyes: When inserting the 12 mm eyes, place them firmly against a piece of felt or cardboard behind the head if possible, to prevent them from pulling out if a child plays with the toy.
FAQs
What type of yarn is best for this pattern?
The pattern specifically calls for size 4 medium weight chenille yarn. This yarn provides a soft, plush texture that is safe and appealing for children.
How do I make the bobble stitch for the feet?
The pattern lists “BO” as Bobble stitch. In Round 12, you will create a bobble of 4 half double crochets. This is typically done by working multiple incomplete stitches into the same space and pulling through all loops at once.
Can I use a different hook size?
The pattern recommends a 5mm hook. Using a different size may alter the gauge and the final size of the penguin, so sticking to 5mm is recommended for the intended “tiny” proportions.
How do I attach the hat tip?
After sewing the hat to the head, use the long tail left from Round 9. Insert the needle at Round 3 of the hat body and pull it back through to Round 4. This creates the fold for the hat tip.
Is this pattern suitable for beginners?
Yes, the pattern is described as “very simple.” It uses basic stitches like single crochet, increases, and decreases, with only a few special techniques like the bobble stitch and hat brim.
Pin This Crochet Pattern!