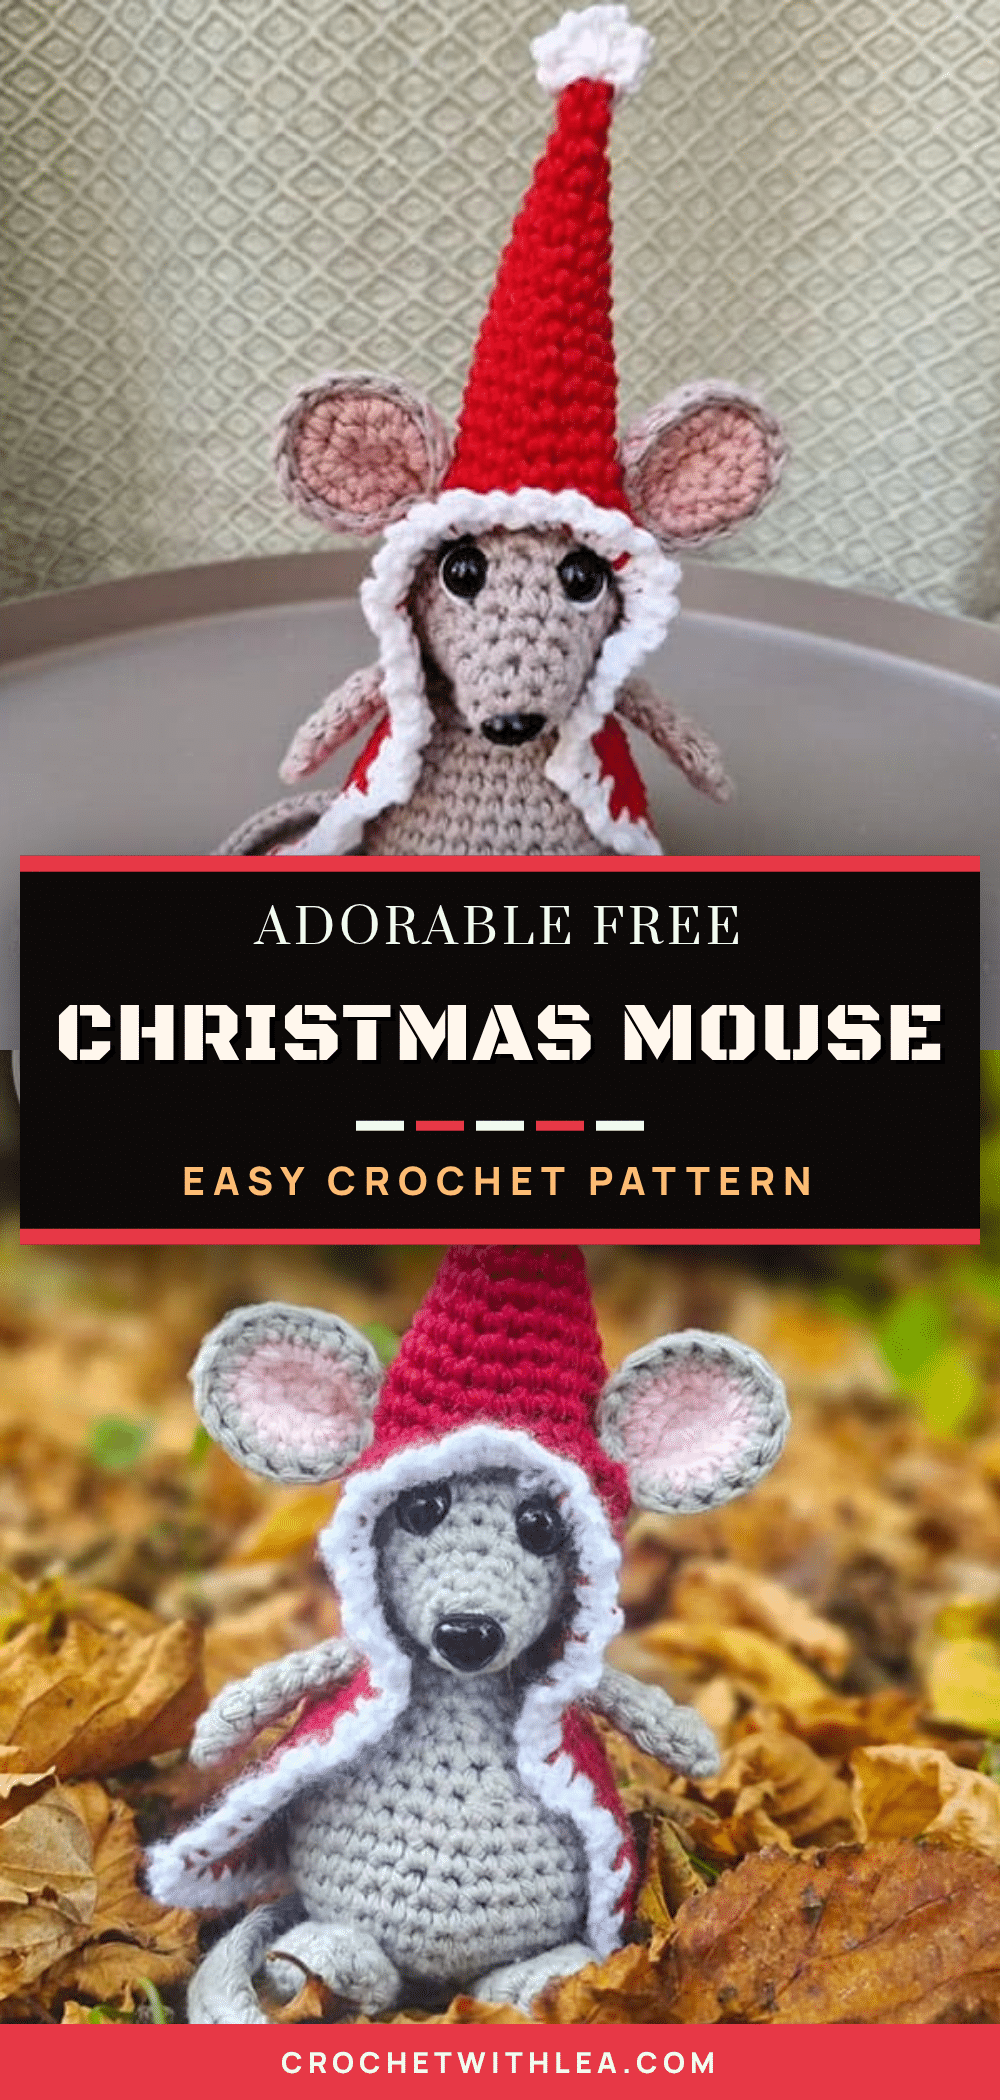
Have you ever stared at a crochet hook, terrified that you’ll accidentally chain one stitch too many and ruin the entire project? It’s a very common worry, especially when starting amigurumi. The good news is that this Christmas mouse pattern is forgiving and straightforward. It is designed to be an easy project that beginners can tackle without any difficulty, allowing you to focus on the joy of creating rather than the stress of perfection.
Maker Notes
There is something undeniably charming about a little mouse wearing a festive hooded coat. This design by virkarfrida strikes a perfect balance between a cozy winter coat and a classic Christmas hat. I love that the pattern allows for customization in the coat length, meaning you can make it as long or short as you like. The cotton DK yarn recommended gives the mouse a nice structure, keeping its shape while still feeling soft enough for a holiday decoration or gift. It is a quick make, perfect for squeezing in before the holiday rush.
Project Overview
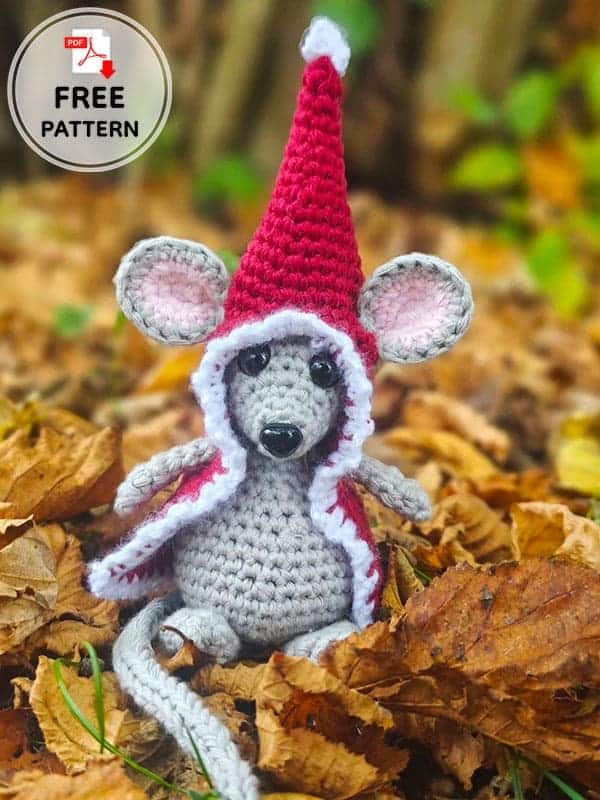
This adorable amigurumi mouse features a grey body, a red hooded coat, and a white pom-pom. It is an easy pattern suitable for beginners. The finished size is approximately 20cm.
Materials
- Yarn:
- Color A (Grey): 35g cotton DK
- Color B (Red): 25g cotton DK
- Color C (White): 10g cotton DK
- Color D (Pink): <10g cotton DK
- Hook: 3.5mm (US E-4)
- Stuffing
- Safety Eyes: 10mm
- Safety Nose: 10-12mm (Alternatively, you can embroider the eyes and nose)
- Stitch Marker
- Scissors
- Sewing Needle
Gauge and Finished Size
Finished Size: 20cm.
Note: Specific gauge measurements were not provided in the source pattern. To ensure the coat fits correctly, follow the stitch counts carefully.
Abbreviations
- mr = magic ring
- st = stitch
- sc = single crochet
- inc = increase
- dec = decrease
- ch = chain
- sk = skip
- (…) = repeat number of times specified
- […] = number of stitches at the end of the row
Pattern Notes
- The mouse features a unique hooded hat that resembles a long coat.
- The pattern is designed to be made quickly, making it ideal for last-minute Christmas gifts.
- You may embroider the facial features if you prefer not to use safety eyes and nose.
Pattern Instructions
Head – Color A
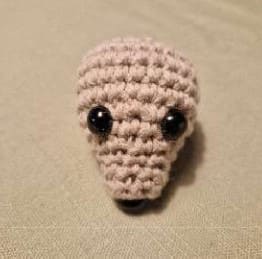
R1: 6 sc in mr [6]
R2: (sc, inc) x3 [9]
R3: 9 sc [9]
R4: (2 sc, inc) x3 [12]
R5: (sc, inc) x6 [18]
R6: 18 sc [18]
R7: (sc, inc) x9 [27]
R8-11, 4 rows: 27 sc [27]
Assembly Note: Place the safety eyes between R6 and R7 (or where you think it fits). Place the safety nose in the mr on R1.
R12: (sc, dec) x9 [18]
Assembly Note: Start stuffing.
R13: (sc, dec) x6 [12]
R14: (dec) x6 [6]
Close the hole by threading the yarn with a sewing needle through the back loops of the stitches and pull tight. Fasten off.
Body – Color A
R1: 6 sc in mr [6]
R2: (inc) x6 [12]
R3: (inc) x12 [24]
R4: (sc, inc) x12 [36]
R5-7, 3 rows: 36 sc [36]
R8: (7 sc, dec) x4 [32]
R9-10, 2 rows: 32 sc [32]
R11: (6 sc, dec) x4 [28]
R12: (5 sc, dec) x4 [24]
R13: 24 sc [24]
R14: (2 sc, dec) x6 [18]
R15: 18 sc [18]
Assembly Note: Start stuffing. Place some peas or rice in the bottom for stability.
R16: (sc, dec) x6 [12]
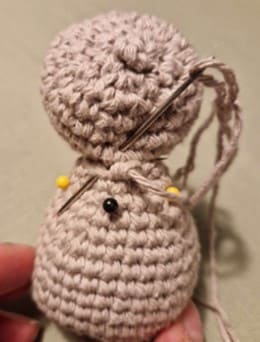
Fasten off and leave a tail for sewing. Place the body between R6 and R10 on the head.
Inner Ear (make 2) – Color D
R1: 6 sc in mr [6]
R2: (inc) x6 [12]
R3: (sc, inc) x6 [18]
Fasten off.
Outer Ear (make 2) – Color A
R1: 6 sc in mr [6]
R2: (inc) x6 [12]
R3: (sc, inc) x6 [18]
In the next row you crochet the inner ear together with the outer ear.
R4: 18 sc [18]
Fasten off and leave a tail for sewing. Fold the ears in half and sew with a couple of stitches. Place the ears over R10 and R11 on the head, 7 stitches apart.
Arms (make 2) – Color A
R1: 3 sc in mr [3]
R2: (inc) x3 [6]
R3-7, 5 rows: 6 sc [6]
R8: Crochet the opening together with 2 sc [2]
Fasten off and leave a tail for sewing. Place the arms in line with the ears, between head and body.
Feet (make 2) – Color A
R1: 3 sc in mr [3]
R2: (inc) x3 [6]
R3: (sc, inc) x3 [9]
R4-5, 2 rows: 9 sc [9]
R6: (sc, dec) x3 [6]
R7-8, 2 rows: 6 sc [6]
R9: Crochet the opening together with 2 sc [2]
Fasten off and leave a tail for sewing. Place the feet on the underside of the body.
Hat/Coat – Color B
R1: 3 sc in mr [3]
R2: 3 sc [3]
R3: (inc) x3 [6]
R4: 6 sc [6]
R5: (sc, inc) x3 [9]
R6: 9 sc [9]
R7: (2 sc, inc) x3 [12]
R8: 12 sc [12]
R9: (3 sc, inc) x3 [15]
R10: 15 sc [15]
R11: (4 sc, inc) x3 [18]
R12: 18 sc [18]
R13: (5 sc, inc) x3 [21]
R14: 21 sc [21]
R15: (6 sc, inc) x3 [24]
R16: 24 sc [24]
This is where you start making the holes for the ears, the opening for the face and the holes for the arms. Turn with a ch 1.
R17: 4 sc, ch 4, sk 4, 8 sc, ch 4, sk 4, 2 sc, dec, ch 1, turn. [23]
R18: dec, 19 sc, dec, ch 1, turn. [21]
R19: dec, 3 sc, inc, 4 sc, inc, 4 sc, inc, 3 sc, dec, ch 1, turn. [22]
R20: dec, 4 sc, inc, 8 sc, inc, 4 sc, dec, ch1, turn. [22]
R21: dec, 4 sc, inc, 8 sc, inc, 6 sc, ch 1, turn. [23]
R22-24, 3 rows: 23 sc, ch 1, turn [23]
R25: 3 sc, ch 2, sk 2, 13 sc, ch 2, sk 2, 3 sc, ch 1, turn. [23]
R26-33, 8 rows: 23 sc, ch 1, turn. [23]
Make as many rows as you want. Finish last row without ch 1.
R34: 23 sc [23]
Fasten off.
Border and Ball – Color C
Crochet a border around the opening and at the bottom of the coat.
R1: (sc, ch 2) around the edge. Fasten off.
Crochet a “ball” at the top of the hat:
R1: (sc, ch 2) into the same hole/stitch as many times as you want. Fasten off.
Tail
Crochet the tail as a “cord” or using chains/any other technique you like. Make it about 15-20cm and place it to R6-7 on the back of the body.
Assembly
- Head: Place safety eyes between R6 and R7. Place safety nose in the mr on R1. Stuff and close hole.
- Body: Stuff with peas/rice for stability. Attach body to head between R6 and R10.
- Ears: Fold inner and outer ears together, sew in half, and attach to head over R10 and R11 (7 stitches apart).
- Arms: Attach in line with the ears, between head and body.
- Feet: Attach to the underside of the body.
- Coat: Put the coat over the head and body. Add the border and pom-pom.
- Tail: Attach cord tail to R6-7 on the back of the body.
Tips
- If you prefer a softer look, embroider the eyes and nose instead of using safety hardware.
- Use a stitch marker to keep track of your rounds, especially in the head and body sections.
- Adding rice or peas to the bottom of the body helps the mouse stand upright on its own.
FAQs
Can I make the mouse taller?
Yes, you can extend the length of the coat by crocheting more rows between R24 and R34. Just remember to finish the last row without the ch 1.
What yarn is best for this pattern?
The pattern calls for cotton DK yarn. This weight provides good definition for the stitches and holds the shape well for amigurumi.
How do I make the mouse stand up?
When stuffing the body, place some dried peas or rice in the bottom before closing it up. This adds weight and stability.
Can I use a different color for the coat?
Absolutely! While red is traditional for Christmas, you can use any color you like for Color B.
Is this pattern suitable for absolute beginners?
Yes, it is considered an easy mouse pattern that beginners can make without any difficulty.
Pin This Crochet Pattern!