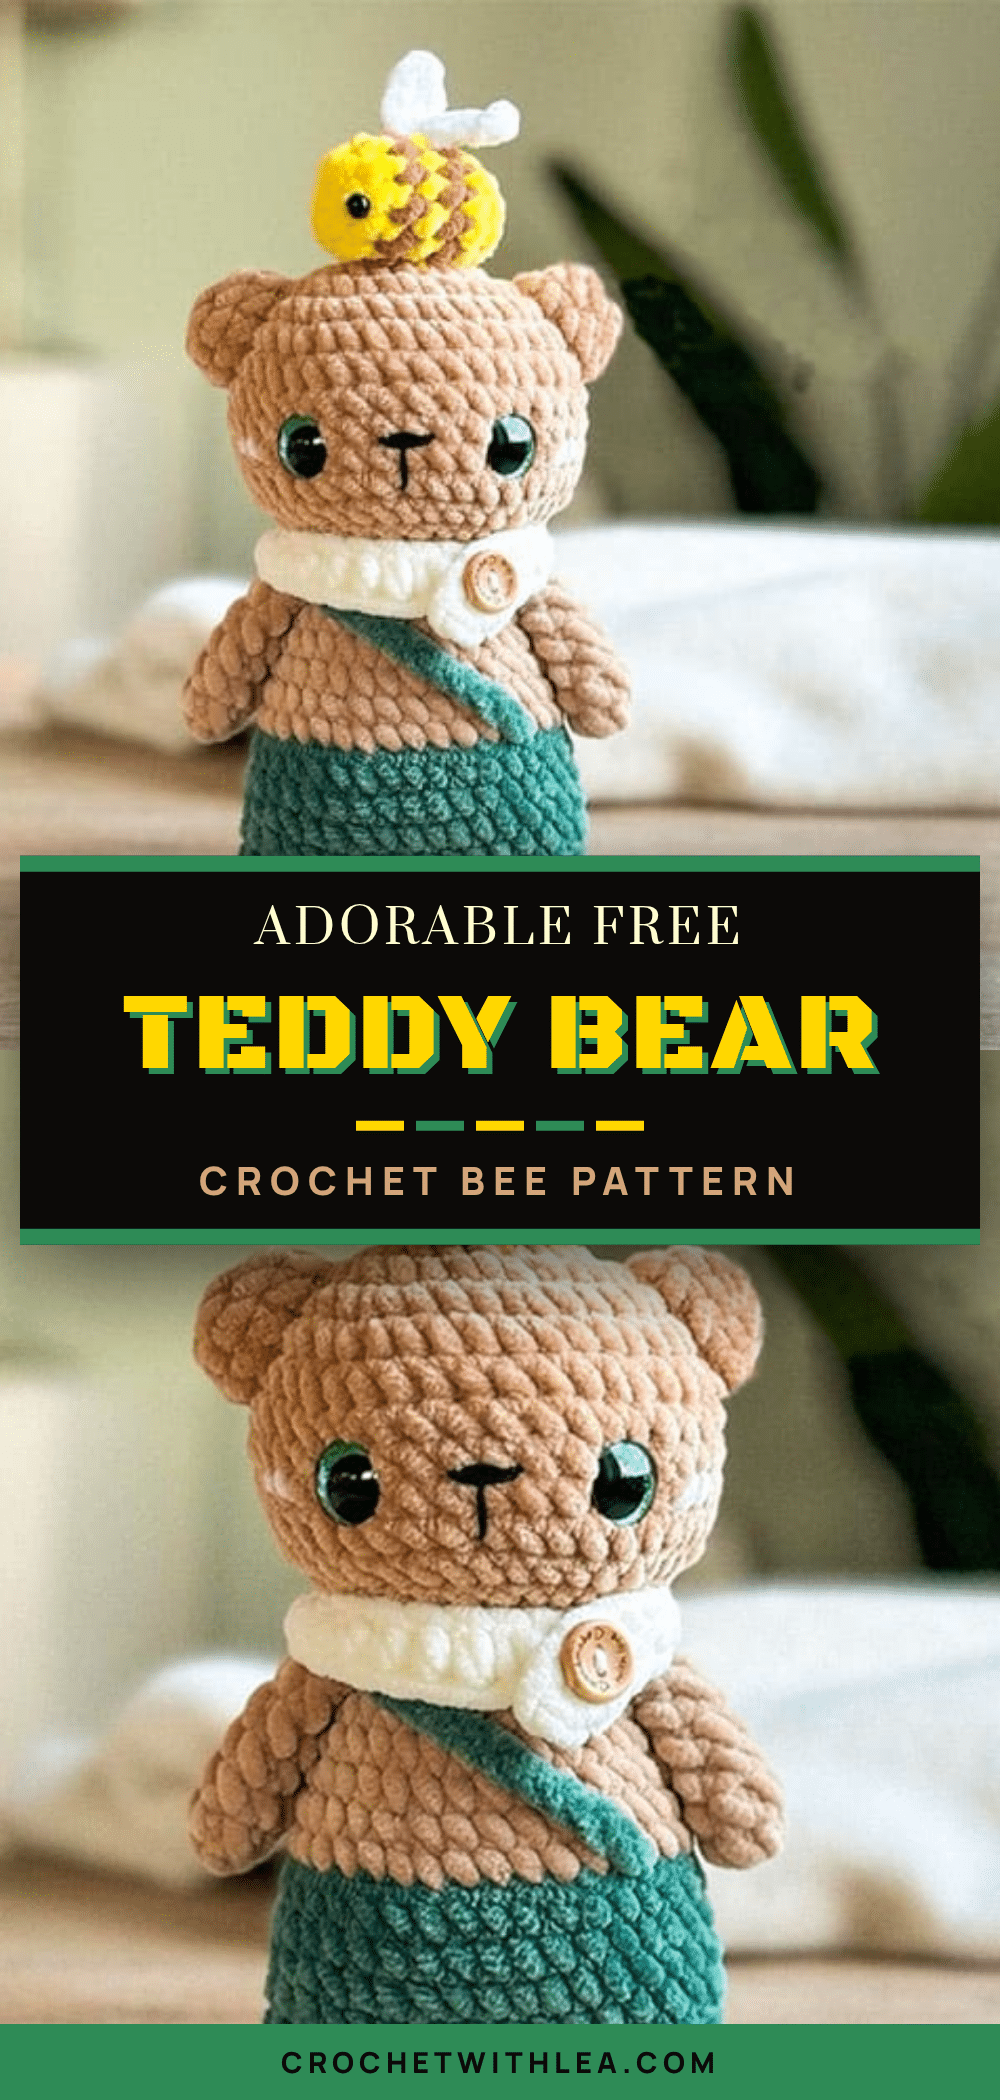
There is something undeniably heartwarming about the moment you finish a new amigurumi project. This adorable crochet teddy bear with a bee pattern is the kind of creation that brings an immediate smile. With its soft, chenille texture and a tiny bee perched on its head, it is the perfect combination of cute and display-worthy. Whether you are looking for a unique gift for a child or a sweet addition to a nursery shelf, this tidy, squishy companion is sure to be a favorite. It is an easy-to-make project that rewards you with a charming character ready to bring joy.
Why the Finished Piece Stands Out
What makes this specific teddy bear stand out in the world of amigurumi is the delightful layering of textures and accessories. The use of Himalaya Dolphin Baby super bulky chenille yarn gives the bear a plush, cloud-like softness that is incredibly inviting to the touch. The design thoughtfully incorporates a tiny bee, adding a playful narrative element that elevates it from a standard bear to a character with personality. The inclusion of a scarf and pants strap adds a touch of whimsical styling, making it look dressed up and ready for an adventure. The contrast between the soft brown body and the bright yellow bee creates a visually appealing focal point, while the oversized safety eyes give it an expressive, endearing look.
Project Overview
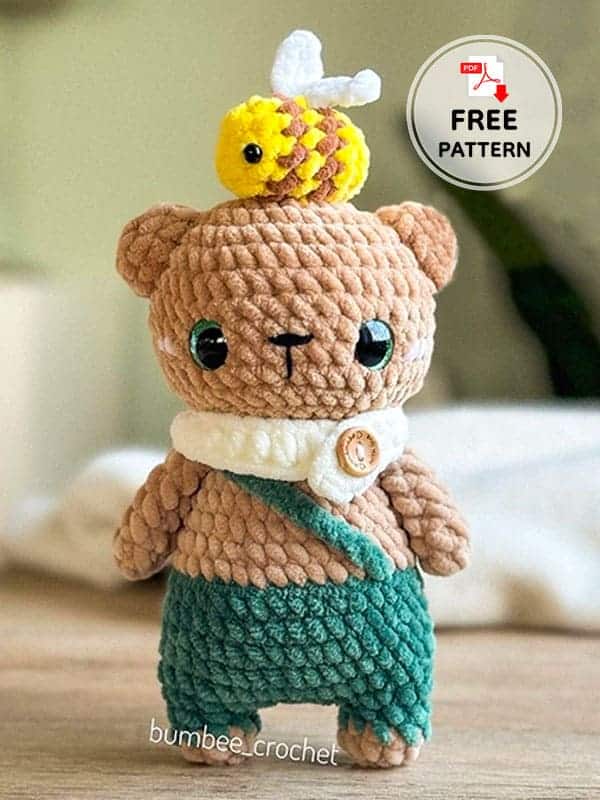
This project is a free crochet teddy bear pattern designed for beginners. It features a bear wearing pants and a scarf, topped with a small bee. The pattern is categorized as very easy to make, making it an excellent choice for those new to amigurumi or looking for a quick, satisfying project. The bear is worked in rounds using basic stitches, with simple assembly required to bring all the components together.
Materials
- Yarn: Himalaya Dolphin Baby super bulky chenille yarn (100% polyester, 120m/131 yards per 100g).
- Brown color (number 80365) – approximately 40g.
- Dark green color (number 80348) – approximately 30g.
- Cream color (number 80353) – approximately 10g.
- Yellow color (number 80302) – approximately 5g (for the bee).
- Dark brown color (number 80337) – approximately 2g (for the bee).
- Hook: 4 mm hook (G-6) or size appropriate for your yarn.
- Notions:
- Scissors.
- Stuffing.
- Stitch markers.
- Sewing needle.
- Pins.
- Safety eyes: 16 mm for the bear, 6 mm for the bee.
- Black embroidery thread.
- A button for the scarf (optional).
Gauge and Finished Size
The completed size of the amigurumi bear is approximately 21 cm. Please note that this size is based on the specified materials. If you use different yarn or hook sizes, the final dimensions may vary.
Abbreviations
- MR: Magic ring
- Ch: Chain
- Sc: Single crochet
- Slst: Slip stitch
- Inc: Increase
- Dec: Decrease
- Hdc: Half double crochet
- Dc: Double crochet
Pattern Notes
This pattern is designed to be very easy to follow. If you use the specified materials and hook size, you will achieve the intended size. Always place your stitch marker in the first stitch of each round to keep track of your progress.
Pattern Instructions
Head
Start with the brown yarn:
- 1. 8 sc in magic ring
- 2. inc*8 (16st)
- 3. (1sc,inc)*8 (24st)
- 4. (2sc,inc)*8 (32st)
- 5. (3sc,inc)*8 (40st)
- 6-12. 40 sc (7 rounds)
- 13. (3sc,dec)*8 (32st)
- 14. (2sc,dec)*8 (24st)
- 15. (6sc,dec)*3 (21st)
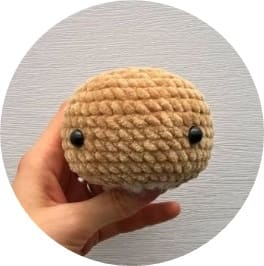
Fasten off, cut the yarn. Place safety eyes between rounds 9 and 10 with 9 st between them. Stuff the head.
Legs and Body
Legs: Start with the brown yarn:
- 1. 6 sc in magic ring
- 2. (1sc,inc)*3 (9st)
- Change color to dark green:
- 3. 9 sc
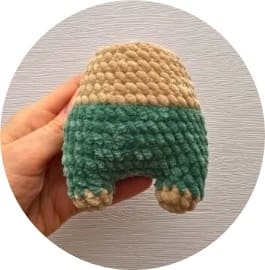
Fasten off and cut the yarn on the first leg. To make the second leg, follow the same steps as for the first leg. Do not cut the yarn after finishing the second leg. Instead, chain 6 from the second leg and attach it to the first leg with 1 sc. Place your stitch marker here – it counts as first st of the round.
Body: Continue crocheting:
- 4. 8 sc on the first leg, 6 sc along the chain, 9 sc on the second leg, 6 sc along the other side of the chain (30 st)
- 5. (4 sc, inc)*6 (36 st)
- 6-10. 36 sc (5 rounds)
- Change color to brown:
- 11. Back loops only- 36 sc
- 12. (10sc,dec)*3 (33 st)
- 13. (9sc,dec)*3 (30 st)
- 14. 30 sc
- 15. (8sc,dec)*3 (27 st)
- 16. (7sc,dec)*3 (24 st)
- 17. (6sc,dec)*3 (21 st)
Fasten off and cut the yarn, leaving a long tail for sewing. Stuff the body.
Ears
Start with the brown yarn:
- 1. 6 sc in MR
- 2. inc *6 (12 st)
- 3. 12 sc
- 4. 6 sc, don’t finish the round. Fasten off, cut the yarn, leaving a long tail for sewing. Stuff the ear.
Make another one in the same way.
Arms
Start with the brown yarn:
- 1. 7 sc in MR
- 2-6. 7 sc (5 rounds)
Don’t stuff the arm. Fold the piece in half and crochet two sides together with 3 single crochet stitches. Fasten off and cut the yarn, leaving a long tail for sewing. Make another one in the same way.
Scarf
Start with the cream yarn:
- Ch 30, from the second ch from the hook crochet – 29 hdc.
Fasten off and cut the yarn, leaving a long tail for sewing.
Pants Strap
Start with the green yarn:
- Ch 25, from the second ch from the hook crochet – 24 sc.
Fasten off and cut the yarn, leaving a long tail for sewing.
Bee
Start with the yellow yarn:
- 1. 6 sc in MR
- 2. inc*6 (12 st)
- Change color to dark brown:
- 3. 12 sc
- Change color to yellow:
- 4. 12 sc
- Change color to dark brown:
- 5. 12 sc
- Change color to yellow:
- 6. 12 sc
Place the safety eyes and stuff the bee.
- 7. dec*6 (6 st)
Fasten off, cut the yarn, leaving a long tail for sewing. Attach the cream yarn to the back of the bee and make ch 4, from the second sc from the hook crochet – 3 sc, ch 4 and from the second sc from the hook crochet – 3 sc. Fasten off and hide the yarn ends.
Assembly
- Sew the ears onto the head.
- Sew the head to the body.
- Sew the arms to the body between rounds 15 and 16.
- Sew the pants strap to the last green round of the body.
- Sew the scarf and add a button to it if you like.
- Embroider the nose and the cheeks.
- Attach the bee on the top of the head.
Tips
- Yarn Choice: The chenille texture of the Himalaya Dolphin Baby yarn can sometimes hide stitch definition. Take your time to ensure your stitches are even to maintain the shape.
- Stuffing: Stuff the body firmly to help the bear stand upright, but keep the arms and head slightly softer for a cuddly feel.
- Color Changes: When changing colors for the bee or pants, weave in ends securely to prevent them from showing through the fluffy yarn.
FAQs
What size hook should I use?
The pattern recommends a 4 mm (G-6) hook, but you should choose a hook size that matches your yarn weight to achieve the correct gauge.
Can I use a different yarn?
Yes, you can use other super bulky or chenille-style yarns. However, the finished size may vary from 21 cm if the yarn thickness or hook size differs from the recommendations.
How do I attach the bee?
The bee is attached to the top of the head using the long tail left when fastening off the final round of the bee. You can sew it securely or use a dab of fabric glue for extra stability.
Is this pattern suitable for beginners?
Yes, this is considered a very easy-to-make pattern. It uses basic stitches like single crochet, increases, and decreases, making it ideal for beginners.
How do I embroider the face?
Use black embroidery thread to stitch a small nose and cheeks. You can use a simple running stitch or backstitch for the nose and a few curved stitches for the cheeks.
Pin This Crochet Pattern!