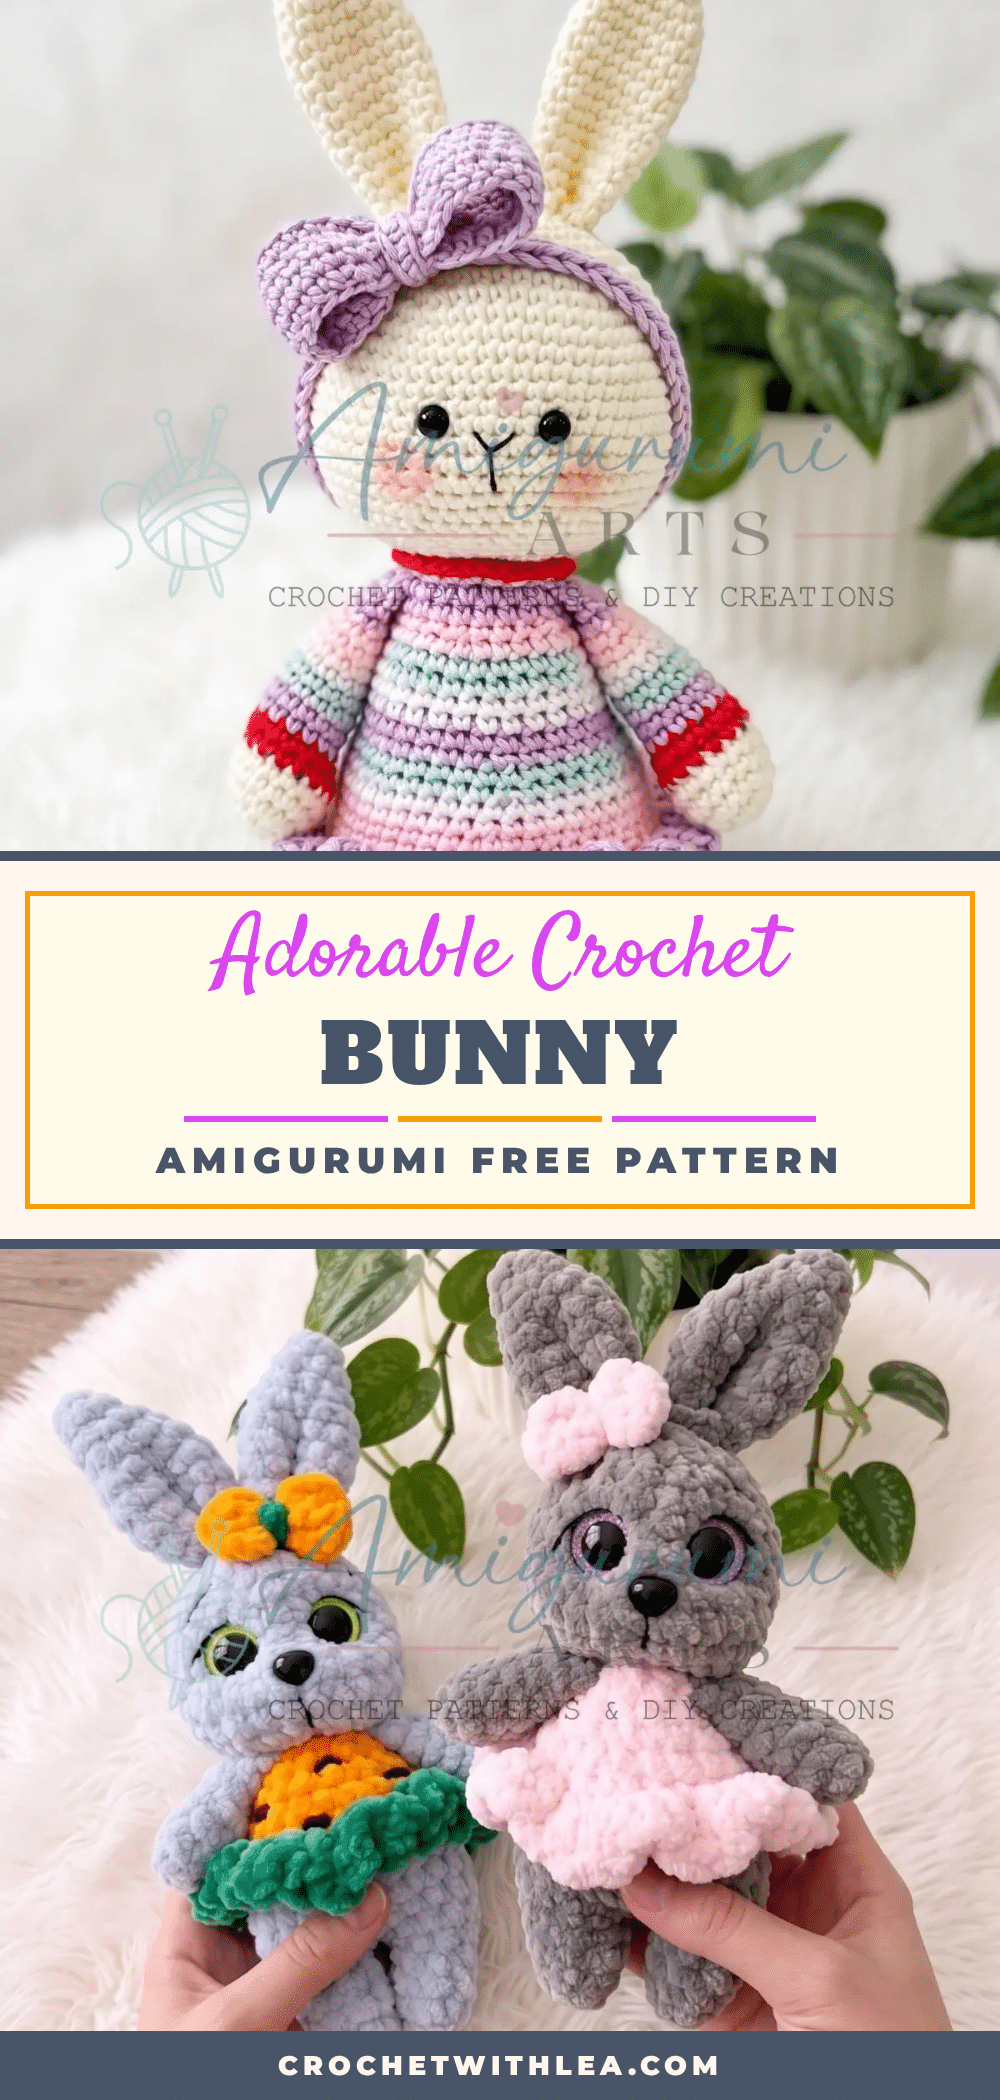
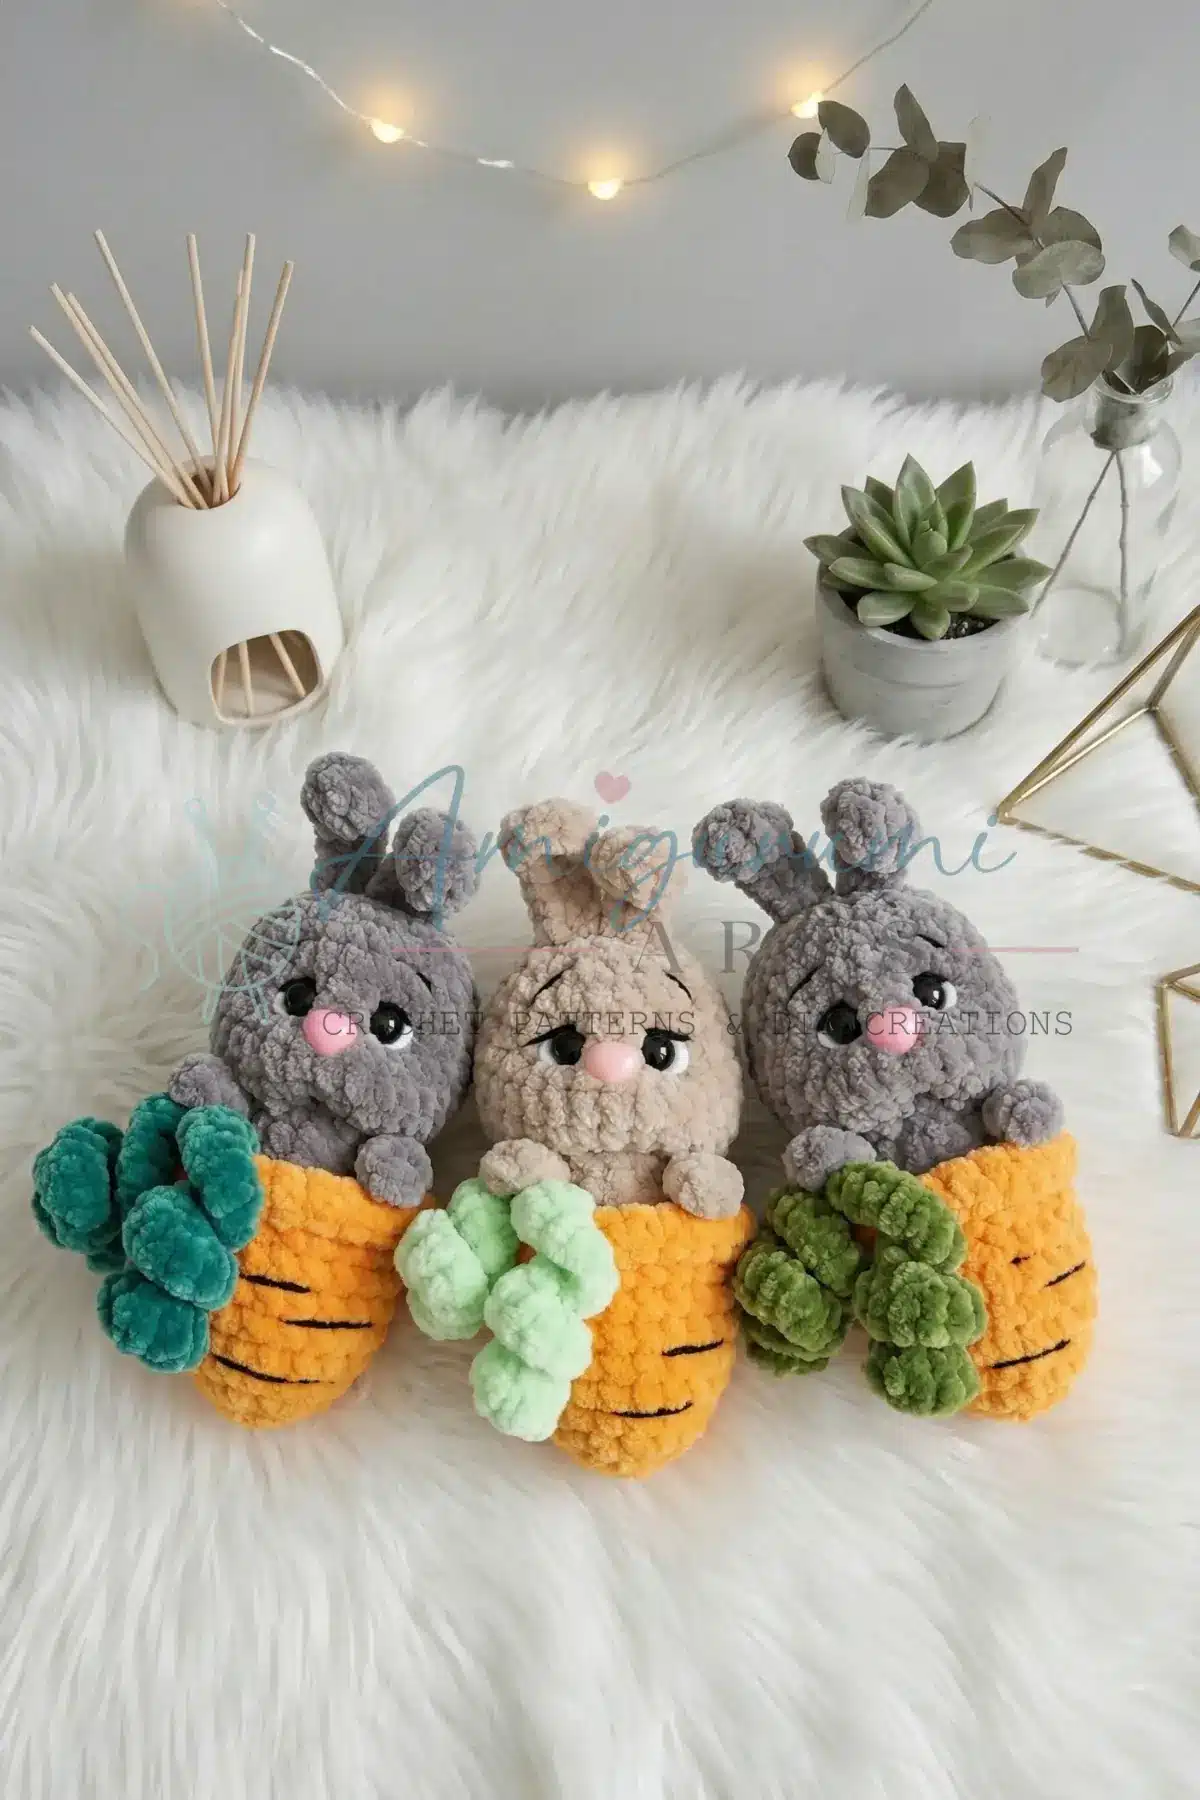
There is something deeply satisfying about the rhythm of amigurumi. A quiet evening, a small batch of yarn, and the steady counting of stitches as you pull loops through one another. It is a relaxing repeat that slows the mind and warms the hands. This crochet bunny amigurumi invites you into that same cozy ritual, offering a project that feels like a gentle escape. With its classic dress and sweet bow headband, this bunny is a delightful companion for your next crafting session, blending beginner-friendly construction with the joy of assembling a character that feels truly alive.
Small Details That Make It Better
What truly elevates this bunny from a simple stuffed toy to a keepsake is the attention to those small, charming details. The flared skirt, worked directly into the body’s back loops, gives the bunny a playful silhouette that hints at movement even when she is sitting still. The bow headband adds a touch of personality, transforming her into a boutique-style character doll. Choosing a soft cream or light gray for the main body allows the contrasting colors of the dress and bow to pop, creating a visual balance that is pleasing to the eye. These finishing touches—the cinched center of the bow, the snug fit of the headband, and the firm placement of the ears—turn a collection of crochet rounds into a cohesive, huggable friend.
Project Overview
This pattern creates a classic dressed character doll shaped with a generous round head, long floppy ears, a flared skirt, and a sweet bow detail. She is beginner-friendly in construction while giving intermediate makers a satisfying number of components to bring together. Every piece is worked in the round using single crochet, ensuring the fabric stays tight and the stuffing remains hidden.
Materials
- Yarn: Worsted weight (CYCA #4) in the following colors:
- Main body color (e.g., light gray or cream)
- Dress/skirt color
- Contrasting color for the bow and headband
Note: A small amount of each accent color is all you need.
- Hook: E-4 / 3.5 mm (or the size that gives you a tight, even fabric with your chosen yarn)
- Safety eyes: 12–15 mm, 1 pair
- Stuffing: Polyester fiberfill
- Stitch markers: 1–2 to track the beginning of each round
- Yarn needle / tapestry needle: For sewing parts together and weaving in ends
- Scissors
Gauge and Finished Size
Gauge is not critical for amigurumi, but your fabric should be tight enough that stuffing does not show through. Adjust your hook size down if needed.
Abbreviations
- BLO — Back Loop Only
- ch — Chain
- dc — Double Crochet
- dec — Decrease (invisible decrease recommended)
- hdc — Half Double Crochet
- inc — Increase (2 sc in the same stitch)
- MR — Magic Ring
- sc — Single Crochet
- sl st — Slip Stitch
- st / sts — Stitch / Stitches
Pattern Notes
- This pattern is written in US crochet terminology.
- All pieces are worked in a continuous spiral (no joining, no turning) unless otherwise noted.
- Use a stitch marker to track the first stitch of each round.
- Stitch counts are given in parentheses at the end of each round: (##).
- Safety eyes are inserted before the head is closed; place them between rounds 15 and 16, approximately 10–12 stitches apart, and secure the backs firmly.
- The skirt is worked directly into the back loops left exposed at Round 14 of the body; do not skip this setup step when working the body.
- Arms are joined into the body during Round 30 of the body; have both arms finished before you reach that round.
Pattern Instructions
Head
Rnd 1: 6 sc in MR. (6)
Rnd 2: inc in each st around. (12)
Rnd 3: sc, inc repeat 6 times around. (18)
Rnd 4: 2 sc, inc repeat 6 times around. (24)
Rnd 5: 3 sc, inc repeat 6 times around. (30)
Rnd 6: 4 sc, inc repeat 6 times around. (36)
Rnd 7: 5 sc, inc repeat 6 times around. (42)
Rnd 8: 6 sc, inc repeat 6 times around. (48)
Rnd 9: 7 sc, inc repeat 6 times around. (54)
Rnd 10: 8 sc, inc repeat 6 times around. (60)
Rnds 11–20: sc in each st around. (60) Work even for 10 rounds.
Rnd 21: 8 sc, dec repeat 6 times around. (54)
Rnd 22: 7 sc, dec repeat 6 times around. (48)
Rnd 23: 6 sc, dec repeat 6 times around. (42)
Rnd 24: 5 sc, dec repeat 6 times around. (36)
Rnd 25: 4 sc, dec repeat 6 times around. (30)
Insert safety eyes between Rnds 15–16, approximately 10–12 sts apart, and secure the backs before continuing. Stuff the head firmly.
Rnd 26: 3 sc, dec repeat 6 times around. (24)
Rnd 27: 2 sc, dec repeat 6 times around. (18)
Fasten off, leaving a long yarn tail for sewing.
Ears (make 2)
Rnd 1: 6 sc in MR. (6)
Rnd 2: sc, inc repeat 3 times around. (9)
Rnd 3: 2 sc, inc repeat 3 times around. (12)
Rnd 4: 3 sc, inc repeat 3 times around. (15)
Rnds 5–13: sc in each st around. (15) Work even for 9 rounds.
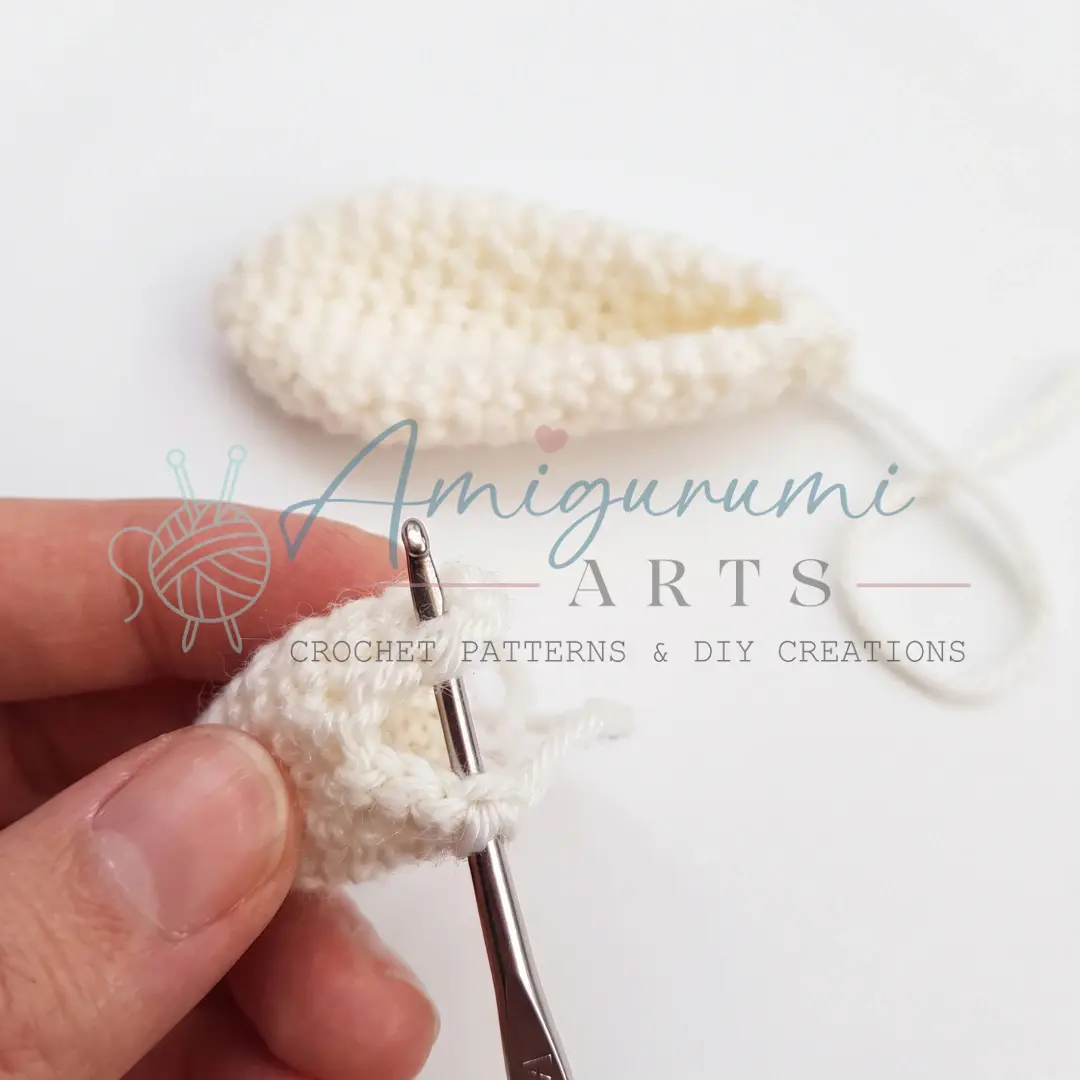
Rnd 14: Working through both layers (fold the ear flat and align the edges), sc across 8 sts. (8) This flattens the base of the ear.
Rnd 15: Fold the ear in half once more and sc through both layers across 4 sts. (4)
Fasten off, leaving a yarn tail for sewing.
Arms (make 2)
Rnd 1: 6 sc in MR. (6)
Rnd 2: inc in each st around. (12)
Rnd 3: sc, inc repeat 6 times around. (18)
Rnds 4–6: sc in each st around. (18) Work even for 3 rounds.
Rnd 7: dec twice, sc in each remaining 14 sts. (16)
Rnds 8–17: sc in each st around. (16) Work even for 10 rounds.
Rnd 18: Fold the arm flat and working through both layers, sc across 8 sts. (8)
Fasten off and weave in ends. Do not stuff the arms.
Legs (make 2)
Rnd 1: 6 sc in MR. (6)
Rnd 2: inc in each st around. (12)
Rnd 3: sc, inc repeat 6 times around. (18)
Rnd 4: 2 sc, inc repeat 6 times around. (24)
Rnds 5–6: sc in each st around. (24) Work even for 2 rounds.
Rnd 7: dec twice, sc in each remaining 20 sts. (22)
Rnd 8: sc in each st around. (22)
Fasten off, leaving a yarn tail for sewing. Stuff the legs lightly before closing.
Tail
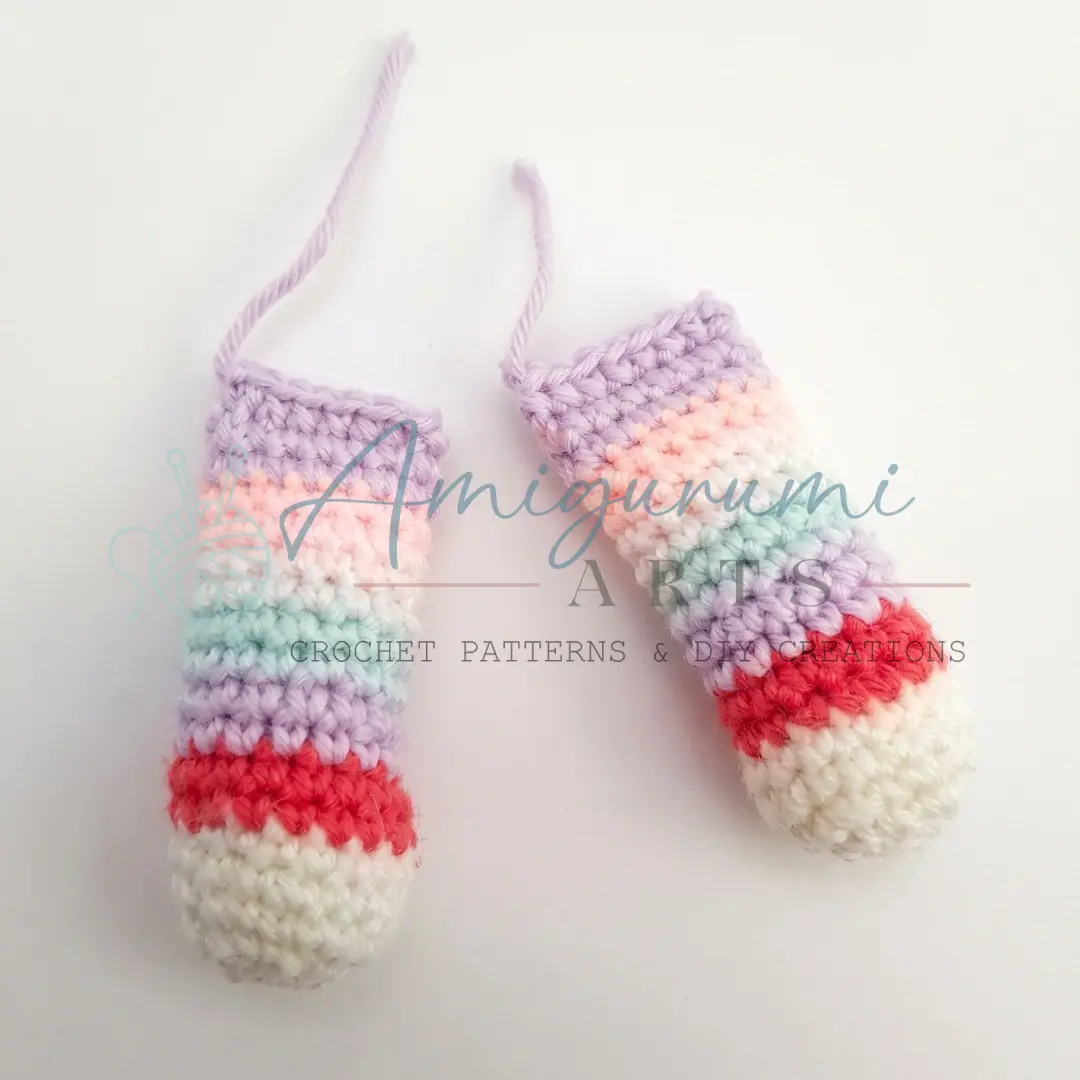
Rnd 1: 8 sc in MR. (8)
Rnd 2: sc, inc repeat 4 times around. (12)
Rnds 3–4: sc in each st around. (12) Work even for 2 rounds.
Fasten off, leaving a yarn tail for sewing. Stuff lightly before attaching.
Body
Start with the main body color.
Rnd 1: 6 sc in MR. (6)
Rnd 2: inc in each st around. (12)
Rnd 3: sc, inc repeat 6 times around. (18)
Rnd 4: 2 sc, inc repeat 6 times around. (24)
Rnd 5: 3 sc, inc repeat 6 times around. (30)
Rnd 6: 4 sc, inc repeat 6 times around. (36)
Rnd 7: 5 sc, inc repeat 6 times around. (42)
Rnd 8: 6 sc, inc repeat 6 times around. (48)
Rnd 9: 7 sc, inc repeat 6 times around. (54)
Rnds 10–12: sc in each st around. (54) Work even for 3 rounds.
Switch to dress/skirt color yarn.
Rnd 13: sc in each st around. (54)
Rnd 14: Working in BLO only, sc in each st around. (54) The front loops left free in this round will be used to attach the skirt later — do not skip the BLO here.
Rnd 15: 7 sc, dec repeat 6 times around. (48)
Rnd 16: sc in each st around. (48)
Rnd 17: 6 sc, dec repeat 6 times around. (42)
Rnd 18: sc in each st around. (42)
Rnd 19: 5 sc, dec repeat 6 times around. (36)
Rnd 20: sc in each st around. (36)
Rnd 21: 4 sc, dec repeat 6 times around. (30)
Rnds 22–27: sc in each st around. (30) Work even for 6 rounds.
Rnd 28: 3 sc, dec repeat 6 times around. (24)
Rnd 29: sc in each st around. (24)
Rnd 30: sc in each st around, joining the arms into this round as you work. (24) To join each arm: hold it against the body opening and sc through the arm’s last row and the body stitch simultaneously at the desired position. Repeat for the second arm symmetrically.
Rnds 31–32: sc in each st around. (24)
Fasten off and weave in ends. Stuff the body firmly before the opening becomes too small to work with comfortably.
Skirt
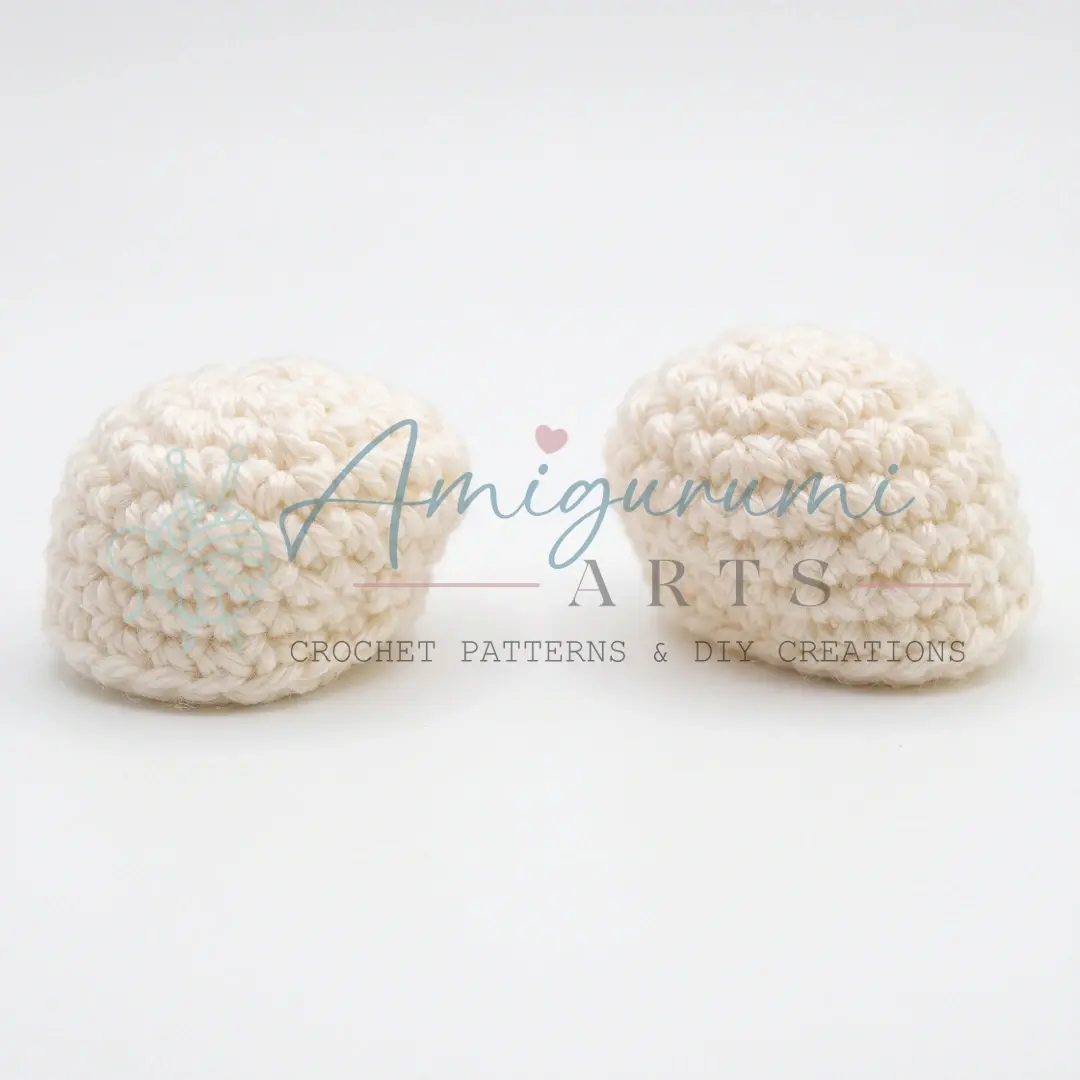
Join skirt color yarn to the free (front) loops left exposed at Rnd 14 of the body.
Work 3 dc in each stitch around. (162)
Fasten off and weave in ends.
Collar
Chain 28–30. Fasten off, leaving a long tail for sewing. Sew the collar around the bunny’s neckline.
Bow
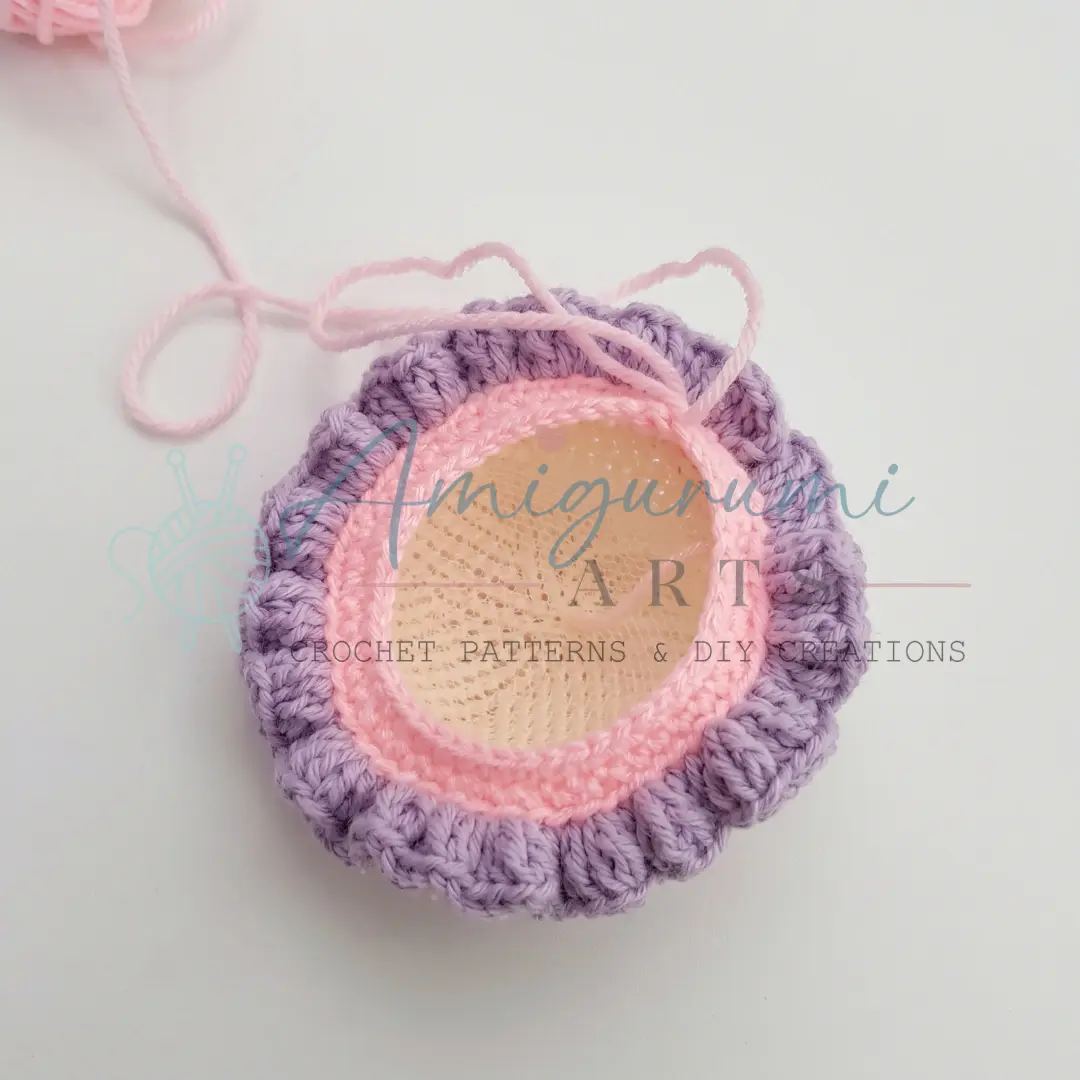
Row 1: Chain 30. Rows 2–5: sc in each st across. (30) Work 4 rows of sc.
Join the short edges together to form a loop (either sew them or work them together in the round from the start — whichever you prefer). Set aside.
Bow Center Wrap
Chain 8. Starting in the 2nd ch from the hook, sc in each of the next 6 sts. (6)
Fasten off, leaving a yarn tail for sewing. Wrap this strip around the center of the bow piece, cinching it to create the bow shape, and sew it securely in place.
Headband
Row 1: Chain approximately 50 (adjust the number to suit your yarn weight — the band should fit snugly around the finished head).
Row 2: hdc in each ch across. (approximately 50)
Sew the short ends together to form a loop. Attach the finished bow to the front of the headband.
Assembly
- Head and body: With the yarn tail left on the head, use a yarn needle and whipstitch to sew the head securely to the top of the body, aligning the centers. Make sure the face points forward before fastening off.
- Ears: Position the ears on top of the head, spacing them evenly and symmetrically. Sew down firmly using the yarn tails, stitching around the entire base of each ear for stability.
- Legs: Attach the legs to the underside of the body, one on each side of the center seam, using the yarn tails. Sew around the full base of each leg so they support the bunny’s weight when she sits.
- Tail: Sew the lightly stuffed tail to the back of the body, centered low between the legs.
- Collar: Wrap the collar chain around the neckline where the head meets the body and sew it neatly in place.
- Headband with bow: Slide the headband over the top of the head and position the bow at the front between the ears. Tack it down with a stitch or two if needed to keep it from shifting.
- Weave in all ends thoroughly on every piece before calling your bunny finished.
Tips
- Keep your tension tight throughout. Amigurumi fabric needs to be dense enough that the stuffing stays invisible. If you can see light through your stitches, go down a hook size. A too-loose fabric is the most common reason amigurumi look lumpy rather than smooth.
- Use the invisible decrease every time. The standard slip-stitch decrease creates a visible bump on the surface. With the invisible decrease, you insert your hook under the front loops of the next two stitches and draw up a loop through both before completing the stitch — the result is a nearly seamless reduction that keeps your shaping clean.
- Don’t skip the BLO round on the body. Round 14 is worked in back loops only deliberately — the free front loops are the anchor point for the entire skirt. If you work that round normally through both loops, you will lose those loops and have nowhere clean to attach the skirt.
- Stuff the body in stages. As the body’s opening narrows during the decrease rounds, it becomes hard to add stuffing. Fill the lower body firmly before Rnd 28 and top it up through Rnds 29–32 using a chopstick or the eraser end of a pencil to push fiberfill into the corners.
- Sew the ears on last, not first. It’s tempting to place the ears early, but the head’s final shape only becomes clear once it’s fully stuffed and attached to the body. Pinning the ears in a few positions before committing gives you a much better result — especially for getting that symmetrical, alert look that makes a bunny a bunny.
FAQs
What hook size should I use?
The pattern recommends an E-4 / 3.5 mm hook, but you should use the size that gives you a tight, even fabric with your chosen yarn. Tight tension is crucial to prevent stuffing from showing through.
How do I attach the skirt?
The skirt is attached to the front loops left exposed in Round 14 of the body. You must work Round 14 in Back Loop Only (BLO) to create these anchor loops, then join the skirt color yarn to them and work 3 dc in each stitch around.
When should I insert the safety eyes?
Insert the safety eyes between Rounds 15 and 16 of the head. Place them approximately 10–12 stitches apart and secure the backs firmly before continuing to stuff and close the head.
Do I stuff the arms?
No, the arms are not stuffed. They are folded flat and sewn shut. They are joined to the body during Round 30 of the body construction.
How do I make the ears lie flat?
In Rounds 14 and 15 of the ears, you fold the ear and work through both layers. This technique flattens the base and gives the ear a structured, floppy appearance.
Pin This Crochet Pattern!