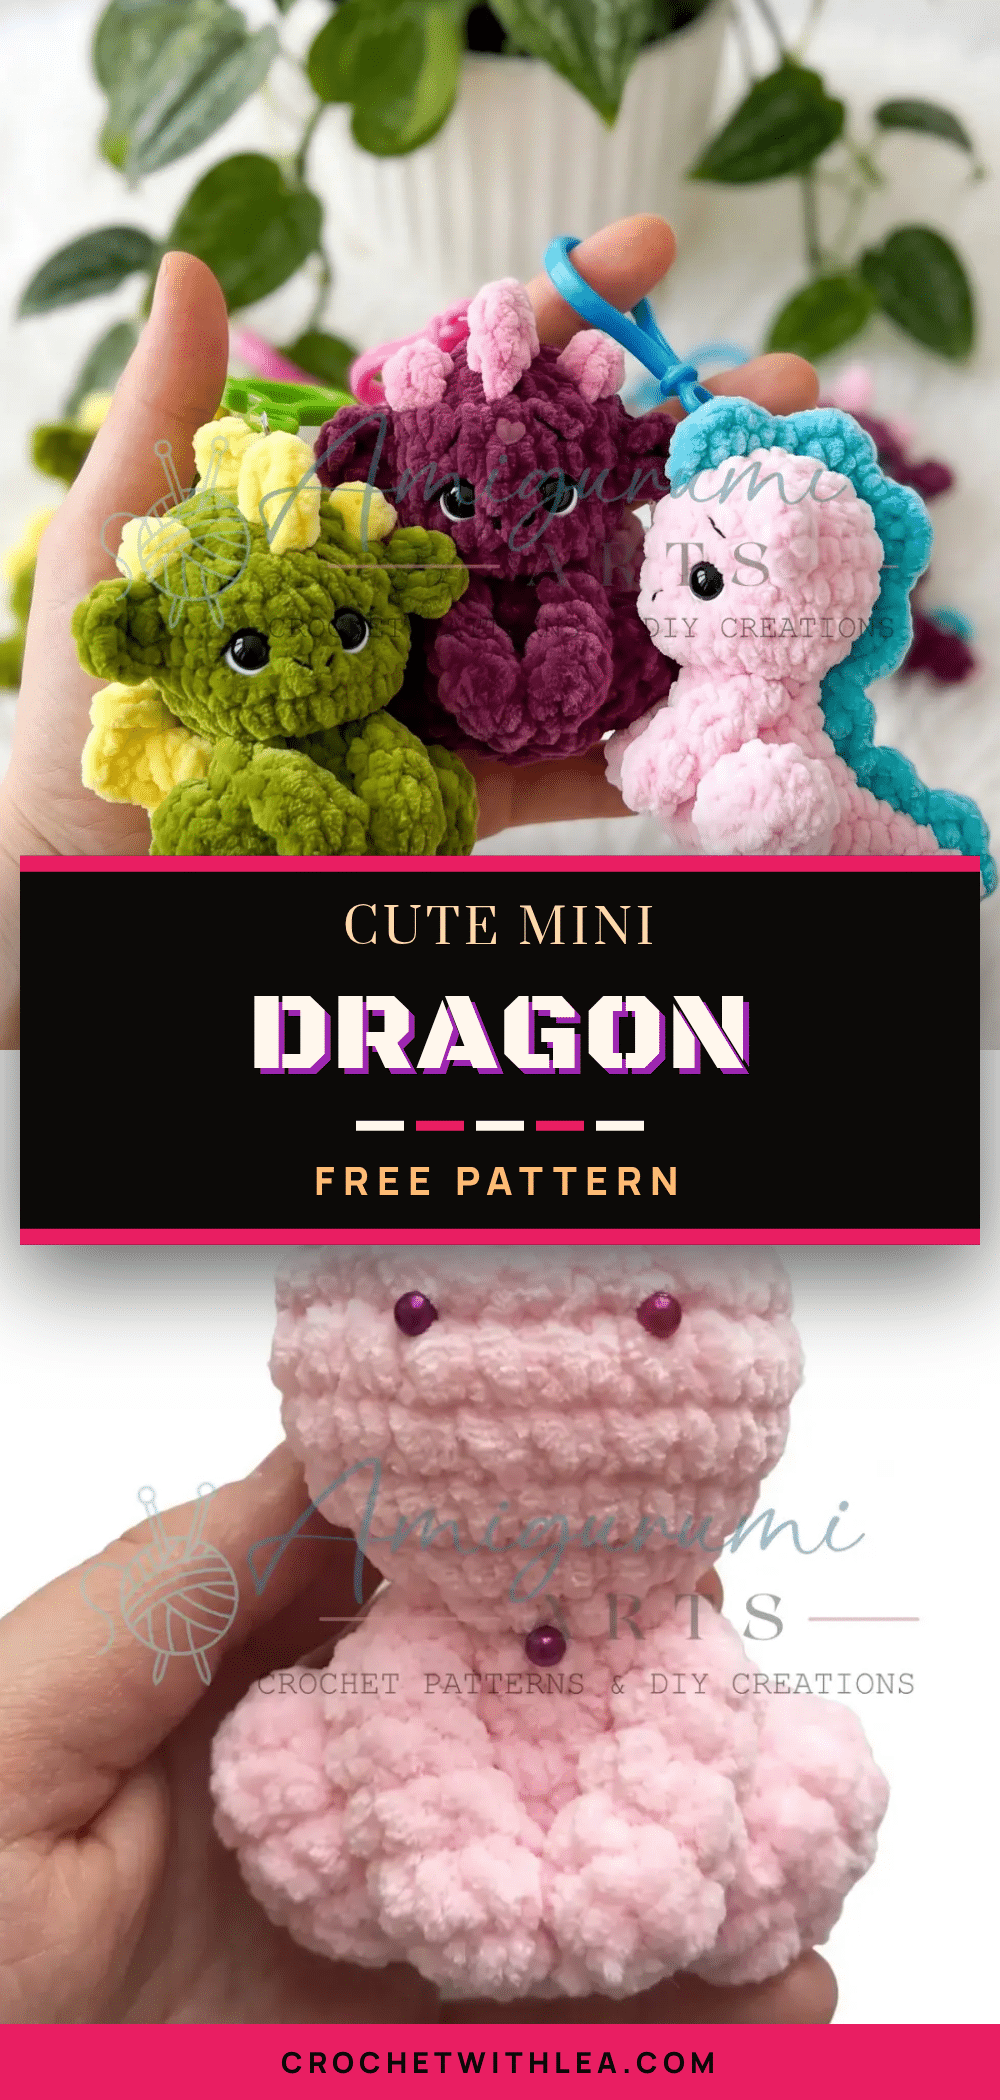
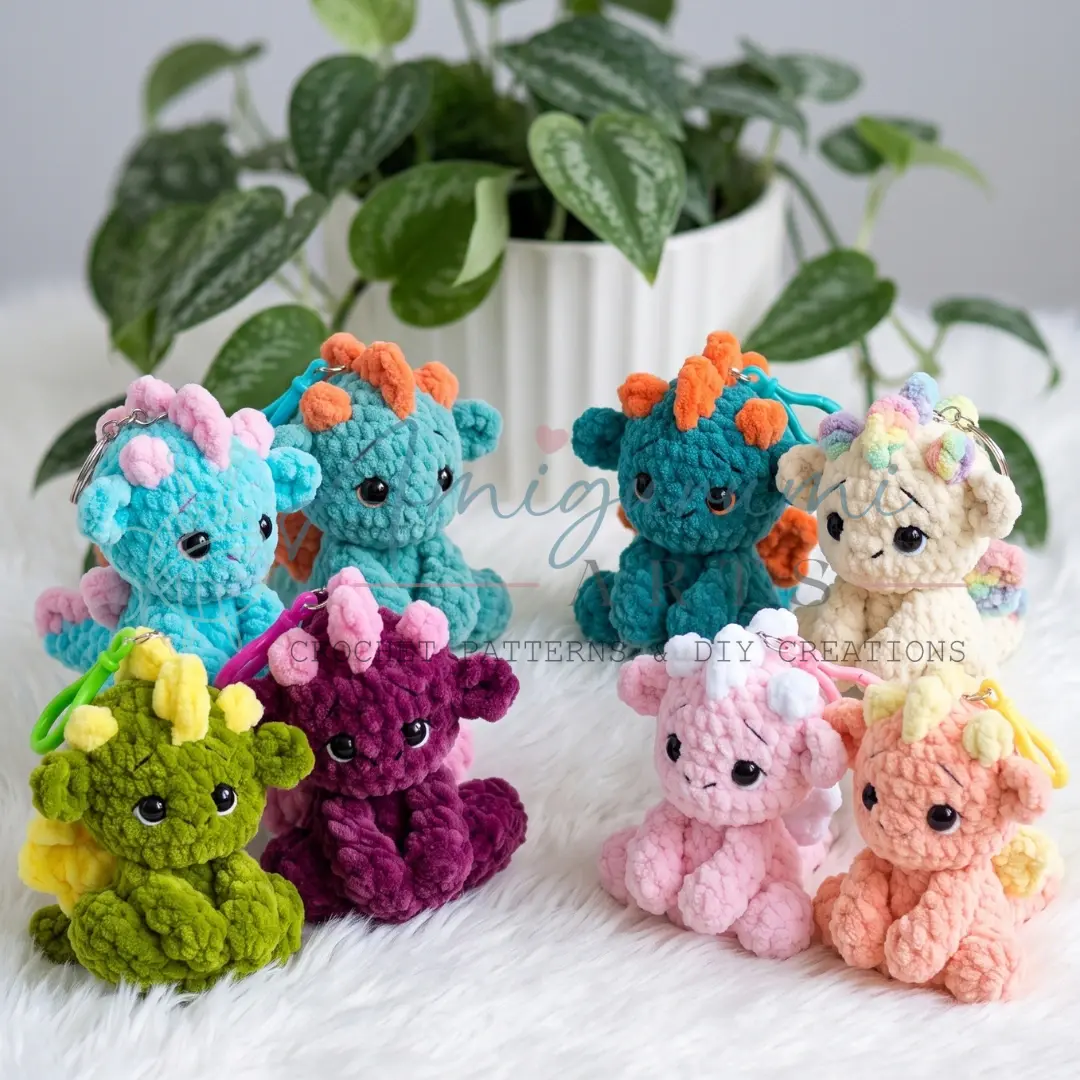
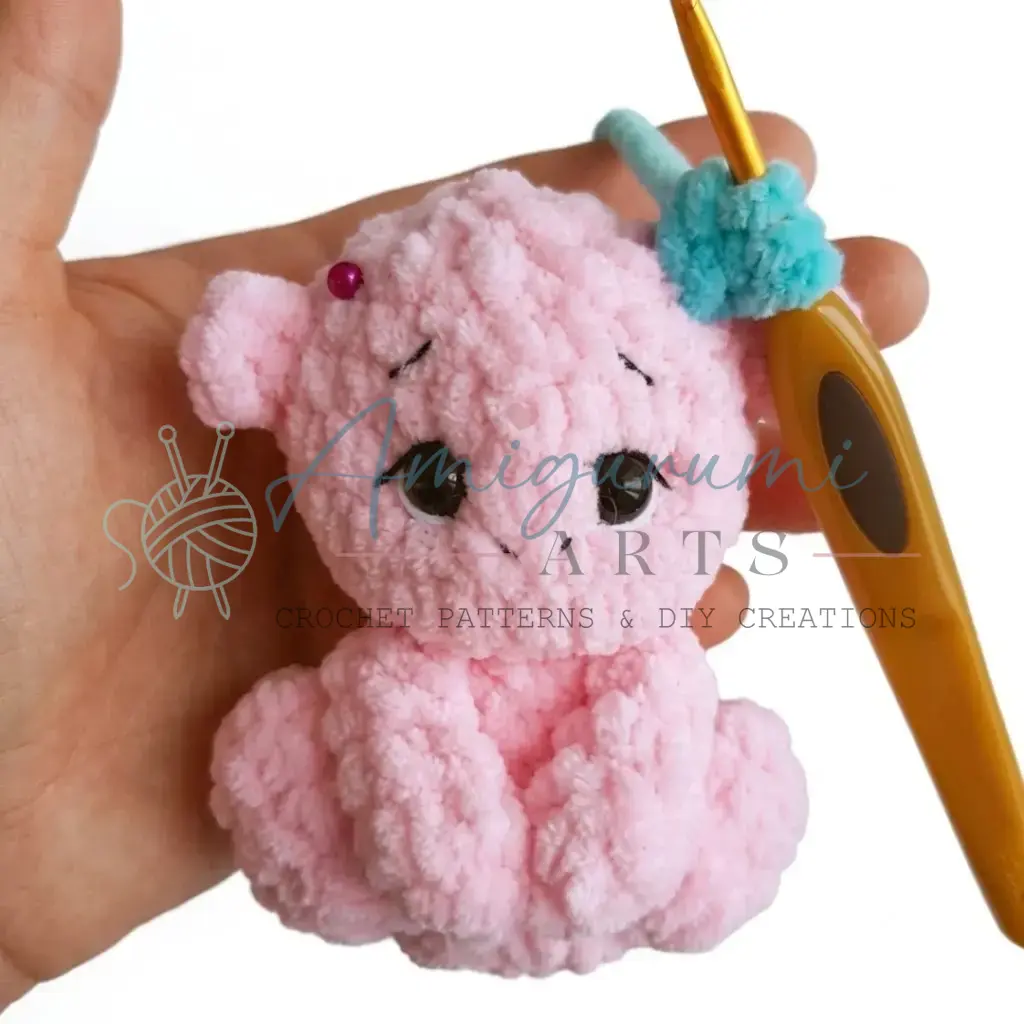
Crochet is often about the rhythm of the hook and the satisfying click of stitches forming a shape, but it is also about the texture that emerges along the way. With plush or velvet-style yarns, every round builds a soft, velvety surface that begs to be touched. The magic of this mini dragon lies in those small details: the way the spine crest rises in a ridge, the subtle indentations around the eyes created by needle-sculpting, and the crisp contrast of embroidered features against the soft body. It is a project that rewards patience with a highly detailed, tactile result that feels as good as it looks.
Texture and Stitch Notes
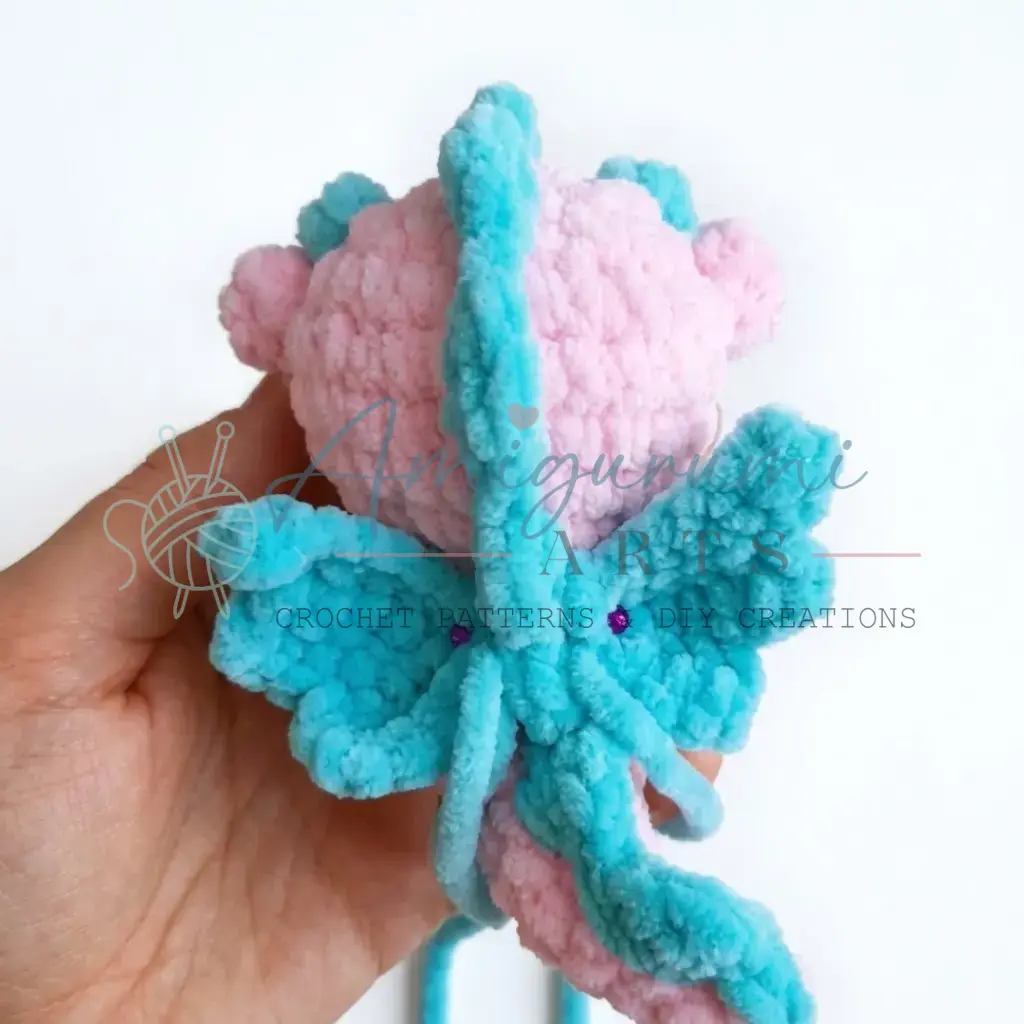
Working with plush or chenille-style yarns offers a unique challenge and reward. The fibers are dense and soft, creating a beautiful, fuzzy exterior, but this texture can hide gaps if your tension is too loose. The key to a professional finish is maintaining a tight, even tension throughout the project. This ensures that the polyester fiberfill remains completely invisible and the shape holds its structure. The contrast between the smooth, flat wings and the rounded, spiraled body adds visual interest, while the needle-sculpting technique used for the eyes adds a layer of depth that flat safety eyes simply cannot achieve.
Project Overview
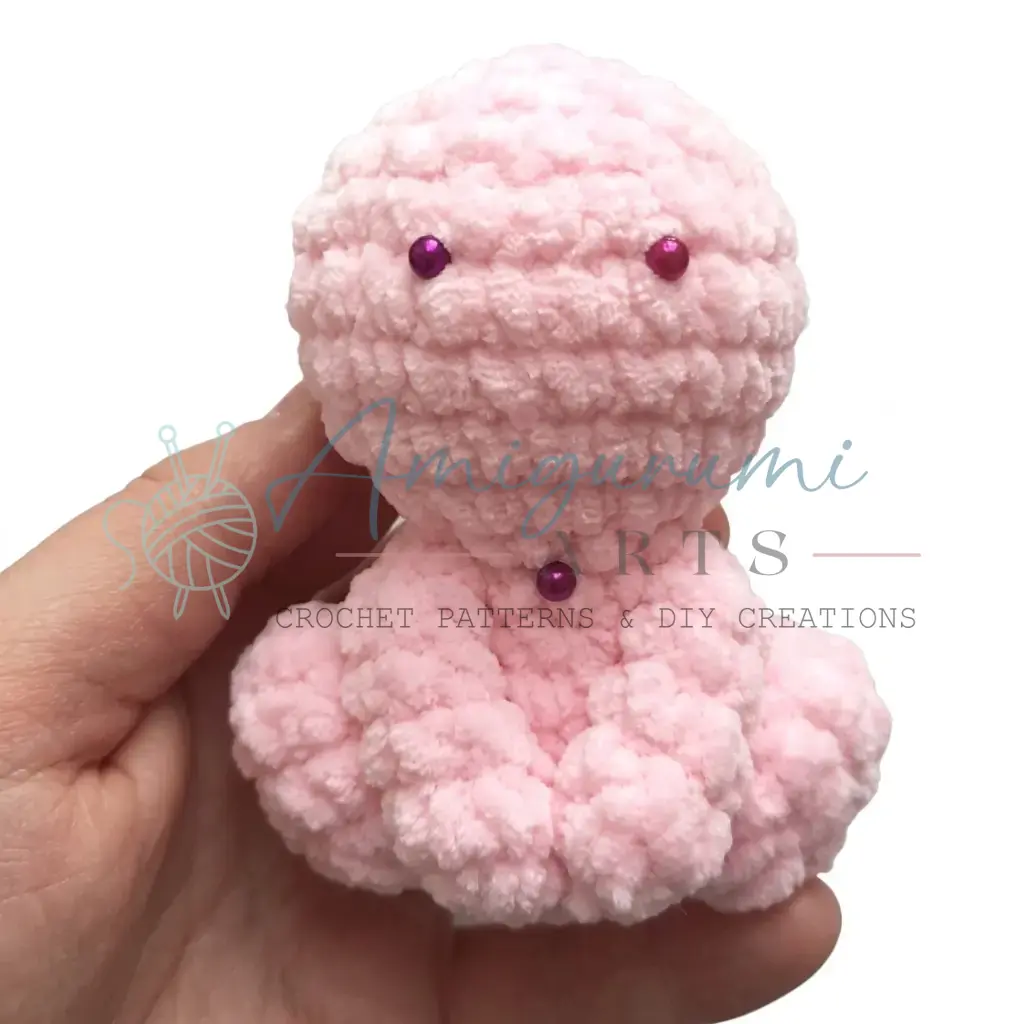
This adorable mini dragon keychain is an intermediate-level amigurumi project. It features a detailed body with separate limbs, a tail, wings, and a spine crest. The finished piece is approximately 10 cm (about 4 inches) tall and long, making it the perfect size for a keychain or a small shelf ornament. The pattern utilizes US crochet terminology and requires a mix of continuous spiral work for the body and flat short-row work for the wings.
Materials
- Yarn (main color): Plush or velvet-style yarn (such as Wolans or any equivalent chenille/plush weight) — main body color of your choice.
- Yarn (contrast color): Plush or velvet-style yarn in a second color for the wings, horns, and spine crest.
- Yarn (white): Small amount of white semi-cotton or similar yarn for embroidering the whites of the eyes.
- Yarn (black): Small amount of black cotton yarn (such as Iris-weight or similar fine cotton) for embroidering eyebrows, liner detail, and nose.
- Hook: E-4 / 3.5 mm.
- Eyes: Safety eyes or beads: 8 mm diameter, 2 pieces (beads were used in the original).
- Stuffing: Polyester fiberfill.
- Keychain hardware: 1 keychain clip or ring.
- Yarn needle / tapestry needle: Large-eye needle for sewing pieces together.
- Long needle: For needle-sculpting the face (pulling yarn through the head to create indentations around the eyes).
- Stitch markers.
- Scissors.
- Blush powder and a small brush: For adding rosy cheeks to the finished dragon.
Gauge and Finished Size
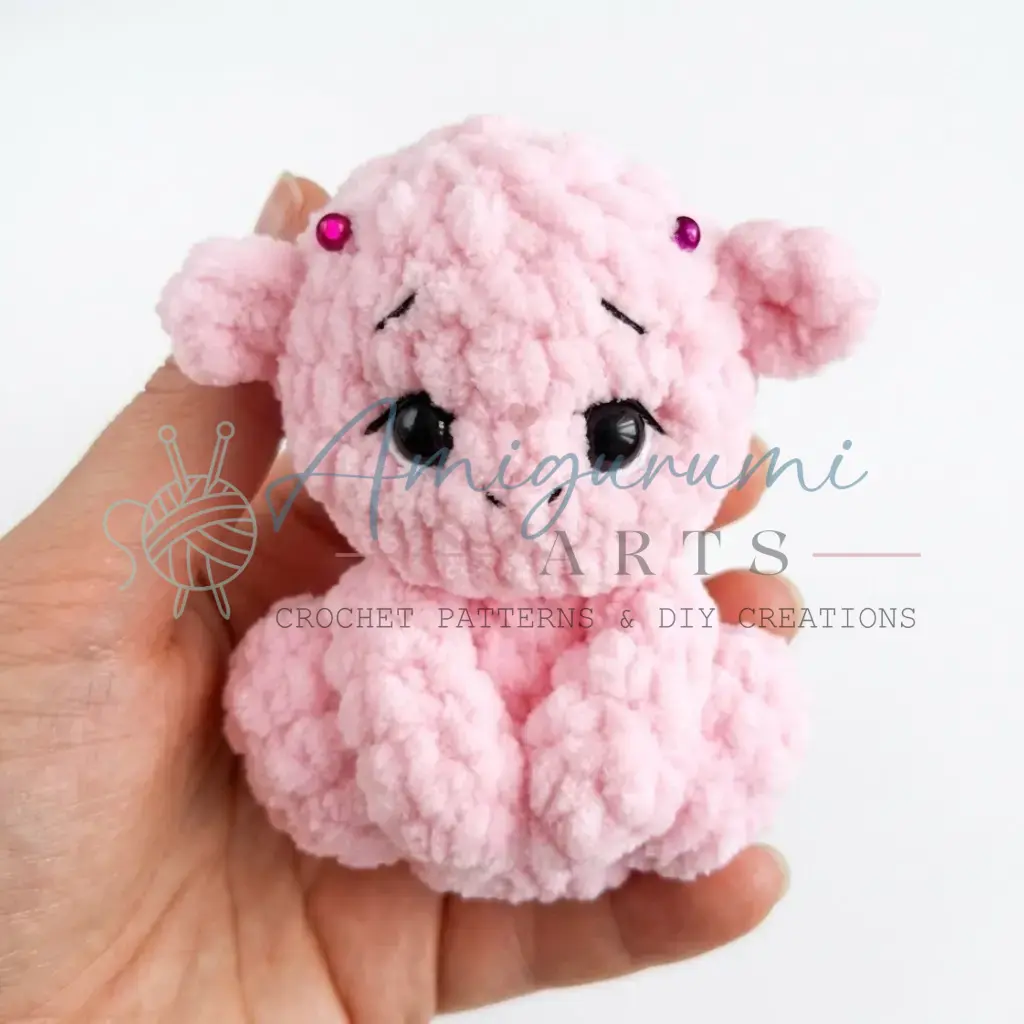
Finished Size: A finished size of just 10 cm (about 4 inches) tall and long.
Gauge: Gauge is not critical for this project, but a tight, even tension is important so the stuffing does not show through.
Abbreviations
- ch — Chain
- dc — Double Crochet
- dec — Decrease (invisible decrease recommended)
- hdc — Half Double Crochet
- inc — Increase (2 sc in the same stitch)
- MR — Magic Ring
- sc — Single Crochet
- sk — Skip
- sl st — Slip Stitch
Pattern Notes
- This pattern is written in US crochet terminology.
- All pieces (except the wings) are worked in a continuous spiral; do not join at the end of each round unless instructed.
- Use a stitch marker to track the beginning of each round.
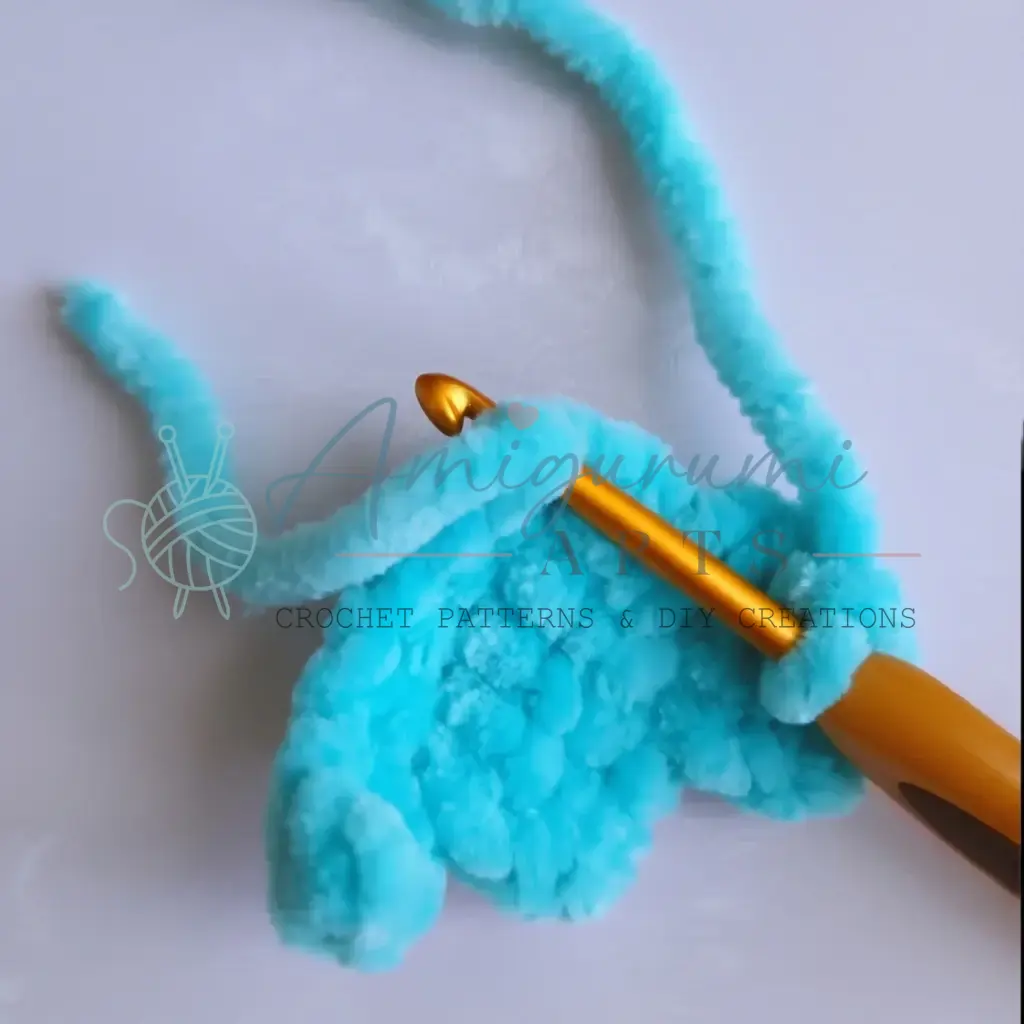
- The wings are worked flat in short back-and-forth rows; each row begins with 1 chain as a turning chain.
- Stitch count at the end of each round or row is shown in parentheses: (##).
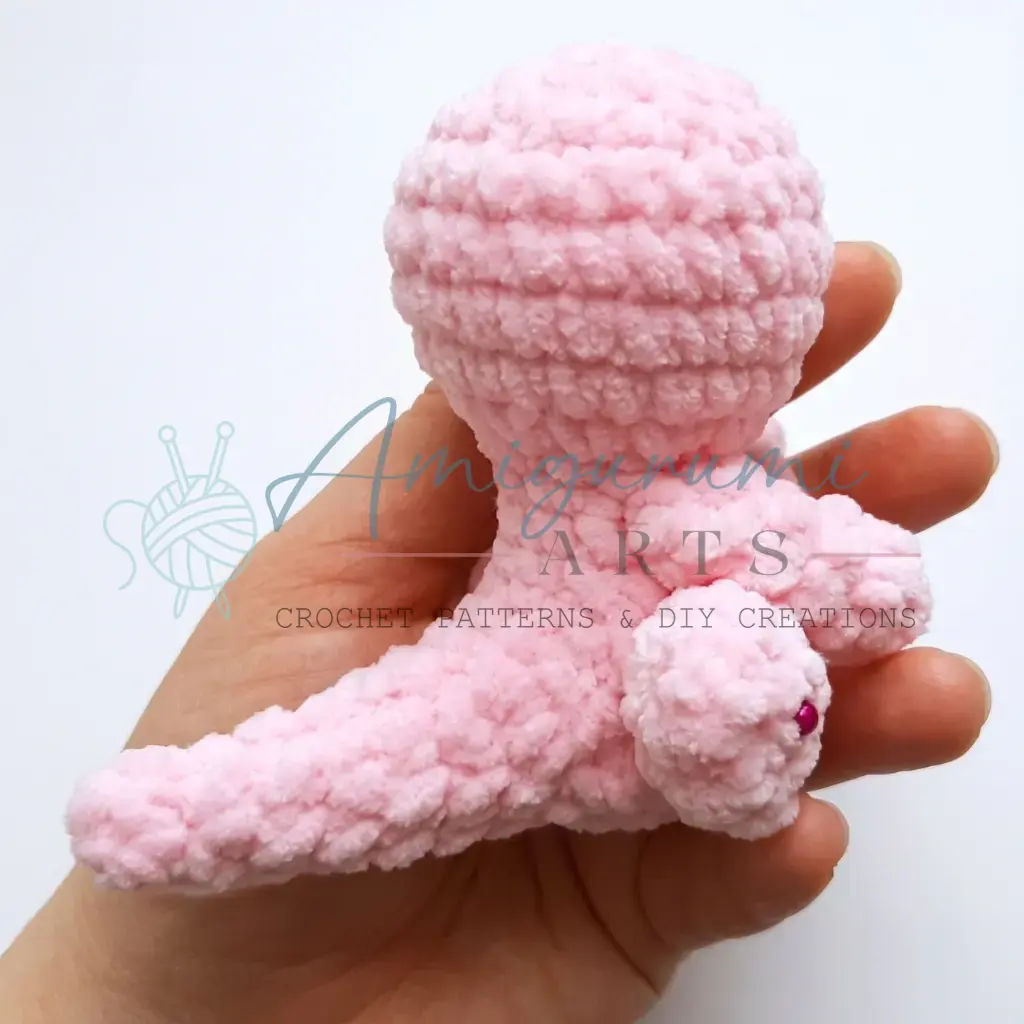
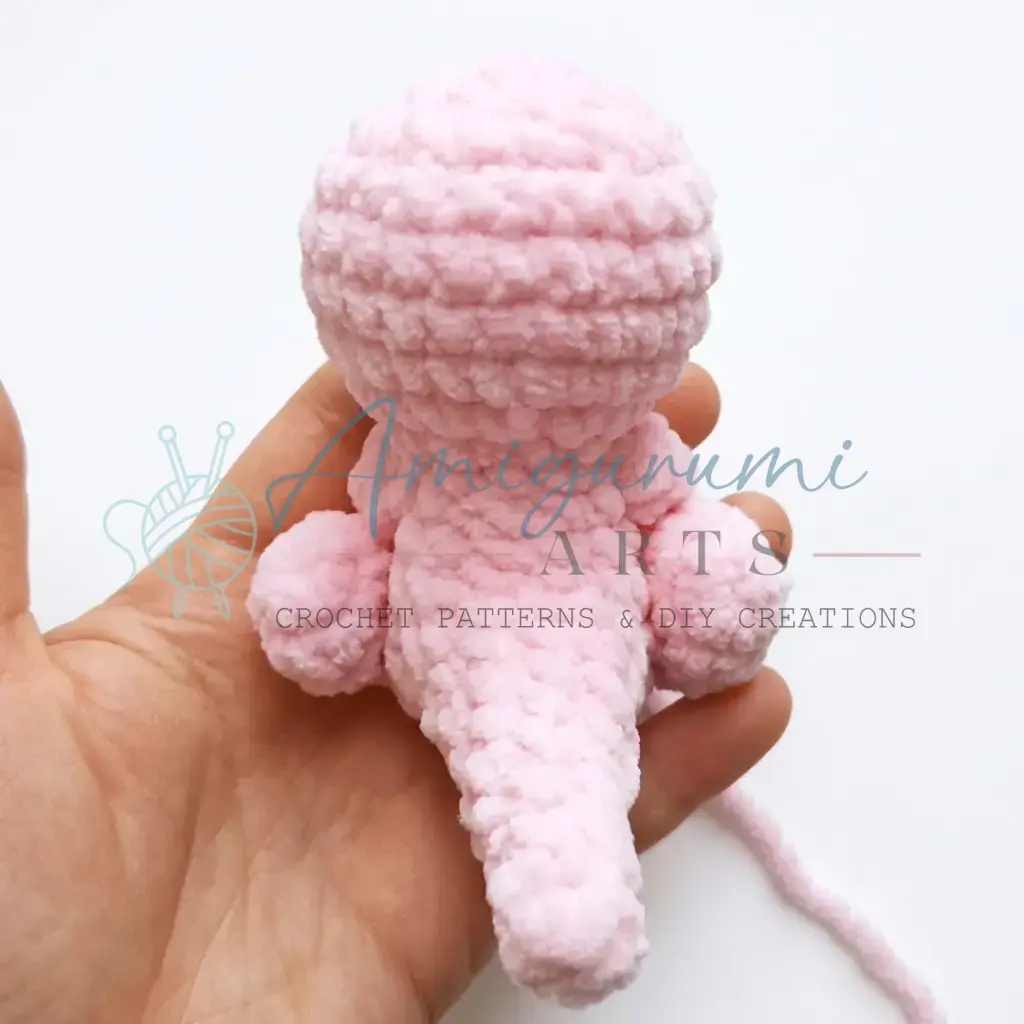
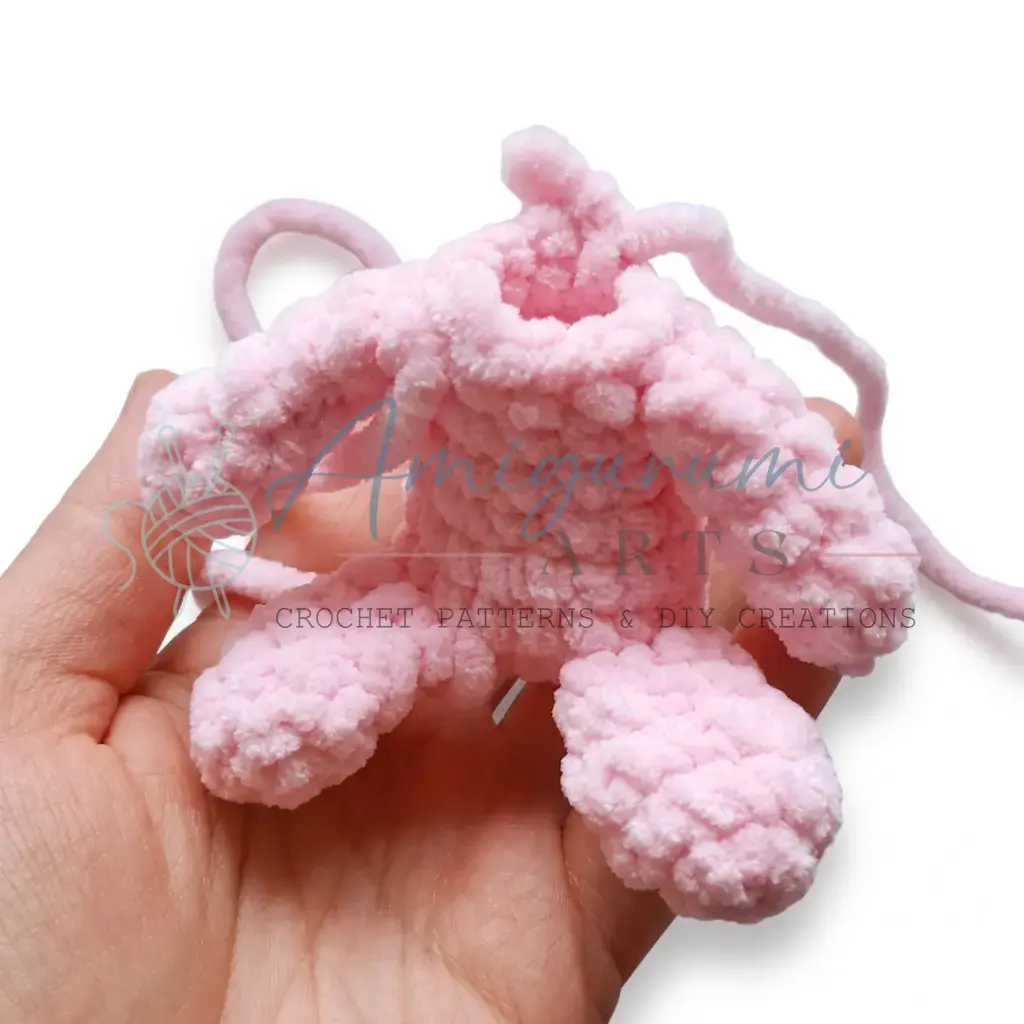
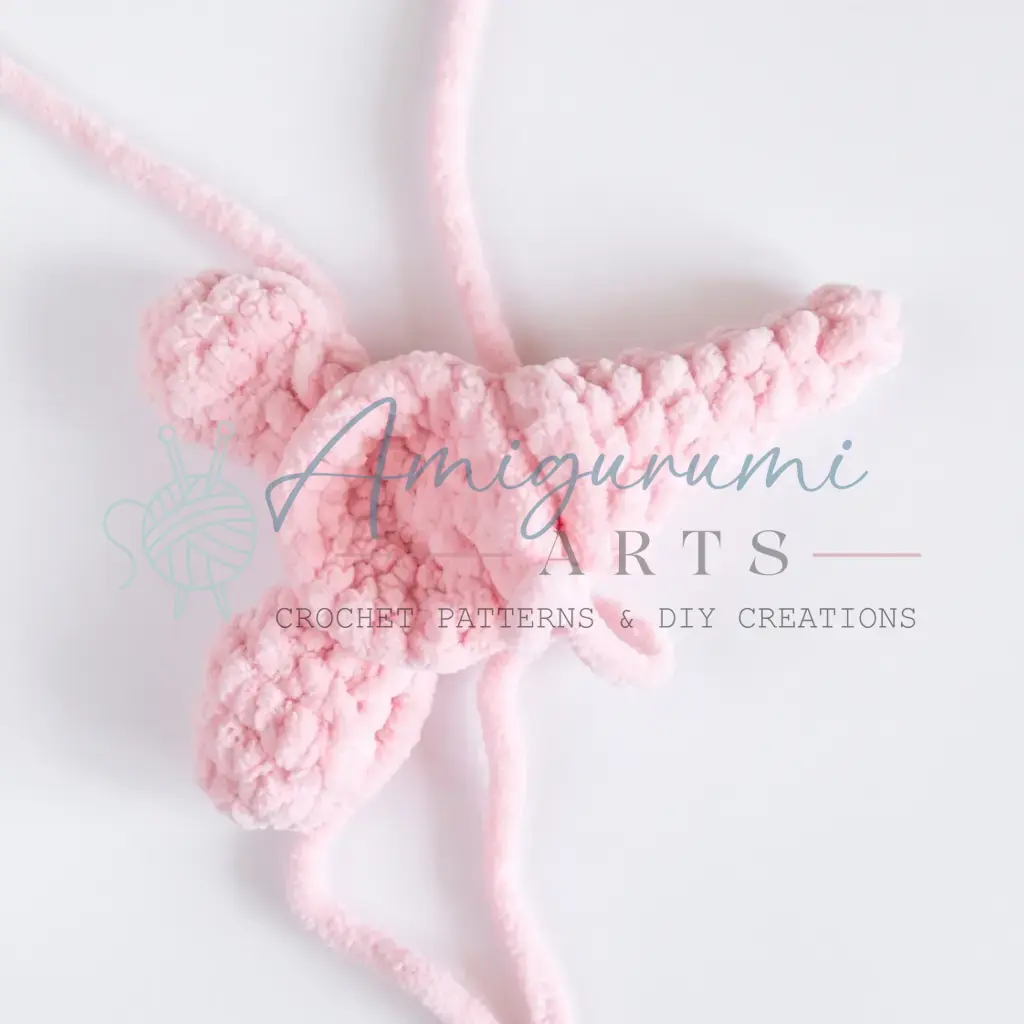
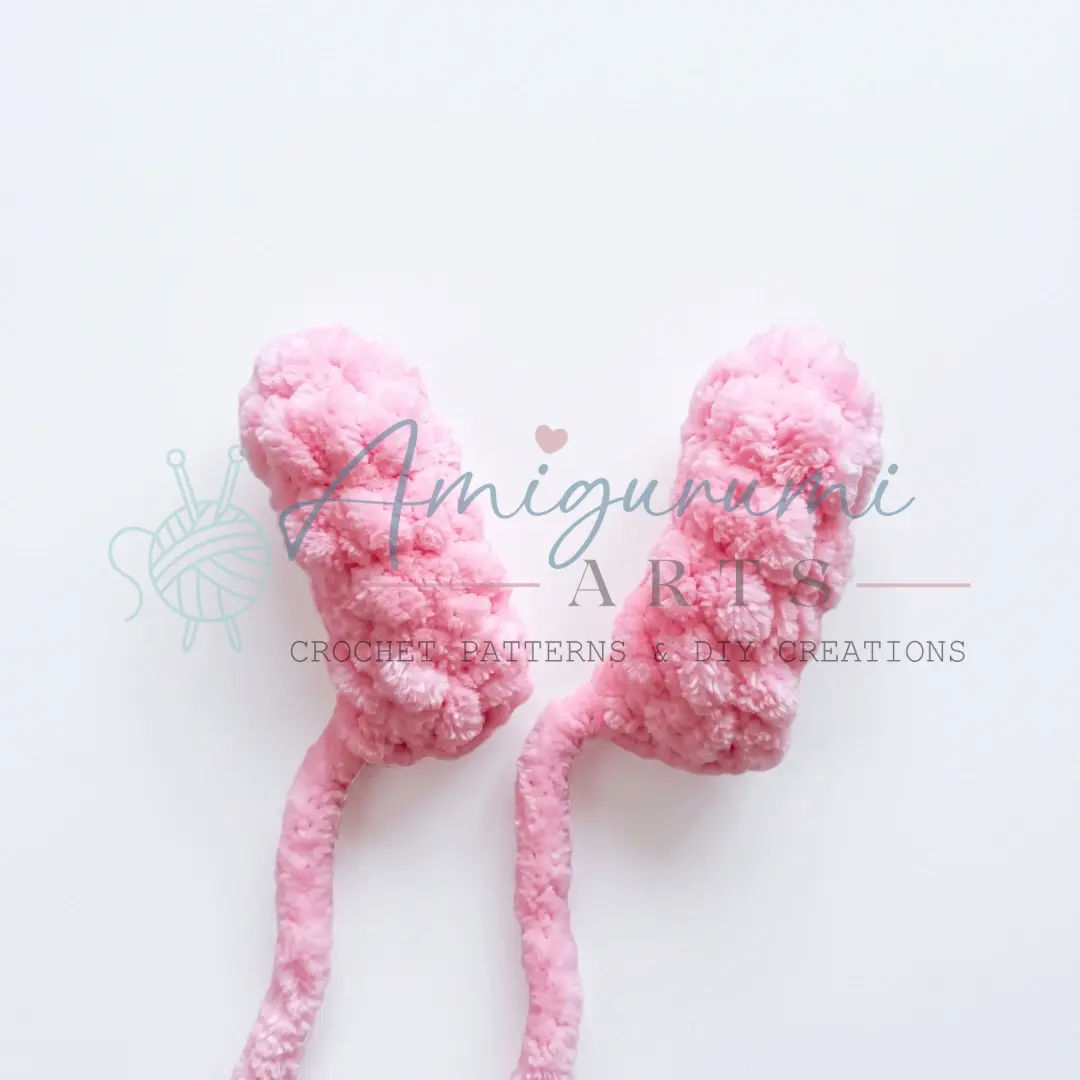
- The lower legs, upper arms, tail, and ears are crocheted separately first, then joined into the body during assembly. Have all small pieces finished before beginning the body.
- Do not stuff the upper arms or lower legs.
- The tail and body/head are stuffed as you go.
- The eyes in this pattern are sewn-on beads or safety eyes attached using needle-sculpting. Pull the yarn needle through the head to create a slight indent around each eye, forming natural-looking eye sockets. This technique creates gentle indentations that give the face its expression.
Pattern Instructions
Upper Arms (make 2)
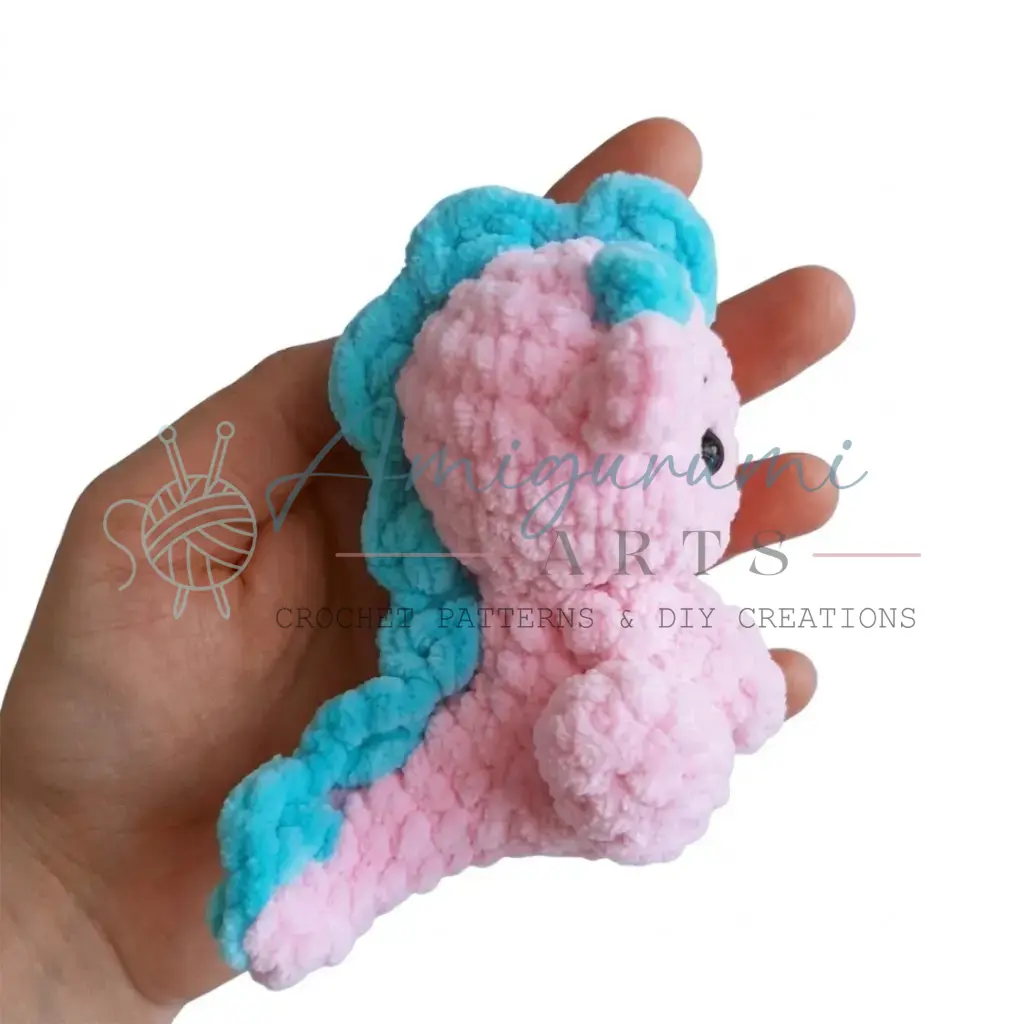
Work in main color. Do not stuff.
- Rnd 1: Ch 2. Work 5 sc in the second chain from the hook. (5)
- Rnds 2–5: sc in each st around. (5) — 4 rounds total
Fold the piece in half. Working through both layers, sc 2 sts to close the piece flat. Leave a yarn tail for attaching.
Lower Legs (make 2)
Work in main color. Do not stuff.
- Rnd 1: Ch 2. Work 6 sc in the second chain from the hook. (6)
- Rnd 2: sc, inc repeat 3 times around. (9)
- Rnd 3: sc in each st around. (9)
- Rnd 4: sc, dec repeat 3 times around. (6)
Fold the piece in half. Working through both layers, sc 3 sts to close the piece flat. Leave a yarn tail for attaching.
Ears (make 2)
Work in main color.
- Rnd 1: Ch 2. Work 5 sc in the second chain from the hook. (5)
Sl st into the first sc to close. Leave a yarn tail for attaching.
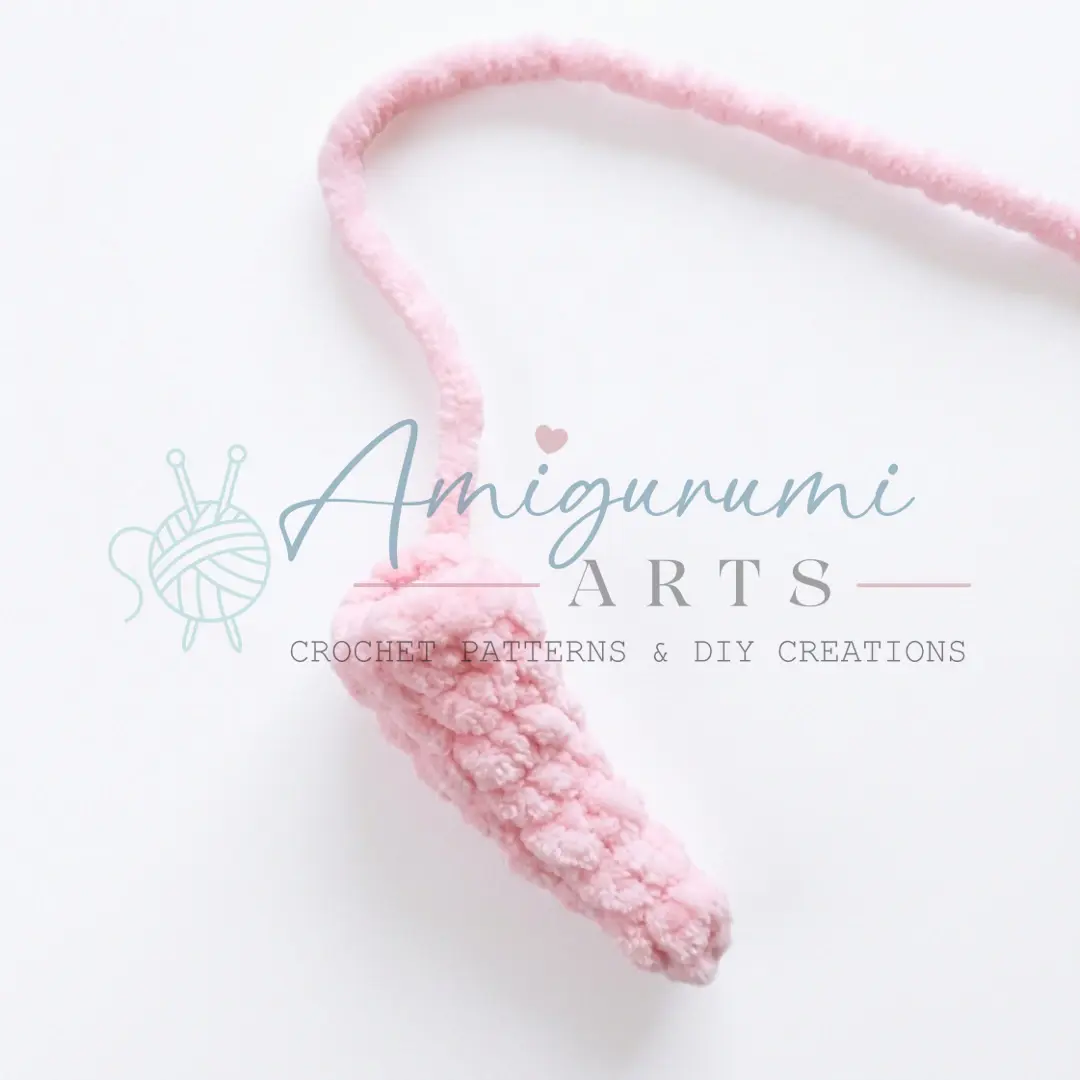
Tail
Work in main color.
- Rnd 1: Ch 2. Work 4 sc in the second chain from the hook. (4)
- Rnd 2: sc in each st around. (4)
- Rnd 3: sc, inc repeat 2 times around. (6)
- Rnd 4: sc in each st around. (6)
- Rnd 5: 2 sc, inc repeat 2 times around. (8)
- Rnd 6: sc in each st around. (8)
- Rnd 7: 3 sc, inc repeat 2 times around. (10)
- Rnd 8: 4 sc, inc repeat 2 times around. (12)
Sl st to finish. Cut yarn and weave in ends. Do not stuff the tail.
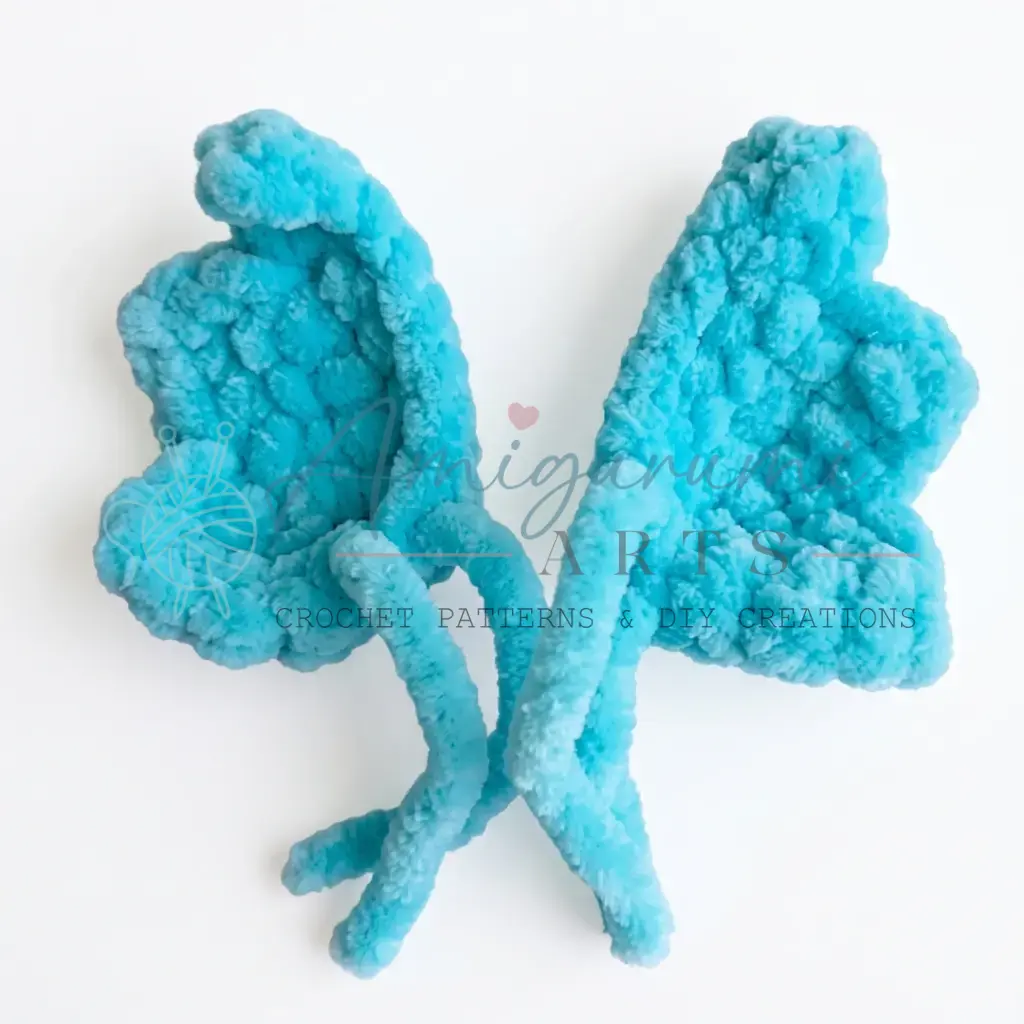
Wings (make 2)
Work in contrast color, in flat back-and-forth rows. Each row begins with 1 ch (turning chain).
- Row 1: Ch 8. Starting in the second chain from the hook, work 7 sc. (7)
- Row 2: Ch 1, turn. 5 sc. (5) — leave the last 2 sts unworked
- Row 3: Ch 1, turn. 5 sc. (5)
- Row 4: Ch 1, turn. 3 sc. (3) — leave the last 2 sts unworked
- Row 5: Ch 1, turn. 3 sc. (3)
Sl st into the first stitch of Row 1 to join. Cut yarn and weave in ends.
Body and Head
Work in main color. Stuff as you go.
Before starting this section, have both lower legs, the tail, and both upper arms fully completed and set aside.
- Rnd 1: Ch 2. Work 9 sc in the second chain from the hook. (9)
- Rnd 2: inc in each st around. (18)
The lower legs and tail are joined in the next round.
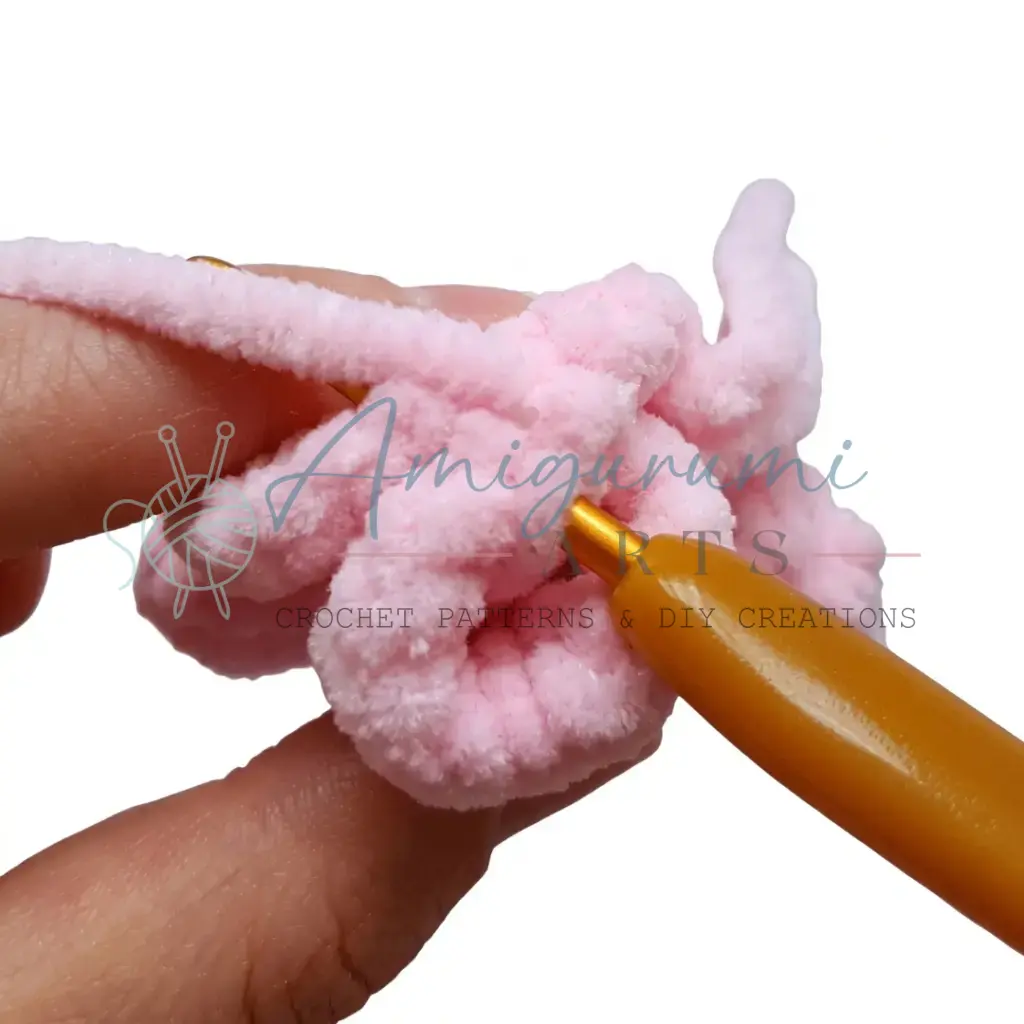
- Rnd 3: 2 sc, work 3 sc together with the first lower leg (insert hook through the next body st and the first closing st of the leg simultaneously for each of the 3 sts), 2 sc, work 3 sc together with the second lower leg in the same way, 2 sc, work 6 sc together with the tail (3 sts joining through the tail, then 3 plain sc to finish the round). (18)
- Rnd 4: 12 sc, work 6 sc together with the tail (joining through the remaining open sts of the tail opening as in Rnd 3). (18)
- Rnd 5: sc, dec repeat 6 times around. (12)
- Rnd 6: sc in each st around. (12)
- Rnd 7: 4 sc, dec repeat 2 times around. (10)
The upper arms are joined in the next round. Position them directly at the sides of the body — if needed, work one extra sc to shift the start of the round so the arms sit symmetrically. Note: any such offset stitch is not counted in the stitch total.
- Rnd 8: Work 2 sc together with the first upper arm (joining through the closing sts of the arm), 3 sc, work 2 sc together with the second upper arm in the same way, 3 sc. (10)
- Rnd 9: 4 sc, inc repeat 2 times around. (12)
- Rnd 10: inc in each st around. (24)
- Rnds 11–14: sc in each st around. (24) — 4 rounds total
- Rnd 15: 2 sc, dec repeat 6 times around. (18)
- Rnd 16: sc, dec repeat 6 times around. (12)
- Rnd 17: dec 6 times around. (6)
Cut yarn and weave in all ends inside the piece. Leave the yarn tails from the lower legs free — you will use them to sew the legs to the body during assembly.
Assembly
Putting Your Mini Dragon Together
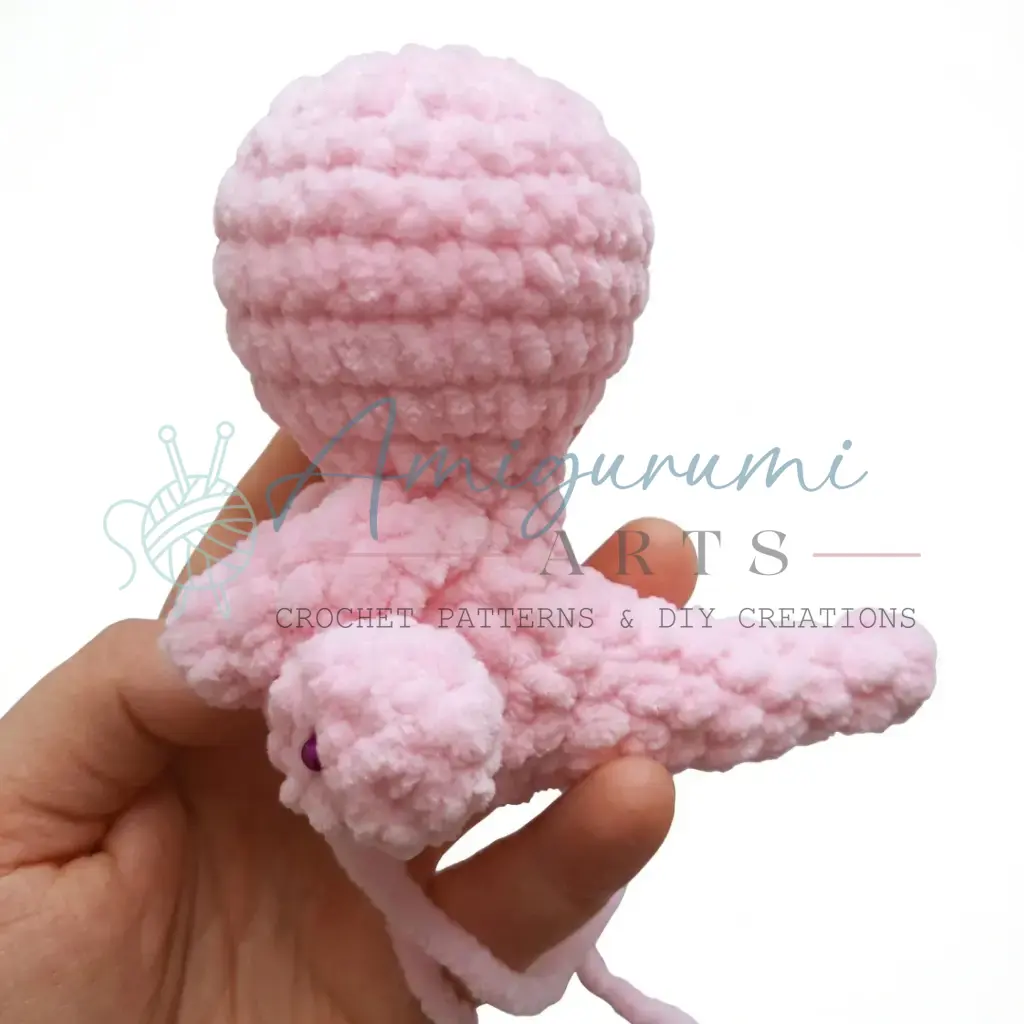
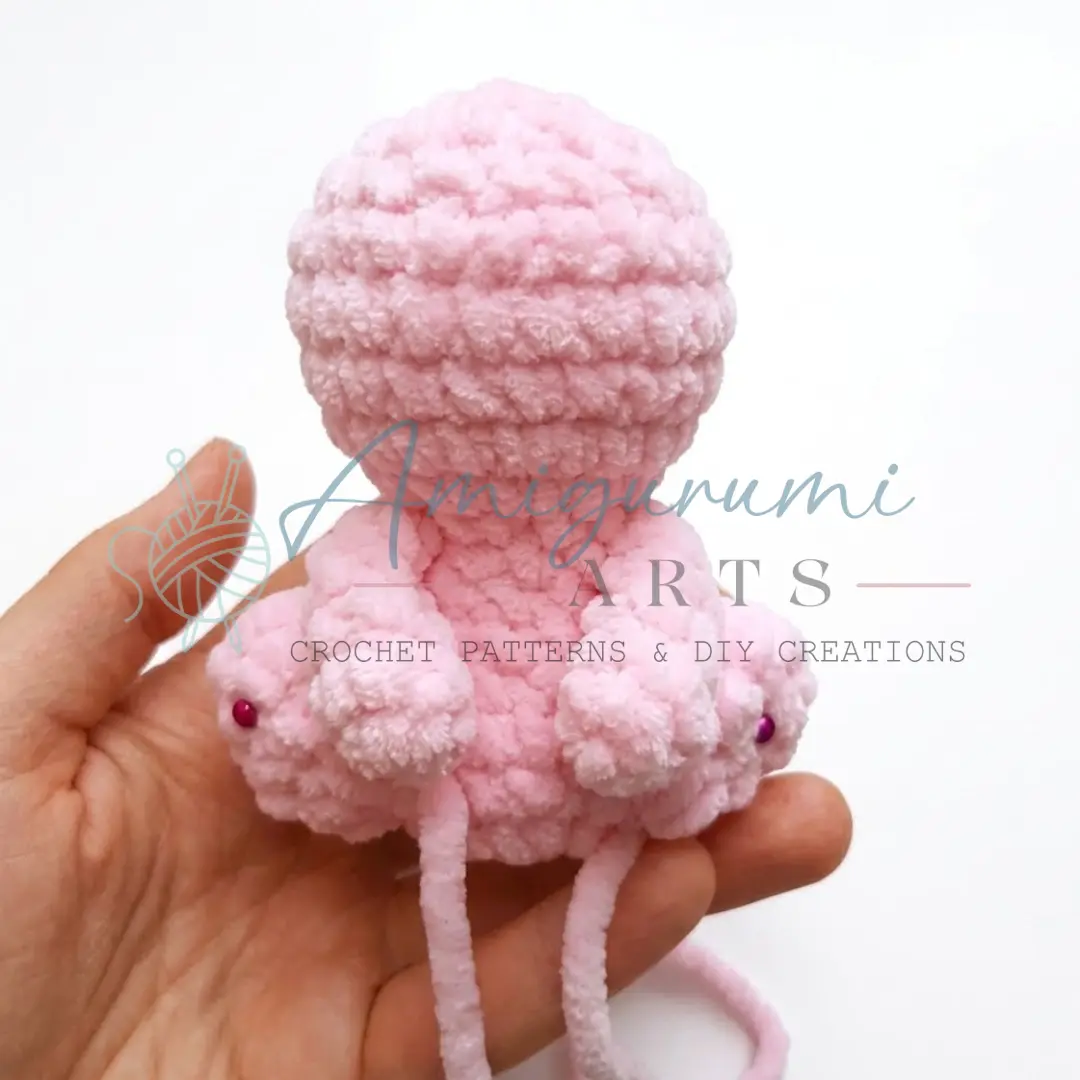
- Attach the lower legs. Using the yarn tails left on each lower leg, sew them to the base of the body. Use the photos from the original pattern as a placement guide. Weave in the tails securely once attached.
- Attach the upper arms (optional). If desired, sew the upper arms to the sides of the body between Rounds 2 and 3 of the body section.
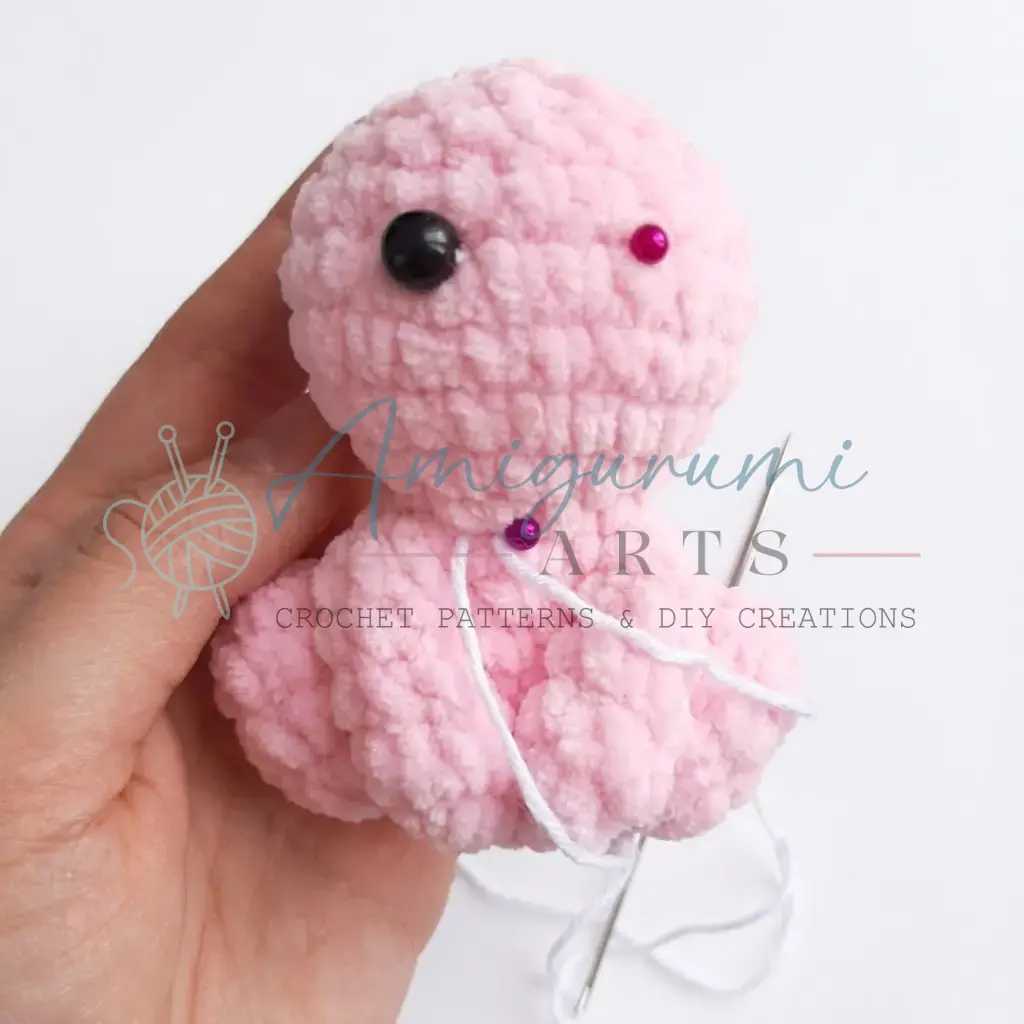
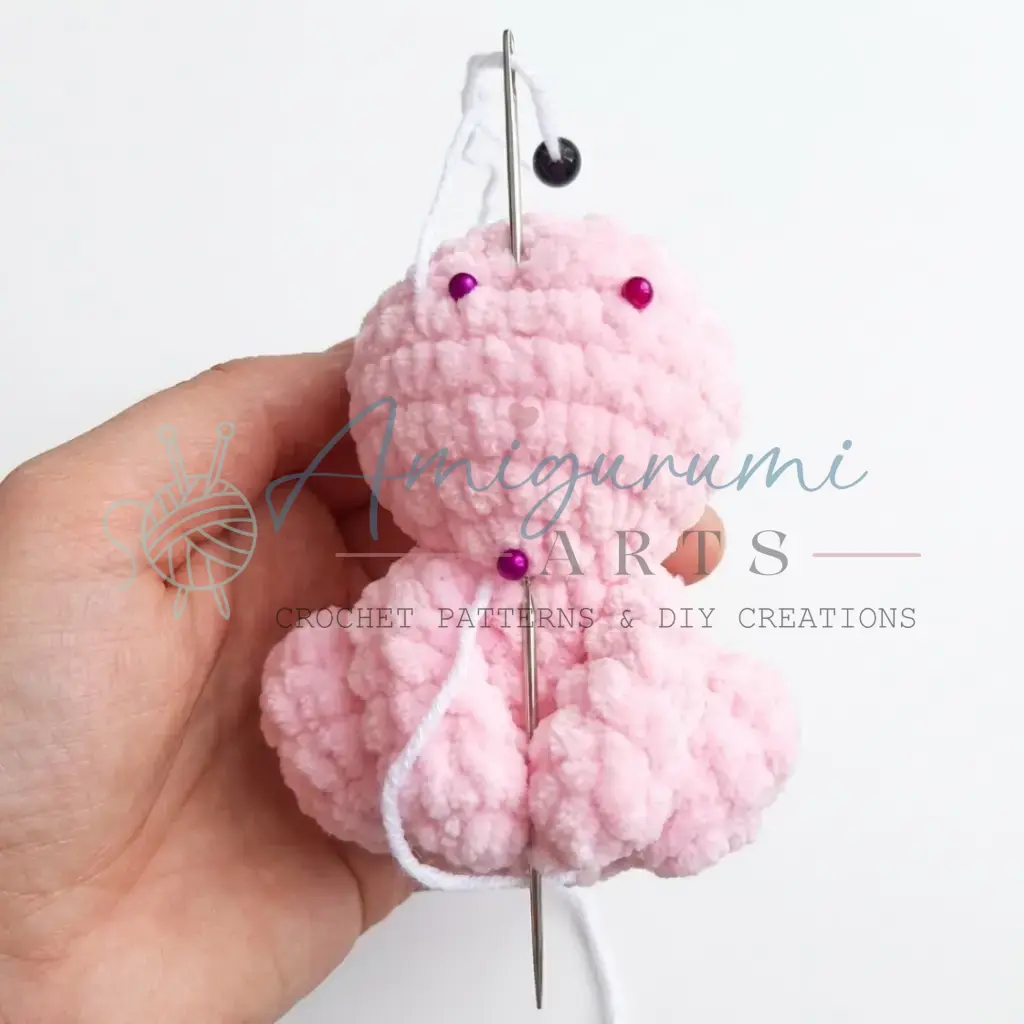
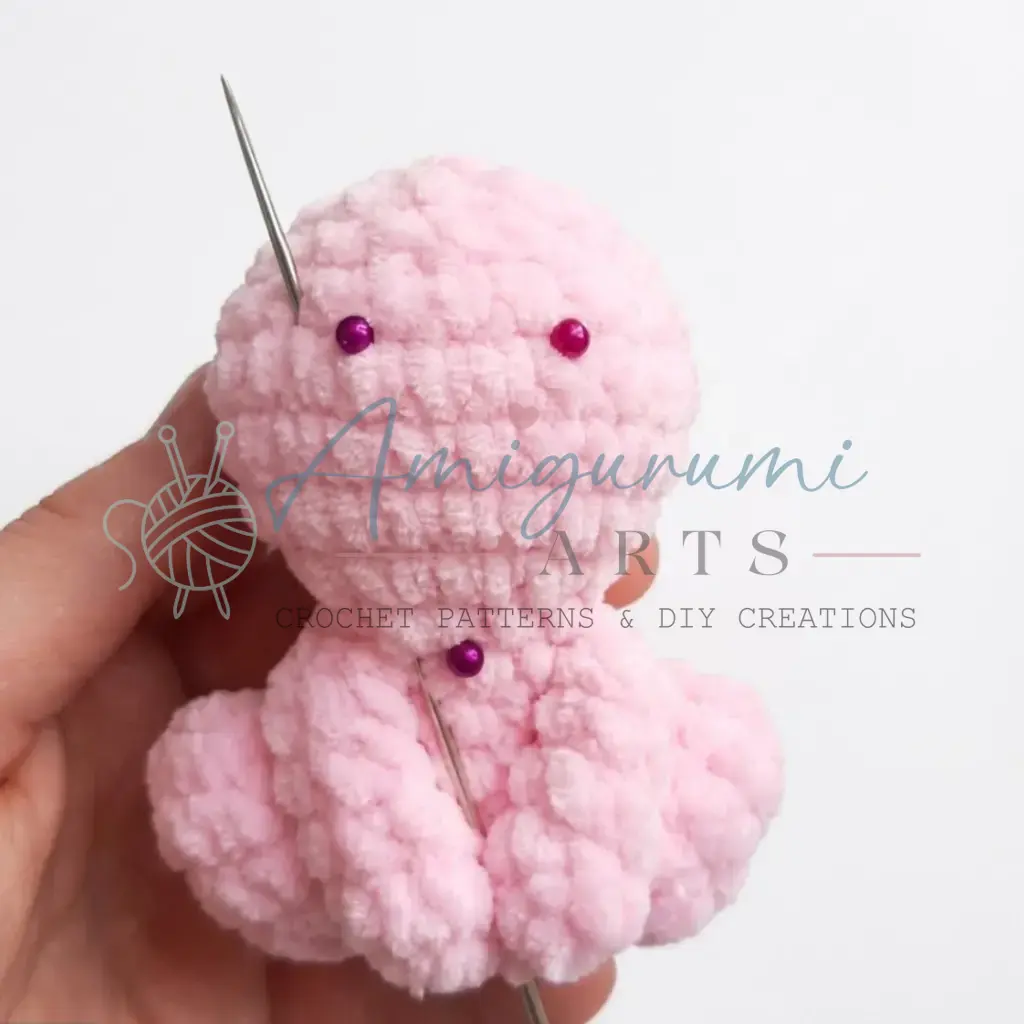
- Sculpt the eyes. Mark the eye placement with pins between Rounds 13 and 14, spacing them 3 stitches apart. Thread a long needle with the eye attachment yarn. Insert the needle between Rounds 8 and 9 and bring it out just to the left of the first pin. Thread the bead (or place the safety eye) onto the needle. Move 2 stitches to the right, then bring the needle back out between Rounds 8 and 9, offset by 1 stitch from where it entered. Pull the yarn gently to create a slight indent around the eye socket — this needle-sculpting pulls the yarn through the head to create a natural-looking eye socket indent. Tie 3 secure knots and bury the yarn tail inside the head. Repeat for the second eye.
- Embroider the face. Using white yarn, embroider the whites of the eyes around each bead. Using black fine cotton yarn, embroider the eyebrows, eyeliner detail, and nose.
- Attach the ears. Pin the ears in place between Rounds 14 and 15 on either side of the head. Sew securely and weave in tails.
- Add the horns. Join the contrast color yarn one round above the ears. Ch 1, then work 2 dc together with a shared top (a 2-dc cluster) into the base stitch. Finish with a sl st into the neighboring sc. Cut yarn and weave in ends. Repeat for the second horn.
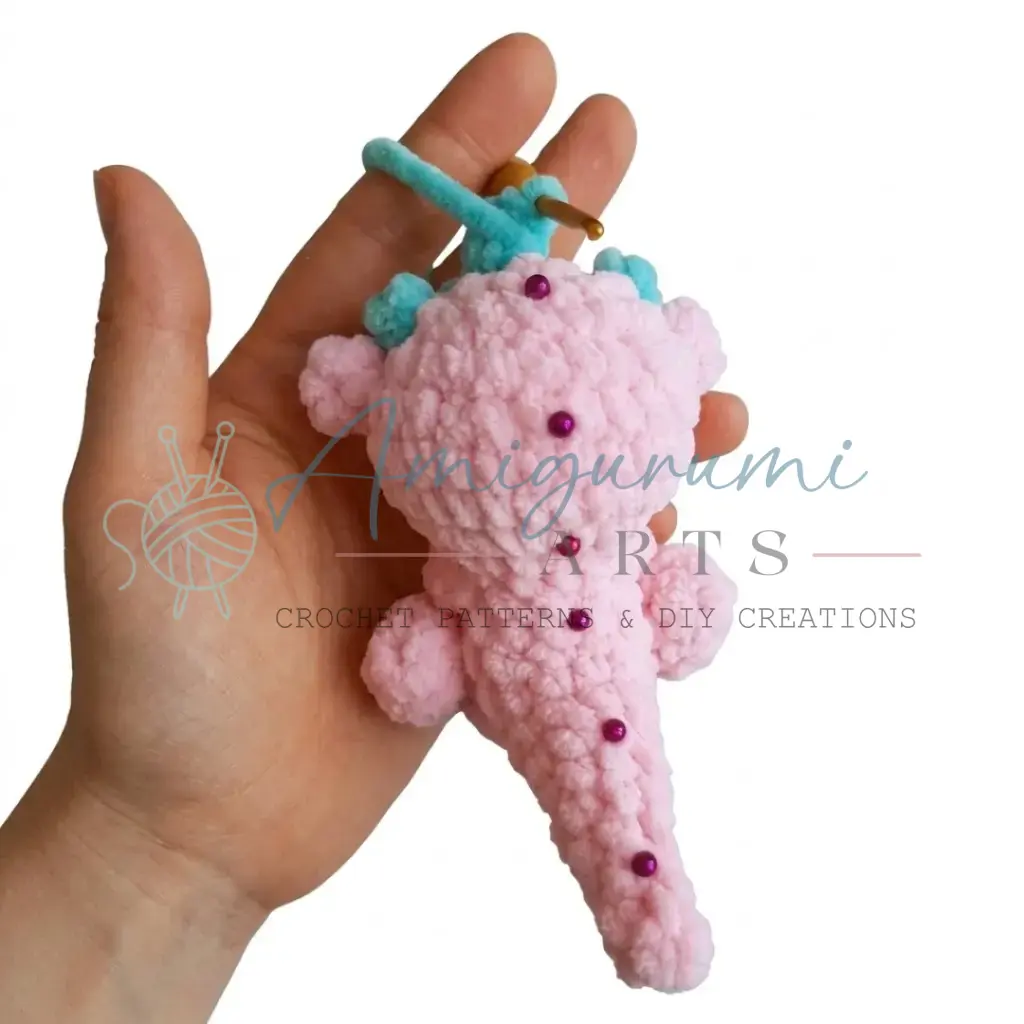
- Add the spine crest. Join the contrast color yarn at the center of Round 16. Work the following sequence into a single stitch, repeating 7 times total: (sc, hdc, dc — then skip 2 rounds before beginning the next repeat). The skipped rows create the natural separation between each spine point. Finish the last spine with a sl st into the tip of the tail. Cut yarn and weave in ends.
- Attach the wings. Sew one wing to each side of the body at the upper back, positioning them symmetrically.
- Add blush (optional). Using a dry brush, apply a small amount of blush powder to the cheeks.
- Attach the keychain hardware. Secure the keychain clip or ring to the top of the head.
Tips
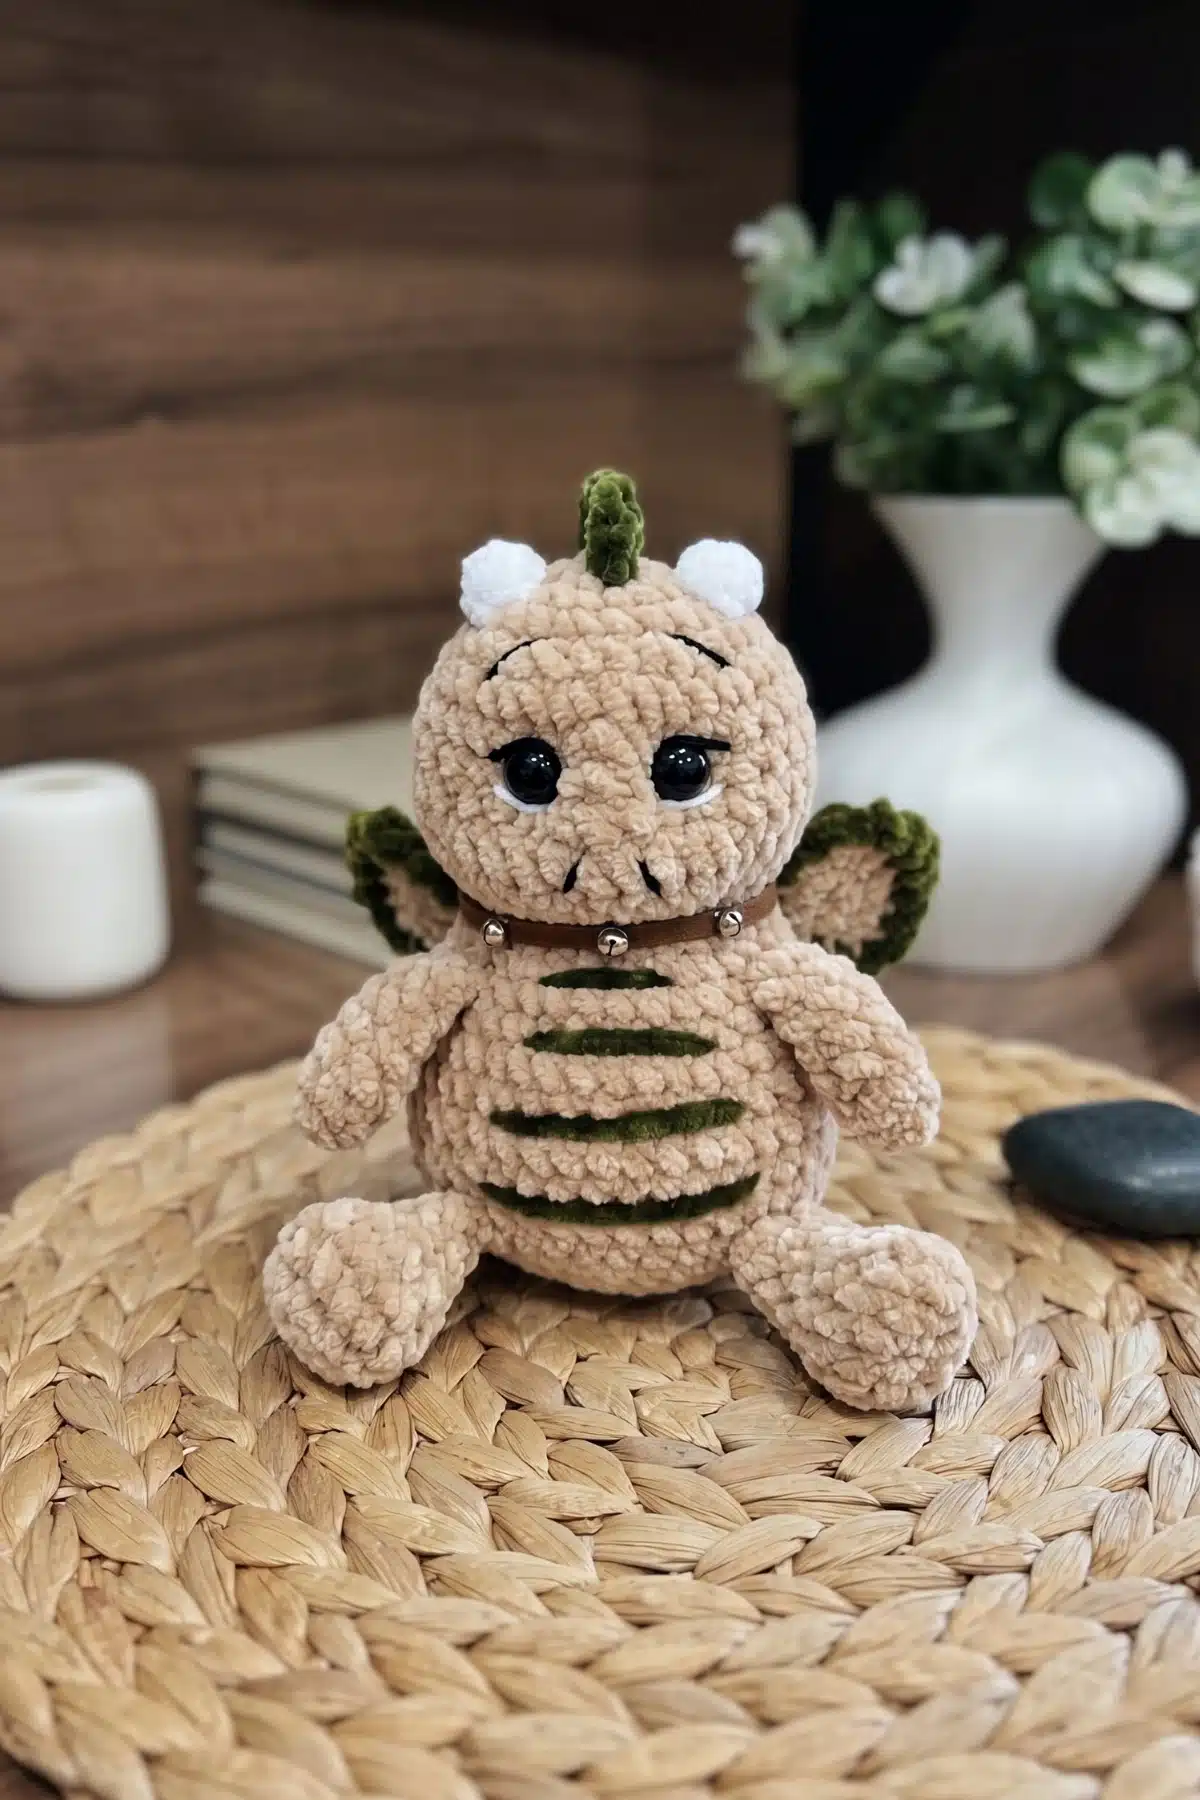
- Keep your tension tight throughout. Plush and chenille yarns have a tendency to hide gaps, but stuffing will still peek through if your stitches are too loose. Work snugly — especially during the body and head rounds — so the fiberfill stays completely invisible.
- Use the invisible decrease for a cleaner finish. With plush yarn the difference is subtle, but invisible decreases keep your decrease rounds smooth and gap-free. Insert your hook under the front loop of the first stitch, then the front loop of the second stitch, and pull through both before completing the decrease as normal.
- Join the legs and tail carefully. Rounds 3 and 4 of the body require you to crochet through both the body stitch and a closing stitch of a leg or tail at the same time. Work slowly and use a stitch marker to keep track of where you are in the round — it’s easier than it looks once you’ve done the first join.
- Stuff the head firmly and the body moderately. A well-stuffed head gives the face its round, sculptural shape and makes the needle-sculpting technique much more effective. The body can be slightly softer. Add stuffing incrementally as you decrease, because once you close the final round it’s very difficult to add more.
- Plush yarn and embroidery need a fine needle. The eye detail, eyebrows, and nose are embroidered with fine cotton yarn on top of the plush surface. Use a needle that can pierce through the plush fibers cleanly without snagging. Working with a single strand and keeping stitches small will give you the crispest result.
FAQs
Can I use regular acrylic yarn instead of plush yarn?
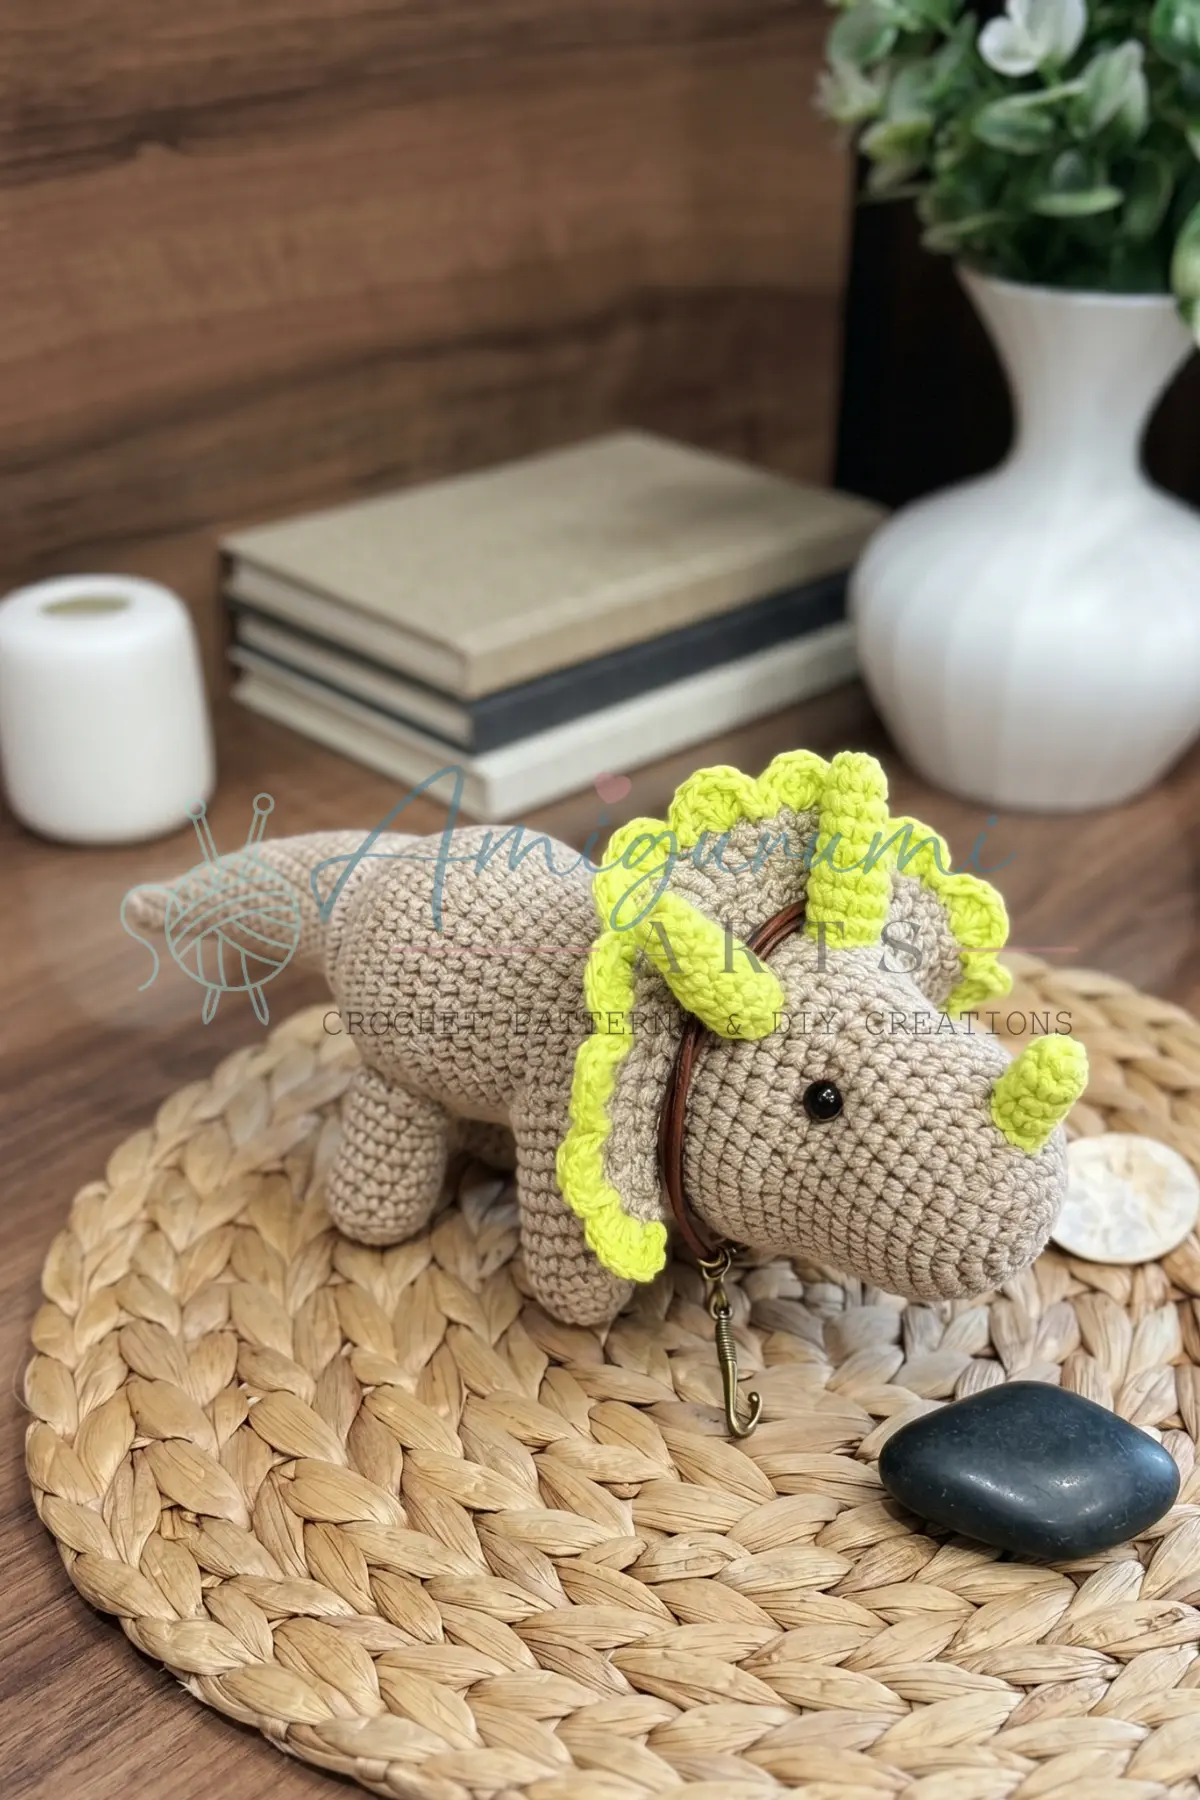
While you can use regular acrylic yarn, the pattern is designed specifically for plush or velvet-style yarn to achieve the soft, fuzzy texture and the specific look of the finished dragon. Regular yarn may not provide the same tactile appeal.
How do I do the needle-sculpting for the eyes?
Needle-sculpting involves threading a long needle through the head from the inside, bringing it out near where you want the eye, placing the bead or safety eye on the needle, and bringing the needle back out slightly offset. Pulling the yarn gently creates an indentation around the eye, giving it a natural socket look.
Do I need to stuff the tail?
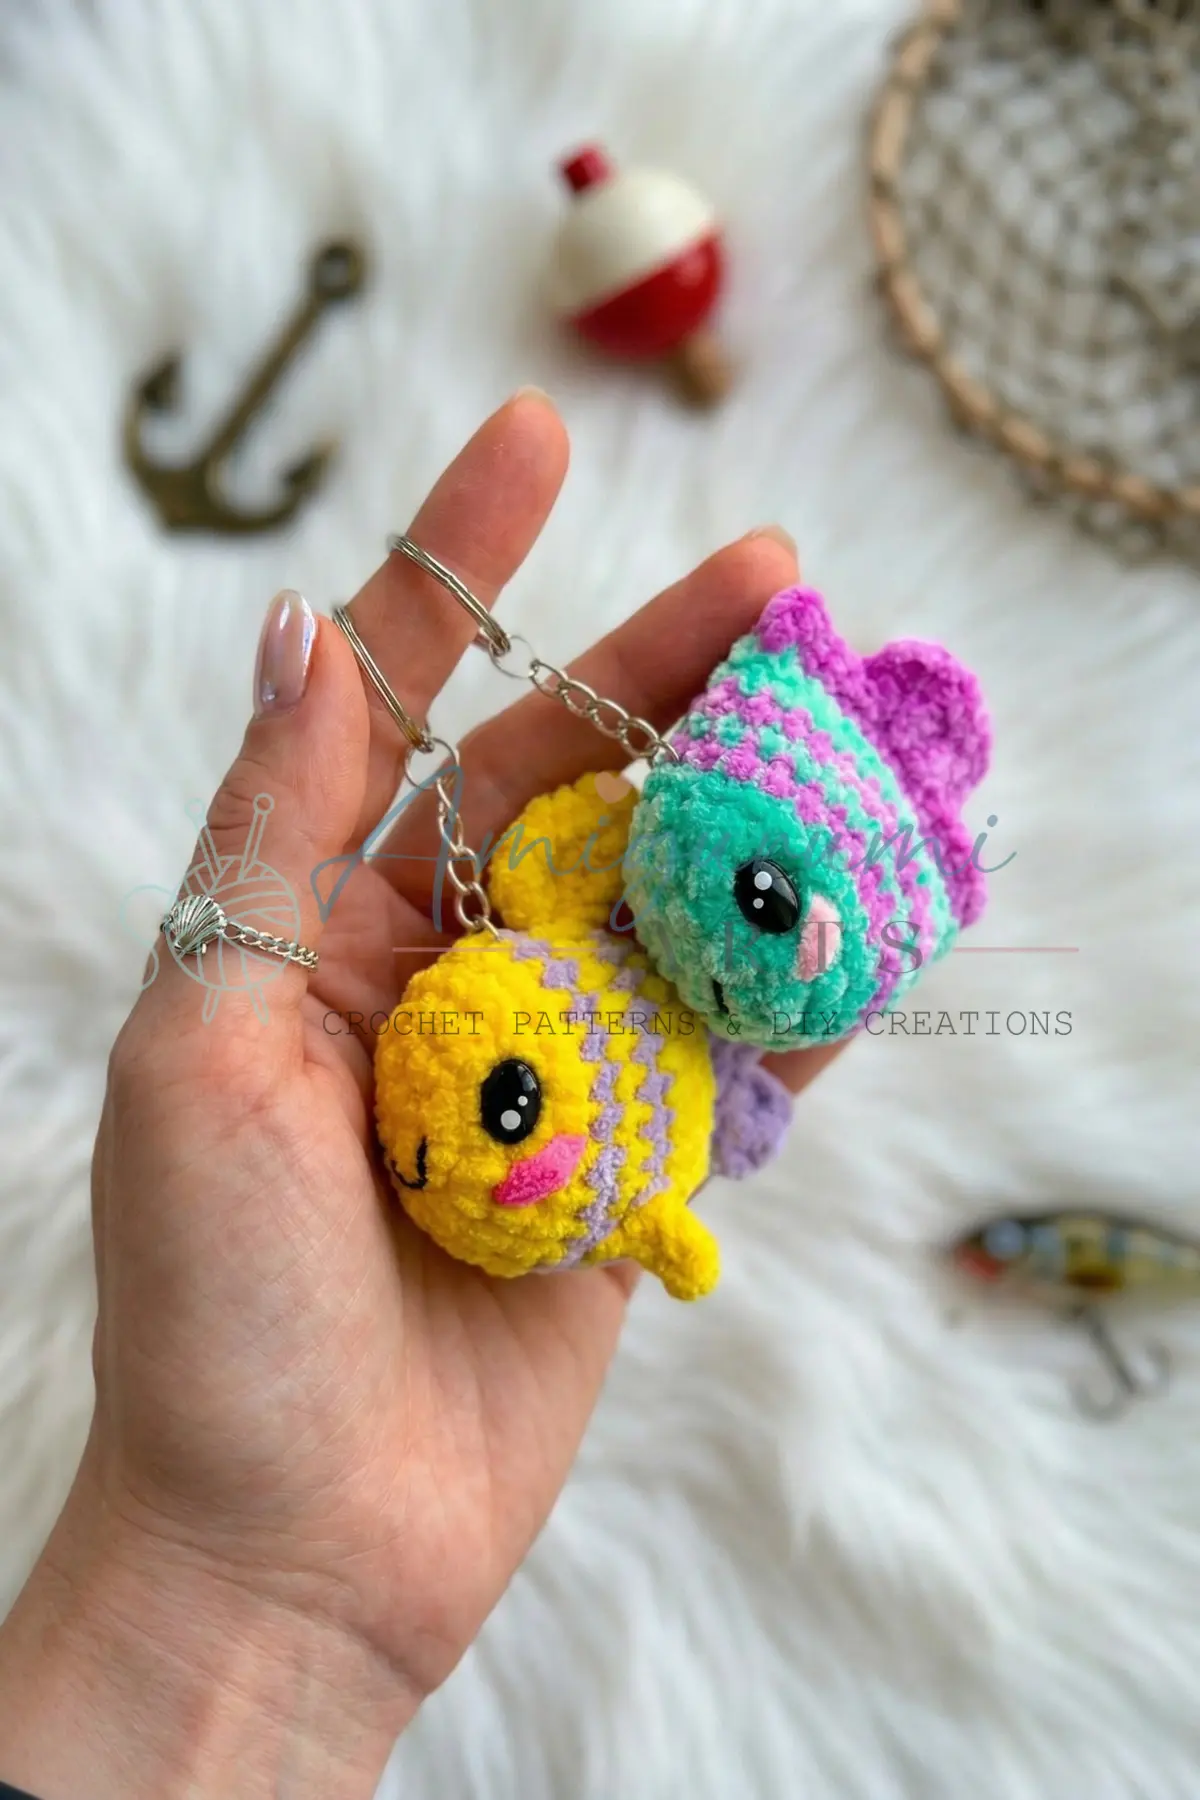
No, the pattern instructions specifically state not to stuff the tail. It is worked flat and joined to the body without filling.
What size hook should I use?
Use an E-4 / 3.5 mm hook. This size helps maintain the tight tension necessary to prevent stuffing from showing through the plush yarn.
Can I make this dragon larger?
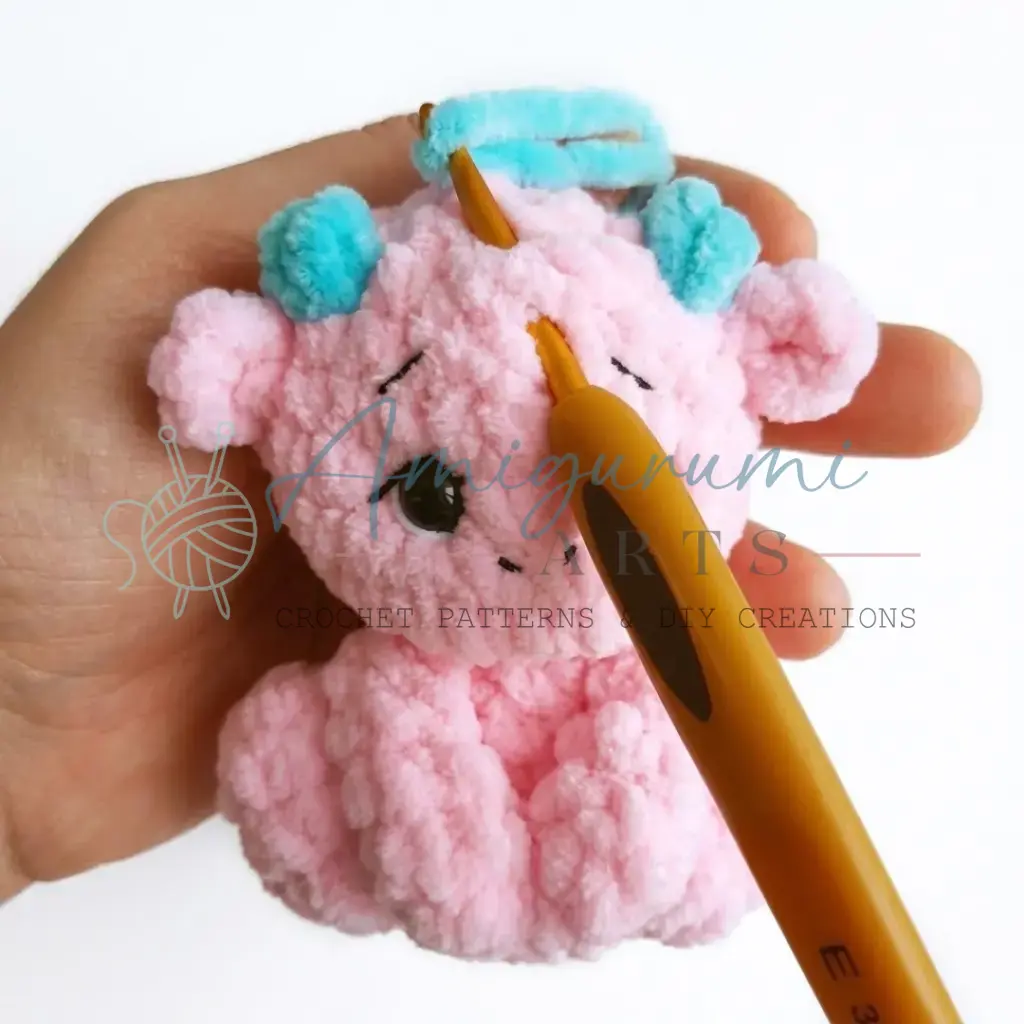
This pattern is sized for a 10 cm (4 inch) keychain. Scaling it up would require adjusting the stitch counts and potentially changing the yarn weight to maintain the correct proportions.
Pin This Crochet Pattern!