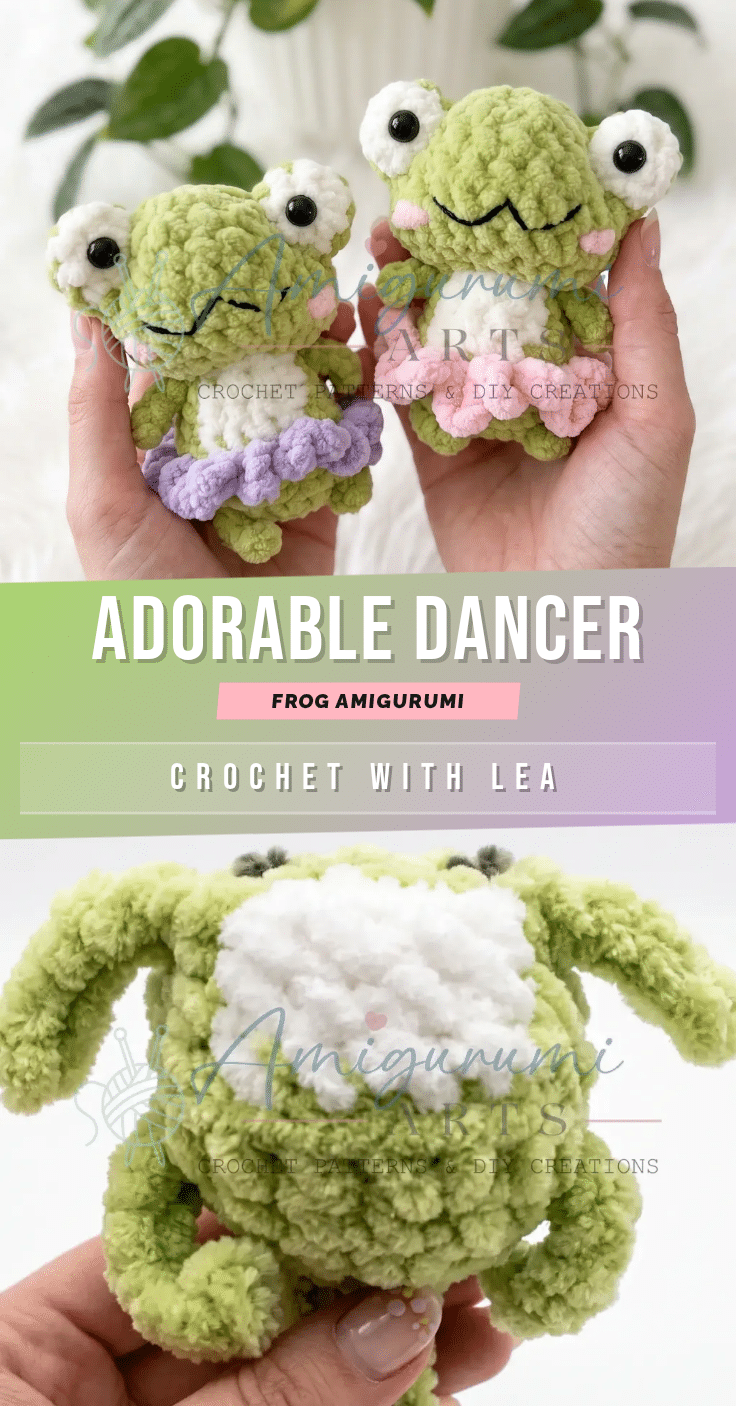
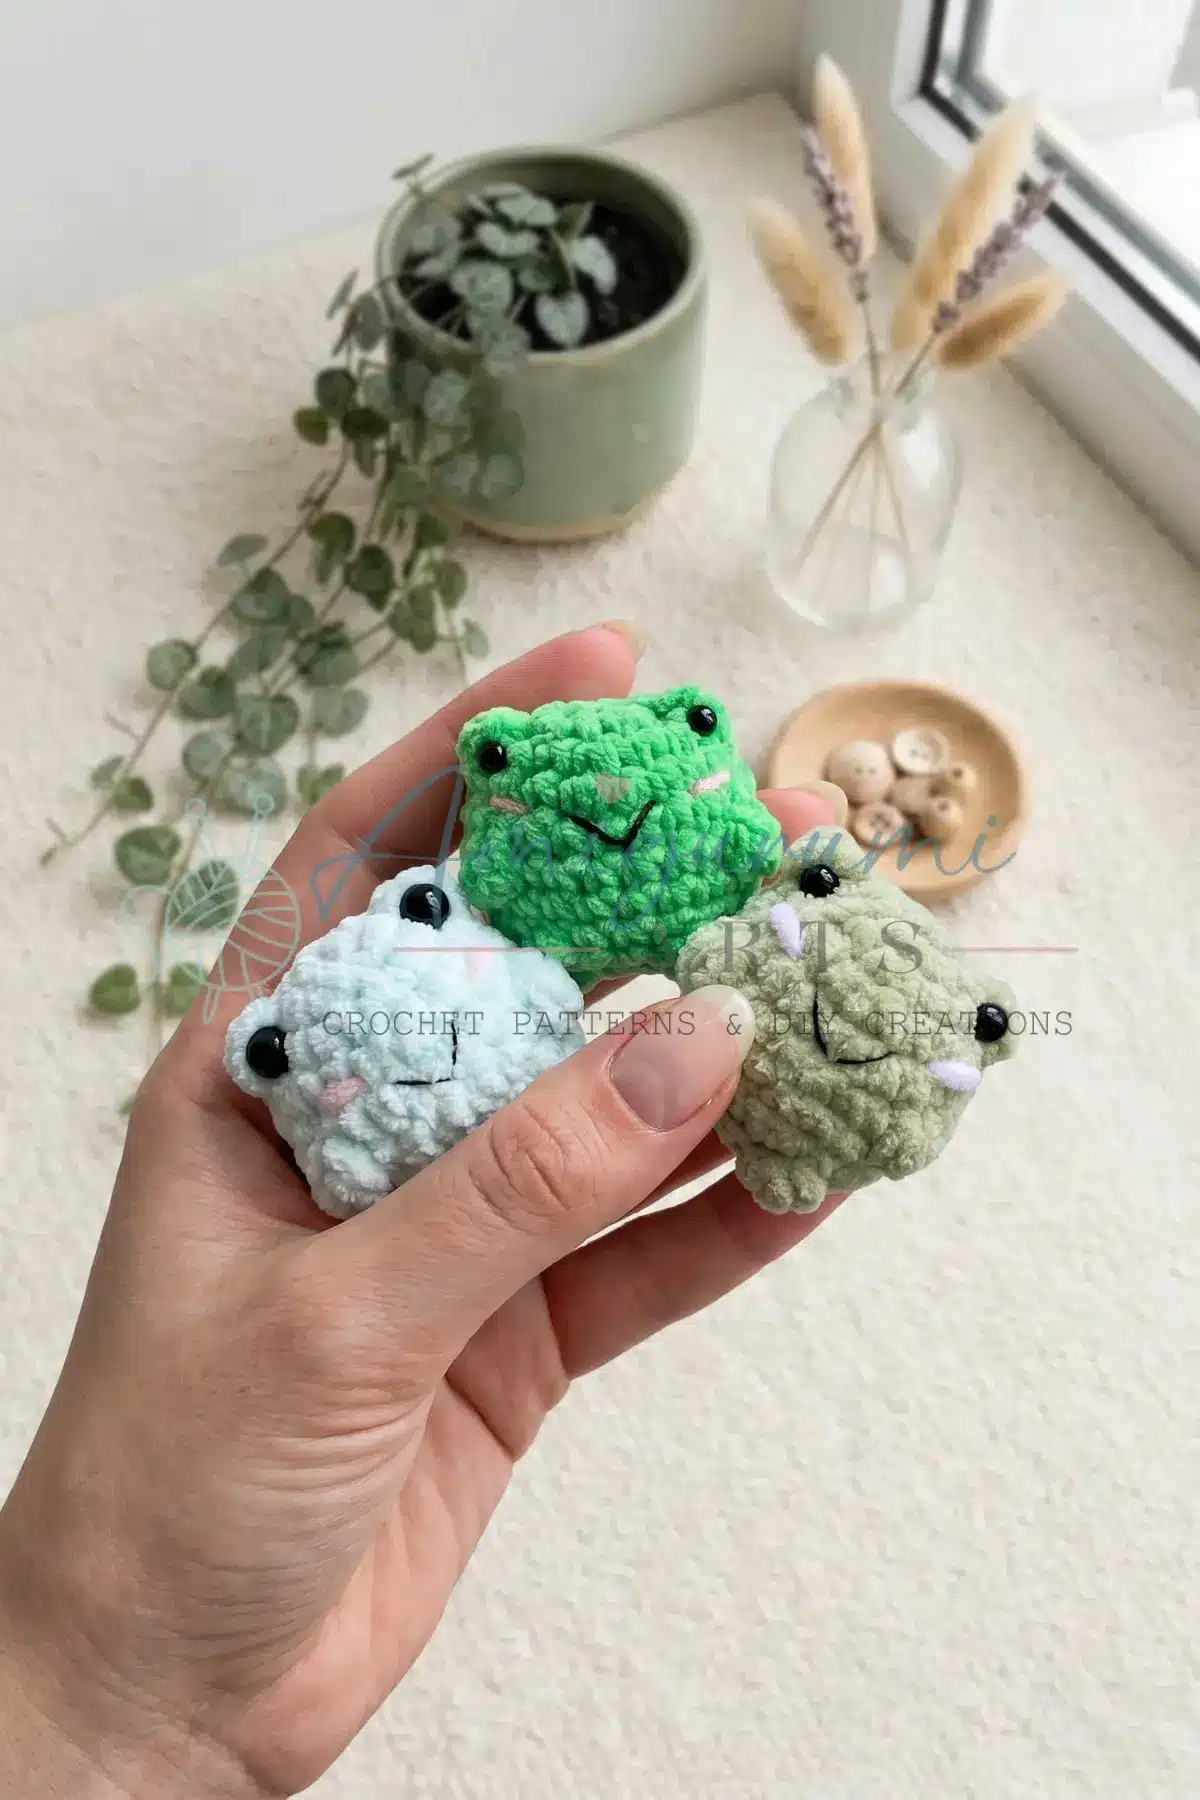
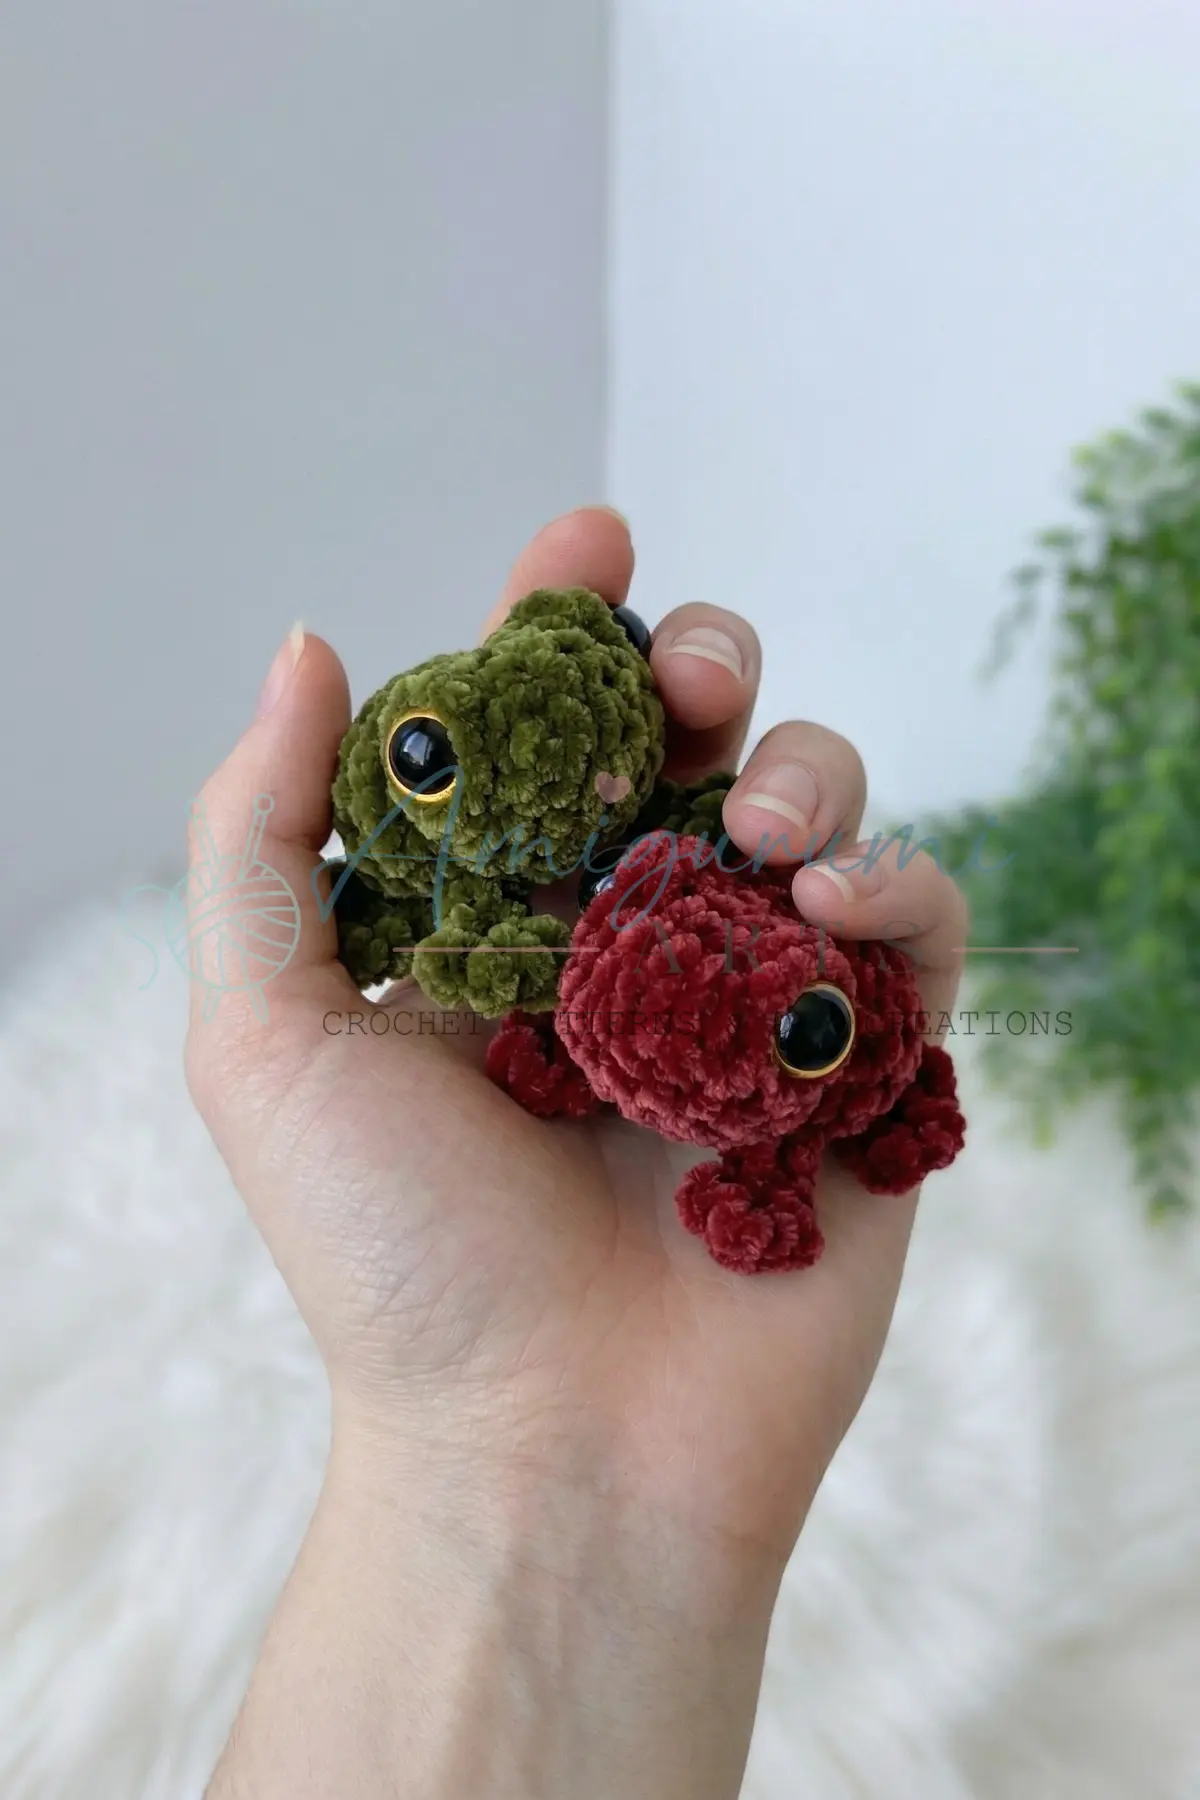
There is something undeniably delightful about a finished amigurumi that looks like it just stepped off the stage. This dancer frog amigurumi is a compact, personality-packed project that finishes at around 4 inches (10 cm) tall, making her the perfect gift, shelf ornament, or just a very satisfying afternoon of crochet. She’s worked almost entirely as one continuous piece—body and head are crocheted in a single spiral with tiny legs and arms built right into the rows as you go. The two-color belly adds a polished detail that looks much more complex than it actually is. If you’ve completed a basic amigurumi before, you’ll feel right at home; if this is one of your earlier projects, take your time with Rounds 5–8 of the body where the color changes happen, and you’ll be just fine. Grab your yarn, find a comfortable seat, and let’s get this little dancer on her feet.
Why the Finished Piece Stands Out
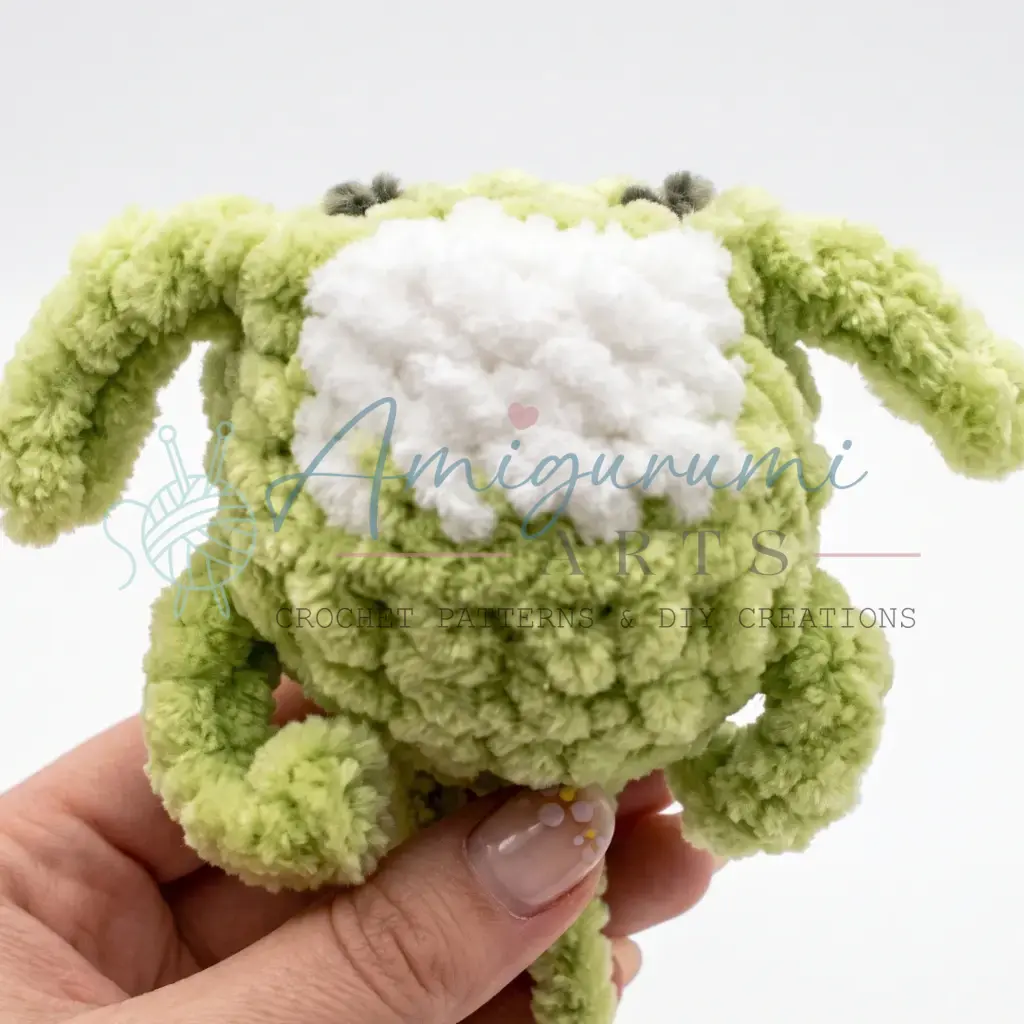
The dancer frog’s charm lies in her unique construction and expressive details. Unlike standard frogs that sit passively, this pattern builds the limbs directly into the body rounds, creating a dynamic, active posture. The use of a back-loop-only round specifically designed to hold the skirt loops adds a clever structural element that allows for a detachable or integrated lilac skirt without sewing. Furthermore, the needle-sculpting technique for the eye sockets gives the frog a wide, expressive face that stands out against the smooth pistachio-green yarn. The combination of the soft pistachio green, the crisp white belly, and the playful lilac skirt creates a color palette that is both modern and classic for amigurumi collectors.
Project Overview
This pattern is written in US crochet terminology. The body and head are worked in a continuous spiral; do not join at the end of each round. Place a stitch marker in the first stitch of each new round and move it up as you go. The stitch count at the end of each round is shown in parentheses: (12). The legs and arms are built directly into their respective rounds; read ahead before you begin those rounds so nothing catches you off guard. Stuff the body and head firmly as you work. The pattern notes when to pause for stuffing. The eyes in this pattern are crocheted separately (not safety-eye posts), then sewn onto the head, with 8 mm adhesive pupils glued into the center. The skirt is worked into the front loops left behind in Round 5 of the body after the main piece is complete. An offset stitch (referred to below as offset stitch, not counted) is used occasionally to keep the start-of-round marker centered on the back. Add it only when noted and do not count it in the round total.
Materials
- Yarn (main color — pistachio green): approximately 15 g of sport/DK-weight yarn
- Yarn (accent color — white): approximately 2 g, for the belly
- Yarn (accent color — lilac): a small amount, for the skirt
- Yarn (accent color — pink): a small amount, for the blush/cheeks
- Yarn (black): a small amount, for embroidering the smile
- Hook: US D-3 / 3.25 mm (use whichever hook in the US D–E range you are most comfortable with for tight amigurumi fabric)
- Adhesive safety eyes: 8 mm, 2 pieces
- Clear-drying craft glue (for securing the safety eye pupils)
- Strong thread (for needle-sculpting the face)
- Polyester fiberfill / stuffing
- Stitch markers
- Yarn needle / tapestry needle
- Scissors
Gauge and Finished Size
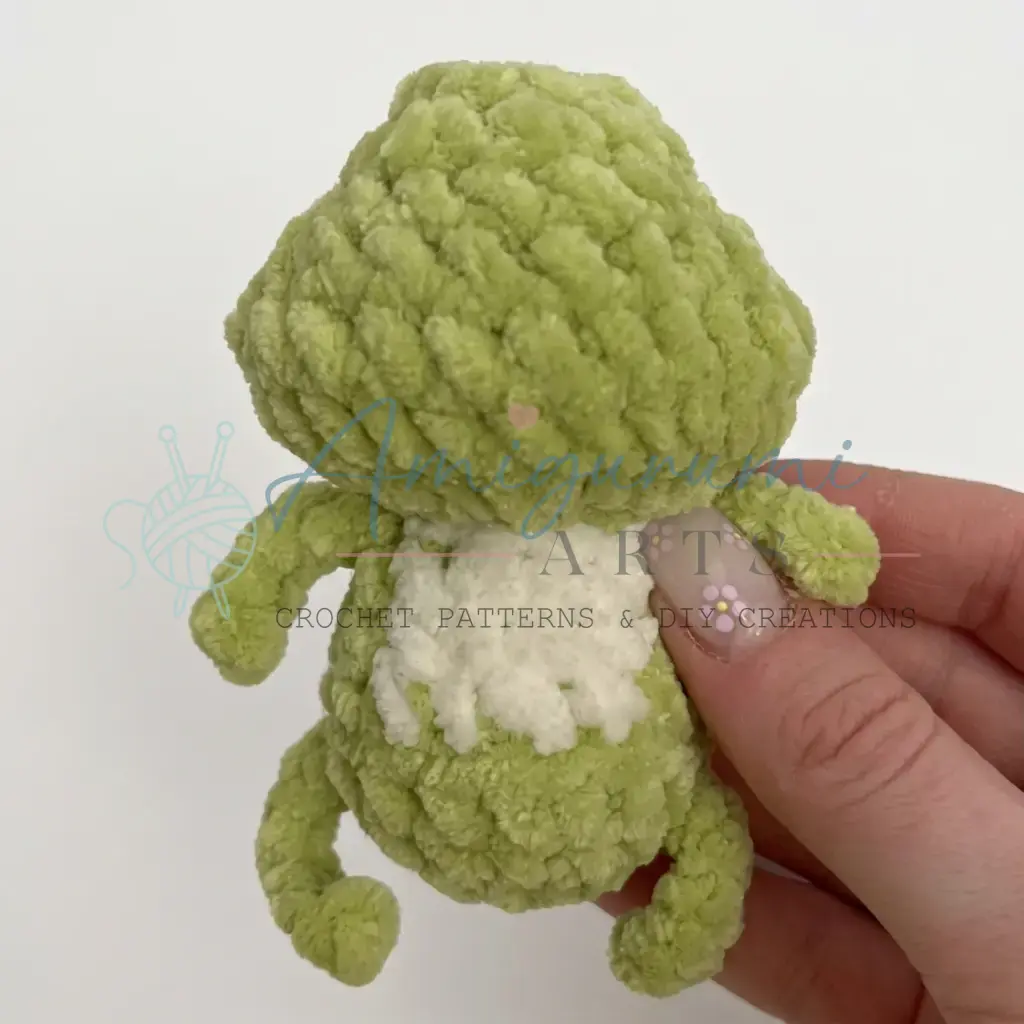
Finished height is approximately 4 inches (10 cm); your exact size may vary depending on tension and yarn weight.
Abbreviations
- BLO — Back Loop Only
- ch — Chain
- dec — Invisible Decrease (draw up a loop through the front loop of each of the next 2 sts, yarn over, pull through all 3 loops)
- FLO — Front Loop Only
- inc — Increase (2 sc in the same stitch)
- MR — Magic Ring
- sc — Single Crochet
- sl st — Slip Stitch
- SM — Stitch Marker
- st / sts — Stitch / Stitches
Pattern Instructions
Body
Keep the start-of-round marker centered on the back. Use an offset stitch when noted to maintain alignment. Stuff firmly as you go. The body begins with a foundation chain, not a magic ring.
Start with a foundation chain: ch 2, then work into the second chain from the hook to begin.
Rnd 1: 6 sc into the second ch from hook. (6)
Rnd 2: inc in each st around. (12)
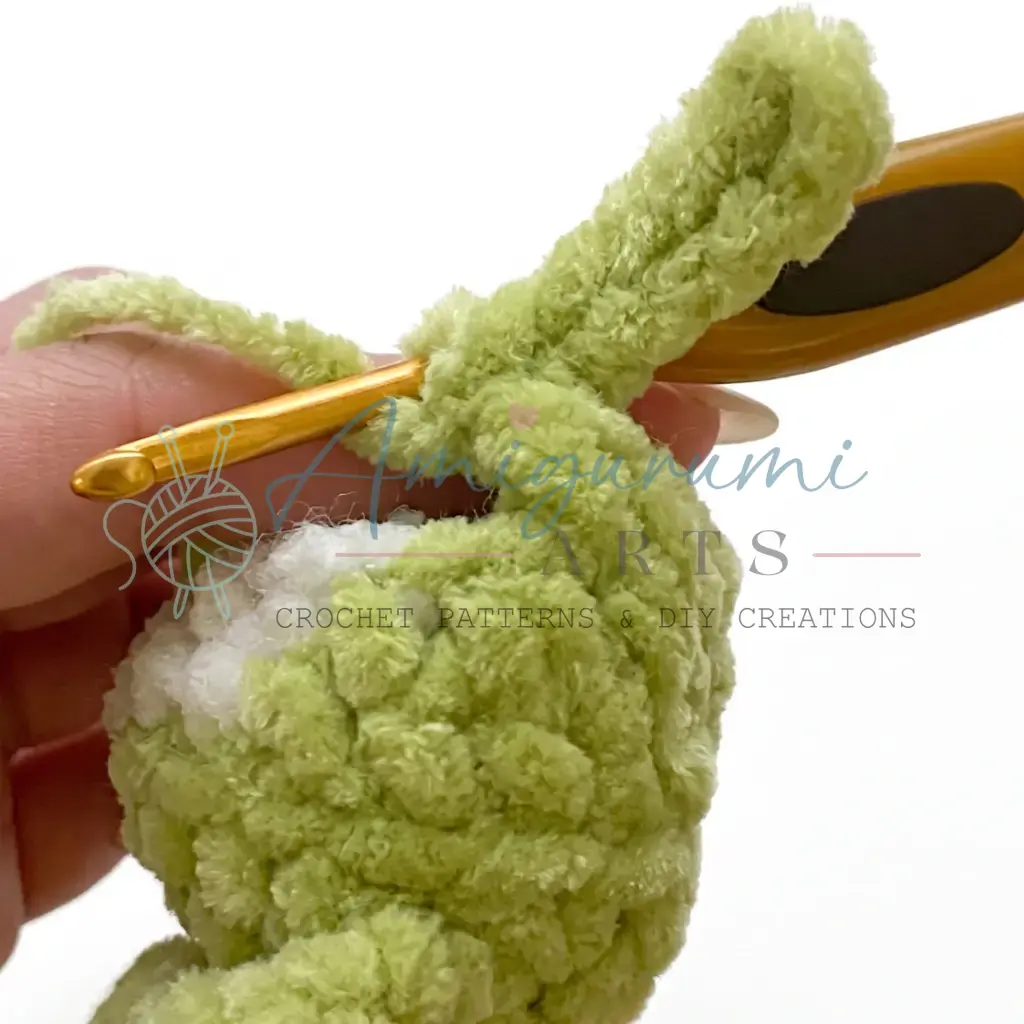
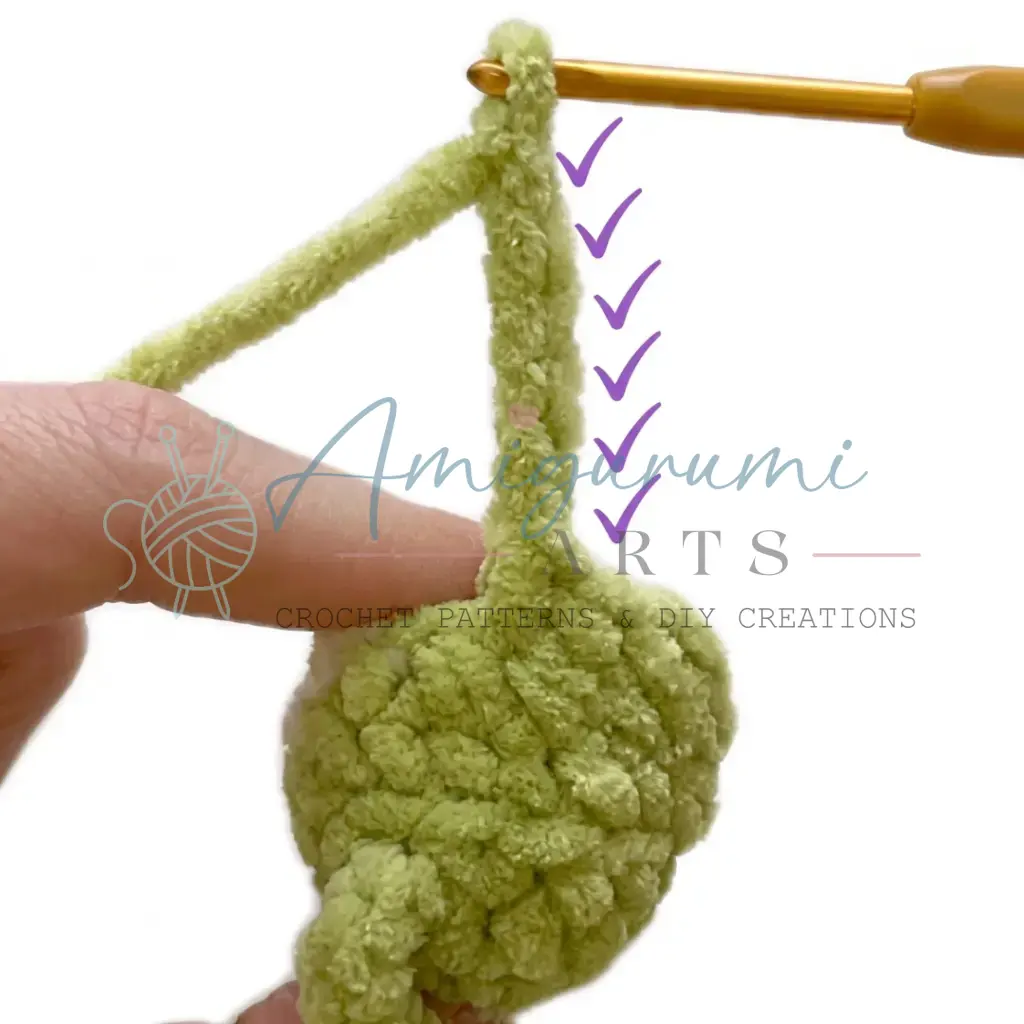
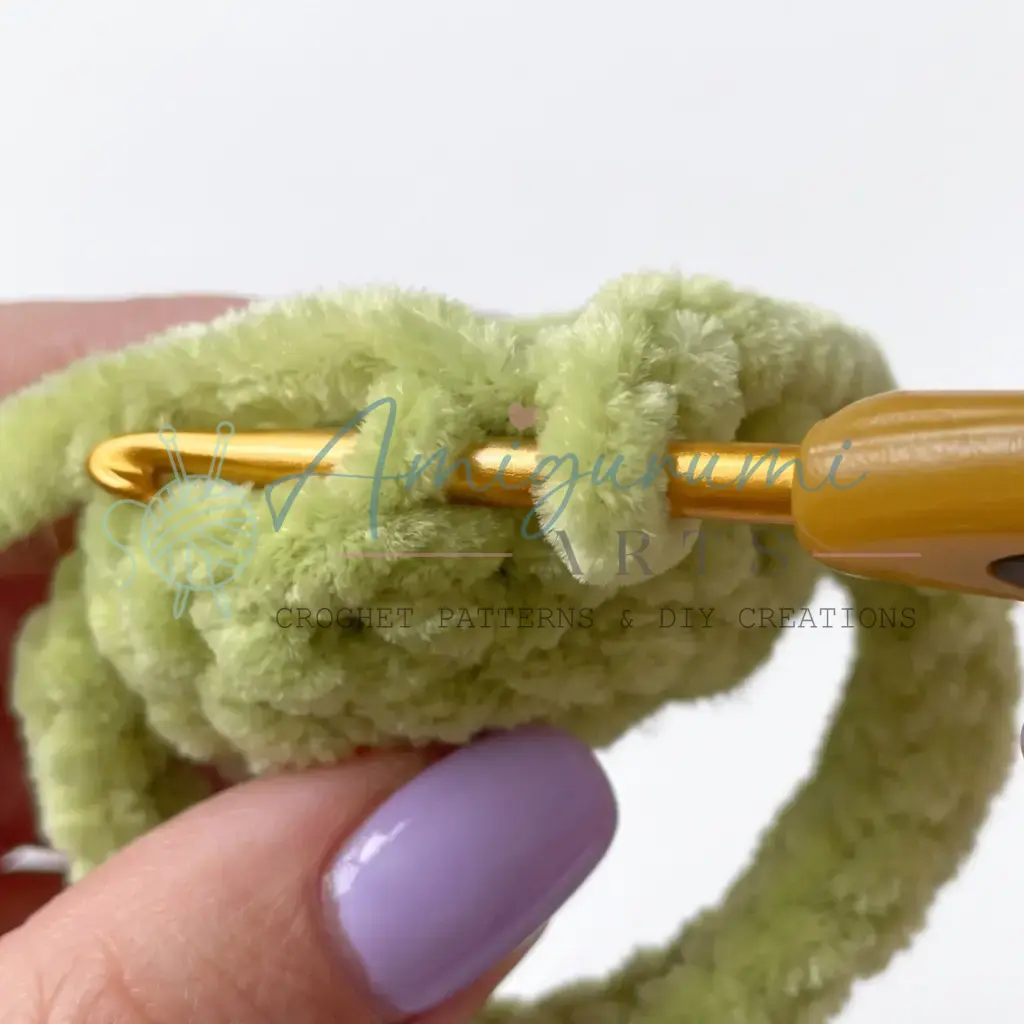
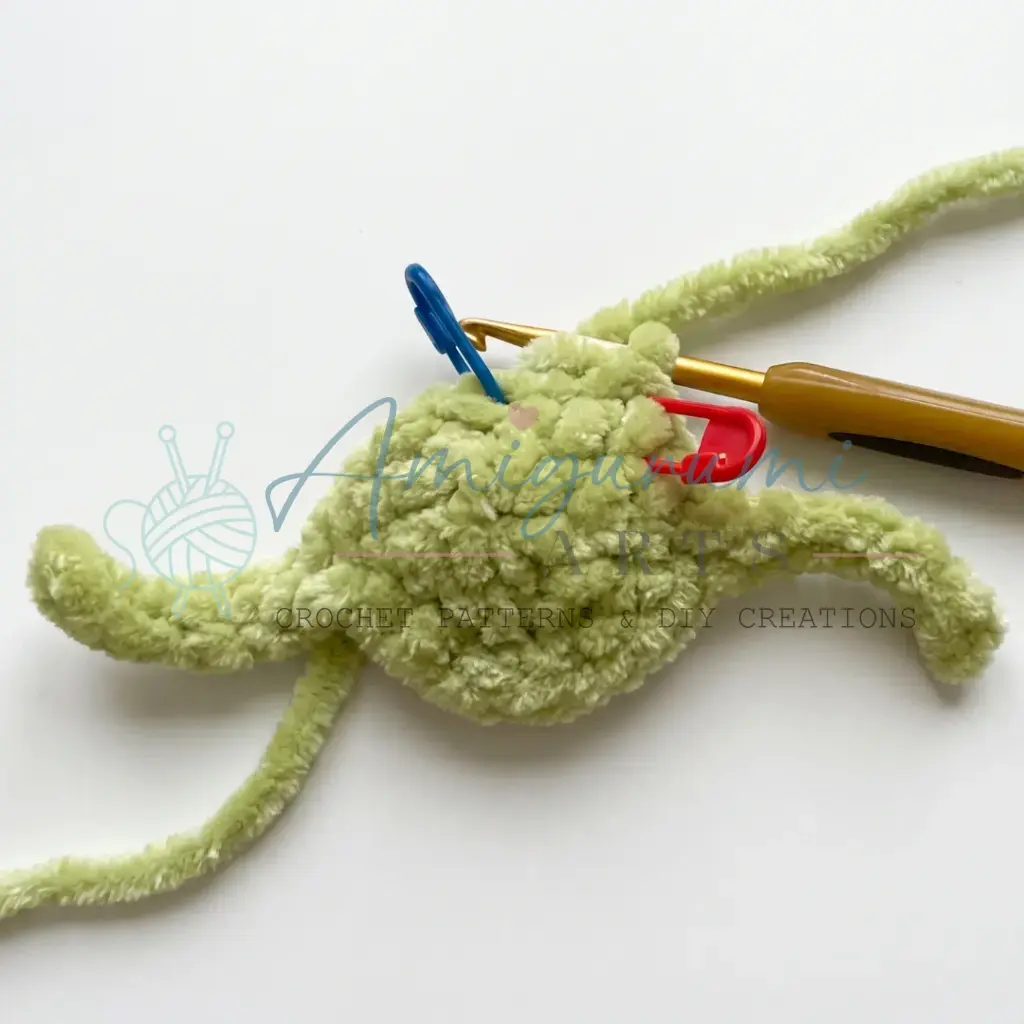
Rnd 3: 3 sc, Leg — ch 8, then starting in the second ch from hook work 7 sl st back along the chain; return to the body and continue — 6 sc, Leg (worked the same way), 3 sc. (12 body sts; 2 legs attached)
Rnd 4: 2 sc, inc repeat 4 times around. (16)
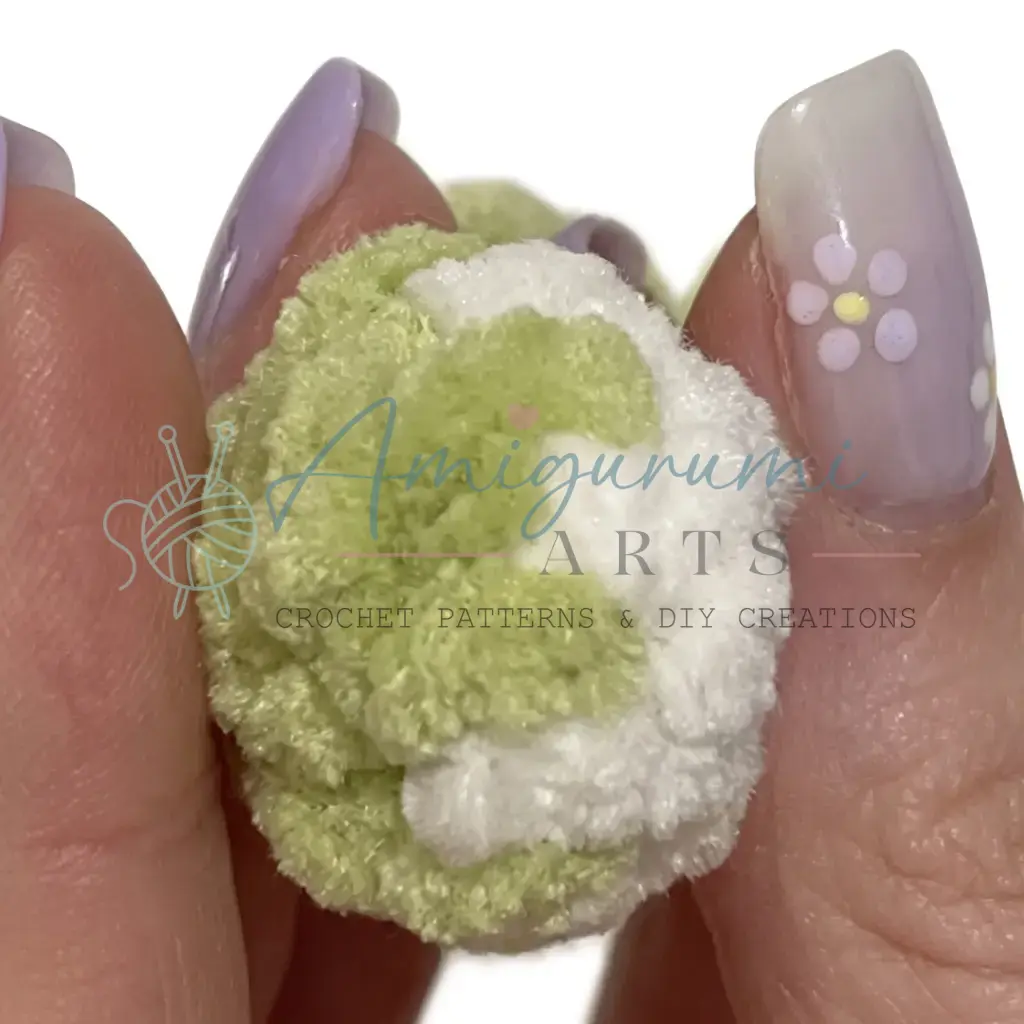
Rounds 5–8 introduce the white belly accent. Join white yarn at the appropriate point as described below. In Round 5 you will also work into the back loops only to leave the front loops free for attaching the skirt later.
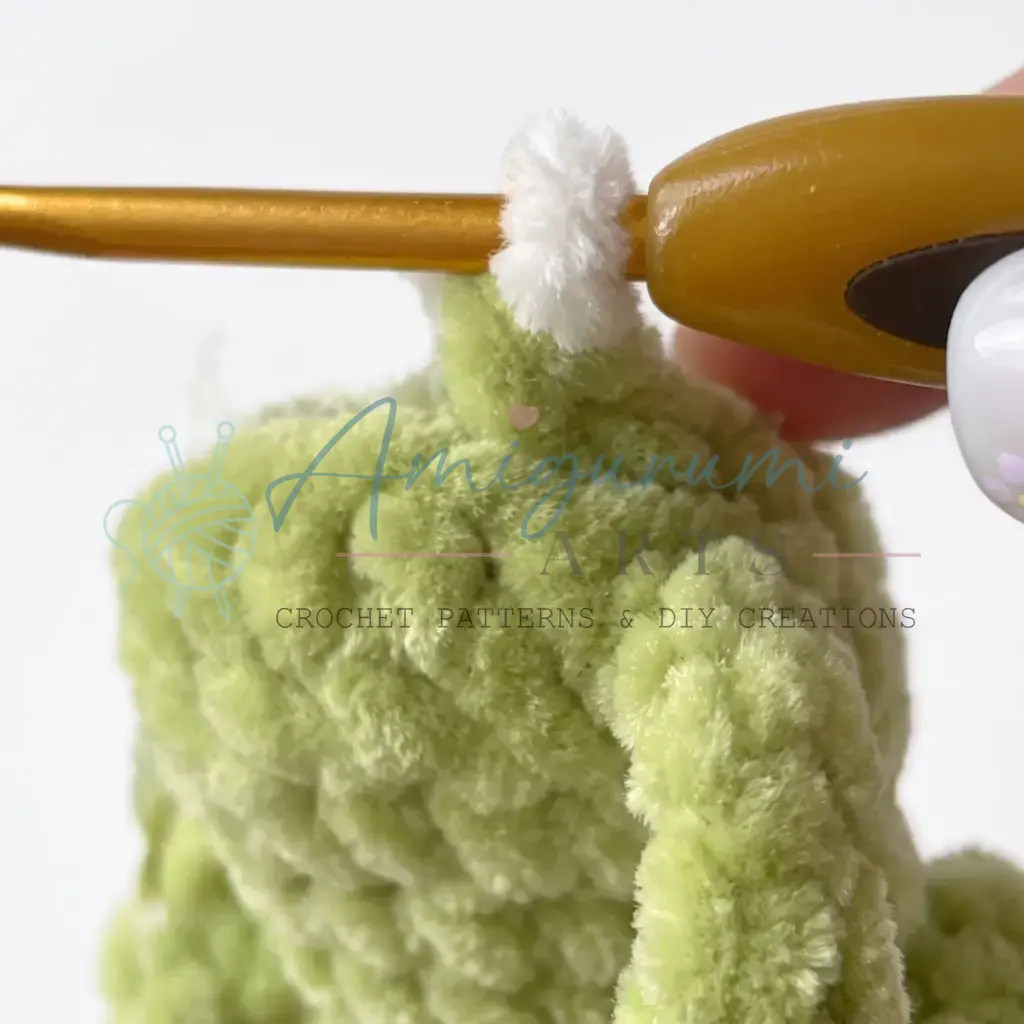
Rnd 5 (BLO): Main color: 6 sc in BLO; White: 4 sc in BLO; Main color: 6 sc in BLO. (16)
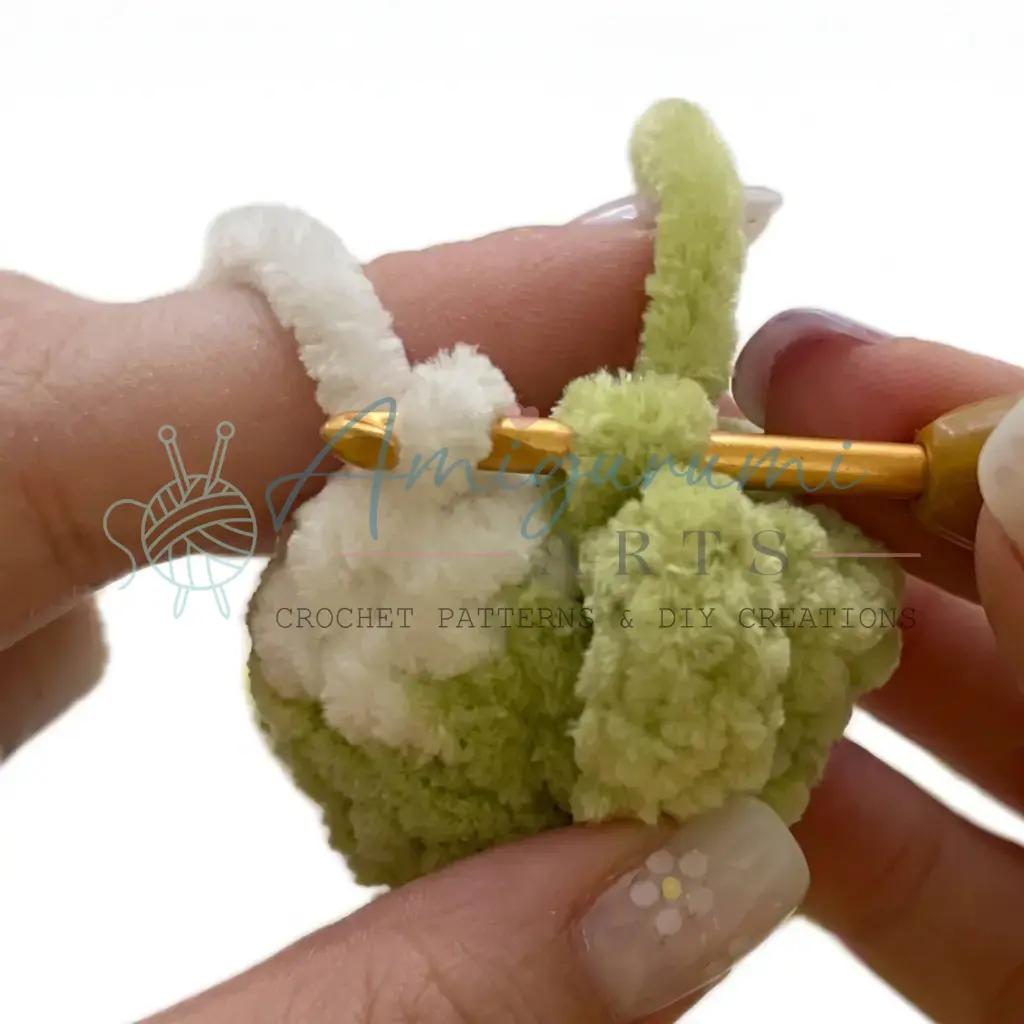
Rnd 6: Main color: 1 sc, 2 dec, 1 sc; White: 4 sc; Main color: 1 sc, 2 dec, 1 sc. (12)
Rnd 7: Main color: 3 sc, Arm — ch 6, starting in the second ch from hook work 5 sl st back along the chain; return to body — 1 sc; White: 4 sc; Main color: 1 sc, Arm (worked the same way), 3 sc. (12 body sts; 2 arms attached)
Rnd 8: Main color: 2 dec; White: 4 sc; Main color: 2 dec. (8) Add one offset stitch if needed to keep the marker centered — offset stitch, not counted. Cut and secure the white yarn. Do not cut the main color yarn — continue with it directly into the Head.
Head
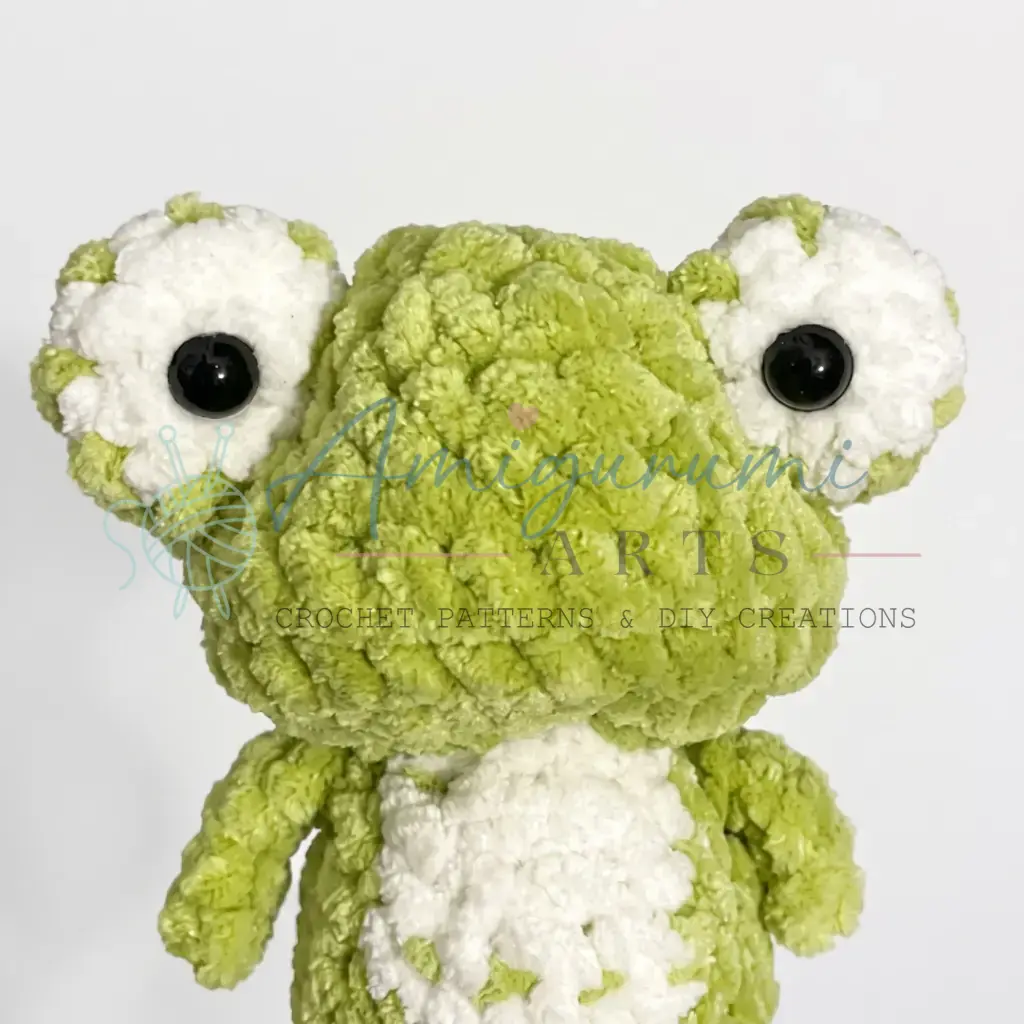
Keep the start-of-round marker centered on the back of the head. Watch your increases and decreases carefully — the shaping here creates the frog’s wide, expressive face. Continue stuffing firmly as you work. The head is worked as a direct continuation of the body using the main color yarn.
Rnd 1: inc in each st around. (16)
Rnd 2: 1 sc, inc repeat 8 times around. (24)
Rnd 3: 5 sc, 2 inc, 10 sc, 2 inc, 5 sc. (28)
Rnd 4: 2 sc, 4 dec, 8 sc, 4 dec, 2 sc. (20)
Rnd 5: 3 sc, 2 dec, 6 sc, 2 dec, 3 sc. (16)
Rnd 6: dec, 12 sc, dec. (14) Add one offset stitch if needed — offset stitch, not counted.
Rnd 7: 5 sc, 2 dec, 5 sc. (12)
Rnd 8: 6 dec. (6)
Cut the yarn, pull the tail through all remaining 6 sts to close the opening, and weave the end inside the head.
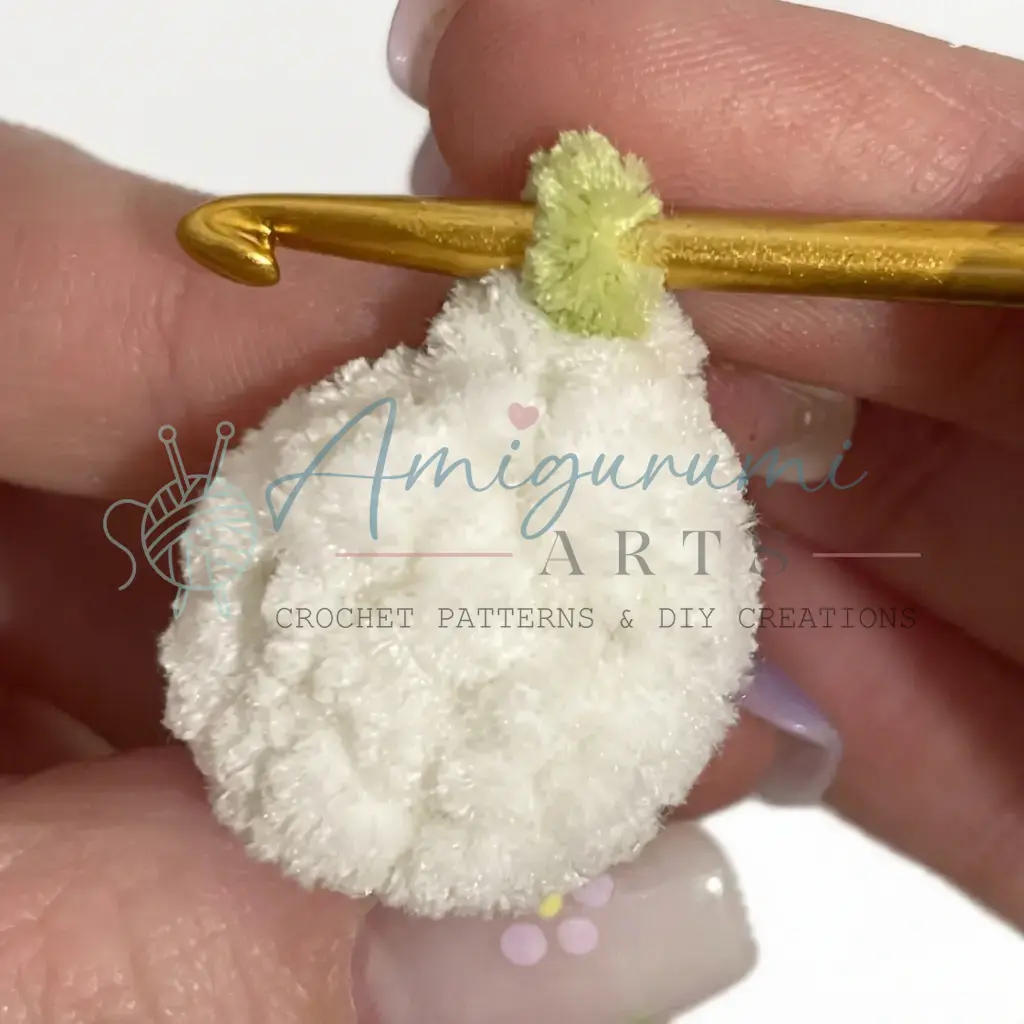
Eyes (make 2)
Do not track the start-of-round marker for the eyes. Do not stuff. Begin with white yarn. The eyes start with a foundation chain, not a magic ring.
Start with white yarn: ch 2, then work into the second chain from hook.
Rnd 1: 4 sc into the second ch from hook. (4)
Rnd 2: inc in each st around. (8)
Switch to main color (pistachio green). Cut and secure the white yarn.
Rnd 3: sc in each st around. (8)
Rnd 4: 4 dec. (4)
Leave a long yarn tail for sewing. Pull the tail through the remaining 4 sts to close the opening, draw the tail down through the base of the eye ready for attaching. Make two.
Skirt
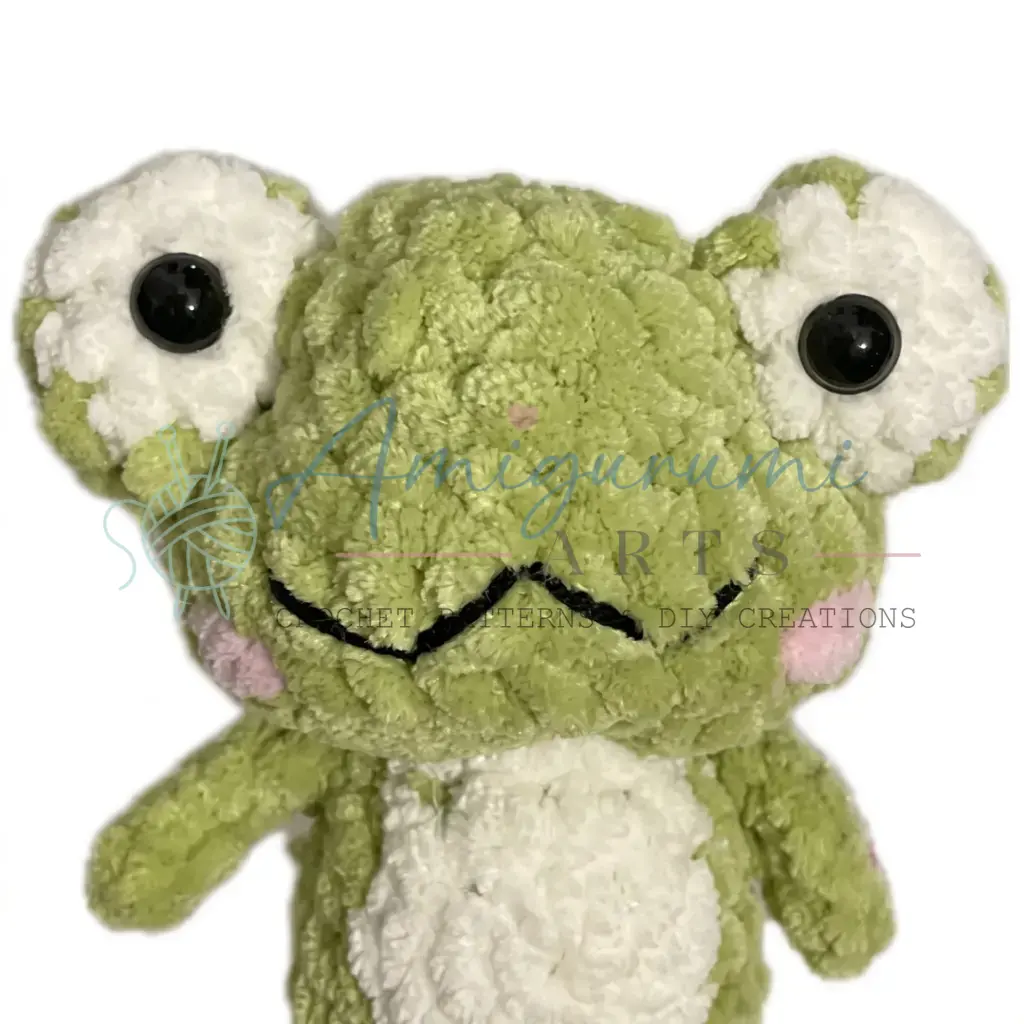
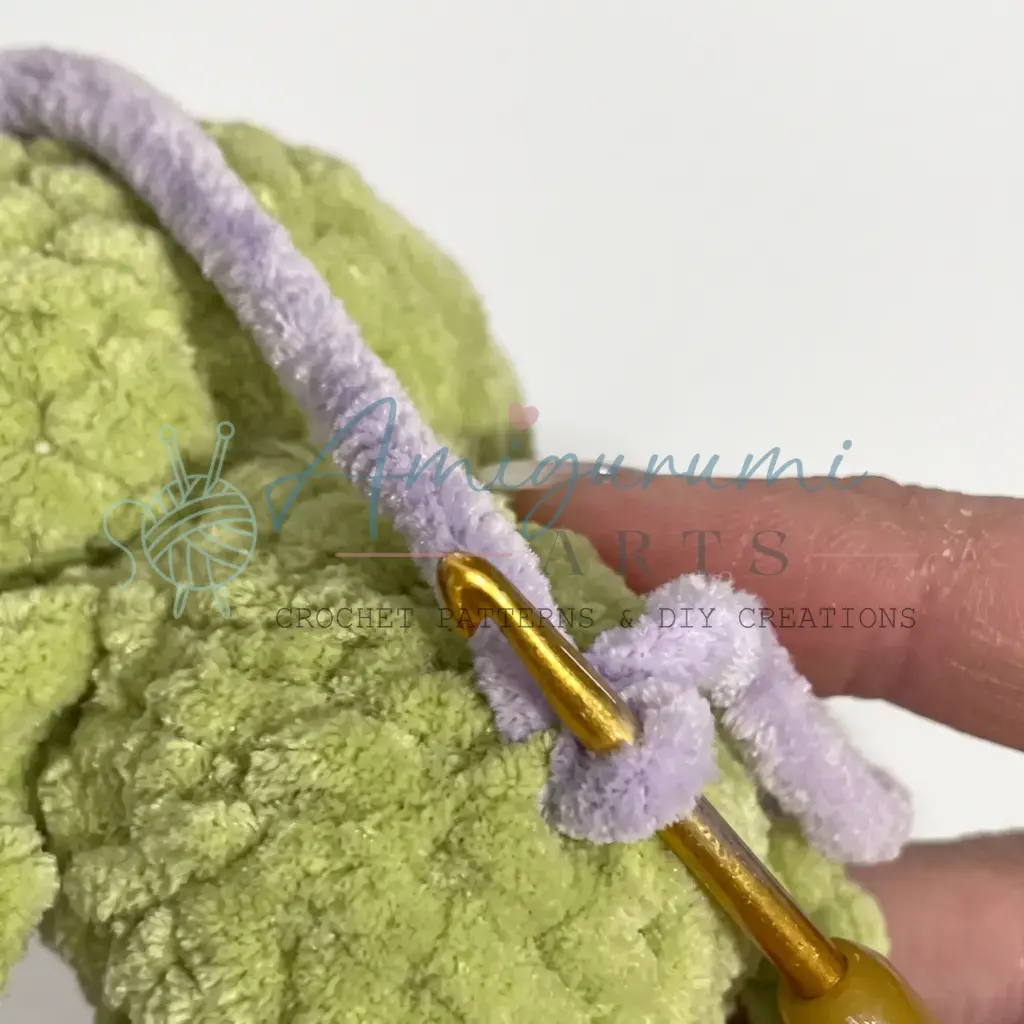
Use lilac yarn. The skirt is worked into the front loops that were left free in Round 5 of the body — there are 16 front loops available around that round. Join the yarn at the back.
Attach the lilac yarn to a front loop at the back of Round 5 of the body. Work to the left.
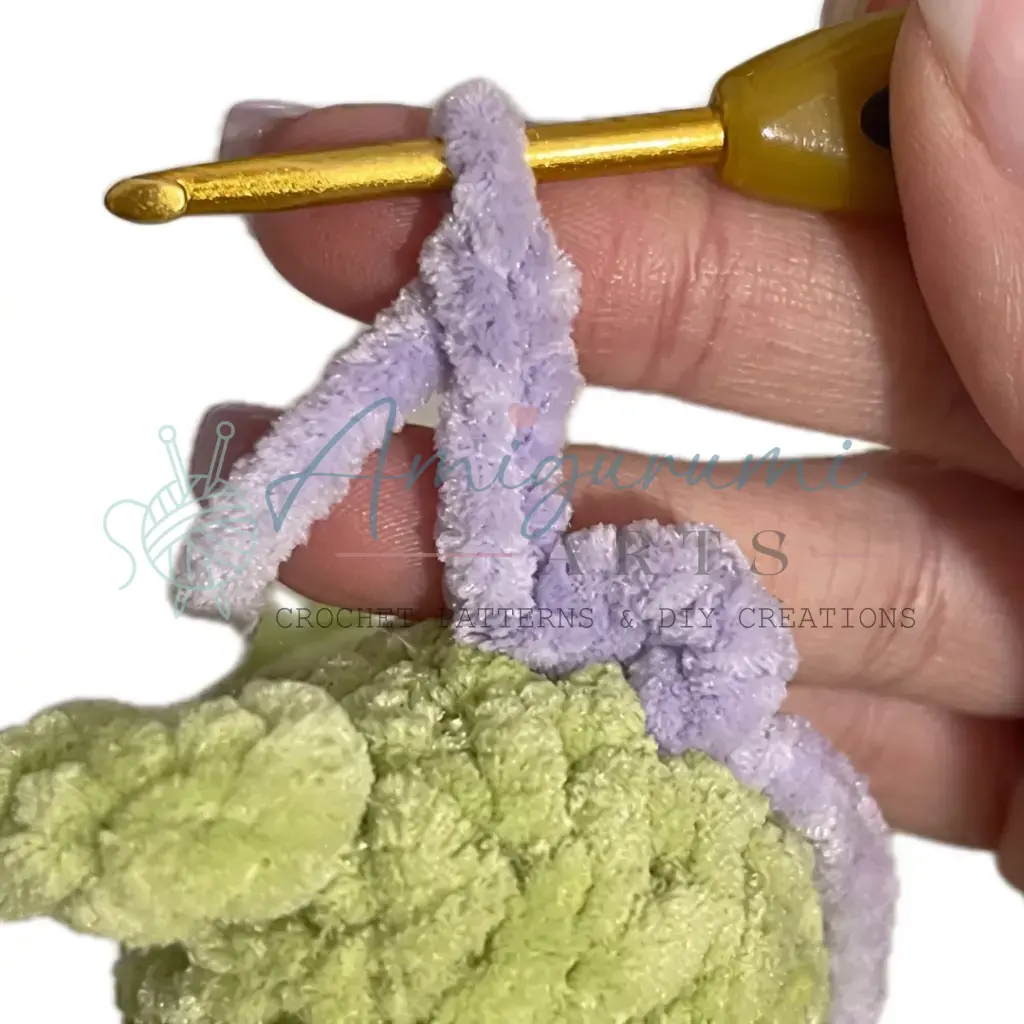
Skirt edging repeat (work 16 times): ch 4, sl st into the next front loop. Repeat around for all 16 front loops. If a small gap remains at the join, work one additional repeat and sl st into the very first front loop where you began.
Assembly
Putting Your Dancer Frog Together
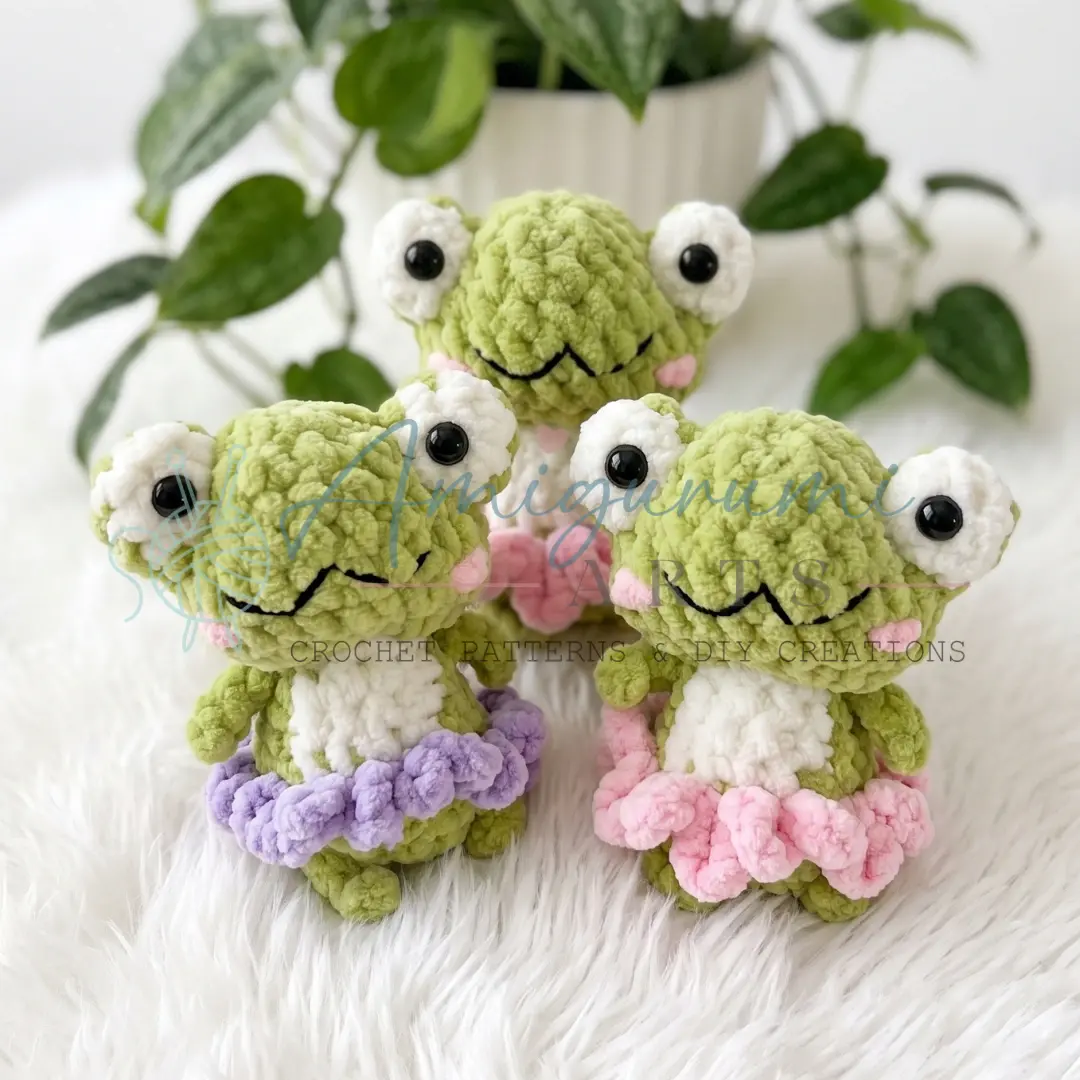
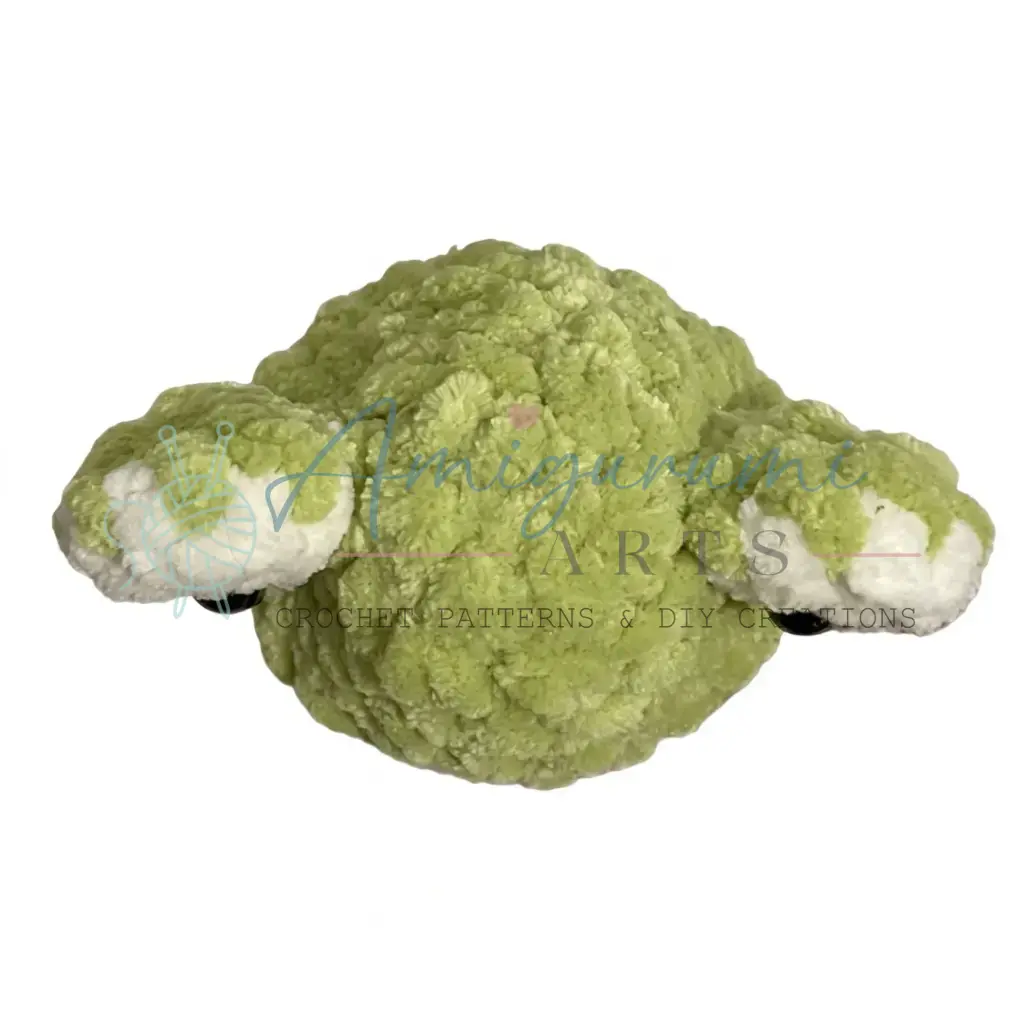
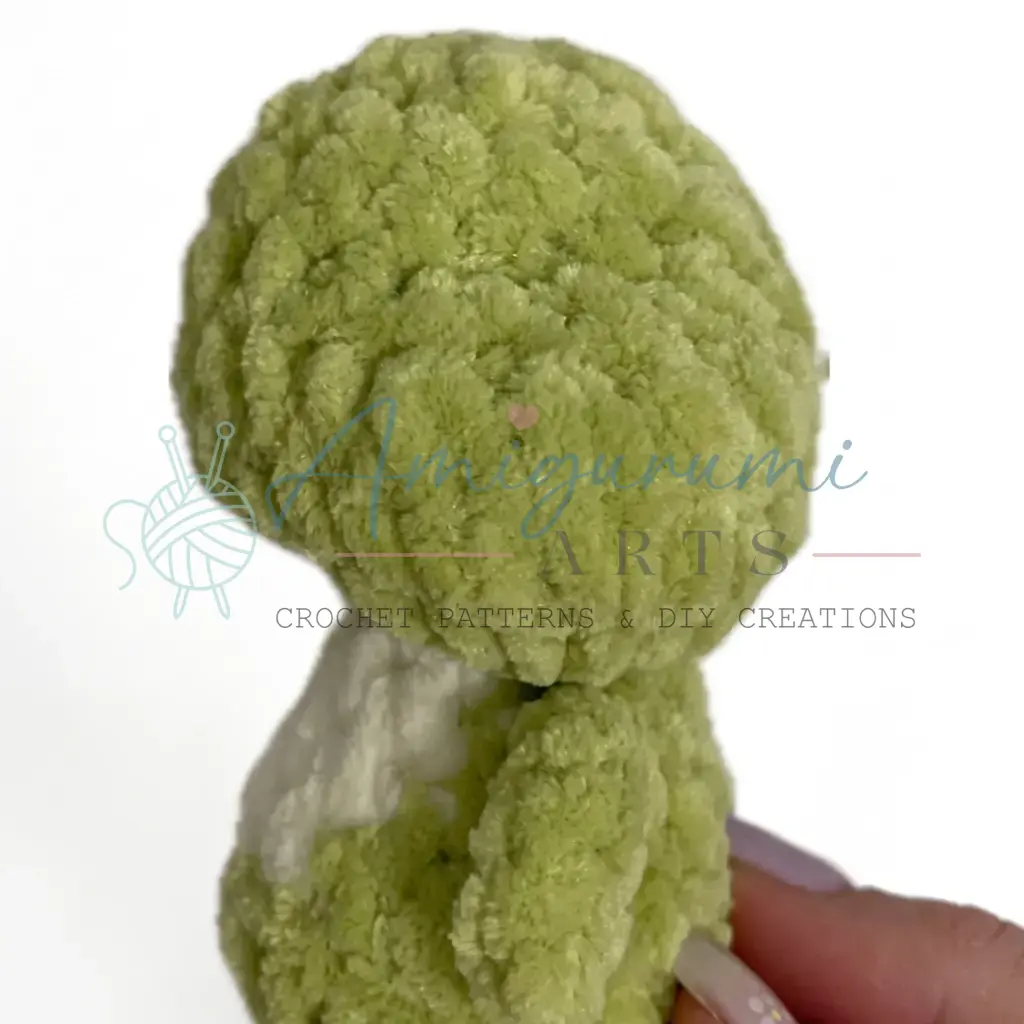
Needle-sculpt the eye sockets. Thread a length of strong thread onto your yarn needle. Working through the head, pull the needle through to create a slight indent at the eye positions, pulling the yarn needle through the head to create a slight indent around the eyes — enter at a center-front anchor point between Rounds 1 and 2 of the head, pass through to the indent position at approximately Rounds 4–5 (about 3 stitches apart per eye socket), back to center front, and repeat for the second eye socket. Pull gently but firmly to create a soft dimple on each side. Secure the thread inside the head.
Sew on the crocheted eyes. Position each eye at the indented point on the head. Using the long yarn tail, sew each eye firmly to the head with whipstitches worked around the base, keeping the seam as close to the head surface as possible. Pull the tail through to the inside and secure.
Attach the safety eye pupils. Apply a small amount of clear-drying craft glue to the back of each 8 mm adhesive eye and press one firmly into the center of Round 1 of each crocheted eye. Allow to dry completely before handling.
Embroider the smile. Using a length of thin black yarn or embroidery thread and your yarn needle, stitch a small curved smile on the front of the head beneath the eyes. A simple two- or three-stitch curve works well.
Add blush (optional). Using pink yarn, make two small straight stitches side by side on each cheek for a soft rosy flush.
Weave in all remaining ends.
Tips
- Keep your tension tight throughout the body and head. Amigurumi needs a firm, close fabric so the stuffing doesn’t show through. If you can see gaps between your stitches, try going down half a hook size. The frog’s face in particular benefits from even, consistent tension it makes the needle-sculpted eye sockets look much cleaner.
- Work the leg and arm chains slowly. Rounds 3 and 7 of the body require you to chain, work slip stitches back along the chain, and return to the body all without losing your place in the round. Count your chain stitches twice before you begin each limb, and use a finger to hold the chain taut as you slip stitch back. It becomes surprisingly quick once you’ve done the first leg.
- Don’t overstuff before you’re ready. The body narrows and then expands into the head, so overstuffing early can make shaping the decrease rounds difficult. Add fiberfill gradually a small amount every few rounds works better than one large addition at the end.
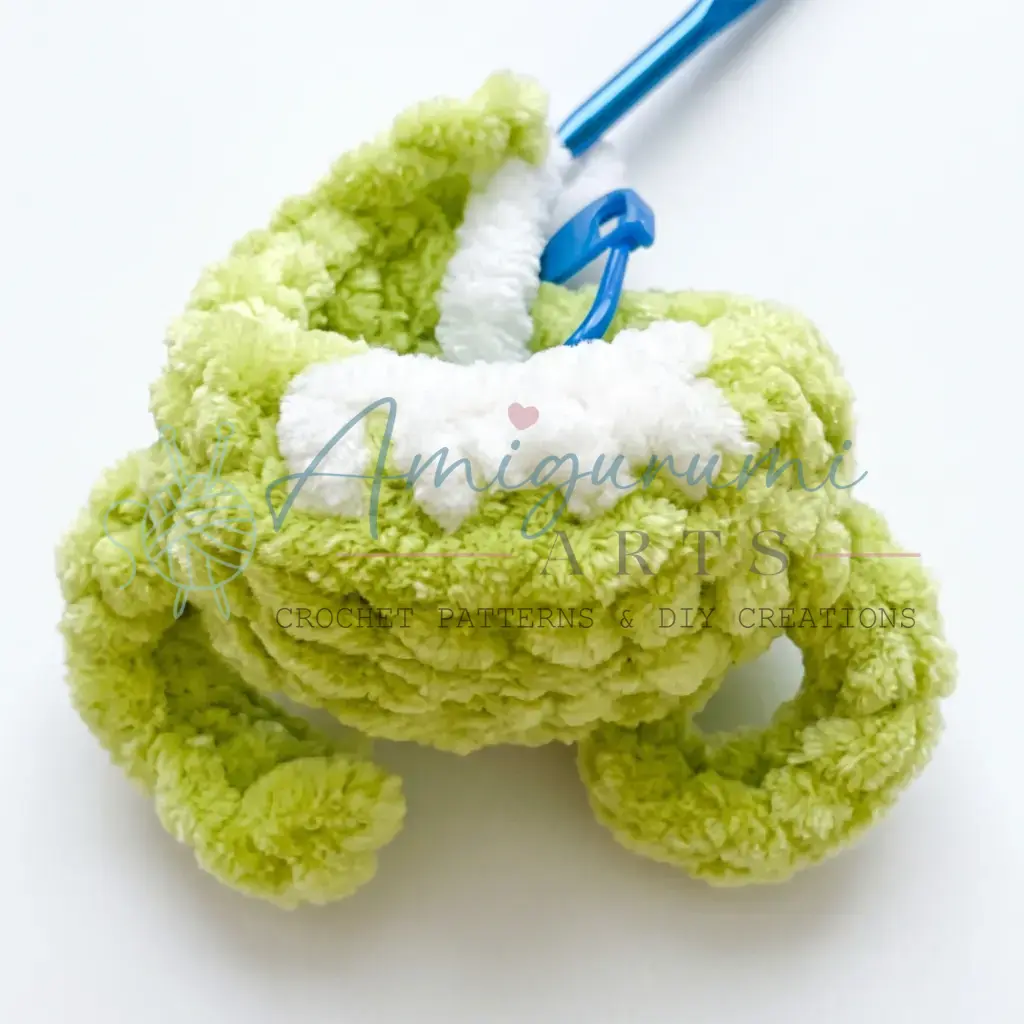
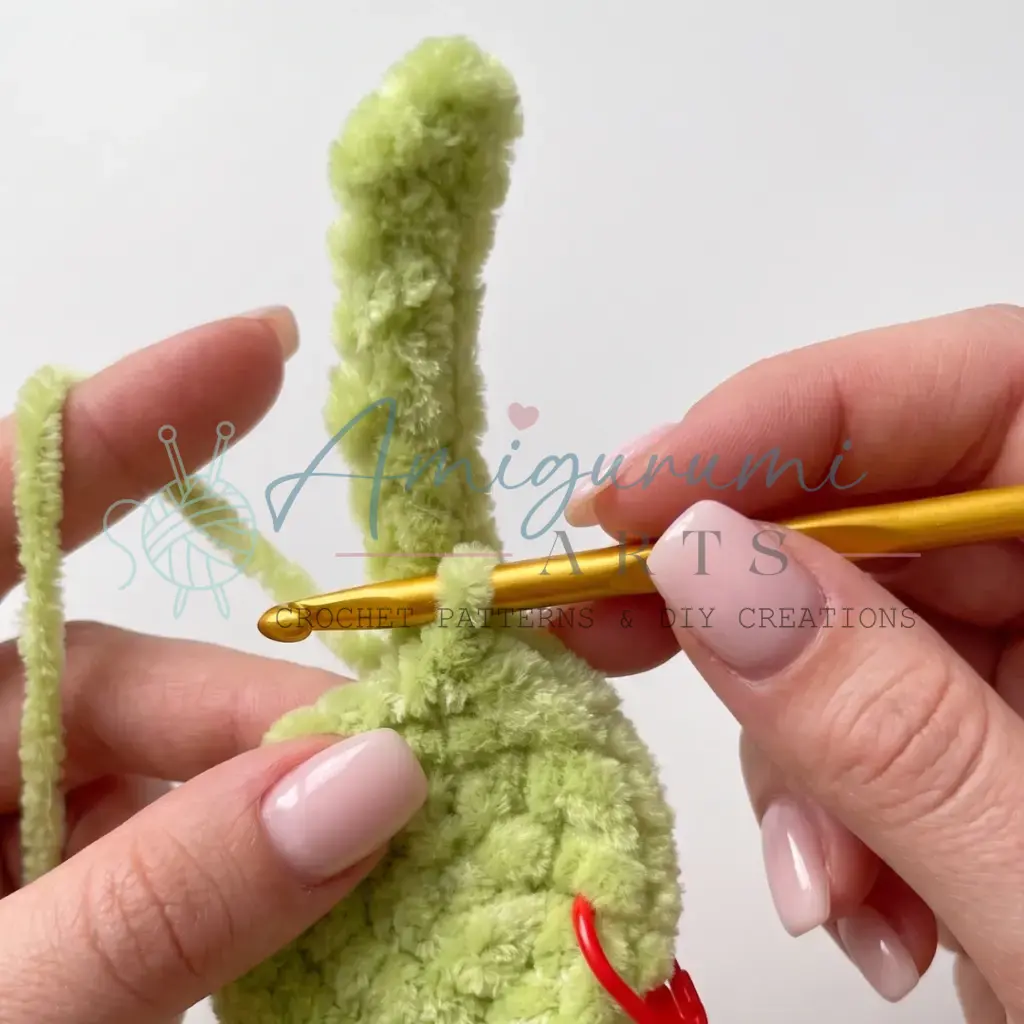
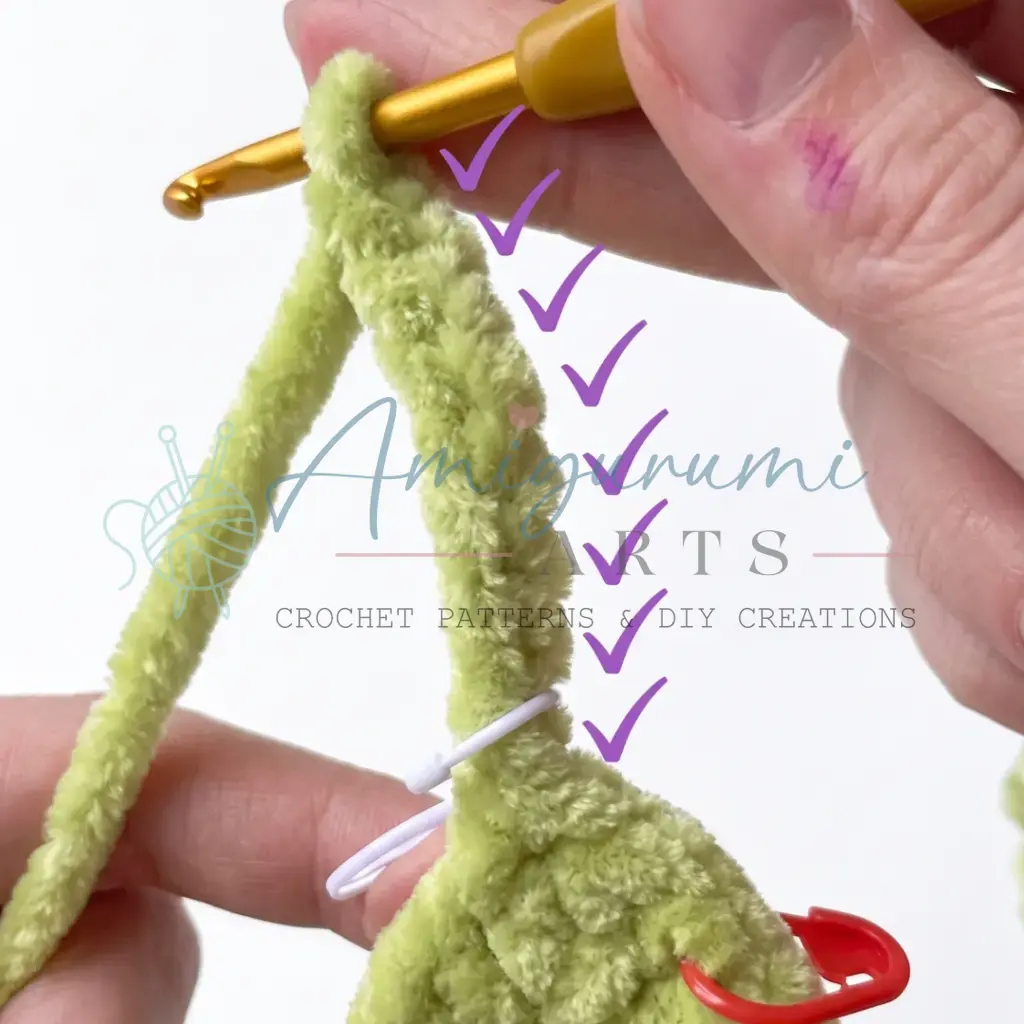
- The BLO round is the skirt’s foundation protect those front loops. In Round 5 of the body, you work through the back loops only specifically to leave the front loops free for the skirt. Use a stitch marker or a length of contrast yarn to mark that round as soon as you finish it, so you can easily find those loops later.
- Needle-sculpting the face makes a big difference. The step where you pull yarn through the head to create slight indents at the eye positions might feel fiddly the first time, but it’s what gives this frog her wide, expressive look. Work slowly, pull with consistent tension on both sides, and check from the front frequently as you go.
FAQs
What hook size should I use?
The pattern recommends a US D-3 / 3.25 mm hook. However, you can use whichever hook in the US D–E range you are most comfortable with, provided you aim for tight amigurumi fabric.
How do I attach the skirt?
The skirt is worked directly into the front loops left free in Round 5 of the body. Join the lilac yarn at the back of the body and work the edging repeat (ch 4, sl st into the next front loop) 16 times around.
Are the eyes safety eyes?
No, the eyes are crocheted separately using yarn. You then glue 8 mm adhesive safety eye pupils into the center of the crocheted eye rounds.
Do I join rounds?
No, the body and head are worked in a continuous spiral. Do not join at the end of each round.
How do I create the eye sockets?
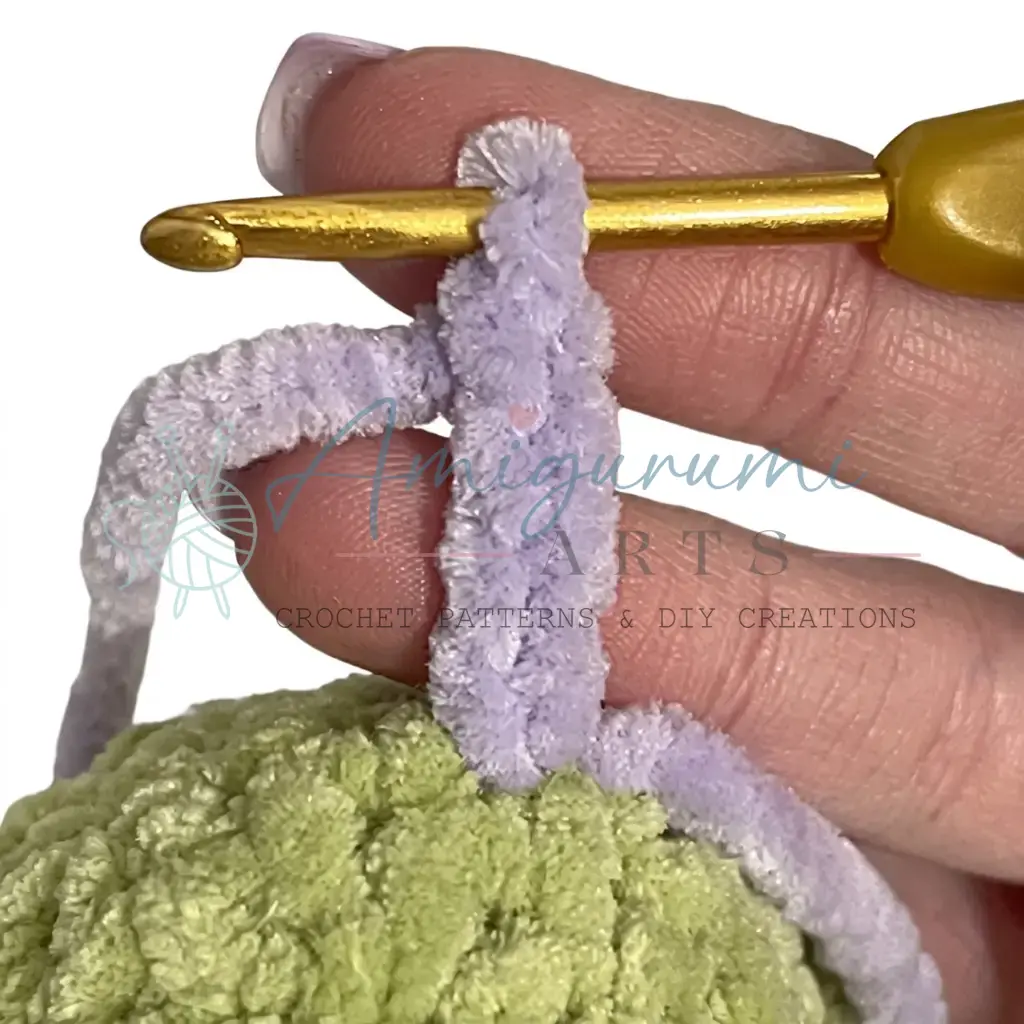
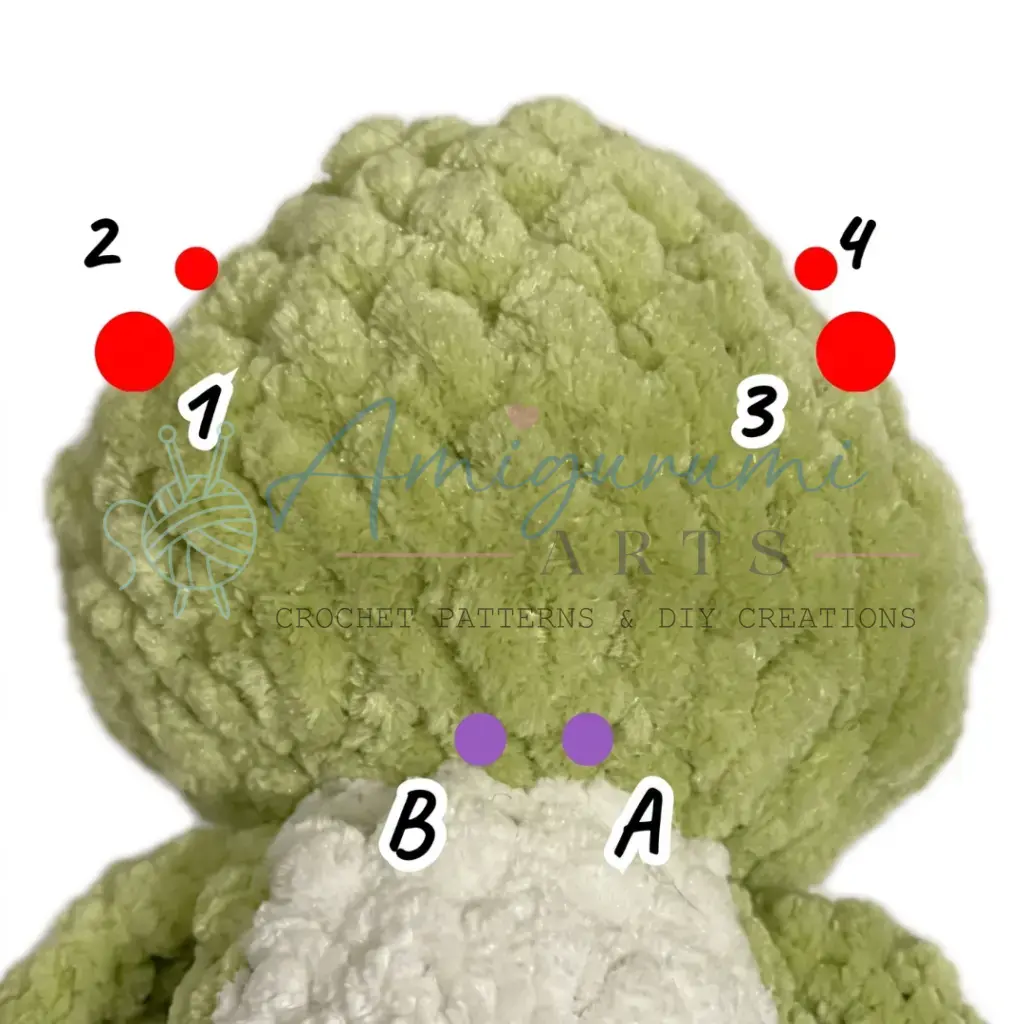
You needle-sculpt the sockets by threading strong thread through the head from the center front to the eye positions (Rounds 4–5) and back, pulling gently to create a soft dimple.
Pin This Crochet Pattern!