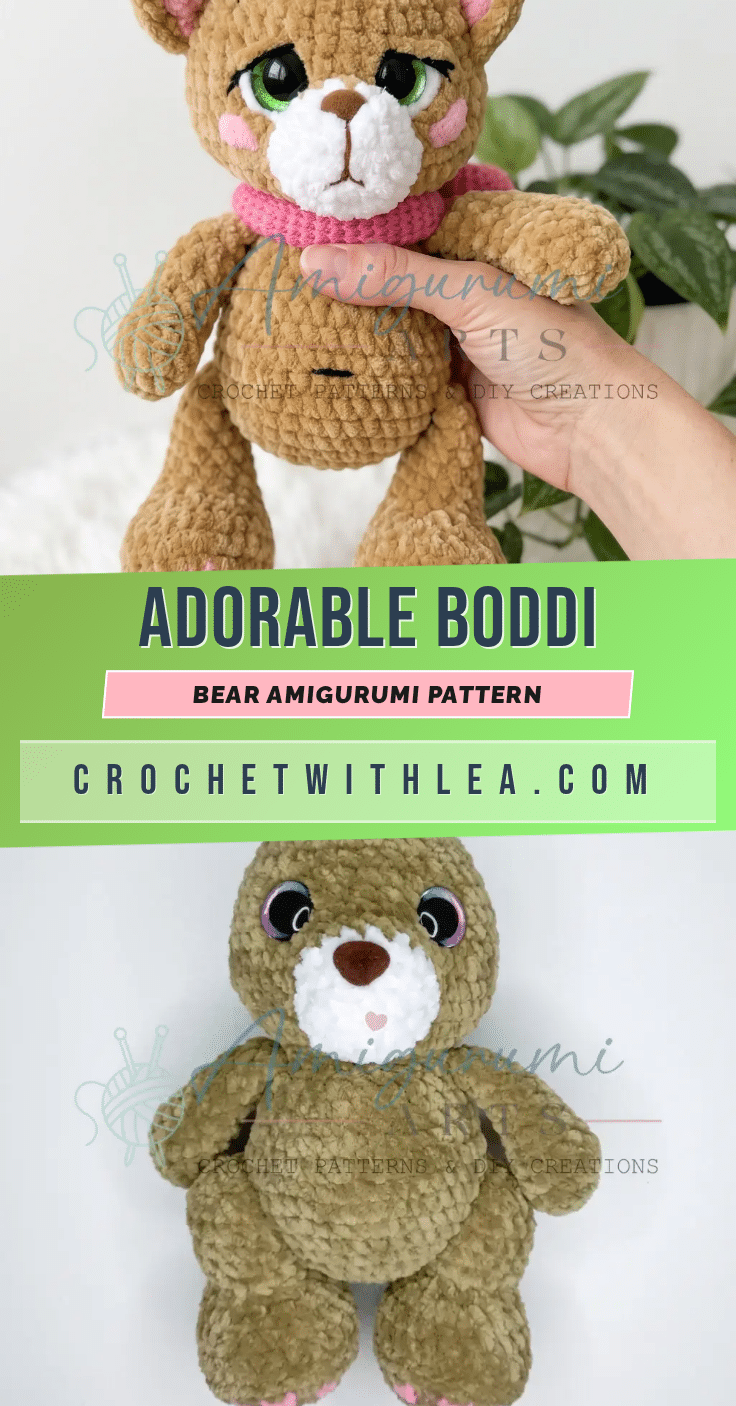
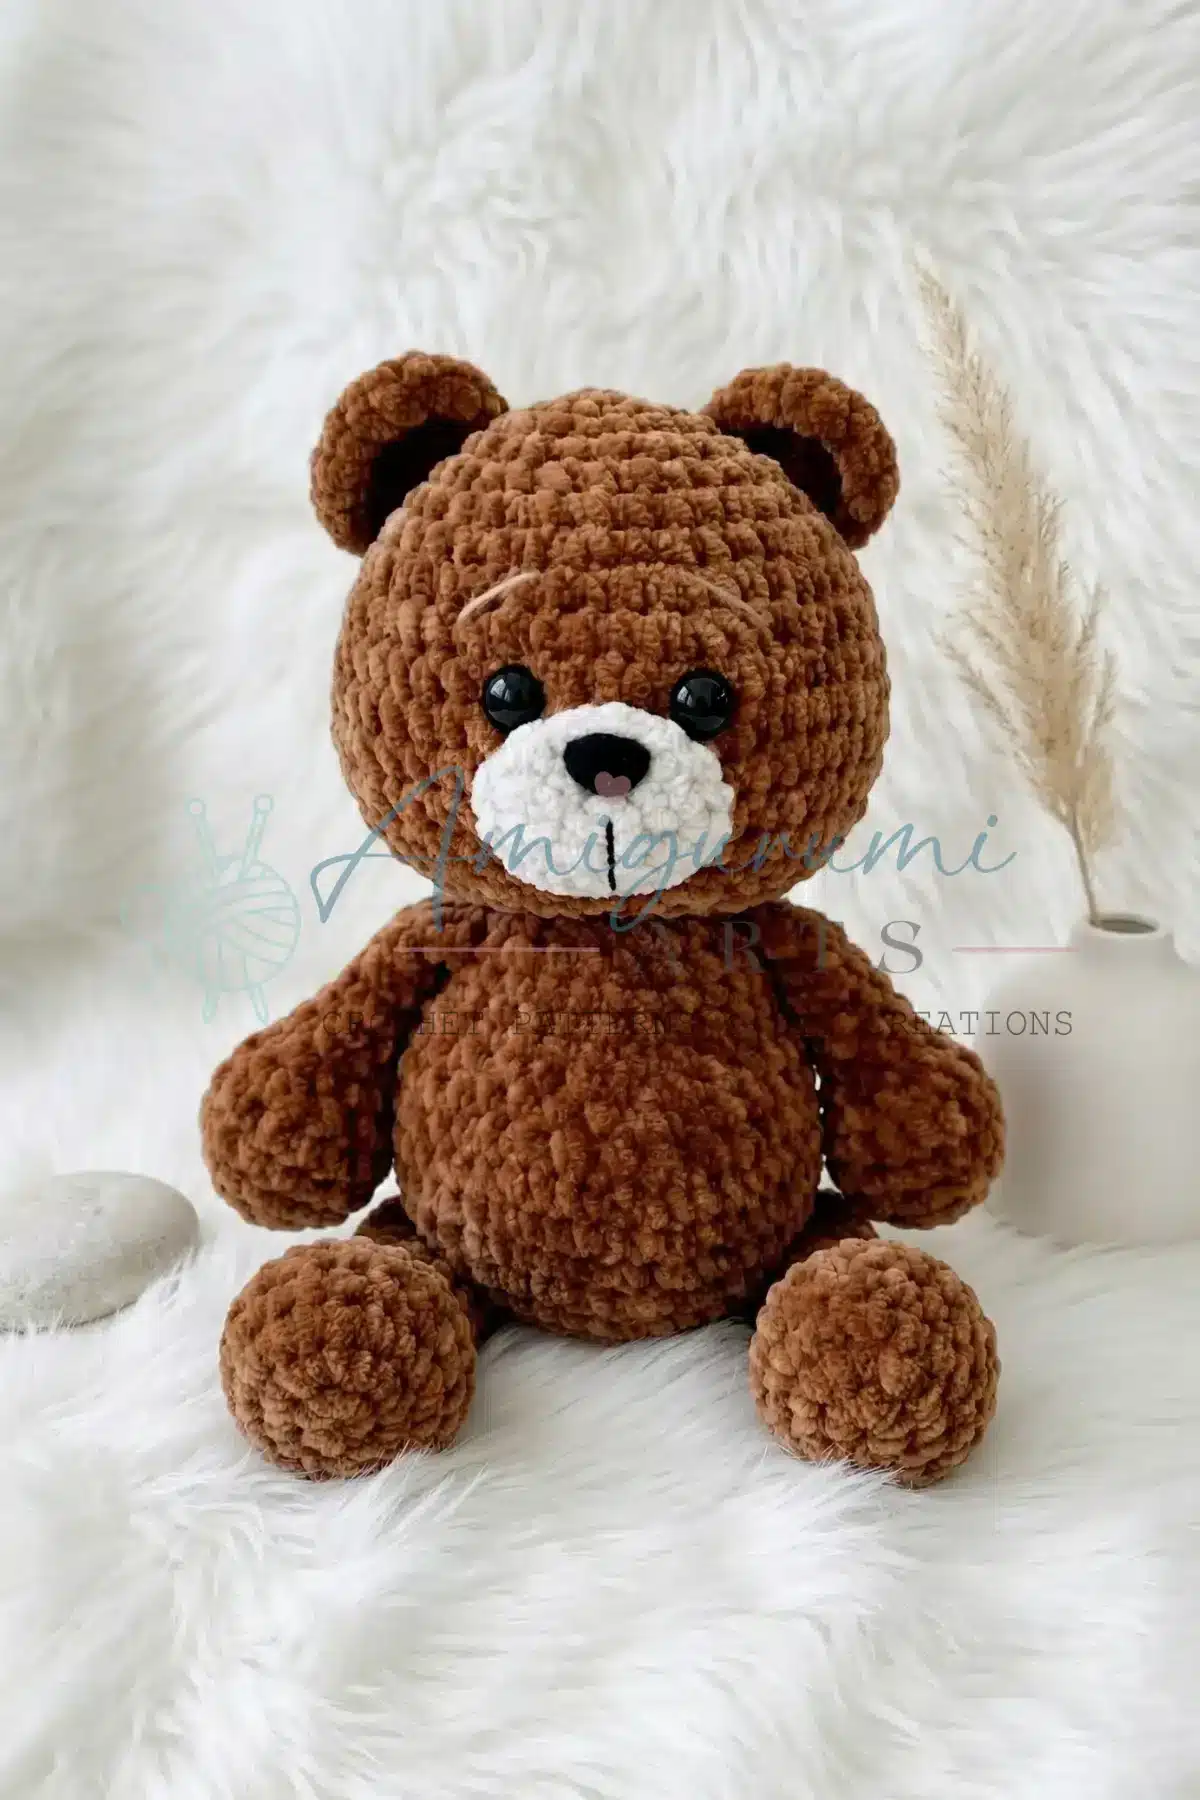
There is something deeply satisfying about the quiet rhythm of amigurumi. A cozy evening, a small batch of plush yarn, and the steady counting of stitches create a meditative space where a character slowly comes to life. This Boddi Bear pattern is perfect for that ritual. It combines classic shaping with satisfying techniques, from the crocheted-in muzzle to the intricate toe pads and a four-piece bow assembly. If you are looking for a project that challenges your finishing skills while rewarding you with a timeless keepsake, this intermediate-level bear is a wonderful choice.
Small Details That Make It Better
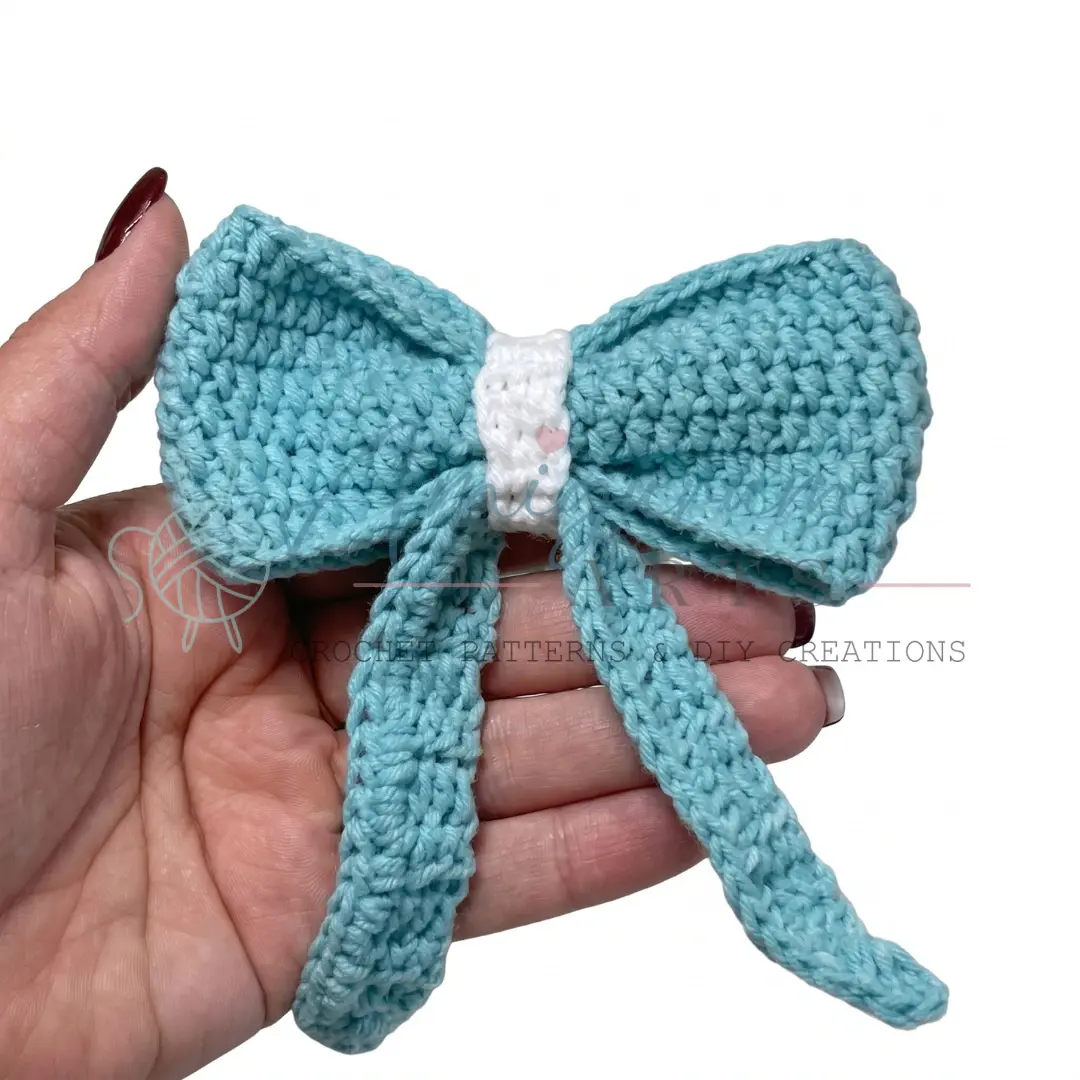
What truly elevates Boddi Bear from a simple toy to a cherished heirloom is the attention to the finishing touches. The plush yarn gives the bear a soft, tactile appeal that invites cuddling, while the contrast of the blue sport-weight bow adds a pop of color against the warm brown body. We love the way the facial embroidery—specifically the eyelids and lashes—gives the bear a gentle, sleepy expression. The jointed legs also add a layer of realism, allowing the bear to sit naturally rather than just standing rigidly. These small details, from the concave ridge on the foot to the hidden button closure on the bow, are what make this pattern a joy to complete.
Project Overview
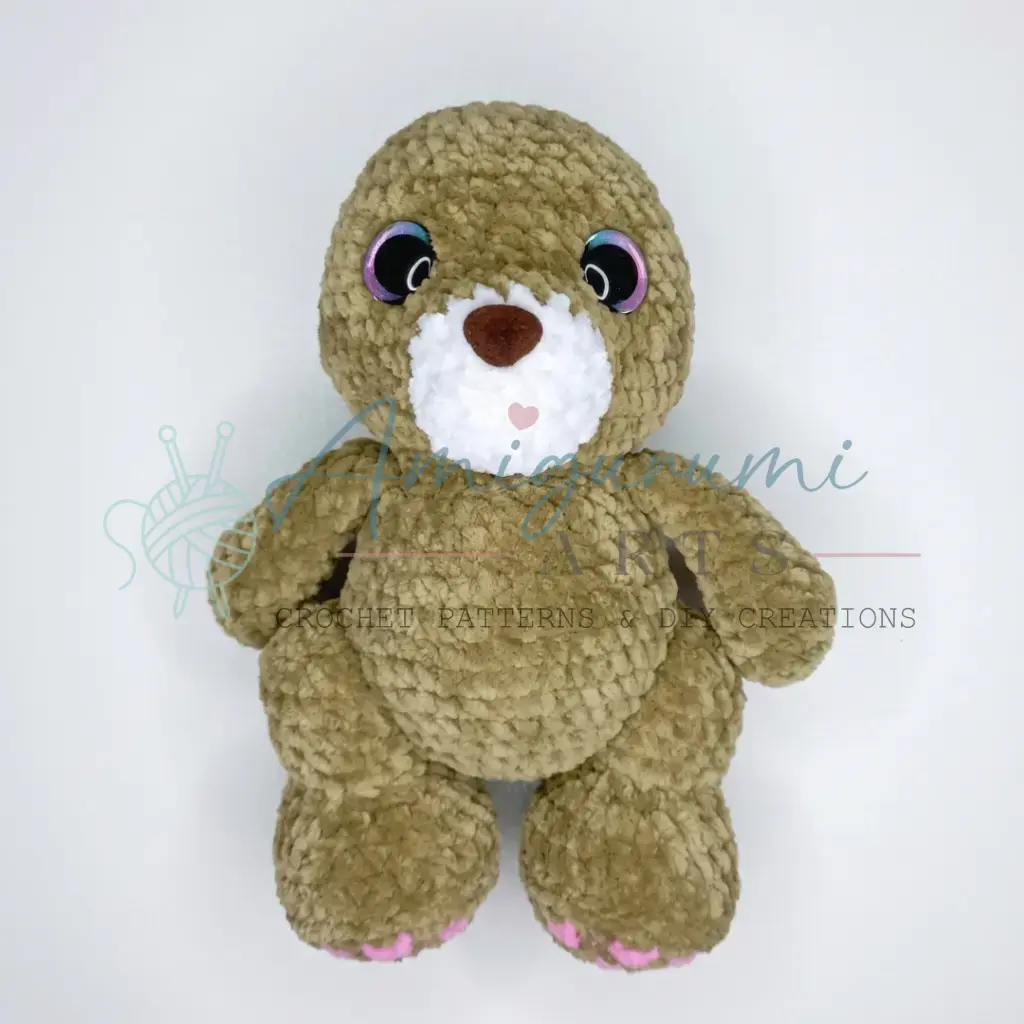
Boddi Bear is an intermediate-level amigurumi project featuring a sturdy jointed body, embroidered facial details, and a ribbon bow at the neck. The finished bear stands approximately 9 inches (23 cm) tall using the recommended yarn. Every stitch count has been preserved exactly, so follow the numbers and trust the process to end up with a beautifully proportioned little bear.
Materials
- Yarn (Body): Worsted-weight plush yarn, brown — approx. 100 g
- Yarn (Body accent): Worsted-weight plush yarn, white — approx. 8 g
- Yarn (Body accent): Worsted-weight plush yarn, pink — approx. 6 g
- Yarn (Bow): Sport-weight yarn, blue — approx. 13 g
- Yarn (Bow): Sport-weight yarn, white — approx. 3 g
- Yarn (Embroidery): Small amounts of sport-weight yarn in white, black, and brown for facial embroidery and indenting
- Hooks: E-4 (3.5 mm) for the body; B-1 (2.0 mm) for the bow
- Safety eyes: 18 mm × 2
- Safety nose: 15 mm × 1
- Joints/discs with pin: 35 mm × 2 (for legs)
- Stuffing: Polyester fiberfill
- Notions: Stitch markers, yarn needle / tapestry needle, scissors, straight pins (for positioning parts), one button (for bow closure)
Gauge and Finished Size
Gauge is not critical for amigurumi, but your fabric should be tight enough that stuffing does not show through. Adjust hook size down if needed. The finished bear stands approximately 9 inches (23 cm) tall using the recommended yarn.
Abbreviations
- BLO — Back Loop Only
- ch — Chain
- dc — Double Crochet
- dec — Invisible Decrease (insert hook through front loops of next 2 sts, pull up a loop, yarn over and draw through all 3 loops)
- hdc — Half Double Crochet
- inc — Increase (2 sc in same stitch)
- MR — Magic Ring
- sc — Single Crochet
- sk — Skip
- sl st — Slip Stitch
- SM — Stitch Marker
- st / sts — Stitch / Stitches
Pattern Notes
This Boddi Bear amigurumi pattern is written in US crochet terminology. The body, head, arms, legs, muzzle, tail, and ears are worked in a continuous spiral. The bow pieces are worked in turned rows. Do not join rounds unless specified. Stitch counts are given at the end of each round or row in parentheses: (##). Use a stitch marker to track the beginning of each round and move it up as you go.
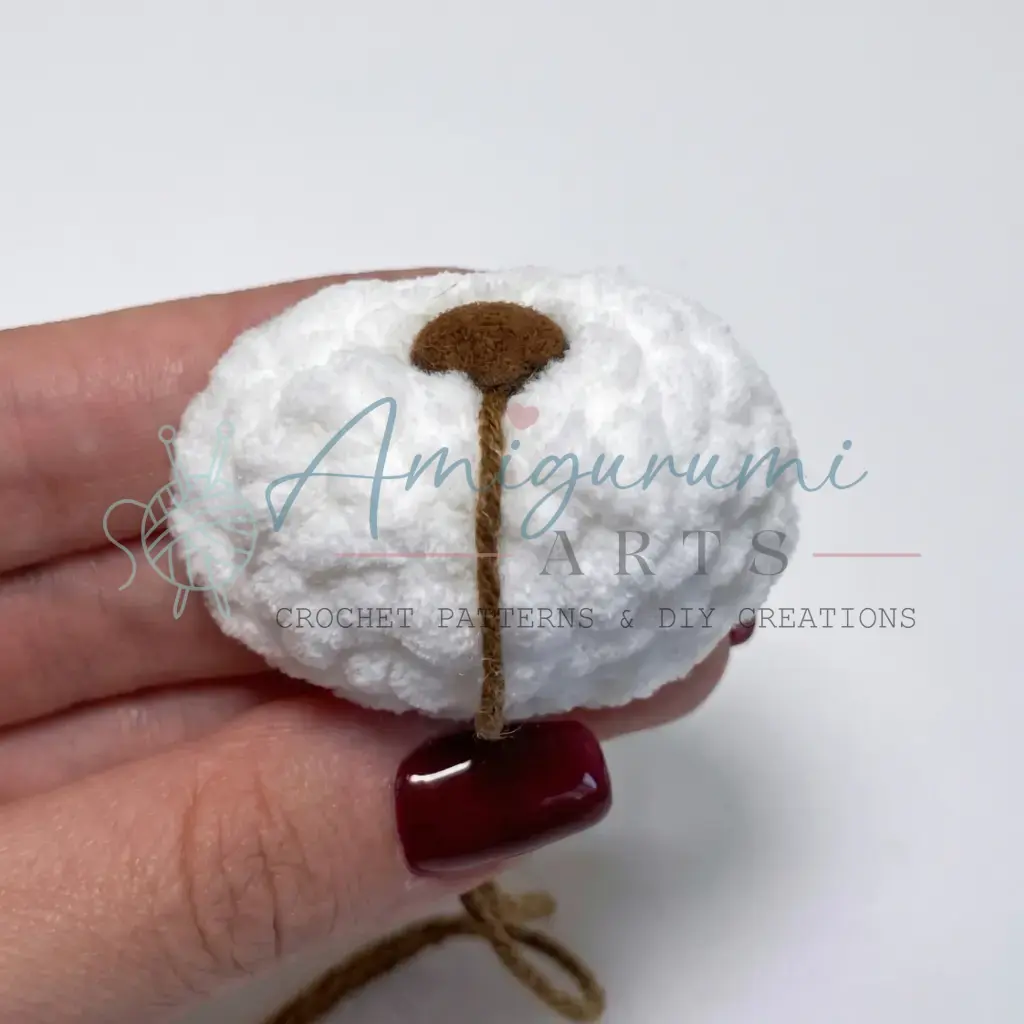
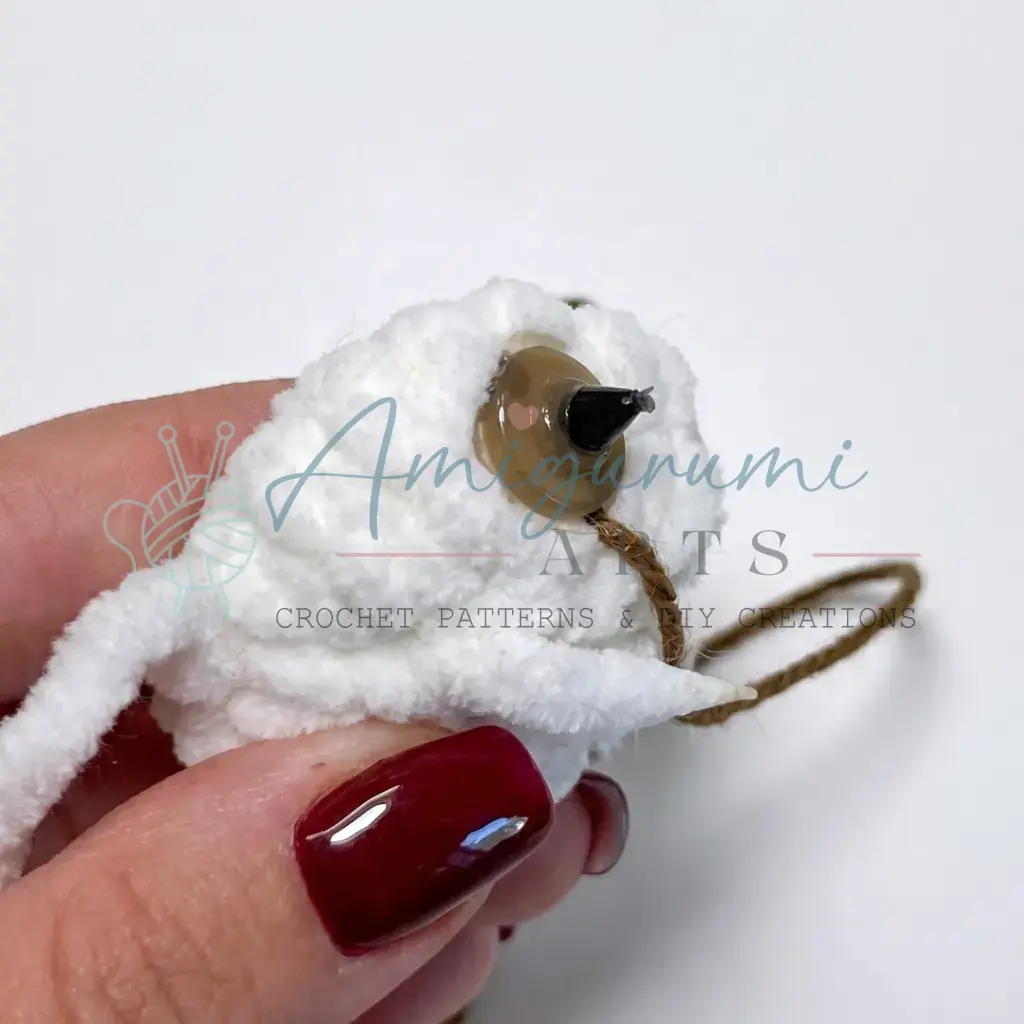
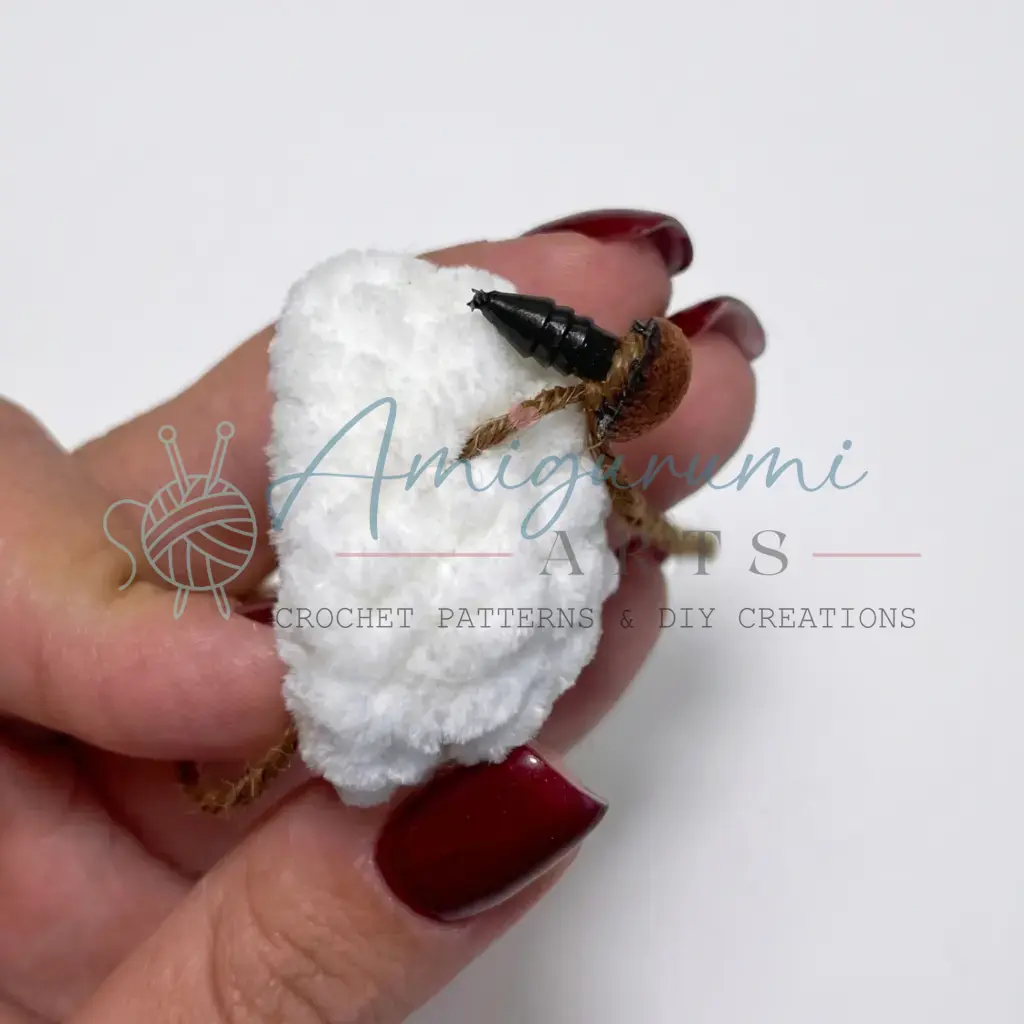
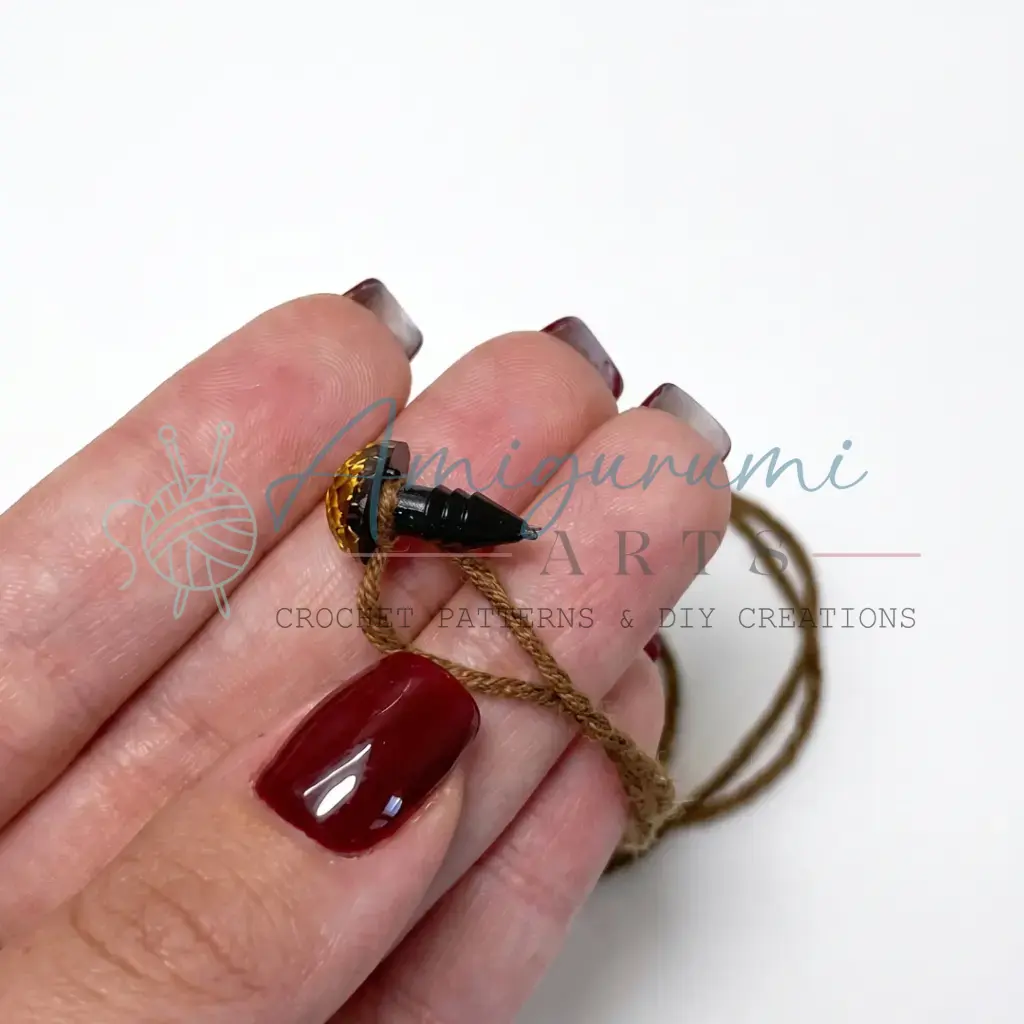
Safety eyes (18 mm) are installed between Rounds 8 and 9 of the Head, with 8 stitches between the eye posts. The safety nose is installed at the center of the Muzzle between Rounds 3 and 4, with brown embroidery yarn pre-tied to the nose post before inserting. The legs use 35 mm joint discs. Install the joint hardware before closing the leg — see the assembly notes in each section. Stuff the body and head firmly and continuously as you work. Stuff only the lower portion of each arm firmly; the upper portion receives very light stuffing.
Pattern Instructions
Arms (make 2)
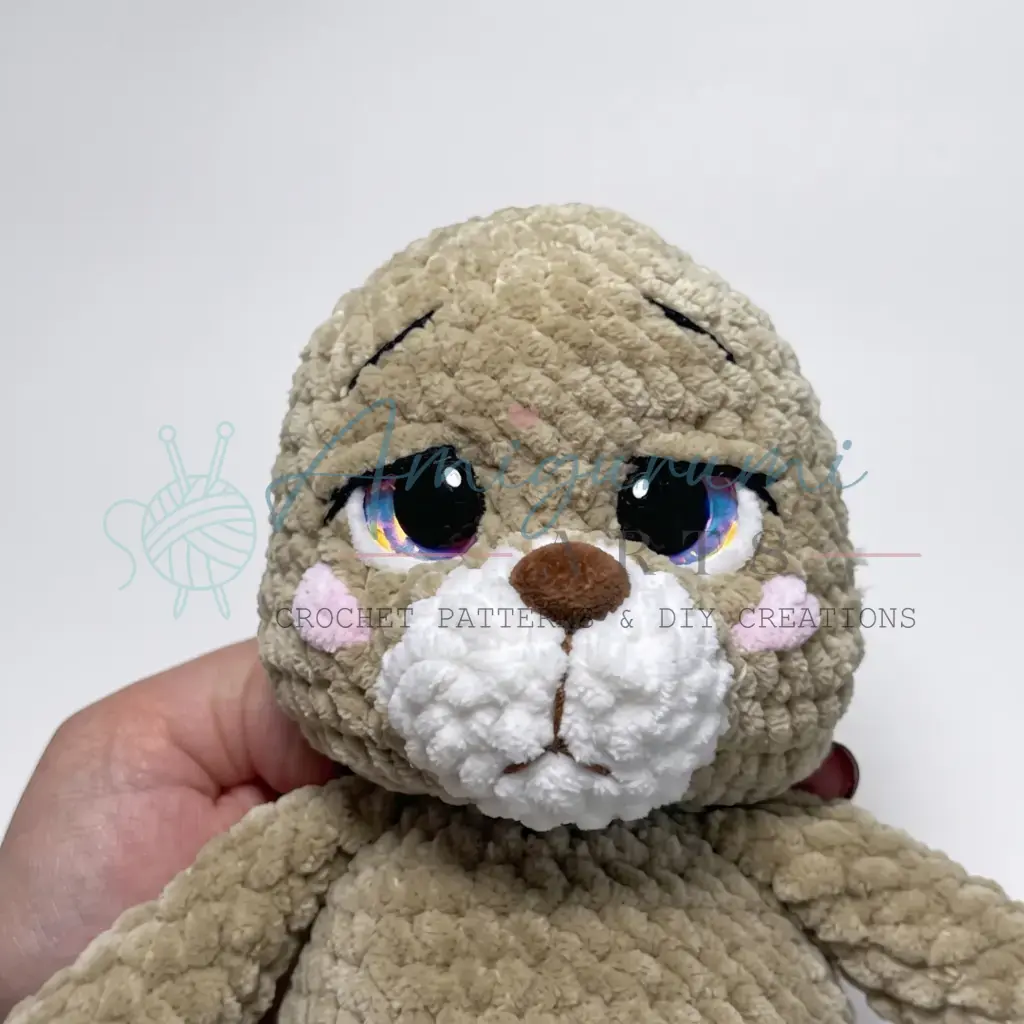
Work in brown yarn throughout. Stuff only the lower portion of the arm firmly; add very little stuffing above that.
- Rnd 1: 7 sc in MR. (7)
- Rnd 2: inc in each st around. (14)
- Rnd 3: sc in each st around. (14)
- Rnd 4: 5 sc, dec repeat 2 times. (12)
- Rnd 5: 4 sc, dec, dec, 4 sc. (10)
- Rnd 6: sc in each st around. (10)
- Rnd 7: 3 sc, dec, dec, 3 sc. (8)
- Rnd 8: sc in each st around. (8)
- Rnd 9: 3 sc, dec, 3 sc. (7)
- Rnds 10–11: sc in each st around. (7)
Flatten the arm so the curve runs parallel. Fold in half and work 3 sc through both layers to close. Make the second arm the same way.
Tail
Work in brown yarn throughout. Stuff firmly.
- Rnd 1: 6 sc in MR. (6)
- Rnd 2: inc in each st around. (12)
- Rnd 3: sc in each st around. (12)
- Rnd 4: dec 6 times around. (6)
Fasten off, leaving a long yarn tail for sewing.
Ears (make 2)
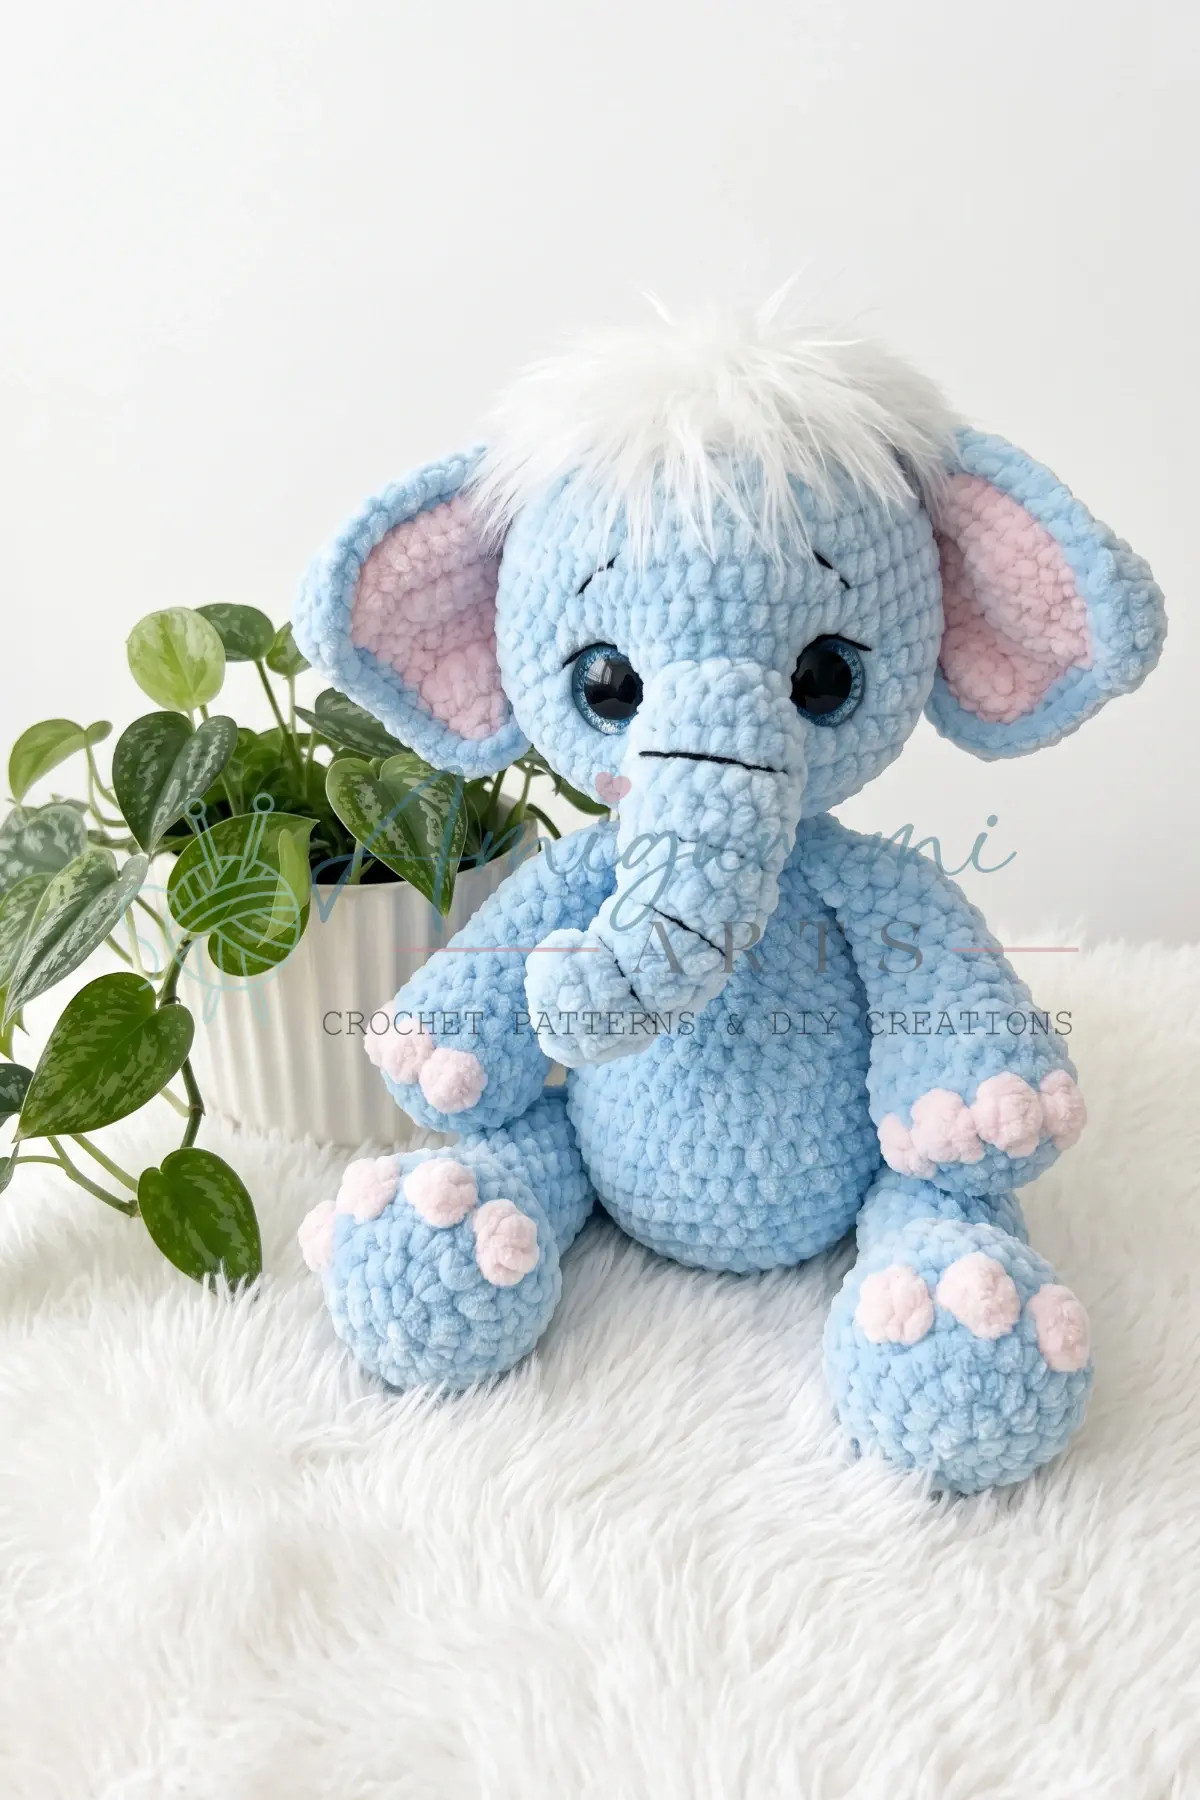
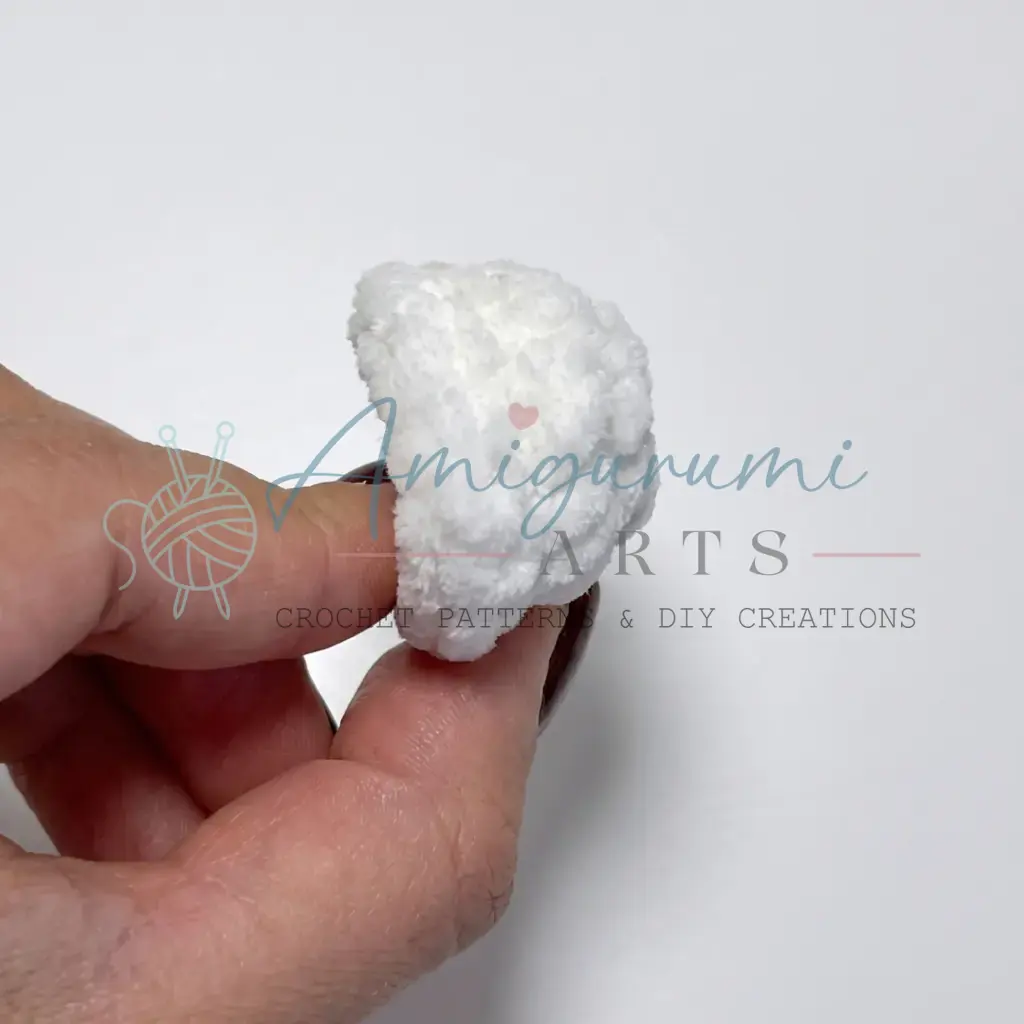
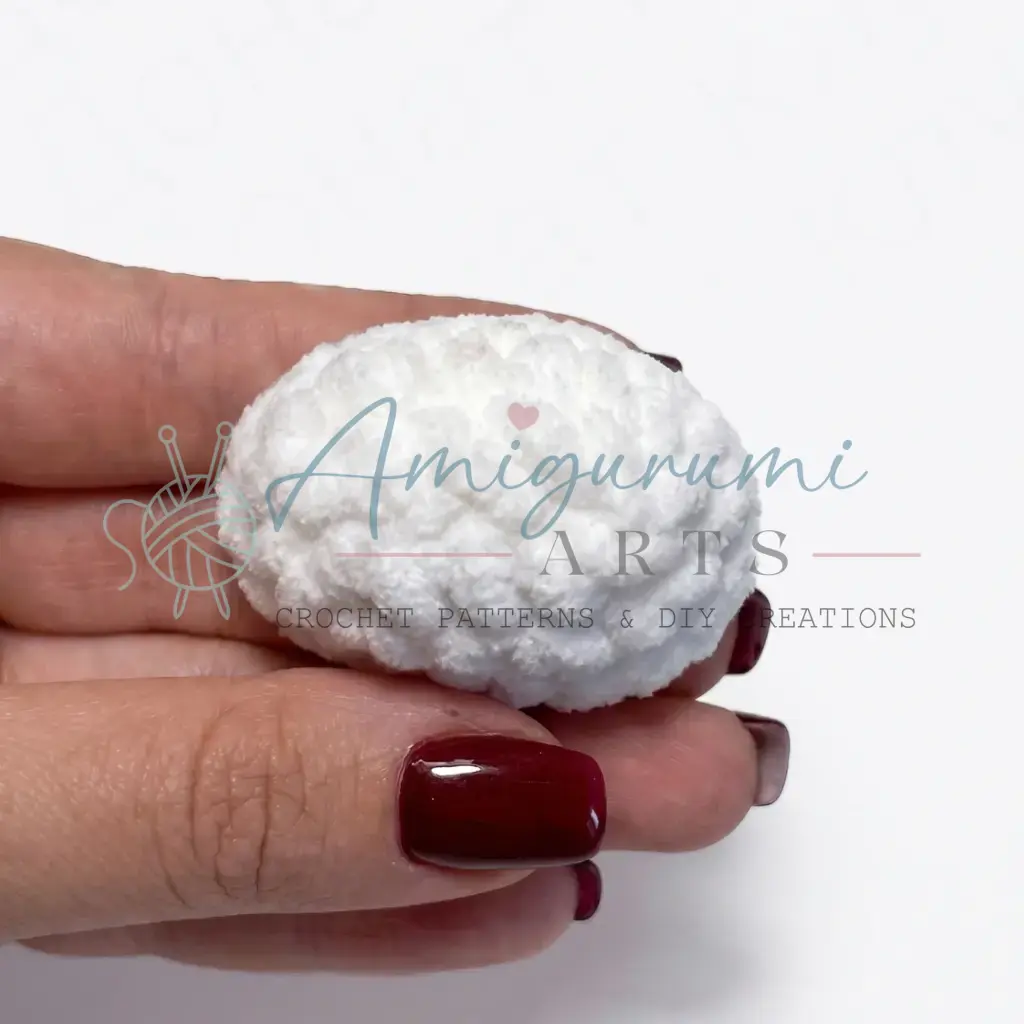
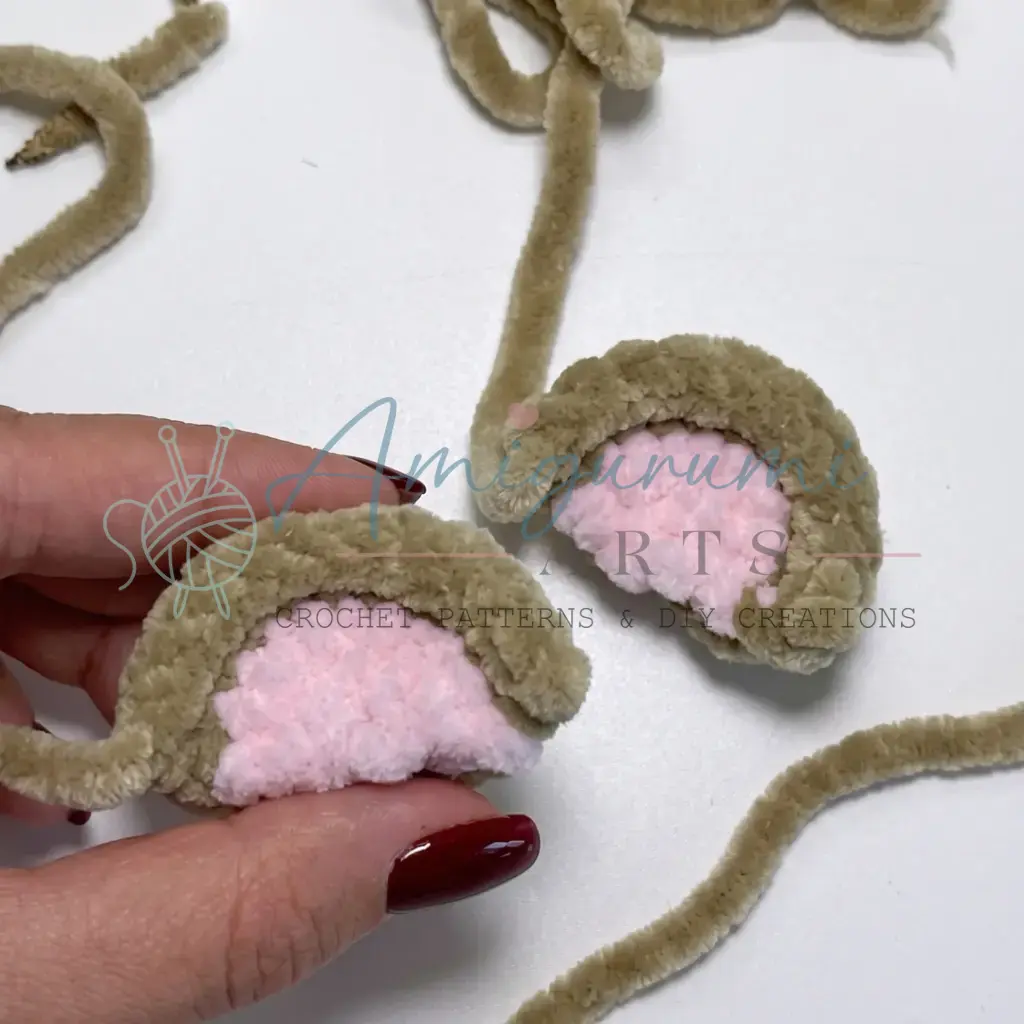
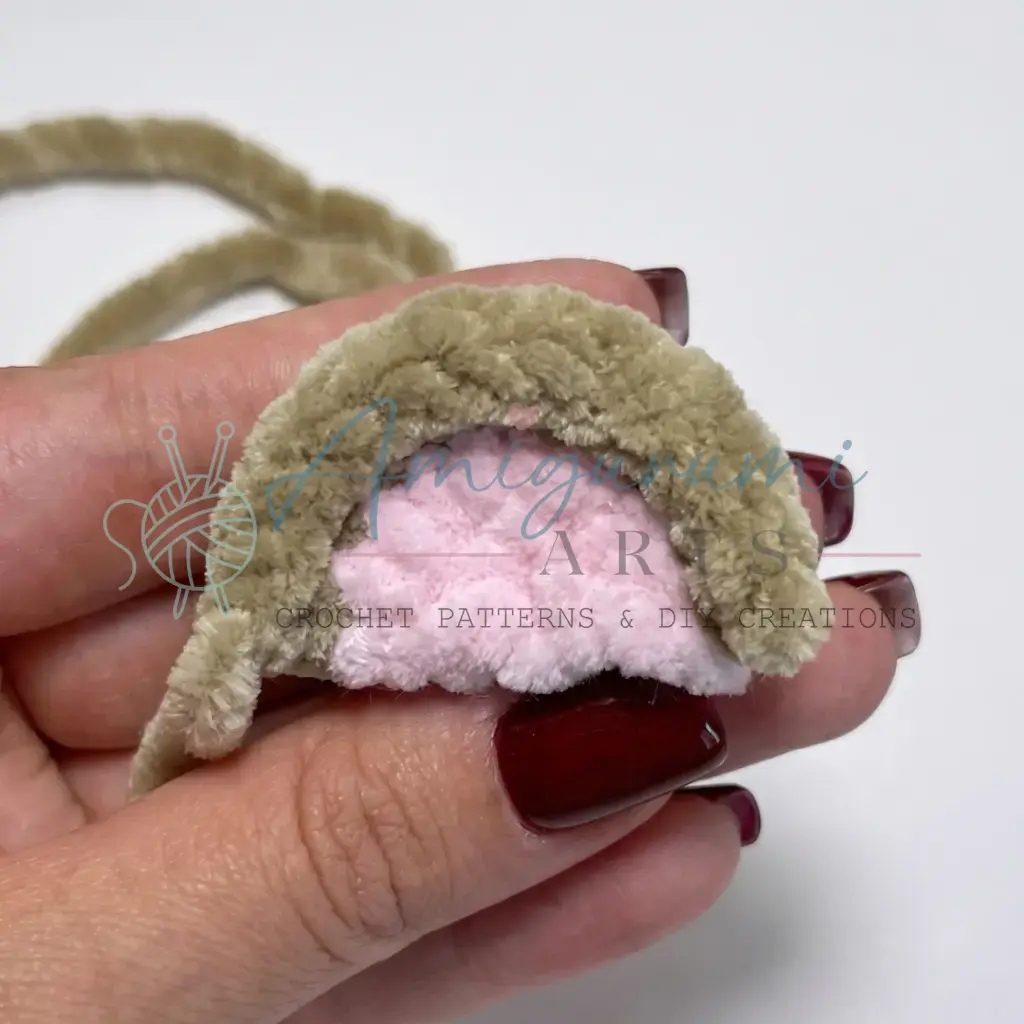
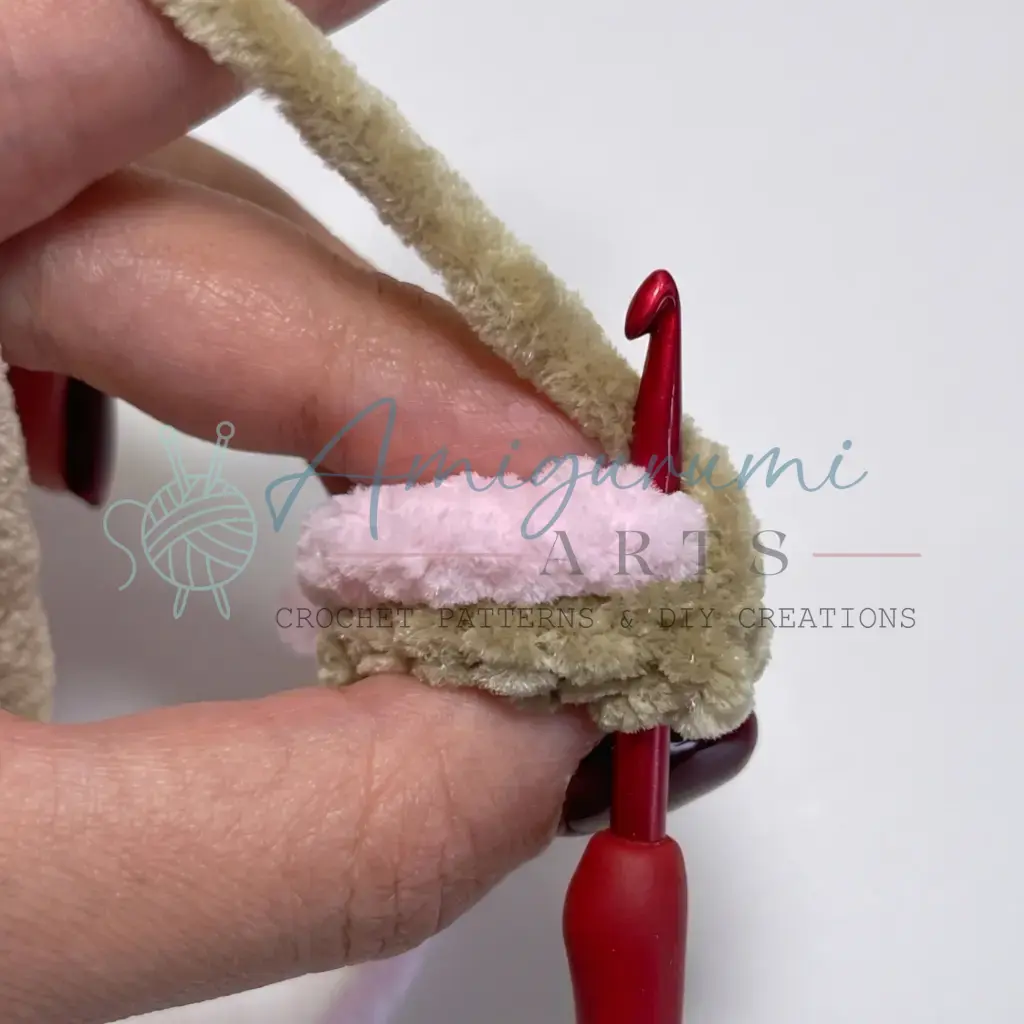
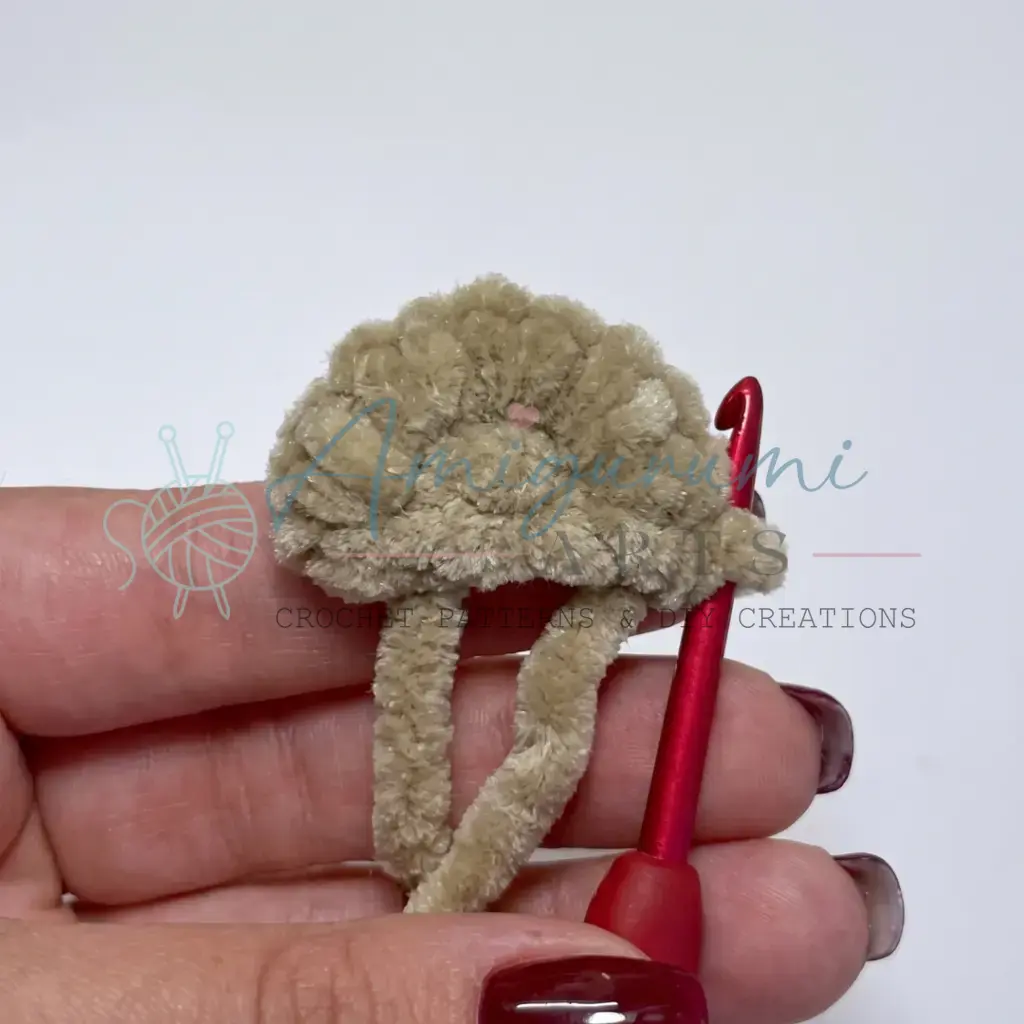
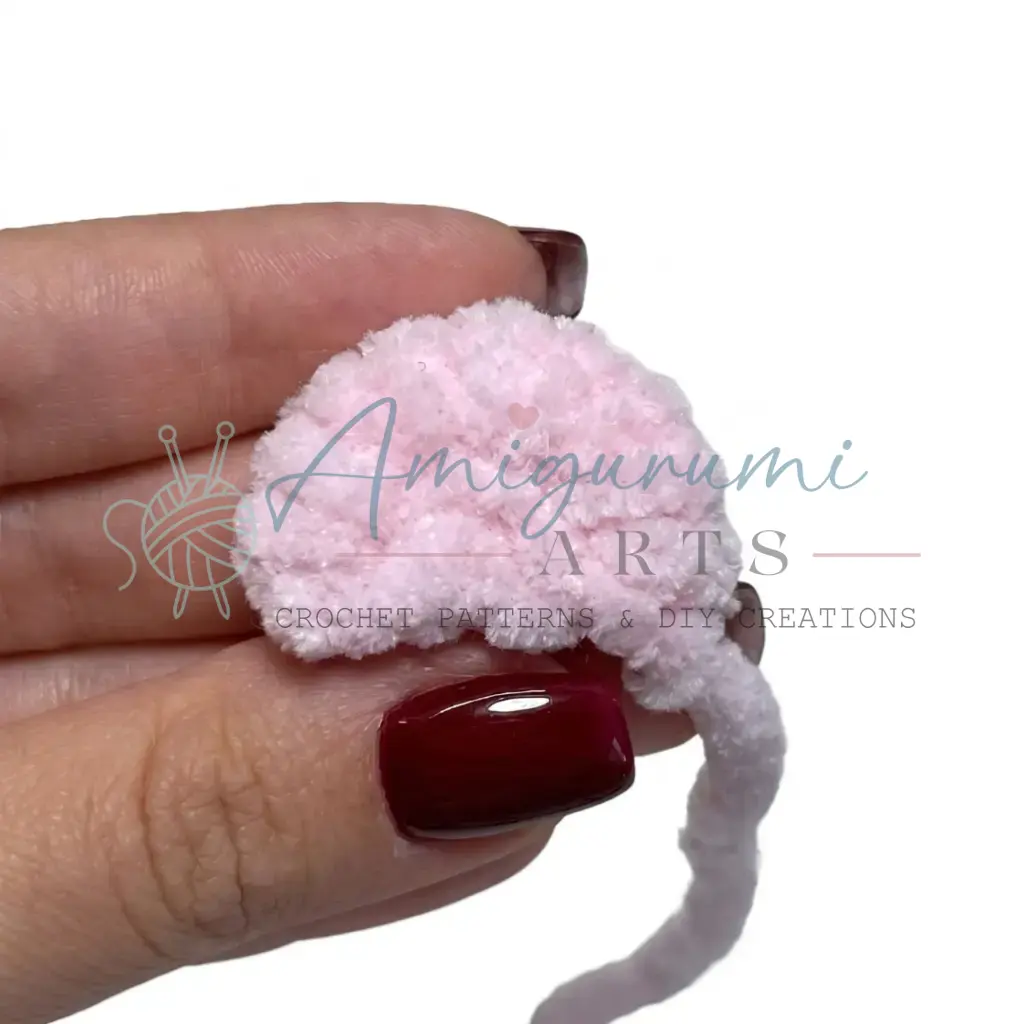
Each ear is made from two pieces: one pink and one brown. Work the first piece in pink yarn, the second in brown.
Pink piece:
- Rnd 1: 5 sc in MR.
- Chain 1, turn.
- Rnd 2: inc in each st across. (10)
Fasten off the pink yarn and weave in its end.
Brown piece:
- Rnd 1: 5 sc in MR.
- Chain 1, turn.
- Rnd 2: inc in each st across. (10)
Do not fasten off the brown yarn.
Hold the pink and brown pieces together with wrong sides facing. Working through both layers at once, work 10 sc across. Chain 1, turn, then work 10 sl st across. Fasten off, leaving a long tail for sewing. Make the second ear the same way.
Muzzle
Work in white yarn.
- Row 1: Foundation chain of 4 ch.
- Row 2: Starting from the 2nd ch from hook: inc, 1 sc, 4 sc in one st (corner), continue along the back side of the foundation chain: 1 sc, inc. (10)
- Row 3: inc, inc, 1 sc, inc, inc, inc, inc, 1 sc, inc, inc. (18)
- Row 4: sc in each st around. (18)
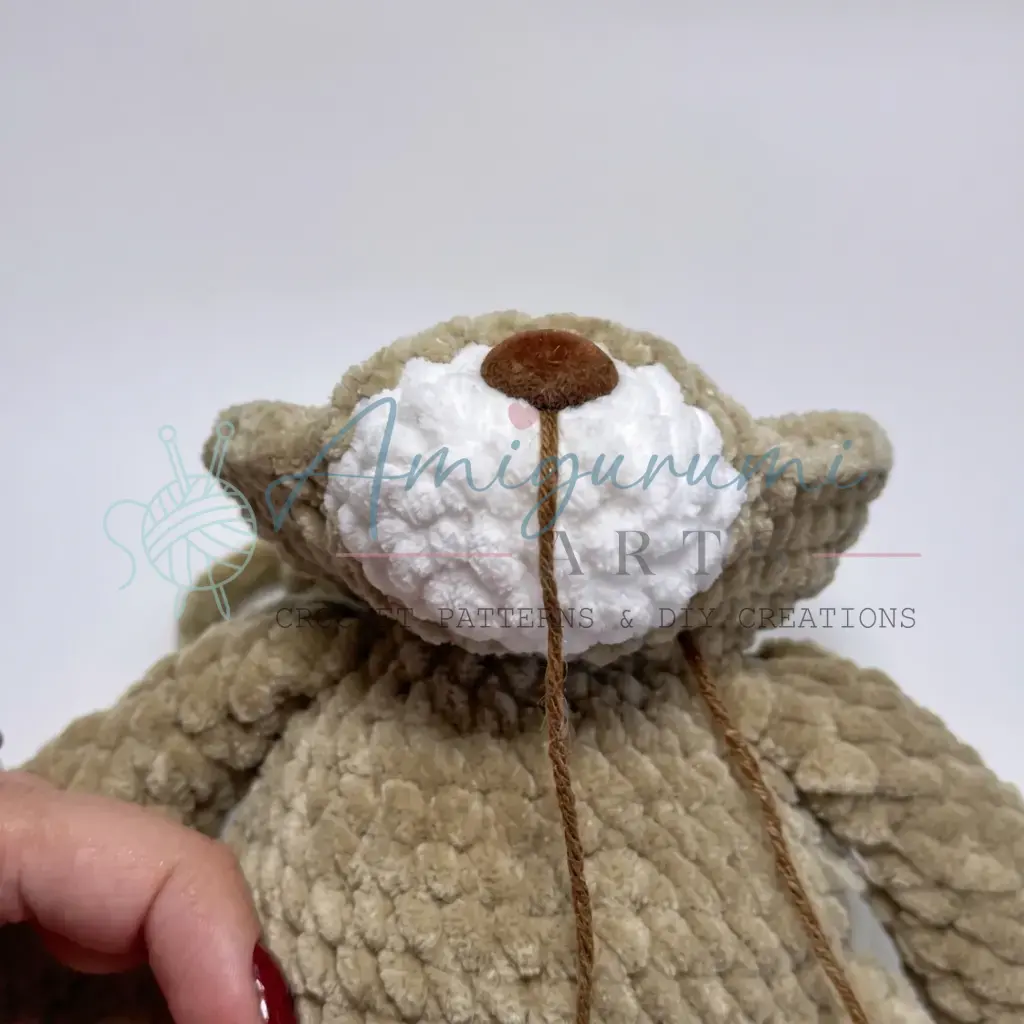
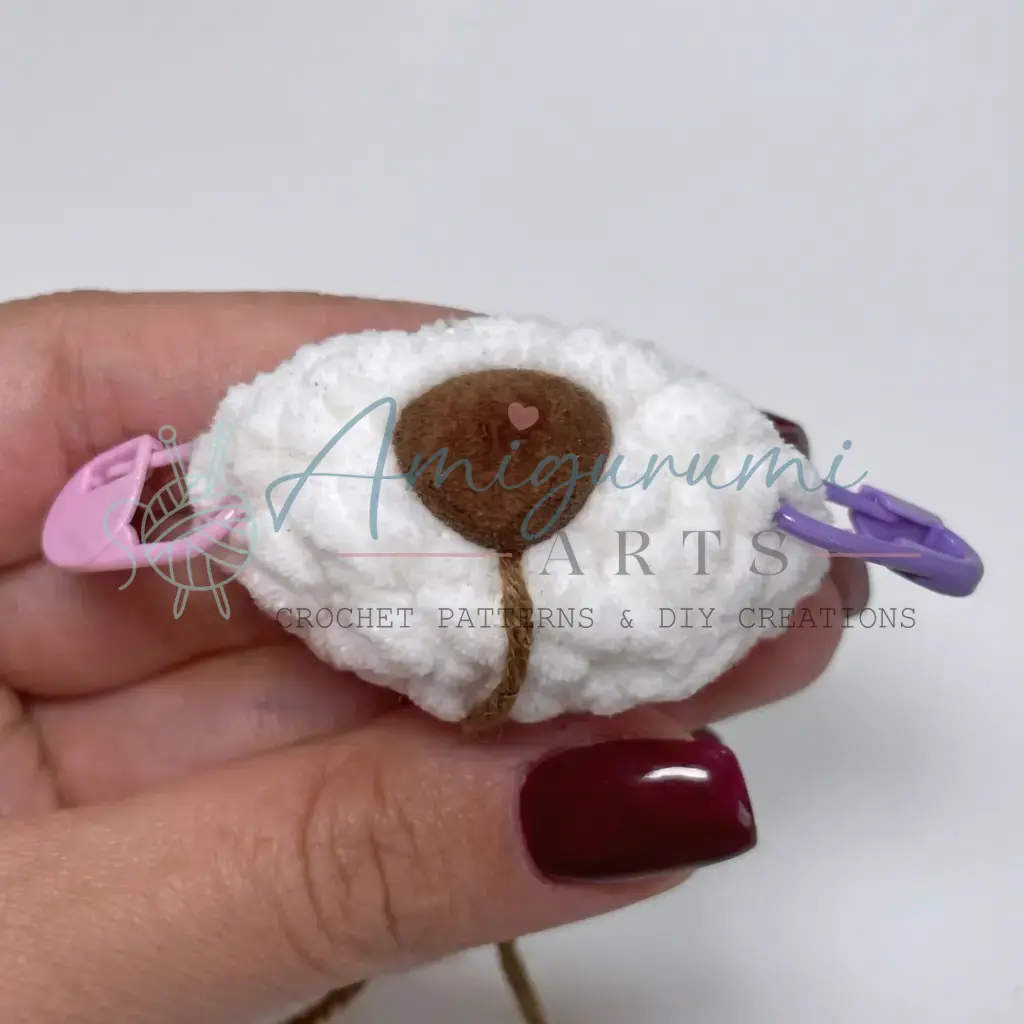
Fasten off and weave in ends. The muzzle will be crocheted into the head — do not sew it on. Before attaching, install the 15 mm safety nose at the center of the muzzle between Rounds 3 and 4, with a length of brown sport-weight yarn pre-tied to the nose post.
Legs (make 2)
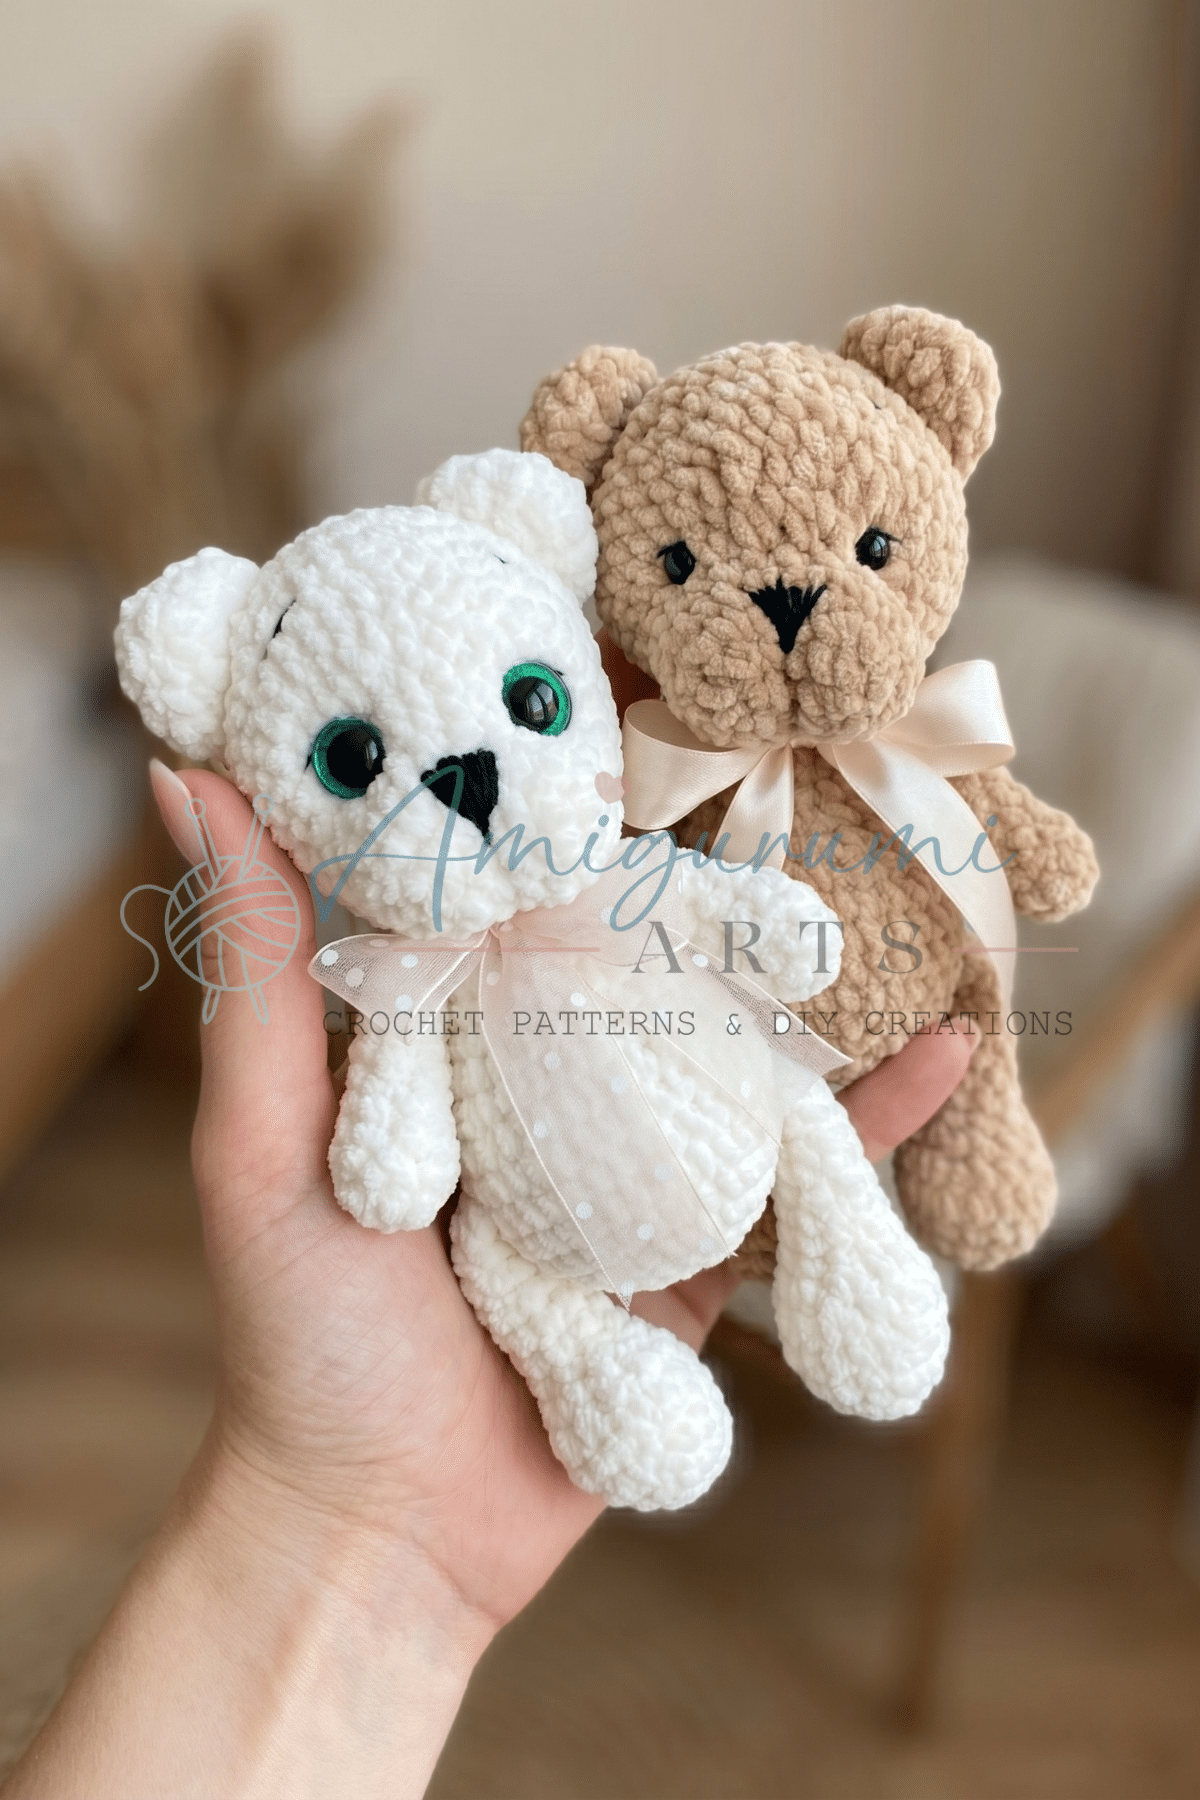
Begin with pink yarn. Stuff as you go.
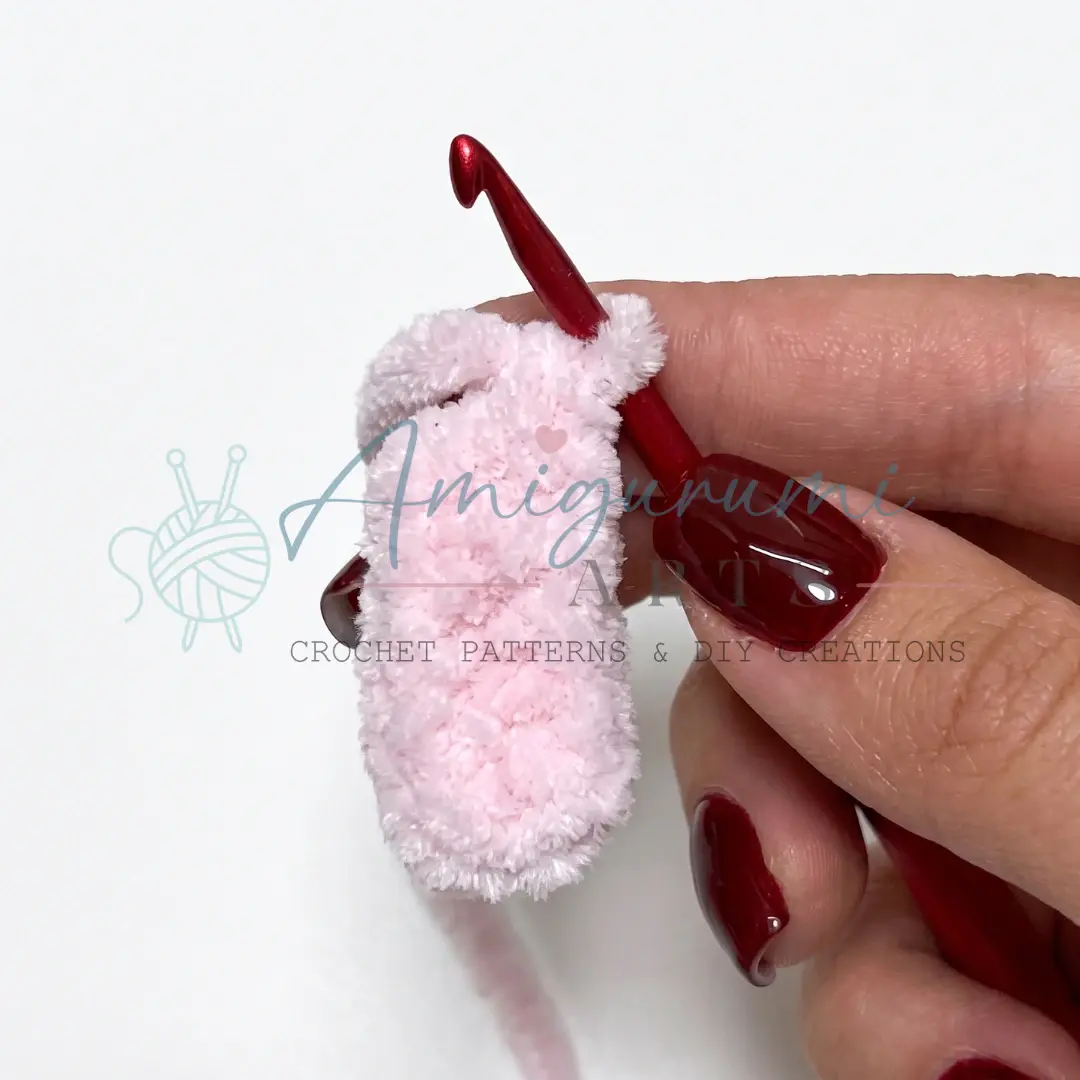
- Row 1: Foundation chain of 6 ch.
- Row 2: Starting from the 2nd ch from hook: 4 sc, 3 sc in one st (corner), continue along the back side of the foundation chain: 3 sc, inc. (12)
Switch to brown yarn. Do not cut the pink yarn yet — carry it for the toe pad round coming up.
- Rnd 3: inc, 3 sc, inc, inc, inc, 3 sc, inc, inc. (18)
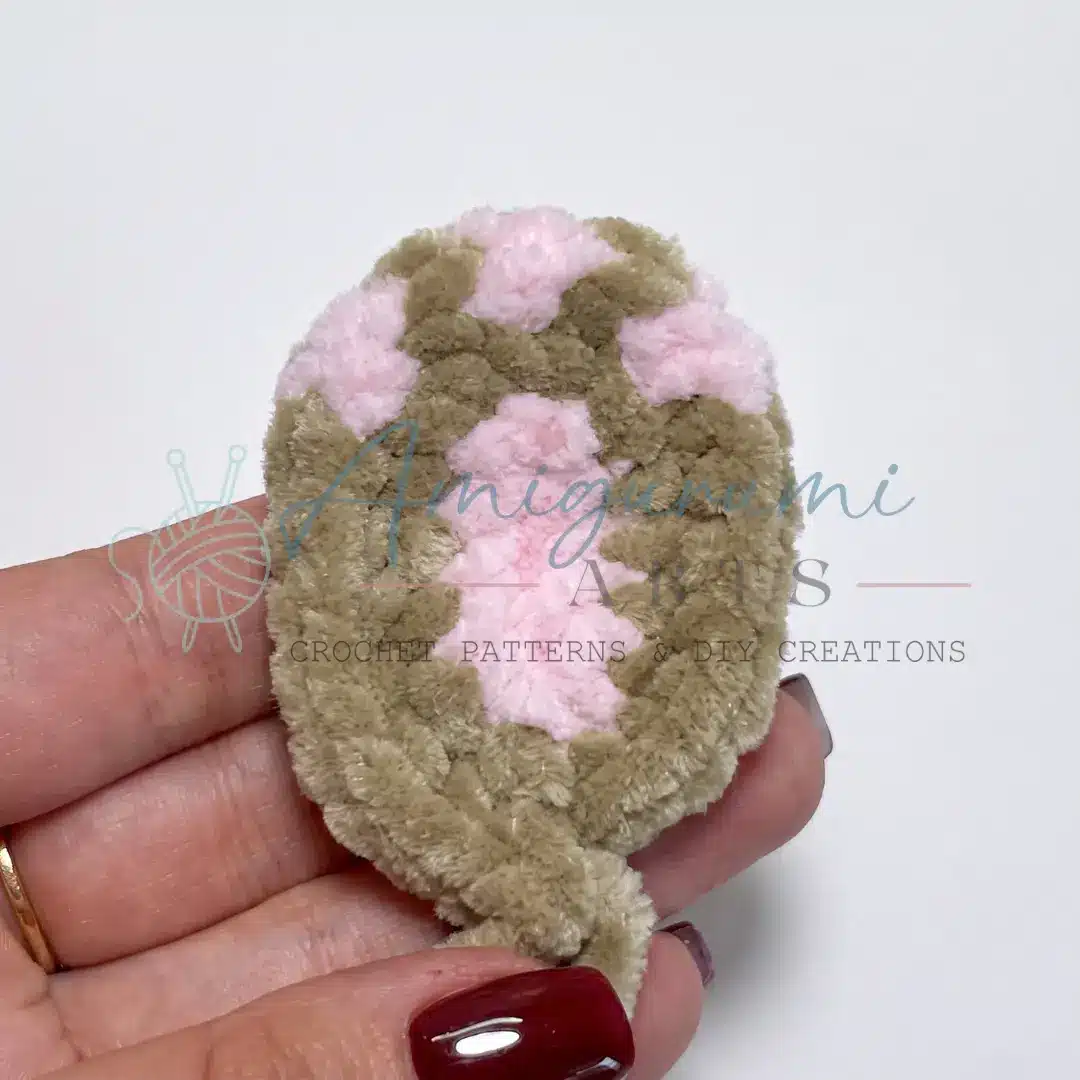
- Rnd 4: 1 sc, inc, 3 sc — then work the next 3 increases in pink yarn: 1 sc, inc (pink) repeat 3 times — then switch back to brown: 3 sc, 1 sc, inc repeat 2 times. (24)
Cut and fasten off the pink yarn.
- Rnd 5: 6 sc, 2 sc, inc repeat 3 times, 9 sc. (27)
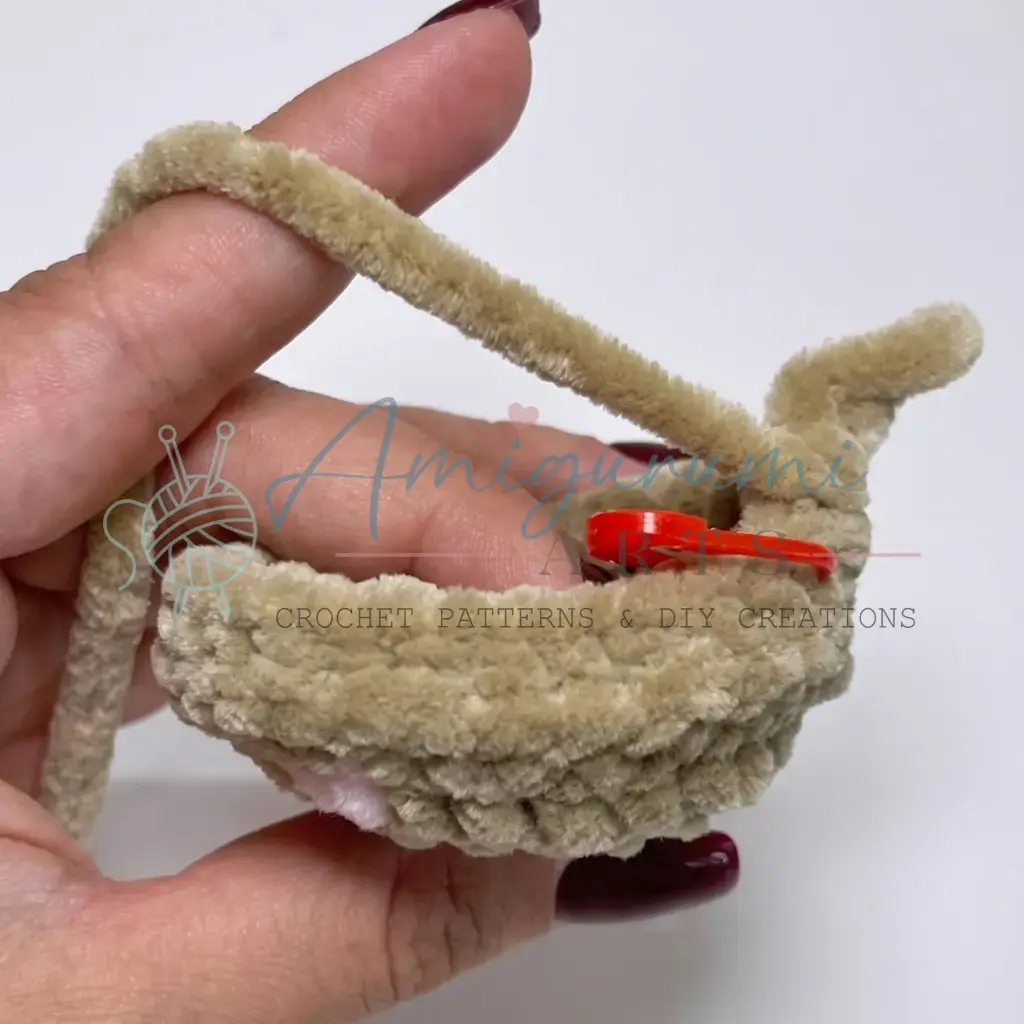
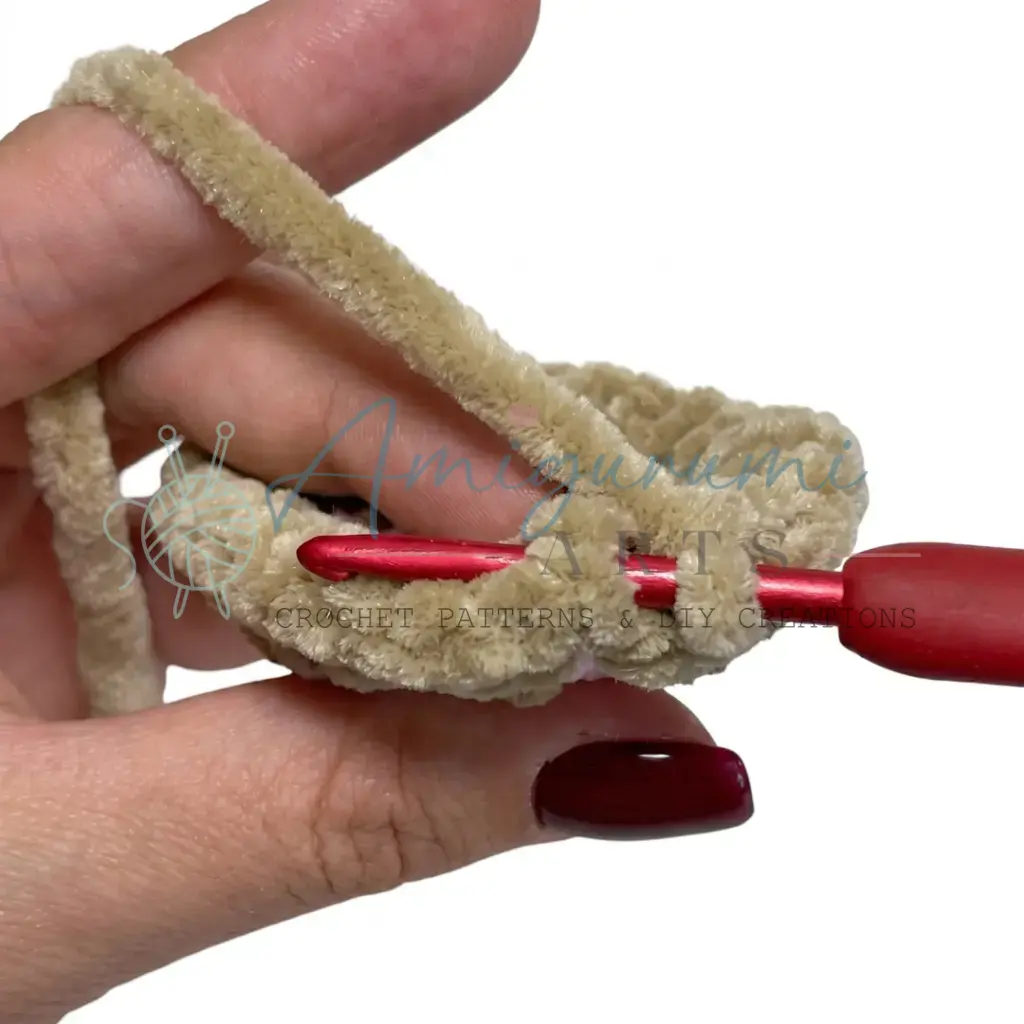
The following round uses a front post stitch technique: insert the hook around the post of the stitch in the previous round (from front to back to front), pull the loop to the wrong side, and complete the sc as usual. This creates a concave ridge along the top of the foot.
- Rnd 6: 27 front-post sc (worked around each post of the previous round). (27)
- Rnd 7: 6 sc, dec, 2 sc, dec repeat 2 times, 11 sc. (24)
To shift the beginning-of-round marker to the center of the heel, work the next round partially: work only 23 sc out of 24, effectively moving the marker to the center back.
- Rnd 8: 23 sc. (24)
- Rnd 9: 3 sc, 1 sc, dec repeat 6 times, 3 sc. (18)
- Rnd 10: 3 sc, dec 6 times, 3 sc. (12)
- Rnd 11: 1 sc, inc repeat 6 times. (18)
- Rnds 12–15: sc in each st around. (18)
- Rnd 16: 1 sc, dec repeat 6 times. (12)
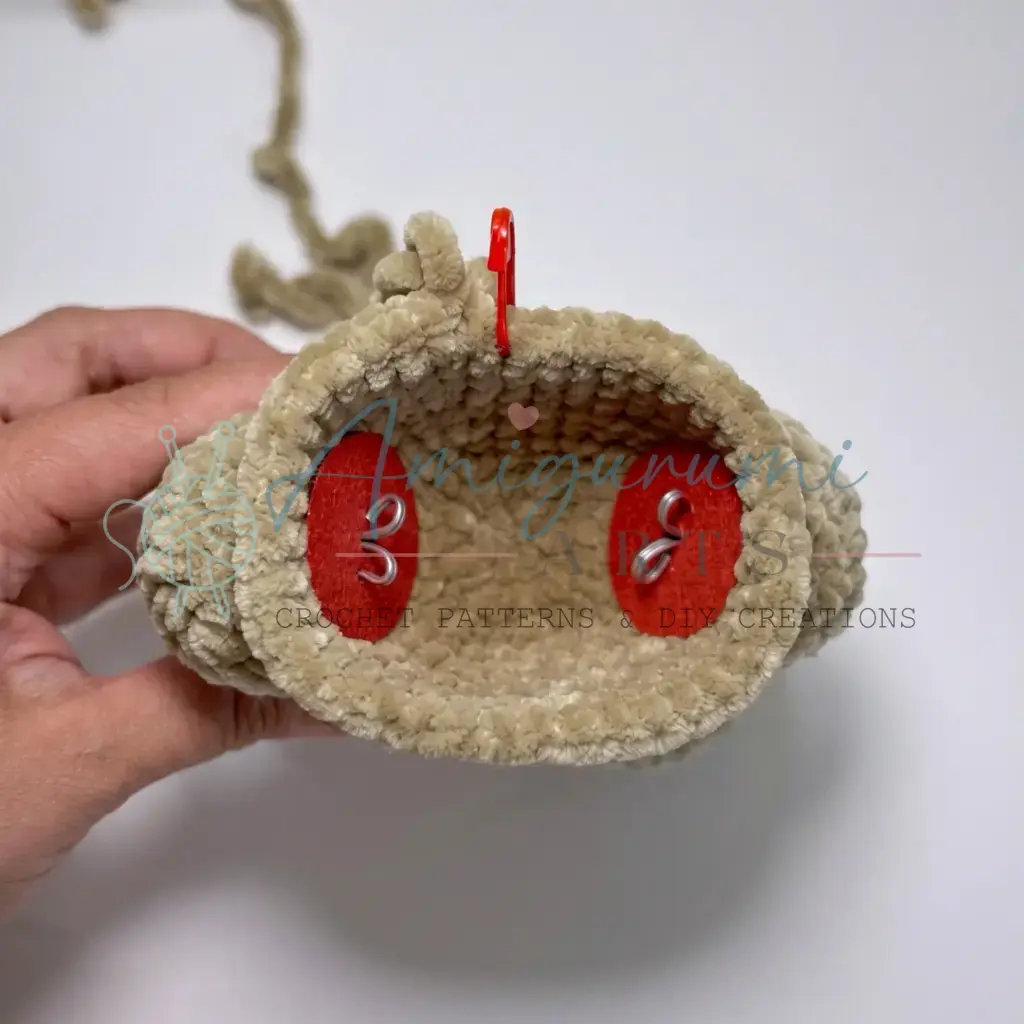
Install the 35 mm joint disc and pin hardware now, before closing the leg.
- Rnd 17: dec 6 times. (6)
Fasten off. Pull the remaining stitches closed and weave the end inside the leg.
Body
Work in brown yarn. Stuff firmly as you go.
- Rnd 1: 8 sc in MR. (8)
- Rnd 2: inc in each st around. (16)
- Rnd 3: 1 sc, inc repeat 8 times. (24)
- Rnd 4: sc in each st around. (24)
- Rnd 5: 2 sc, inc repeat 8 times. (32)
- Rnd 6: sc in each st around. (32)
Before continuing, mark the leg placement positions in Round 6: count 8 sts out from your stitch marker in both directions and place additional stitch markers. These mark where the leg joints will attach. The original stitch marker runs along the back.
- Rnd 7: 3 sc, inc repeat 8 times. (40)
- Rnds 8–10: sc in each st around. (40)
Attach the legs at the marked positions now, pressing the joint pins through the body fabric from the inside out.
- Rnd 11: 3 sc, dec repeat 8 times. (32)
- Rnds 12–13: sc in each st around. (32)
- Rnd 14: 2 sc, dec repeat 8 times. (24)
Before working Round 15, realign your stitch marker so it sits exactly at the center back.
- Rnd 15: 5 sc, work 3 sc joining right arm (working through both the body stitch and the arm edge simultaneously), 8 sc, work 3 sc joining left arm (same method), 5 sc. (24)
- Rnd 16: 2 sc, dec repeat 6 times. (18)
Continue directly into the Head — do not fasten off.
Head
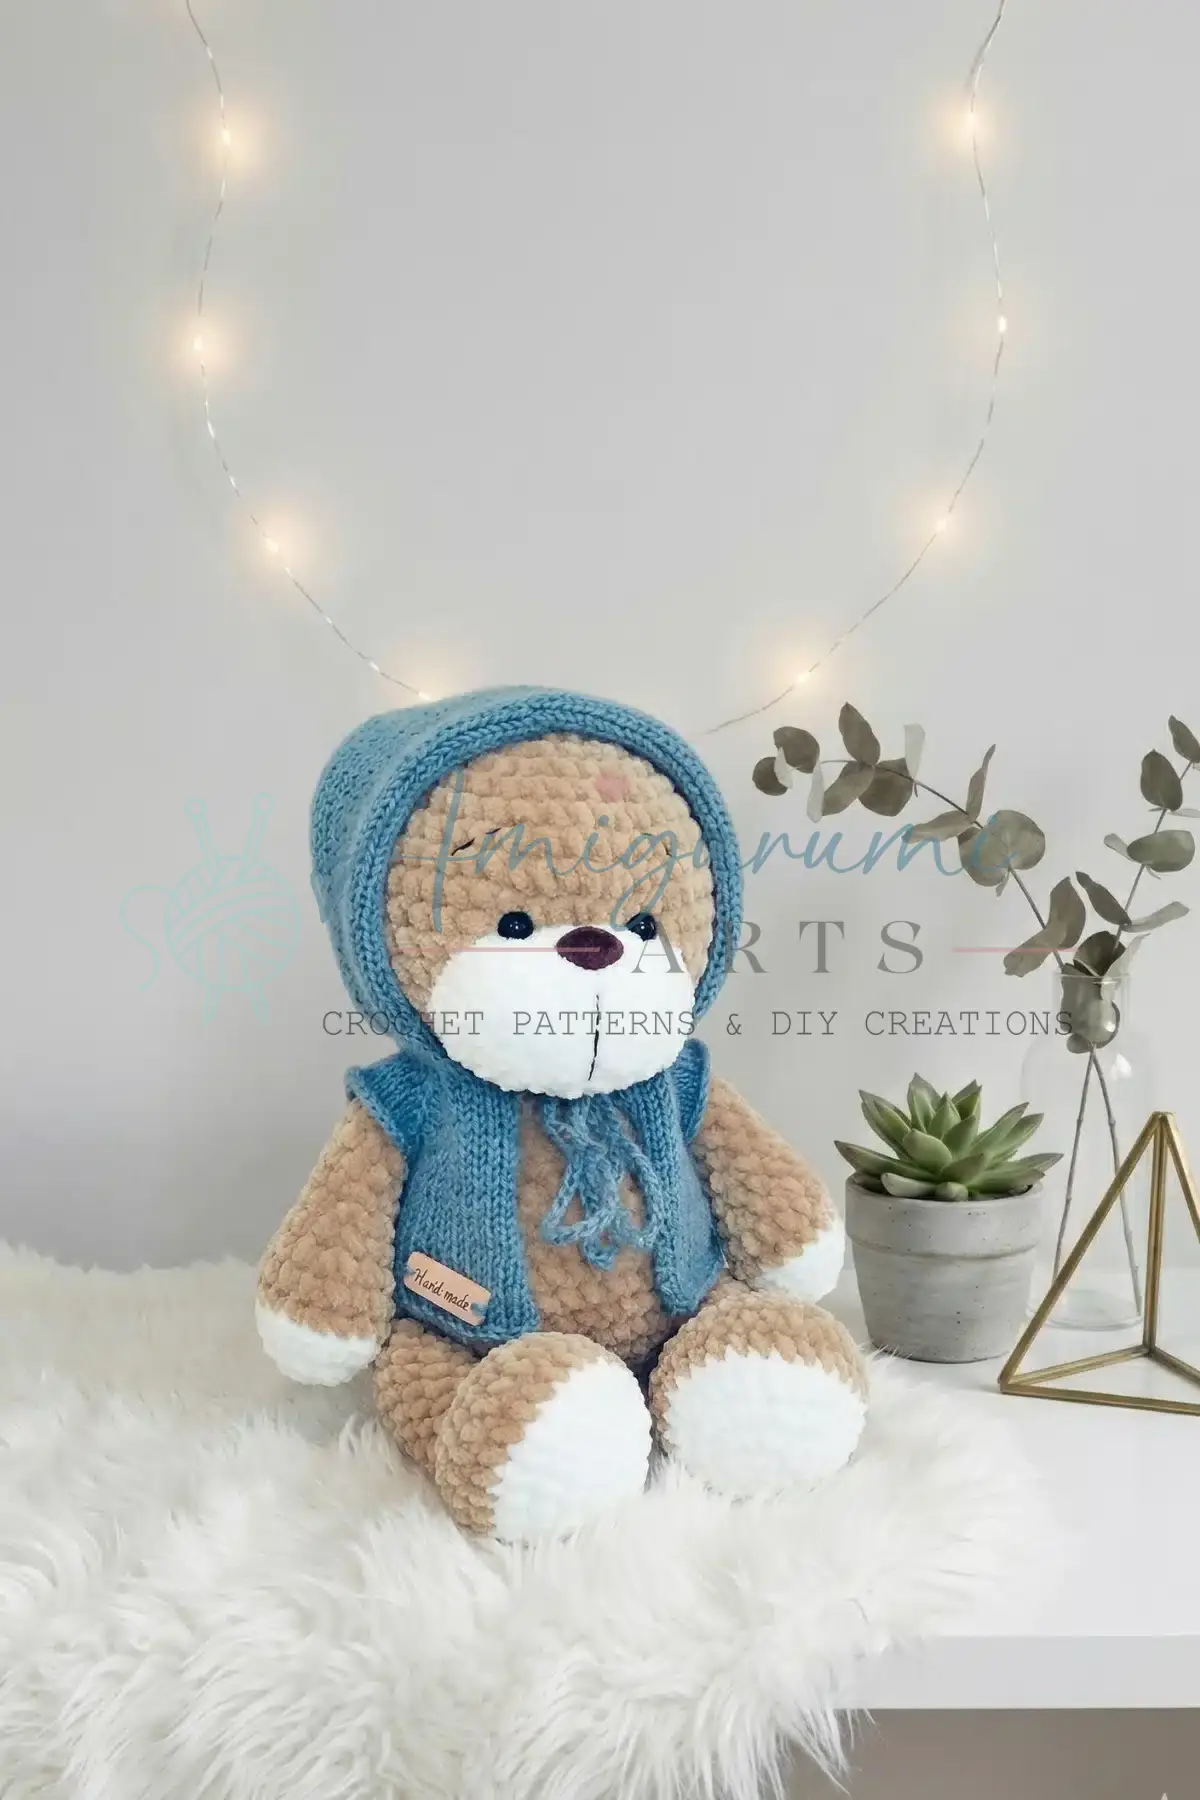
Continue from the body in brown yarn. Stuff firmly as you go.
- Rnd 1: inc in each st around. (36)
- Rnd 2: 5 sc, inc repeat 6 times. (42)
- Rnd 3: 6 sc, inc repeat 6 times. (48)
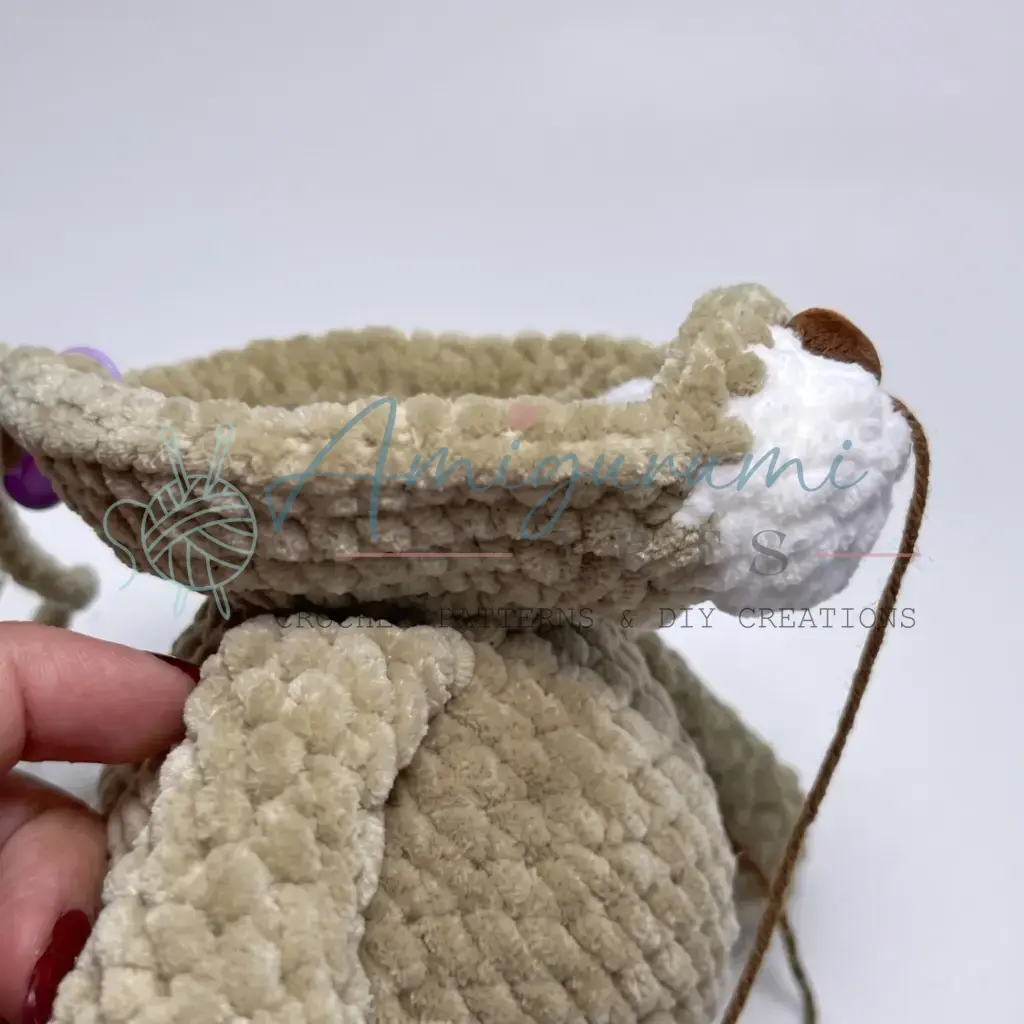
Realign the stitch marker to the center back. Identify 8 upper stitches and 10 lower stitches on the muzzle — the nose should be centered at the top.
- Rnd 4: 19 sc, work 10 sc joining the lower edge of the muzzle (working through both the head round and the lower muzzle stitches simultaneously), 19 sc. (48)
- Rnd 5: 20 sc, work 8 sc through the remaining free upper muzzle stitches, 20 sc. (48)
- Rnd 6: 4 sc, dec repeat 8 times. (40)
- Rnds 7–9: sc in each st around. (40)
- Rnd 10: 6 sc, dec repeat 5 times. (35)
- Rnd 11: sc in each st around. (35)
- Rnd 12: 5 sc, dec repeat 5 times. (30)
- Rnd 13: sc in each st around. (30)
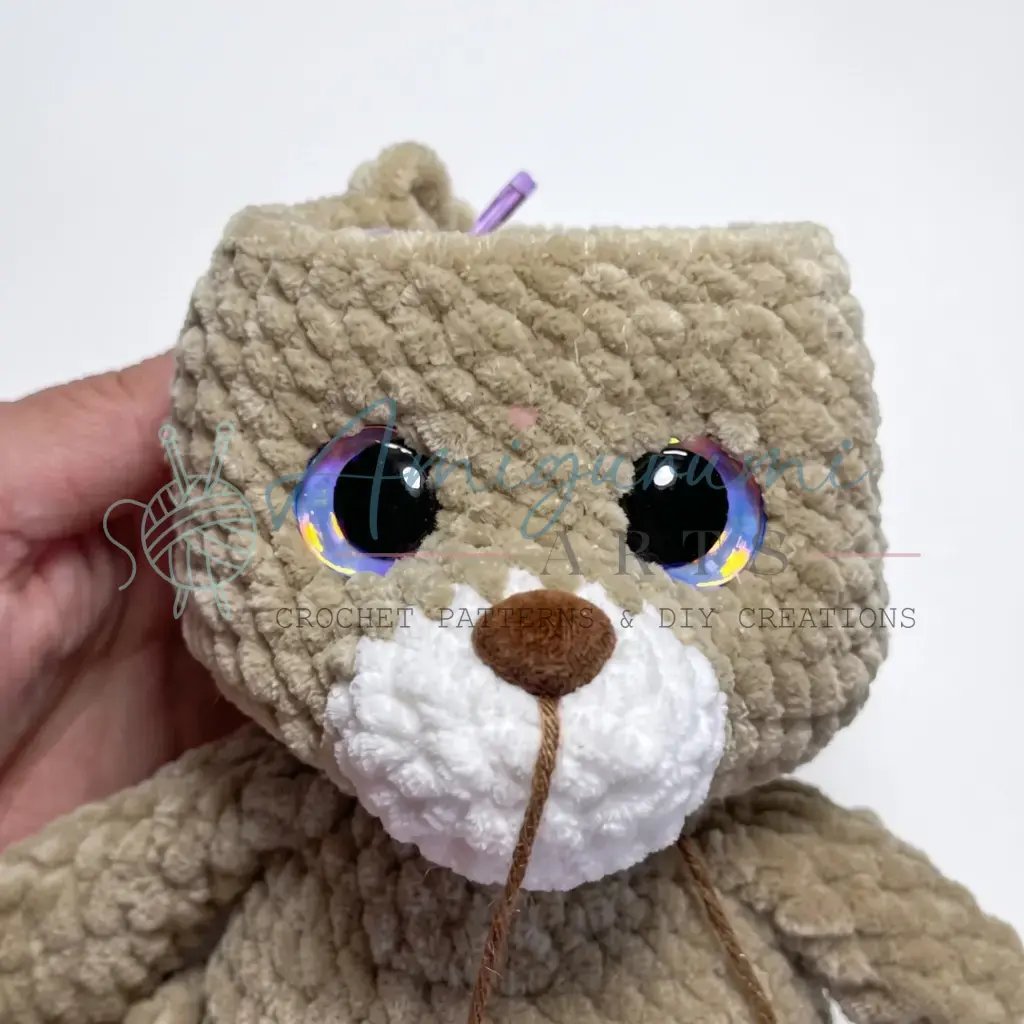
Install the 18 mm safety eyes between Rounds 8 and 9, with 8 stitches between the eye posts.
- Rnd 14: 3 sc, dec repeat 6 times. (24)
- Rnd 15: 2 sc, dec repeat 6 times. (18)
- Rnd 16: 1 sc, dec repeat 6 times. (12)
- Rnd 17: dec 6 times. (6)
Fasten off. Pull the remaining stitches closed and weave the end inside the head.
Bow — Neck Band
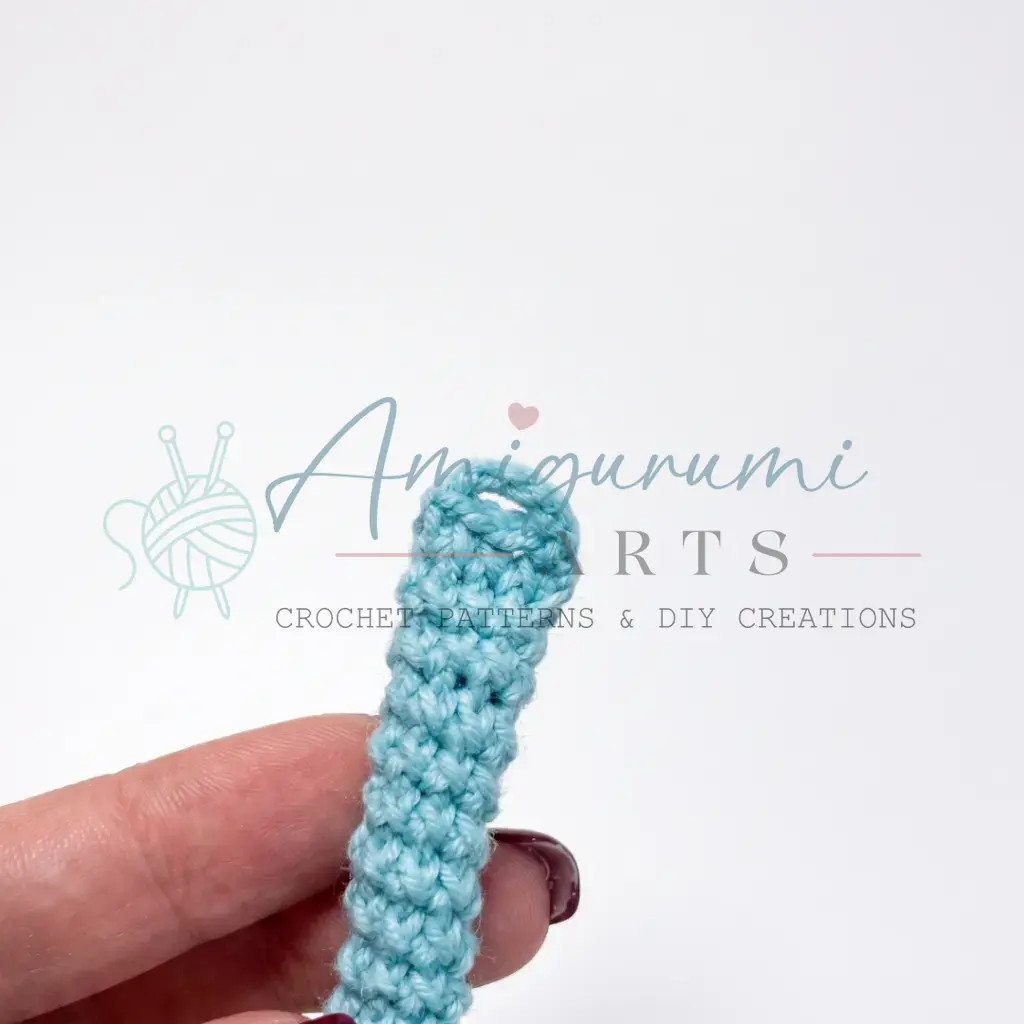
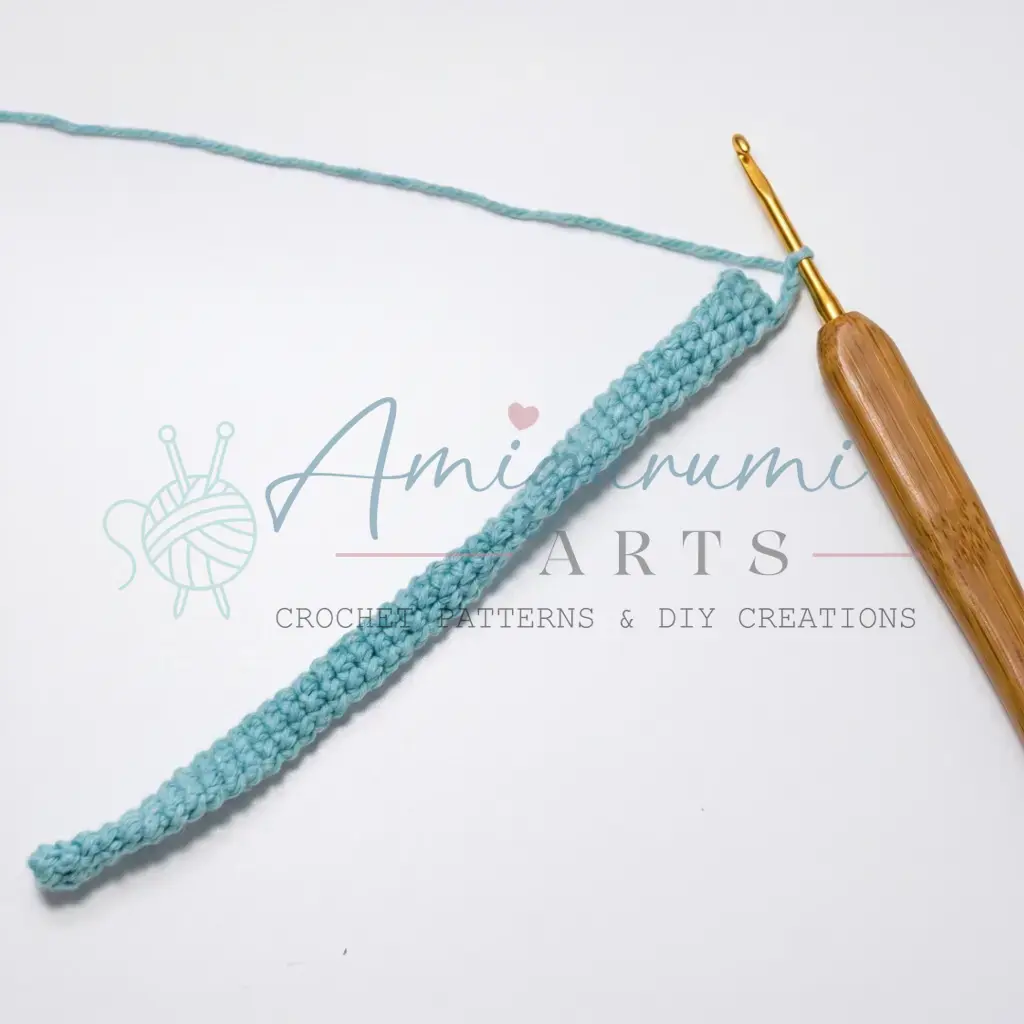
Work with B-1 (2.0 mm) hook and blue sport-weight yarn.
- Rnd 1: 8 sc in MR. (8)
- Rnds 2–37: sc in each st around. (8) — 36 rounds total. Try the band around your bear’s neck as you work — you may need a few more or fewer rounds depending on your tension. The band should fit snugly.
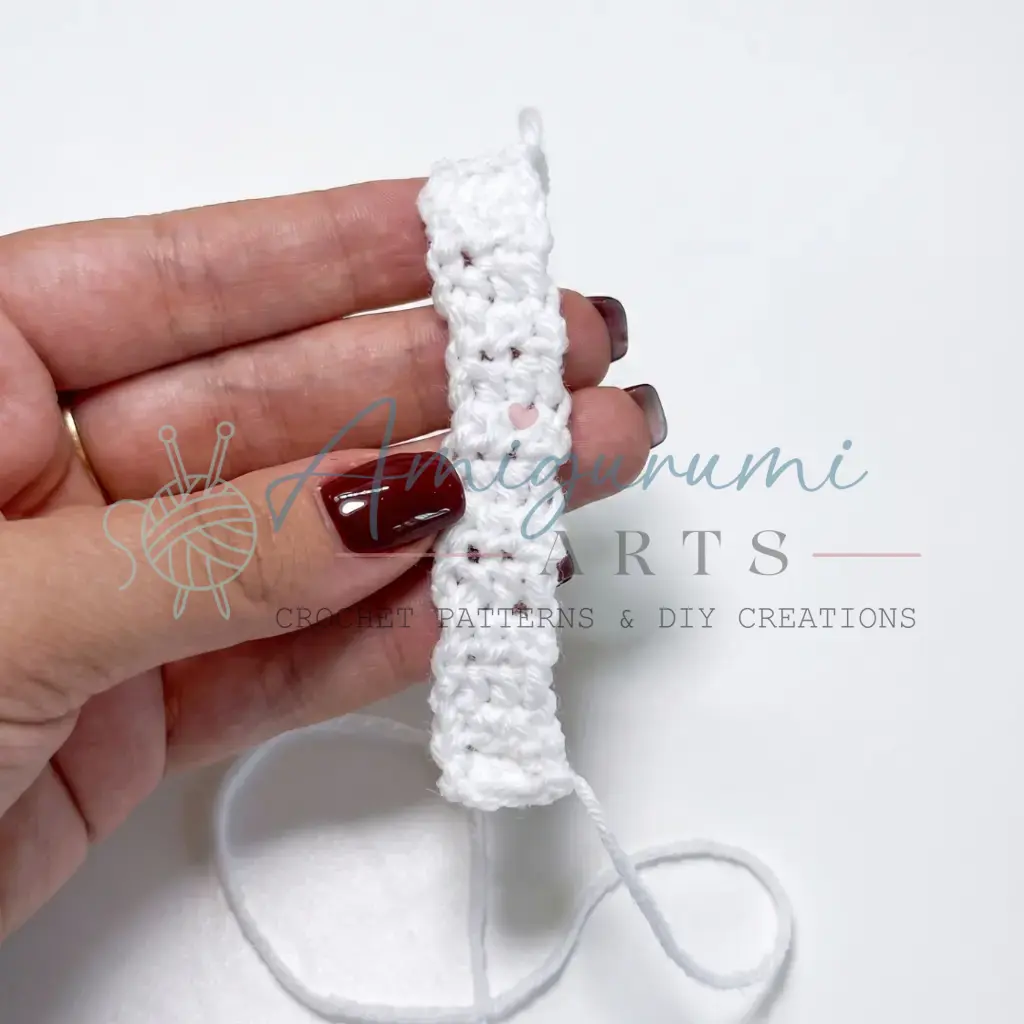
Fold in half and work 4 sc through both layers to close into a loop. Chain 5 and attach to the opposite corner of the band to form a button loop. Fasten off and weave in ends.
Bow — Main Bow Piece
Work with B-1 (2.0 mm) hook and blue sport-weight yarn.
- Row 1: Foundation chain of 50 ch, join into a ring with sl st.
- Each following row begins with ch 2 (counts as first hdc) and ends with sl st to join.
- Rows 2–9: 50 hdc. (8 rows)
Fasten off and weave in ends.
Bow — Ribbon Tail
Work with B-1 (2.0 mm) hook and blue sport-weight yarn.
- Row 1: Foundation chain of 5 ch.
- Row 2: Starting from the 3rd ch from hook: 3 hdc.
Work in turned rows from here. Each row begins with ch 2.
- Rows 3–23: 3 hdc. (21 rows total)
Final shaping row: Ch 2, work 3 hdc into one st, dec, transition to the side edge and work 1 hdc into each side loop down the length of the ribbon, transition to the other short edge and work dec, 3 hdc into one st. Ch 2, sl st to finish. Fasten off and weave in ends.
Bow — Center Wrap
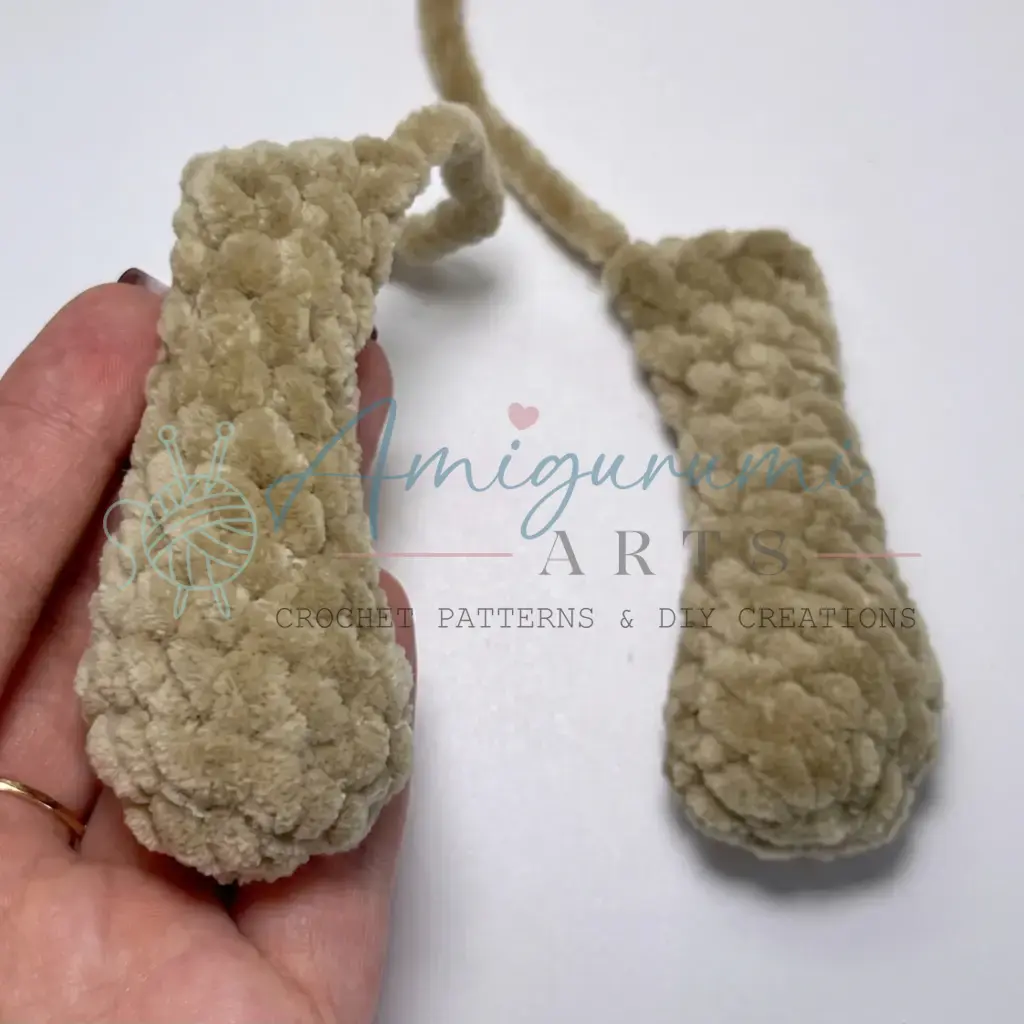
Work with B-1 (2.0 mm) hook and white sport-weight yarn (or your preferred contrast color).
- Row 1: Foundation chain of 5 ch.
- Row 2: Starting from the 3rd ch from hook: 3 hdc.
Work in turned rows from here. Each row begins with ch 2.
- Rows 3–12: 3 hdc. (11 rows total)
Fasten off, leaving a long tail for sewing.
Assembly
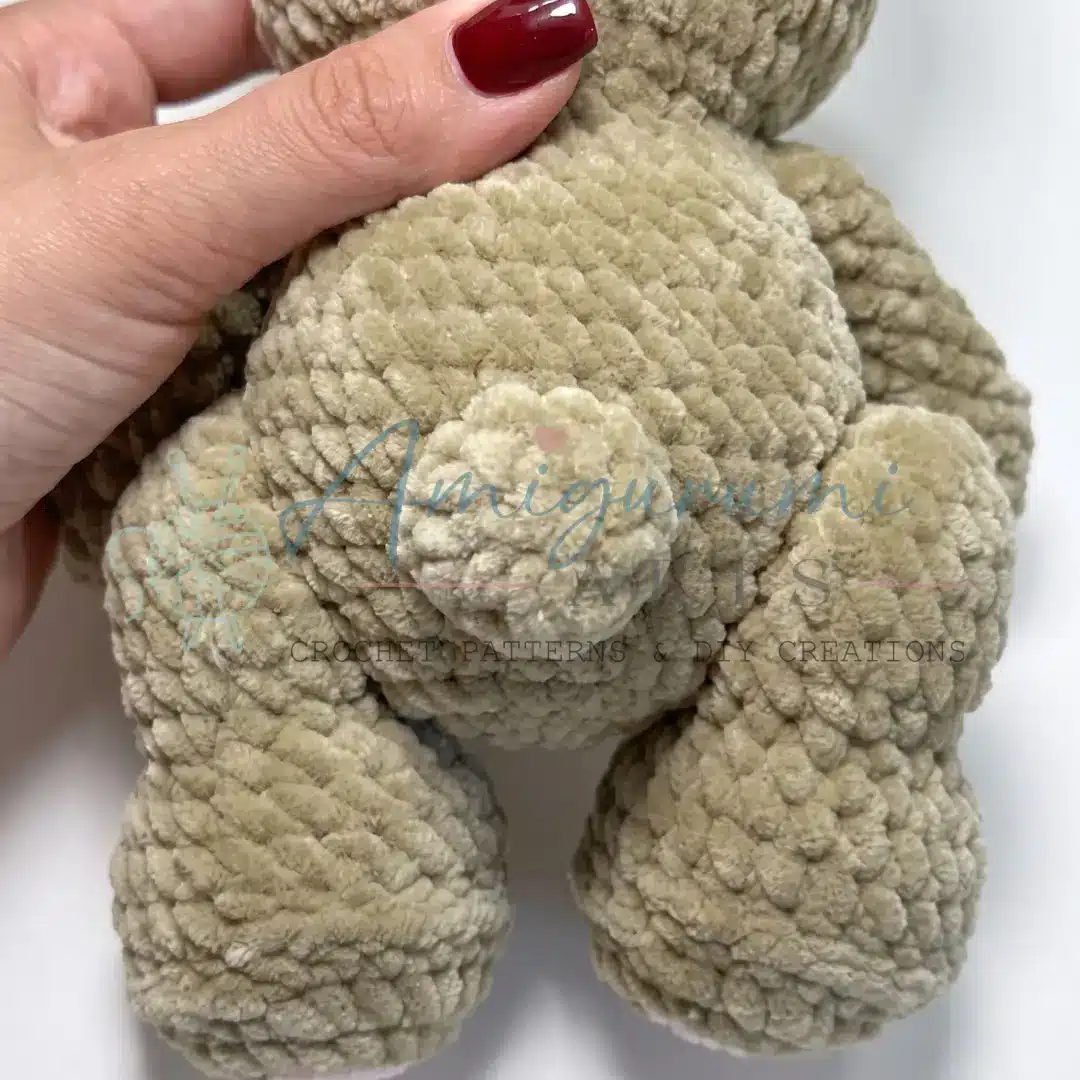
- Attach the tail: Sew the tail to the center back of the body at the level of Rounds 6–8 using the long yarn tail and a whipstitch.
- Attach the ears: Position each ear between Rounds 10–15 of the head, with 7 stitches between the inner corners of the ears. Sew securely using the yarn tails.
- Indent the eyes and muzzle: Using a length of matching yarn threaded on a tapestry needle, run a through-stitch from the back of the head to each eye post and back again to create gentle eye indentations. Work a similar indenting stitch around the muzzle seam to shape the face.
- Embroider the mouth: Using the brown yarn that was pre-tied to the nose post, embroider a small curved mouth below the nose.
- Embroider the eye whites: Using white plush yarn, stitch a small highlight arc above each eye.
- Embroider the eyelids: Using brown main-color yarn, stitch a soft eyelid line over each eye.
- Embroider the lashes, brows, and belly button: Using black sport-weight yarn, stitch short lashes below each eye, two brow arches above, and a belly button at the center front of the body at Rounds 7–8, catching 3 sts across.
- Add the blush: Using pink plush yarn, embroider soft circular patches on each cheek.
- Assemble the bow: Gather the Main Bow Piece at the center to form a bow shape and tie off with a length of yarn. Sew the Ribbon Tail to the underside of the bow. Lay the assembled bow against the Neck Band and use the Center Wrap to bind all pieces together, positioning the bow near one edge so the button will sit hidden behind it. Sew the button to the neck band opposite the button loop.
- Weave in all remaining ends.
Tips
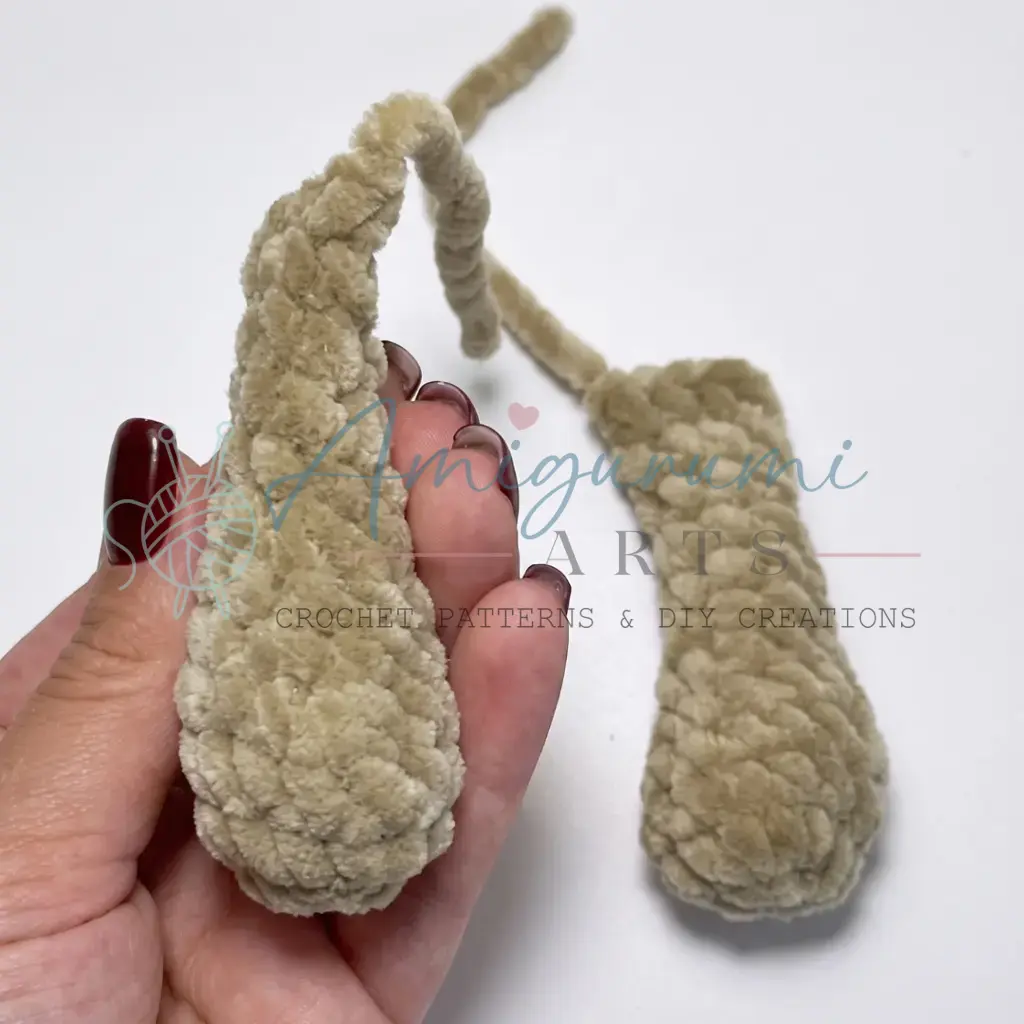
- Keep your tension tight: Amigurumi worked too loosely will show gaps in the fabric, especially in the chest and head where stuffing pressure is highest. If you can see fiberfill peeking through, switch to a hook one size smaller.
- The invisible decrease is worth the extra step: Insert your hook through the front loop only of the next stitch, then the front loop only of the stitch after that, and complete the decrease as normal. The result is a smooth, almost invisible reduction — particularly important in the head and leg rounds where decreases are dense.
- Stuff the legs before the final round: Once the joint disc is installed in Round 16, it becomes difficult to add stuffing without distorting the leg shape. Pack fiberfill firmly up to the ankle area before you begin the closing round.
- The muzzle join is easier with pins: Before working Rounds 4 and 5 of the Head, use straight pins to hold the muzzle flush against the head fabric. This keeps it from shifting as you crochet through both layers and ensures the nose stays centered.
- For the bow’s center wrap: Pull it snugly but not so tight that it distorts the hdc fabric of the main bow piece. A single whipstitch through the back of the wrap after gathering will hold the shape permanently without bunching.
FAQs
Can I use acrylic yarn instead of plush yarn?
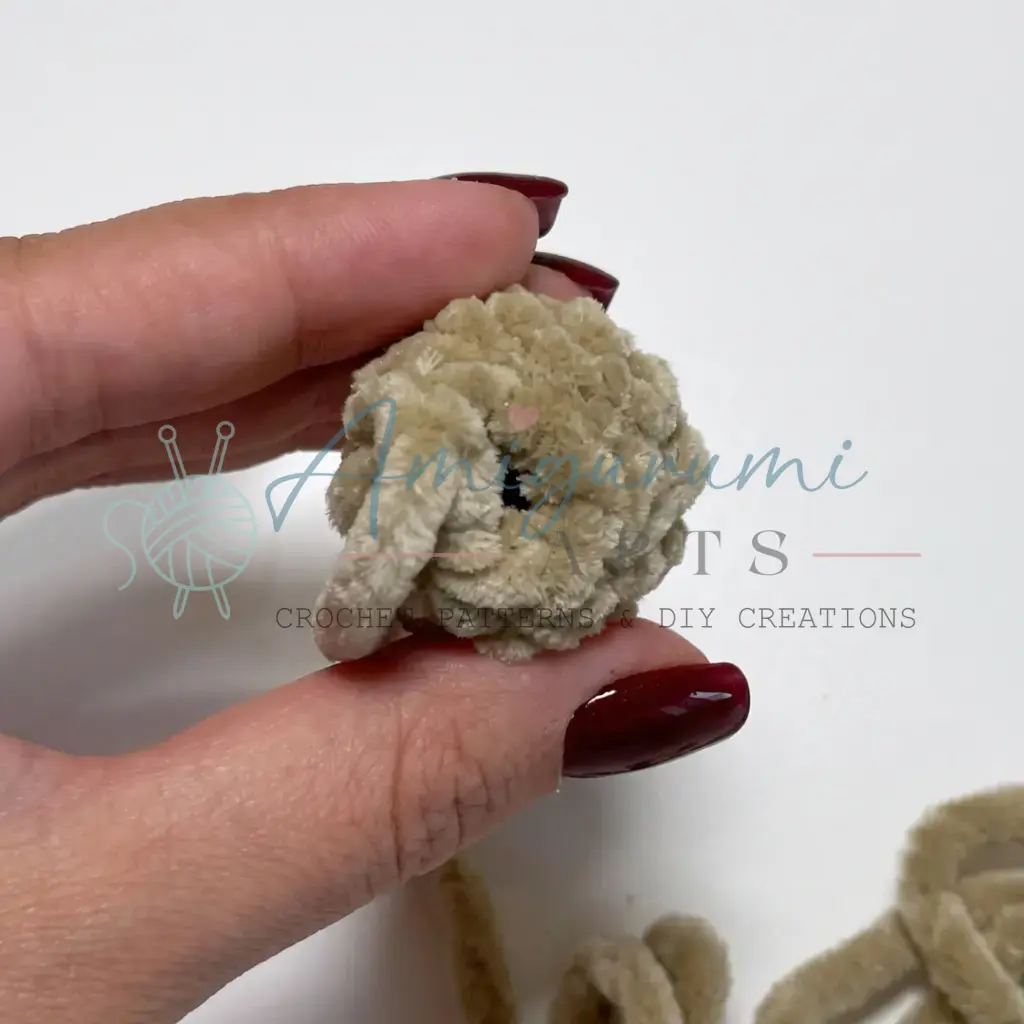
While plush yarn gives the bear its signature soft, fuzzy texture, you can use acrylic or cotton yarn. Keep in mind that the finished bear will look less plush and more structured. You may need to adjust your hook size to maintain tight tension.
Why are my stitches showing gaps?
Gaps usually indicate that the tension is too loose or the hook is too large for the yarn. Amigurumi requires tight fabric to hide the stuffing. Try using a smaller hook or tightening your grip as you crochet.
How do I install the joint discs in the legs?
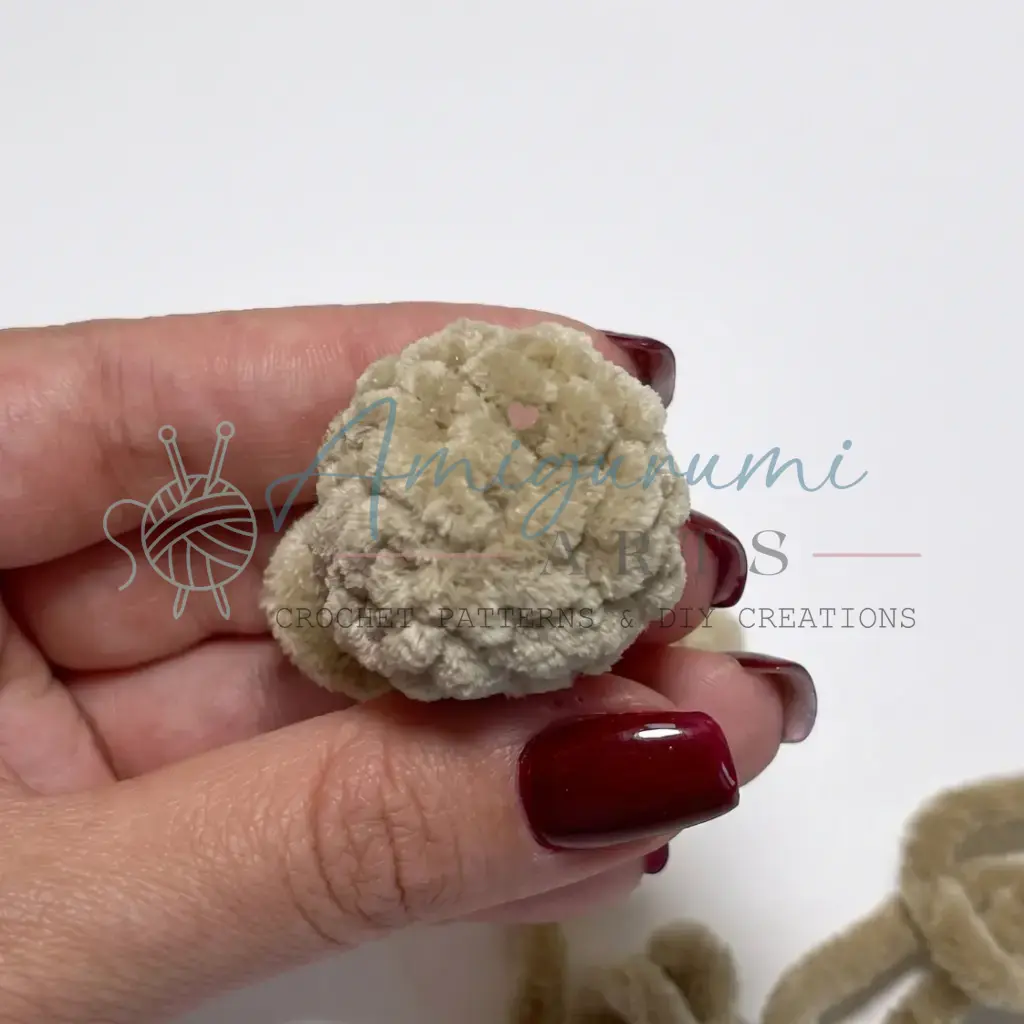
Install the joint hardware in Round 16 of the legs, before you fasten off and close the final stitches. This ensures the pin is securely anchored inside the leg before you weave in the end.
Can I change the color of the bow?
Absolutely. The pattern suggests blue sport-weight yarn, but you can use any color that matches your aesthetic. Just ensure you have enough yarn for the neck band, main bow, ribbon tail, and center wrap.
How do I make the bear stand up?
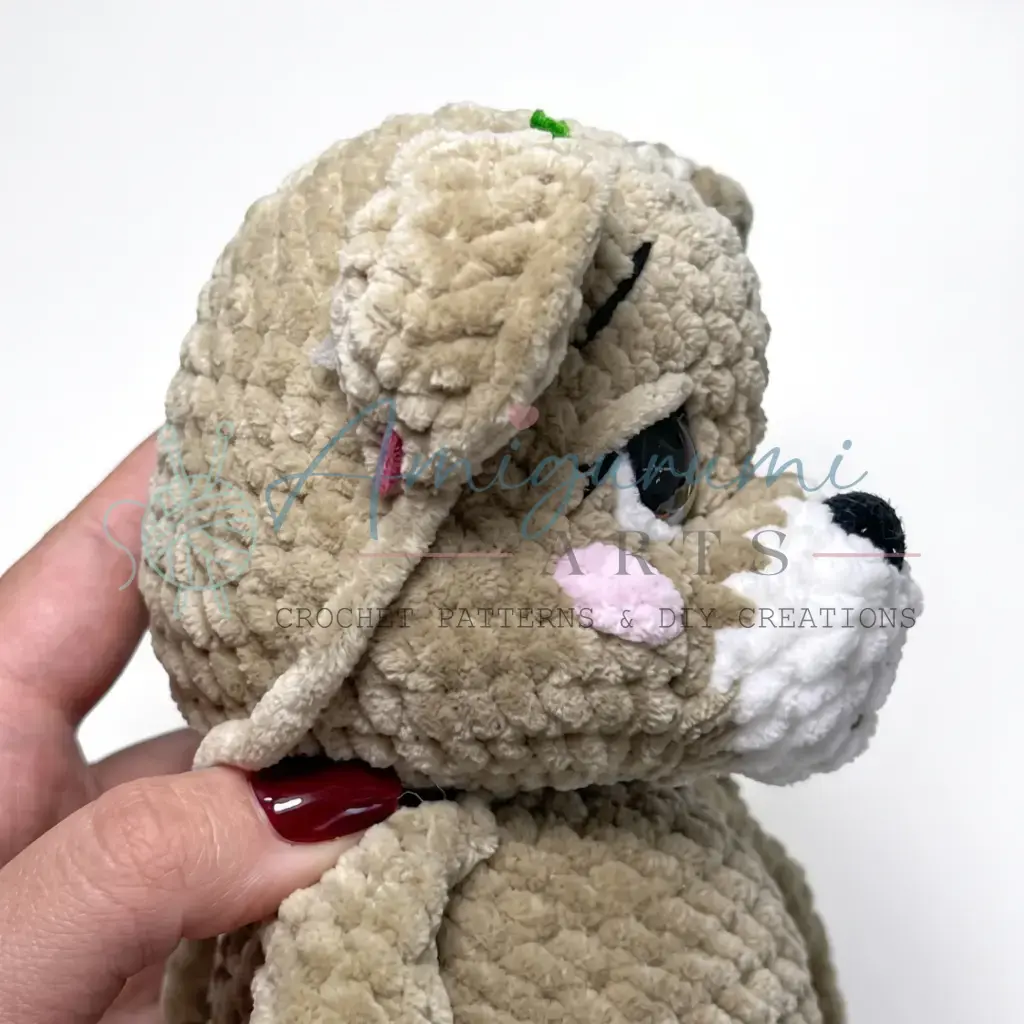
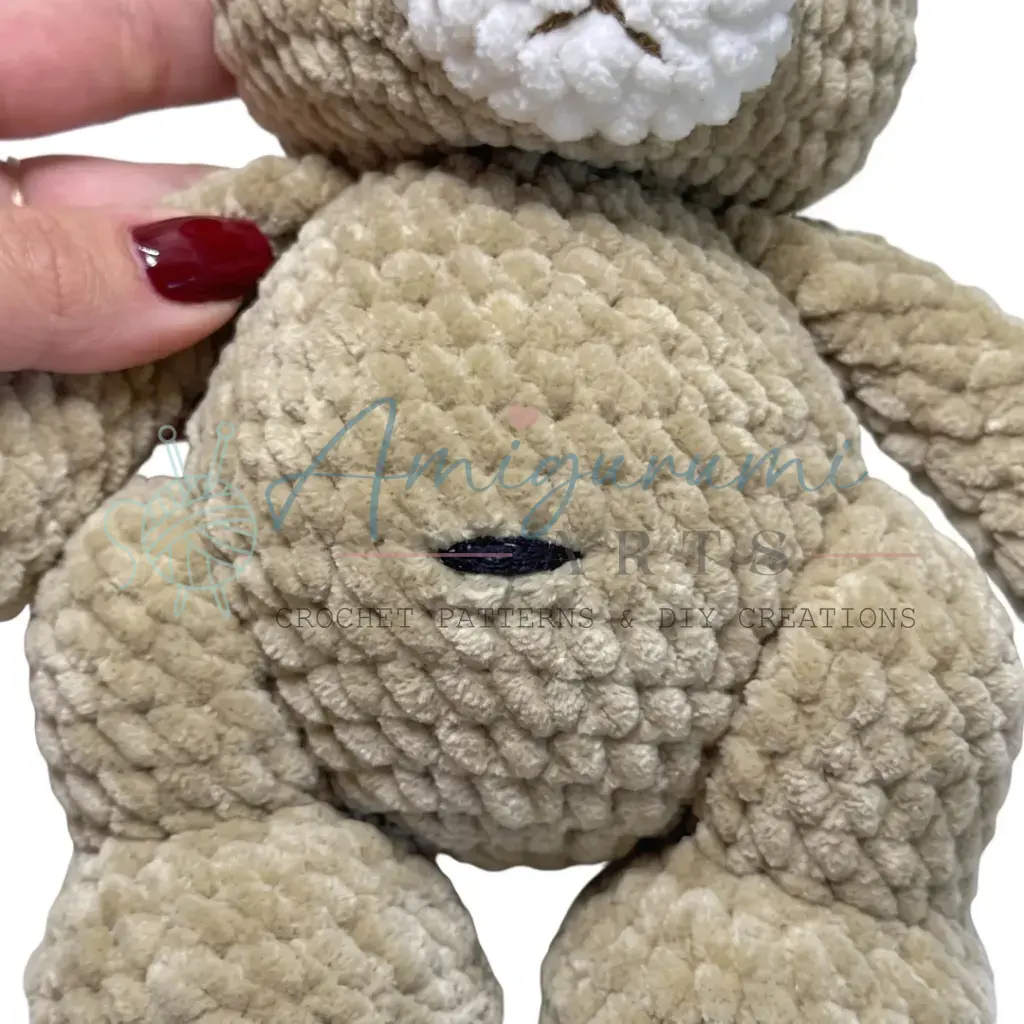
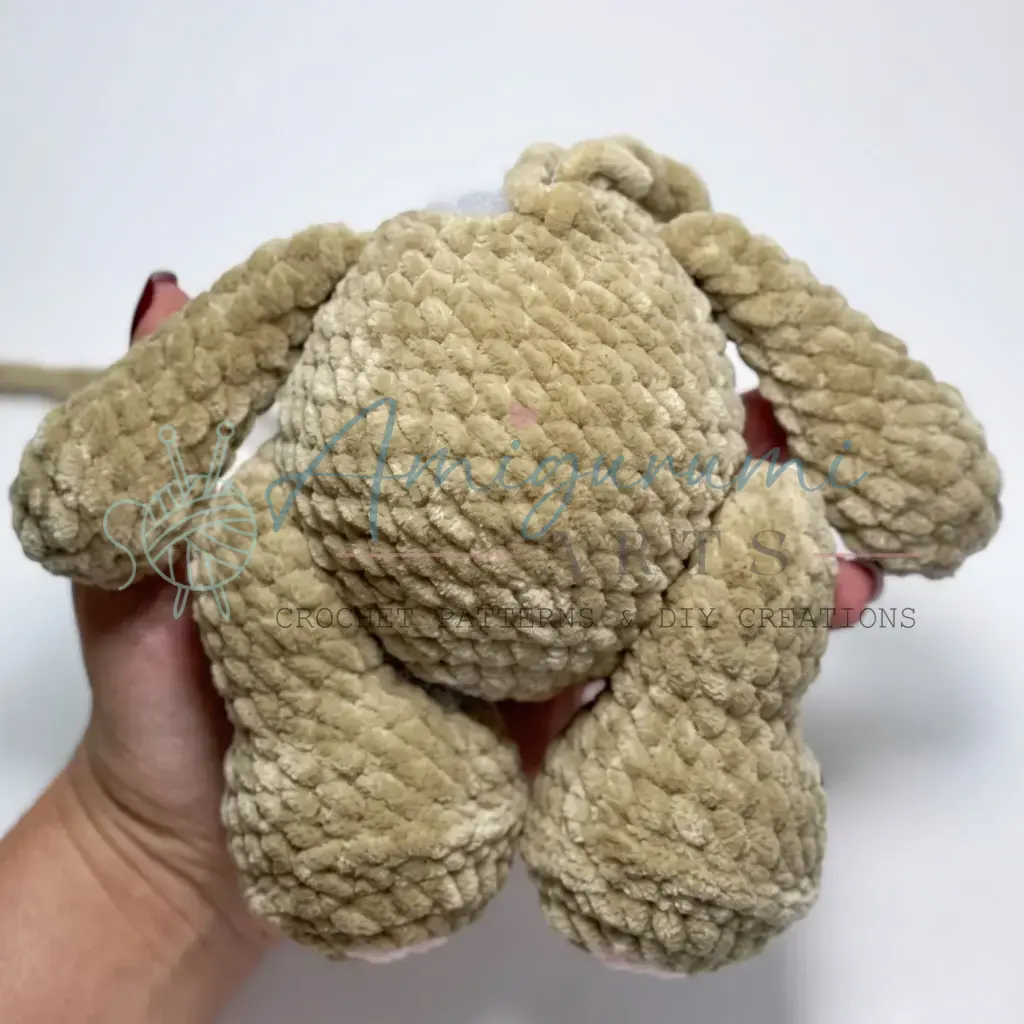
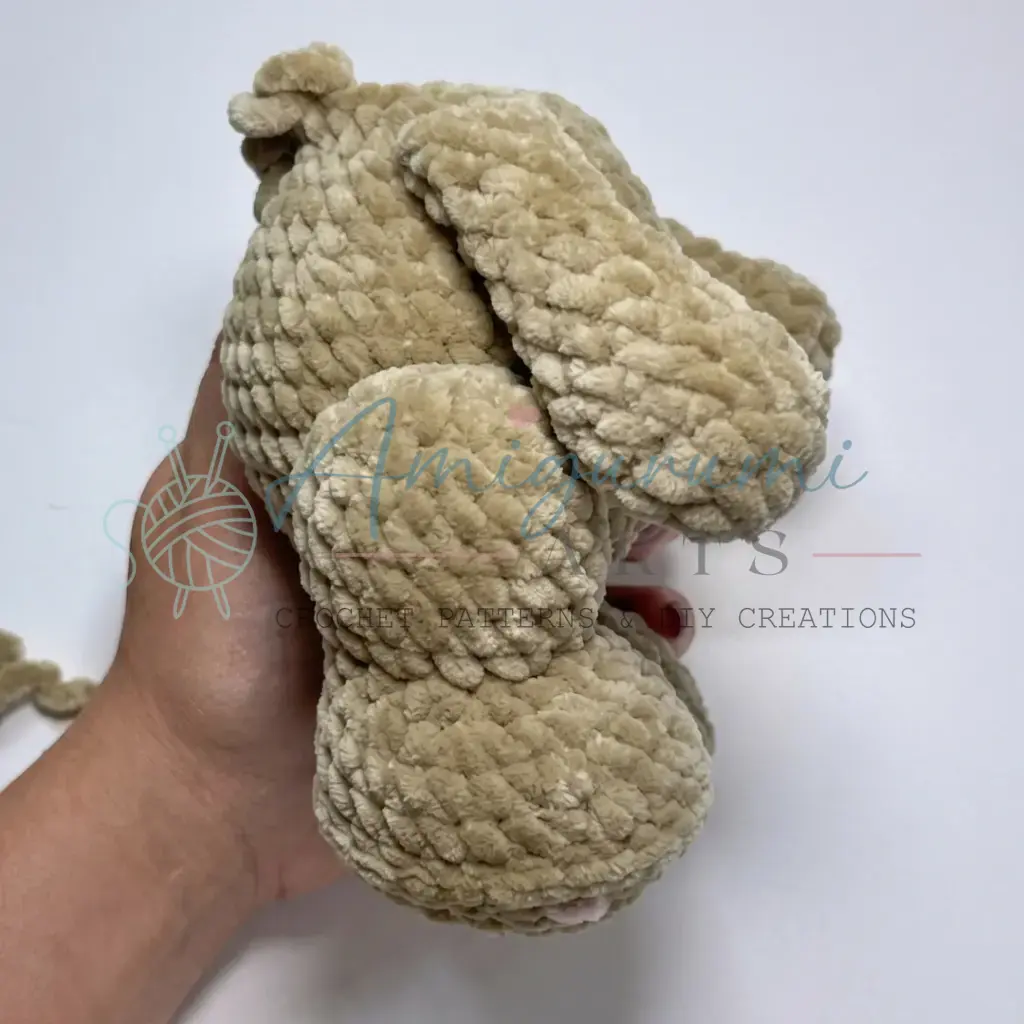
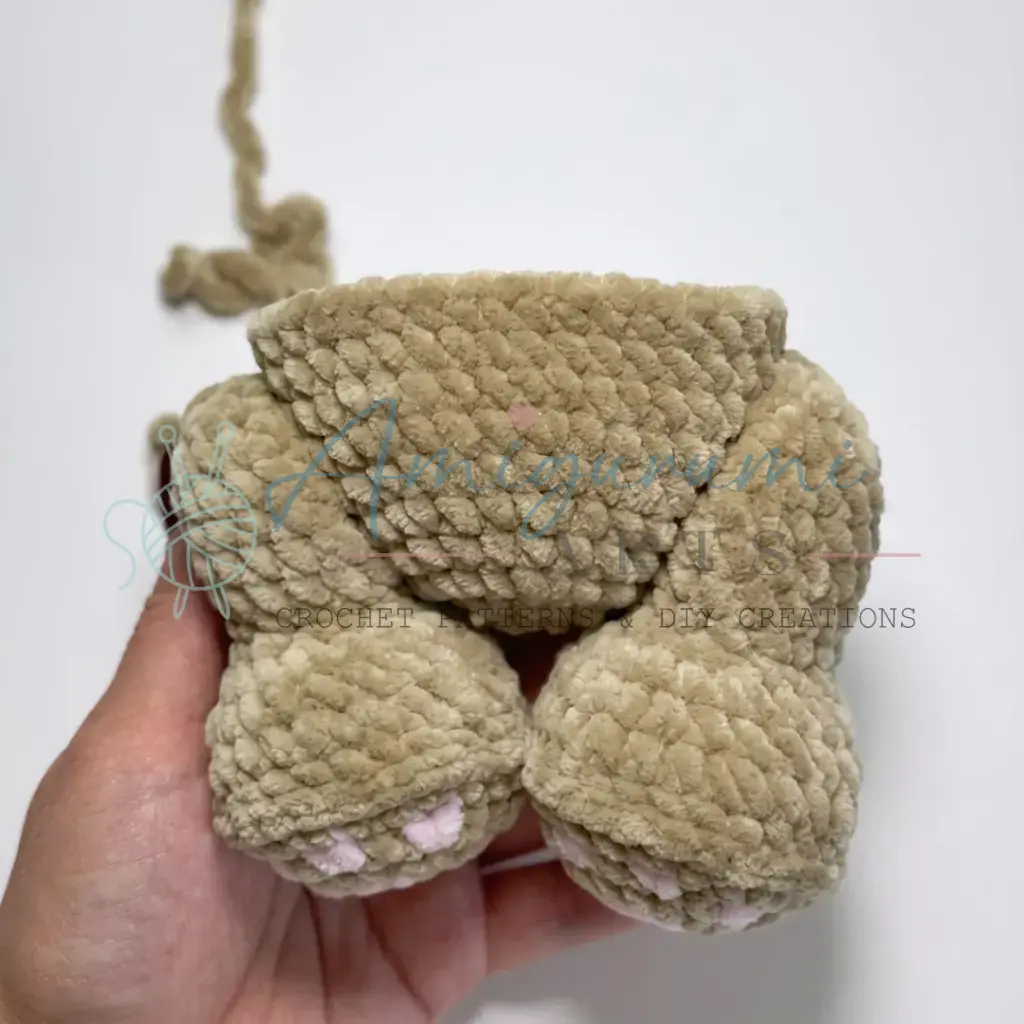
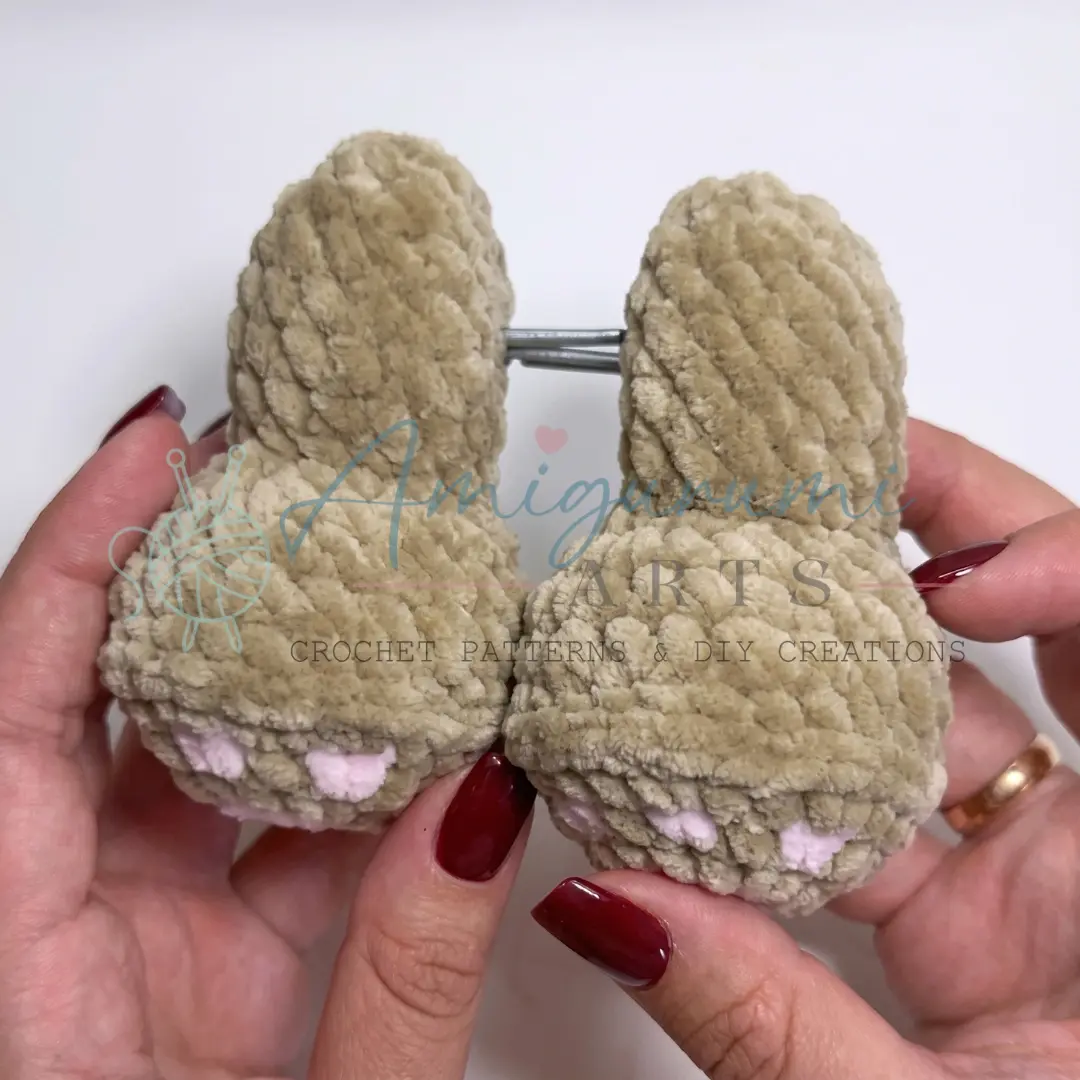
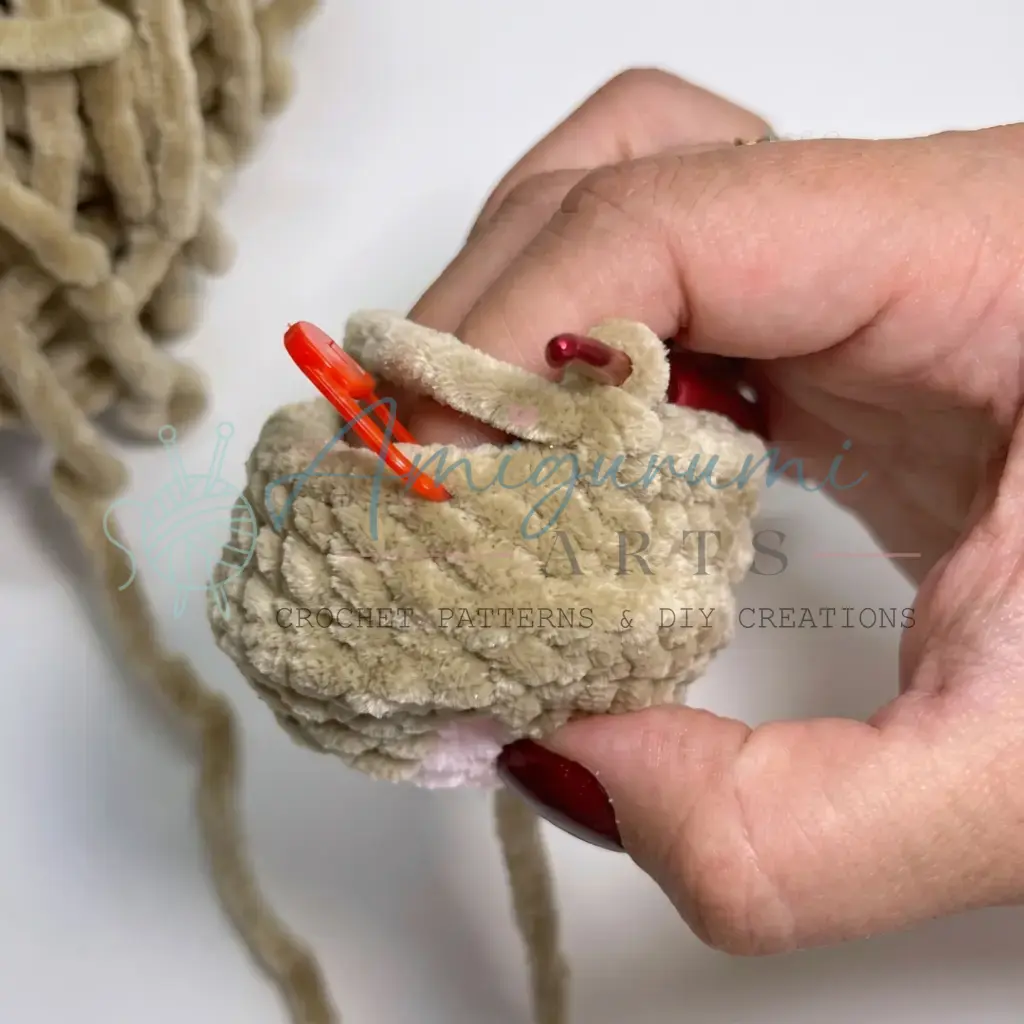
Boddi Bear has jointed legs, which allows for natural posing. Ensure the legs are stuffed firmly up to the ankle area (Round 16) so they have enough structure to support the bear’s weight when sitting or standing.
Pin This Crochet Pattern!