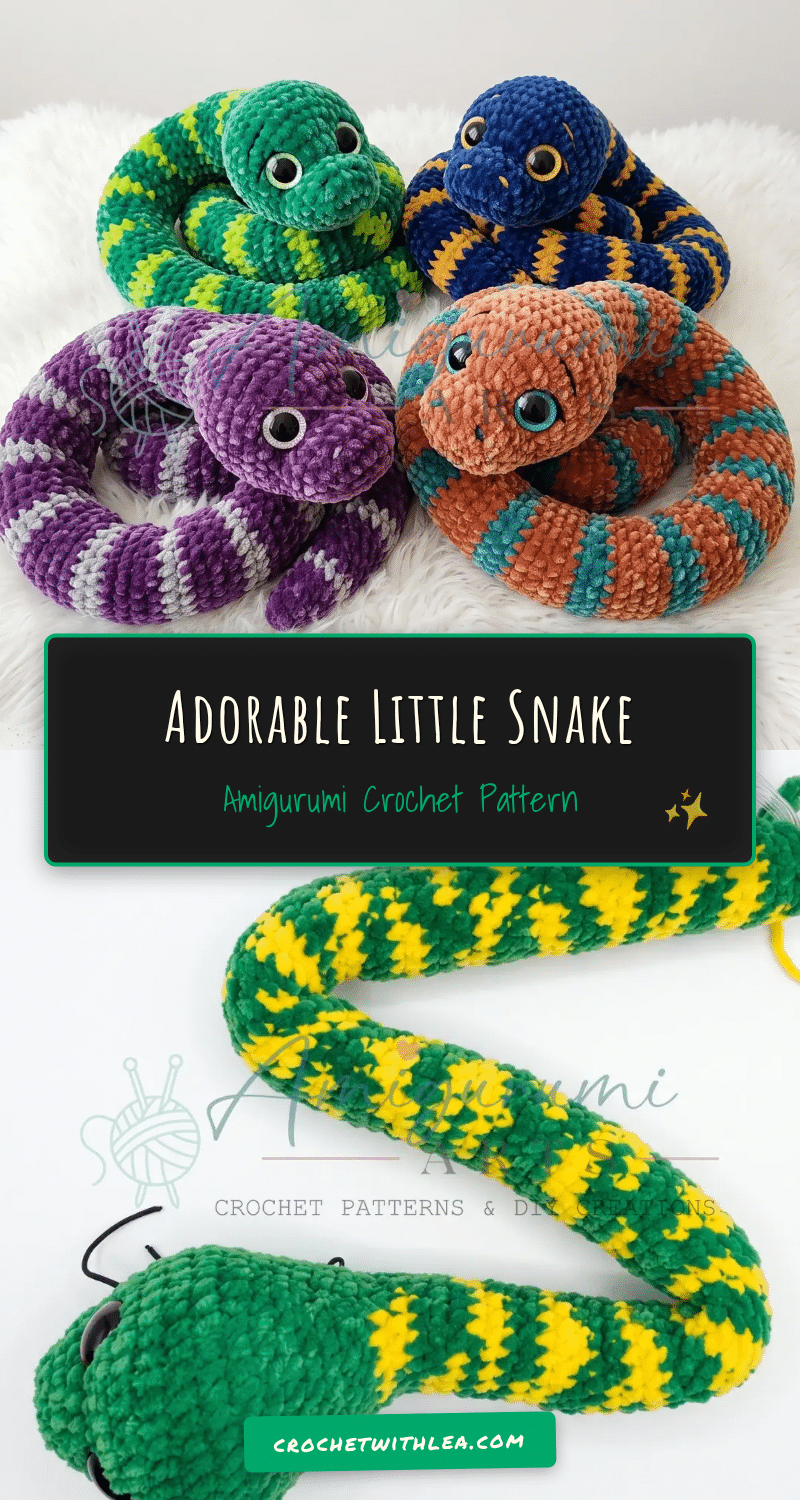
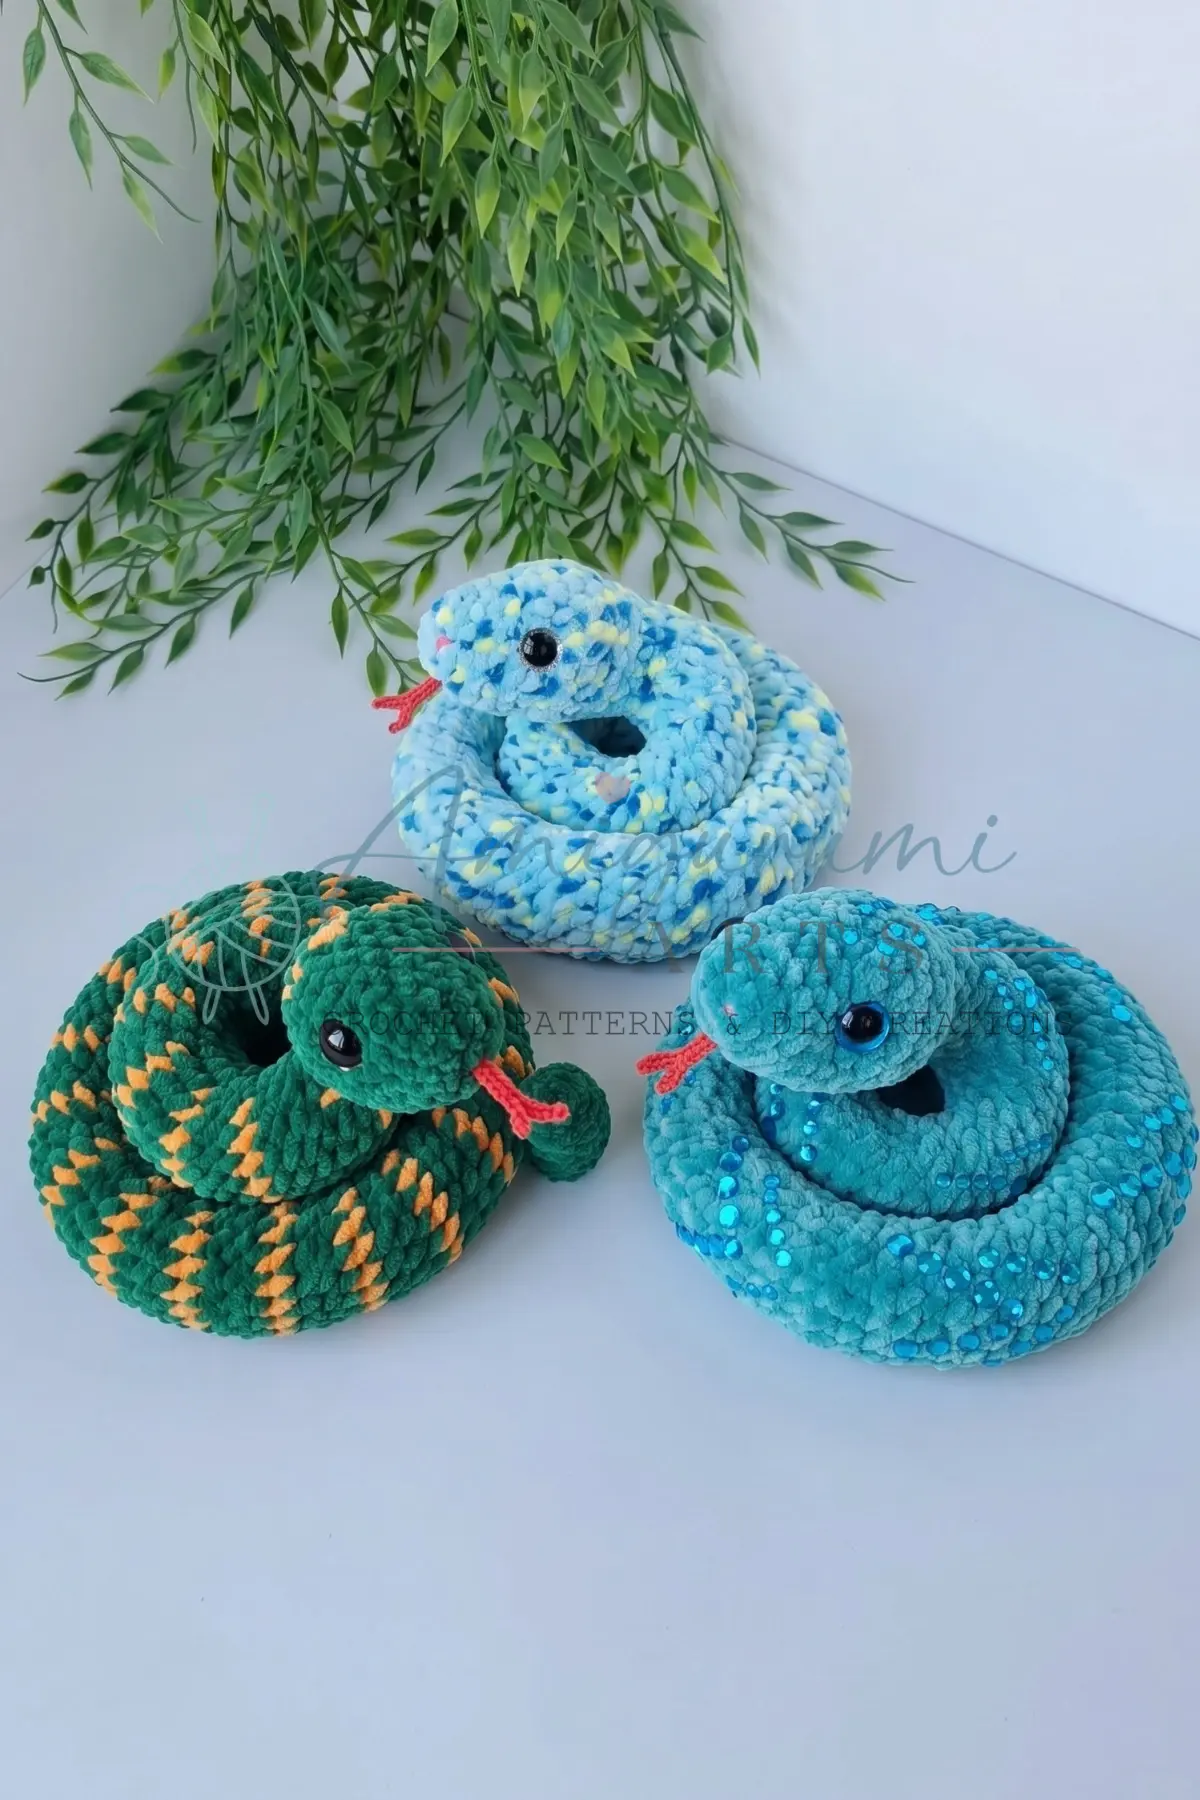
There is something undeniably charming about amigurumi that captures the imagination, and few creatures offer as much playful versatility as a snake. This adorable little snake amigurumi pattern transforms plush yarn into a tactile, poseable companion that is as fun to make as it is to display. By incorporating a wire armature, this project moves beyond standard plush toys, allowing you to coil, curl, and position your snake in endless creative ways. It is a satisfying intermediate project that teaches essential shaping techniques while rewarding you with a unique handmade gift or nursery accent.
Seasonal Styling Ideas
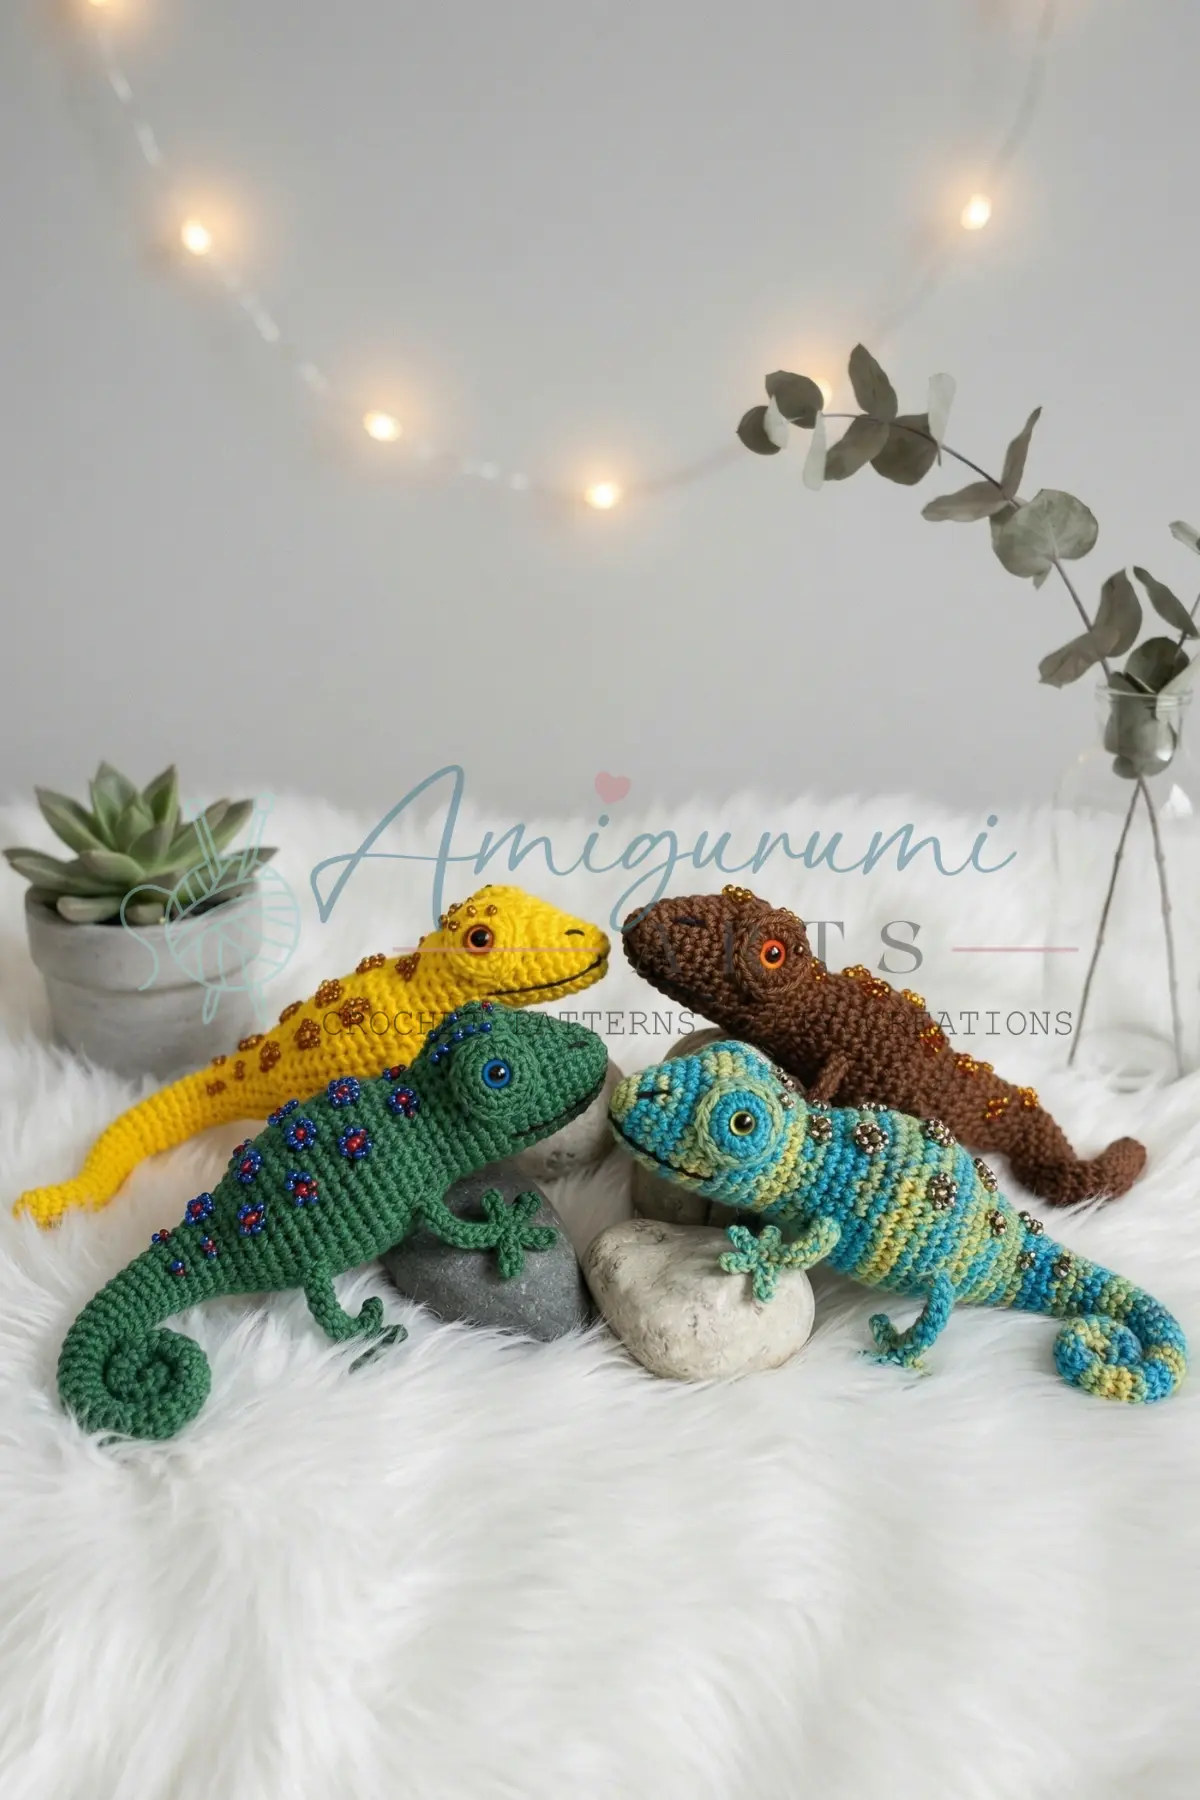
While a snake is a year-round friend, this plush amigurumi shines during specific seasons. In the autumn, a snake in earthy tones like moss green, burnt orange, or deep brown makes a perfect addition to a harvest-themed shelf display or a cozy reading nook. For the winter holidays, a snake in metallic gold, silver, or festive red can serve as a whimsical tree topper or a unique ornament. During spring, bright pastels or vibrant greens bring a fresh, garden-inspired energy to a child’s room. Because the snake is poseable, you can easily adjust its position to fit seasonal decor, curling it around a vase in spring or draping it over a mantel in winter.
Project Overview
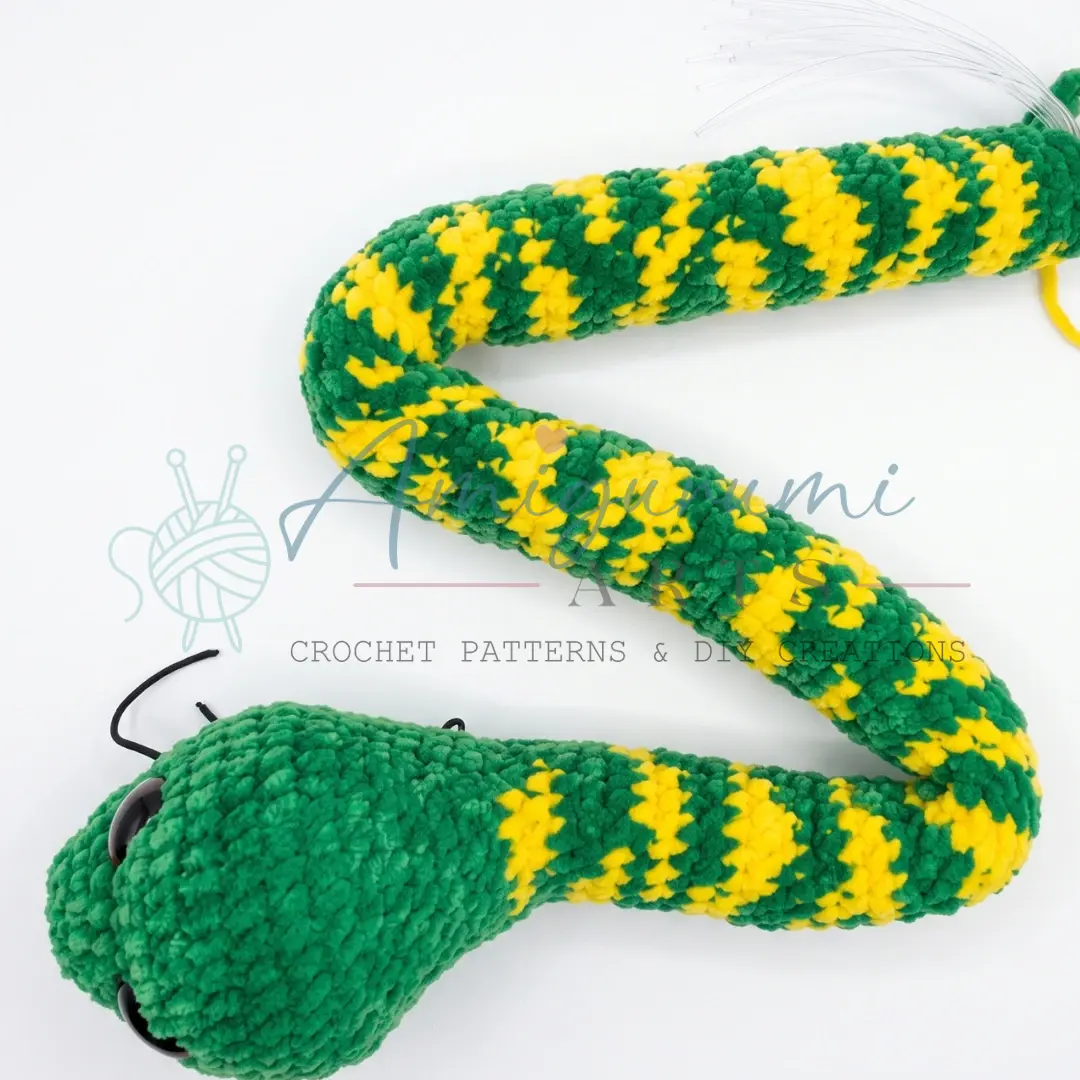
This pattern creates a plush amigurumi snake that is approximately 80 cm (roughly 31 inches) long. It is designed as a satisfying intermediate project, teaching you how to work a foundation chain start, transition from head to body seamlessly, and taper a long tubular form down to a fine tail. The inclusion of a wire armature allows the finished snake to be posed freely, making it a standout piece for collectors or children who love interactive toys.
Materials
- Yarn (Main Color): Plush yarn, approximately 100 g (120 m / 100 g weight)
- Yarn (Contrast Color): Plush yarn, approximately 30–50 g (same weight)
- Hook: US G-6 / 4.0 mm
- Safety Eyes: 20 mm trapezoid-style safety eyes, 1 pair
- Stuffing: Polyester fiberfill or hollowfiber stuffing
- Wire Armature: Aluminum wire, 2 mm diameter, 1.5–2 m length
- Stitch Markers
- Yarn Needle / Tapestry Needle
- Scissors
- Black thread or thin yarn for facial detail embroidery
Gauge and Finished Size
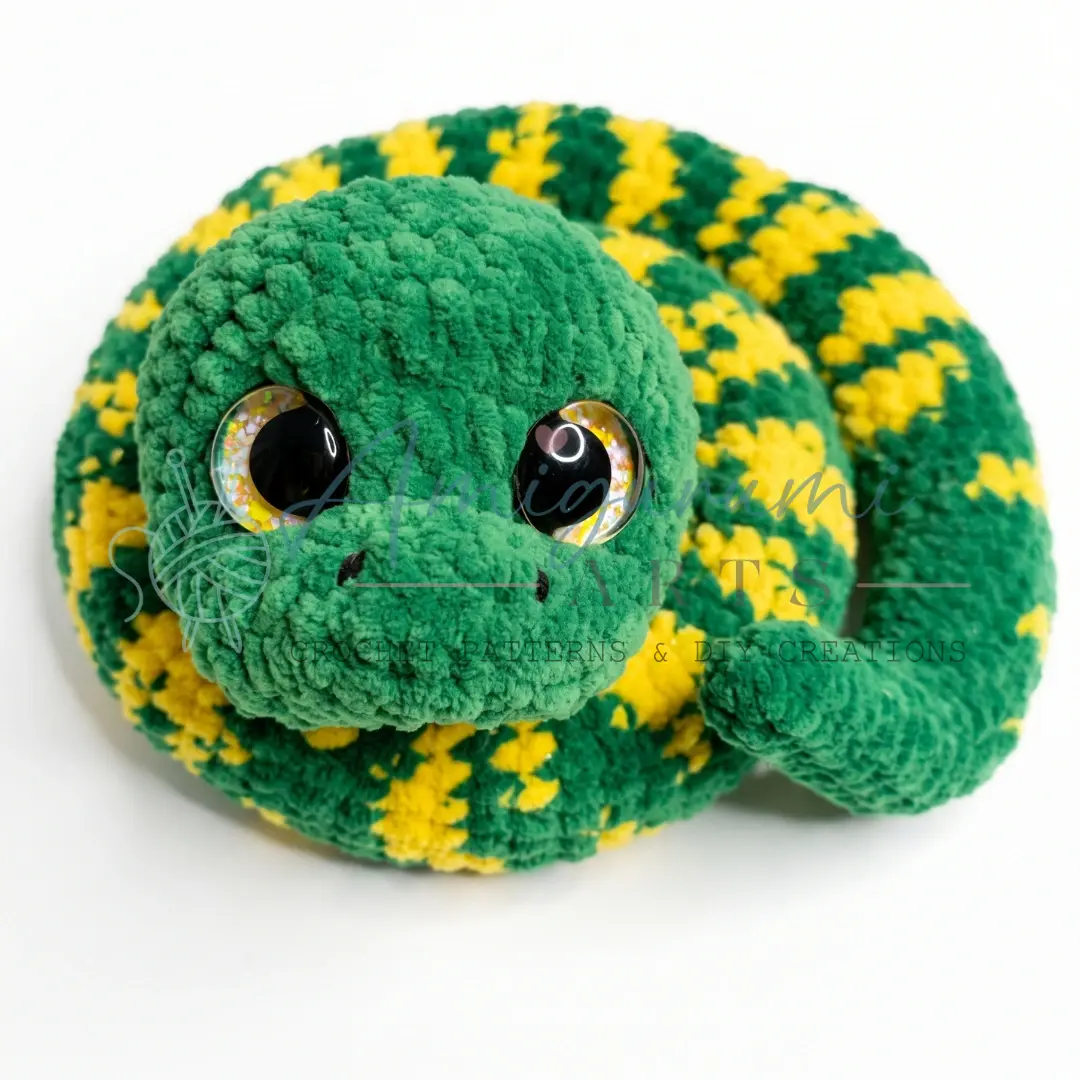
Finished Size: At around 80 cm (roughly 31 inches) long, this plush amigurumi snake is tactile, playful, and endlessly poseable.
Gauge: Gauge is not critical for this project, but your tension should be tight enough that no stuffing shows through the stitches. A dense, firm fabric is the goal.
Abbreviations
- ch — Chain
- dec — Invisible Decrease (insert hook into front loops of next 2 sts, pull up a loop, yarn over and draw through all 3 loops)
- hdc — Half Double Crochet
- inc — Increase (2 sc in same stitch)
- MR — Magic Ring
- sc — Single Crochet
- sl st — Slip Stitch
Pattern Notes
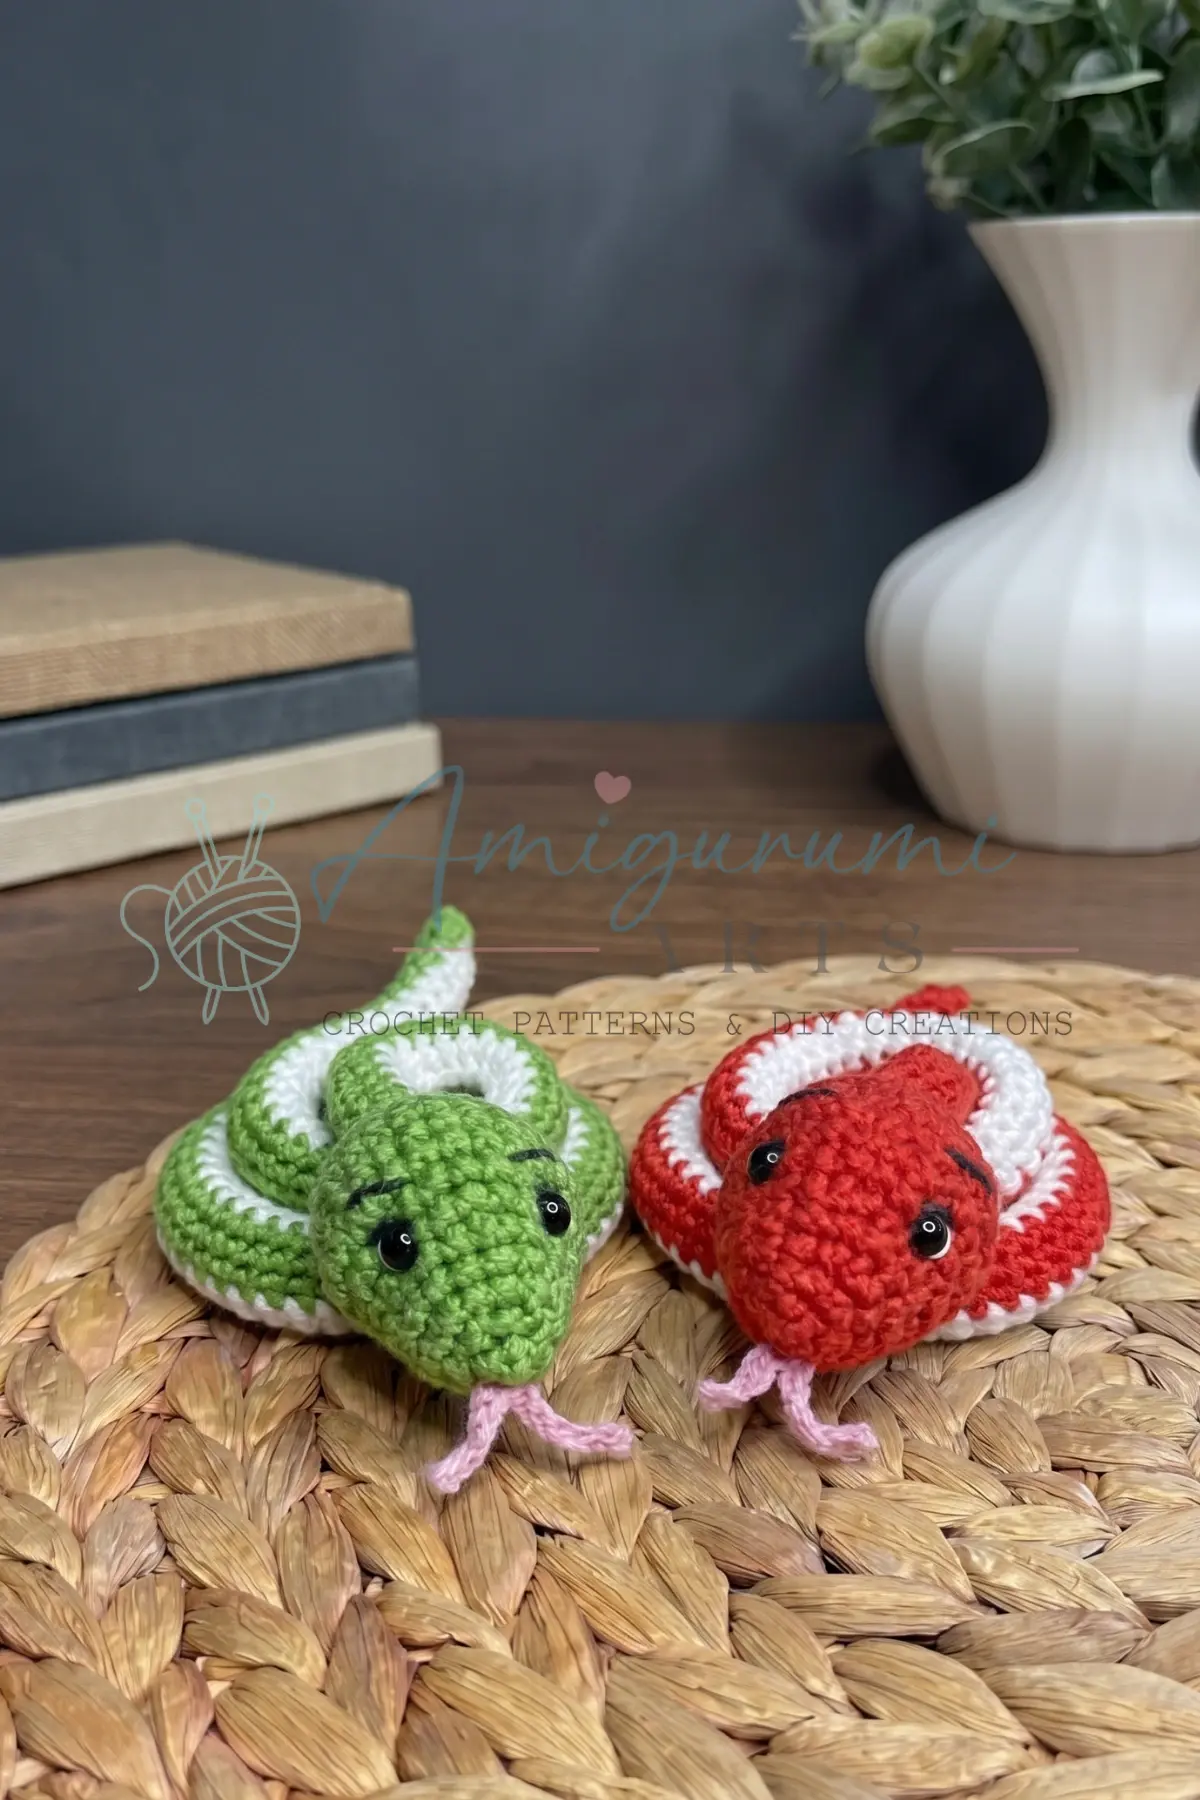
This pattern is written in US crochet terminology. The head is begun from a foundation chain of 5, then continues in a continuous spiral. The body continues directly from the head in a continuous spiral with no joining rounds. Stitch counts are given at the end of each round in parentheses: (##).
Insert the wire armature and stuff the head firmly before continuing to the body. The armature runs the full length of the body and allows the finished snake to be posed freely. Safety eyes (20 mm) are inserted at Round 5 — see the note at that round for exact placement. The number of body rounds (Rnds 18–97) is flexible — work as many or as few as you like to achieve your preferred length. At the specified yarn weight and tension, approximately 80 rounds produces a snake around 80 cm long. The tail decreases (Rnds 98–118) should be positioned so the decrease stitch falls along the snake’s belly each time. Use a stitch marker to track the beginning of each round throughout.
Pattern Instructions
Head
Begin from a foundation chain, then continue in a continuous spiral.
Foundation: Ch 5.
Rnd 1: Starting in the 2nd ch from hook, sc in next 3 ch, 3 sc in last ch (corner), then working back along the other side of the chain: sc in next 2 ch, inc in first ch. (10)
Rnd 2: Inc, sc in next 2 sts, inc 3 times, sc in next 2 sts, inc 2 times. (16)
Rnd 3: Sc, inc, sc in next 2 sts, sc, inc repeat 3 times, sc in next 2 sts, sc, inc repeat 2 times. (22)
Rnd 4: Sc in next 12 sts, sl st in next 6 sts, sc in next 4 sts. (22)
Rnd 5: Inc, sc in next 6 sts, inc, sc in next 4 sts, inc 7 times, sc in next 3 sts. (31)
Insert safety eyes at Round 5 — place one eye after the first increase and one eye before the last increase of this round.
Rnd 6: Sc in next 14 sts, hdc, inc in same st as hdc repeat 7 times, sc in next 3 sts. (38)
Rnds 7–11: Sc in each st around. (38) Work these 5 rounds even.
Rnd 12: Sc in next 12 sts, sc, dec repeat 8 times, sc in next 2 sts. (30)
The decreases in Rnd 12 fall across the top of the head.
Rnd 13: Sc in each st around. (30)
Rnd 14: Sc in next 3 sts, dec repeat 6 times. (24)
Rnd 15: Sc in each st around. (24)
Rnd 16: Sc in next 11 sts, sc in next 2 sts, dec repeat 3 times, sc. (21)
The decreases in Rnds 16 and 17 fall across the top of the head.
Rnd 17: Sc in next 11 sts, sc, dec repeat 3 times, sc. (18)
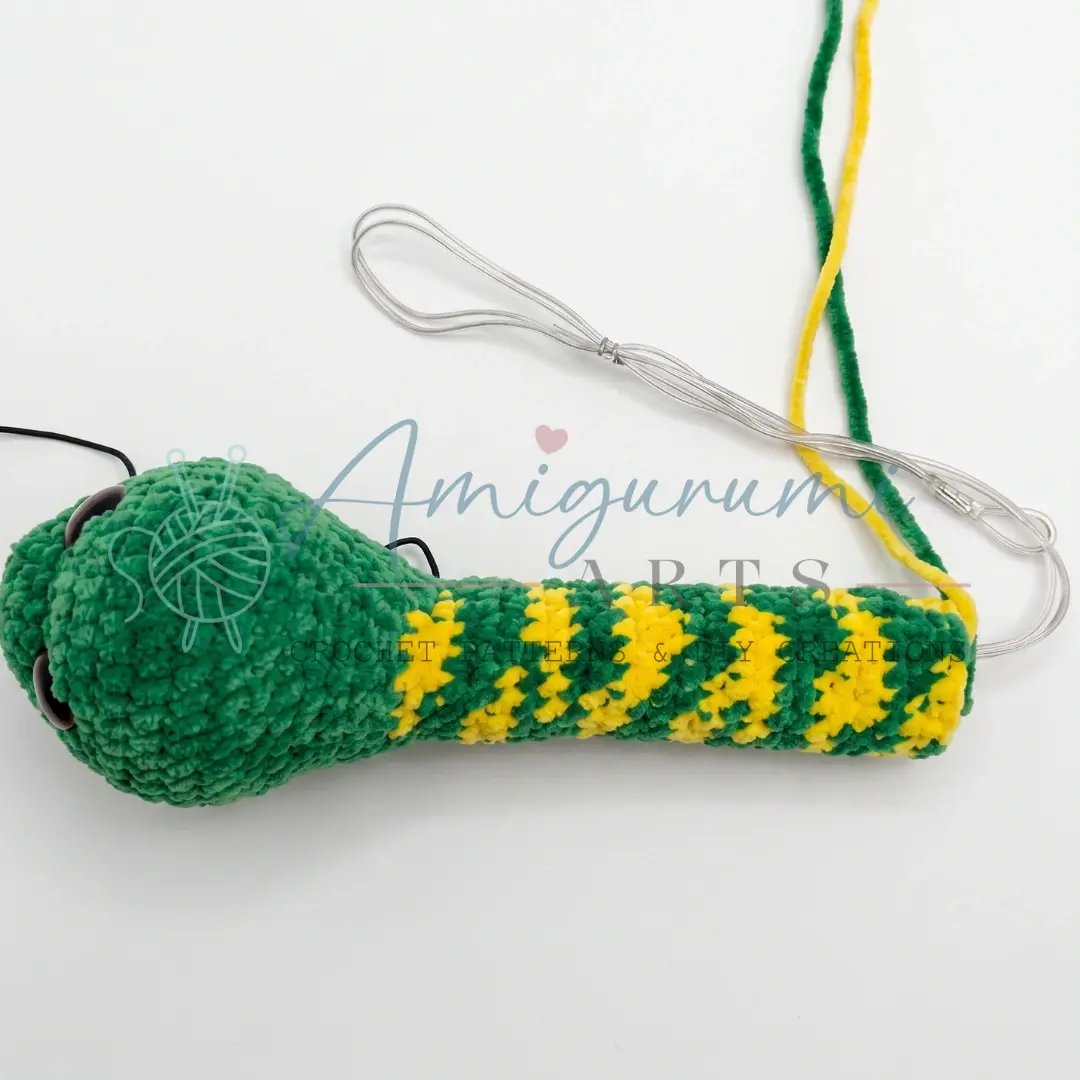
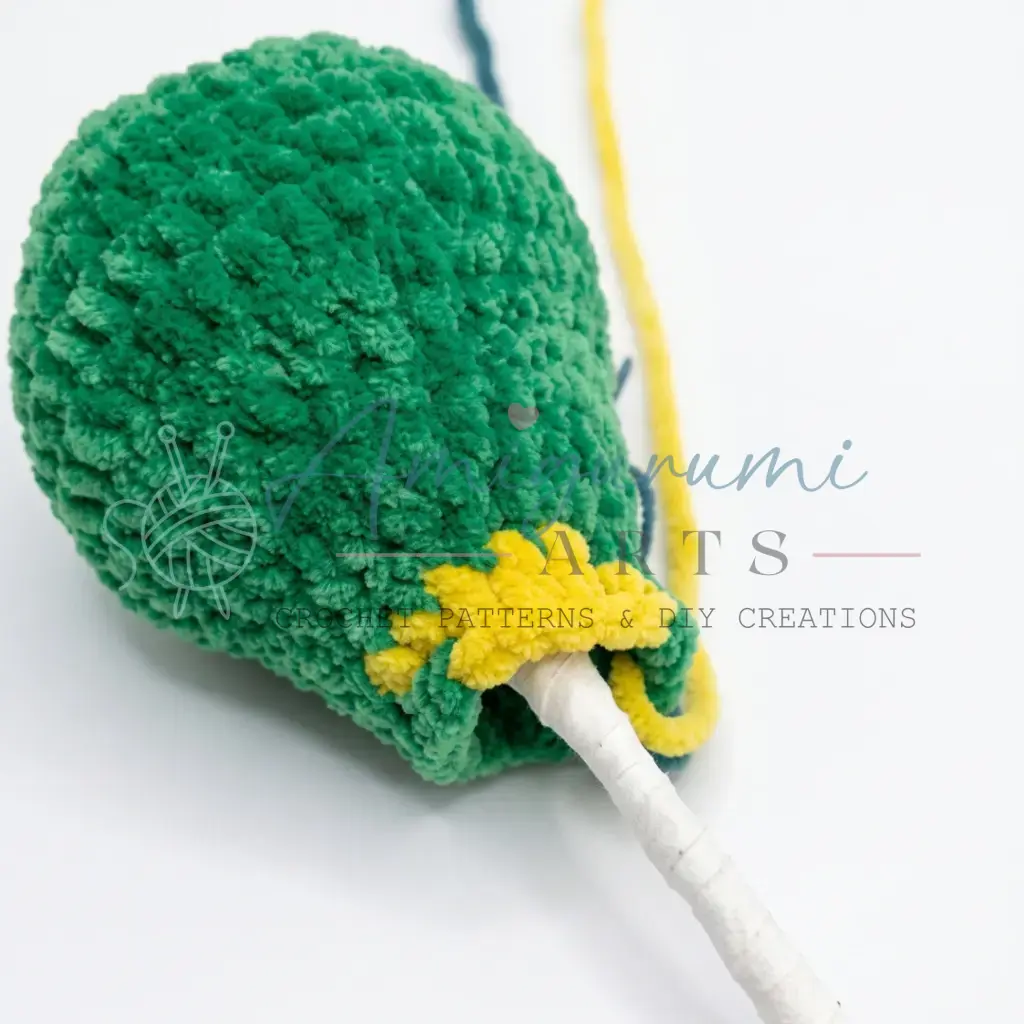
Before continuing, prepare and insert the wire armature, then stuff the head firmly with fiberfill. If you are adding a contrast color for the body, join it now. You will continue directly into the body in the next round.
Body
Continue in a continuous spiral from the head. The body is worked in sc throughout. You may introduce color changes for a jacquard effect at any point — work color changes as desired across these rounds.
Rnds 18–97: Sc in each st around. (18) Work approximately 80 rounds for an 80 cm snake, or adjust to your preferred length.
Continue stuffing as you work, feeding fiberfill and positioning the wire armature as you go.
Tail
Try to position each decrease stitch along the snake’s belly.
Rnd 98: Dec, sc in next 16 sts. (17)
Rnd 99: Sc in each st around. (17)
Rnd 100: Dec, sc in next 15 sts. (16)
Rnd 101: Sc in each st around. (16)
Rnd 102: Dec, sc in next 14 sts. (15)
Rnd 103: Sc in each st around. (15)
Rnd 104: Dec, sc in next 13 sts. (14)
Rnd 105: Sc in each st around. (14)
Rnd 106: Dec, sc in next 12 sts. (13)
Rnd 107: Sc in each st around. (13)
Rnd 108: Dec, sc in next 11 sts. (12)
Rnd 109: Sc in each st around. (12)
Rnd 110: Dec, sc in next 10 sts. (11)
Rnd 111: Sc in each st around. (11)
Rnd 112: Dec, sc in next 9 sts. (10)
Rnd 113: Sc in each st around. (10)
Rnd 114: Dec, sc in next 8 sts. (9)
Rnd 115: Sc in each st around. (9)
Rnd 116: Dec, sc in next 7 sts. (8)
Rnd 117: Sc in each st around. (8)
Rnd 118: Dec 4 times. (4)
Pull the yarn through the remaining 4 stitches to close the tail opening tightly. Weave in the end securely.
Assembly
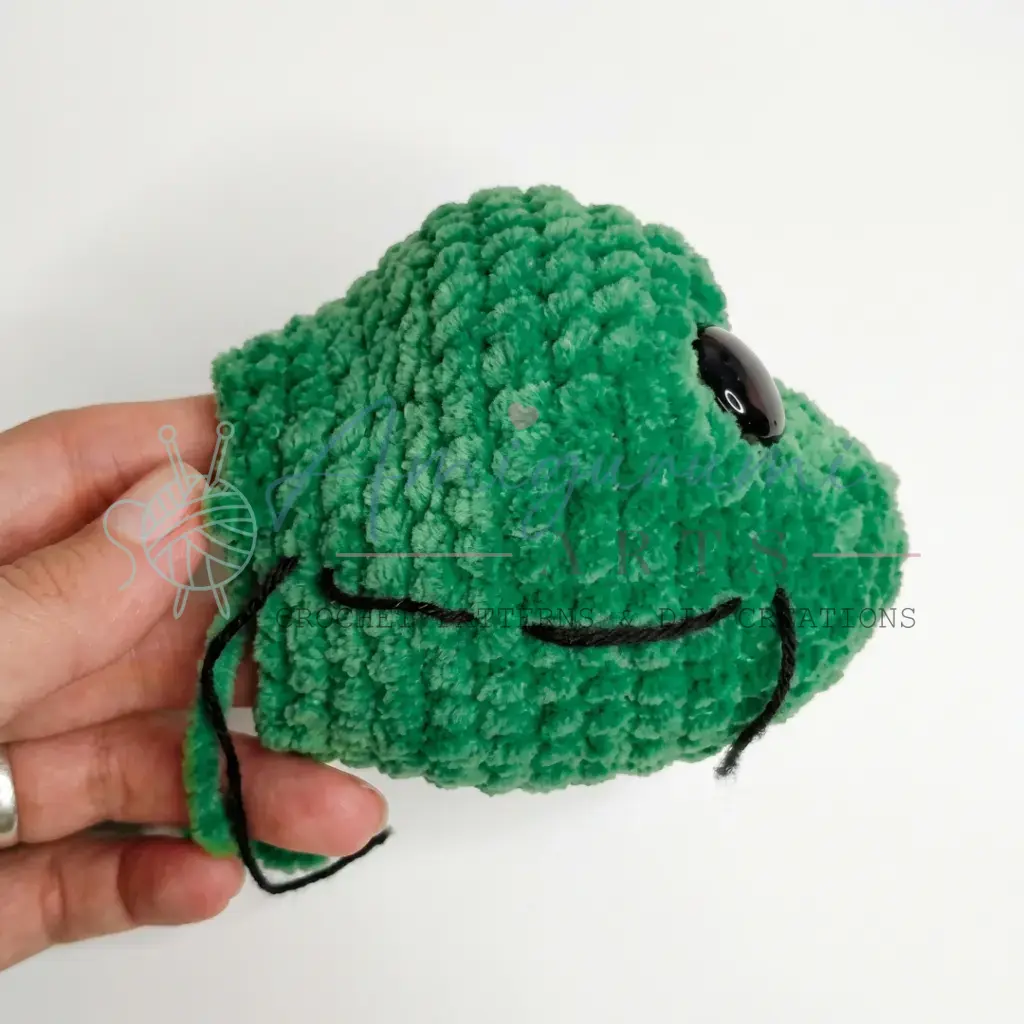
After completing Round 17, insert the aluminum wire armature through the head and down through the full length of the body before closing the tail. Bend both ends of the wire to prevent them from poking through the fabric. Stuff the head firmly before continuing to the body rounds, ensuring the snout area is well-shaped. Continue adding fiberfill as you work the body rounds, packing it evenly around the wire. Avoid overstuffing — the body should feel firm but not stretched. After closing the tail at Round 118, weave the yarn tail inward and secure it. Using black thread or fine dark yarn, embroider the facial details onto the snout — nostrils, a smile line, or a forked tongue, according to your preference. Use the embroidery needle to pull the thread through cleanly and knot it off on the inside. Weave in all remaining yarn ends.
Tips
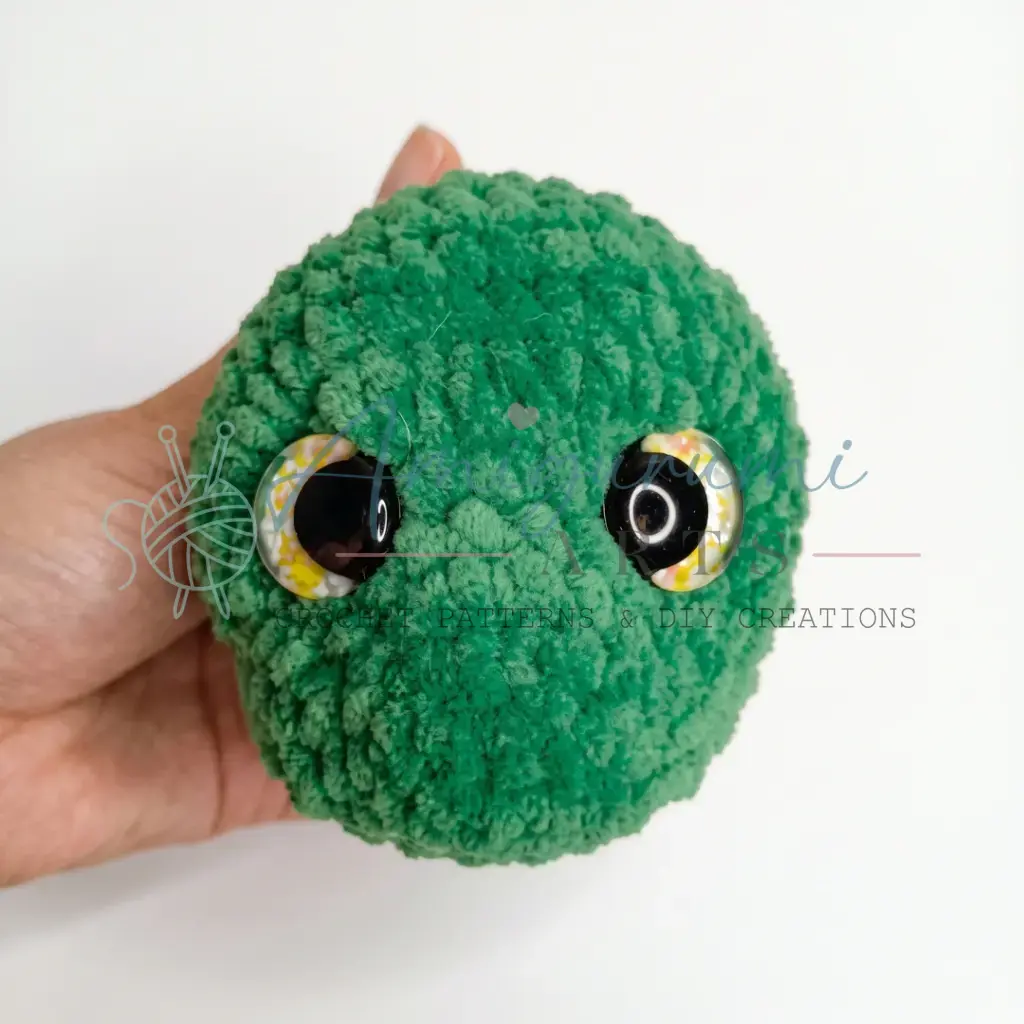
- Keep your tension tight throughout. Plush yarn has a tendency to hide loose stitches, but gaps will show once the piece is stuffed. Work each sc snugly around the hook. If you can see daylight through the fabric when you hold it up to a light source, go down a hook size.
- Prepare the wire before you need it. Bend a small loop at each end of the aluminum wire before inserting it — this prevents the sharp tip from working its way through the fabric over time. You want the wire fully inside the plush, never near the surface.
- Stuff as you go, not all at once. Trying to stuff 80+ rounds of body from the tail end is a frustrating experience. Every 15–20 rounds, pause and push fiberfill down around the wire from the open end. Aim for an even, sausage-like density the entire length.
- Place your decreases consistently on the belly. The tail section specifies that decreases should fall along the underside of the snake. Use a stitch marker to track the belly position from Round 98 onward — this keeps the taper looking natural and intentional rather than random.
- Plush yarn and stitch counts. Plush (chenille-style) yarn can make it genuinely difficult to see individual stitches, especially on decrease rounds. Count every round before moving on. If you lose your count, run a length of contrast thread through the stitches of the current round as a lifeline before proceeding.
FAQs
Can I make the snake shorter or longer?
Yes, the number of body rounds (Rnds 18–97) is flexible. You can work as many or as few rounds as you like to achieve your preferred length. The pattern suggests approximately 80 rounds for an 80 cm snake, but adjusting this number will change the final size.
What type of wire should I use?
The pattern recommends aluminum wire with a 2 mm diameter, approximately 1.5–2 m in length. This provides enough flexibility for posing while maintaining the snake’s shape.
How do I prevent the wire from poking through the fabric?
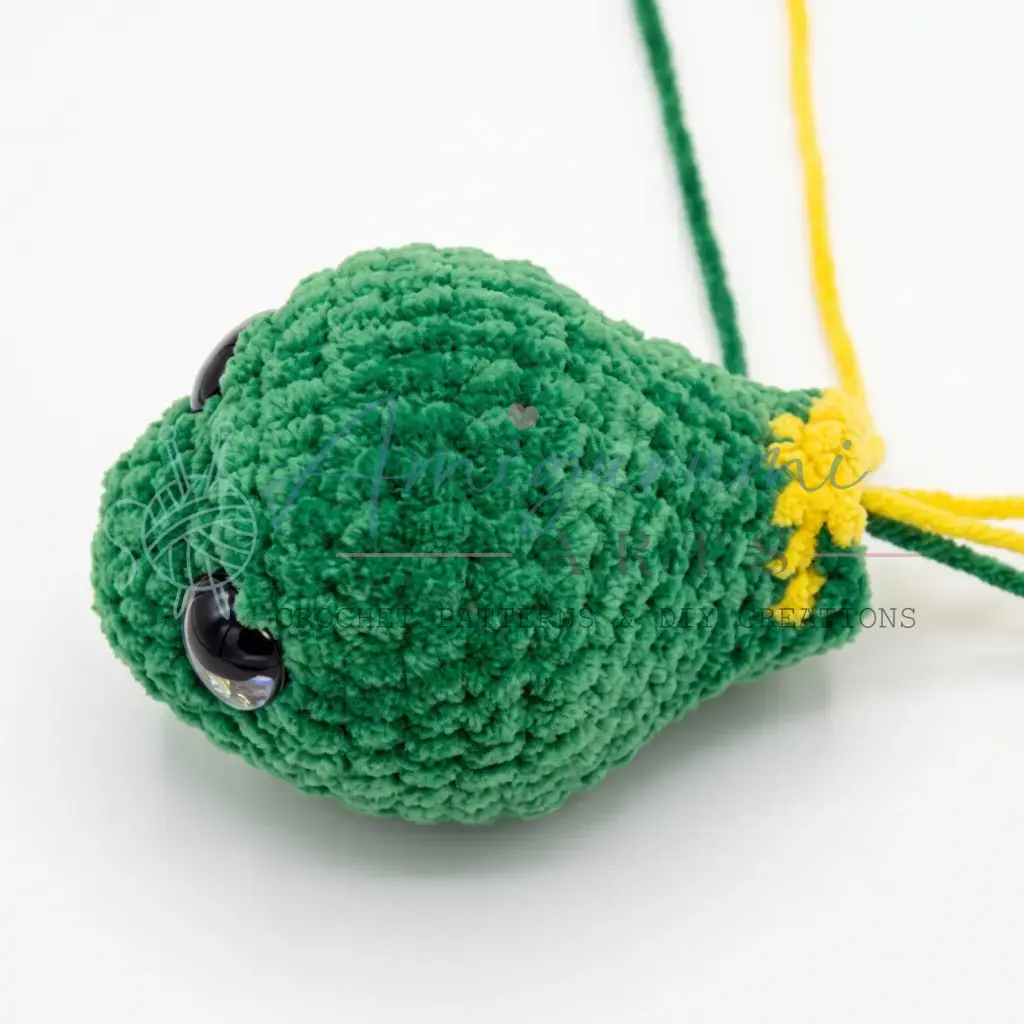
Bend a small loop at each end of the aluminum wire before inserting it into the amigurumi. This ensures the sharp tips are contained within the stuffing and fabric, preventing them from working their way out over time.
Why are the decreases in the tail placed on the belly?
Positioning the decrease stitches along the snake’s belly creates a more natural and intentional taper. It mimics the underside of a real snake and gives the tail a smoother, more organic shape.
Is plush yarn difficult to work with?
Plush yarn can make it difficult to see individual stitches, particularly during decrease rounds. It is important to keep your tension tight and count your stitches carefully. Using a lifeline (a contrasting thread run through the stitches) can help if you lose your place.
Pin This Crochet Pattern!