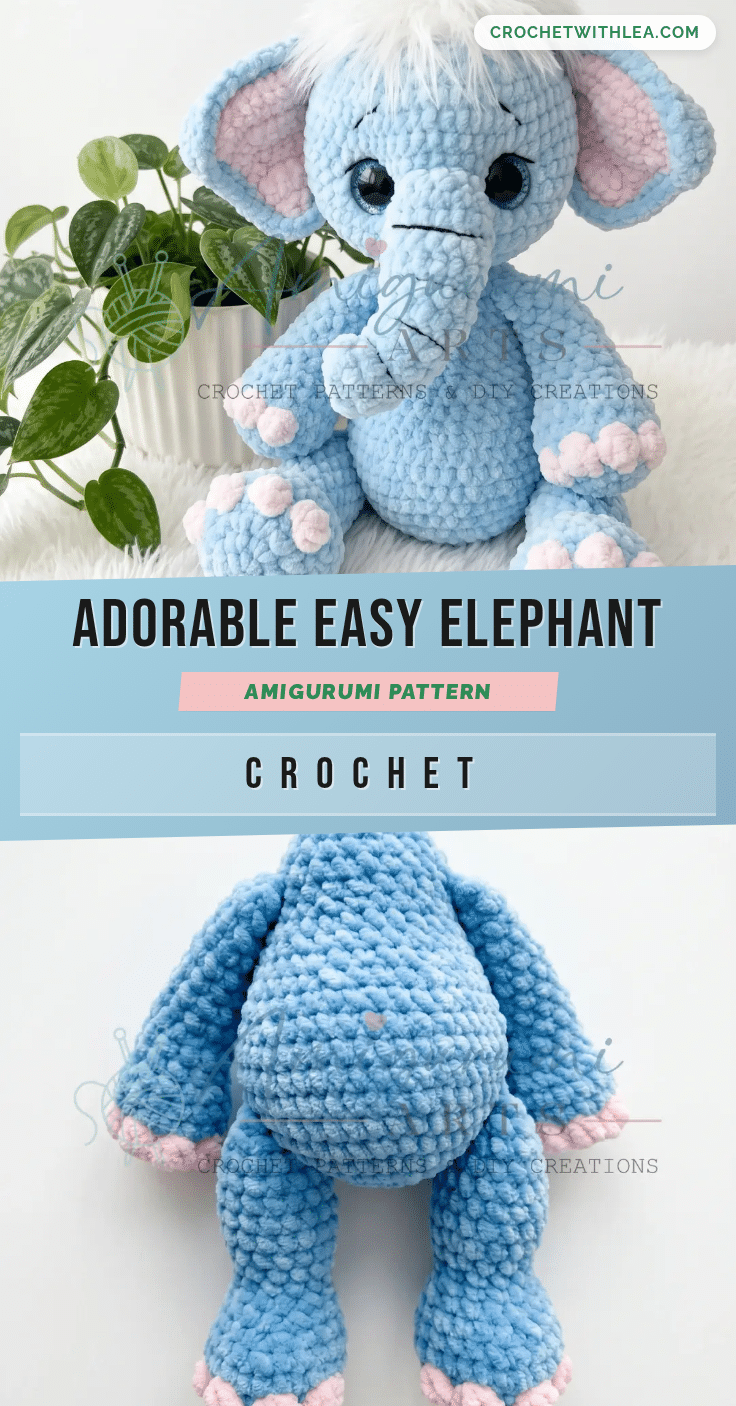
There is something undeniably comforting about the soft, rounded silhouette of an amigurumi elephant, but what truly elevates this project from a simple toy to a cherished keepsake is the intention behind its creation. I found myself reaching for a stash bin decision that felt right: a soft, heathered grey worsted weight yarn for the body, paired with a crisp, lighter cream for the inner ears. The slight texture of the cotton blend caught the light beautifully, giving the “bobble fingers” on the feet and hands a distinct, tactile quality that invites touch. It wasn’t just about matching a color palette; it was about choosing a fiber that would hold the firm stuffing required for a jointed head while maintaining that gentle, huggable drape. This elephant isn’t just a pattern; it’s a study in texture and form, designed to be carried everywhere and loved hard.
Yarn and Color Notes
When selecting your materials, consider the final feel of the toy. The source pattern recommends worsted weight yarn, which provides a nice balance between stitch definition and speed. For the main body, head, and limbs, choose a color that will serve as your primary canvas—classic greys, soft blues, or warm taupes work wonderfully. For the inner ears, a contrasting or lighter color adds depth and character, mimicking the natural look of an elephant. While exact yardage varies by brand, having at least 200–250 yards of your main color and 50 yards of your contrast color ensures you have enough for the ears and any potential mistakes. The texture of your yarn will also impact the “bobble fingers” on the feet and hands; a yarn with a little bit of halo can make these details pop, while a smooth cotton blend will keep them crisp and defined.
Project Overview
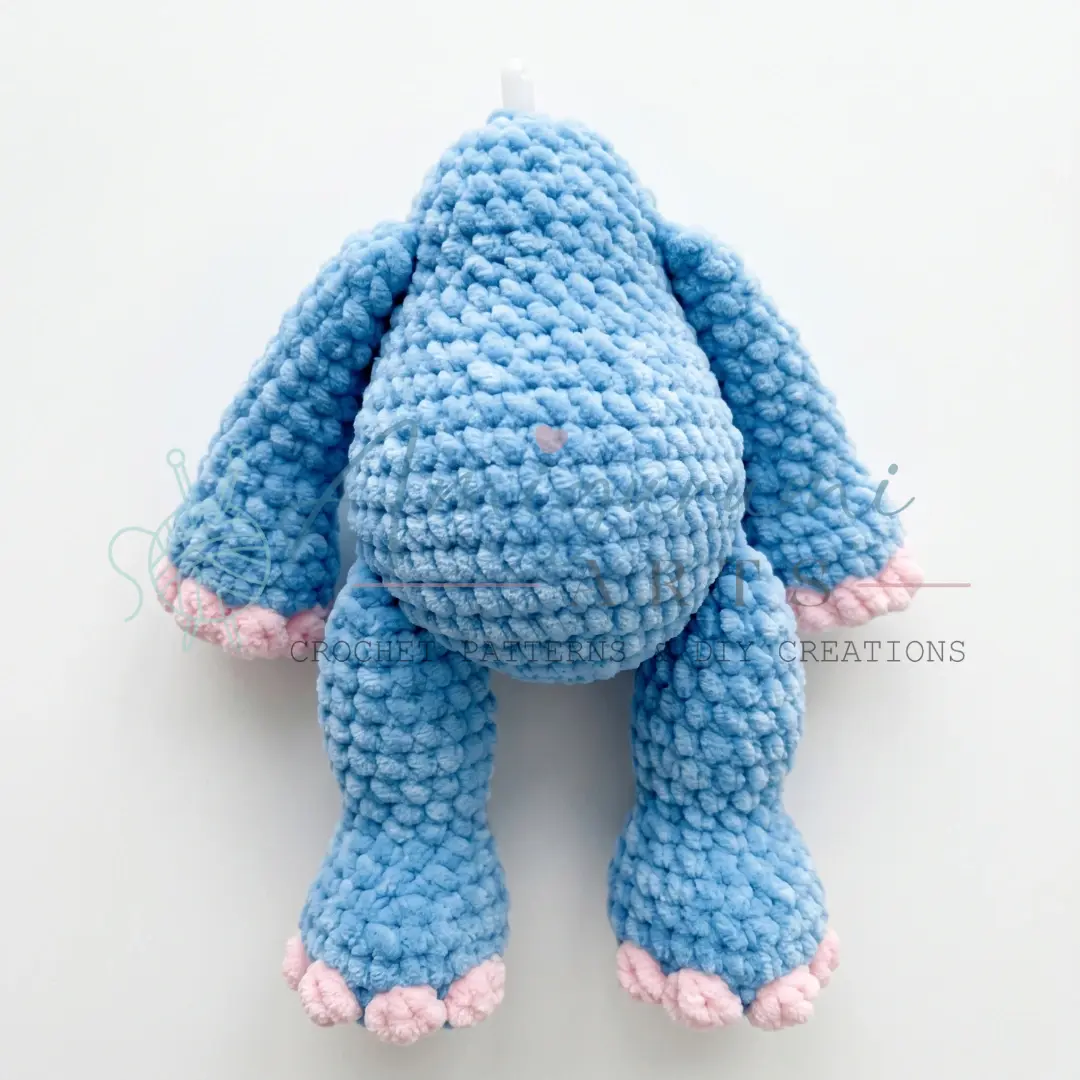
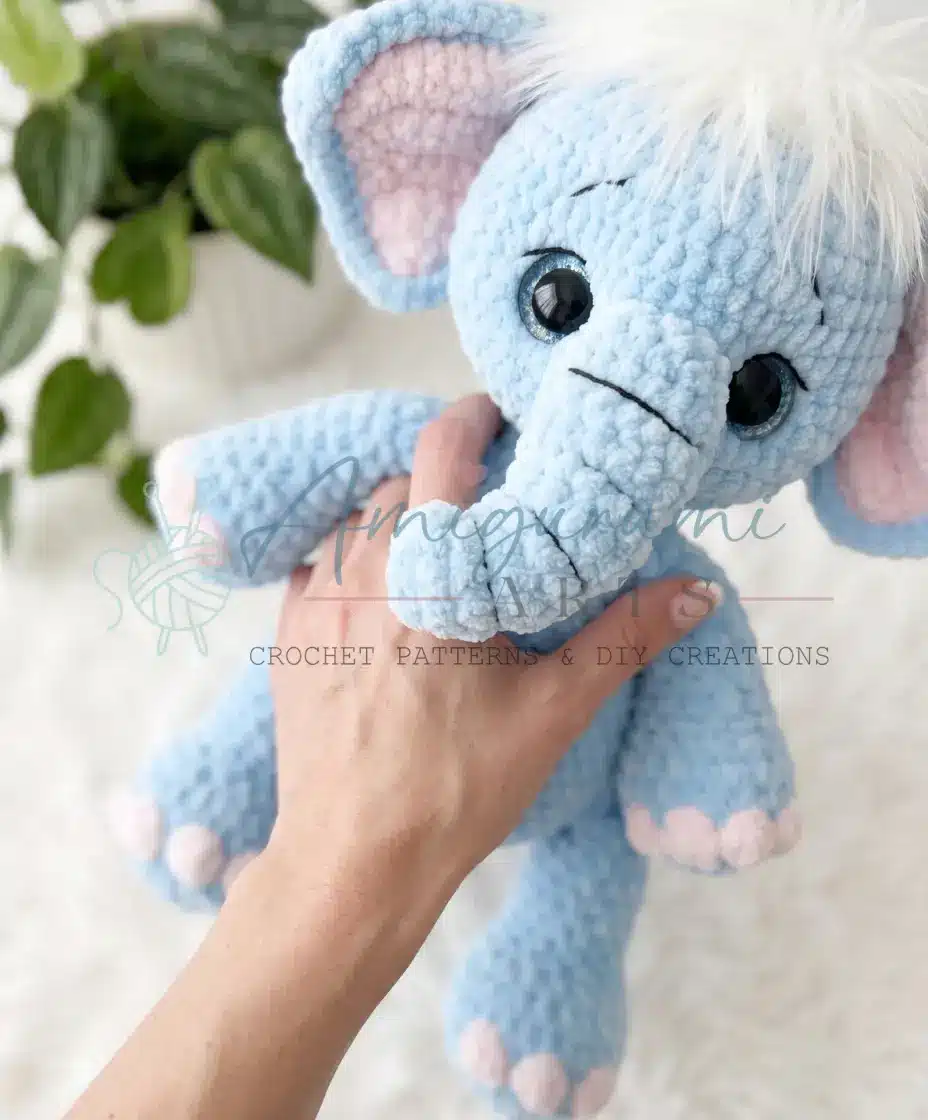
This Elephant Amigurumi is an intermediate-level project that rewards careful attention, particularly around the complex trunk attachment and the leg-joining rounds. The design features a jointed head that can turn, sculpted trunk, and distinctive “bobble fingers” on the feet and hands. It is worked in US crochet terminology, with most pieces constructed in a continuous spiral. The ears are worked in flat rows and assembled with two layers of color. This pattern is ideal for makers looking to refine their shaping skills and create a durable, poseable toy.
Materials
- Yarn: Worsted weight yarn in a main color (for body, head, and limbs) and a contrasting or lighter color (for inner ears). Have at least 200–250 yards of main color and 50 yards of contrast color on hand.
- Hook: E-4 / 3.5 mm (or size needed to achieve a tight, stuffing-free fabric).
- Safety Eyes: 1 pair, size appropriate to your gauge.
- Stuffing: Polyester fiberfill.
- Joints: 1 neck joint (for attaching head to body).
- Stitch Markers: At least 2.
- Yarn Needle / Tapestry Needle: For weaving in ends and assembly.
- Scissors.
- Embroidery Thread: Or thin yarn in a contrasting color for eyebrows, eyelids, and trunk stripes.
Gauge and Finished Size
Gauge is not critical for this project, but your fabric should be tight enough that stuffing does not show through. If you can see daylight through your stitches when held up to a lamp, adjust your hook size down. The finished size is not explicitly stated in the source, but the pattern is designed to create a substantial, poseable toy.
Abbreviations
- BLO: Back Loop Only
- ch: Chain
- dc: Double Crochet
- dec: Invisible Decrease (insert hook in front loop of next 2 sts, yo, pull through both, yo, pull through 2 loops)
- inc: Increase (2 sc in the same stitch)
- MR: Magic Ring
- sc: Single Crochet
- sk: Skip
- sl st: Slip Stitch
- SM: Stitch Marker
- st / sts: Stitch / Stitches
Pattern Notes
All pieces are worked in a continuous spiral (no joining, no turning chains) unless otherwise stated. The ears are worked in flat rows. Stitch counts are given at the end of each round in parentheses: (##). The trunk is crocheted separately and joined into the head during Round 8 of the Head. Do not rush this step—placement matters. Safety eyes are inserted during Round 18 of the Head, before the opening is closed. Insert the neck joint into the body before the body is fully closed. The “bobble fingers” on the feet and hands are worked as 3 dc in one stitch with a shared top closure (a bobble stitch). Left and right arms are worked differently at Round 9—read ahead before starting the arms.
Pattern Instructions
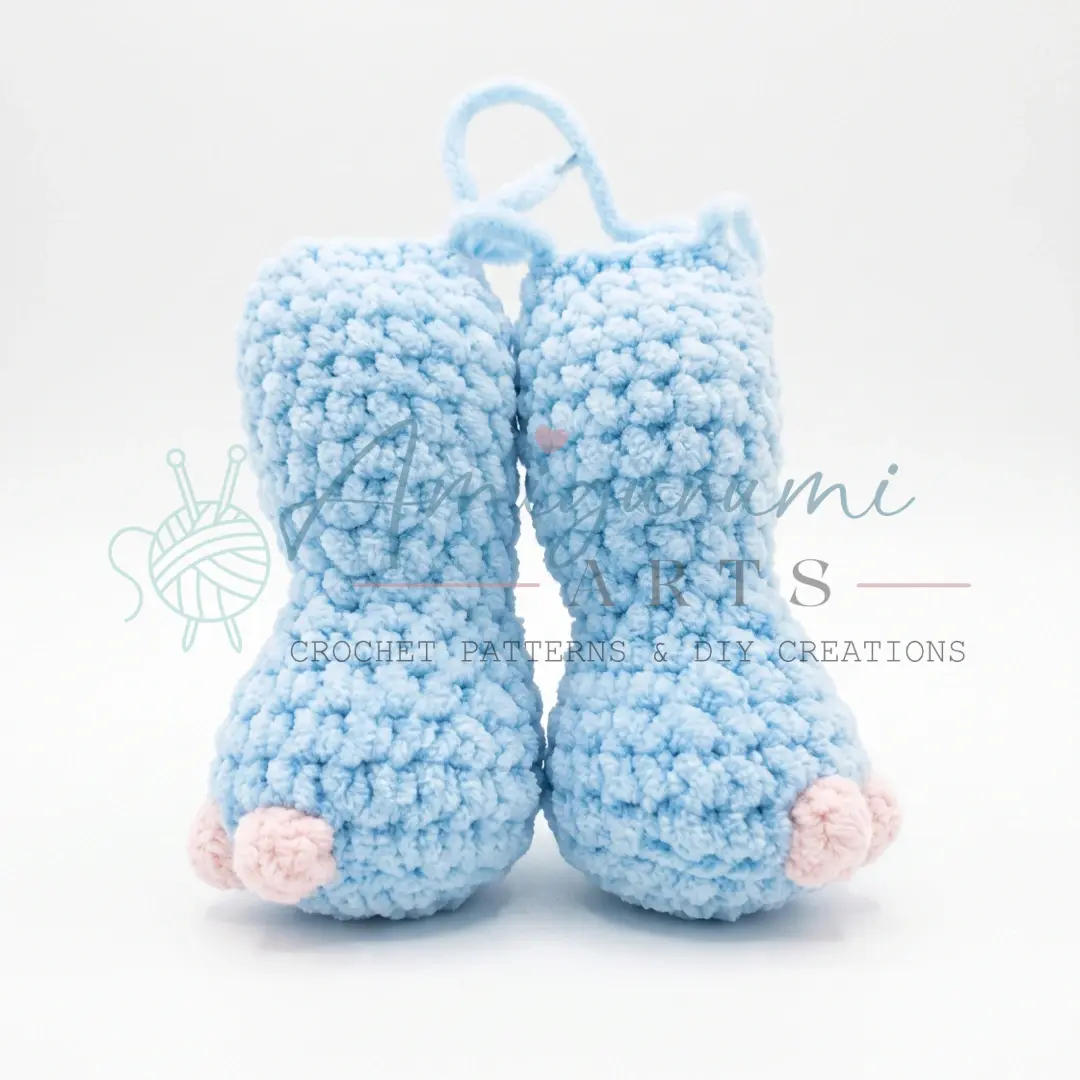
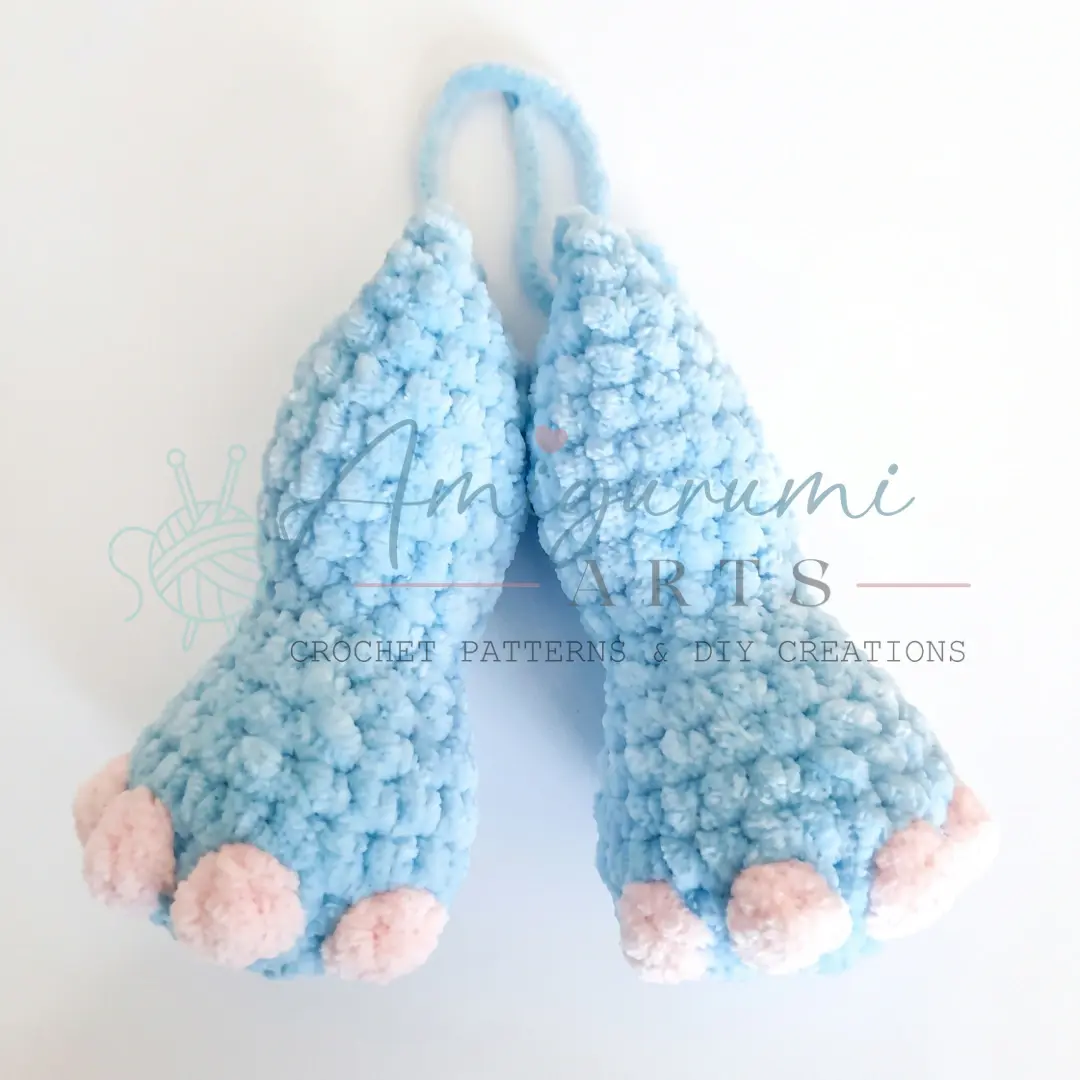
Legs (Make 2)
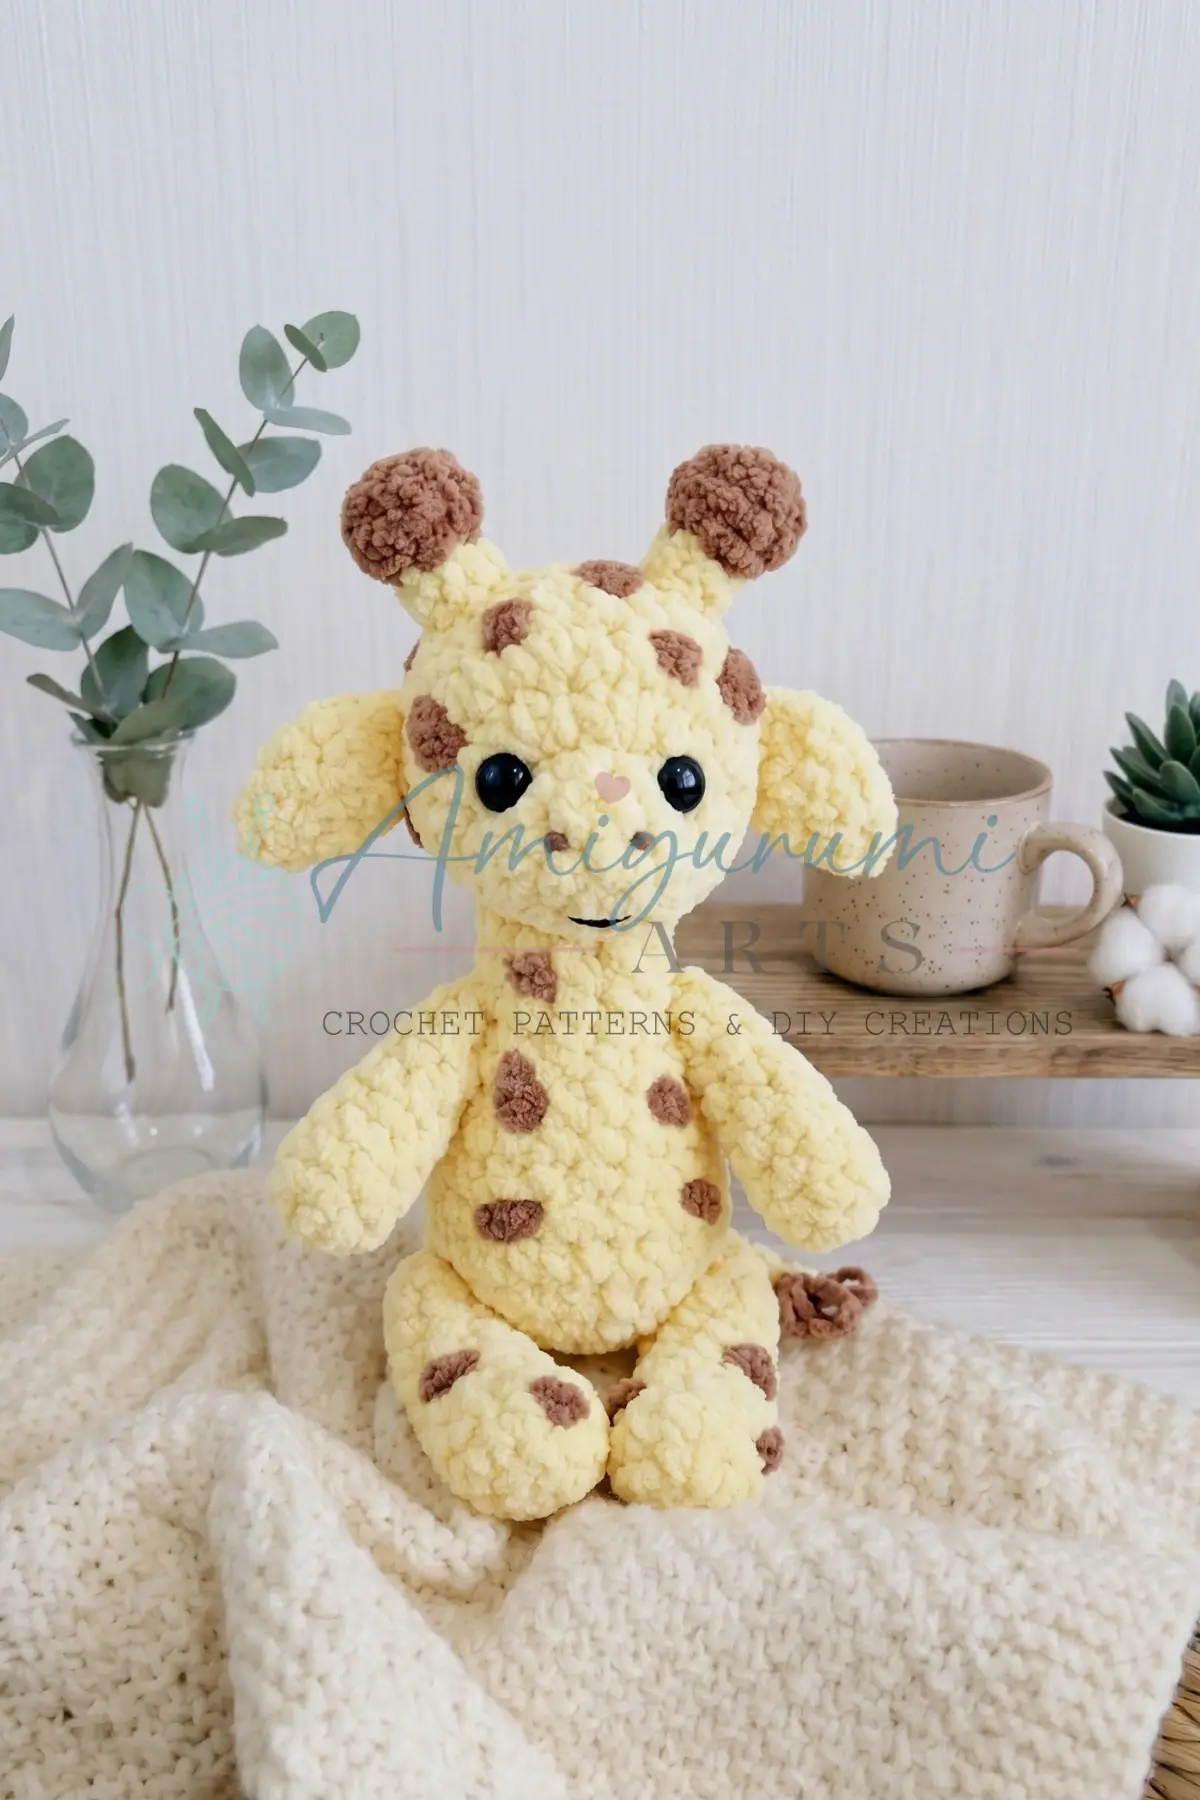
Rnd 1: 6 sc in MR. (6)
Rnd 2: inc in each st around. (12)
Rnd 3: inc in each st around. (24)
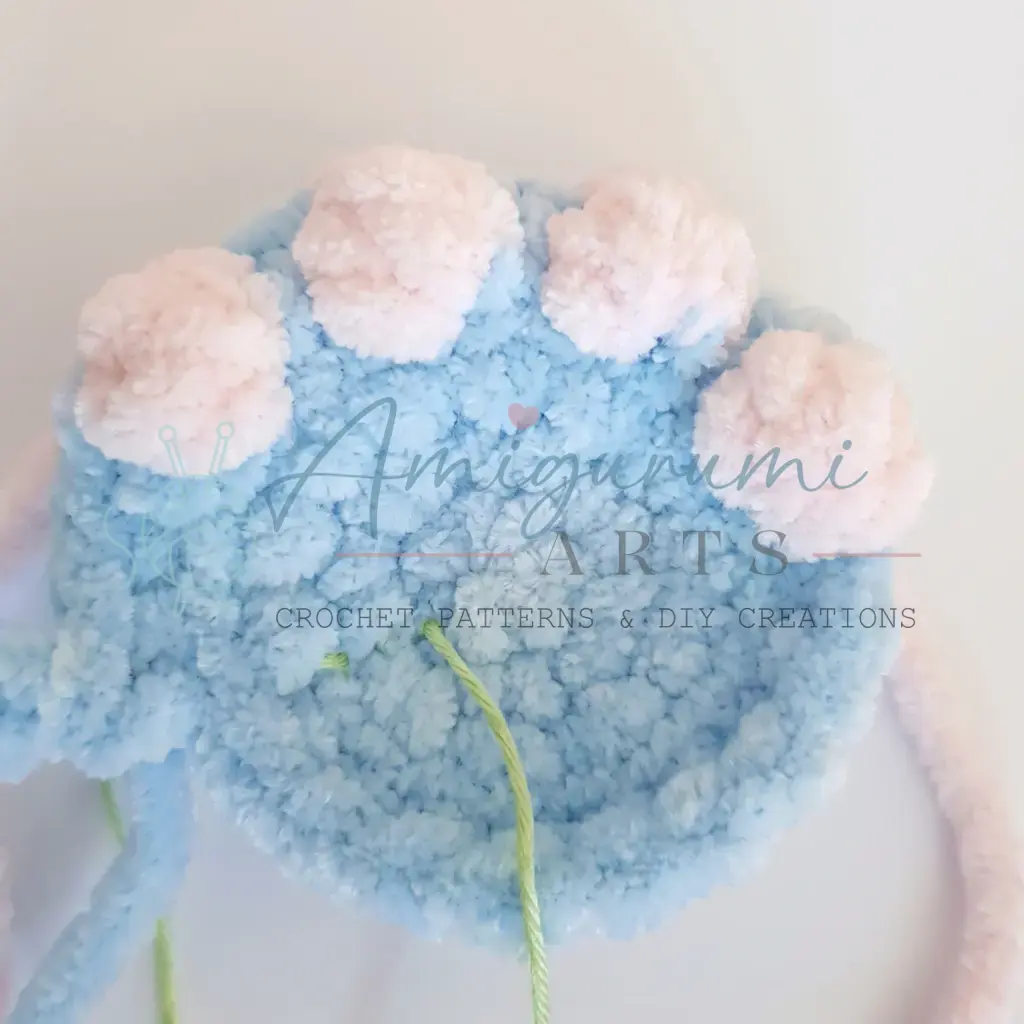
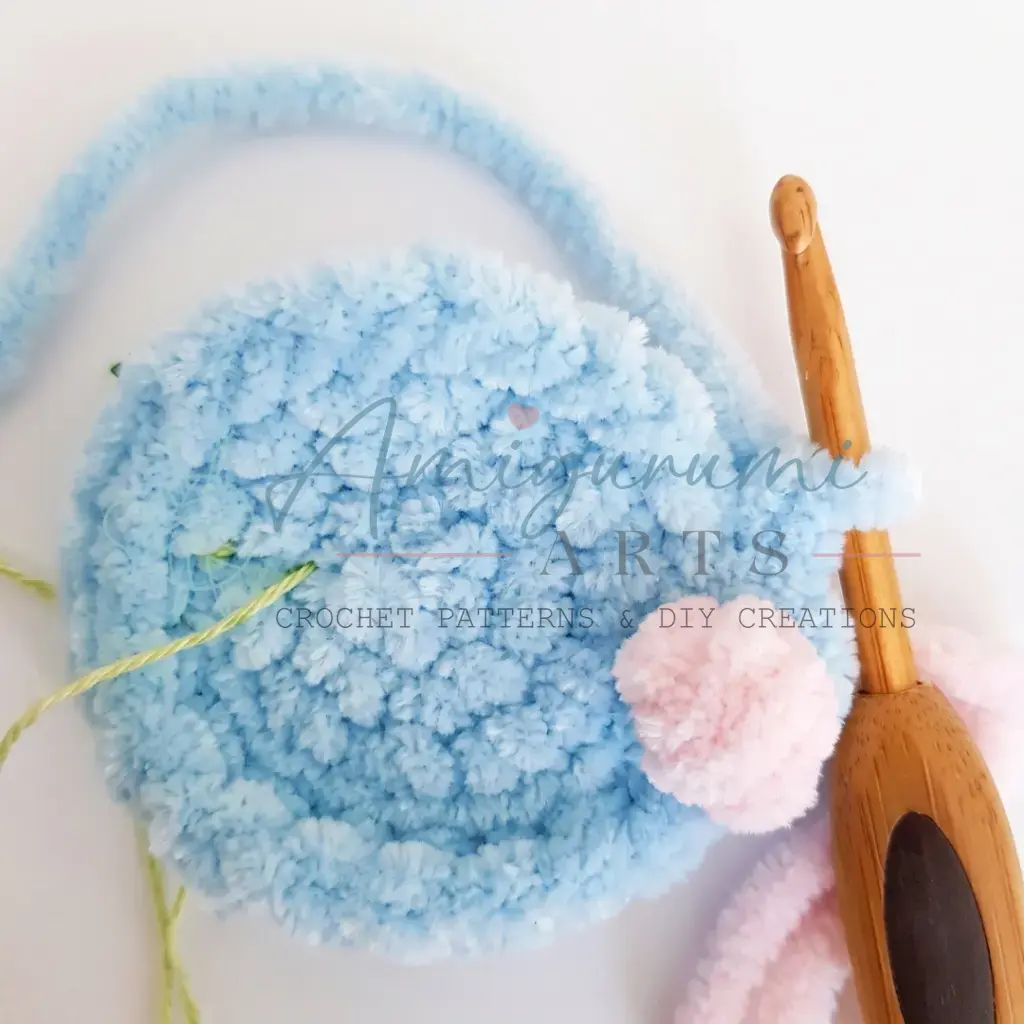
Rnd 4: Working in BLO for the entire round: 10 sc, then work the bobble fingers as follows — 3 dc in one stitch with a shared top closure (bobble st), then 2 sc repeat 4 times, 2 sc. (24)
Rnd 5: sc in each st around. (24)
Rnd 6: 6 sc, dec repeat 3 times. (21)
Rnd 7: 5 sc, dec repeat 3 times. (18)
Rnd 8: 4 sc, dec repeat 3 times. (15)
Rnd 9: 3 sc, dec repeat 3 times. (12)
Rnd 10: sc in each st around. (12)
Rnd 11: 3 sc, inc repeat 3 times. (15)
Rnd 12: 4 sc, inc repeat 3 times. (18)
Rnds 13–17: sc in each st around for 5 rounds. (18)
Rnd 18: dec, 4 sc repeat 3 times. (15)
Rnd 19: dec, 3 sc repeat 3 times. (12)
Stuff the leg firmly with fiberfill now. Use a stitch marker to adjust your starting position if needed before closing.
Work 6 sc through both layers of the opening to close the leg flat. Fasten off and leave a yarn tail for assembly.
Arms (Make 2)
Rnd 1: 8 sc in MR. (8)
Rnd 2: inc in each st around. (16)
Rnd 3: Working in BLO for the entire round: 5 sc, then work the bobble fingers as follows — 3 dc in one stitch with a shared top closure (bobble st), then 1 sc repeat 4 times, 3 sc. (16)
Rnds 4–5: sc in each st around for 2 rounds. (16)
Rnd 6: 2 sc, dec repeat 4 times. (12)
Rnds 7–8: sc in each st around for 2 rounds. (12)
Round 9 is worked differently for the left and right arm — read carefully before proceeding.
Rnd 9 (Left Arm): 8 sc, 4 sl st. (12)
Rnd 9 (Right Arm): 4 sc, 4 sl st, 4 sc. (12)
The slip stitches in both arms should sit along the side of the piece that will face the body when assembled. Use a stitch marker to verify placement if needed.
Rnds 10–16: sc in each st around for 7 rounds. (12)
Rnd 17: dec, 4 sc repeat 2 times. (10)
Stuff the arm lightly with fiberfill. Adjust starting position with a stitch marker if needed.
Work 5 sc through both layers of the opening to close the arm flat. Fasten off and leave a yarn tail for assembly.
Body
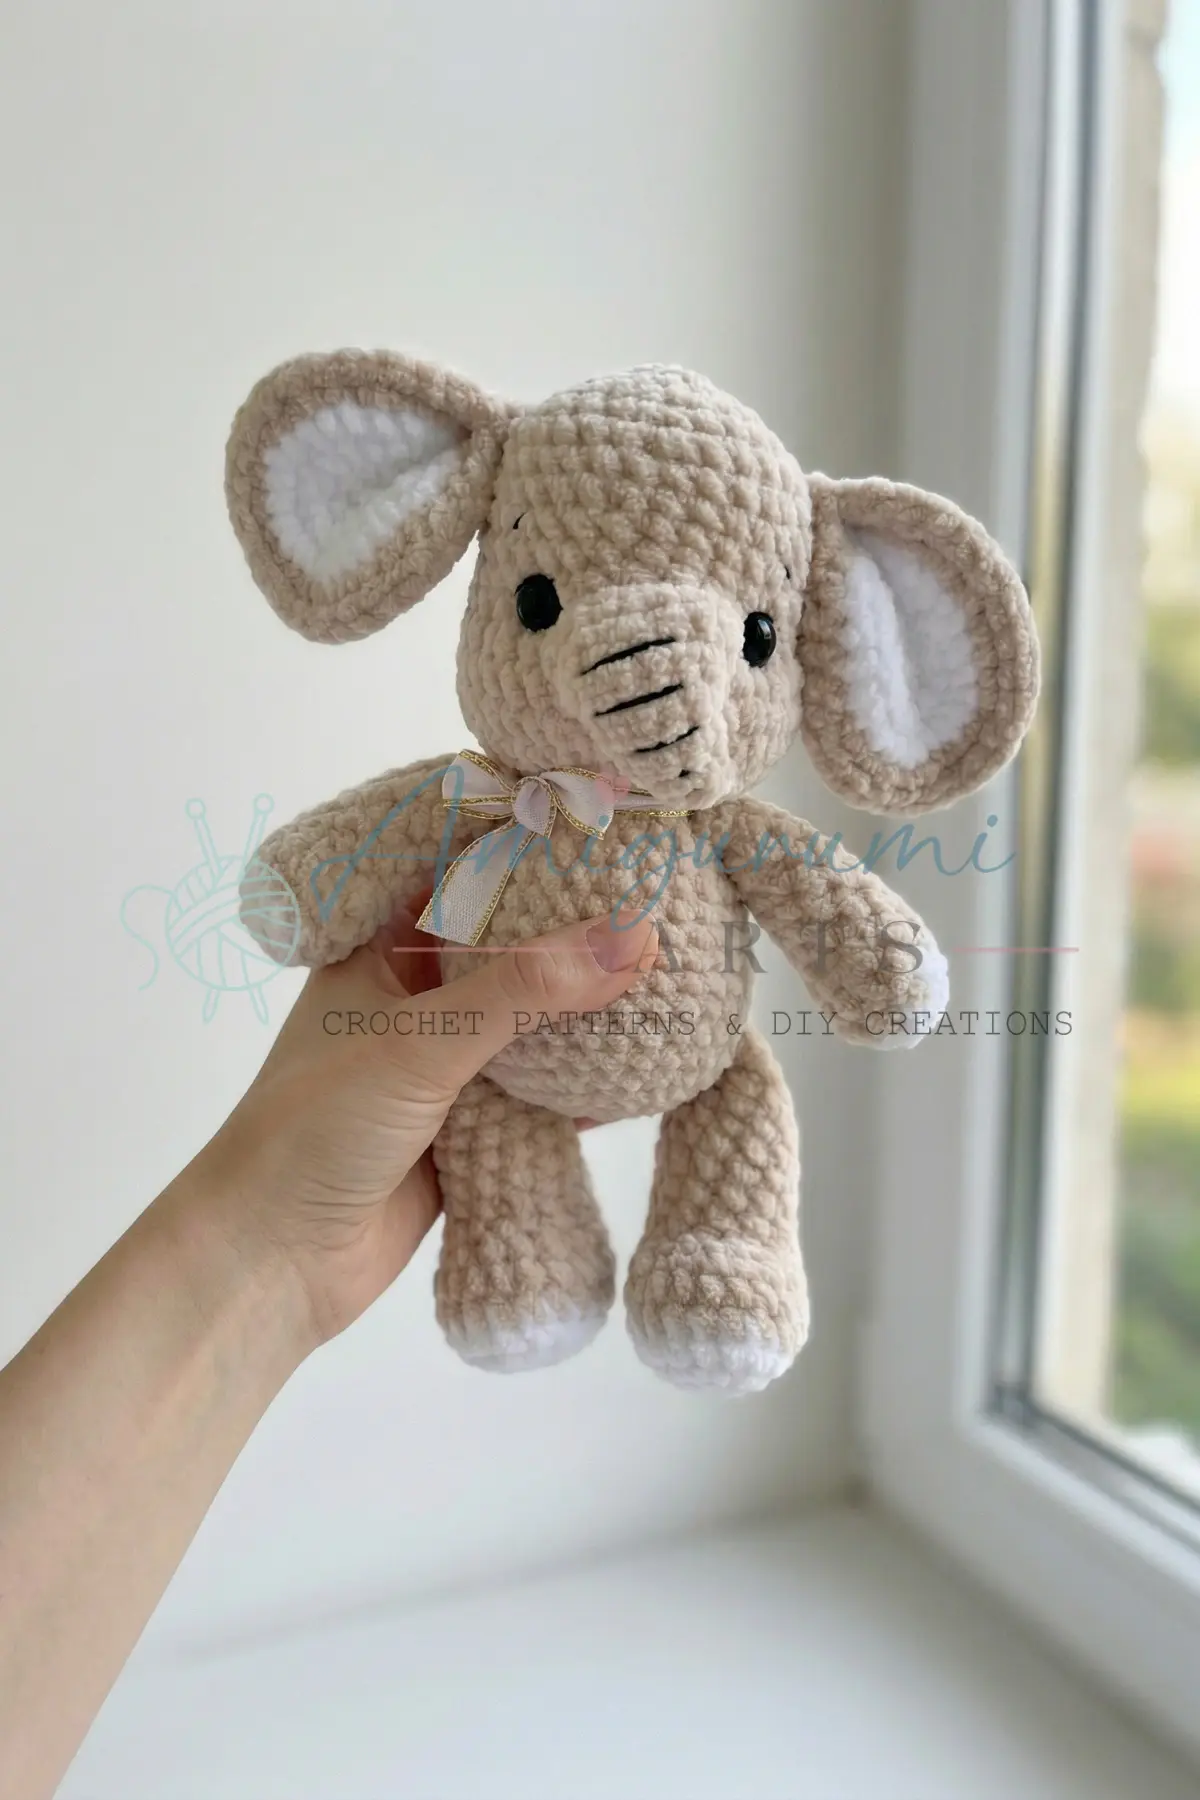
Rnd 1: 6 sc in MR. (6)
Rnd 2: inc in each st around. (12)
Rnd 3: inc in each st around. (24)
Rnd 4: 3 sc, inc repeat 6 times. (30)
Rnd 5: 4 sc, inc repeat 6 times. (36)
Rnd 6: 5 sc, inc repeat 6 times. (42)
Rnd 7: sc in each st around. (42)
Rnd 8: Join the legs in this round — work 6 sc together with the Left Leg (inserting through both the body stitch and the corresponding leg stitch), then inc, 4 sc repeat 3 times, inc, work 6 sc together with the Right Leg, 4 sc, inc repeat 2 times, 4 sc. (48)
Rnds 9–10: sc in each st around for 2 rounds. (48)
Rnd 11: 6 sc, dec repeat 6 times. (42)
Rnd 12: sc in each st around. (42)
Rnd 13: 6 sc, dec, 3 sc repeat 3 times, dec, 8 sc, dec, 5 sc, dec, 2 sc. (36)
Rnd 14: sc in each st around. (36)
Rnd 15: 4 sc, dec repeat 6 times. (30)
Rnd 16: sc in each st around. (30)
Rnd 17: 3 sc, dec repeat 6 times. (24)
Rnd 18: sc in each st around. (24)
Rnd 19: Join the arms in this round — 2 sc, work 5 sc together with the Left Arm (inserting through both body and arm stitches), 7 sc, work 5 sc together with the Right Arm, 5 sc. (24)
Rnd 20: sc in each st around. (24)
Rnd 21: 2 sc, dec repeat 6 times. (18)
Rnd 22: sc in each st around. (18)
Insert the neck joint into the body now, before closing the opening.
Rnd 23: dec 9 times. (9)
Rnd 24: dec 3 times, then fasten off. Close any remaining gap with your yarn needle.
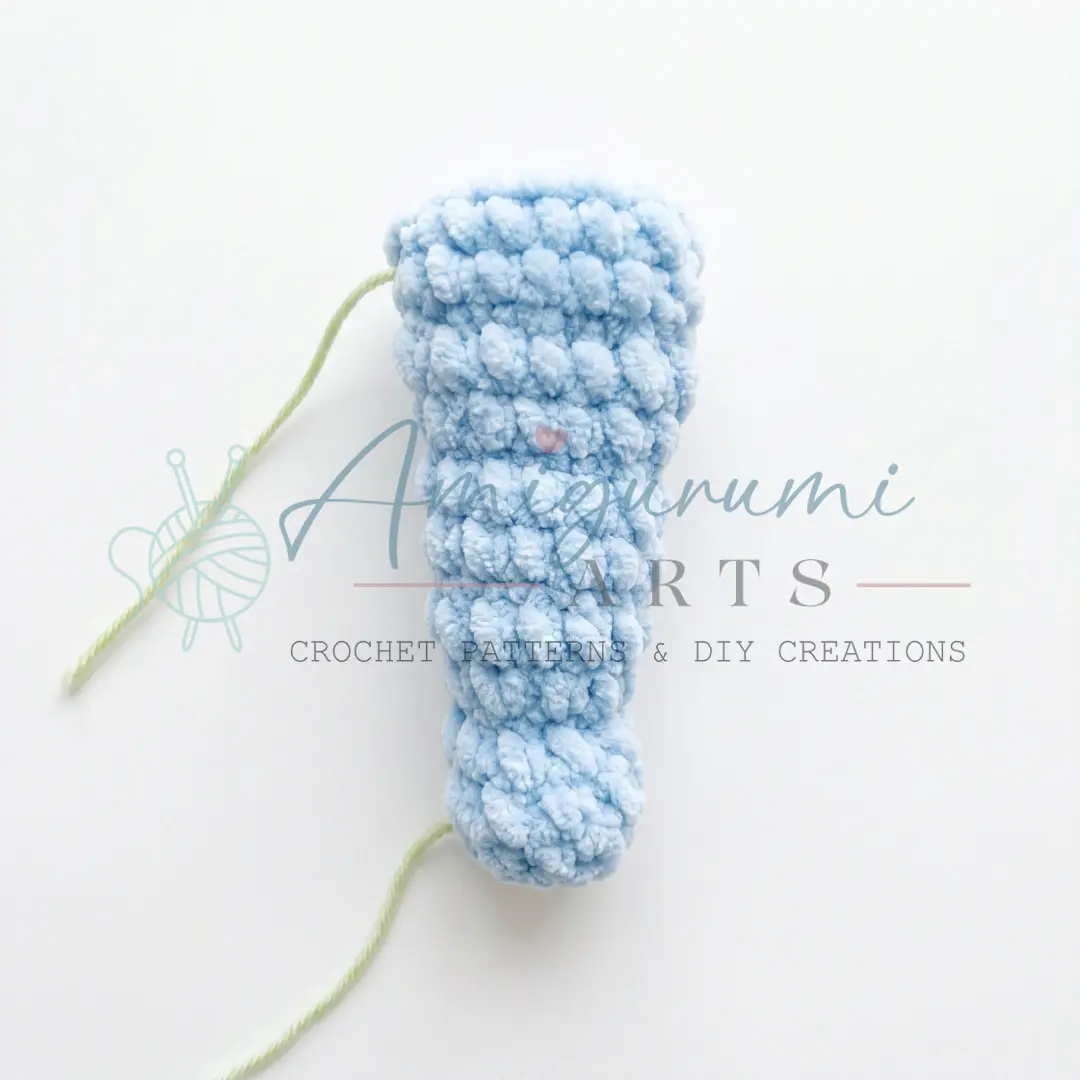
Trunk
Rnd 1: 6 sc in MR. (6)
Rnd 2: 1 sc, inc repeat 3 times. (9)
Rnd 3: Work 9 sc as concave (front-post) single crochets. (9) This creates a gentle ribbed texture on the trunk.
Rnd 4: sc in each st around. (9)
Rnd 5: sc in each st around. (9)
Rnd 6: sl st in each st around. (9)
Rnd 7: 2 sc, inc repeat 3 times. (12)
Rnd 8: sc in each st around. (12)
Rnd 9: sl st in each st around. (12)
Rnd 10: sc in each st around. (12)
Rnd 11: sc in each st around. (12)
Rnd 12: sl st in each st around. (12)
Rnd 13: 5 sc, inc repeat 2 times. (14)
Rnd 14: sc in each st around. (14)
Rnd 15: sl st in each st around. (14)
Rnd 16: 7 sc, 7 sl st. (14)
Rnd 17: 7 sc, 7 sl st. Fasten off and leave a long yarn tail for joining into the head.
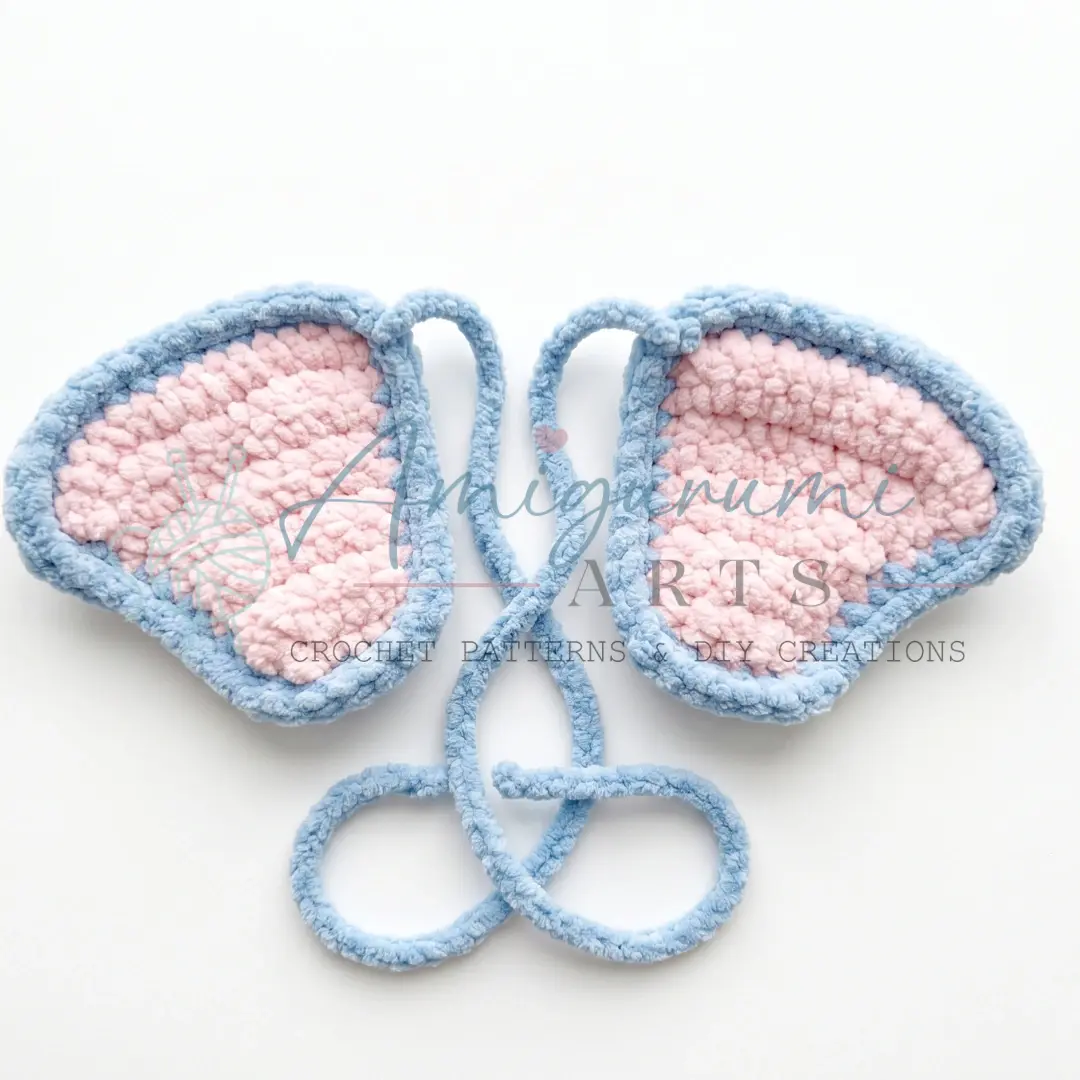
Ears (Make 2 — one piece in main color, one piece in contrast color per ear)
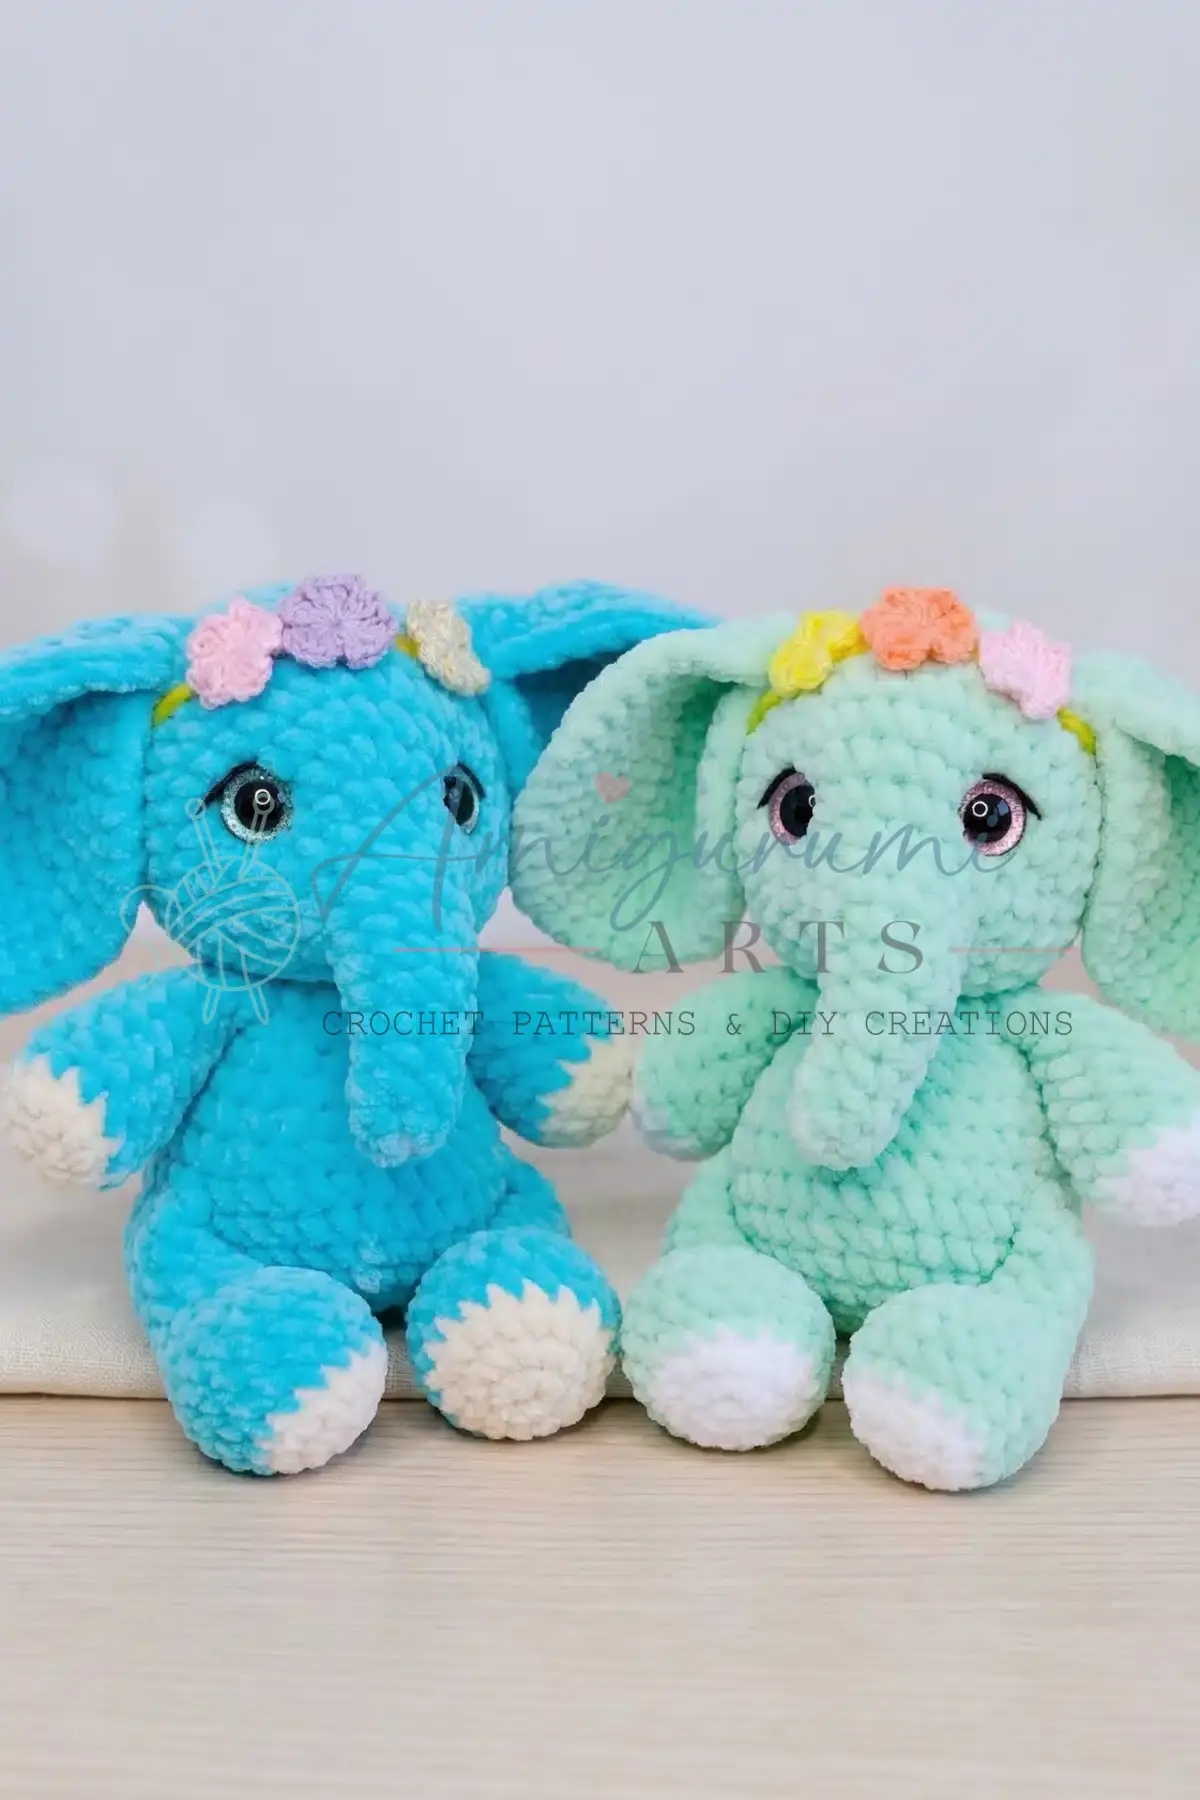
Each ear is made of two flat pieces sewn together — one in the main color and one in the contrast color. Work the following pattern twice for each ear (once in each color).
Foundation chain: ch 7. Starting in the 2nd ch from hook:
Row 1: 6 sc, ch 1, turn.
Row 2: 1 sc, inc, 4 sc, ch 1, turn. (7)
Row 3: 7 sc, ch 1, turn. (7)
Row 4: 1 sc, inc, 5 sc, ch 1, turn. (8)
Row 5: 8 sc, ch 1, turn. (8)
Row 6: 1 sc, inc, 6 sc, ch 1, turn. (9)
Row 7: 1 sc, inc, 5 sc, inc, 1 sc, ch 1, turn. (11)
Row 8: 1 sc, inc twice, 8 sc, ch 1, turn. (13)
Row 9: 1 sc, inc, 9 sc, inc, 1 sc, ch 1, turn. (15)
Row 10: 15 sc. Fasten off.
Work an edging round around the entire outer edge of each piece, then place the two pieces (main color and contrast color) together with wrong sides facing and join them by working a round of sc through both layers. Leave the straight base edge open for attaching to the head.
Head
Rnd 1: 6 sc in MR. (6)
Rnd 2: inc in each st around. (12)
Rnd 3: inc in each st around. (24)
Rnd 4: 3 sc, inc repeat 6 times. (30)
Rnd 5: 4 sc, inc repeat 6 times. (36)
Rnd 6: 5 sc, inc repeat 6 times. (42)
Rnd 7: 6 sc, inc repeat 6 times. (48)
Rnd 8: Begin joining the trunk in this round — 13 sc, inc 3 times, 4 sc, work 7 sc together with the trunk (inserting through both head and trunk stitches simultaneously), 4 sc, inc 3 times, 14 sc. (54) The trunk should be centered on what will be the front face of the head.
Rnd 9: Continue working with the trunk attached — 23 sc, then work 7 sc along the trunk only (working into the trunk stitches, not the head), 24 sc. (54)
Rnd 10: 13 sc, dec 3 times, 15 sc, dec 3 times, 14 sc. (48) Note: there should be exactly 4 sc between the trunk join and the first decrease on each side.
Rnds 11–14: sc in each st around for 4 rounds. (48)
Rnd 15: 6 sc, dec repeat 6 times. (42)
Rnd 16: 5 sc, dec repeat 6 times. (36)
Rnd 17: 4 sc, dec repeat 6 times. (30)
Rnd 18: sc in each st around. (30)
Insert safety eyes now, positioning them symmetrically on either side of the trunk. Once placed, they cannot be moved — take your time. After the eyes are secured, attach the neck joint into the magic ring of the head (on the inside), then stuff the head firmly with fiberfill before continuing.
Rnd 19: 3 sc, dec repeat 6 times. (24)
Rnd 20: 2 sc, dec repeat 6 times. (18)
Work the face shaping indentations (утяжки — surface tension pulls) at this stage, using your yarn needle and a long piece of yarn to create the eye socket depth if desired.
Rnd 21: 1 sc, dec repeat 6 times. (12)
Rnd 22: dec 6 times. Fasten off and close the opening.
Assembly
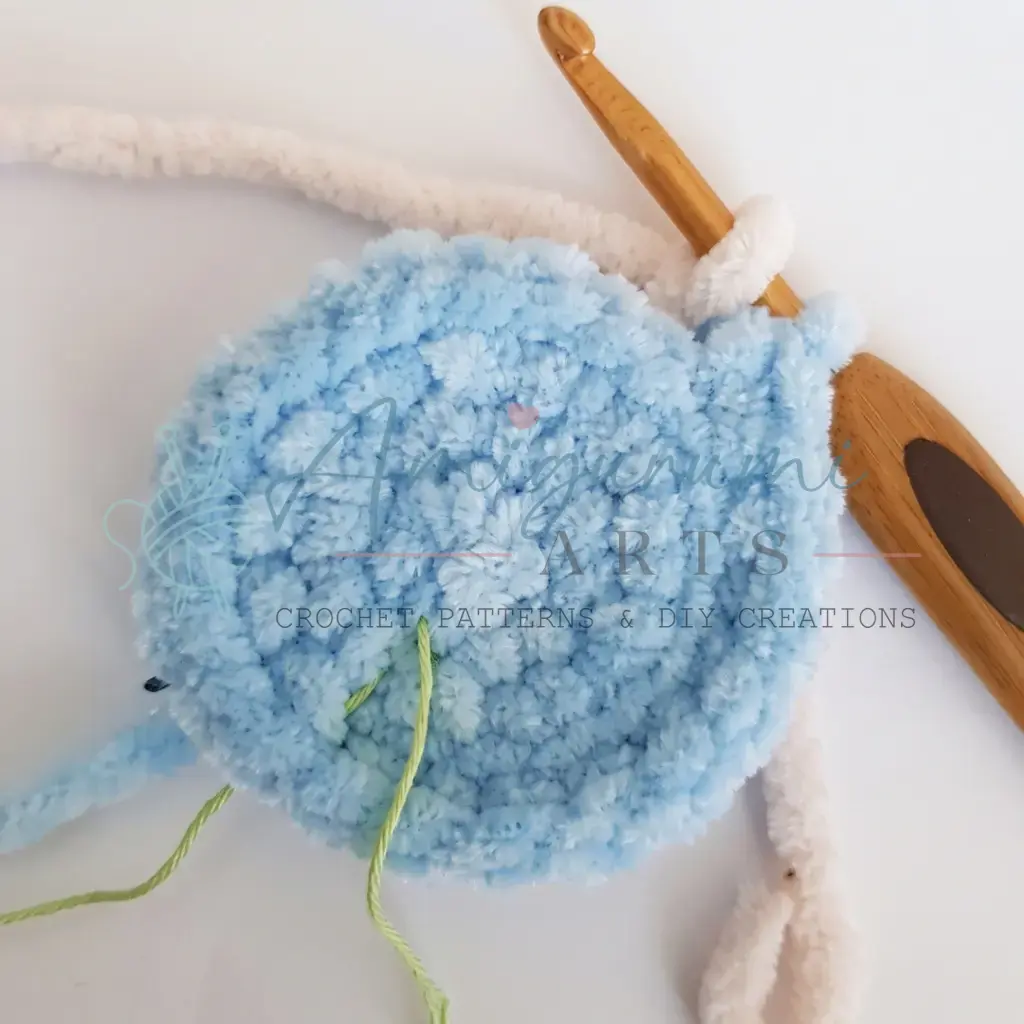
The legs are already joined into the body during Rnd 8 of the Body, and the arms during Rnd 19. No additional sewing is needed for the limbs. Connect the head to the body using the neck joint installed in Rnd 22 of the Body and the magic ring of the Head. The joint allows the head to turn—follow the joint manufacturer’s instructions for securing the washer and disc on the inside of each piece. Position one ear on each side of the head. The straight base edge of each ear sits against the head. Pin in place before sewing, then use the yarn tail and a yarn needle to attach each ear securely with whipstitch all along the base edge. Embroider the eyebrows, eyelids, and stripe details on the trunk using embroidery thread or thin yarn and a yarn needle. Create the tail by attaching a short length of yarn at the back lower end of the body and unraveling or trimming it to a fluffy tuft, or work a short crocheted cord and attach it. Add a hairstyle (a yarn tuft or small loop fringe) at the top of the head if desired. Weave in all remaining yarn ends securely.
Tips
- Keep your tension tight: Amigurumi fabric should have no gaps. If you can see daylight through your stitches when held up to a lamp, go down half a hook size. Loose stitches let stuffing peek through and soften the defined shape of the elephant’s head and trunk.
- The invisible decrease: Insert your hook into the front loop only of the next two stitches, draw up a loop, yarn over, and pull through both loops on the hook. Done correctly, this decrease is nearly invisible on the surface—no ugly bump, no gap. It’s worth practicing on a swatch before you reach the head-closing rounds.
- Stuff firmly but not to bursting: The body and head should feel solid but not stretched. Overstuffing causes the fabric to pull open at the stitches; understuffing makes the finished toy floppy and hard to pose. Aim for a firm squeeze—like a stress ball that doesn’t quite give.
- The trunk join: The trunk join at Rounds 8 and 9 of the Head is the trickiest part. Before you begin Round 8, hold the trunk up against the partially worked head to visualize the position. The 7 join-stitches bridge the trunk to the face—work them slowly, ensuring the trunk sits centered and at a slight downward angle. A misaligned trunk is very difficult to correct after the round is finished.
- Mark the starting stitch: Spiral amigurumi has a way of quietly drifting—especially across many rounds with increases and decreases happening at different positions. A locking stitch marker moved up each round is the single best habit you can develop. It keeps your counts honest and your shaping symmetrical.
FAQs
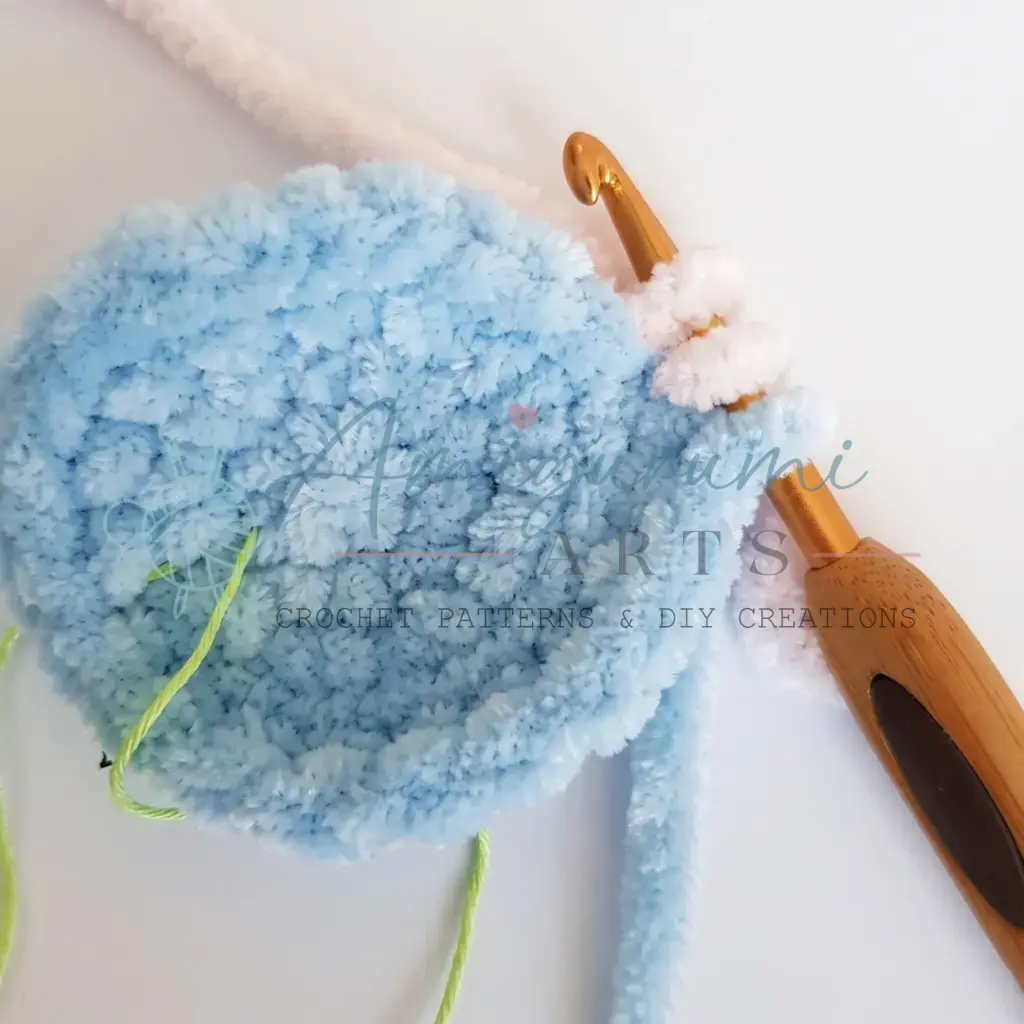
Why are my stitches showing gaps?
If you see gaps, your tension is likely too loose. Amigurumi requires tight fabric to prevent stuffing from showing. Try using a hook size smaller than recommended to tighten your stitches.
How do I join the trunk to the head?
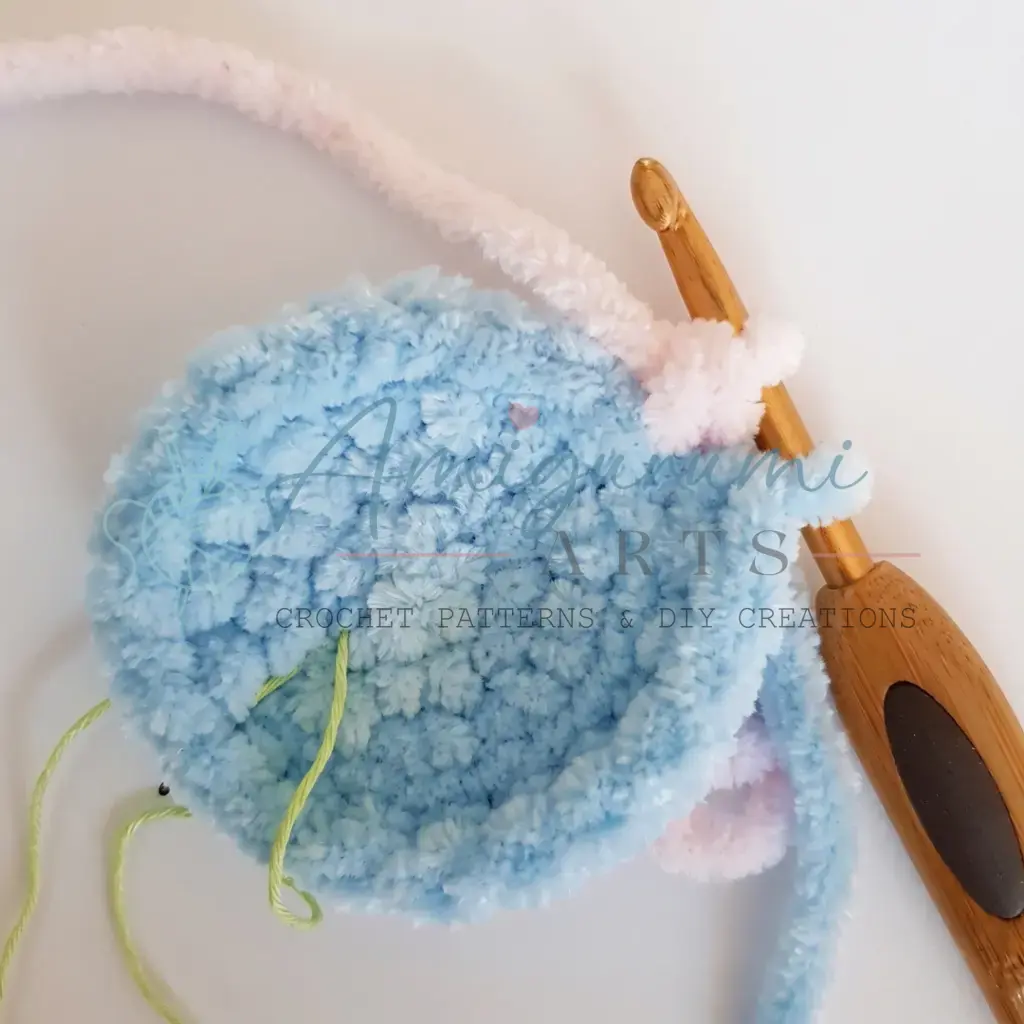
The trunk is joined in Head Round 8. You work 7 sc together, inserting your hook through both the head stitch and the corresponding trunk stitch simultaneously. Ensure the trunk is centered on the front face before completing this round.
What is the difference between the left and right arms?
The arms are worked identically until Round 9. For the Left Arm, you work 8 sc then 4 sl st. For the Right Arm, you work 4 sc, 4 sl st, then 4 sc. This creates the thumb placement on opposite sides.
When should I insert the safety eyes?
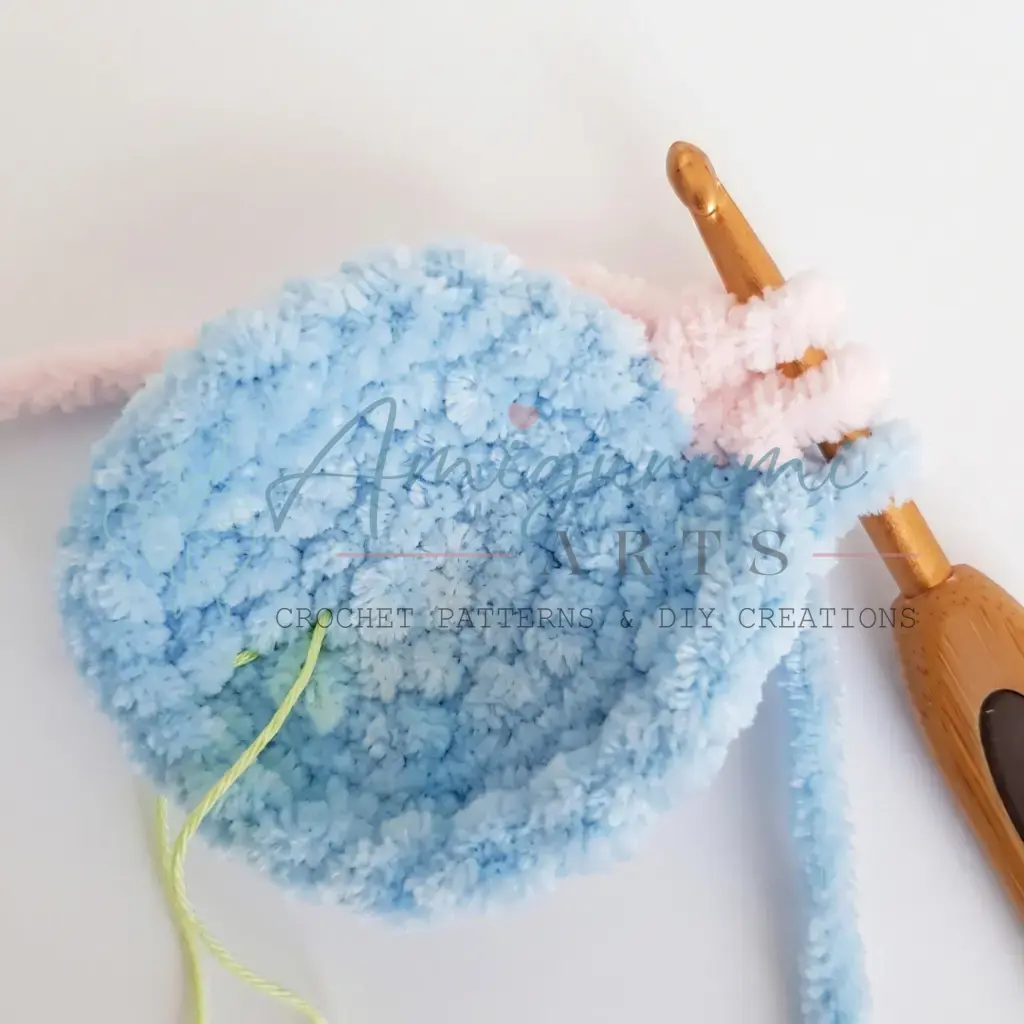
Safety eyes are inserted in Head Round 18, after the head is mostly formed but before the opening is closed. This ensures they are secure and properly positioned relative to the trunk.
Can I skip the neck joint?
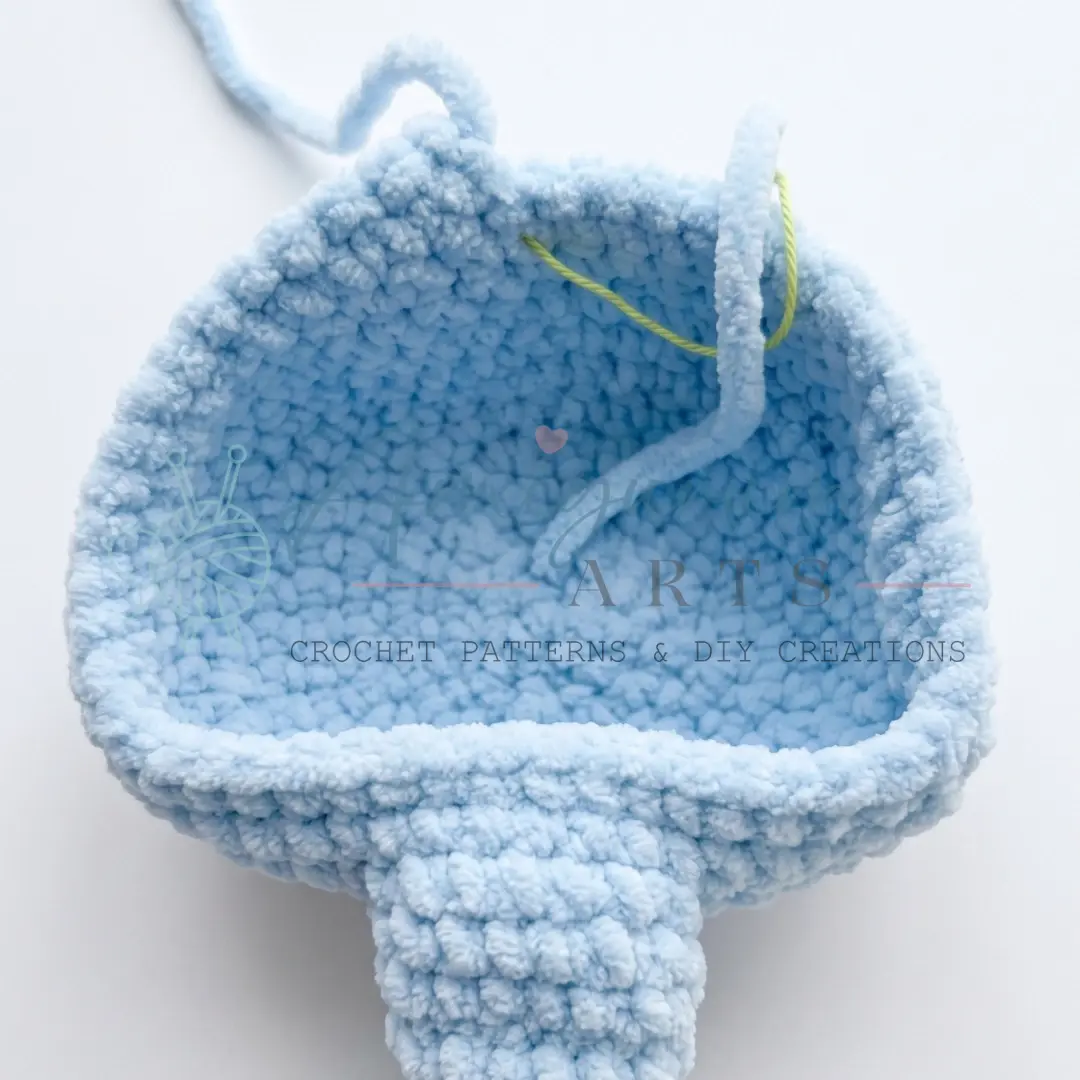
While you can sew the head directly to the body, the neck joint allows the head to turn, adding to the toy’s poseability and charm. It is recommended for the intended design, but you can skip it if you prefer a simpler construction.
Pin This Crochet Pattern!