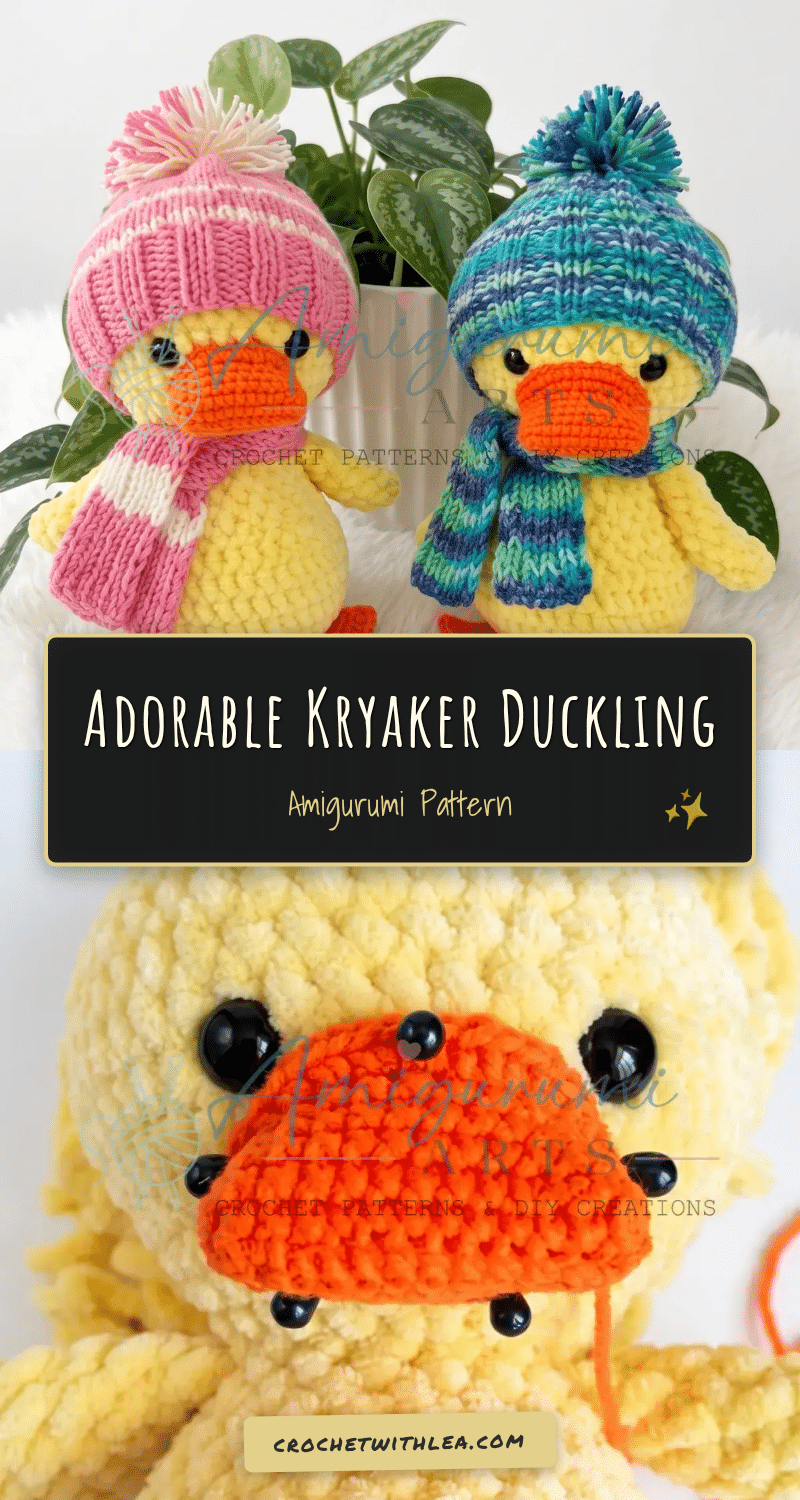
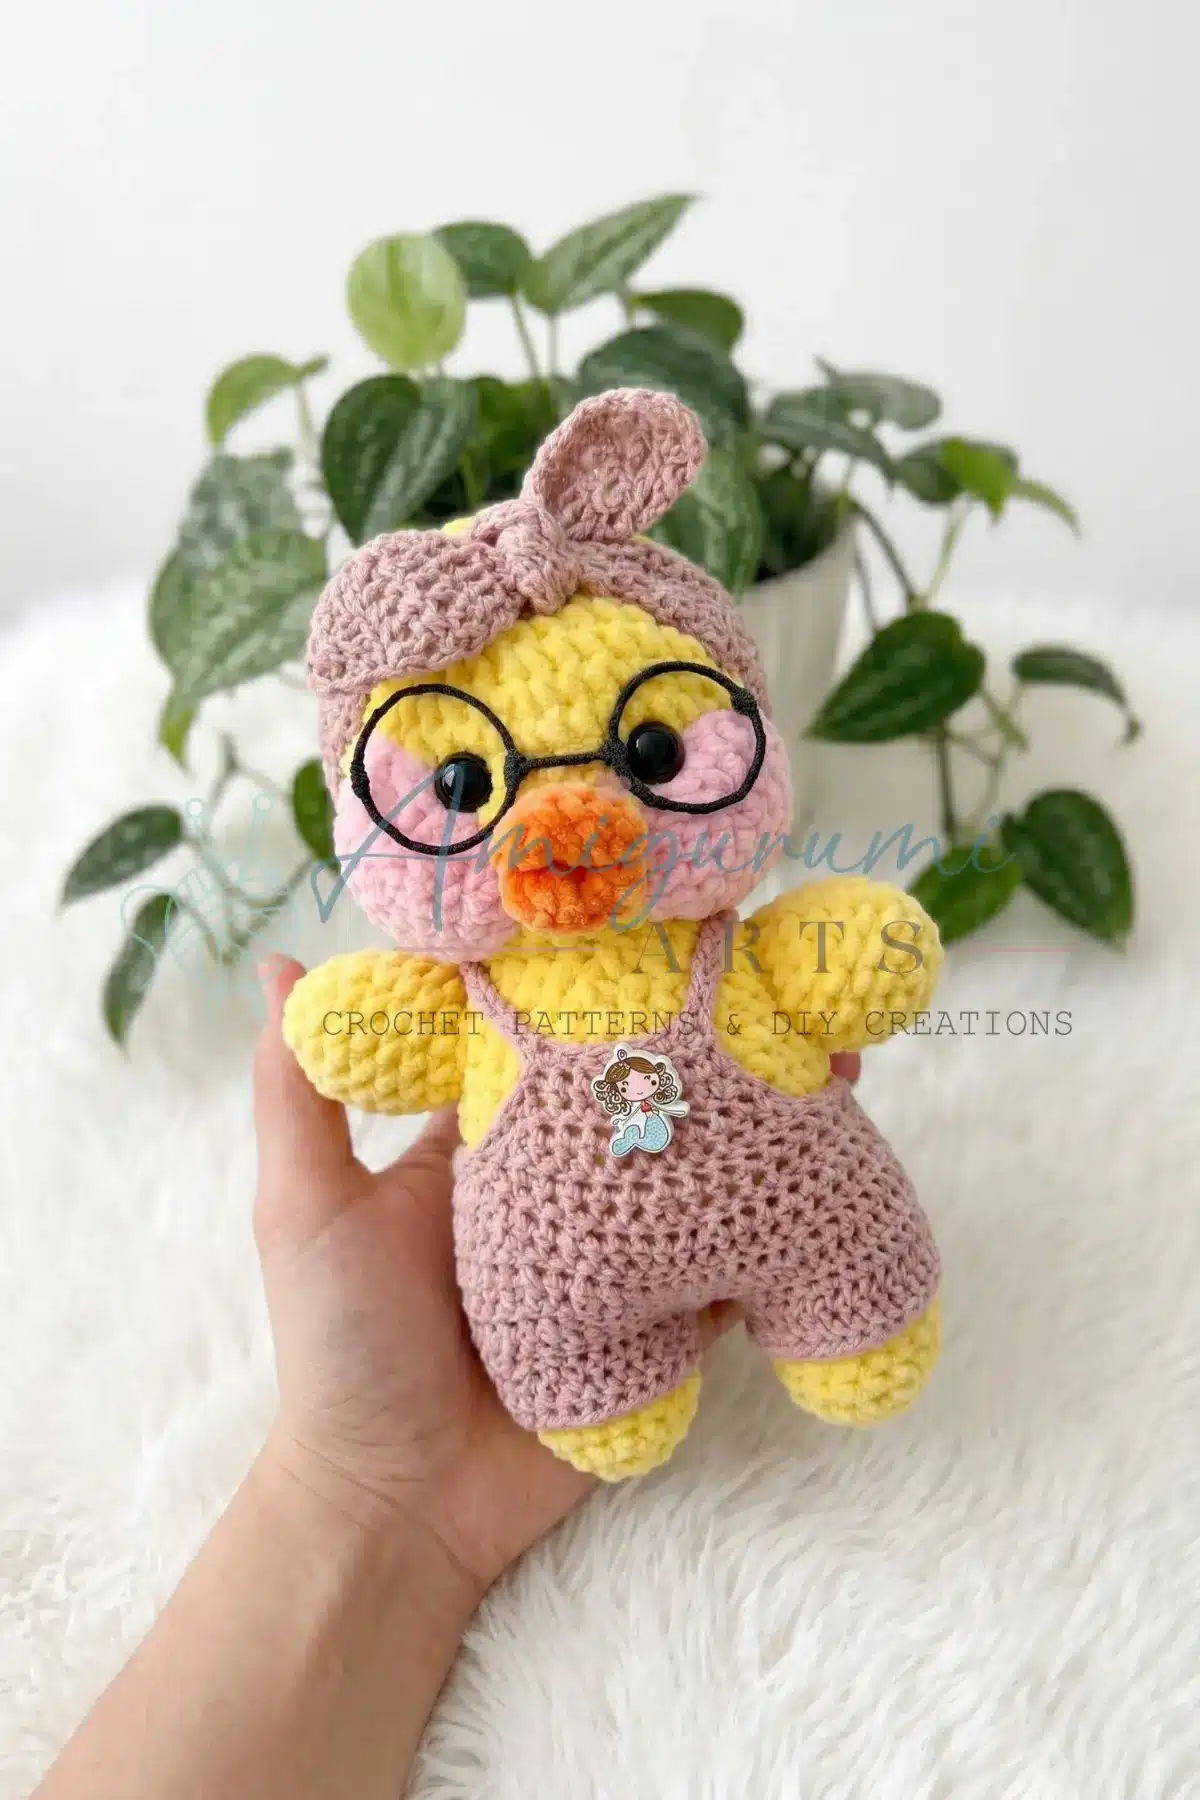
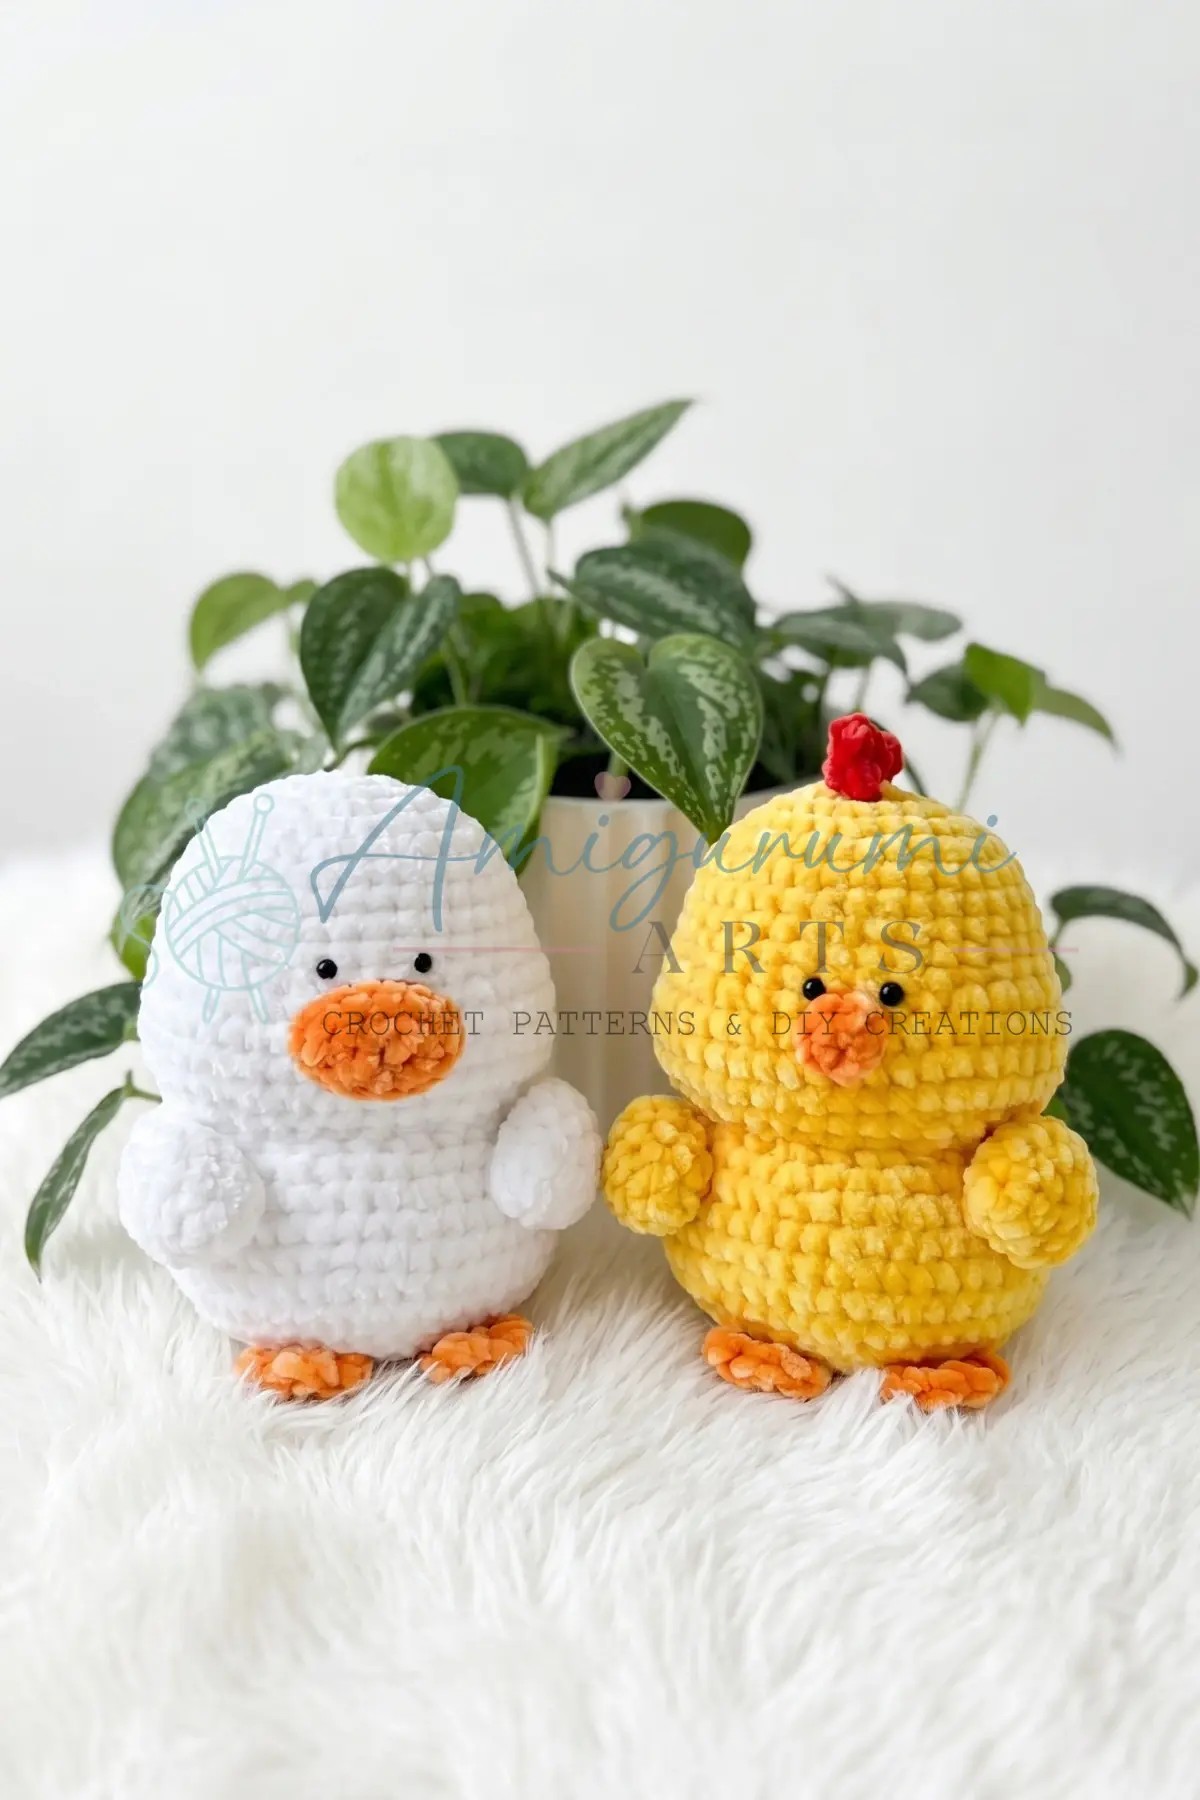
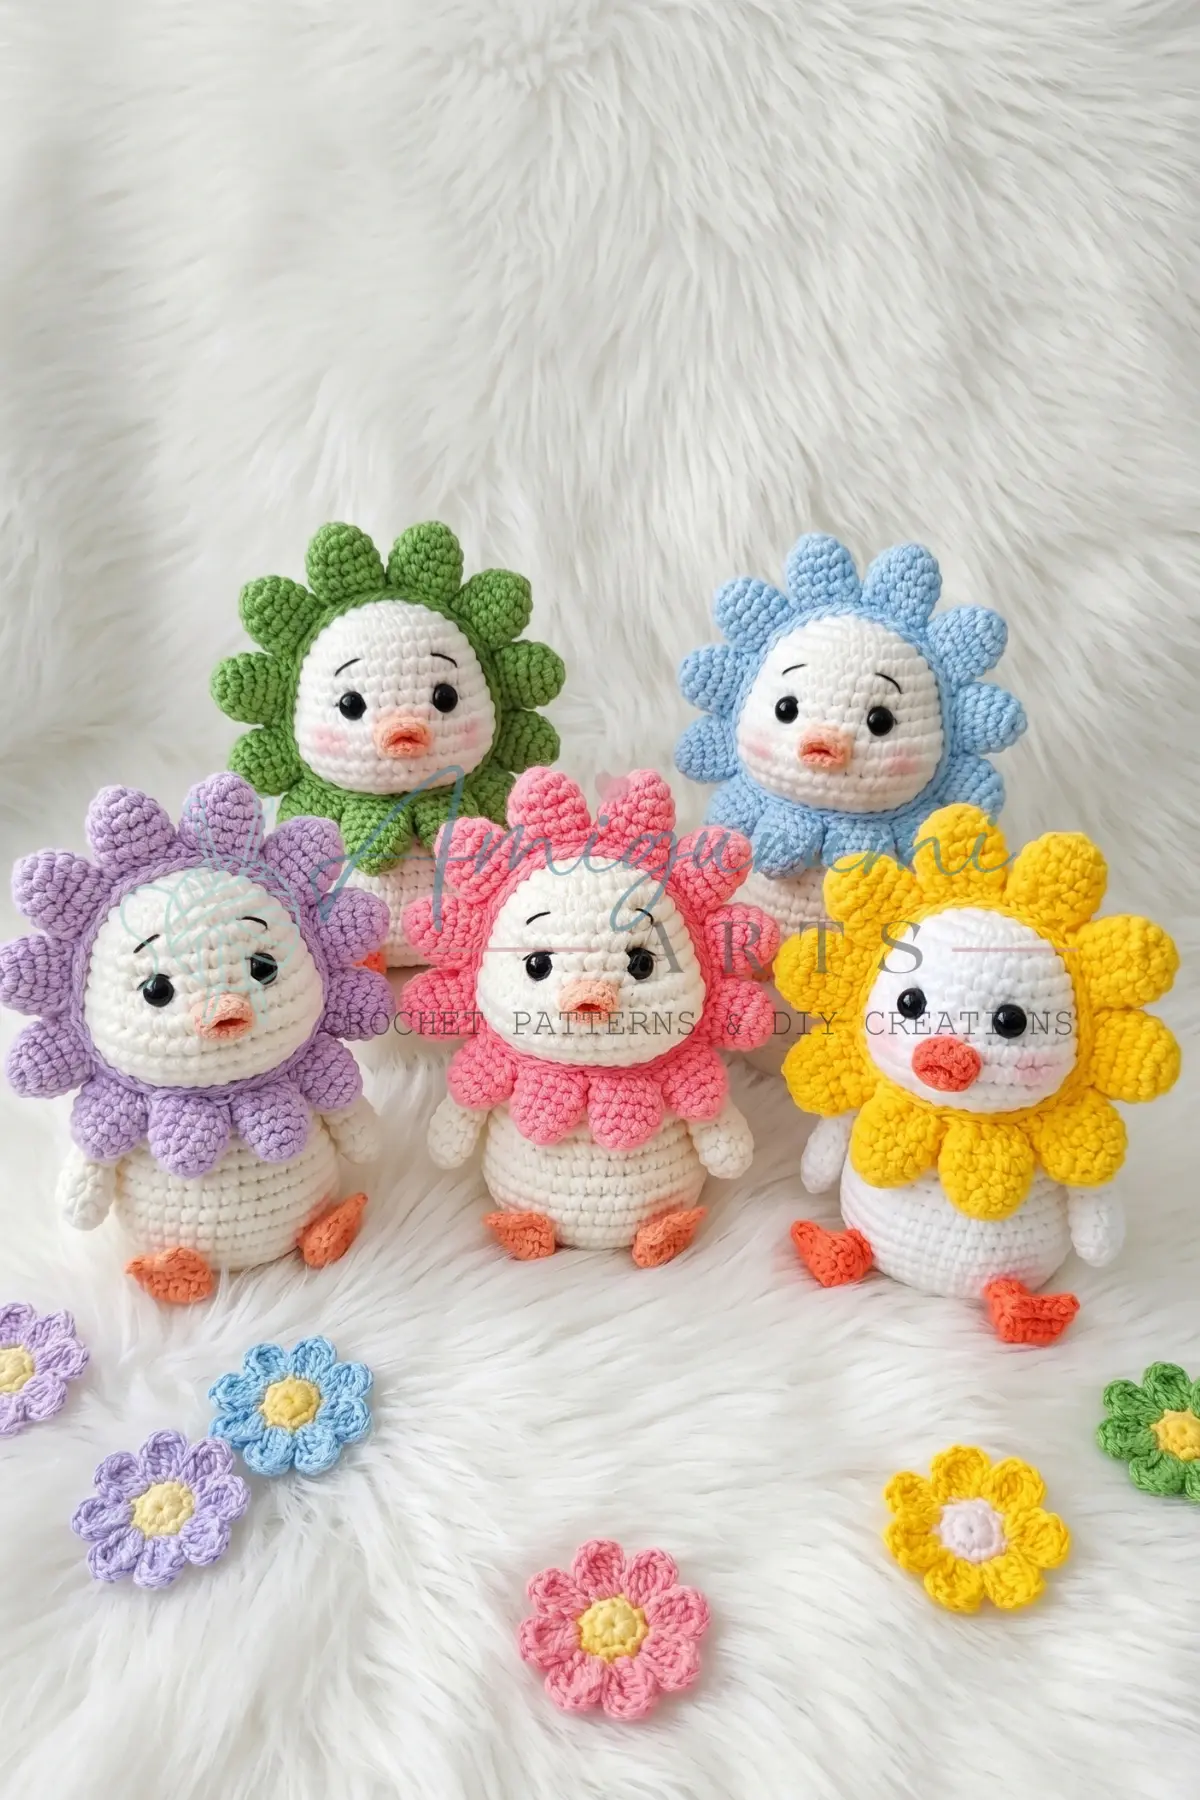
There is something deeply soothing about the rhythm of amigurumi. A quiet evening, a small batch of soft yarn, and the repetitive, meditative motion of counting stitches. It is a ritual that slows the world down, one round at a time. Kryaker the Duckling is the perfect companion for this cozy practice. With his lopsided scarf and knitted beanie, he captures that specific charm of handmade gifts that earn a permanent spot on a shelf. This pattern is designed to be beginner-friendly, yet it offers enough structure to keep you engaged as you build his unique shape.
Small Details That Make It Better
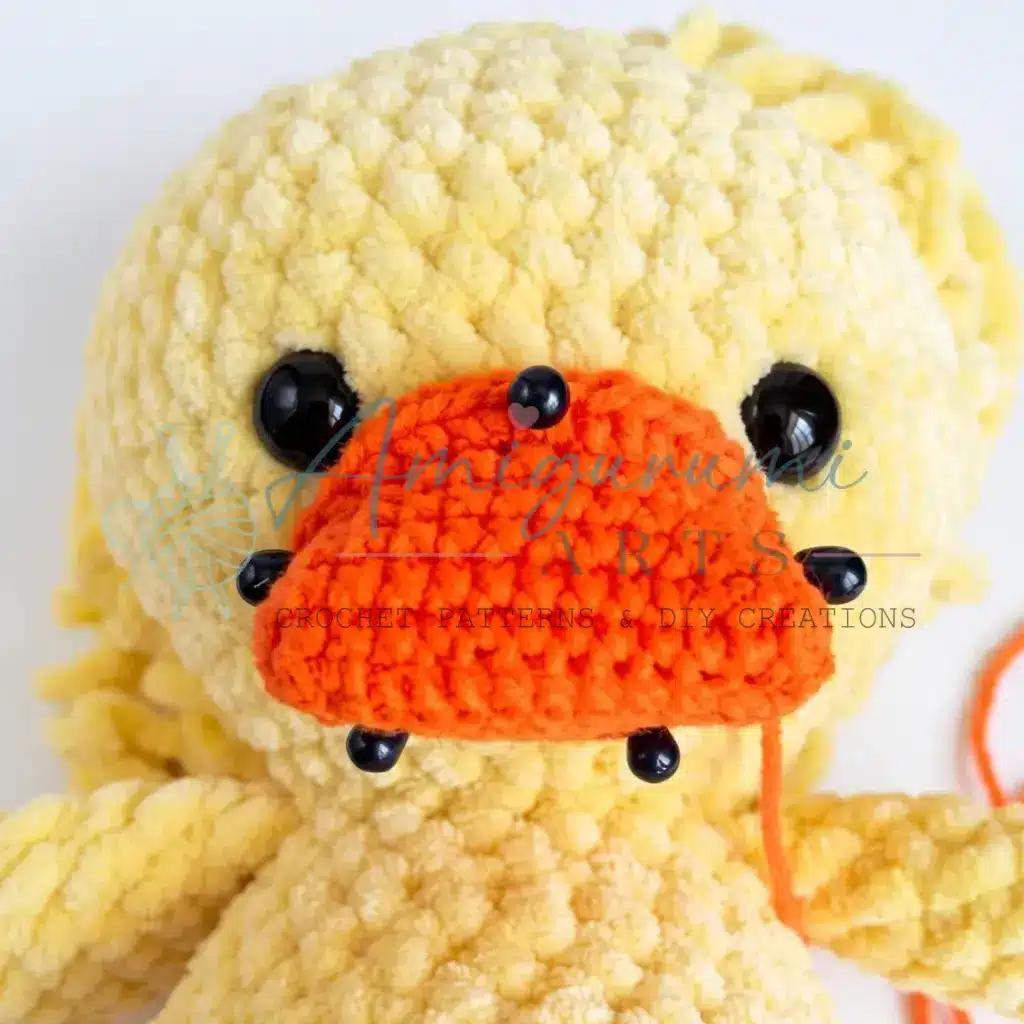
What truly brings Kryaker to life are the little choices you make along the way. The plush yarn gives him that soft, huggable texture, but the contrast of the sport-weight cotton for his beak and feet adds a necessary definition that keeps his features from getting lost in the fluff. We love the idea of choosing a vibrant yellow-orange for his beak to pop against the yellow body, or perhaps a muted mustard for a more vintage look. The knitted hat and scarf are not just accessories; they are character builders. The ribbing on the hat gives it a snug, realistic fit, while the scarf allows you to play with color coordination. Even the way you stuff him matters—firmly for the body to hold his shape, but sparingly for the beak so it sits flat and natural against his face. These small finishing touches transform a simple crochet project into a cherished keepsake.
Project Overview
Kryaker is a 20–25 cm (8–10 inches) tall duckling amigurumi. He is constructed as one continuous body-and-head piece, which minimizes seams and creates a clean, professional finish. The wings are integrated directly into the body during the crochet process, eliminating the need for sewing them on later. The hat and scarf are knitted flat and then attached, adding a layer of complexity that is well worth the effort for the adorable result.
Materials
- Yarn A (Body/Head/Wings/Tail): Bulky/chunky plush yarn — such as Himalaya Dolphin Baby or a similar chenille/plush weight — in yellow (or your chosen duckling color).
- Yarn B (Beak & Feet): Sport/DK weight cotton-blend yarn — such as YarnArt Jeans — in orange or yellow-orange.
- Yarn C (Hat & Scarf): Sport/DK weight cotton-blend yarn — such as YarnArt Jeans — in your chosen colors.
- Hooks: US size G-6 / 4.0 mm (for plush yarn); US size C-2 / 2.5 mm (for Yarn B and C).
- Knitting needles: 3.0 mm (US size 2½) for the hat and scarf.
- Safety eyes: 10 mm, 1 pair.
- Stuffing: Fiberfill.
- Notions: Stitch markers, yarn needle / tapestry needle, strong sewing thread or yarn for attaching parts, scissors.
Gauge and Finished Size
Using the recommended Himalaya Dolphin Baby plush yarn with a 4.0 mm hook, Kryaker stands approximately 20–25 cm (8–10 inches) tall including the hat. Gauge is not critical for amigurumi, but your fabric should be tight enough that stuffing does not show through. Switch to a smaller hook if needed.
Abbreviations
- BLO — Back Loop Only
- ch — Chain
- dec — Invisible Decrease (insert hook through front loops of next 2 sts, draw up a loop, yarn over and pull through all 3 loops)
- dc — Double Crochet
- hdc — Half Double Crochet
- inc — Increase (2 sc in same stitch)
- MR — Magic Ring
- sc — Single Crochet
- sk — Skip
- sl st — Slip Stitch
- sm — Stitch Marker
- st / sts — Stitch / Stitches
Pattern Notes
This Kryaker the Duckling Amigurumi pattern is written in US crochet terminology. The body, head, wings, tail, and feet are worked in a continuous spiral — do not join at the end of rounds and do not make a starting chain unless specifically instructed. Use a stitch marker to track the beginning of each round. The hat and scarf are knitted flat on straight needles using a rib stitch, then seamed. If you prefer, they can be substituted with crocheted equivalents.
Stitch counts for each round are given in parentheses at the end of the line: (##). Safety eyes (10 mm) are inserted between Rounds 25 and 26 of the Head, spaced 7 stitches apart. Insert them before the opening becomes too small to work inside. The Wings are not stuffed. The Feet are not stuffed. Stuff the Body/Head firmly as you go, adding more stuffing before closing. The Beak is lightly stuffed.
Pattern Instructions
Wings (Make 2 — do not stuff)
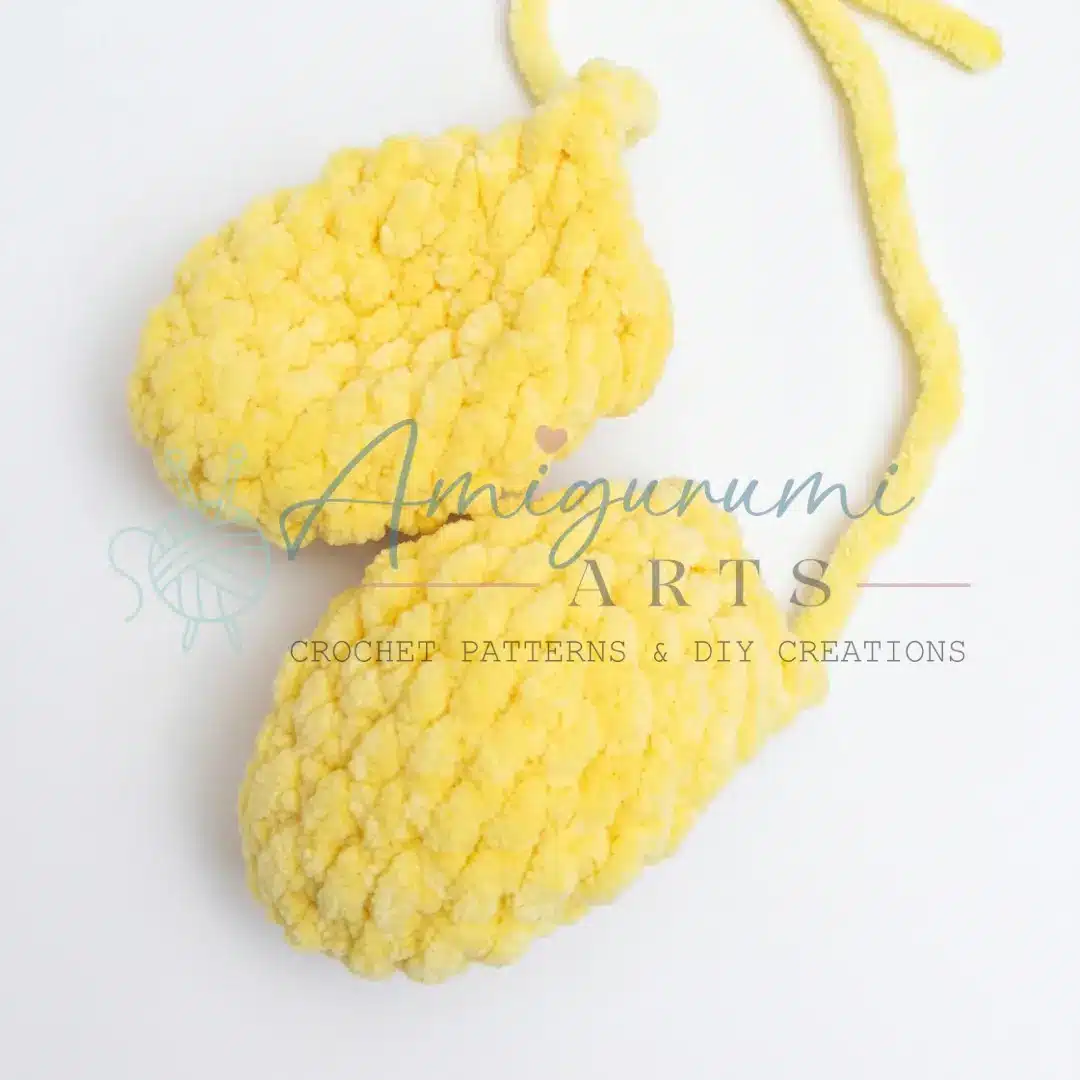
Rnd 1: Start with a MR, 6 sc into the ring. Pull tight to close. (If a magic ring is difficult, chain 2 and work 6 sc into the second chain from the hook.) (6)
Rnd 2: sc, inc repeat 3 times around. (9)
Rnd 3: 2 sc, inc repeat 3 times around. (12)
Rnd 4: 3 sc, inc repeat 3 times around. (15)
Rnds 5–7: sc in each st around. (15)
Rnd 8: 3 sc, dec repeat 3 times around. (12)
Rnd 9: sc in each st around. (12)
Rnd 10: 3 sc, dec repeat 3 times around. (9)
Fold the wing flat so the two edges meet evenly, then work 4 sc through both layers to close. Fasten off, leaving a yarn tail for attachment.
Body / Head (Worked as one continuous piece)
Begin with the body, then increase into the head without fastening off.
Body:
Rnd 1: 6 sc into MR. Pull tight to close. (6)
Rnd 2: inc in each st around. (12)
Rnd 3: sc, inc repeat 6 times around. (18)
Rnd 4: 2 sc, inc repeat 6 times around. (24)
Rnd 5: 3 sc, inc repeat 6 times around. (30)
Rnd 6: 4 sc, inc repeat 6 times around. (36)
Rnd 7: 5 sc, inc repeat 6 times around. (42)
Rnds 8–10: sc in each st around. (42)
Rnd 11: 5 sc, dec repeat 6 times around. (36)
Rnd 12: 9 sc, sc, dec repeat 6 times, 9 sc. (30)
Rnd 13: sc in each st around. (30)
Rnd 14: 3 sc, dec repeat 6 times around. (24)
Rnds 15–16: sc in each st around. (24)
Rnd 17: 2 sc, dec repeat 6 times around. (Shift your stitch marker 3 stitches forward at the start of this round to keep the shaping centered.) (18)
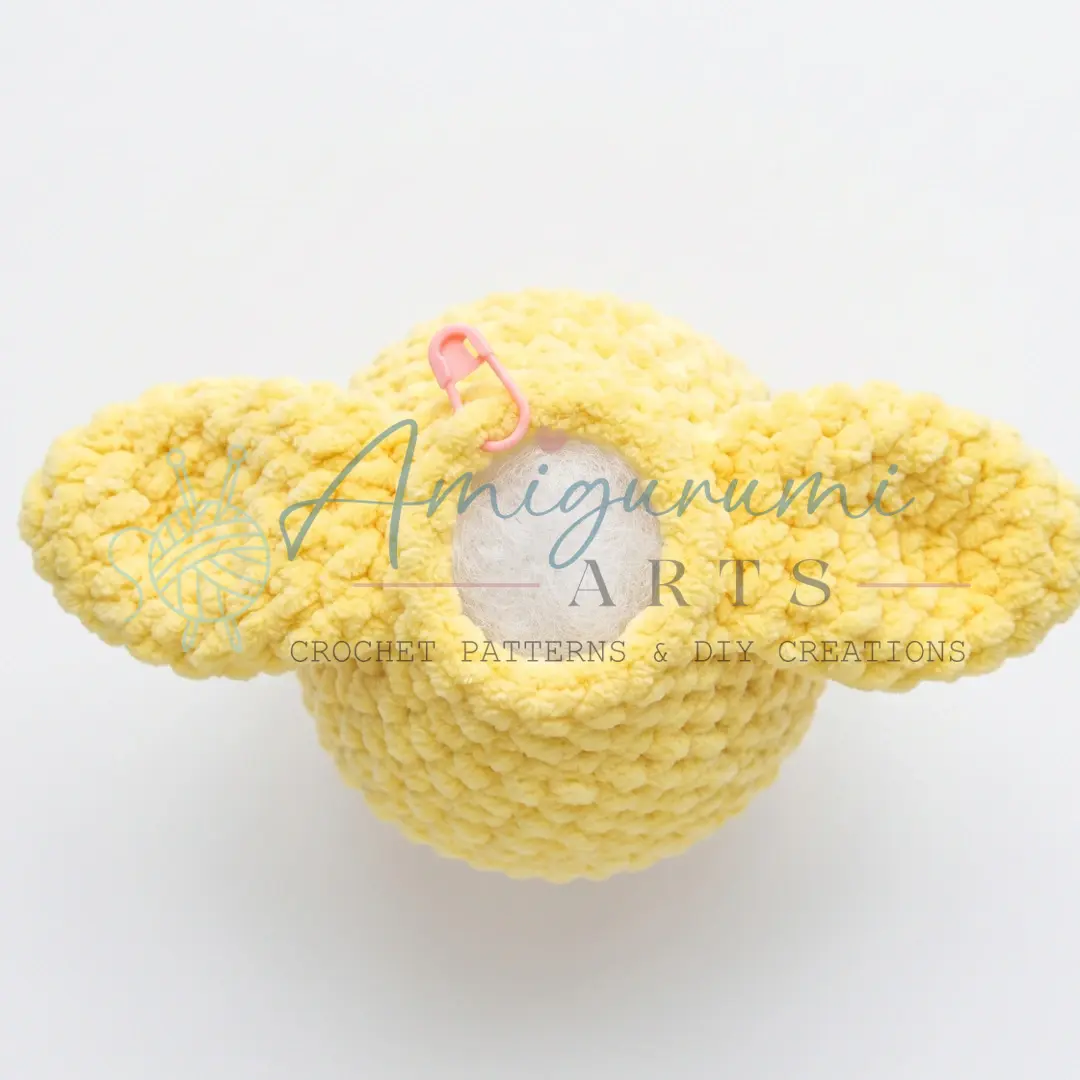
Rnd 18 (Wing Join): 2 sc, then holding the first wing alongside the body, work 4 sc through both the body stitches and the folded edge of the wing simultaneously, 6 sc, then attach the second wing the same way with 4 sc through both layers, 2 sc. (18)
This joins both wings directly into the body — no extra sewing needed.
Rnd 19: sc in each st around. (18)
Begin stuffing the body firmly now. Continue adding stuffing as the head grows.
Head (continues directly from body):
Rnd 20: sc, inc repeat 9 times around. (27)
Rnd 21: 8 sc, inc repeat 3 times around. (30)
Rnd 22: 4 sc, inc repeat 6 times around. (36)
Rnd 23: 5 sc, inc repeat 6 times around. (42)
Rnd 24: 6 sc, inc repeat 6 times around. (48)
Rnds 25–29: sc in each st around. (48)
Insert the 10 mm safety eyes between Rounds 25 and 26, spacing them 7 stitches apart. Secure the backs firmly before continuing.
Rnd 30: 6 sc, dec repeat 6 times around. (42)
Rnd 31: 5 sc, dec repeat 6 times around. (36)
Rnd 32: 4 sc, dec repeat 6 times around. (30)
Rnd 33: 3 sc, dec repeat 6 times around. (24)
Rnd 34: 2 sc, dec repeat 6 times around. (18)
Rnd 35: sc, dec repeat 6 times around. (12)
Rnd 36: dec 6 times around. (6)
Add any final stuffing now, making sure the head is full and round. Pull the opening closed, weave the tail through the remaining 6 stitches, pull tight, and hide the end inside the piece.
Beak (Lightly stuff)
Foundation Chain: ch 13.
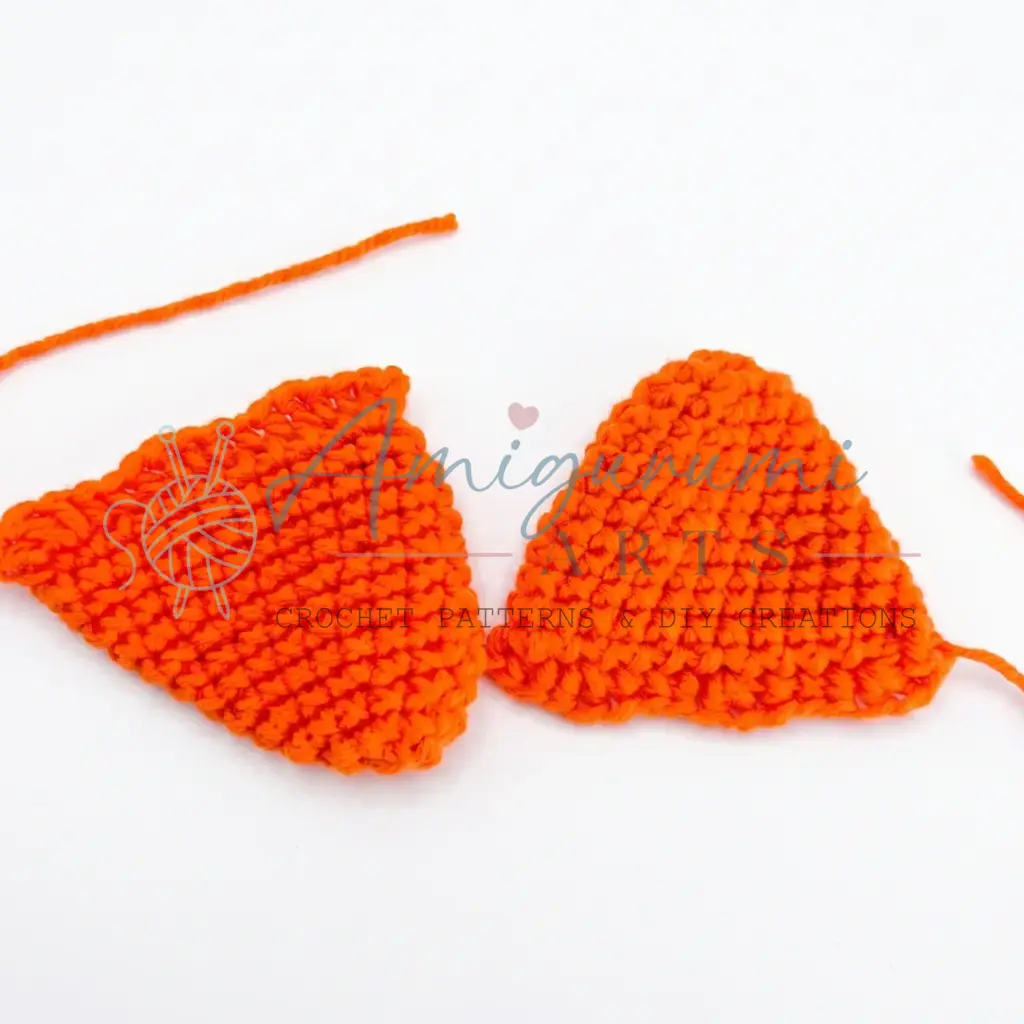
Rnd 1: Starting in the 2nd ch from hook — 11 sc along the chain, 3 sc in the last chain (to turn the corner), then work 10 sc back along the other side of the foundation chain, inc in the last st. (26)
Rnds 3–6: sc in each st around. (26)
Rnd 7: 4 sc, inc 7 times, 15 sc. (33)
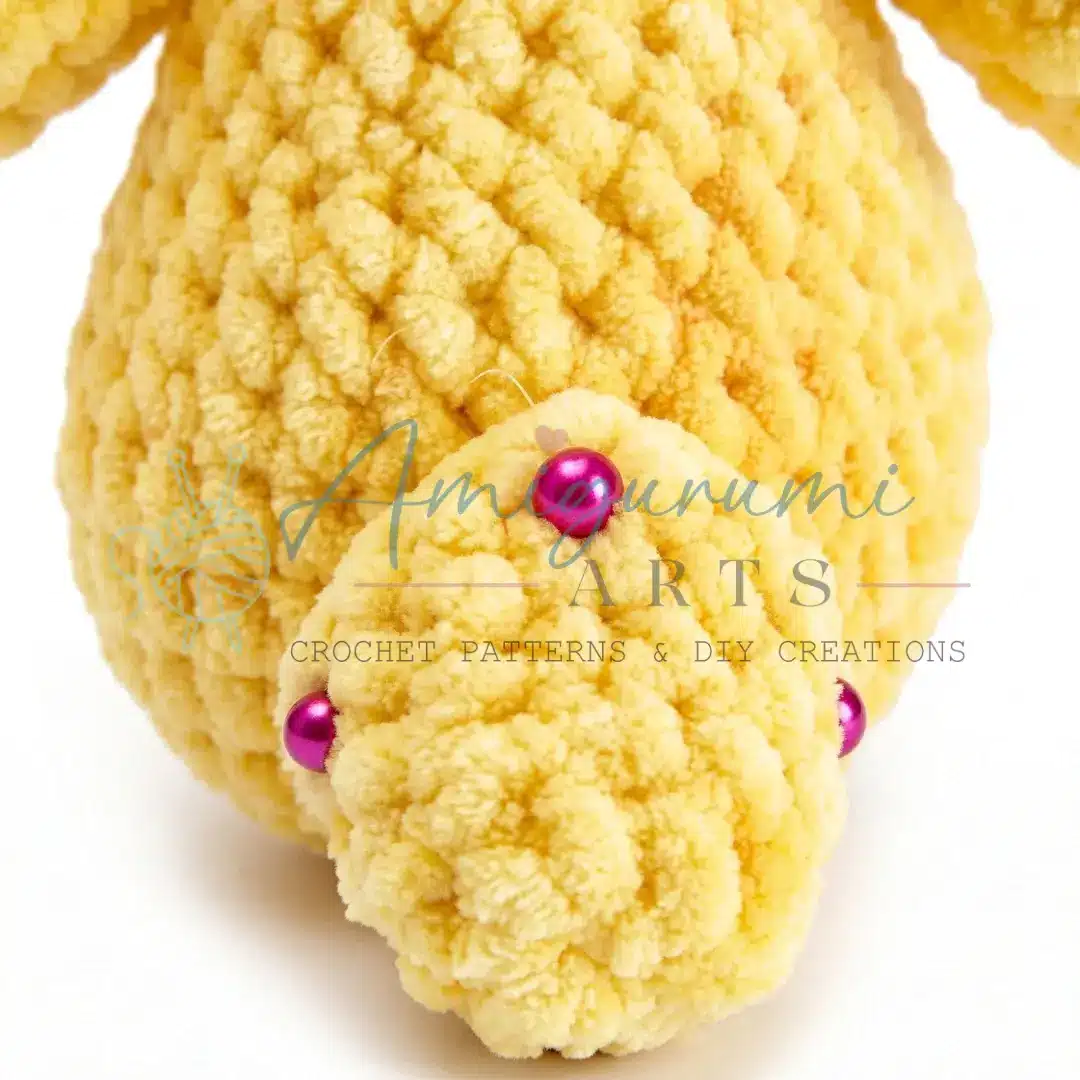
Lightly stuff the beak. Fasten off, leaving a long yarn tail for sewing. Sew the beak onto the head between Rounds 20 and 26, centered on the face.
Tail
Foundation Chain: ch 4.
Rnd 1: Starting in the 2nd ch from hook — 2 sc along the chain, 3 sc in the last chain (corner), 2 sc back along the other side of the foundation chain. (7)
Rnd 2: inc 3 times, 4 sc. (10)
Rnd 3: sc in each st around. (10)
Rnd 4: sc, inc repeat 3 times, 4 sc. (13)
Rnd 5: sc in each st around. (13)
Fasten off, leaving a long yarn tail. Do not stuff. Sew the tail to the back lower section of the body.
Feet (Make 2 — do not stuff)
Rnd 1: 6 sc into MR. Pull tight to close. (6)
Rnd 2: inc in each st around. (12)
Rnd 3: sc in each st around. (12)
Rnd 4: sc, inc repeat 6 times around. (18)
Rnds 5–7: sc in each st around. (18)
Rnd 8: 2 sc, inc repeat 6 times around. (24)
Rnds 9–12: sc in each st around. (24)
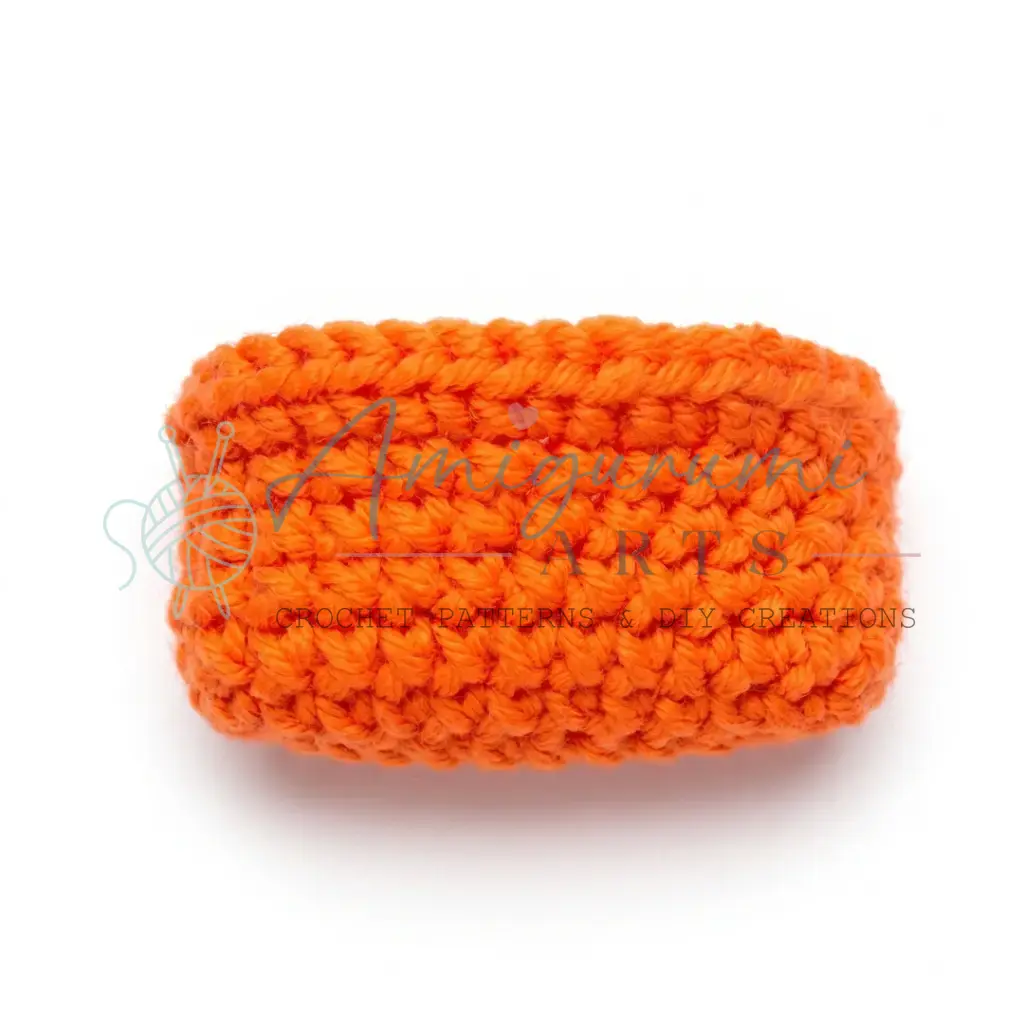
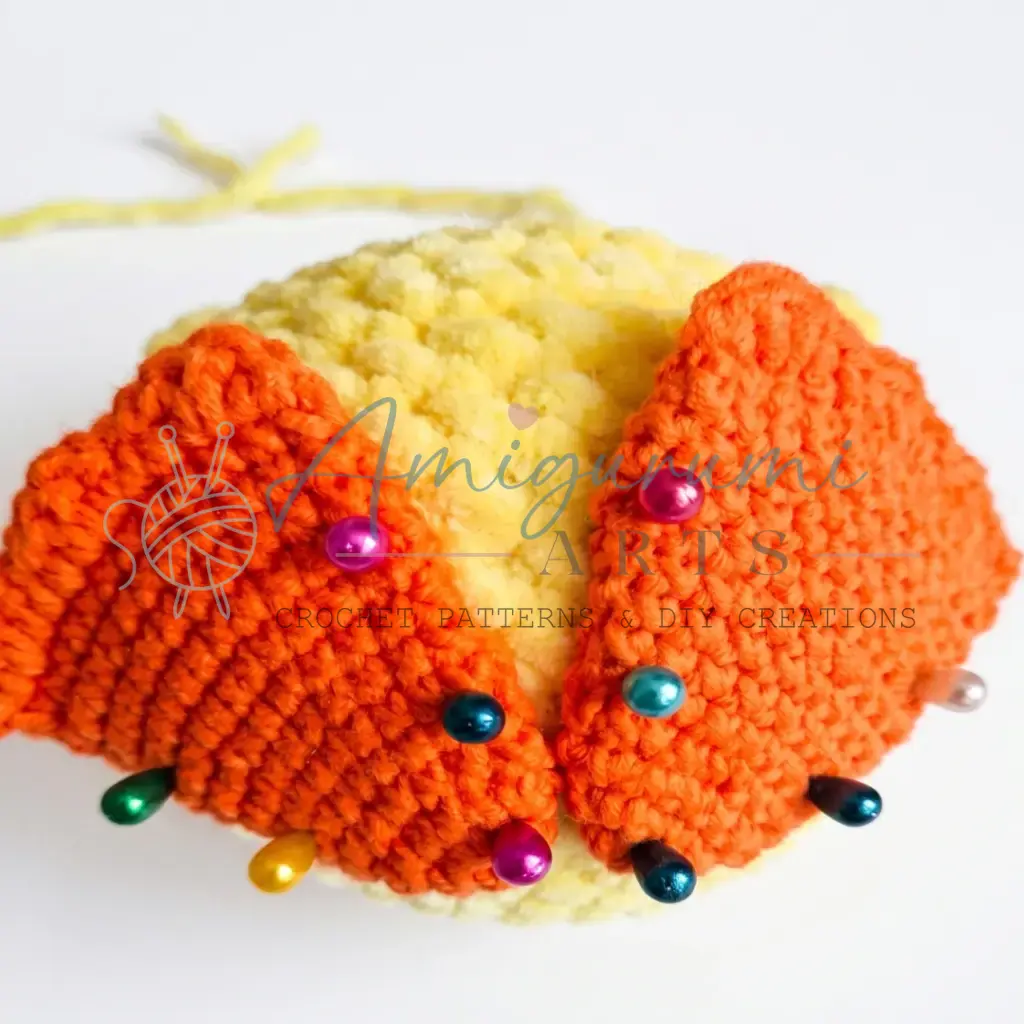
Fold the foot flat so both layers align (12 sts per side), then work 12 sc through both layers to close the foot.
Toe edging (worked along the flat edge of the foot):
Ch 1, then work the following repeat 3 times: sc, hdc, 2 dc in one stitch, hdc , sl st to finish.
Fasten off and weave in ends.
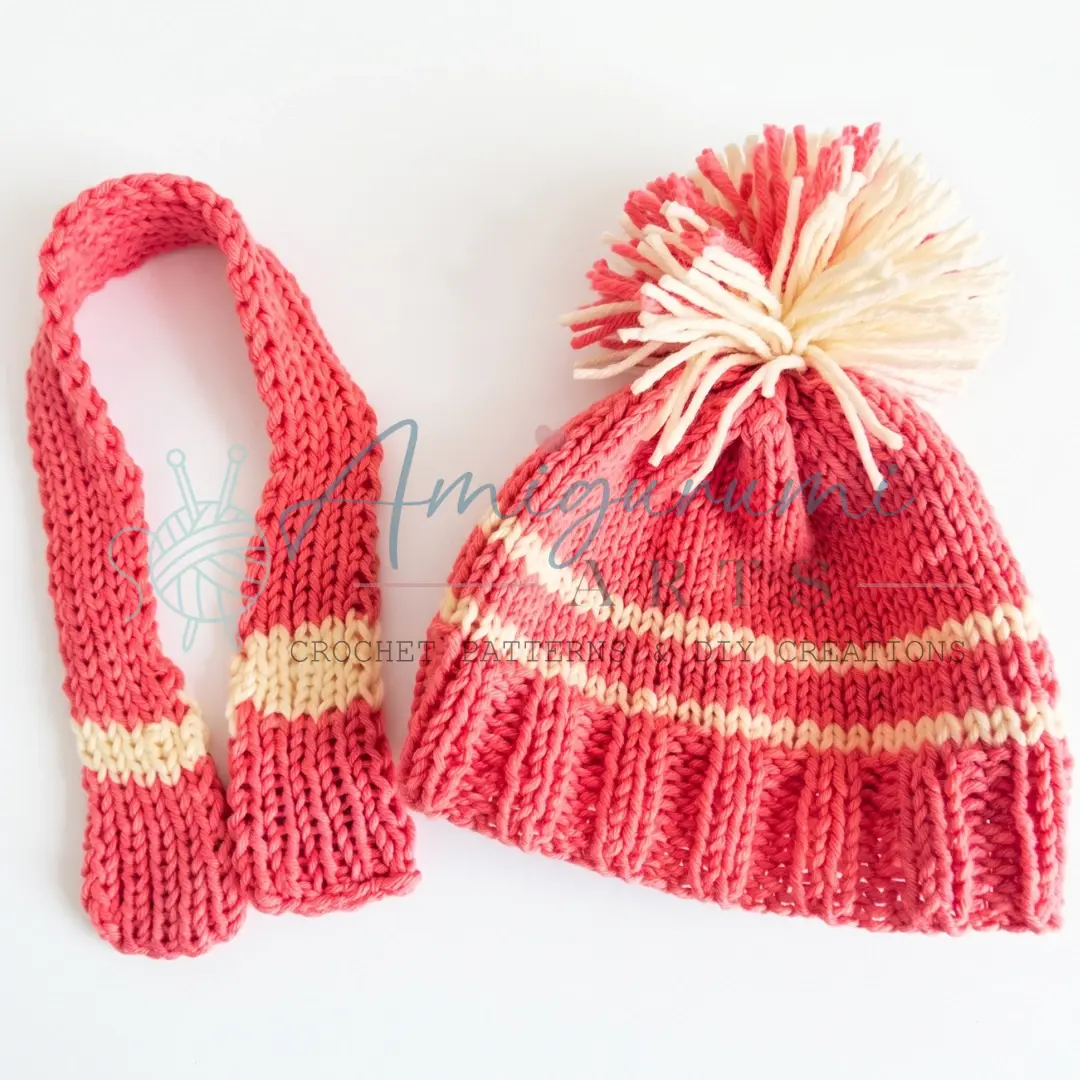
Hat (Knitted)
Cast on 60 stitches on 3.0 mm (US size 2½) needles.
Rows 1–10: Work in 2×2 rib (knit 2, purl 2, repeat to end) .
Rows 11–35: Work in stockinette stitch (knit on right-side rows, purl on wrong-side rows) .
Row 36 (decrease row): Purl 1, k2tog repeat to end of row.
Row 37: K2tog across all stitches. (20 sts)
Leave a long yarn tail.
Slip all remaining stitches onto a tapestry needle, pull the yarn through all loops and draw tight to close the top. Seam the hat along the side edge. Make a small pompom and attach it to the top. Weave in all ends.
Scarf (Knitted)
Cast on 10 stitches on 3.0 mm (US size 2½) needles. Work in 1×1 rib (knit 1, purl 1, repeat to end) until the scarf reaches your desired length. Bind off in rib pattern. Weave in ends.
Assembly
- Body/Head: Ensure the body and head are fully stuffed and the opening at the top of the head is neatly closed and the tail end is hidden inside.
- Wings: The wings are already joined into the body at Round 18. Check that both sides are secure and evenly placed. If any edge feels loose, tack it with a few stitches using the yarn tail.
- Beak: Sew the beak centered on the front of the head, positioned between Rounds 20 and 26. Use the long yarn tail and a yarn needle, working whipstitches around the entire perimeter of the beak. Pull firmly so it sits flat and snug against the head.
- Tail: Sew the tail piece to the back lower body using whipstitches around its edge. The flat cast-on edge of the tail should face downward.
- Feet: Position the feet on the underside of the body, angled slightly outward. Sew each foot securely with whipstitches using a strong thread or yarn.
- Hat: Place the hat on Kryaker’s head. Tack it in place with a few invisible stitches at the brim if you’d like it to stay put.
- Scarf: Wrap the scarf around the neck area and tie or tuck as desired.
- Finishing: Weave in all remaining yarn ends, burying them deep inside the piece so they don’t work their way out.
Tips
- Keep your tension tight on plush yarn. Chenille and plush yarns have a tendency to hide stitches, which makes it easy to lose count. Use a stitch marker at the start of every round without fail, and count at the end of each round before moving on.
- The body-to-head transition is your friend. The neck shaping in Rounds 11–19 naturally cinches inward — lean into it. If it feels like the counts are pulling too tight, you’re on track.
- Stuffing the body before you begin the head increases will help the shape hold.
- Safety eyes first, closing rounds never. Once you’re past Round 30, the opening shrinks quickly. If you forget to insert the safety eyes before Round 30, getting the backing onto the post becomes very difficult. Set a reminder in your pattern notes.
- For the beak, start your foundation chain loosely. Working along both sides of a foundation chain can pucker if the chain is too tight. Go up half a hook size just for the chain, then switch back for the sc rounds.
- Stuff the beak sparingly. A lightly stuffed beak stays dimensional without distorting the shape. Too much stuffing will push the beak away from the face and make sewing it on cleanly much harder.
Frequently Asked Questions
Can I substitute the knitted hat and scarf with crochet?
Yes, the pattern notes mention that the hat and scarf can be substituted with crocheted equivalents if you prefer not to use knitting needles.
Why do the wings need to be joined during the body rounds?
Joining the wings directly into the body at Round 18 eliminates the need for sewing them on later, resulting in a cleaner finish and less assembly work.
What if I miss the safety eye insertion window?
It is crucial to insert the 10 mm safety eyes between Rounds 25 and 26. After Round 30, the opening becomes too small to easily attach the plastic backings securely.
How tight should the stuffing be?
The body and head should be stuffed firmly to maintain the duckling’s shape. However, the beak should only be lightly stuffed to prevent it from distorting or pushing away from the face.
Do I need to join rounds when crocheting the body and head?
No, the body and head are worked in a continuous spiral. Do not join at the end of rounds unless specifically instructed (which is not the case here).
Pin This Crochet Pattern!