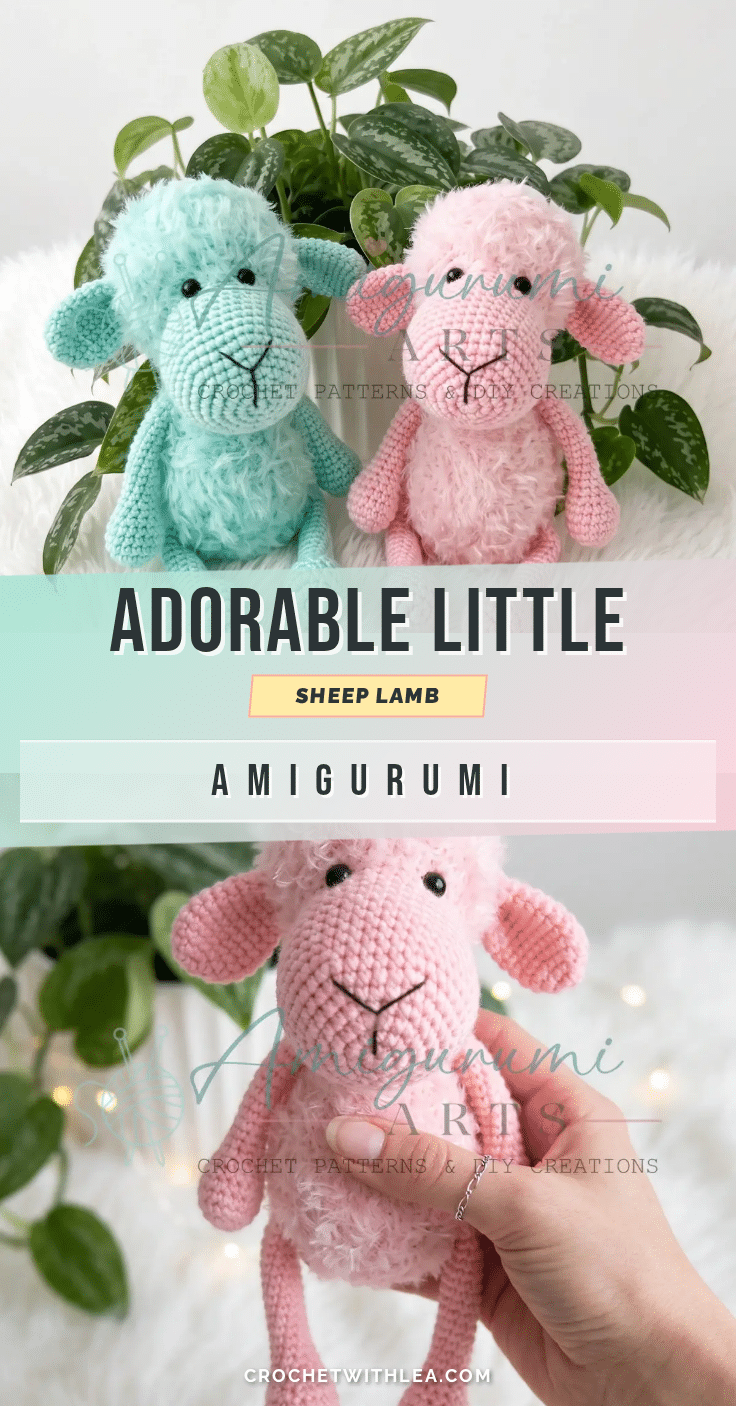
There is something undeniably heartwarming about a woolly little lamb sitting on a shelf, instantly making any room feel cozier. This adorable Little Sheep Lamb Amigurumi is entirely yours to make, standing approximately 18–20 cm (7–8 inches) tall. With its irresistible woolly look achieved through a clever combination of yarn textures, this project is the perfect blend of cute, useful, and giftable. Whether you are looking for a charming nursery decoration or a squishy companion for a child, this pattern delivers a tidy, display-worthy result that is simpler to assemble than it looks.
Why the Finished Piece Stands Out
What truly makes this lamb special is the textural contrast. By using a smooth yarn for the face and limbs alongside a fluffy or bouclé yarn for the body and head, the pattern creates a realistic “woolly” aesthetic without needing extra embellishments. The smooth yarn sections provide a firm, clean look for the muzzle and paws, while the textured yarn gives the body that soft, cloud-like appearance. This dual-yarn technique not only enhances the visual appeal but also allows for customization; you can choose classic white, or opt for playful colors like mint or pink for the textured sections. The result is a characterful toy that feels as good as it looks, with a natural forward tilt to the head and ears that can be positioned to give the lamb a lively or calm expression.
Project Overview
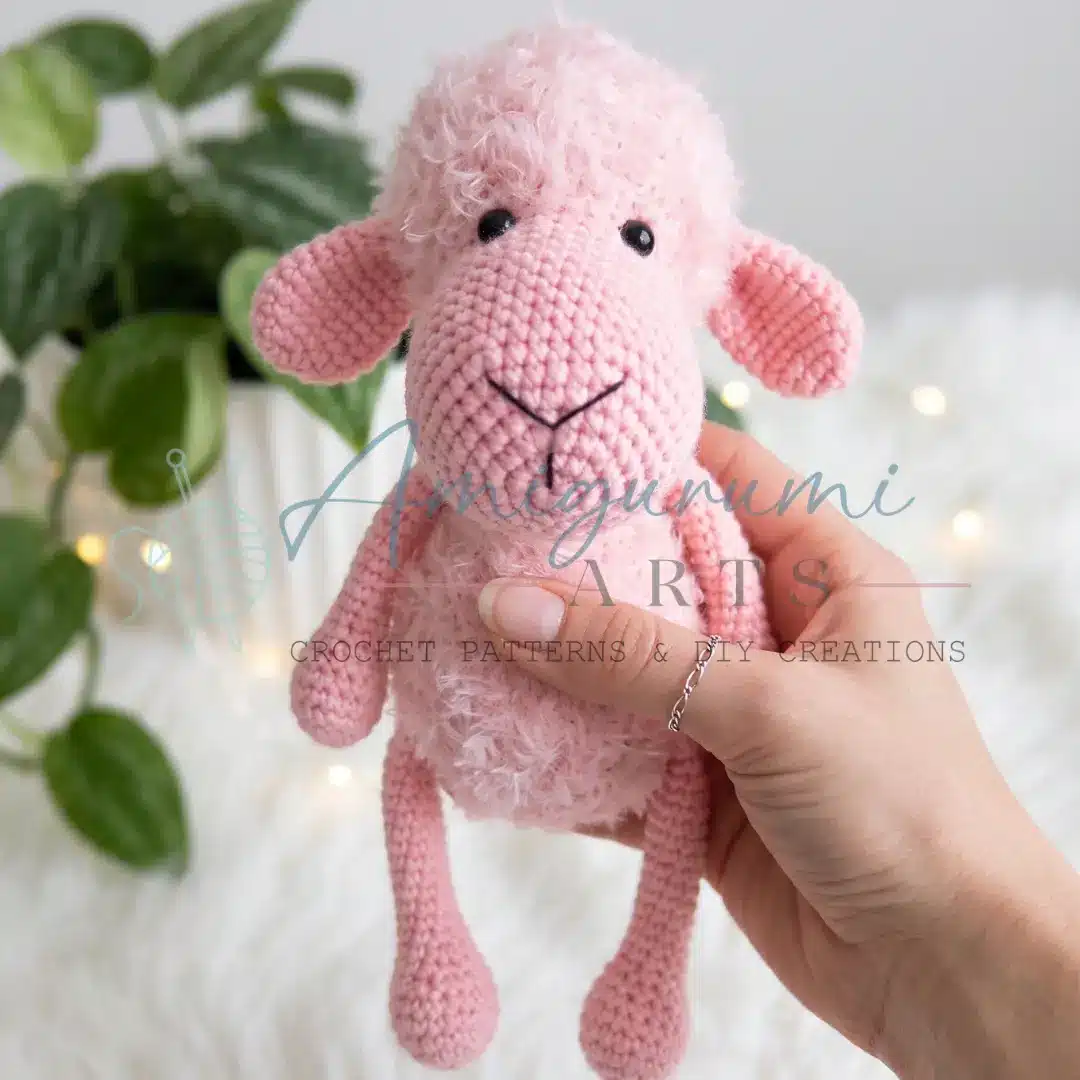
This Little Sheep Lamb Amigurumi is designed for crocheters who are comfortable with the basics: single crochets, increases, decreases, and working in a continuous spiral. If you know those four techniques, you are ready for this project. The pattern is written in US crochet terminology. While the original design uses half double crochet, the instructions below use single crochet (sc) for a tighter, more secure fabric, though you may substitute hdc if you prefer the original style. The body is worked bottom up, and the limbs are joined directly into the body during the crocheting process, simplifying the final assembly.
Materials
- Smooth yarn: A fingering to sport weight yarn in your chosen skin/muzzle color (e.g., a cotton-acrylic blend such as YarnArt Jeans, Alize Cotton Gold, or similar).
- Textured/fluffy yarn: A novelty or bouclé yarn for the body and head (e.g., Alize Softy, Nako Paris, or similar) in white, mint, pink, or your chosen color.
- Hook sizes: C-2 (2.5 mm) for textured yarn; B-1 (1.75 mm) for smooth yarn (adjust as needed for your yarn weight).
- Safety eyes: 6 mm, 1 pair.
- Fiberfill stuffing.
- Black embroidery thread: For the nose/mouth embroidery.
- Stitch marker.
- Yarn needle / tapestry needle.
- Scissors.
Gauge and Finished Size
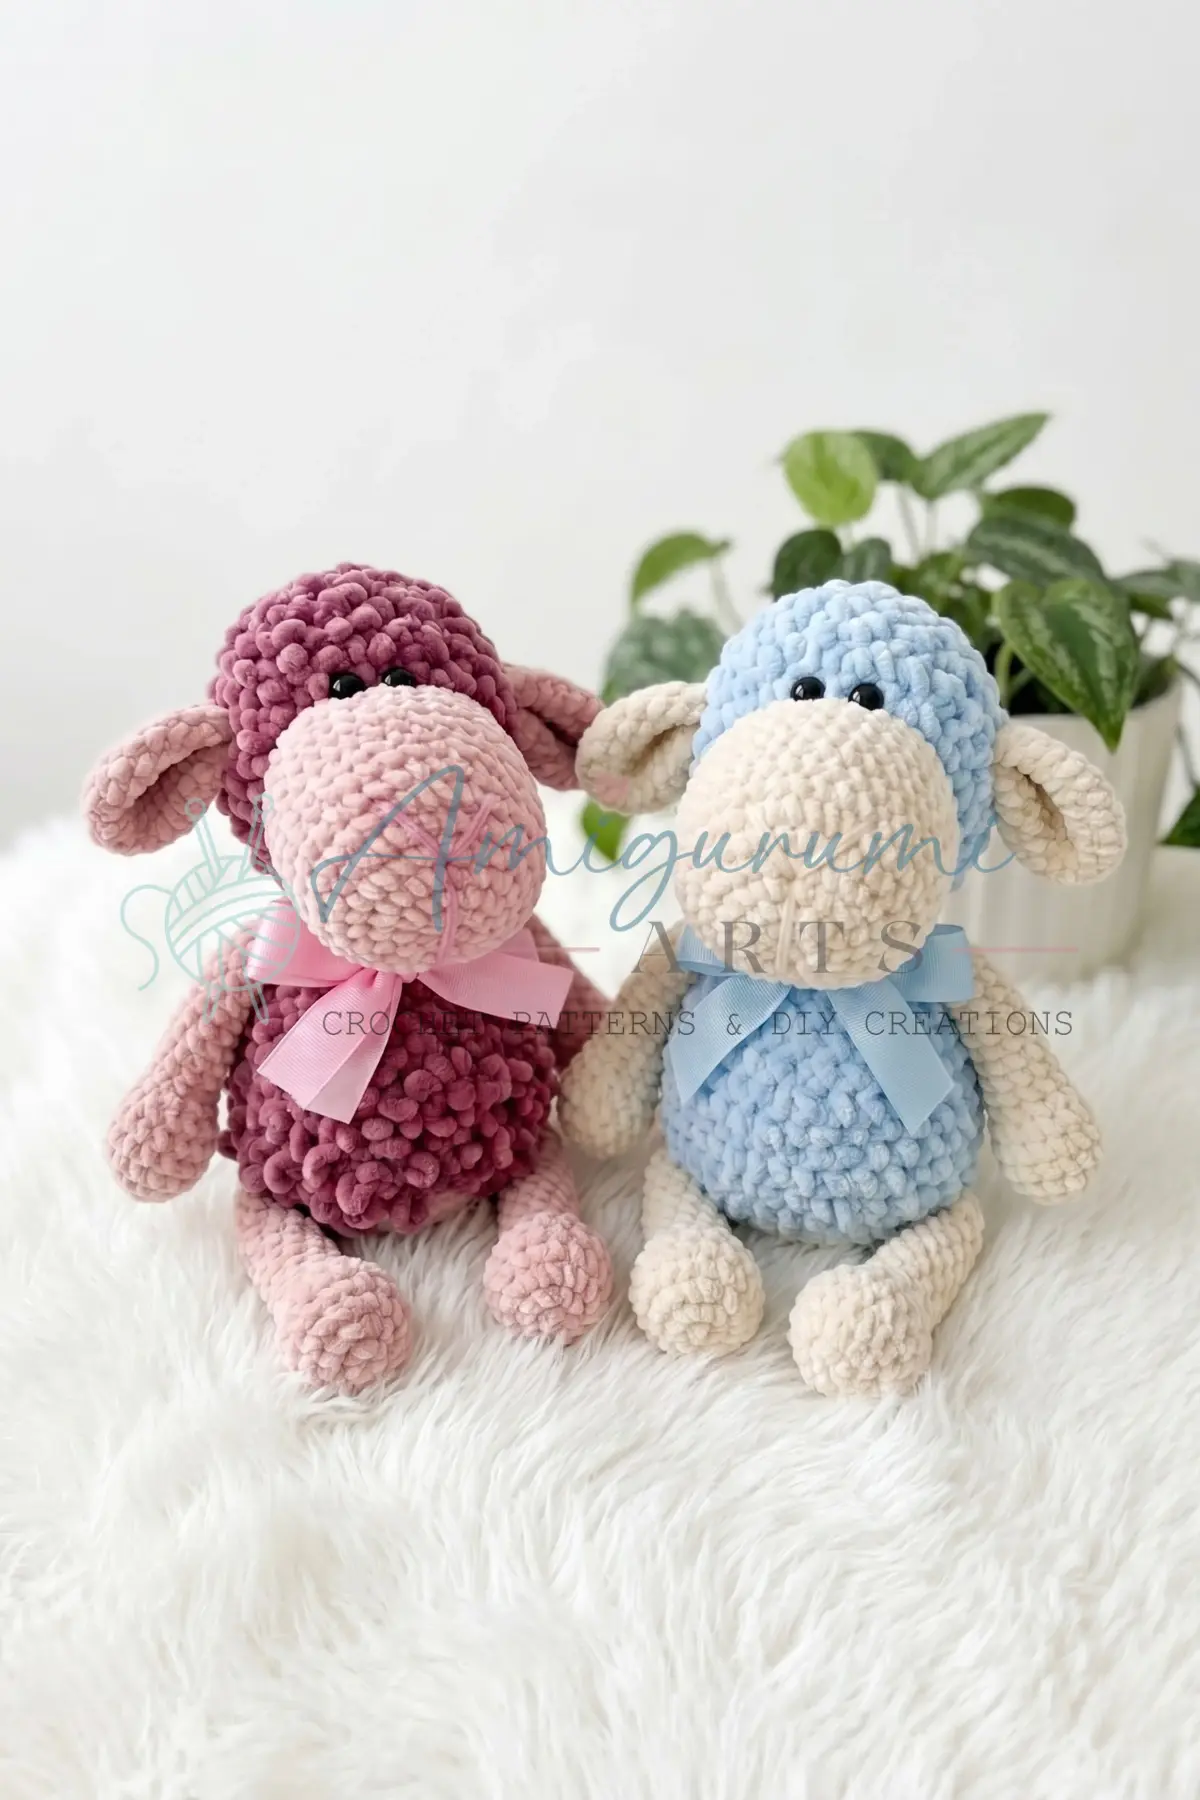
Finished Size: This Little Sheep Lamb Amigurumi stands approximately 18–20 cm (7–8 inches) tall.
Gauge: Gauge is not critical for this project, but work tightly enough that stuffing does not show through the stitches. If you can see light through the fabric, go down half a hook size.
Abbreviations
- ch — Chain
- dec — Decrease (invisible decrease recommended)
- hdc — Half Double Crochet
- inc — Increase (2 sc in same stitch)
- MR — Magic Ring
- sc — Single Crochet
- sl st — Slip Stitch
- st / sts — Stitch / Stitches
Pattern Notes
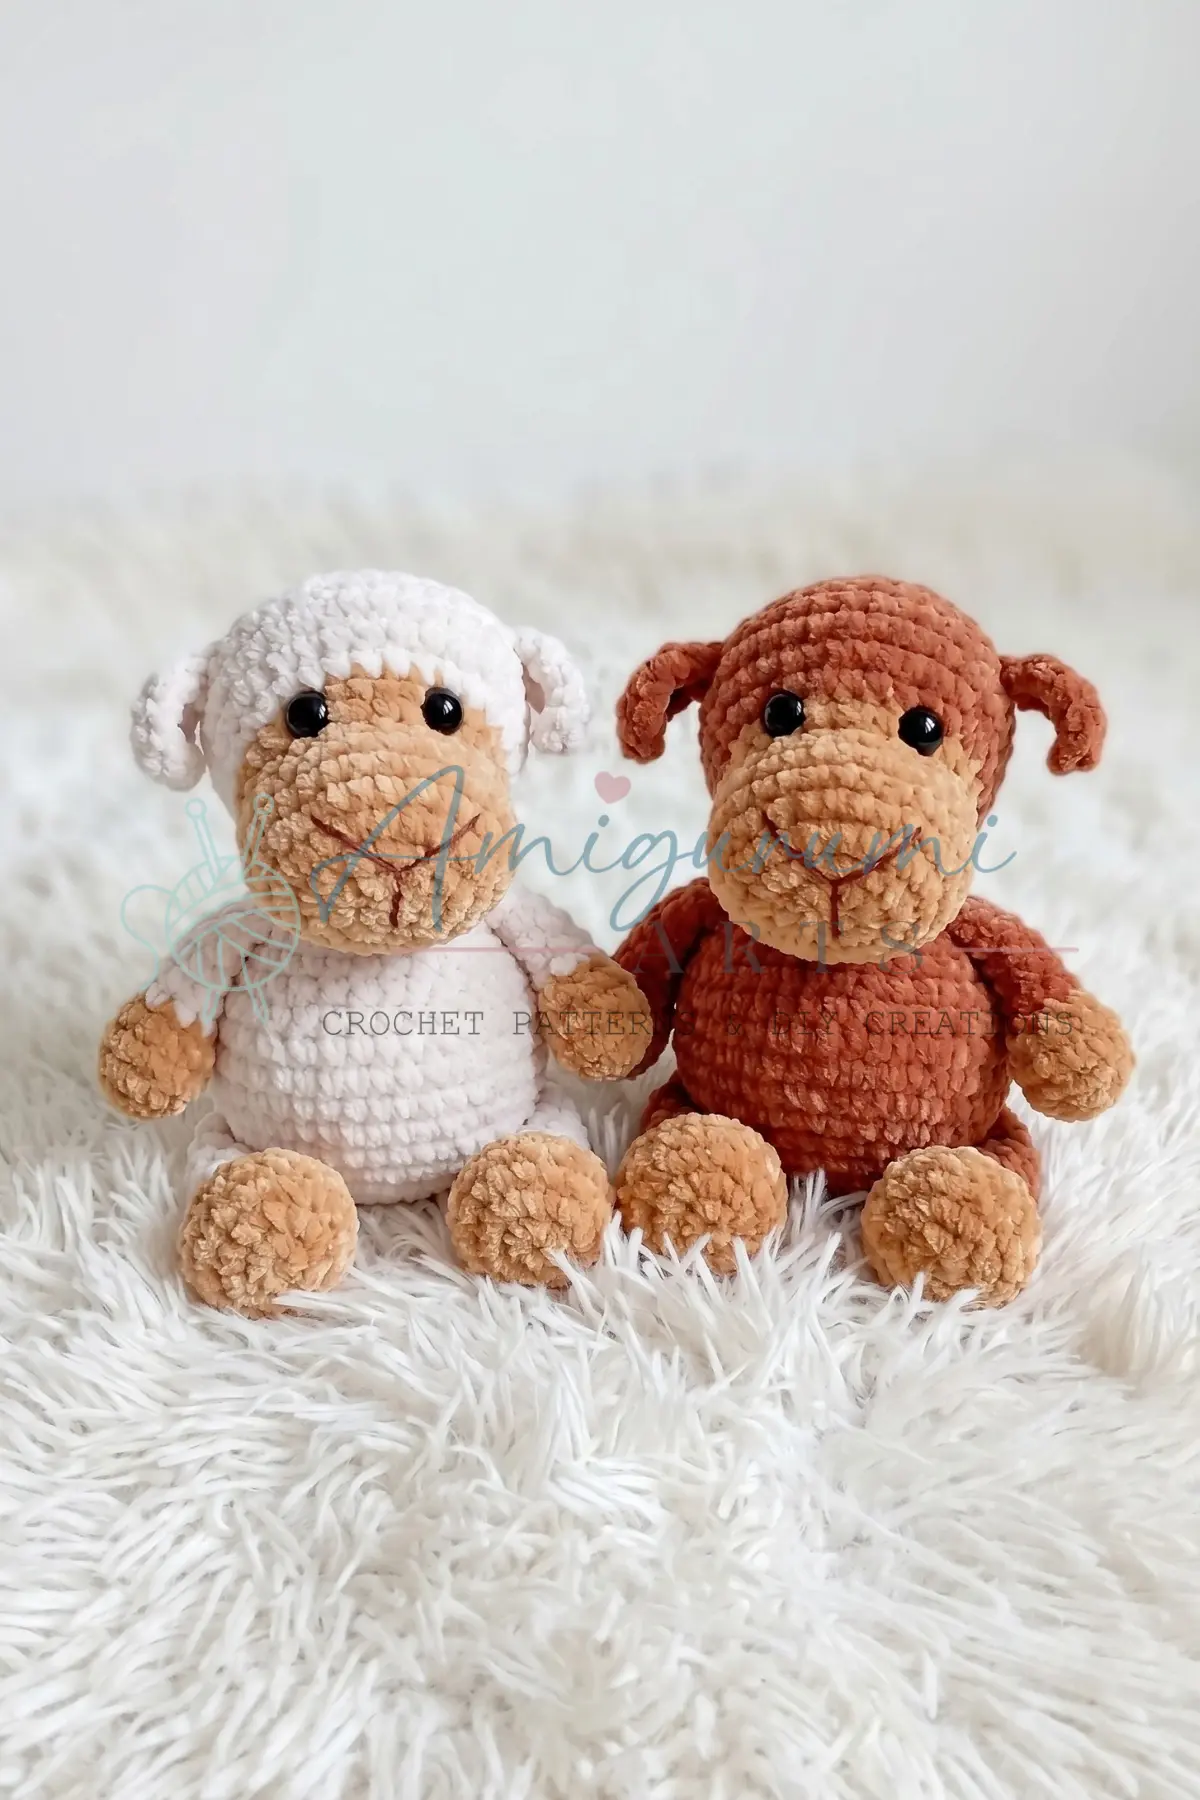
- The body, head, arms, and legs are worked in a continuous spiral — do not join at the end of each round. Use a stitch marker to track the beginning of each round.
- The body is worked bottom up.
- The legs are joined into the body during Rnd 8 or 9; the arms are joined during Rnd 24.
- The head is worked as one continuous piece — the muzzle is worked first in smooth yarn, then the top of the head continues in textured yarn.
- Stuff as you go — both the body and head are filled with fiberfill as you work, before the opening becomes too small. Only the lower portion of the arms and legs is stuffed.
- Stitch count is given at the end of each round in parentheses: (##).
Pattern Instructions
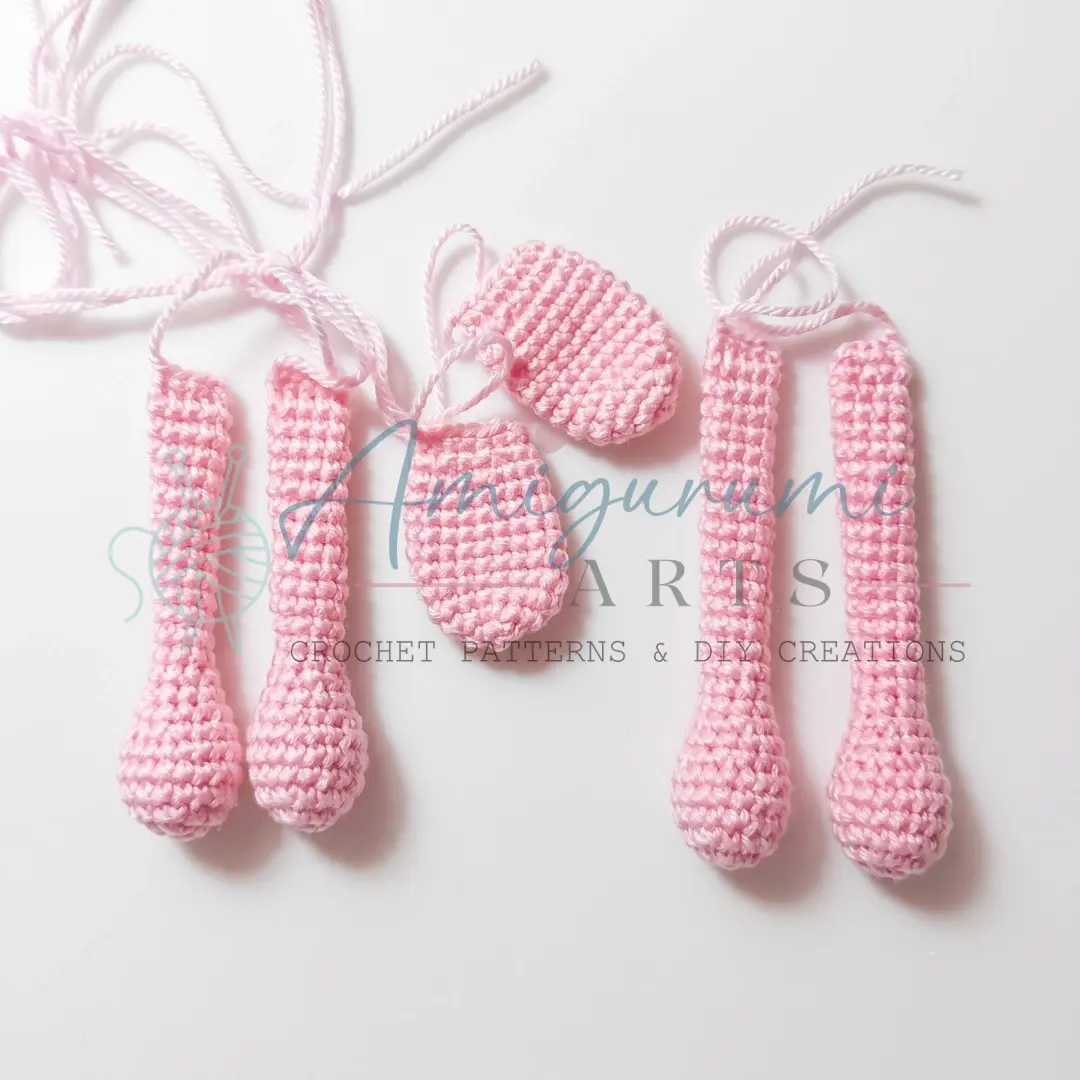
Arms (make 2)
Work in smooth yarn. Stuff only the lower (rounded) portion.
- Rnd 1: 6 sc in MR. (6)
- Rnd 2: inc in each st around. (12)
- Rnd 3: sc, inc repeat 6 times around. (18)
- Rnds 4–6: sc in each st around. (18)
- Rnd 7: sc, dec repeat 6 times around. (12)
- Rnd 8: sc in each st around. (12)
- Rnd 9: 2 sc, dec repeat 3 times around. (9)
- Rnds 10–23: sc in each st around. (9)
Fold the arm flat and close by working 4 sc across the opening through both layers. Fasten off and leave a yarn tail for joining into the body.
Legs (make 2)
Work in smooth yarn. Stuff only the lower (rounded) portion.
- Rnd 1: 6 sc in MR. (6)
- Rnd 2: inc in each st around. (12)
- Rnd 3: sc, inc repeat 6 times around. (18)
- Rnds 4–6: sc in each st around. (18)
- Rnd 7: sc, dec repeat 6 times around. (12)
- Rnd 8: sc in each st around. (12)
- Rnd 9: 2 sc, dec repeat 3 times around. (9)
- Rnds 10–27: sc in each st around. (9)
Fold flat and close by working 4 sc across the opening through both layers. Fasten off and leave a yarn tail for joining into the body.
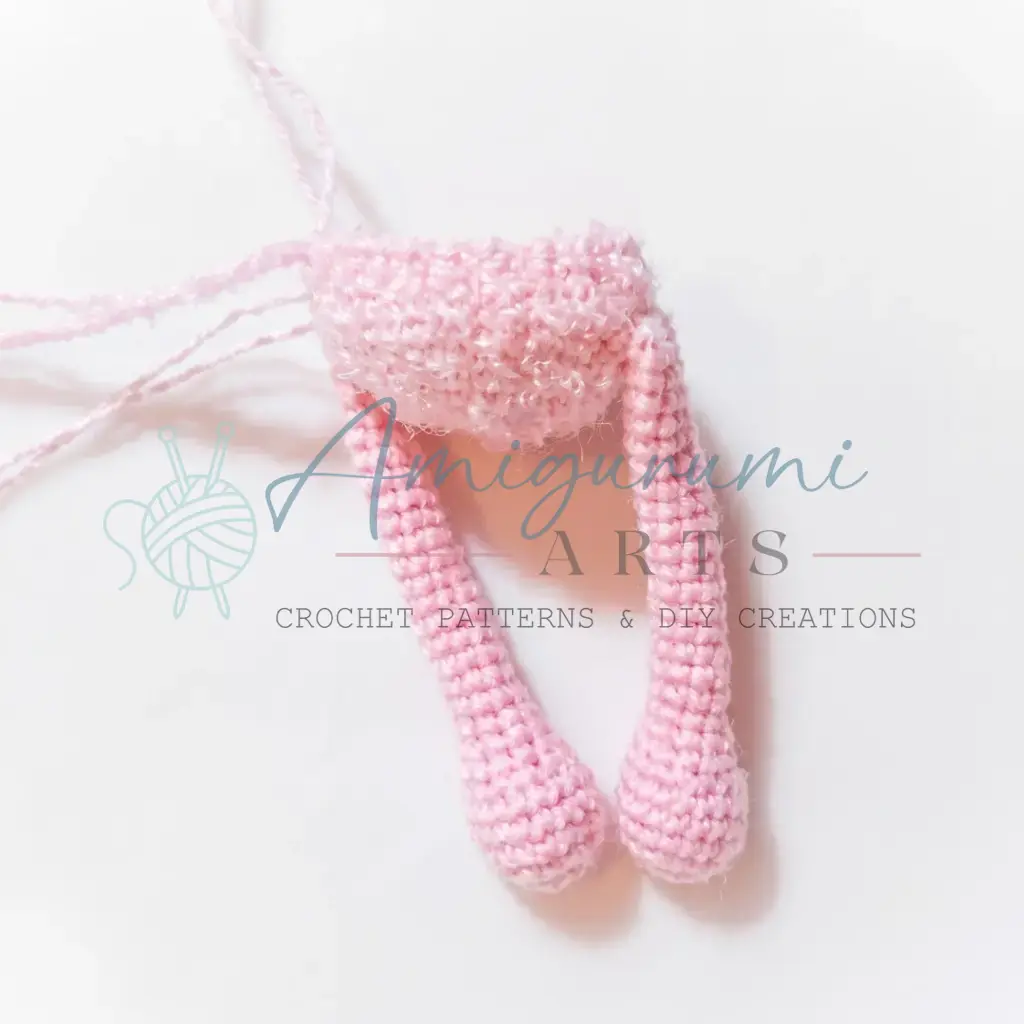
Ears (make 2)
Work in smooth yarn. Do not stuff.
- Rnd 1: 6 sc in MR. (6)
- Rnd 2: inc in each st around. (12)
- Rnd 3: sc, inc repeat 6 times around. (18)
- Rnds 4–10: sc in each st around. (18)
- Rnd 11: sc, dec repeat 6 times around. (12)
Fold flat and join the two layers by working 6 sc across the opening through both layers. Then fold in half once more and tack with a needle to hold the shape. Fasten off and leave a long yarn tail for sewing.
Head
Begin with smooth yarn for the muzzle, then switch to textured yarn for the upper head. Stuff as you go.
The muzzle and lower face are worked in smooth yarn:
- Rnd 1: 6 sc in MR. (6)
- Rnd 2: inc in each st around. (12)
- Rnd 3: sc, inc repeat 6 times around. (18)
- Rnd 4: 2 sc, inc repeat 6 times around. (24)
- Rnd 5: 3 sc, inc repeat 6 times around. (30)
- Rnd 6: 4 sc, inc repeat 6 times around. (36)
- Rnd 7: 5 sc, inc repeat 6 times around. (42)
- Rnds 8–14: sc in each st around. (42)
- Rnd 15: 5 sc, dec repeat 6 times around. (36)
- Rnd 16: sc in each st around. (36)
- Rnd 17: 4 sc, dec repeat 6 times around. (30)
Switch to textured yarn here (and switch to your larger hook — C-2 / 2.5 mm or your preferred size for the fluffy yarn).
Before beginning Rnd 18, attach your 6 mm safety eyes between Rnds 17 and 18. Note: the section where the increases were worked forms the lamb’s forehead. Place eyes with approximately 4–6 sts between them.
- Rnd 18: 12 sc, inc 6 times, 12 sc. (36)
- Rnd 19: 5 sc, inc repeat 6 times around. (42)
- Rnds 20–29: sc in each st around. (42)
- Rnd 30: 5 sc, dec repeat 6 times around. (36)
- Rnd 31: 4 sc, dec repeat 6 times around. (30)
- Rnd 32: 3 sc, dec repeat 6 times around. (24)
- Rnd 33: 2 sc, dec repeat 6 times around. (18)
- Rnd 34: sc, dec repeat 6 times around. (12)
- Rnd 35: dec 6 times around. (6)
Fasten off, leaving a long tail. Pull the tail through the remaining 6 sts to close. Weave the end inside the head.
Body
Work entirely in textured yarn. Stuff as you go.
- Rnd 1: 6 sc in MR. (6)
- Rnd 2: inc in each st around. (12)
- Rnd 3: sc, inc repeat 6 times around. (18)
- Rnd 4: 2 sc, inc repeat 6 times around. (24)
- Rnd 5: 3 sc, inc repeat 6 times around. (30)
- Rnd 6: 4 sc, inc repeat 6 times around. (36)
- Rnd 7: 5 sc, inc repeat 6 times around. (42)
- Rnds 8–15: sc in each st around. (42)
During Rnd 8 (or Rnd 9 if you prefer a slightly higher leg placement), join the legs: work 4 sc through both the body stitch and the top of one leg simultaneously, work 17 sc across the body, then join the second leg the same way with 4 sc, and continue around. Both legs should face forward.
- Rnd 16: 5 sc, dec repeat 6 times around. (36)
- Rnd 17: sc in each st around. (36)
- Rnd 18: 4 sc, dec repeat 6 times around. (30)
- Rnd 19: sc in each st around. (30)
- Rnd 20: 3 sc, dec repeat 6 times around. (24)
- Rnd 21: sc in each st around. (24)
- Rnd 22: 2 sc, dec repeat 6 times around. (18)
- Rnds 23–24: sc in each st around. (18)
During Rnd 24, join the arms in the same way as the legs: work 4 sc through both the body stitch and the top of one arm simultaneously, work 5 sc across the body, then join the second arm the same way with 4 sc, and continue around. Arms should align directly above the legs.
- Rnds 25–27: sc in each st around. (18)
Finish the round at the center back. Fasten off, leaving a long yarn tail for sewing the head on.
Assembly
- Attach the head to the body: Using the long yarn tail left at the back of the body, sew the head onto the top of the body with a tapestry needle. When sewing the front lower edge of the head, catch the stitches at the boundary row where the smooth yarn meets the textured yarn — this gives the head a natural slight forward tilt.
- Attach the ears: Sew each ear onto the sides of the head, no higher than eye level. Position them to your taste — slightly forward looks lively; pulled further back looks calm. Use the long yarn tails from each ear.
- Embroider the nose and mouth: Using black embroidery thread and your yarn needle, embroider a small nose and mouth on the muzzle section (the smooth yarn area at the front of the head).
- Add the tail: Find the center of the back of the body. Insert your hook into the fabric, pull up a loop of smooth or textured yarn, and chain 7–8. Work hdc back along the chain to the base. Fasten off and weave both ends inside the toy.
- Weave in all remaining ends, hiding them neatly inside the toy.
- Optional: Brush the textured yarn sections gently with a small piece of hook-and-loop fabric (the rough side of velcro works well) to fluff up the fleece texture on the body and head.
Tips
- Keep your tension tight on the smooth yarn sections. The muzzle, arms, and legs should be firm enough that the fiberfill inside doesn’t peek through the stitches. If you can see light through the fabric, go down half a hook size.
- The invisible decrease makes a real difference here. On the smooth yarn sections especially, a standard decrease leaves a visible bump. For the invisible decrease, insert your hook through the front loop of the next stitch and the front loop of the stitch after it, then complete the stitch as normal. The result is a nearly seamless line of decreases.
- Stuff the limbs only in the rounded foot/paw section. The long tube above the paw should be flat so it folds naturally and joins cleanly into the body. Overstuffing the tube makes the joining rounds awkward and lumpy.
- When joining legs and arms into the body, hold the limb flat against the body with the opening facing up and crochet through both layers together. A smooth, even tension here prevents the limbs from twisting or drooping once the toy is finished.
- Fluffy yarns can be tricky to count. If you lose track of your stitch count on the textured sections, use a stitch marker at the beginning of each round without fail, and count back by feel. Running your finger along the tops of the stitches is often easier than trying to see them under the fluff.
Frequently Asked Questions
Can I use a different hook size?
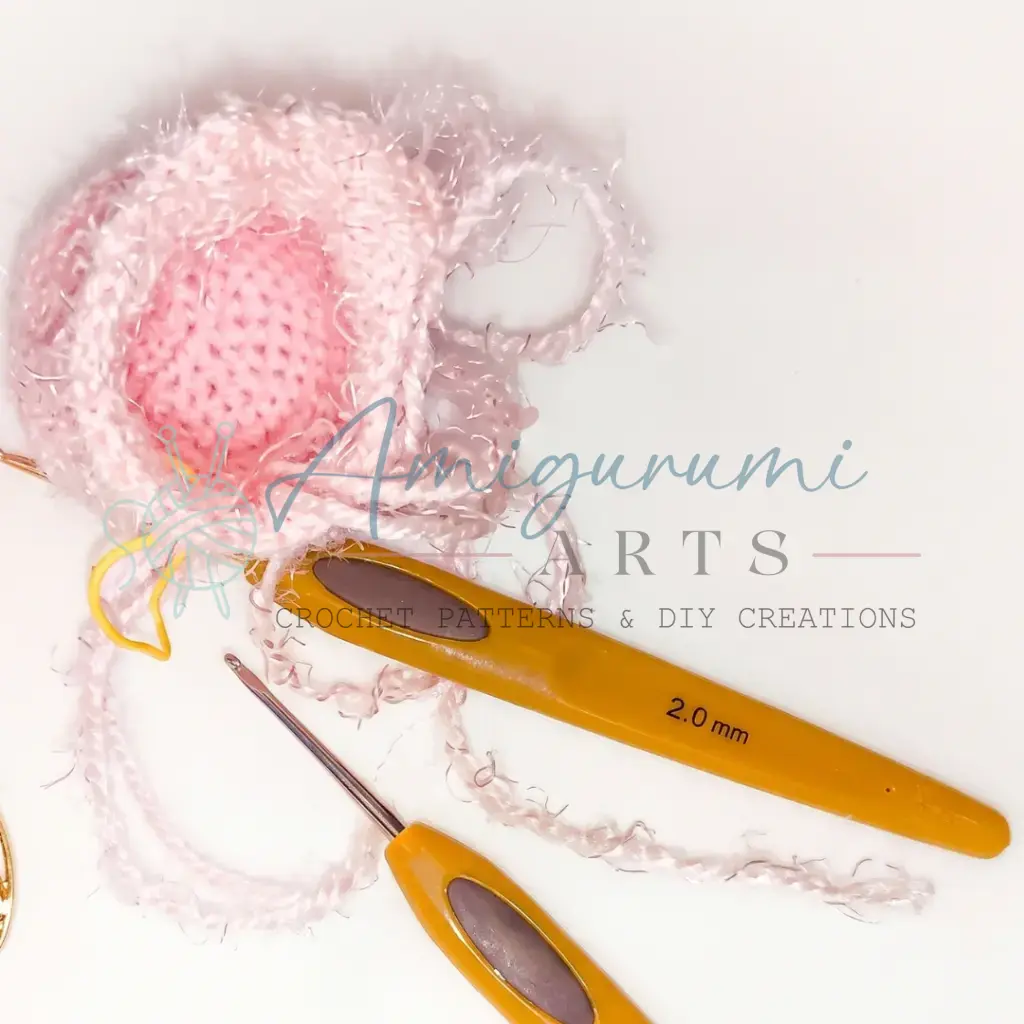
Yes, you can adjust the hook size based on your yarn weight and personal tension. However, ensure you work tightly enough that the stuffing does not show through the stitches, especially on the smooth yarn sections.
Why are the arms and legs joined during the body rounds?
Joining the limbs directly into the body while crocheting creates a seamless and sturdy connection. It eliminates the need to sew limbs on later, which can sometimes result in loose spots or misalignment.
What if I don’t have fluffy yarn?
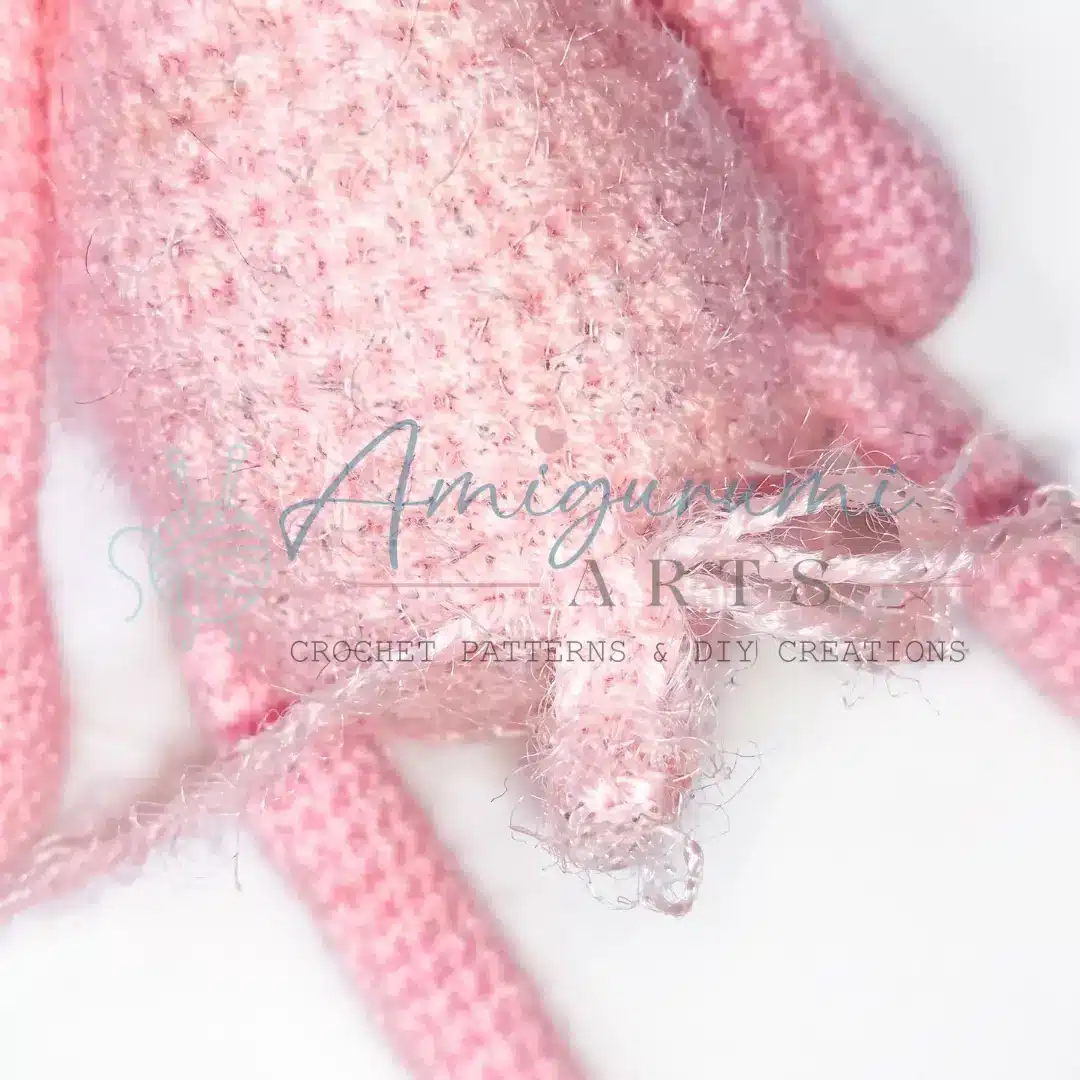
You can substitute the textured yarn with a standard worsted weight yarn in white or your chosen color. The lamb will still be adorable, though it will lack the specific “woolly” texture that the bouclé yarn provides.
How do I make the invisible decrease?
To perform an invisible decrease, insert your hook through the front loop of the next stitch and the front loop of the stitch after it. Yarn over and pull up a loop (you will have 3 loops on the hook). Yarn over and pull through all 3 loops. This creates a flatter, less visible decrease than the standard method.
Can I make this pattern larger or smaller?
While the pattern is designed for a specific size, you can adjust the height by adding or removing rounds to the body and legs. Keep in mind that changing the number of rounds may affect the proportion of the head to the body.
Pin This Crochet Pattern!