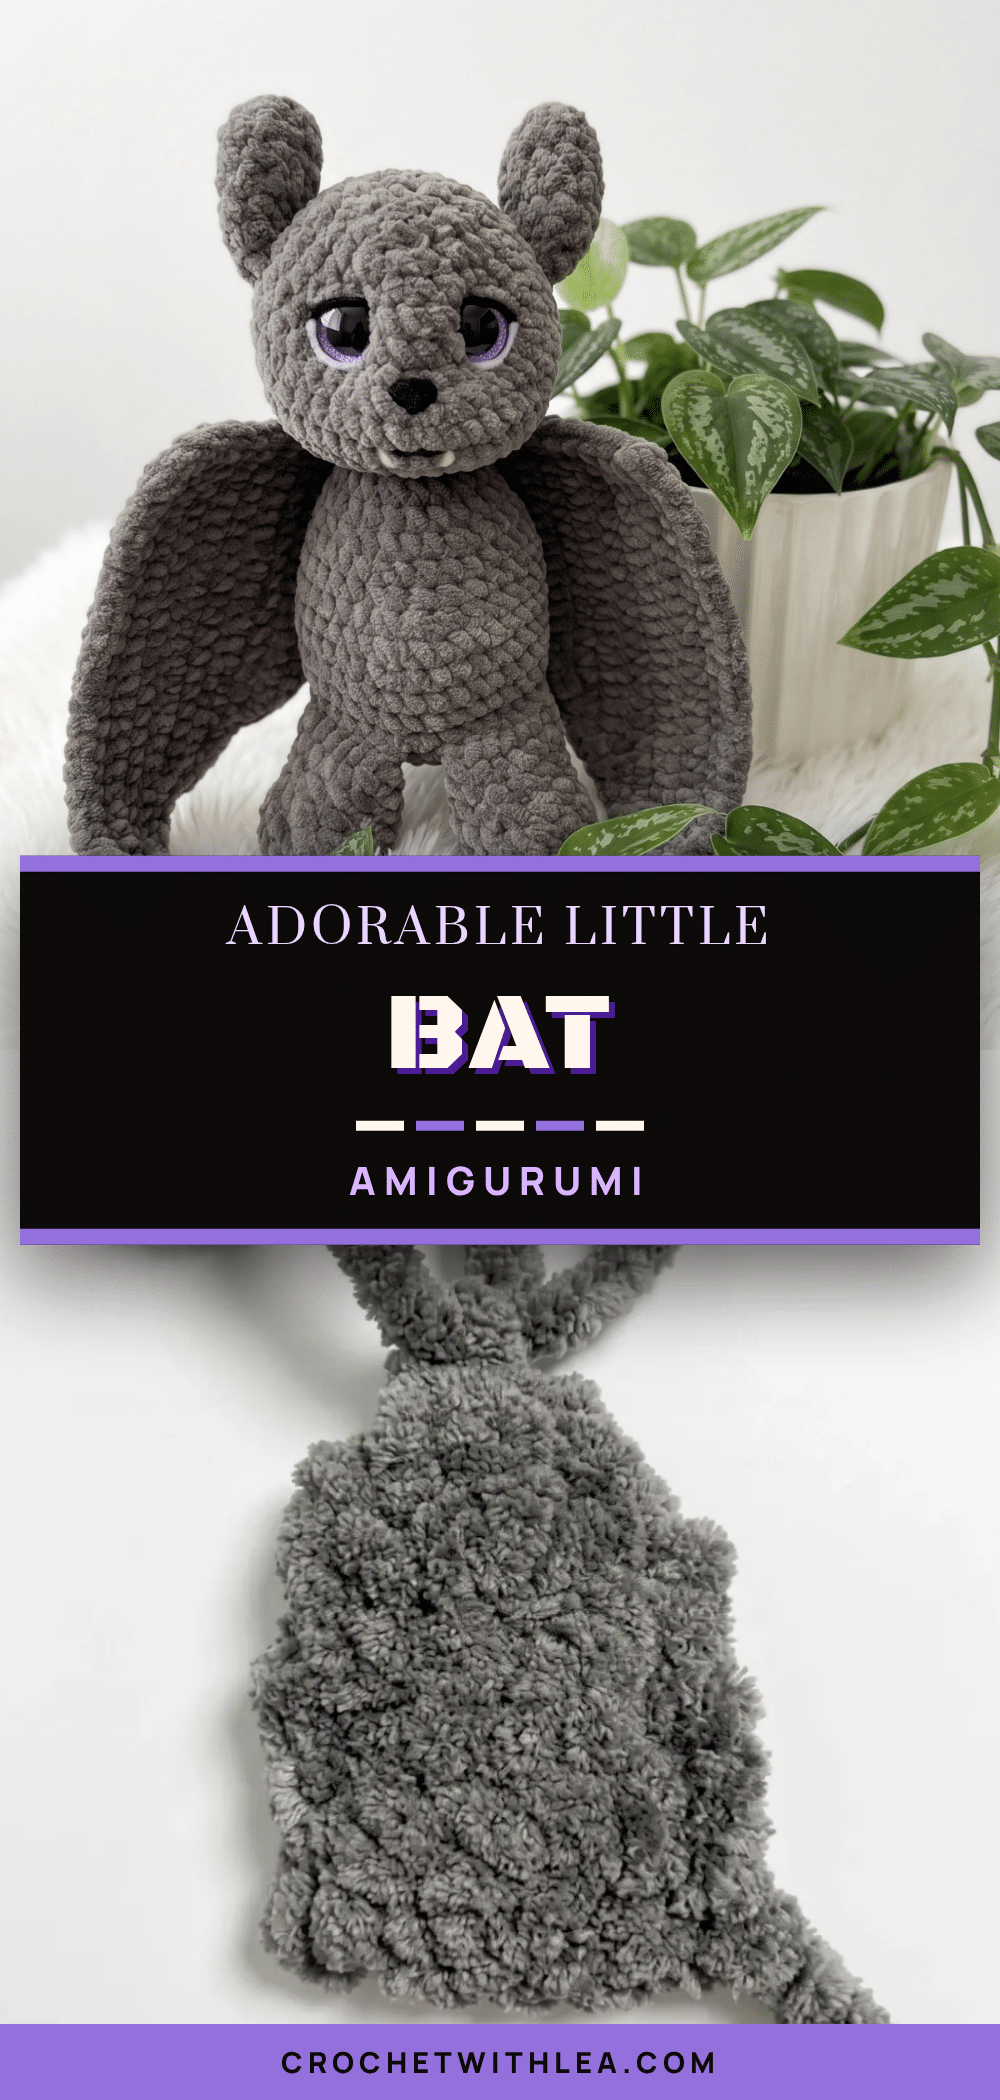
There is something undeniably magical about bringing a small, plush creature to life with a crochet hook. This Little Bat Amigurumi is one of those projects that looks impressively detailed but comes together faster than you’d expect. Whether you’re making it as a Halloween decoration, a gift for someone who loves the night-sky aesthetic, or simply as a satisfying intermediate amigurumi challenge, this pattern delivers a finished toy that stands about 6 inches (16 cm) tall. The velvet yarn gives the bat an irresistibly soft, slightly plush texture that makes it every bit as huggable as it is spooky. If you can work a magic ring, increase and decrease confidently, and sew pieces together neatly, you’re ready for this pattern. The body and head are worked as one continuous piece, so assembly is simpler than it looks. Grab your hook — let’s bring this bat to life.
Seasonal Styling Ideas
While this little bat is the perfect companion for autumn and Halloween, its charm extends well beyond the spooky season. The velvet-weight yarn offers a rich, tactile depth that pairs beautifully with autumnal color palettes like deep plum, charcoal, or midnight blue. Consider styling your finished bat as a whimsical accent on a fall-themed wreath, or attach it to a handmade gift bag for a “sweet treat” surprise. For a nursery touch, a lighter shade of velvet yarn can transform the bat into a gentle, dreamy mobile or a cozy toy for a child who loves nocturnal creatures. The bat’s unique face sculpting gives it a distinct personality, making it a wonderful conversation piece on a bookshelf or a desk companion for late-night reading sessions.
Project Overview
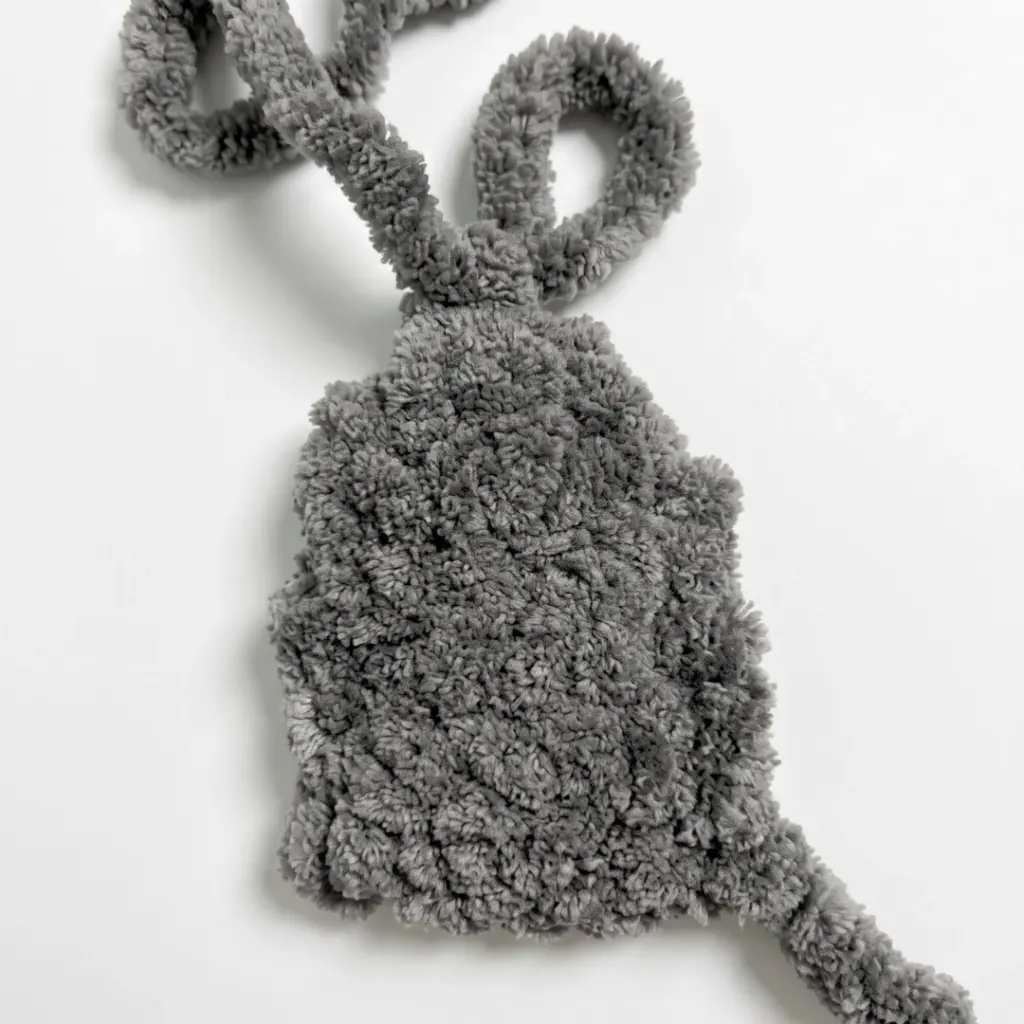
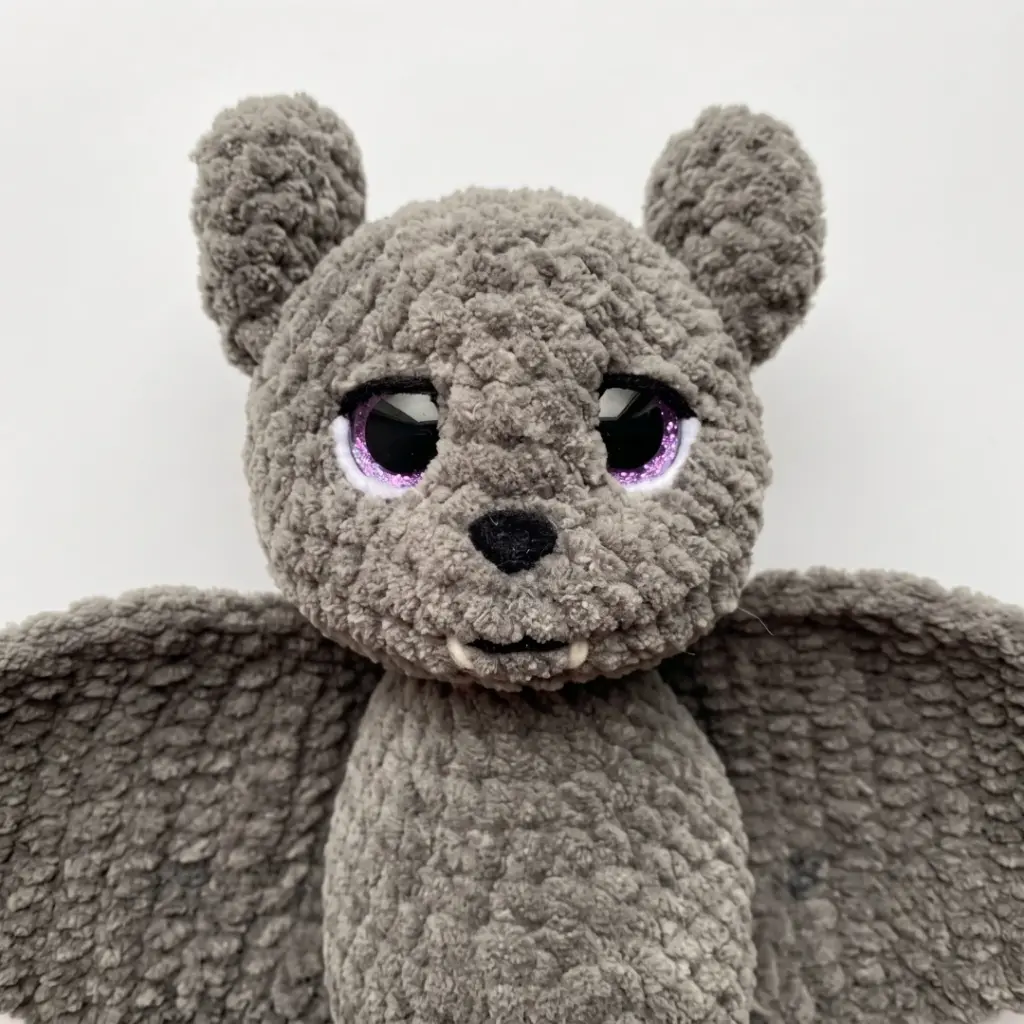
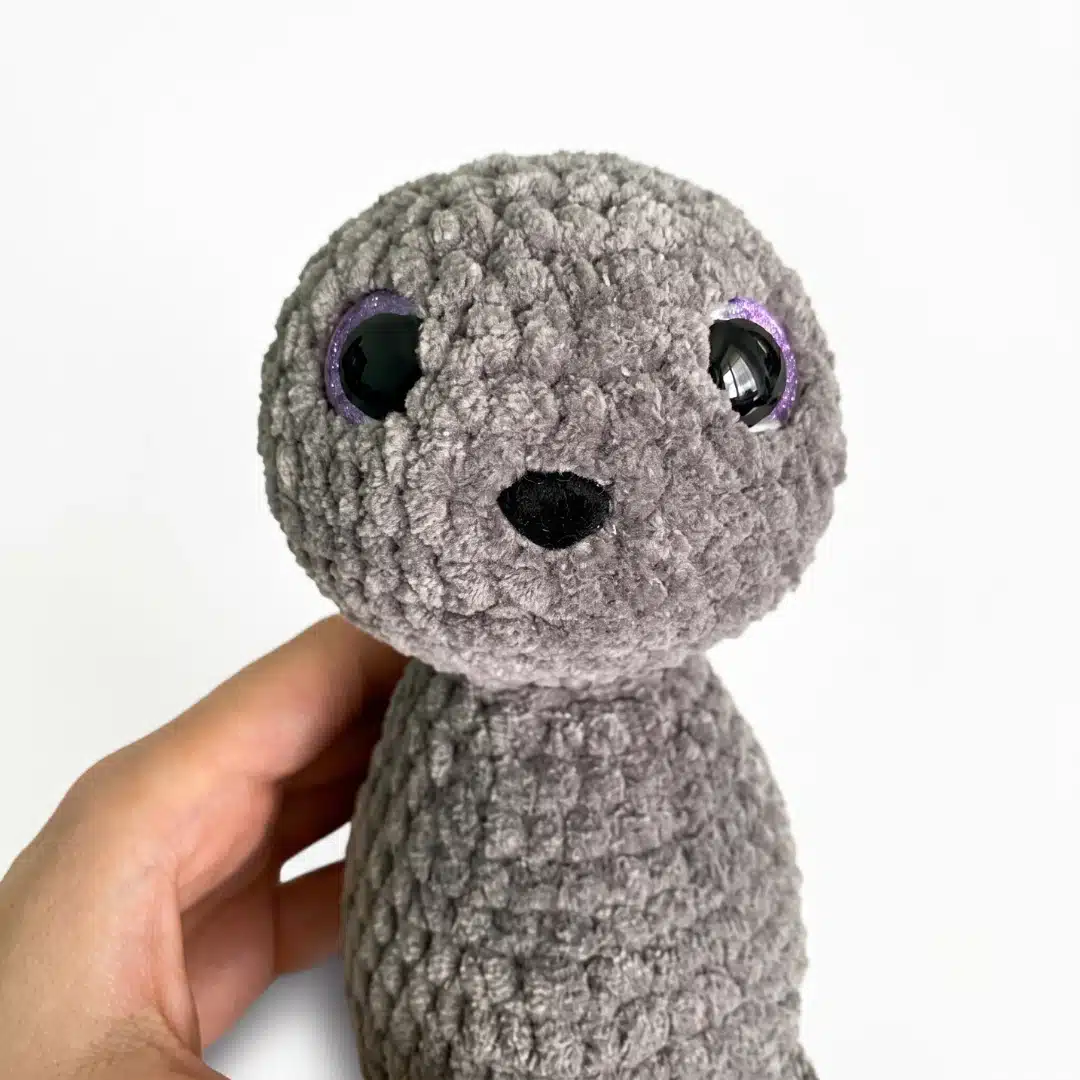
This Little Bat Amigurumi Pattern is written in US crochet terminology. The legs are worked in a continuous spiral with no joining. The body and head are worked as a single continuous piece in a continuous spiral. The ears and wings are worked in flat, turned rows. Gauge is not critical for this project, but your fabric should be tight enough that no stuffing shows through. Use a hook size that gives you a firm, close-knit fabric. Stitch counts are given at the end of each round in parentheses: (##). Safety eyes (16 mm) are inserted between rounds 27 and 28 of the head section, with 8 stitches between them. The safety nose is inserted between rounds 24 and 25. Insert all safety hardware before closing the head. The face sculpting (cinching) steps after assembly are an important part of this pattern — they shape the muzzle and give the bat its character. Read through the Finishing / Face Sculpting section before you begin.
Materials
- Yarn: Velvet-weight yarn in your main color (such as Lavita Velur or any velvet/velour DK-weight equivalent) — 1 skein
- Hook size: D-3 / 3.25 mm (or size appropriate for your yarn — anywhere from D-3 to E-4 / 3.0–3.5 mm works well)
- Safety eyes: 16 mm — 1 pair
- Safety nose: 1 piece
- Black yarn or embroidery thread (such as Yarnart Jeans or similar) for detailing around the eyes, embroidering the mouth and teeth
- Stuffing / fiberfill
- Long doll needle (for face sculpting / cinching)
- Strong thread or yarn for cinching the face and sewing on the ears
- Stitch markers
- Yarn needle / tapestry needle
- Scissors
Gauge and Finished Size
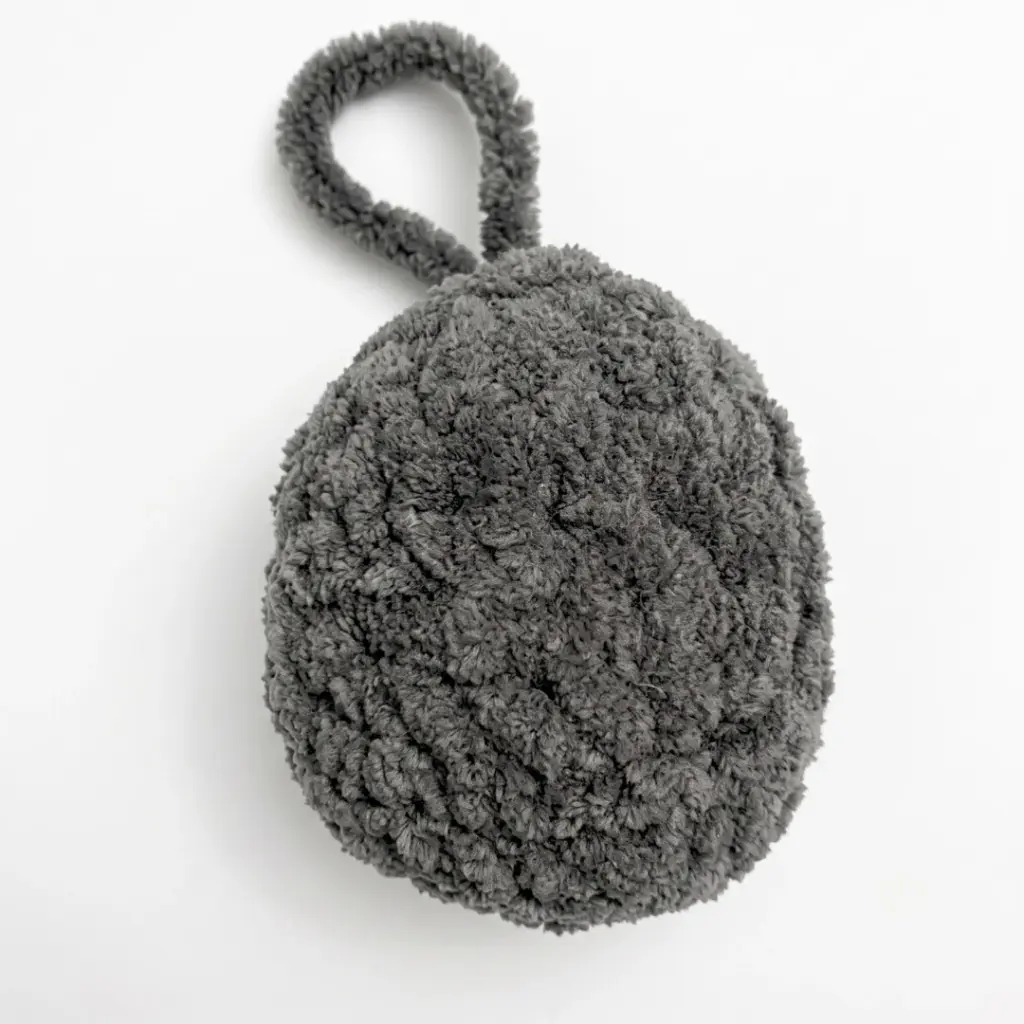
Gauge is not critical for this project, but your fabric should be tight enough that no stuffing shows through. Use a hook size that gives you a firm, close-knit fabric. This pattern delivers a finished toy that stands about 6 inches (16 cm) tall.
Abbreviations
- ch — Chain
- dec — Invisible Decrease (insert hook through front loops of next 2 sts, pull up a loop, yarn over, pull through all 3 loops)
- hdc — Half Double Crochet
- inc — Increase (2 sc in same stitch)
- MR — Magic Ring
- sc — Single Crochet
- sk — Skip
- sl st — Slip Stitch
- st / sts — Stitch / Stitches
Pattern Instructions
Legs (Make 2)
Rnd 1: 6 sc in MR. (6)
Rnd 2: inc in each st around. (12)
Rnd 3: sc, inc repeat 6 times around. (18)
Rnd 4: sc in each st around. (18)
Rnd 5: 6 sc, dec 3 times, 6 sc. (15)
Rnd 6: 6 sc, dec 2 times, 5 sc. (13)
Rnd 7: 6 sc, dec, 5 sc. (12)
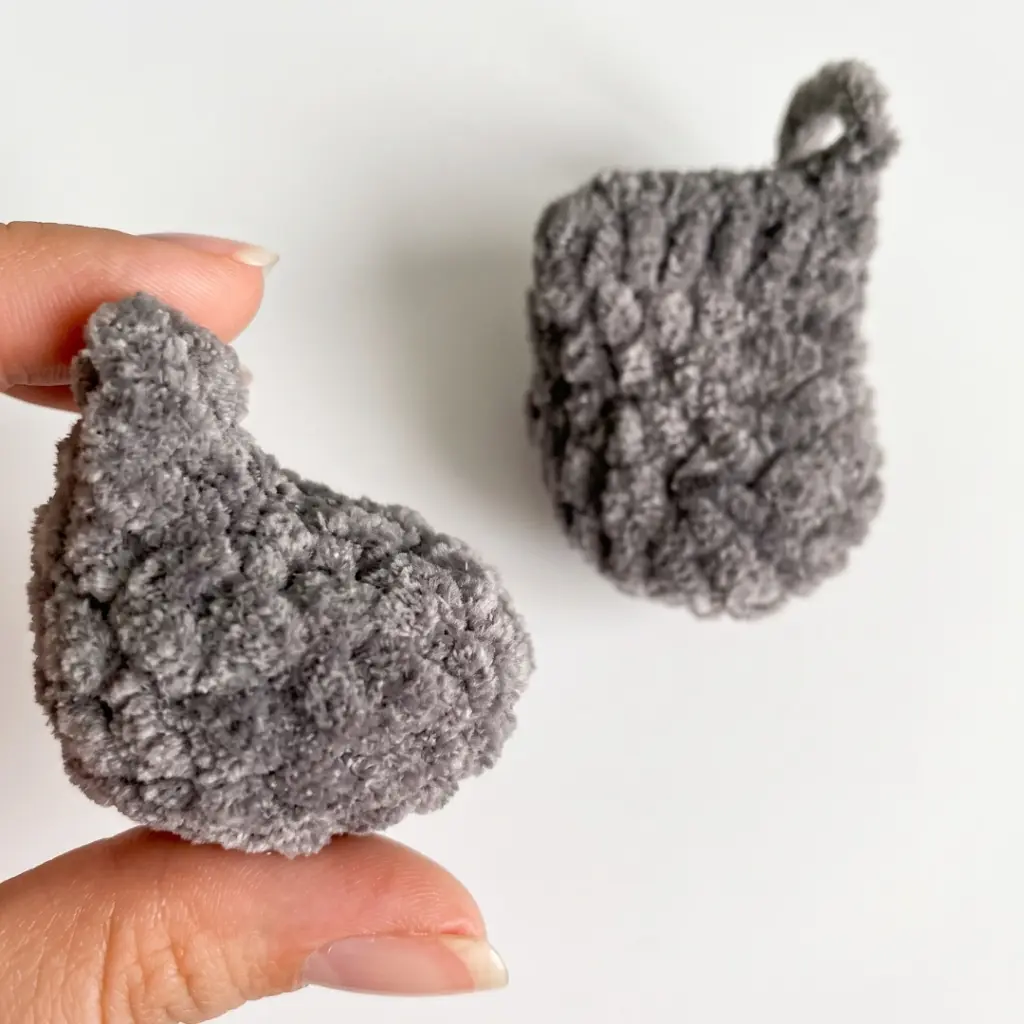
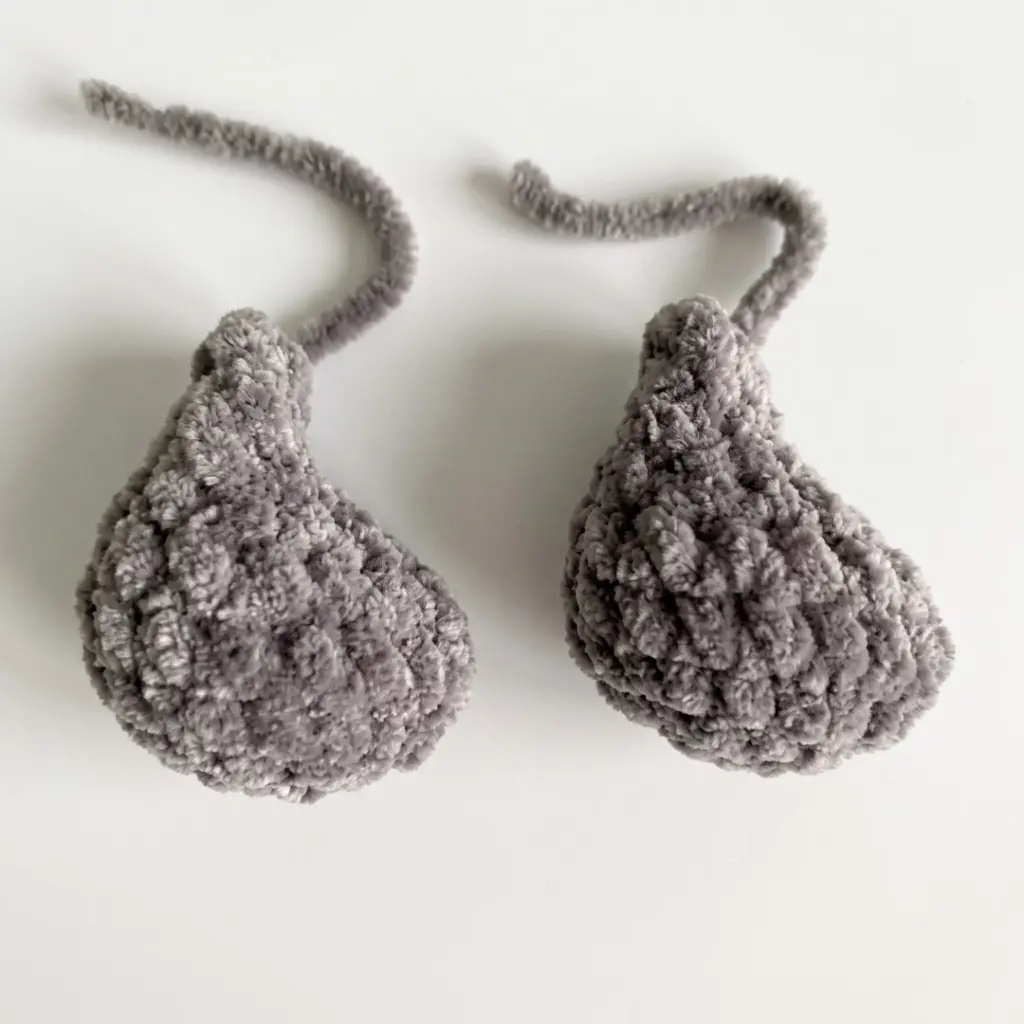
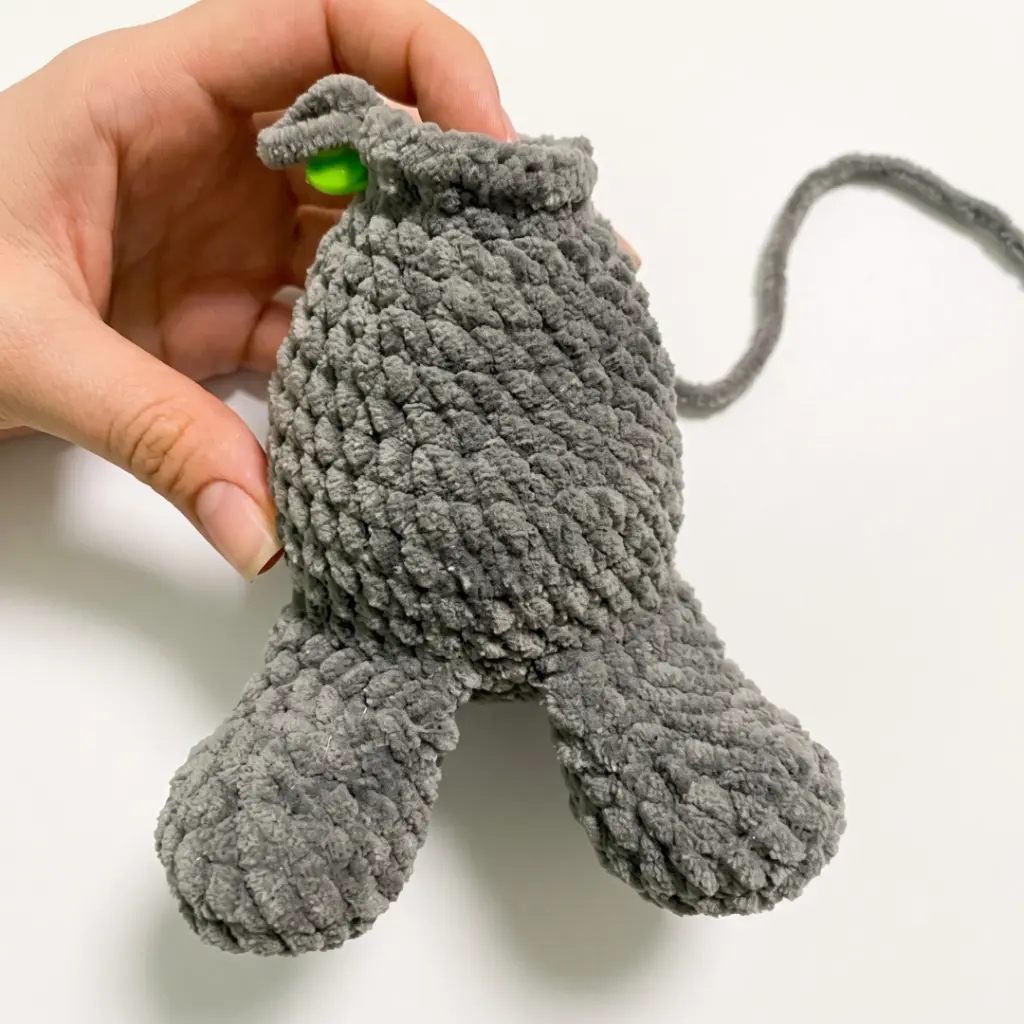
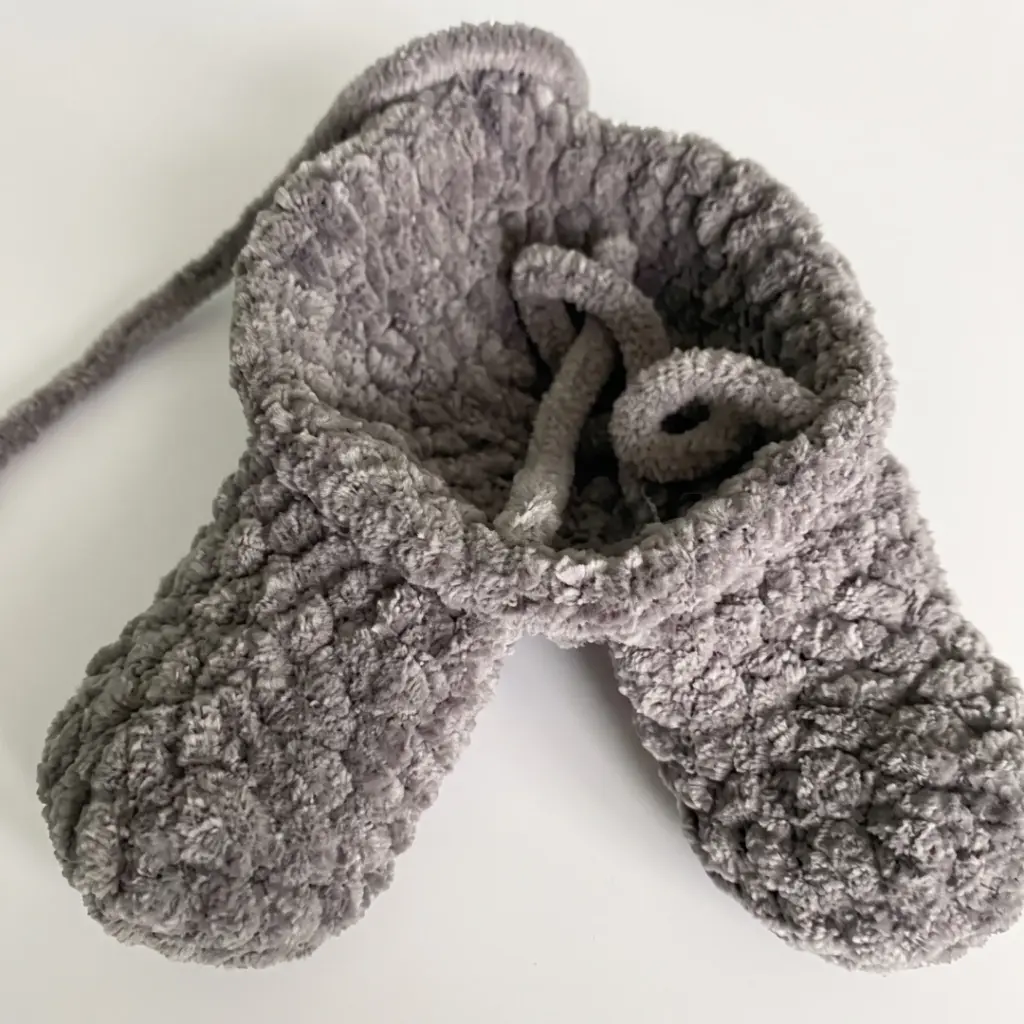
Rnd 8: Work 10 sc. Do not finish this round. Lightly stuff the leg. Fold the opening flat and work 6 sc through both layers to close. Fasten off and leave a tail for joining. You may need to adjust the number of offset stitches (slip stitches used to position your hook before the closing row) depending on your tension — check photos for reference.
Body and Head (worked as one continuous piece)
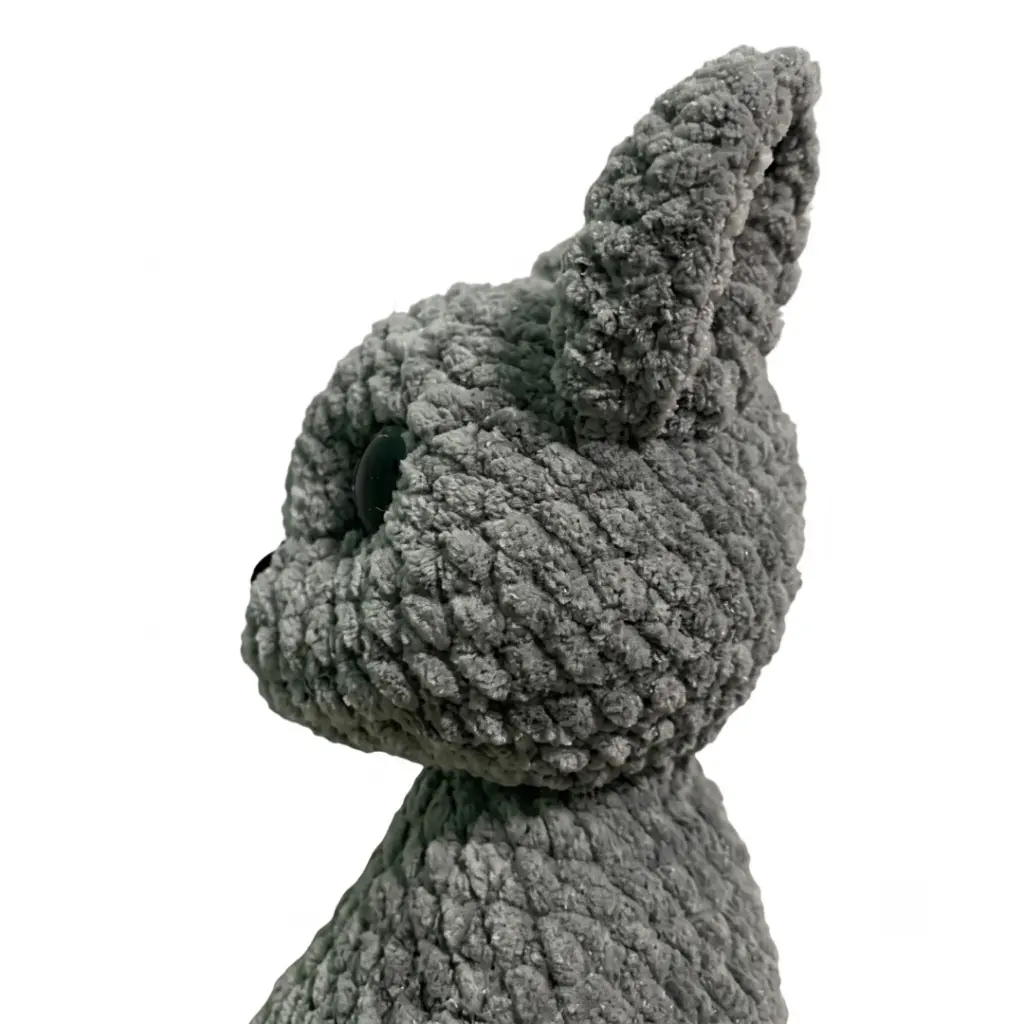
Begin at the base of the body.
Rnd 1: 6 sc in MR. (6)
Rnd 2: inc in each st around. (12)
Rnd 3: sc, inc repeat 6 times around. (18)
Rnd 4: 2 sc, inc repeat 6 times around. (24)
Rnd 5: 3 sc, inc repeat 6 times around. (30)
Rnd 6: 4 sc, inc repeat 6 times around. (36)
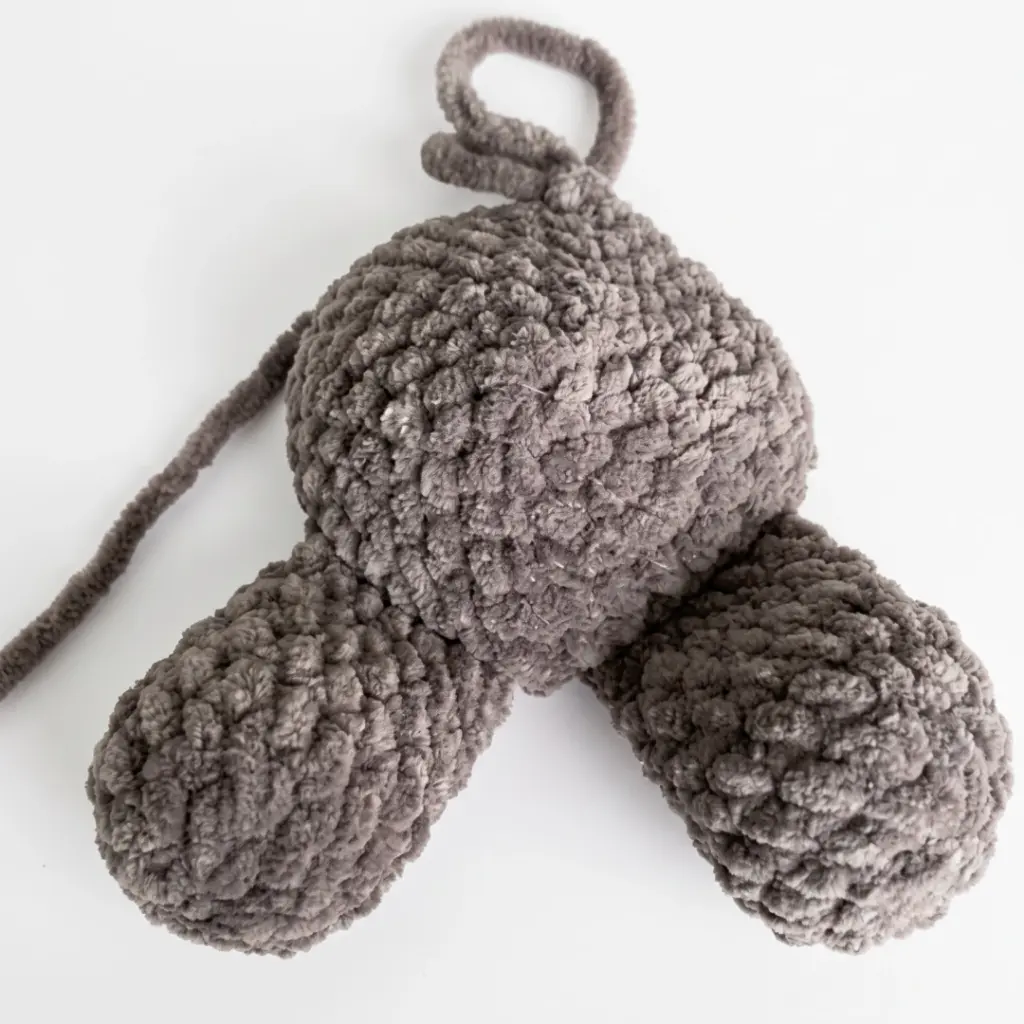
Rnd 7: 11 sc, then work 6 sc joining the first leg as you go, 2 sc, then work 6 sc joining the second leg as you go, 11 sc. (36)
To attach each leg: hold the closed edge of the leg against the body opening and insert your hook through both the body stitch and the corresponding edge stitch of the leg, then sc them together.
Rnds 8–11: sc in each st around. (36)
Rnd 12: 14 sc, dec 4 times, 14 sc. (32)
Rnd 13: sc in each st around. (32)
Rnd 14: 8 sc, dec, 14 sc, dec, 6 sc. (30)
Rnd 15: 3 sc, dec repeat 6 times around. (24)
Rnd 16: sc in each st around. (24)
Stuff the body firmly before continuing.
Rnd 17: 2 sc, dec repeat 6 times around. (18)
Rnd 18: sc, dec repeat 6 times around. (12)
You will now transition directly into the head — do not fasten off.
Rnd 19: inc in each st around. (24)
Rnd 20: 3 sc, inc repeat 6 times around. (30)
Rnd 21: 4 sc, inc repeat 6 times around. (36)
Rnd 22: 5 sc, inc repeat 6 times around. (42)
Rnds 23–25: sc in each st around. (42)
Rnd 26: 5 sc, dec repeat 6 times around. (36)
Rnd 27: sc in each st around. (36)
Rnd 28: 4 sc, dec repeat 6 times around. (30)
Rnd 29: 3 sc, dec repeat 6 times around. (24)
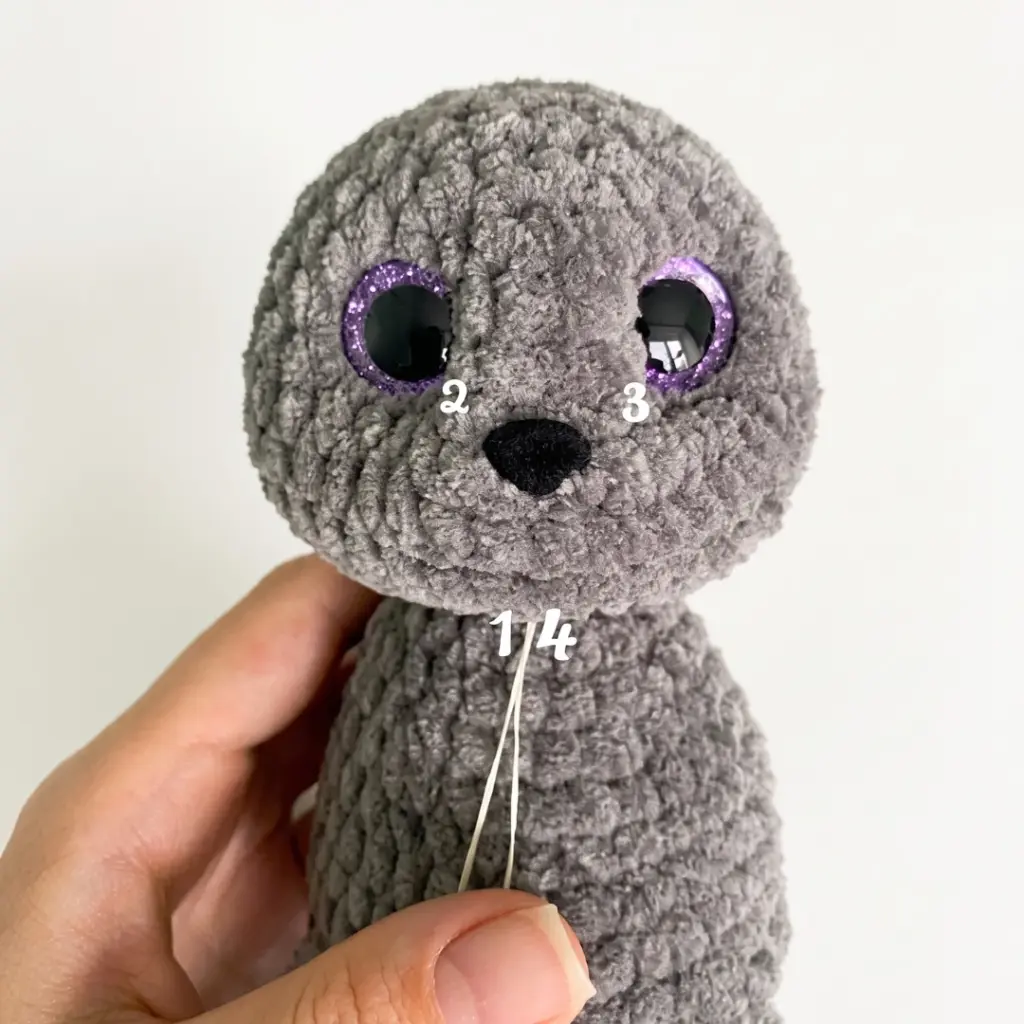
Insert the 16 mm safety eyes between rounds 27 and 28, with 8 stitches between them. Insert the safety nose between rounds 24 and 25. Stuff the head firmly before closing.
Rnd 30: 2 sc, dec repeat 6 times around. (18)
Rnd 31: sc, dec repeat 6 times around. (12)
Rnd 32: dec 6 times around. (6)
Pull the opening closed, fasten off, and weave the yarn tail into the head interior.
Ears (Make 2)
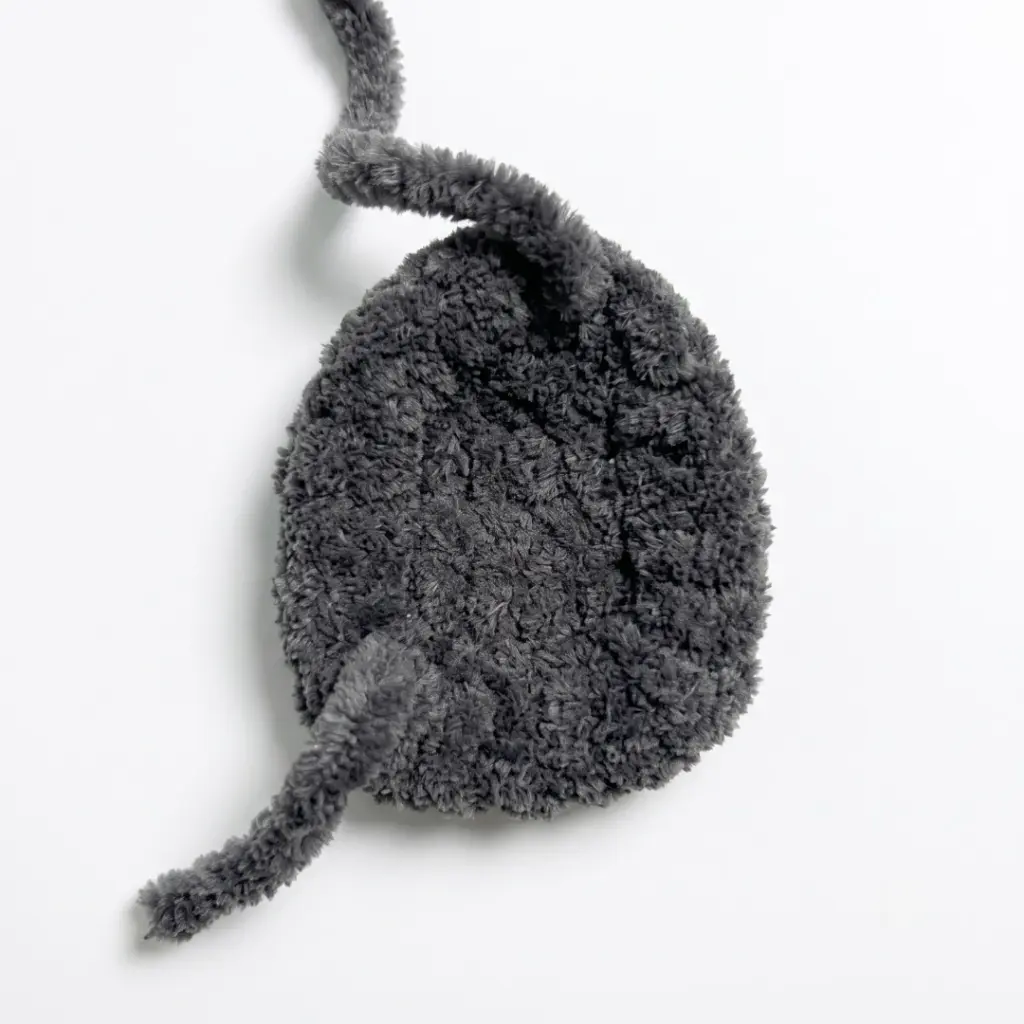
These are worked flat in turned rows. Begin with a foundation chain of 6 ch.
Rows 1–4: Ch 1, starting in the 2nd ch from hook, work 5 sc. Turn. (5)
Row 5: Ch 1, starting in the 2nd ch from hook: dec, sc, dec. Turn. (3)
Row 6: Ch 1, starting in the 2nd ch from hook: work a double decrease (3 stitches closed into one). (1)
Without cutting the yarn, work a sc edging all the way around the ear. Work an inc at each corner to keep the edges flat. Fasten off and weave in ends.
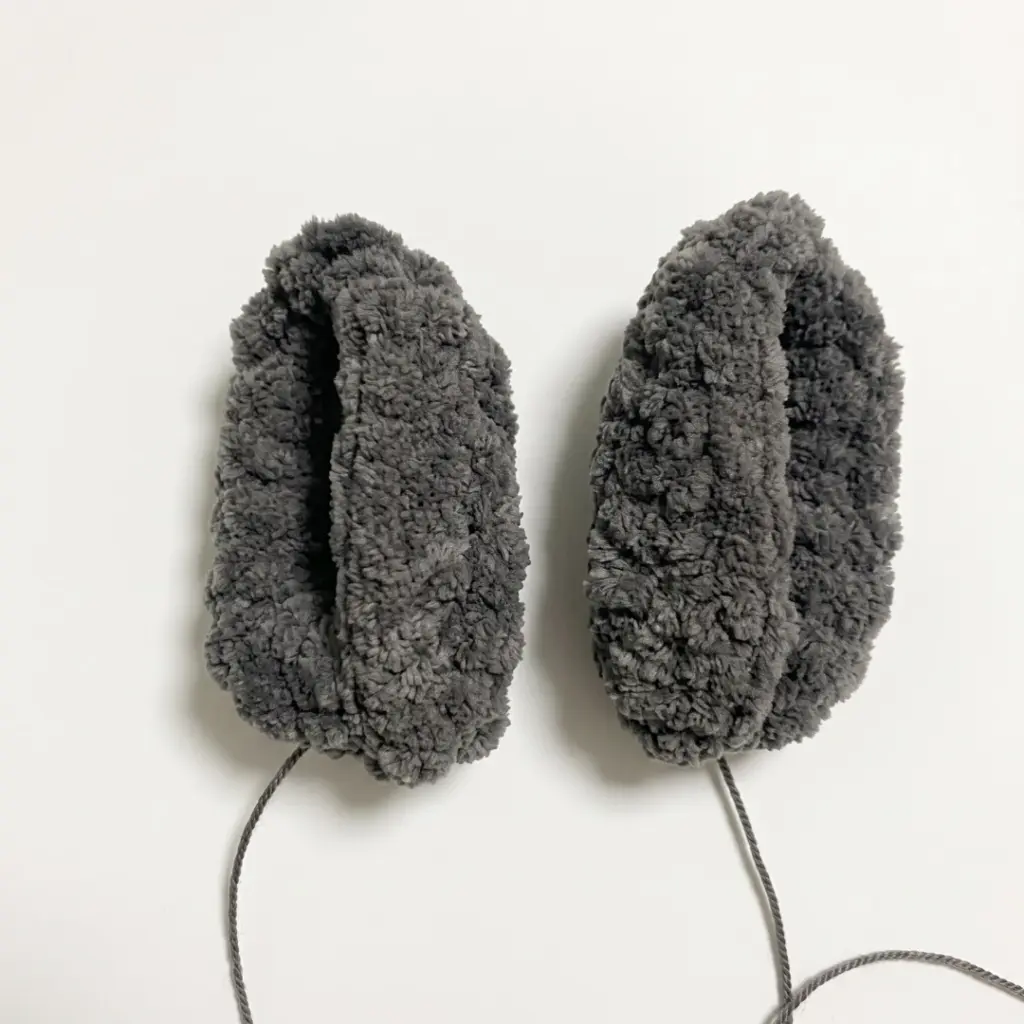
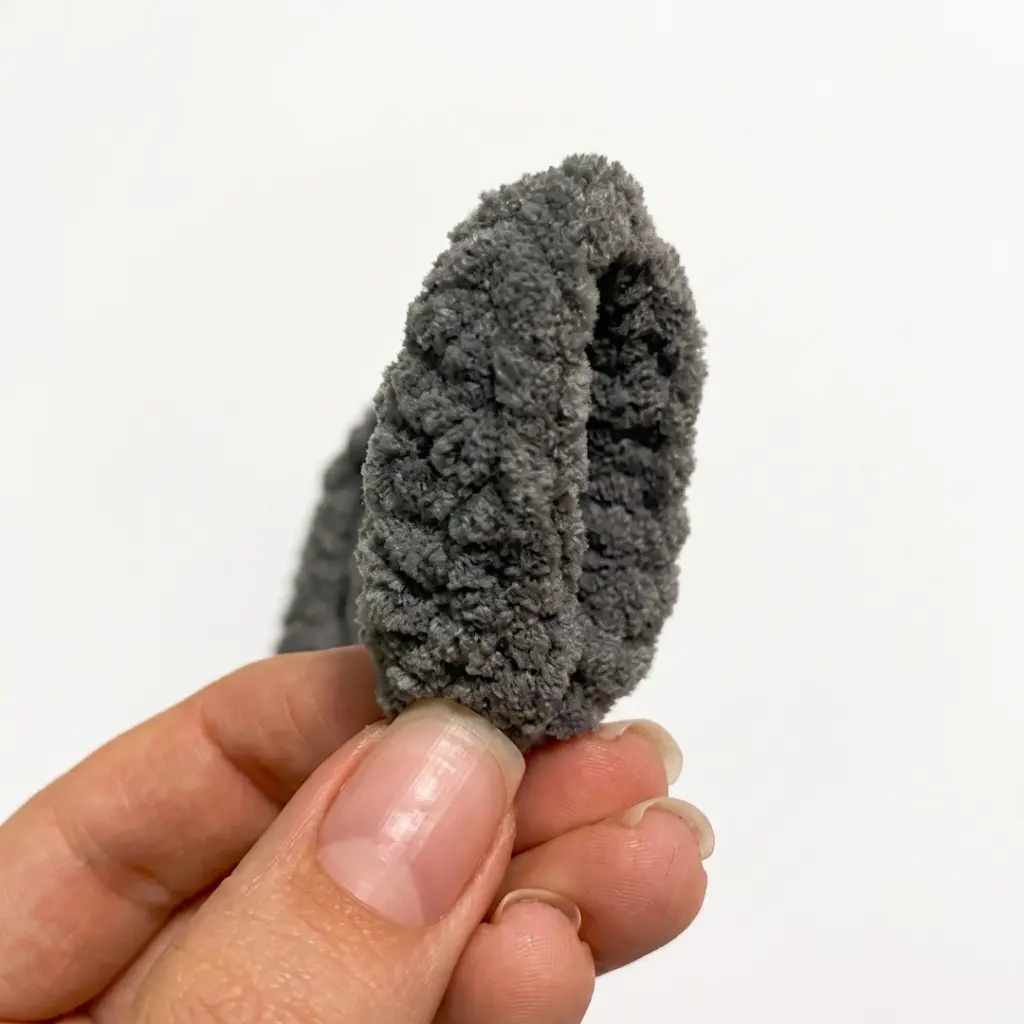
Fold each ear approximately two-thirds of the way across (as shown in reference photos). Note that the left and right ears fold in opposite directions so that they mirror each other correctly when attached. Sew each ear closed along its folded edge.
Wings (Make 2)
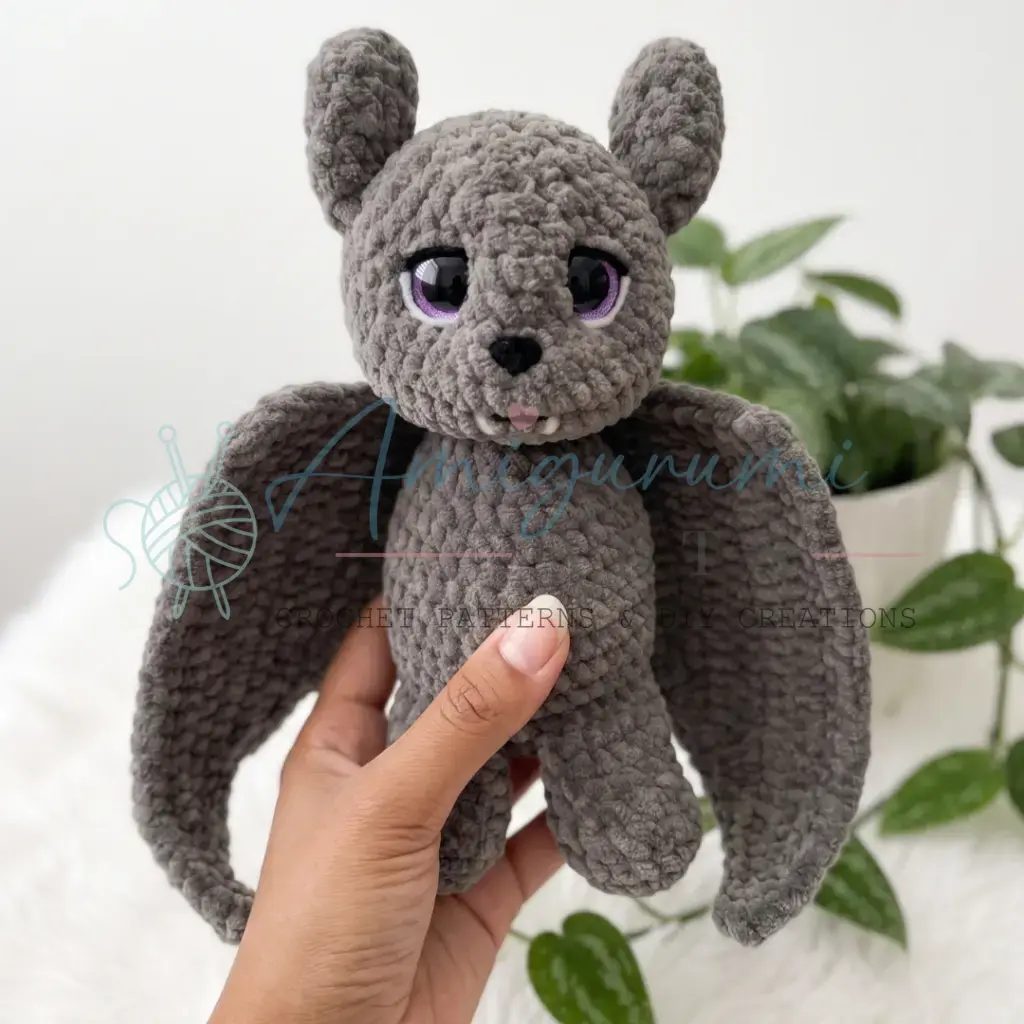
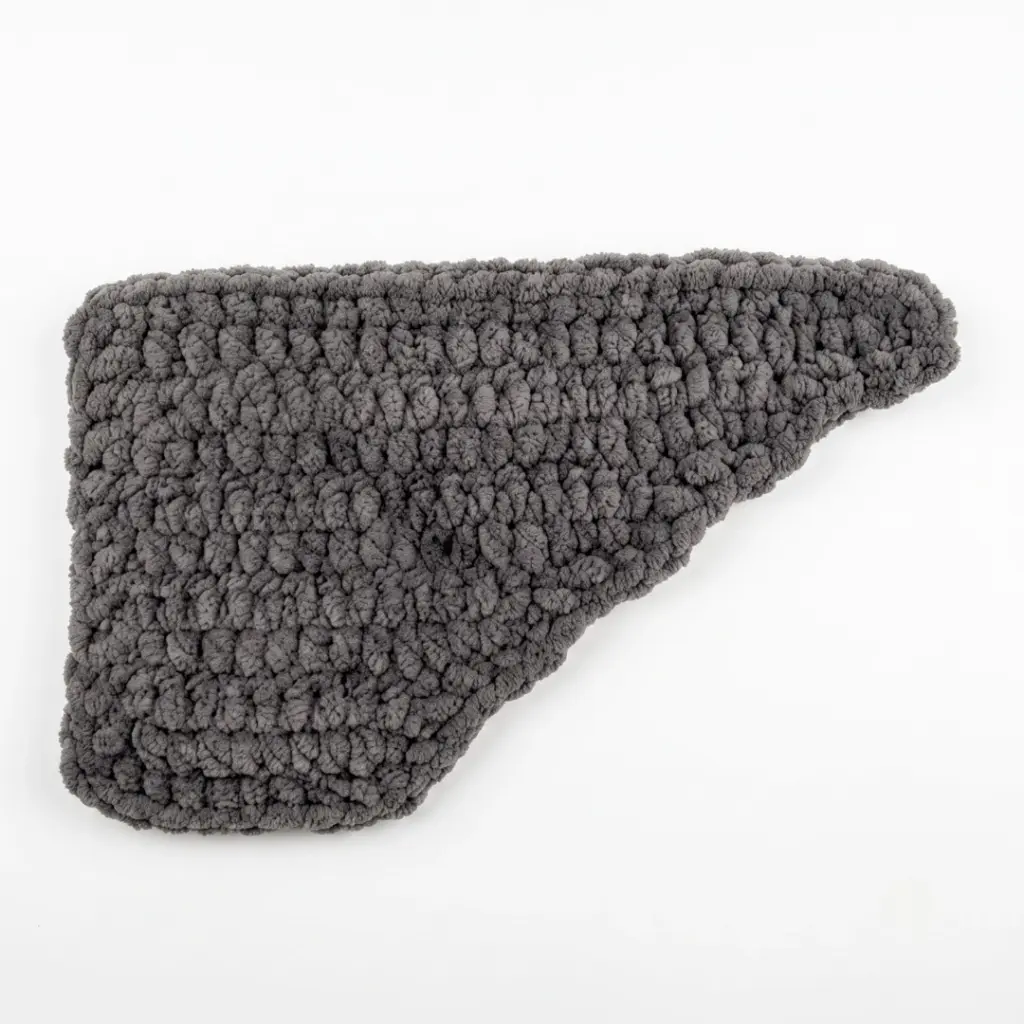
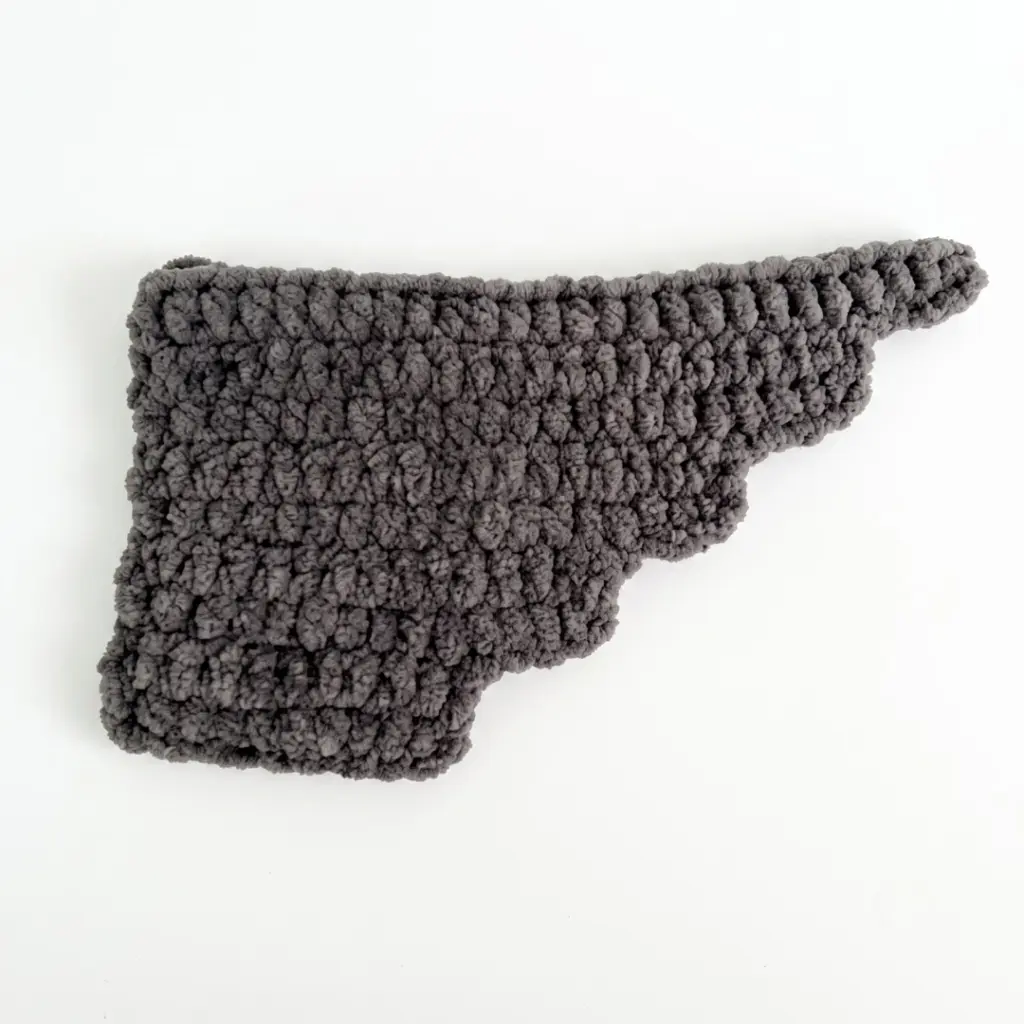
Worked in flat, turned rows. Begin with a foundation chain of 11 ch, turn, and start in the 2nd ch from hook.
Row 1: 10 hdc, ch 1, turn from the 2nd ch. (10)
Row 2: 10 hdc, ch 5, turn from the 2nd ch. (10 hdc + 4 ch extension)
Row 3: 4 hdc along the ch-5 extension, 10 hdc, ch 1, turn from the 2nd ch. (14)
Row 4: 14 hdc, ch 5, turn from the 2nd ch. (14 hdc + 4 ch extension)
Row 5: 4 hdc along the ch-5 extension, 14 hdc, ch 1, turn from the 2nd ch. (18)
Row 6: 18 hdc, ch 5, turn from the 2nd ch. (18 hdc + 4 ch extension)
Row 7: 4 hdc along the ch-5 extension, 18 hdc, ch 1, turn from the 2nd ch. (22)
Row 8: 22 hdc, ch 5, turn from the 2nd ch. (22 hdc + 4 ch extension)
Row 9: 4 hdc along the ch-5 extension, 22 hdc. (26)
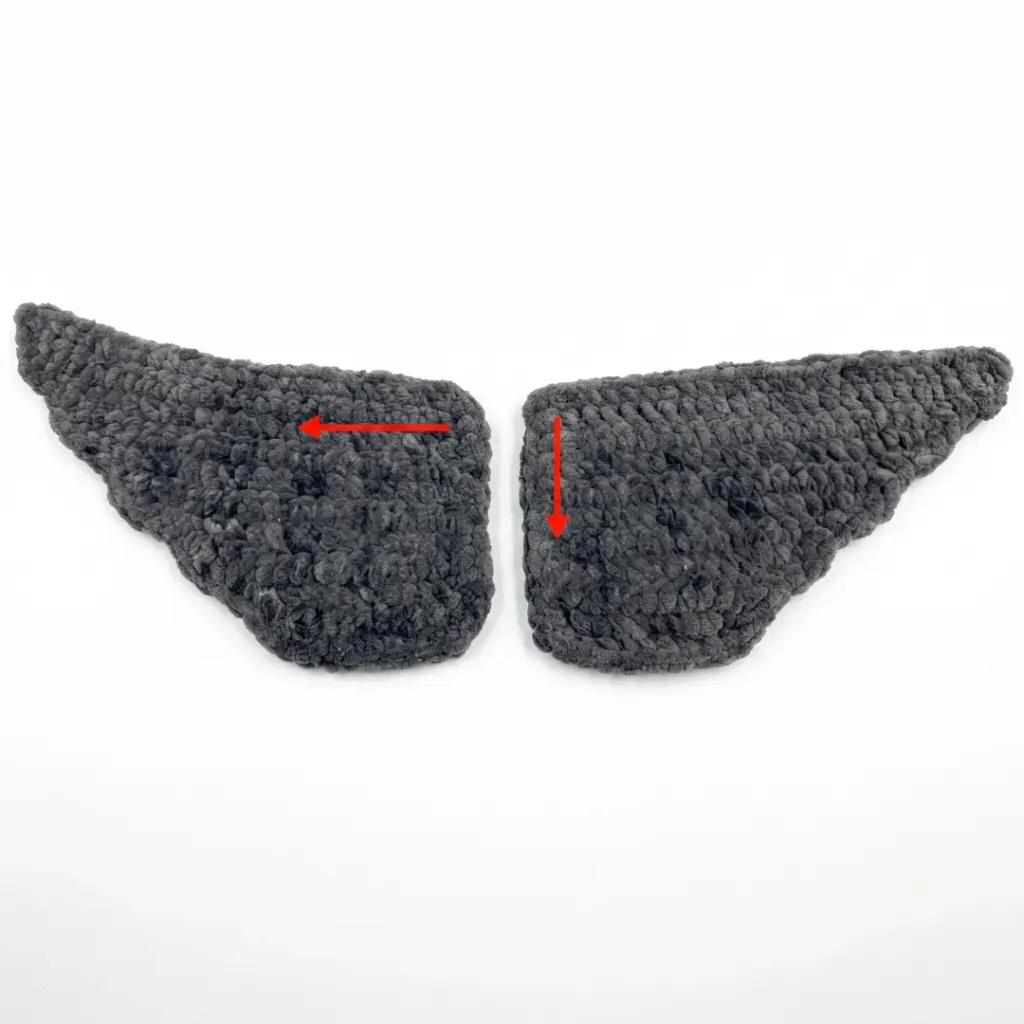
Without cutting the yarn, work a sc edging around the entire wing. Important: The left and right wings are edged in opposite directions so that both wings face right-side forward when attached to the bat. Fasten off and weave in ends.
Assembly
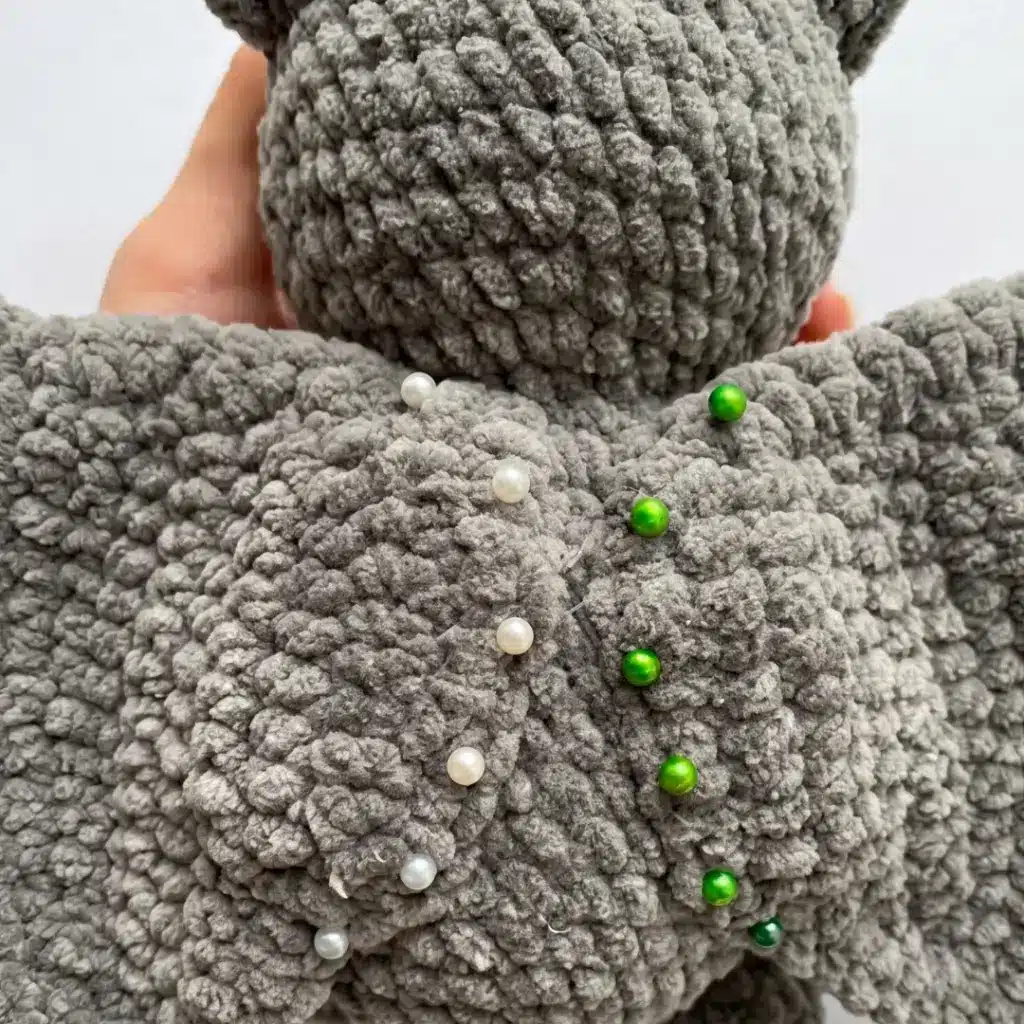
The legs are already joined to the body during Round 7 of the Body and Head section. With the bat body complete, position the ears on top of the head. Use the reference photos to determine the correct placement and which direction each folded ear faces. Sew each ear securely to the head using a strong thread or yarn and a yarn needle, making sure the fold faces outward. Position each wing along the side of the body. The wings can be sewn on using regular sewing thread doubled — this is strong enough to hold the flat wings firmly against the velvet fabric. Make sure both wings face right-side forward before stitching. Complete the face sculpting steps below before finalizing everything. Embroider the mouth and teeth using black yarn or embroidery thread. Weave in all remaining ends.
Face Sculpting (Cinching)
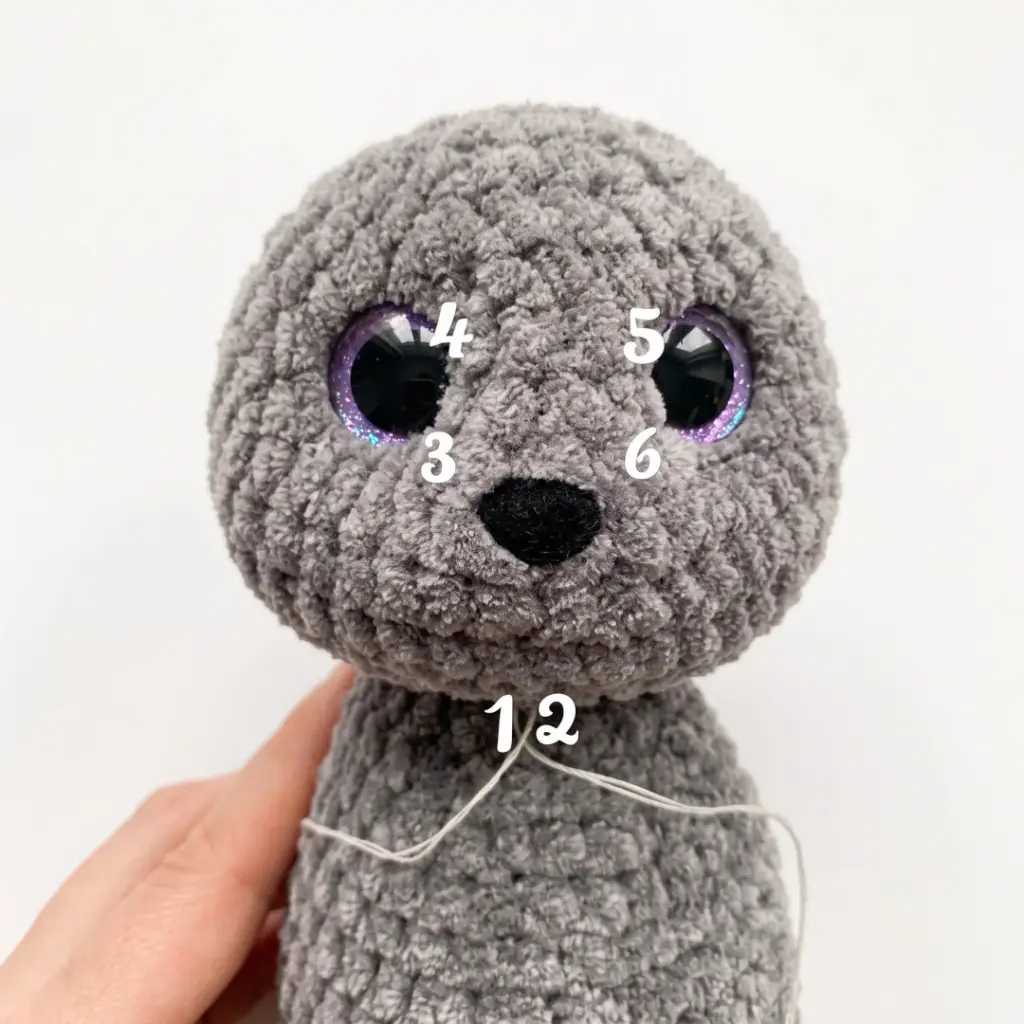
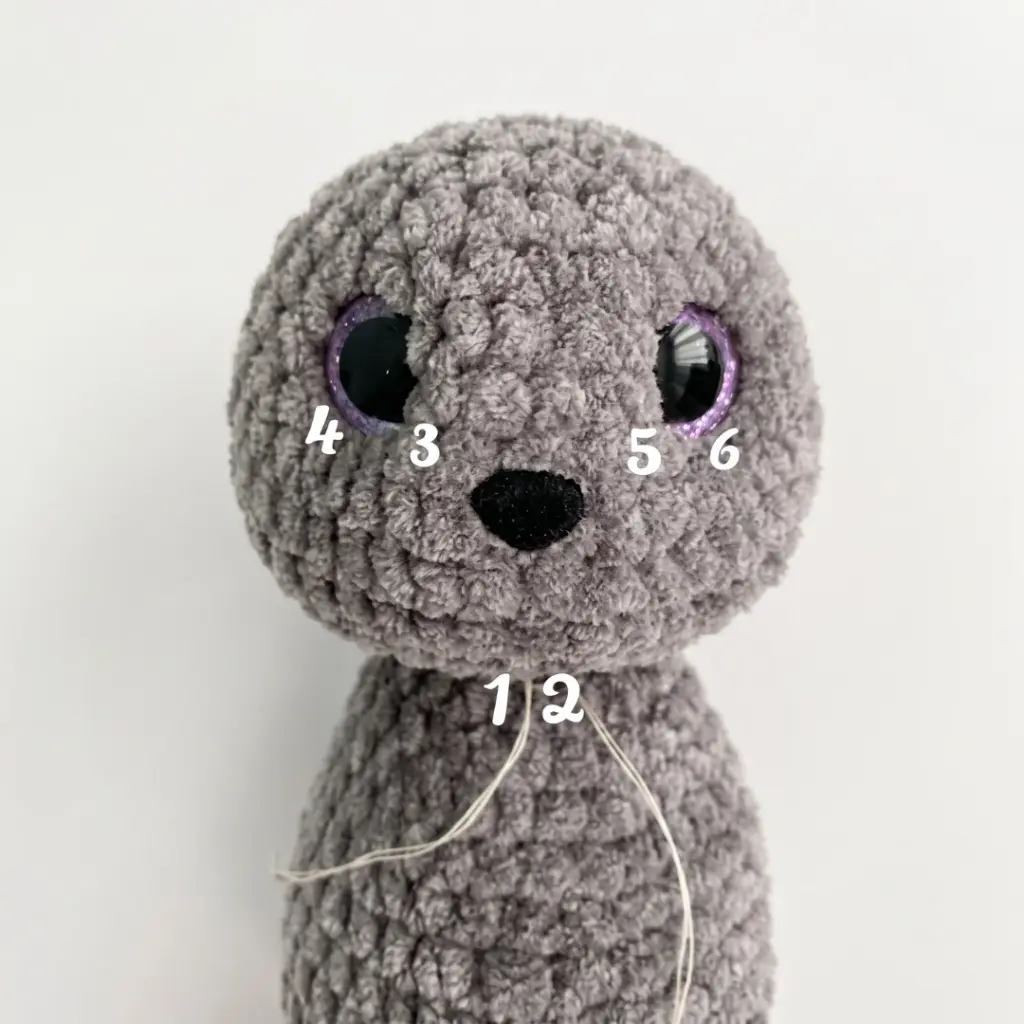
The face sculpting (cinching) steps after assembly are an important part of this pattern — they shape the muzzle and give the bat its character. Use a long doll needle and strong thread or yarn to cinch the face as desired before finalizing the embroidery.
Tips
- Use a tight tension throughout. Velvet yarn has a tendency to show gaps more obviously than smooth yarns. Go down a hook size if you find the fiberfill peeking through — a D-3 / 3.25 mm hook is a good starting point, and some crocheters prefer a 3.0 mm with velvet.
- Don’t overstuff the legs. The legs are intentionally stuffed lightly and folded flat before closing. If they’re packed too tightly, the fold won’t sit neatly and the legs will look stiff. A gentle fill is all you need.
- Mark your rounds. Velvet yarn eats stitch definition — it can be genuinely difficult to see individual stitches. A stitch marker placed at the beginning of each round is non-negotiable here. Move it up as you go.
- Insert safety hardware before you close the head. This sounds obvious, but the excitement of nearly finishing can make it easy to rush the last few decrease rounds. Stop at Round 29, insert eyes and nose, stuff, then close.
- For the wings, edging direction matters. Both wings need to face the same direction once attached to the bat’s back. Edge one wing clockwise and the other counterclockwise — this is the step that ensures both face forward correctly. If yours look like mirror images when held up, you’ve done it right.
Frequently Asked Questions
Can I use a different type of yarn?
While the pattern is designed for velvet-weight yarn to achieve the specific plush texture and look, you can use any DK-weight yarn. Keep in mind that the fabric may be looser, so you might need to use a smaller hook to maintain a tight stitch definition.
How do I attach the wings securely?
Because the wings are flat and the body is stuffed, regular sewing thread doubled is recommended. This provides enough strength to hold the wings firmly against the velvet fabric without tearing it.
Why do the wings need to be edged in opposite directions?
Edging the wings in opposite directions ensures that when they are attached to the bat’s body, both wings will face right-side forward correctly, creating a symmetrical and natural appearance.
What if my bat won’t stand up?
The legs are joined during the body rounds. Ensure you are stuffing the body firmly as instructed, but keep the legs lightly stuffed and folded flat as directed to allow them to sit properly.
Is this pattern suitable for beginners?
This pattern is best for intermediate crocheters who are comfortable with continuous spirals, increasing and decreasing, and sewing pieces together. If you can work a magic ring and sew neatly, you are ready for this project.
Pin This Crochet Pattern!