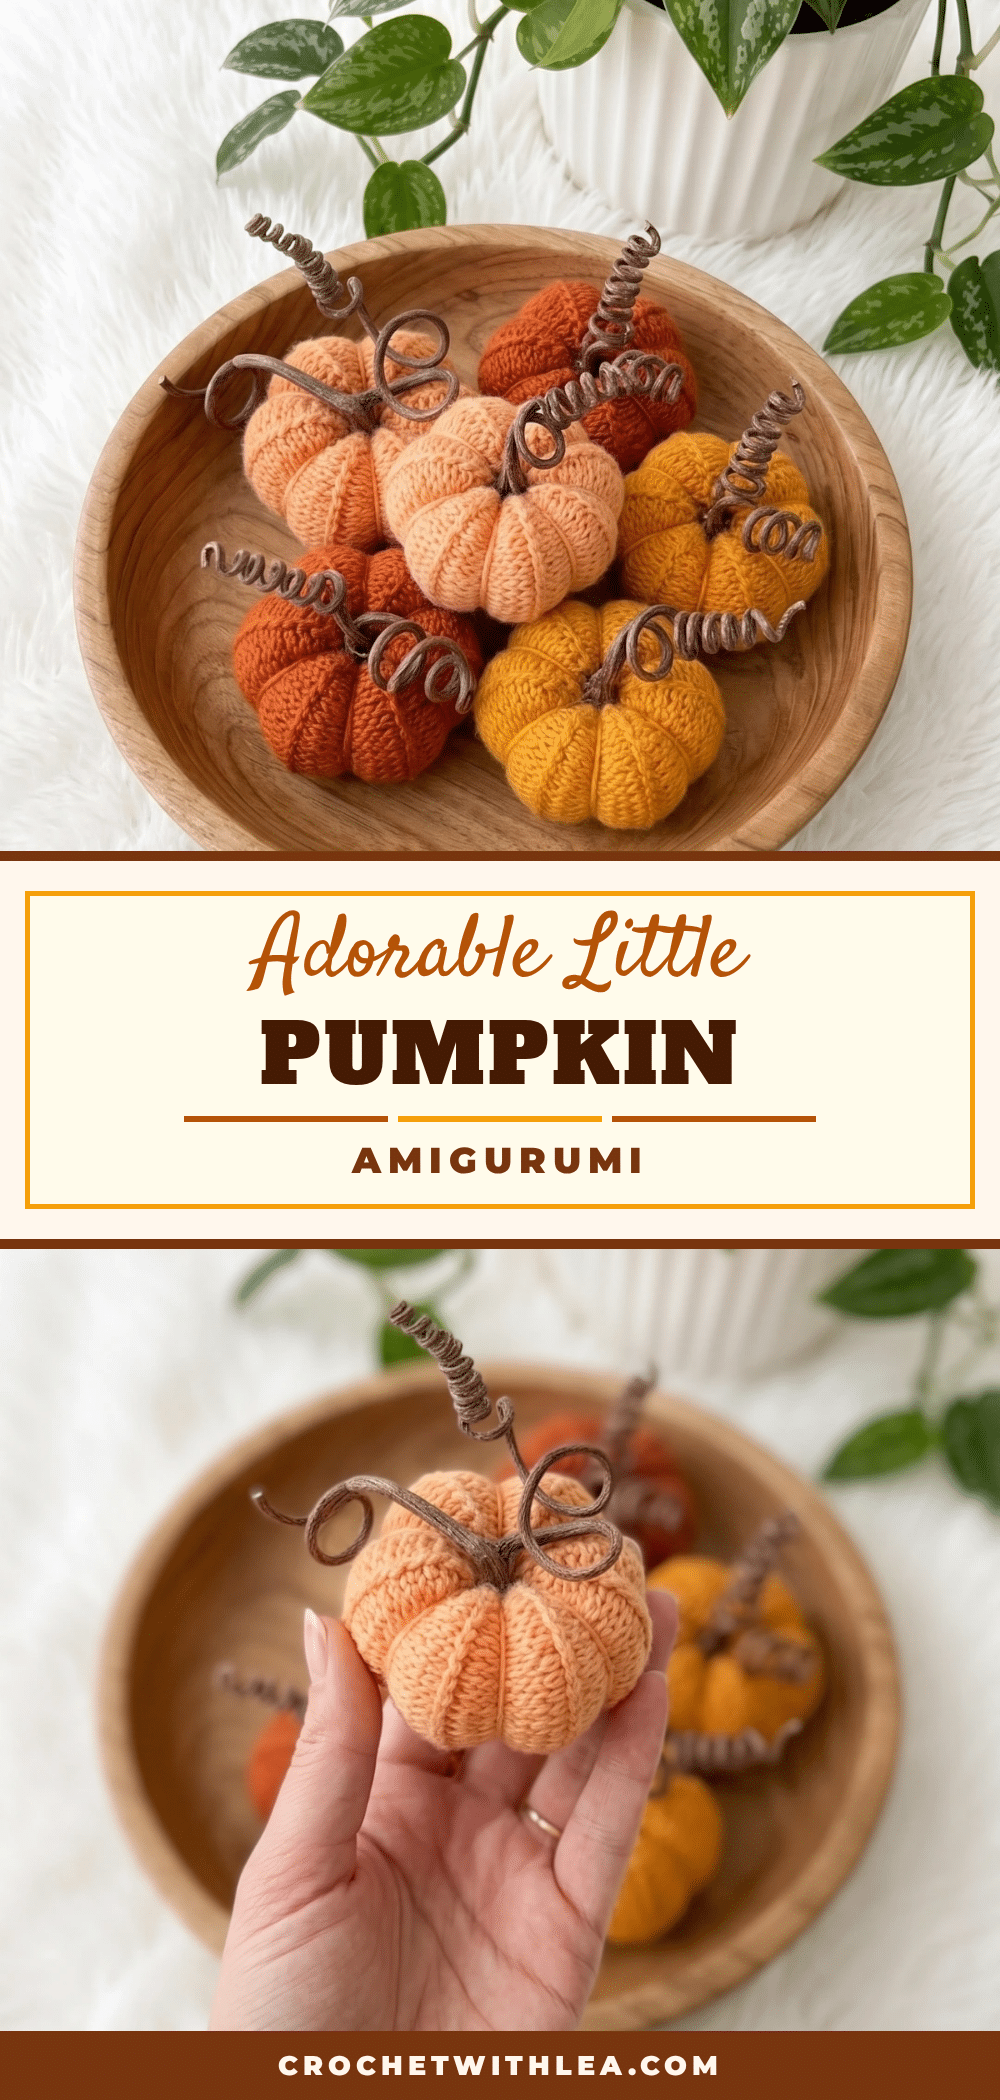
Yarn is draped over the edge of the table, the hook is resting nearby, and you’re ready to start. This little knitted pumpkin pattern is written in US knitting terminology. The fabric is worked flat in back-and-forth rows (not in the round). Gauge is not critical for this project — minor size variations will simply produce a slightly larger or smaller pumpkin. Stitch counts are given at the end of relevant steps in parentheses where applicable. The purl ridges on the right side create the pumpkin’s segment lines — keep your tension even through these rows for the cleanest result. The stem is a small natural twig glued into the top opening. If no twig is available, crochet a short foundation chain, stiffen it with diluted PVA glue, shape it while wet, and allow it to dry before attaching.
Why This Project Works
Autumn on a shelf, a mantel, or a tabletop — that’s exactly where this little knitted pumpkin belongs. Its ribbed segments give it a satisfying, rounded shape, and the twig stem finishes it off with a touch of natural charm. Whether you’re decorating for the season or making a batch as handmade gifts, this project is beginner-friendly and works up quickly with just two needles and a small amount of yarn. This little pumpkin knitted pattern uses basic knitting techniques — stockinette stitch and a simple seaming method — to create a three-dimensional pumpkin with defined lobes. If you can cast on, knit, purl, and sew a seam, you have everything you need.
Project Overview
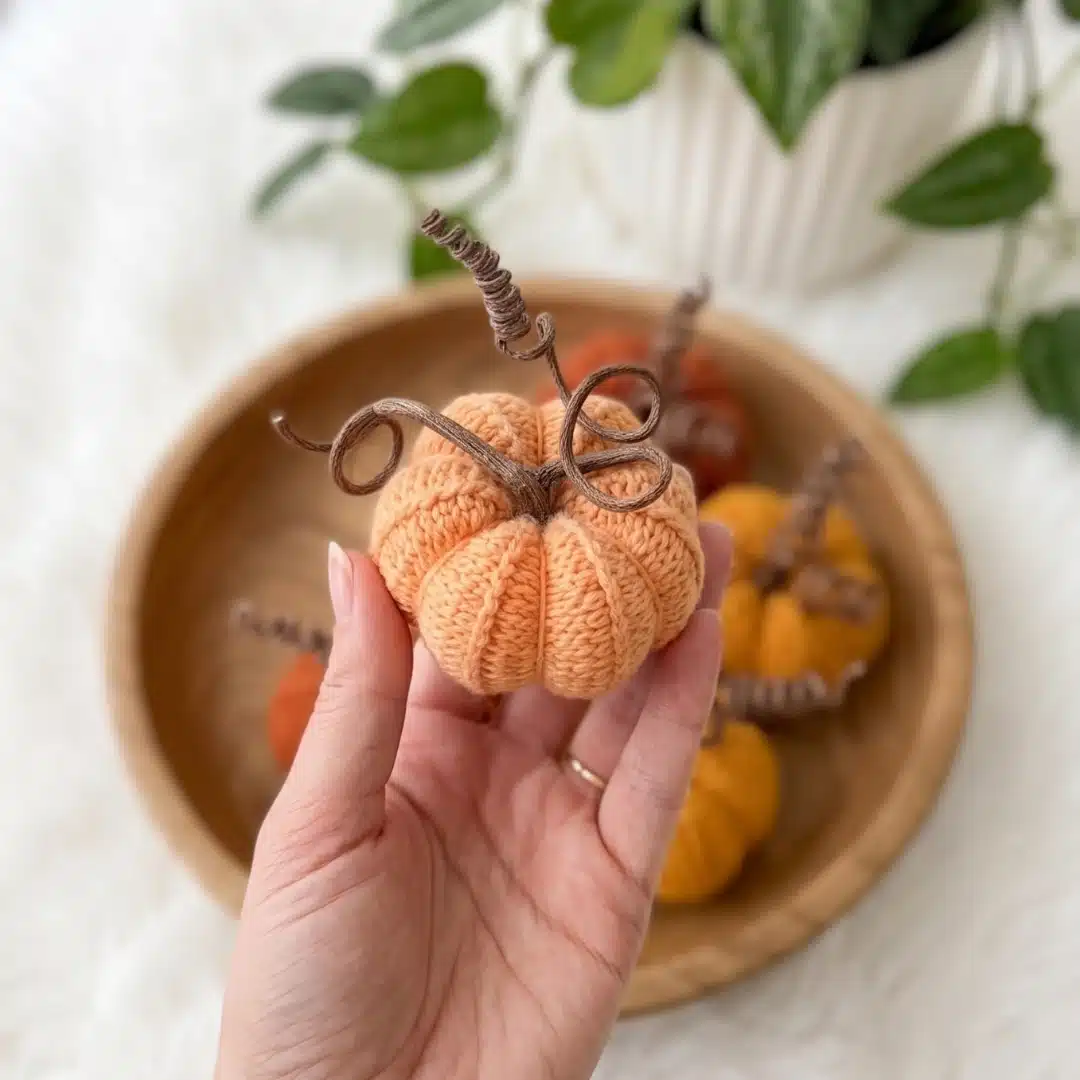
This project is beginner-friendly. It is a small, handmade piece of seasonal charm that you’ll want to make more than once. The combination of knitted texture and defined segments gives it a character that mass-produced decorations simply can’t match. Make a few in different shades, line them up on your windowsill, and share a photo.
Materials
- Yarn: Fingering weight yarn in orange or yellow (e.g., Gazzal Baby Wool or any comparable fingering/sport weight yarn in your preferred pumpkin color)
- Needles: US 000–0 / 1.5–2 mm straight needles (or size appropriate for your yarn)
- Stuffing: Polyester fiberfill
- Yarn needle / tapestry needle
- Scissors
- Strong craft glue (such as a contact adhesive)
- A small twig or dried vine stem for the pumpkin’s stem (see Pattern Notes for a crocheted stem alternative)
Gauge and Finished Size
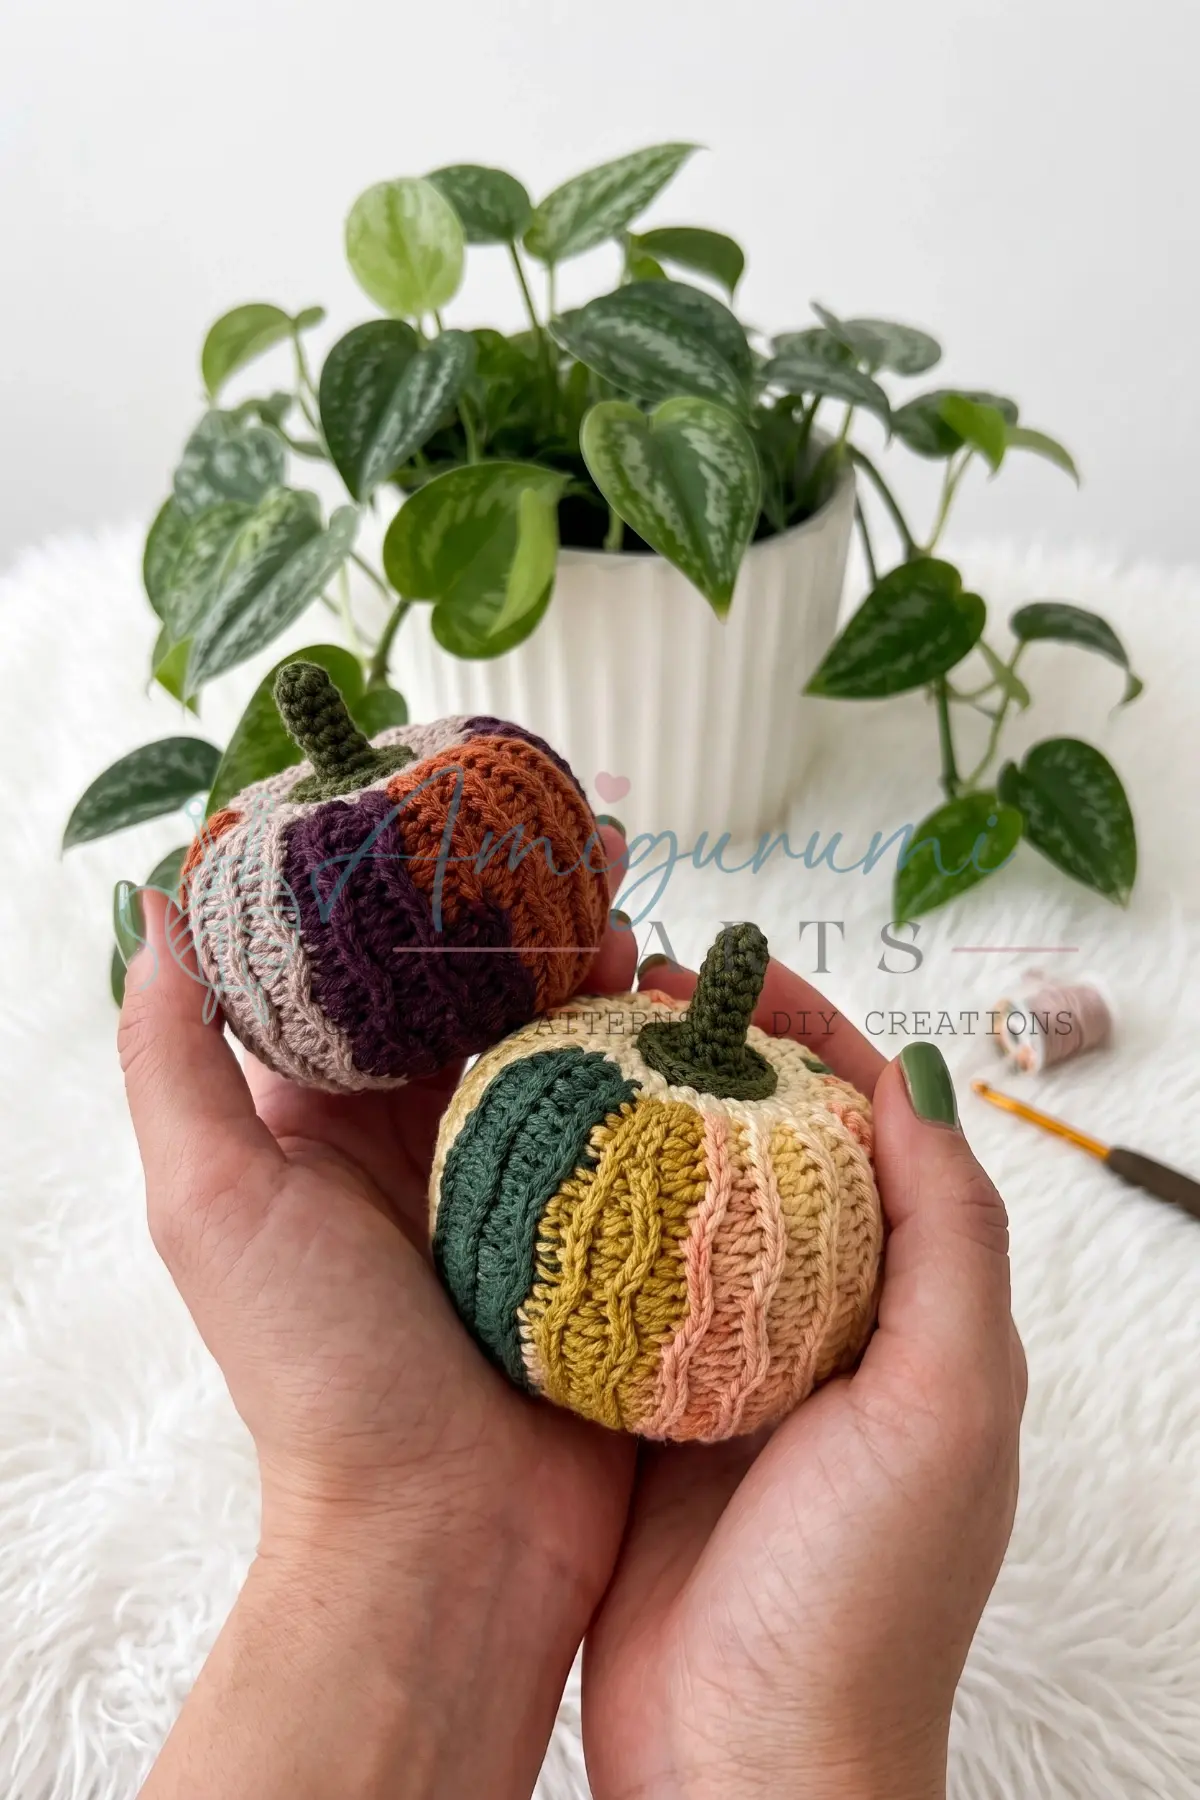
Gauge is not critical for this project — minor size variations will simply produce a slightly larger or smaller pumpkin.
Abbreviations
- CO — Cast On
- k — Knit
- p — Purl
- RS — Right Side
- WS — Wrong Side
- BO — Bind Off
Pattern Notes
The purl ridges on the right side create the pumpkin’s segment lines — keep your tension even through these rows for the cleanest result. The stem is a small natural twig glued into the top opening. If no twig is available, crochet a short foundation chain, stiffen it with diluted PVA glue, shape it while wet, and allow it to dry before attaching.
Pattern Instructions
Main Pumpkin Body
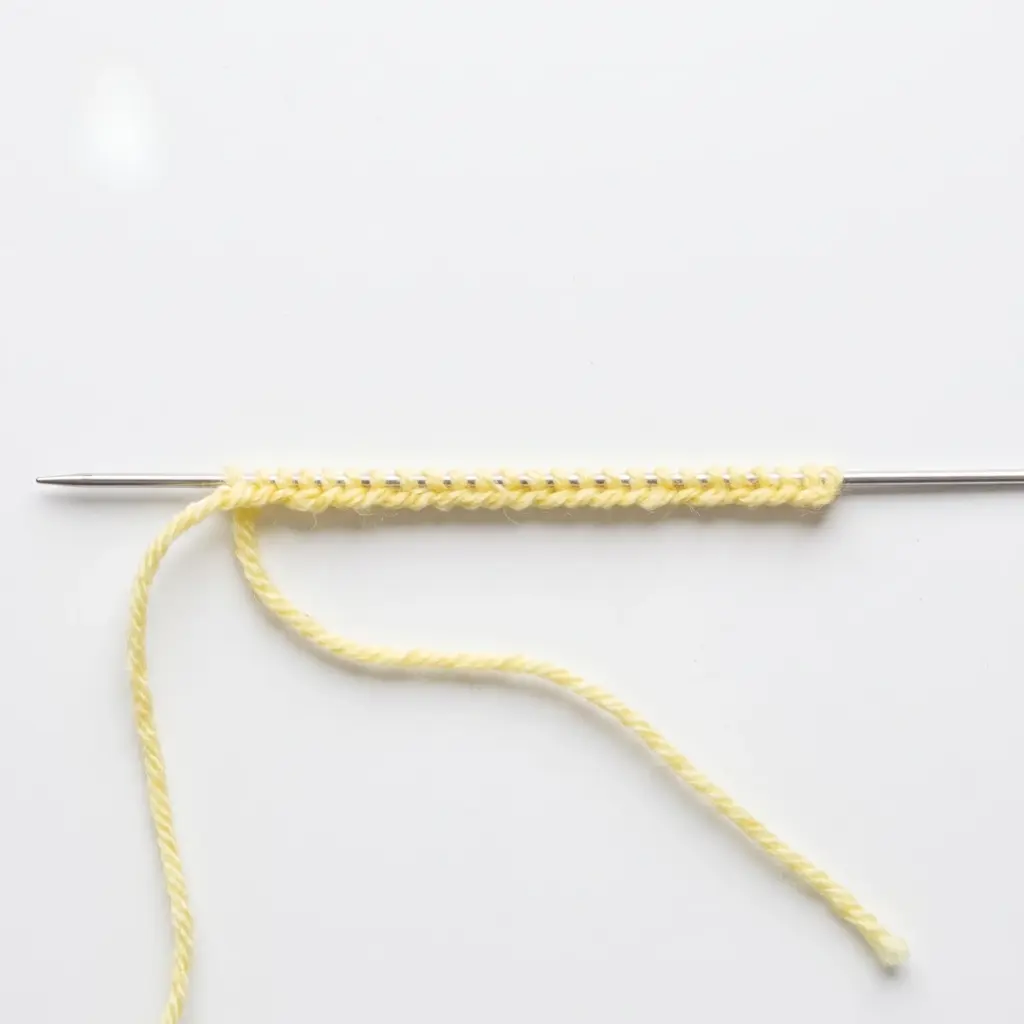
CO 25 stitches.
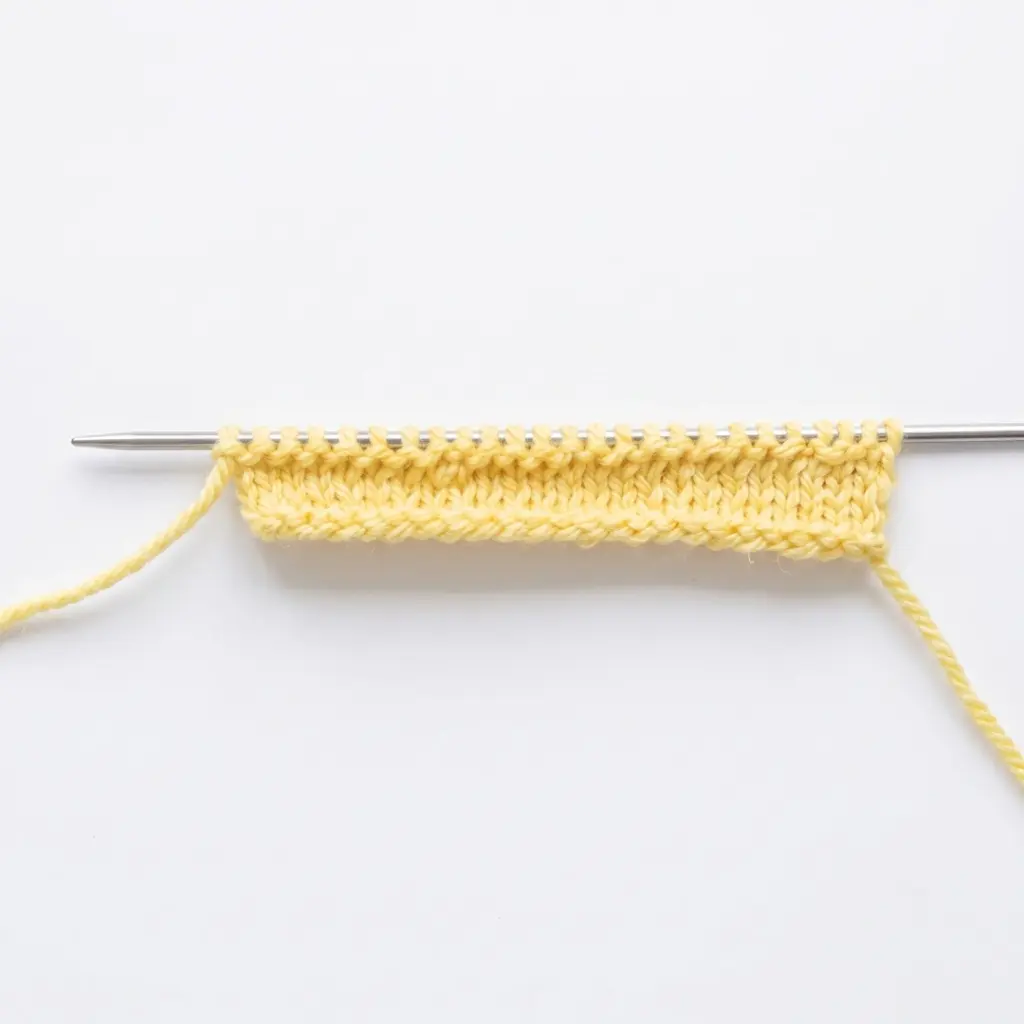
Rows 1–6: Work in stockinette stitch (knit on RS, purl on WS) for 6 rows.
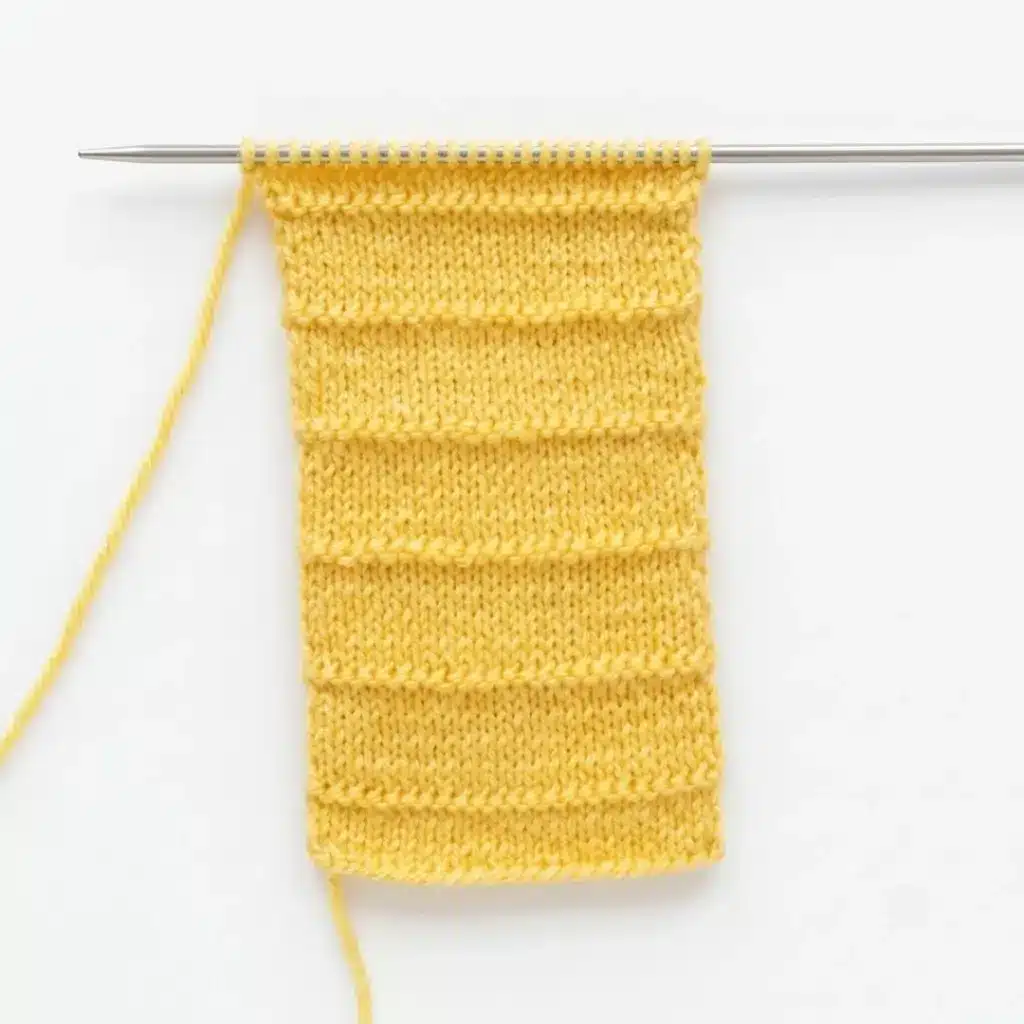
Row 7 (RS — ridge row): With the right side facing you, purl across all 25 stitches. (25) This creates a purl ridge on the right side, which will form one segment line.
Rows 8–17: Work in stockinette stitch for 10 rows.
Row 18 (RS — ridge row): With the right side facing you, purl across all 25 stitches. (25)
Repeat the 10-row stockinette section followed by a RS purl ridge row four more times (for a total of five ridge rows across the piece).
Final section: Work 6 rows in stockinette stitch. (25)
BO all 25 stitches. Leave a yarn tail of approximately 12 inches (30 cm) for seaming.
Assembly
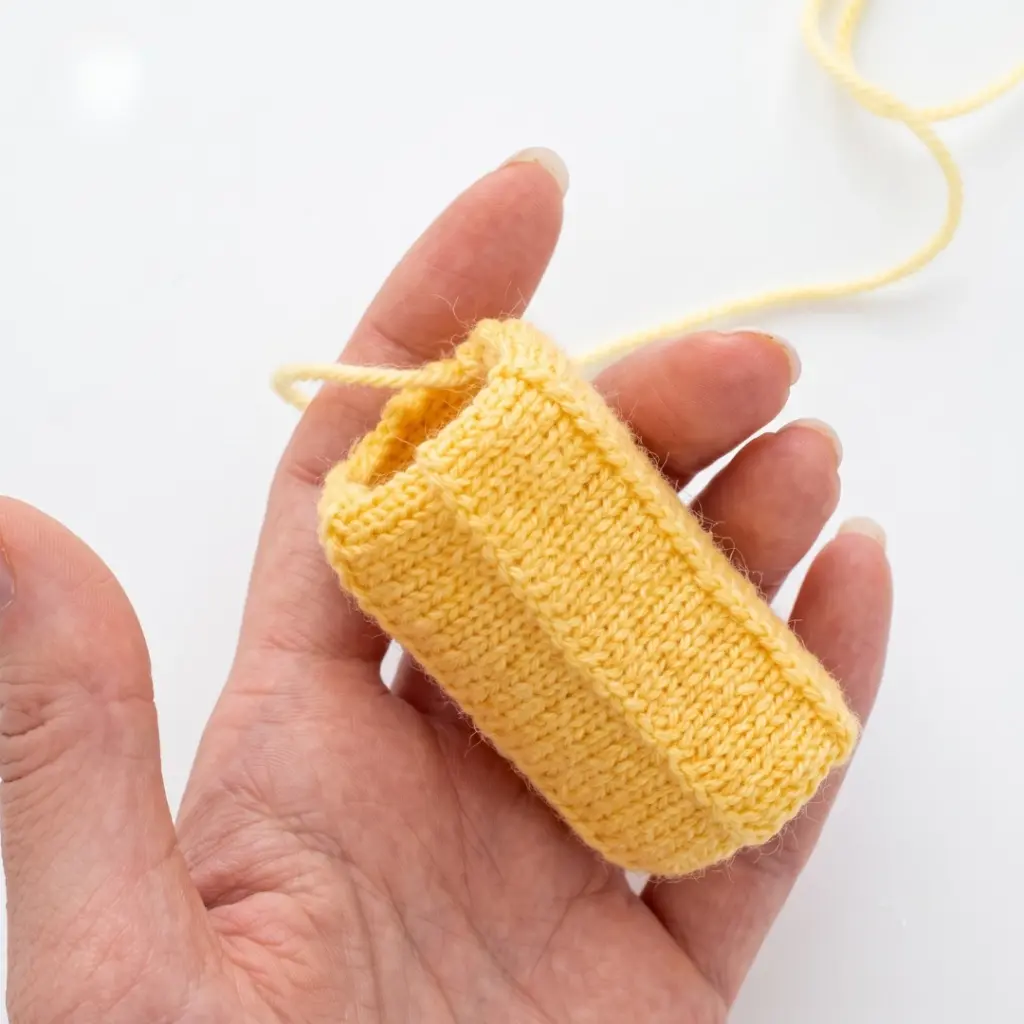
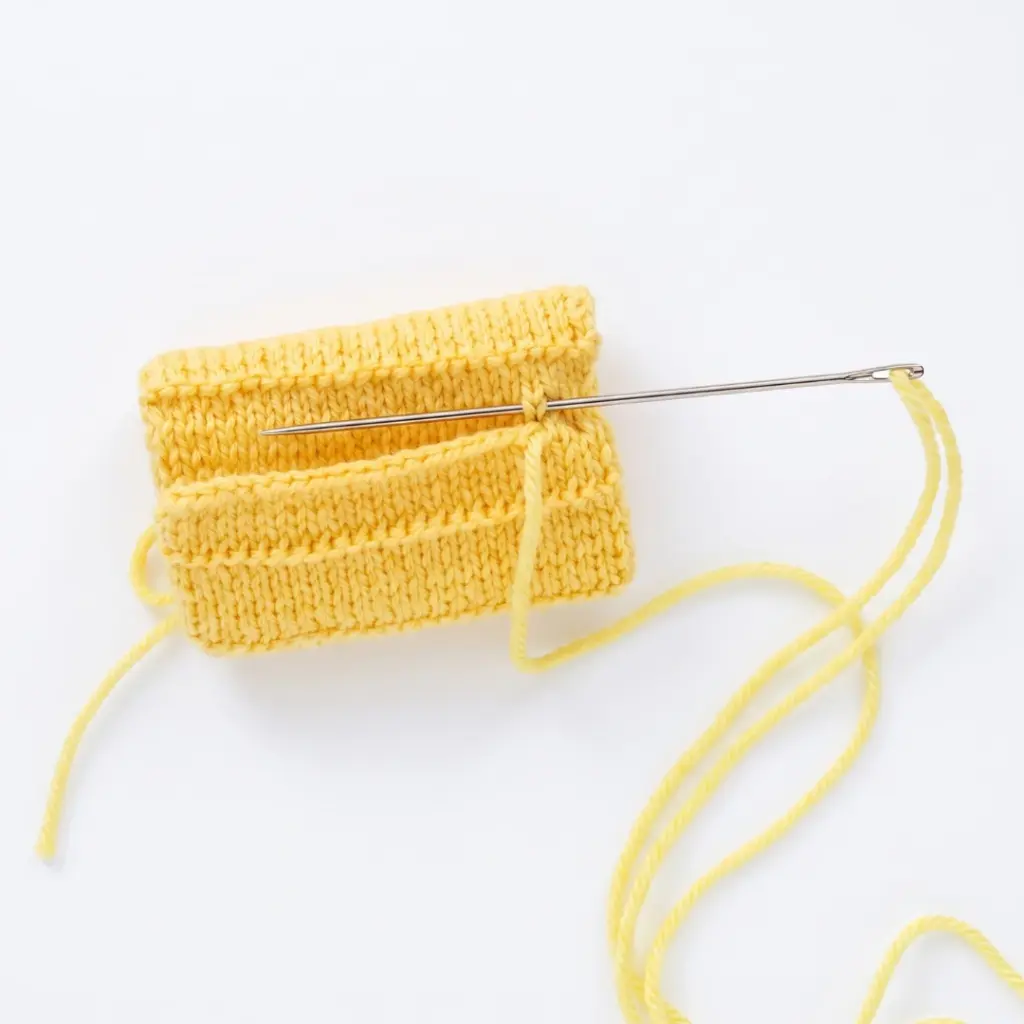
Fold the knitted rectangle in half with right sides facing, aligning the two short edges. Using the long yarn tail and your tapestry needle, whipstitch the side seam from cast-on edge to bind-off edge. You now have a fabric cylinder.
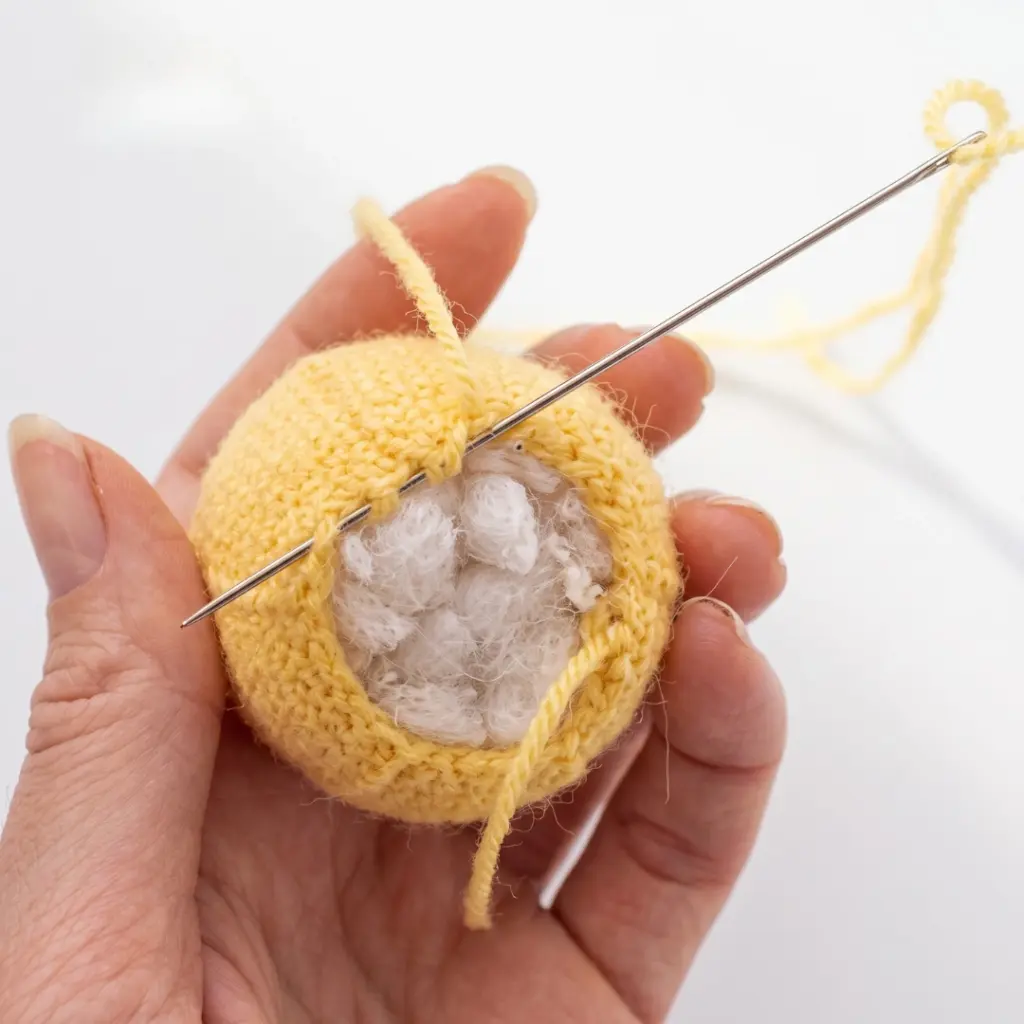
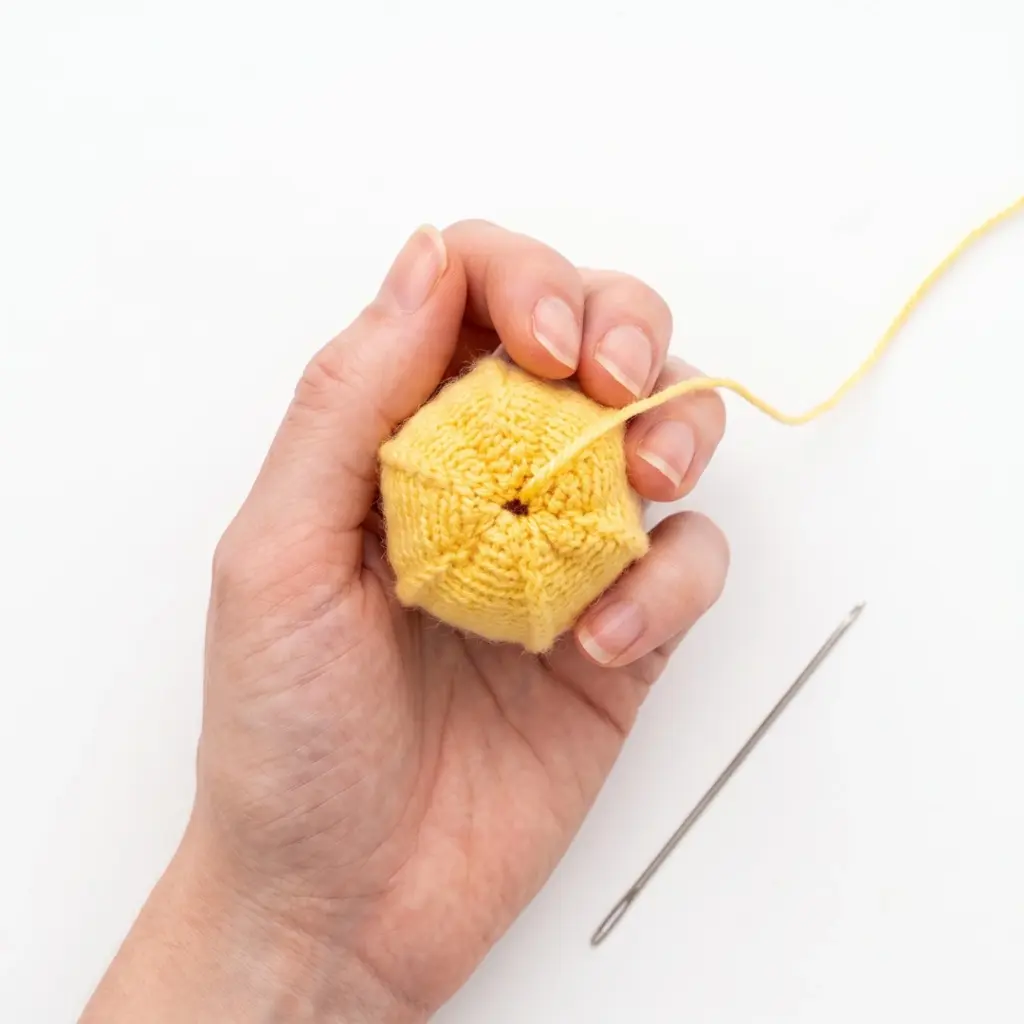
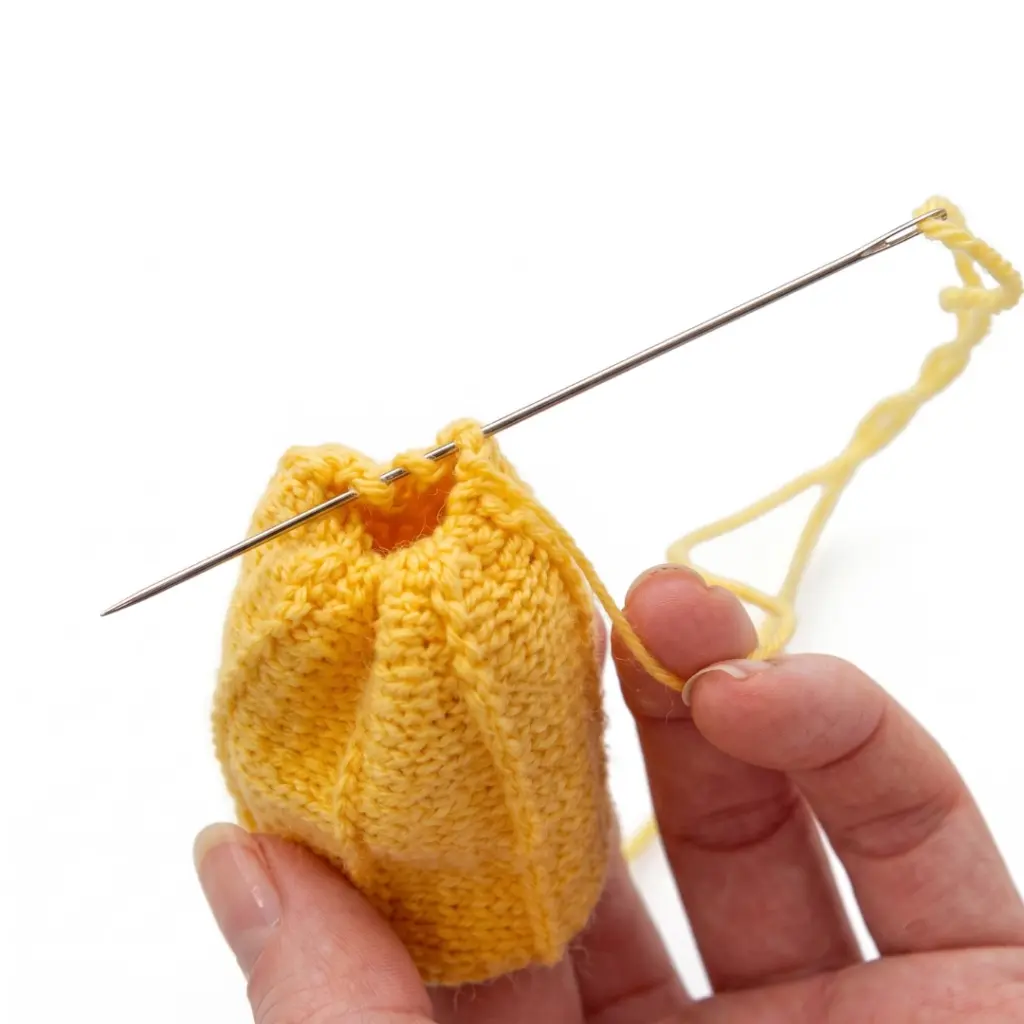
Thread a length of yarn onto your tapestry needle. Run a gathering stitch around the bottom opening of the cylinder using an overcast (whipstitch) stitch, then pull the yarn tail firmly to close the bottom. This is the base of the pumpkin. Knot and secure.
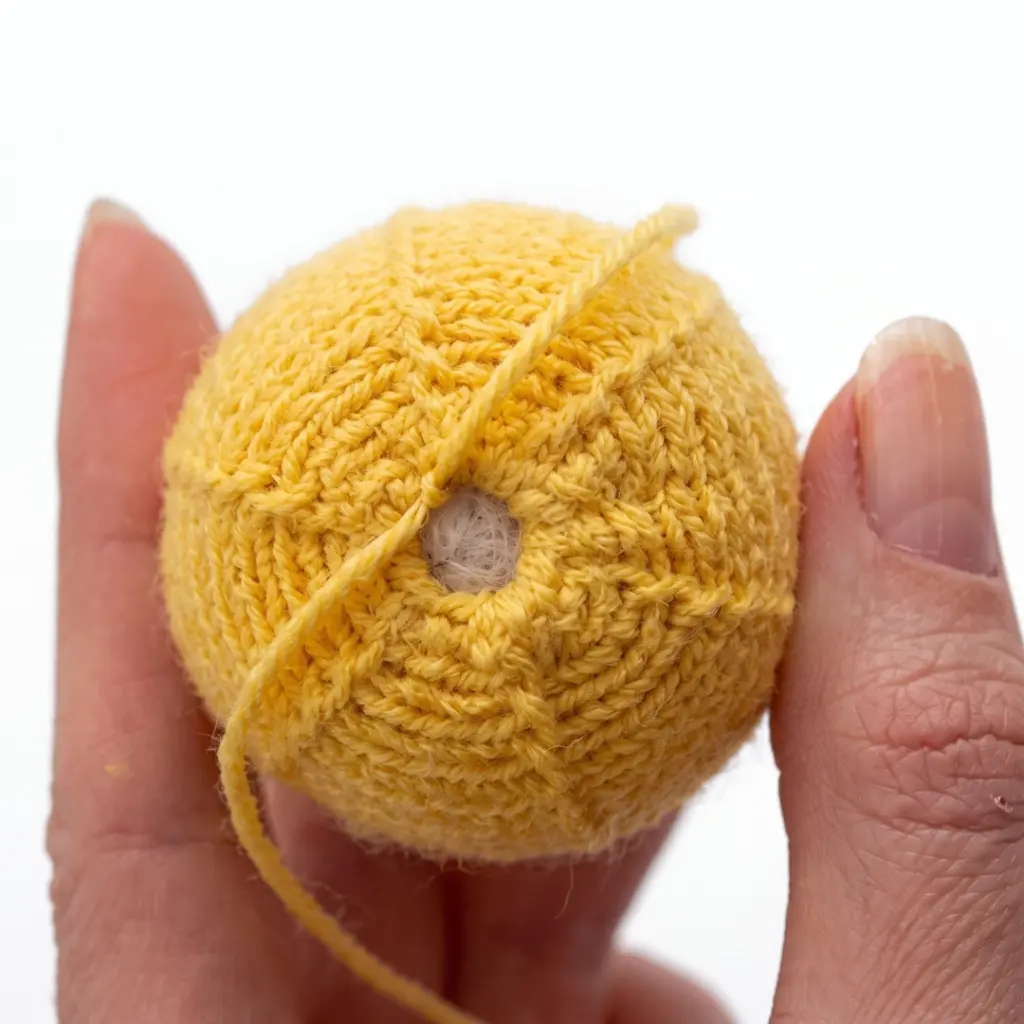
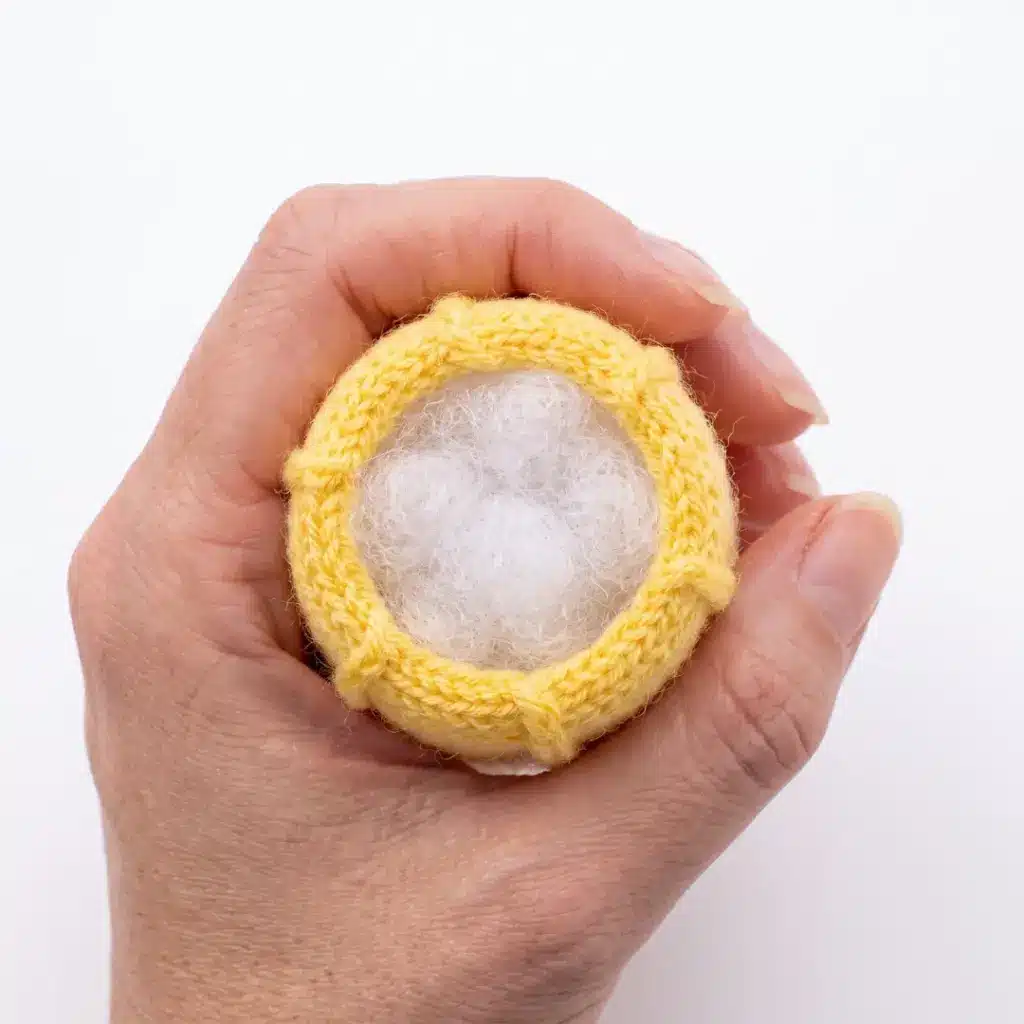
Turn the cylinder so the open end faces up. Stuff the pumpkin firmly with fiberfill through the top opening. Run a gathering stitch around the top opening in the same way. Pull snugly — but not completely closed — leaving a small hole for the twig stem. Knot to secure.
Gently flatten the stuffed shape slightly between your palms to give it a squat, pumpkin-like silhouette.
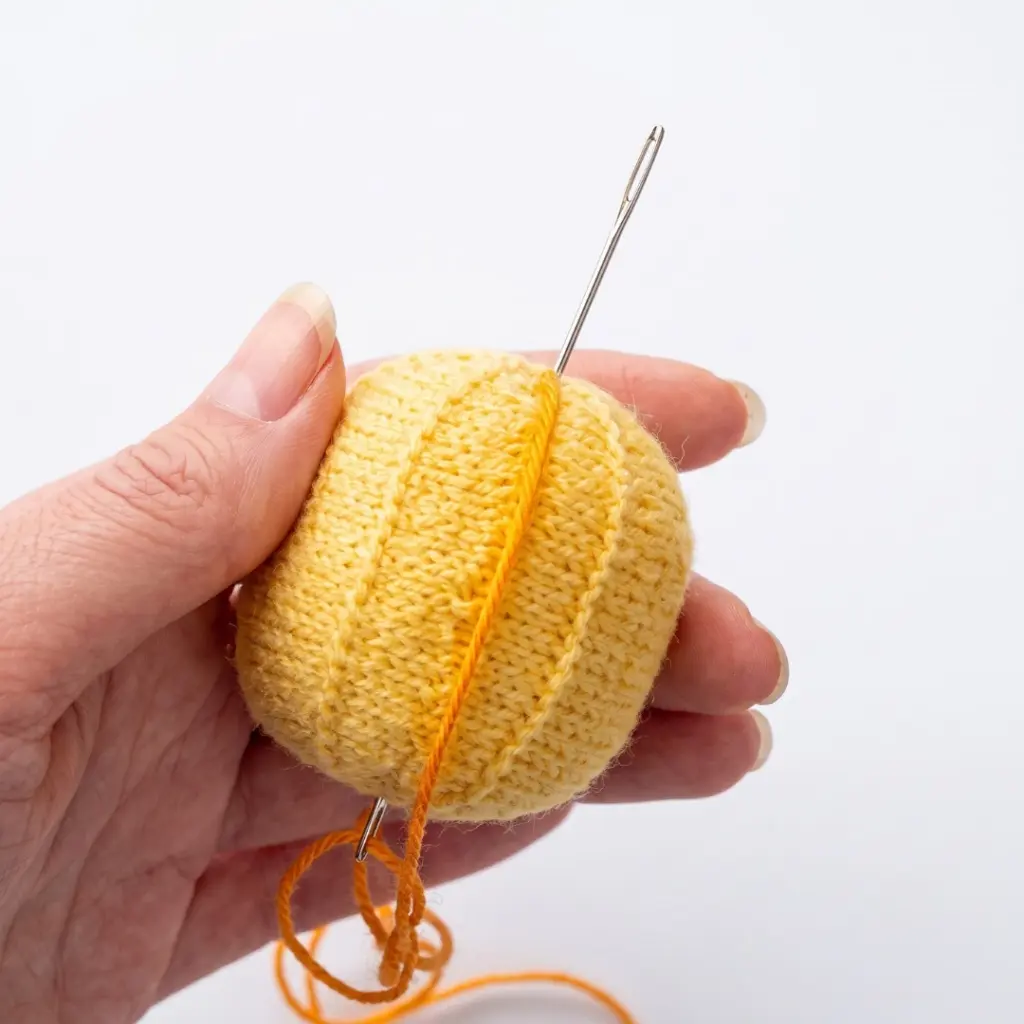
Thread a long length of yarn onto your tapestry needle. Pierce the pumpkin from top to bottom through the center, running the needle between the purl ridge rows to define the lobes. Pull the yarn firmly to create indentations. Work around the pumpkin in this way, stitching between each ridge line, until all segments are defined.
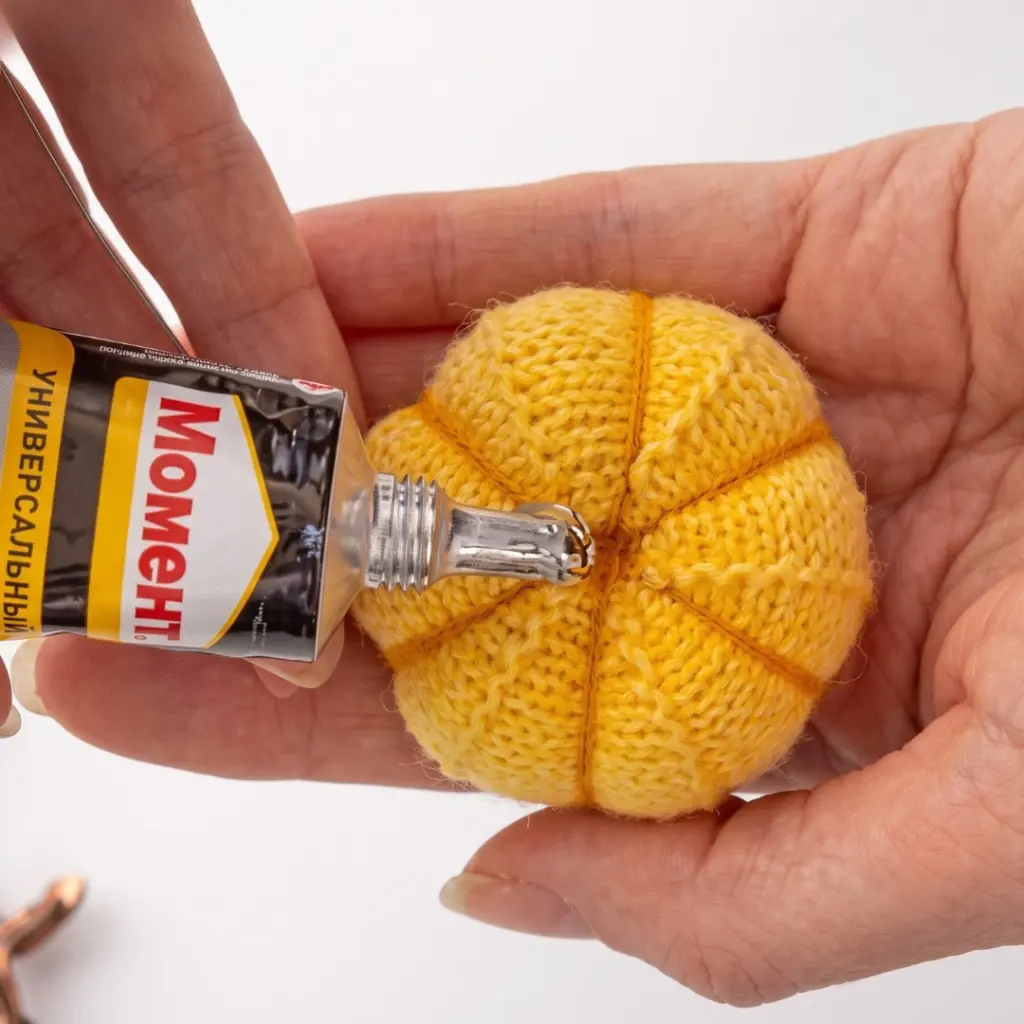
Apply a small drop of strong craft glue inside the top opening and press the twig stem firmly into place. Allow to dry completely before handling.
Tips
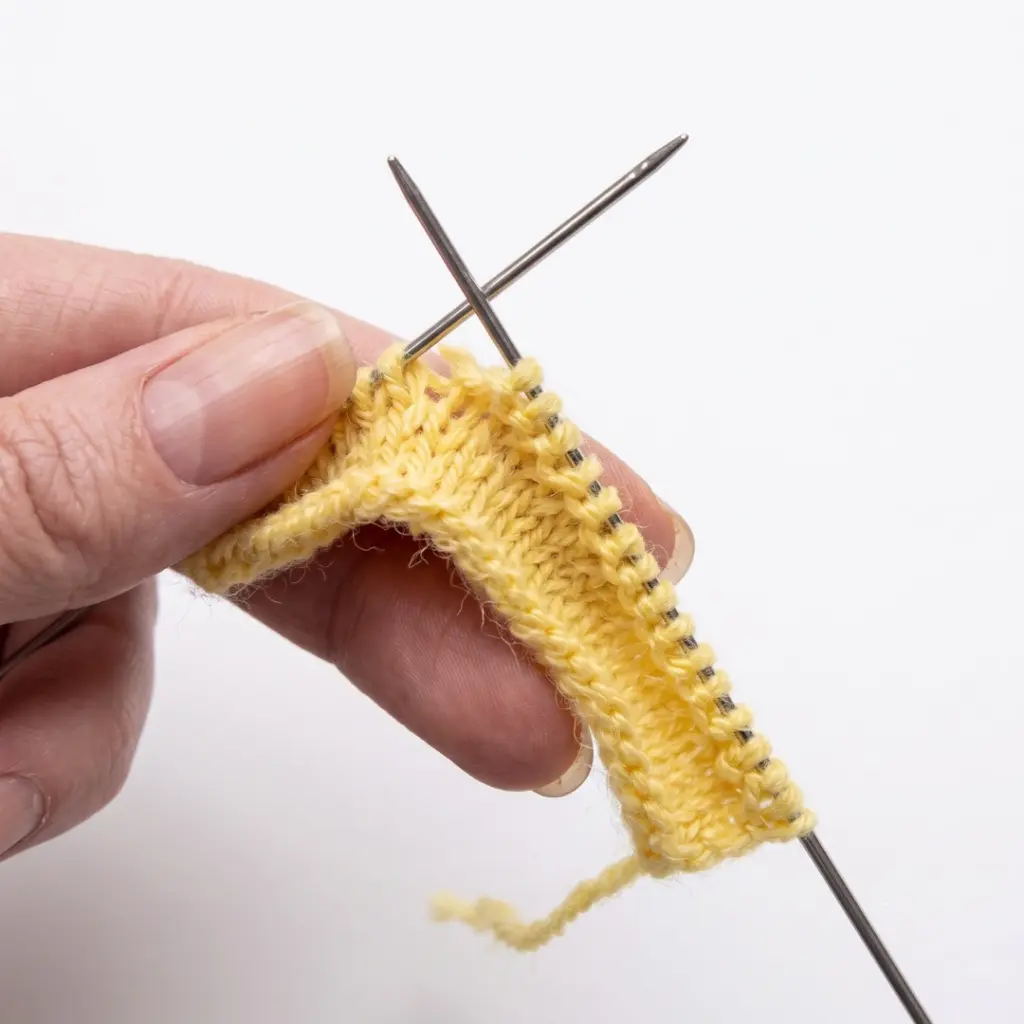
- Keep your tension consistent through the ridge rows. The RS purl rows are the structural detail that makes this pumpkin look polished — if your tension is tighter or looser on those rows, the ridges will look uneven. Consciously relax your grip as you work them.
- Don’t overstuff. A firmly stuffed pumpkin is the goal, but if the fiberfill is packed too tightly, the segment-shaping thread won’t pull inward properly. Aim for a shape that is firm but still has a little give when squeezed.
- When threading the segment lines, work the needle as centrally as possible between the purl ridges — not through them. The thread should travel through the body of the pumpkin in a straight vertical line. Pulling each pass at the same tension will keep your lobes symmetrical.
- Choosing your twig: A short, slightly curved twig with a bit of character looks far more natural than a perfectly straight one. If you’re making a batch of pumpkins, a single dried vine or branch can be cut into multiple stems.
- Making a yarn stem: Crochet a chain of 10–15 stitches, then slip stitch back along the chain to give it body. Saturate it with a mixture of PVA glue and a little water, coil or curve it over a round object, and leave it to dry overnight. It will hold its shape beautifully once hardened.
FAQs
Can I use a heavier yarn to make a larger pumpkin?
Yes — simply move up to a heavier yarn weight and the corresponding needle size. A sport or DK weight yarn will produce a noticeably larger pumpkin with the same stitch and row count. Keep in mind that a bigger pumpkin will need more fiberfill and a sturdier stem to stay upright.
How do I keep the segment lines even on all sides?
Before you begin pulling the segment threads, mark the midpoint between each purl ridge on both the top and bottom of the pumpkin with a small pin. Thread your needle from pin to pin so each pass runs in a consistent straight line. Pulling each thread with the same tension — firm but not so tight that the fabric bunches — will give you balanced, even lobes.
What if my top opening closes too tightly and I cannot insert the twig?
If you have gathered the top too firmly, simply re-thread a yarn needle and ease the gathering stitch open slightly until the hole is the right diameter for your stem. Knot at the new tension, trim the tail, and proceed with the glue step as normal. Working the gathering stitch in two loose passes before pulling gives you much better control.
Can this pattern be made in multiple colors for a decorative display?
Absolutely. This pumpkin works in any solid fingering or sport weight yarn, so making a set in deep orange, pale ivory, and sage green creates a lovely seasonal grouping. Just keep the yarn weight consistent across the batch so all your pumpkins come out a similar size.
Pin This Crochet Pattern!