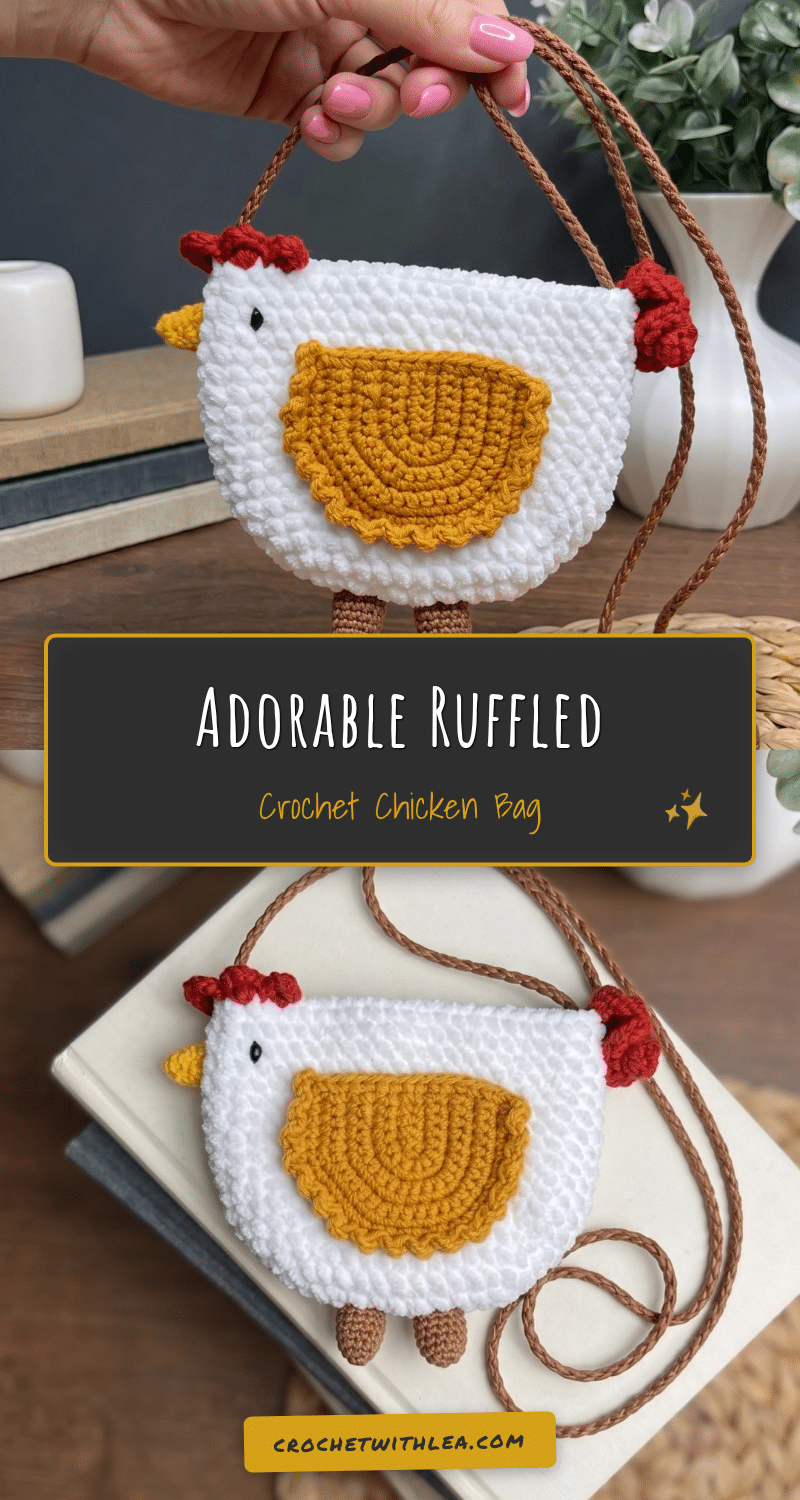
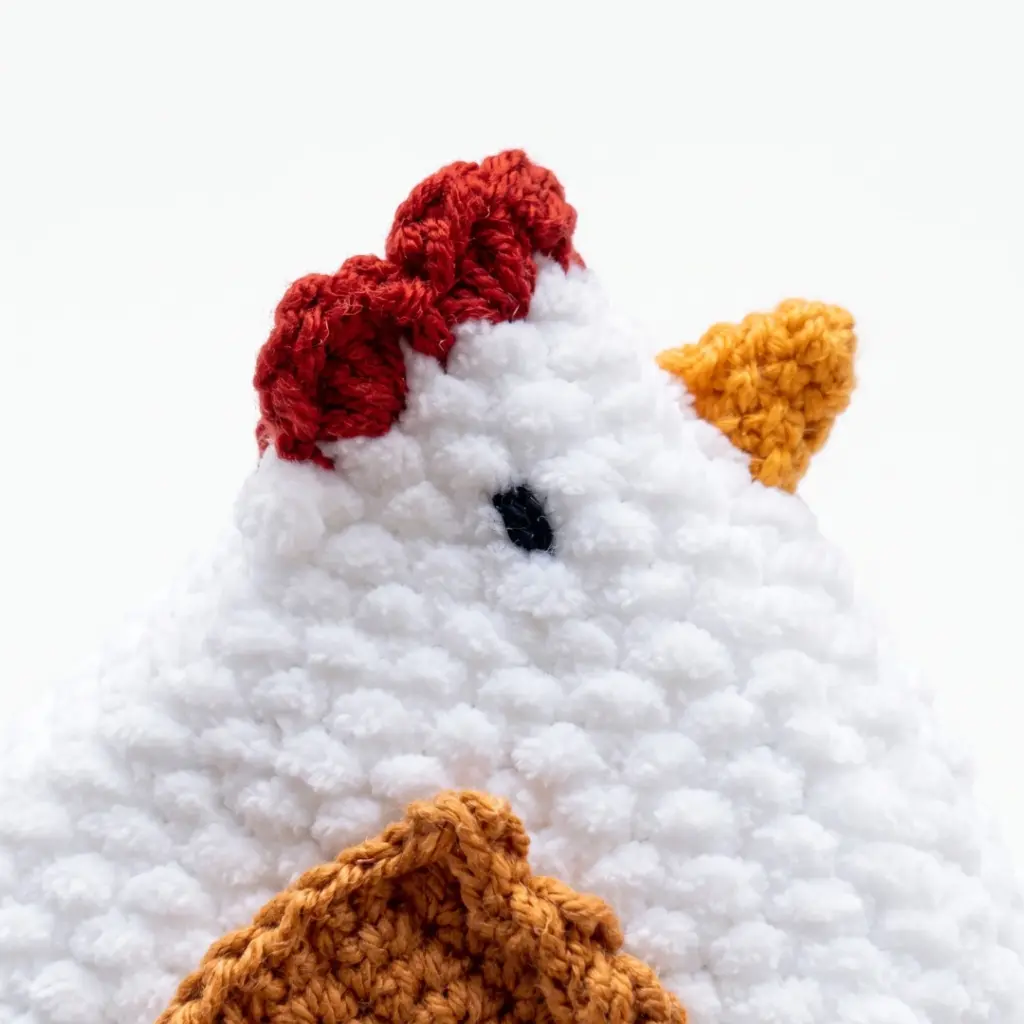
There is something undeniably delightful about carrying a tiny, fluffy chicken in your hand. This adorable crochet chicken bag is the perfect blend of whimsy and utility, designed to stop people in their tracks at the farmer’s market, a birthday party, or simply on your morning commute. Measuring approximately 10 cm × 12.5 cm (4″ × 5″), this intermediate-level amigurumi project is compact enough to serve as a coin purse or lip balm holder, yet spacious enough to hold a small treasure collection for a child. With its ruffled wings that double as pockets, a curly tail, and embroidered eyes, this handmade tote is a project that offers high rewards for the effort involved.
Gift and Use Ideas
While this chicken bag is a fantastic standalone piece of wearable art, its versatility makes it an exceptional gift. The ruffled wings create natural little pockets, making it ideal for holding small essentials like lip balm, mints, or a debit card. For children, it serves as a charming “treasure bag” for school runs or a unique accessory for dollhouses. The sturdy strap and structured body mean it can withstand daily use, making it a practical yet adorable gift for birthdays, baby showers, or as a unique handmade present for a crochet enthusiast. The soft, bulky yarn gives it a comforting texture, perfect for snuggling or carrying around.
Project Overview
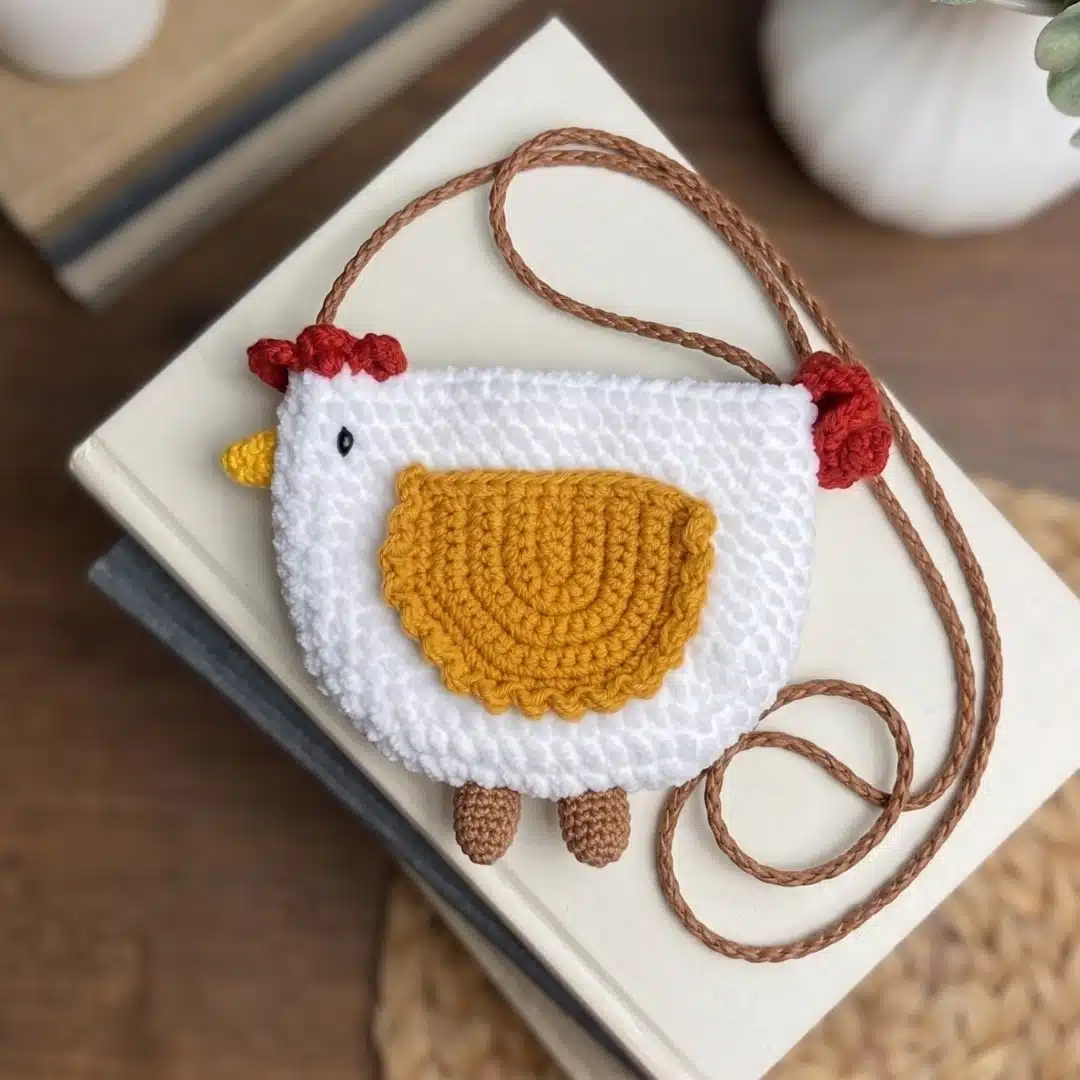
This pattern creates a mini purse shaped like a fluffy chicken. The body is worked in an oval shape and folded to create the bag structure. The wings are attached over the remaining front loops of the body, creating small open pockets. The project features a curly tail, a tufted crest, and a long strap for carrying. It is written in US crochet terminology and is considered an intermediate-level project.
Materials
- Body Yarn: Himalaya Dolphin Baby #80301 — Bulky / Super Bulky weight Yarn
- Crest & Tail Yarn: Gazzal Baby Bamboo #95233
- Beak Yarn: Gazzal Baby Cotton #3417
- Wing Yarn: Gazzal Baby Cotton #3447
- Legs & Strap Yarn: Alize Bella #466
- Embroidery Thread: Black cotton thread for eyes
- Hooks: US C-2 / 2.75 mm; US Steel #8 / 1.5 mm (for smaller pieces)
- Notions: Yarn needle / tapestry needle with a large eye, scissors, stitch markers
- Matching Yarn: For sewing on legs, wings, crest, and beak
Gauge and Finished Size
Gauge is not critical for this project, but using the recommended yarn and hook sizes will produce a finished bag of approximately 10 cm × 12.5 cm (4″ × 5″).
Abbreviations
- ch — Chain
- dc — Double Crochet
- hdc — Half Double Crochet
- inc — Increase (2 sc in the same stitch)
- MR — Magic Ring
- sc — Single Crochet
- sk — Skip
- sl st — Slip Stitch
- SM — Stitch Marker
- st / sts — Stitch / Stitches
Pattern Notes
The body is worked in the round as a continuous spiral (no joining slip stitch at the end of each round unless specified). Use a stitch marker to track the beginning of each round. The wings are worked in flat rows after the initial foundation round. Stitch counts are given at the end of each round or row in parentheses: (##). The wings attach over the remaining front loops of the body and form small pockets — do not weave in the wing yarn tails until after assembly. The beak and legs are worked with the smaller 1.5 mm hook. Switch hooks as indicated.
Pattern Instructions
Body
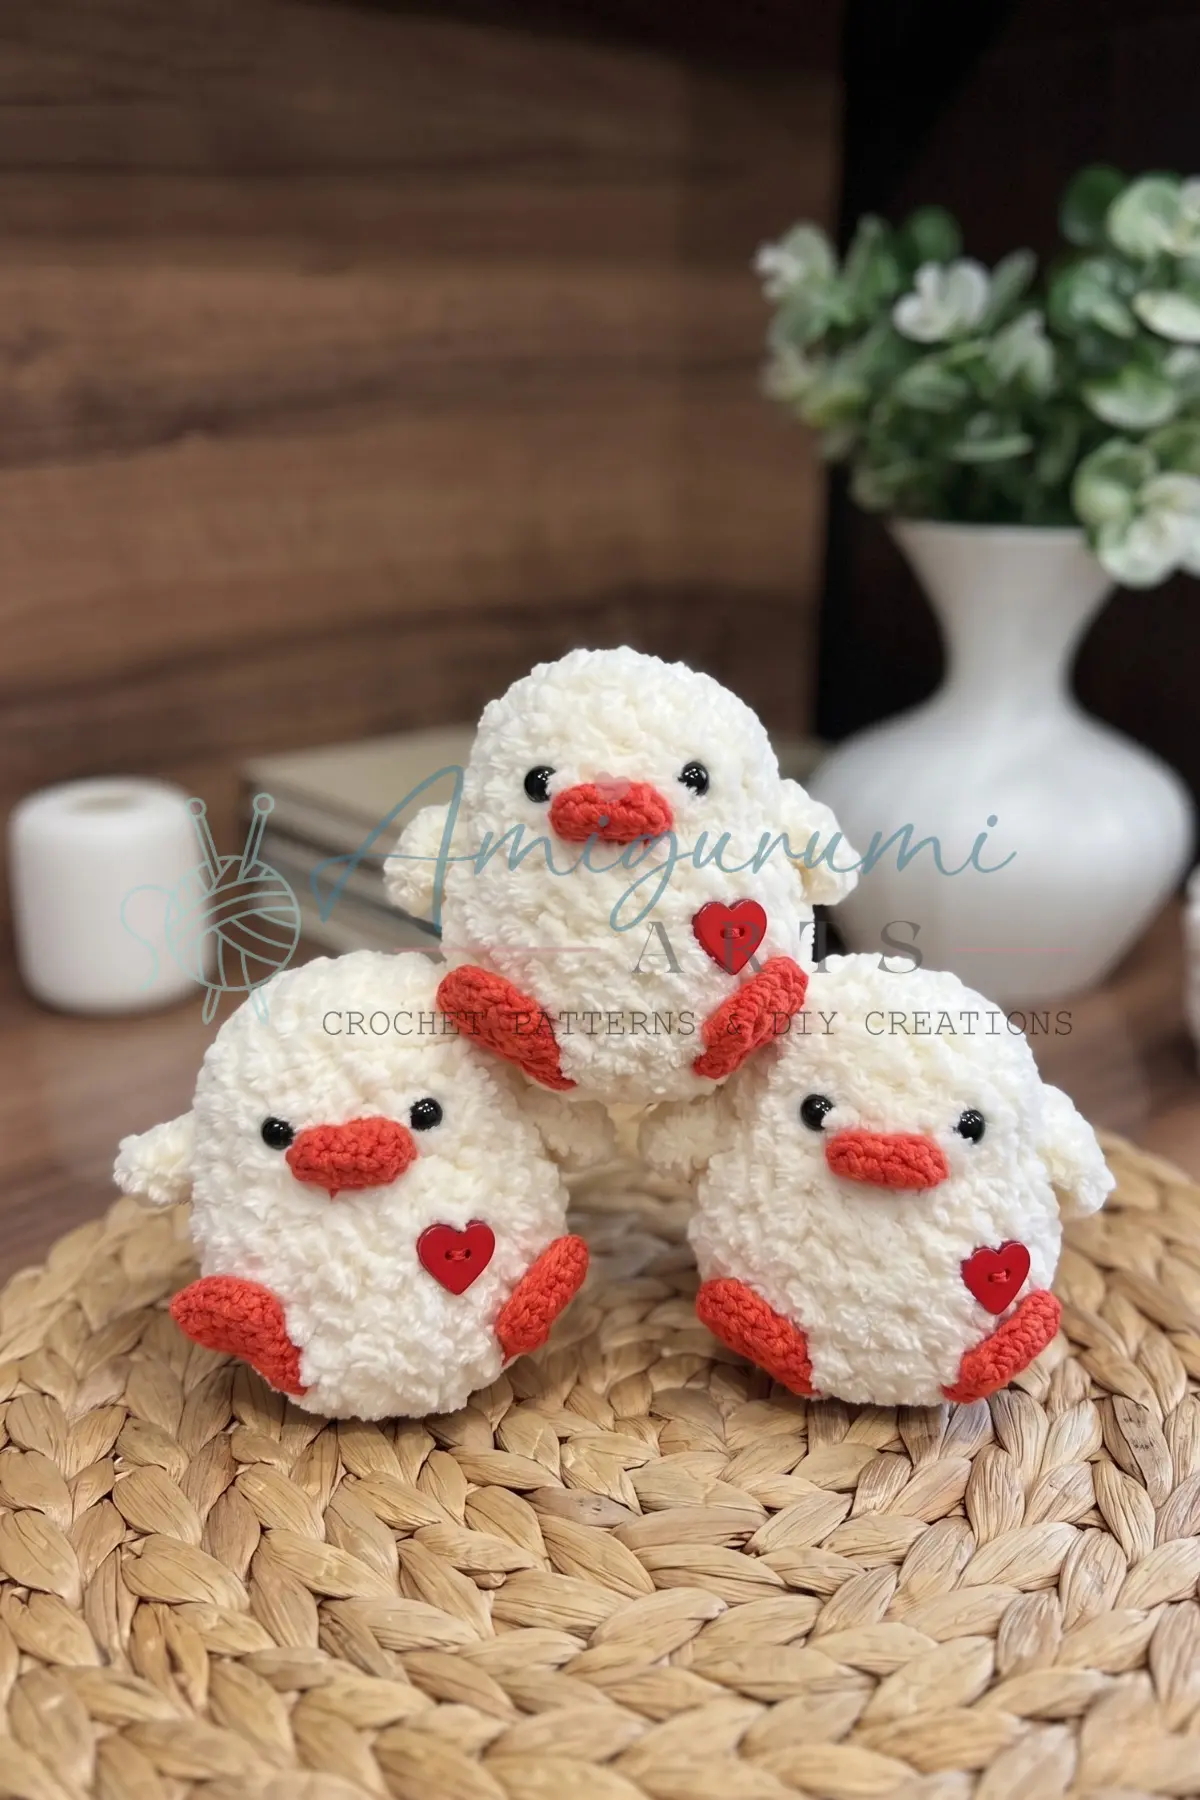
Use C-2 / 2.75 mm hook and Body yarn (Himalaya Dolphin Baby #80301).
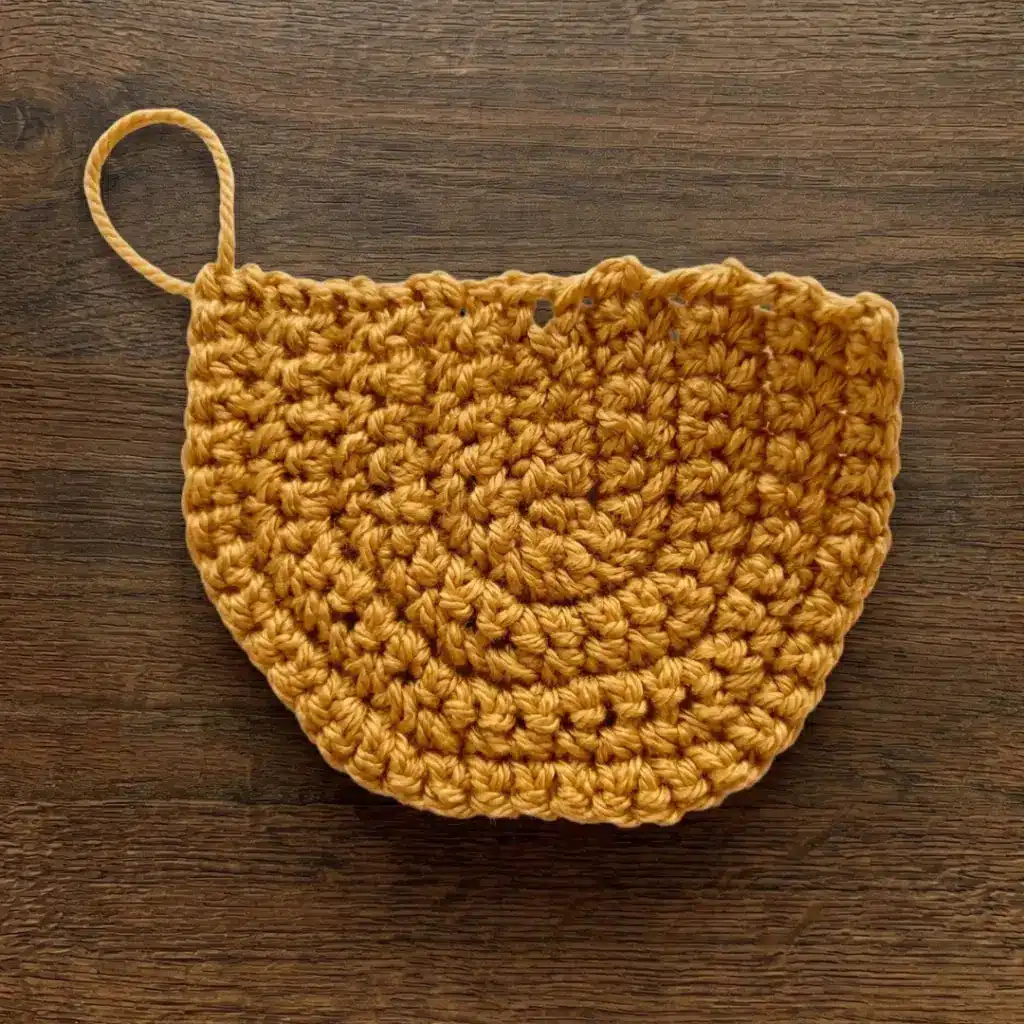
- Foundation: Chain 11. Starting in the 2nd chain from the hook, sc in the next 9 sts, 3 sc in the last chain. Rotate work to work along the opposite side of the foundation chain: sc in the next 9 sts, 3 sc in the last st. Mark the beginning of the round. (24)
- Rnd 2: 9 sc, inc 3 times, 9 sc, inc 3 times. (30)
- Rnd 3: 9 sc, inc, 1 sc repeat 3 times, 9 sc, inc, 1 sc repeat 3 times. (36)
- Rnd 4: 9 sc, inc, 2 sc repeat 3 times, 9 sc, inc, 2 sc repeat 3 times. (42)
- Rnd 5: 9 sc, inc, 3 sc repeat 3 times, 9 sc, inc, 3 sc repeat 3 times. (48)
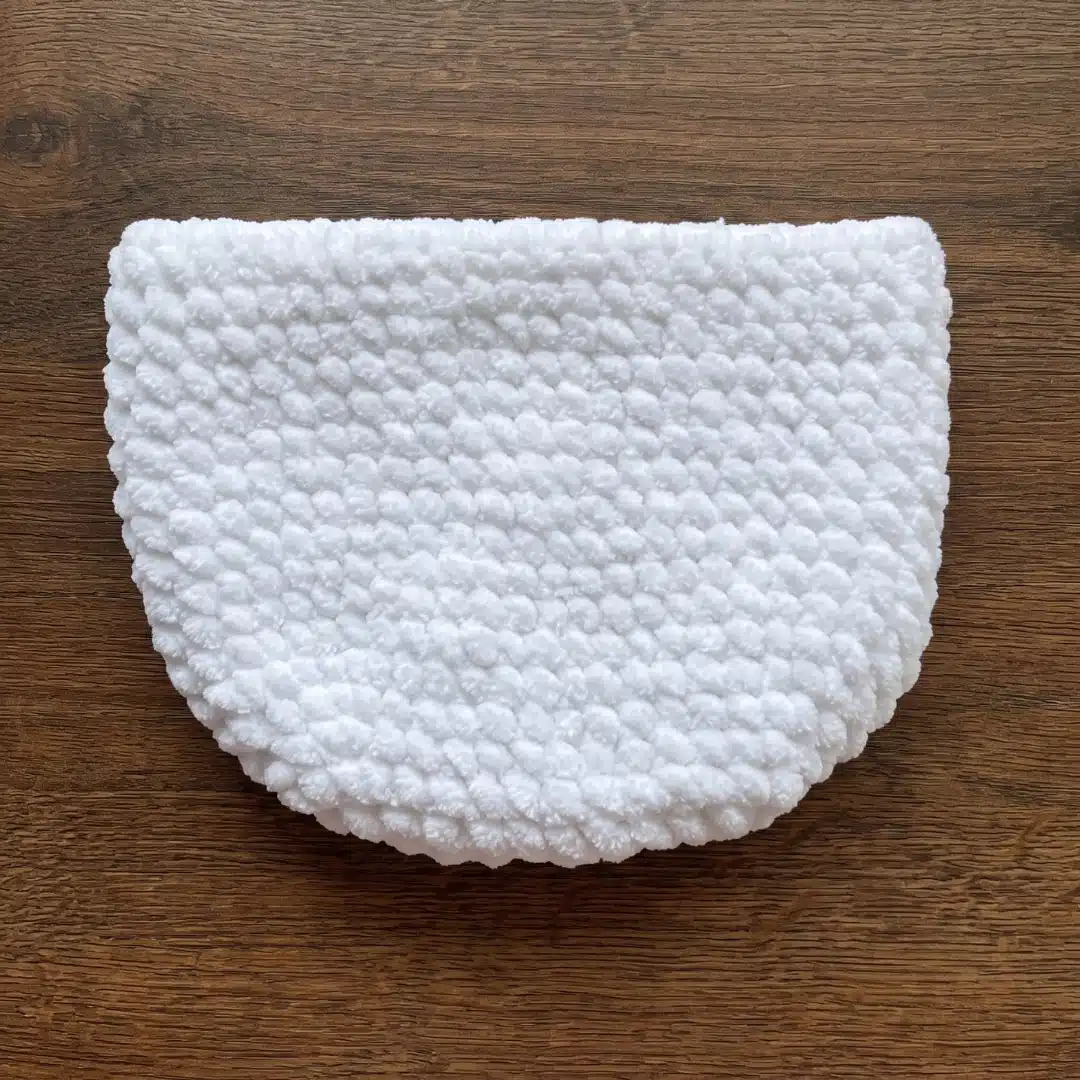
- Rnds 6–17: sc in each st around. (48) Work 12 rounds even.
Sl st to close. Fasten off and weave in the end.
Wings (make 2)
Use C-2 / 2.75 mm hook and Wing yarn (Gazzal Baby Cotton #3447).
- Foundation: Chain 7. Starting in the 2nd chain from the hook, sc in the next 5 sts, 3 sc in the last chain. Rotate work to work along the opposite side of the foundation chain: sc in the next 5 sts. (13)
- Continue working in flat rows. At the beginning of each row, chain 1 (does not count as a stitch), then turn.
- Row 1: Ch 1, 5 sc, inc 3 times, 5 sc. (16)
- Row 2: Ch 1, 5 sc, inc, 1 sc repeat 3 times, 5 sc. (19)
- Row 3: Ch 1, 5 sc, 2 sc, inc repeat 3 times, 5 sc. (22)
- Row 4: Ch 1, 5 sc, inc, 3 sc repeat 3 times, 5 sc. (25)
- Row 5: Ch 1, 5 sc, 4 sc, inc repeat 3 times, 5 sc. (28)
- Row 6: Ch 1, 5 sc, inc, 5 sc repeat 3 times, 5 sc. (31)
- Row 7: Ch 1, 5 sc, 6 sc, inc repeat 3 times, 5 sc. (34)
Now work the decorative edge along the curved edge using Front Loop Only (FLO).
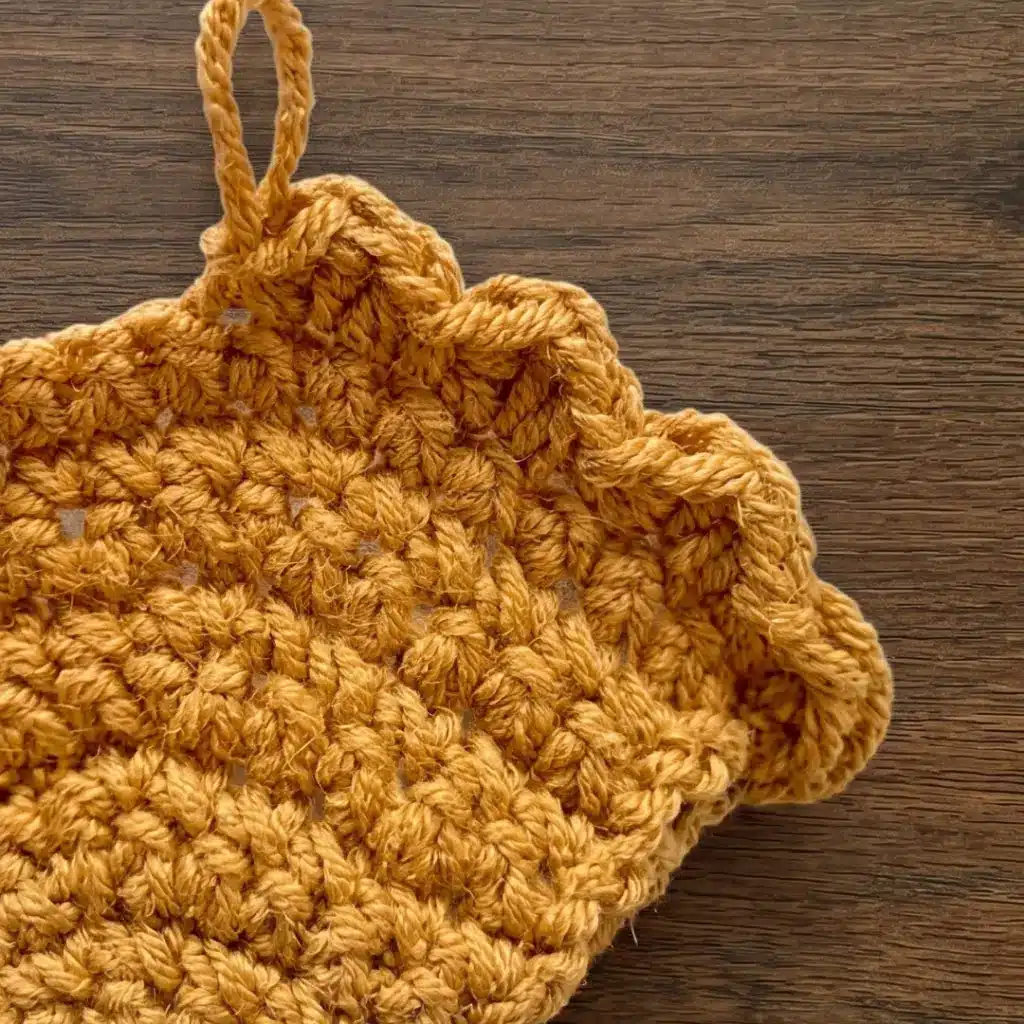
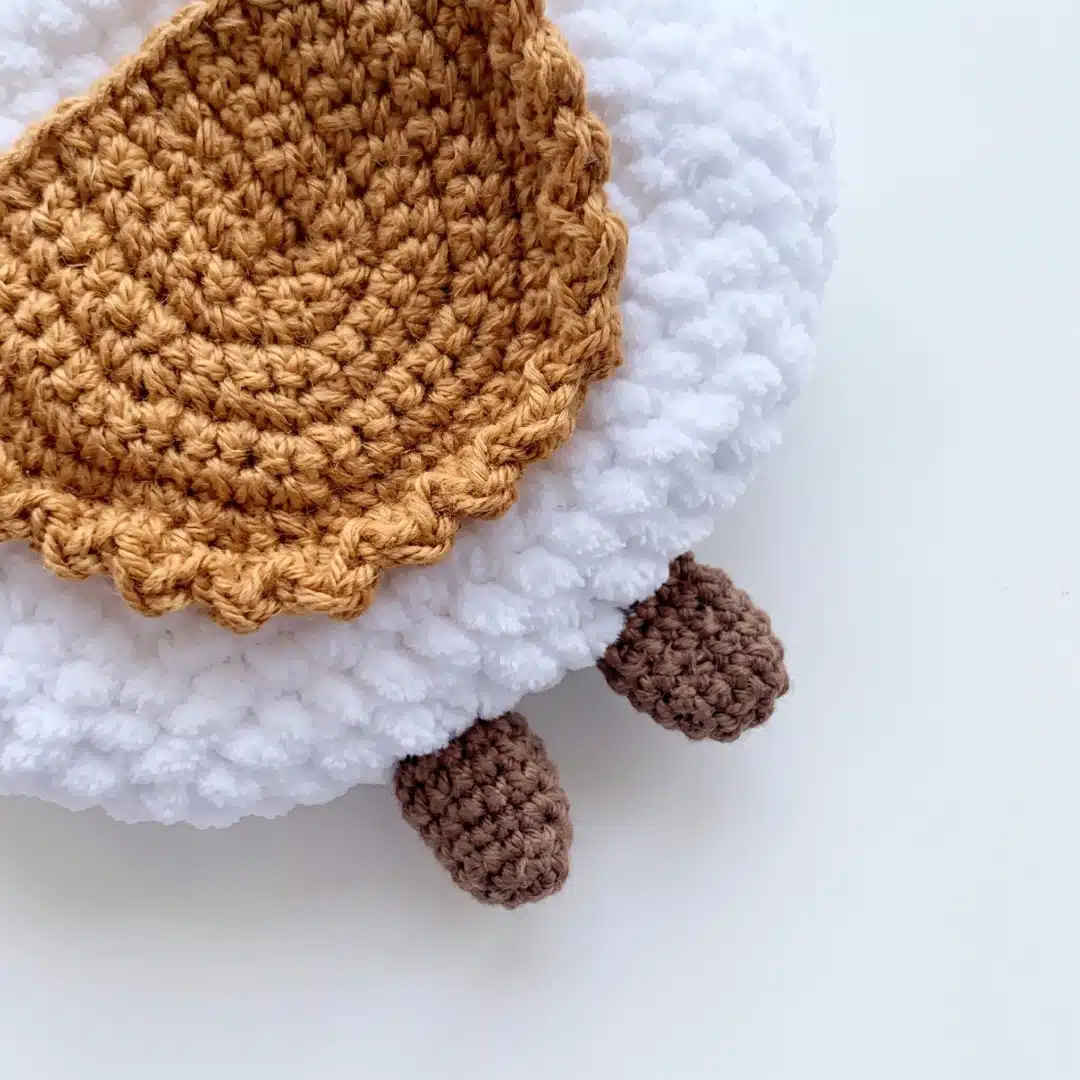
- Ruffle Row: Ch 1. Working into the front loop only of each stitch: hdc, dc, hdc in the first loop, sl st in the next loop — repeat this sequence to the end of the row. Do not fasten off yet.
- Work sc evenly along the remaining straight edge of the wing to neaten it. Fasten off and leave a long yarn tail for sewing.
Tail
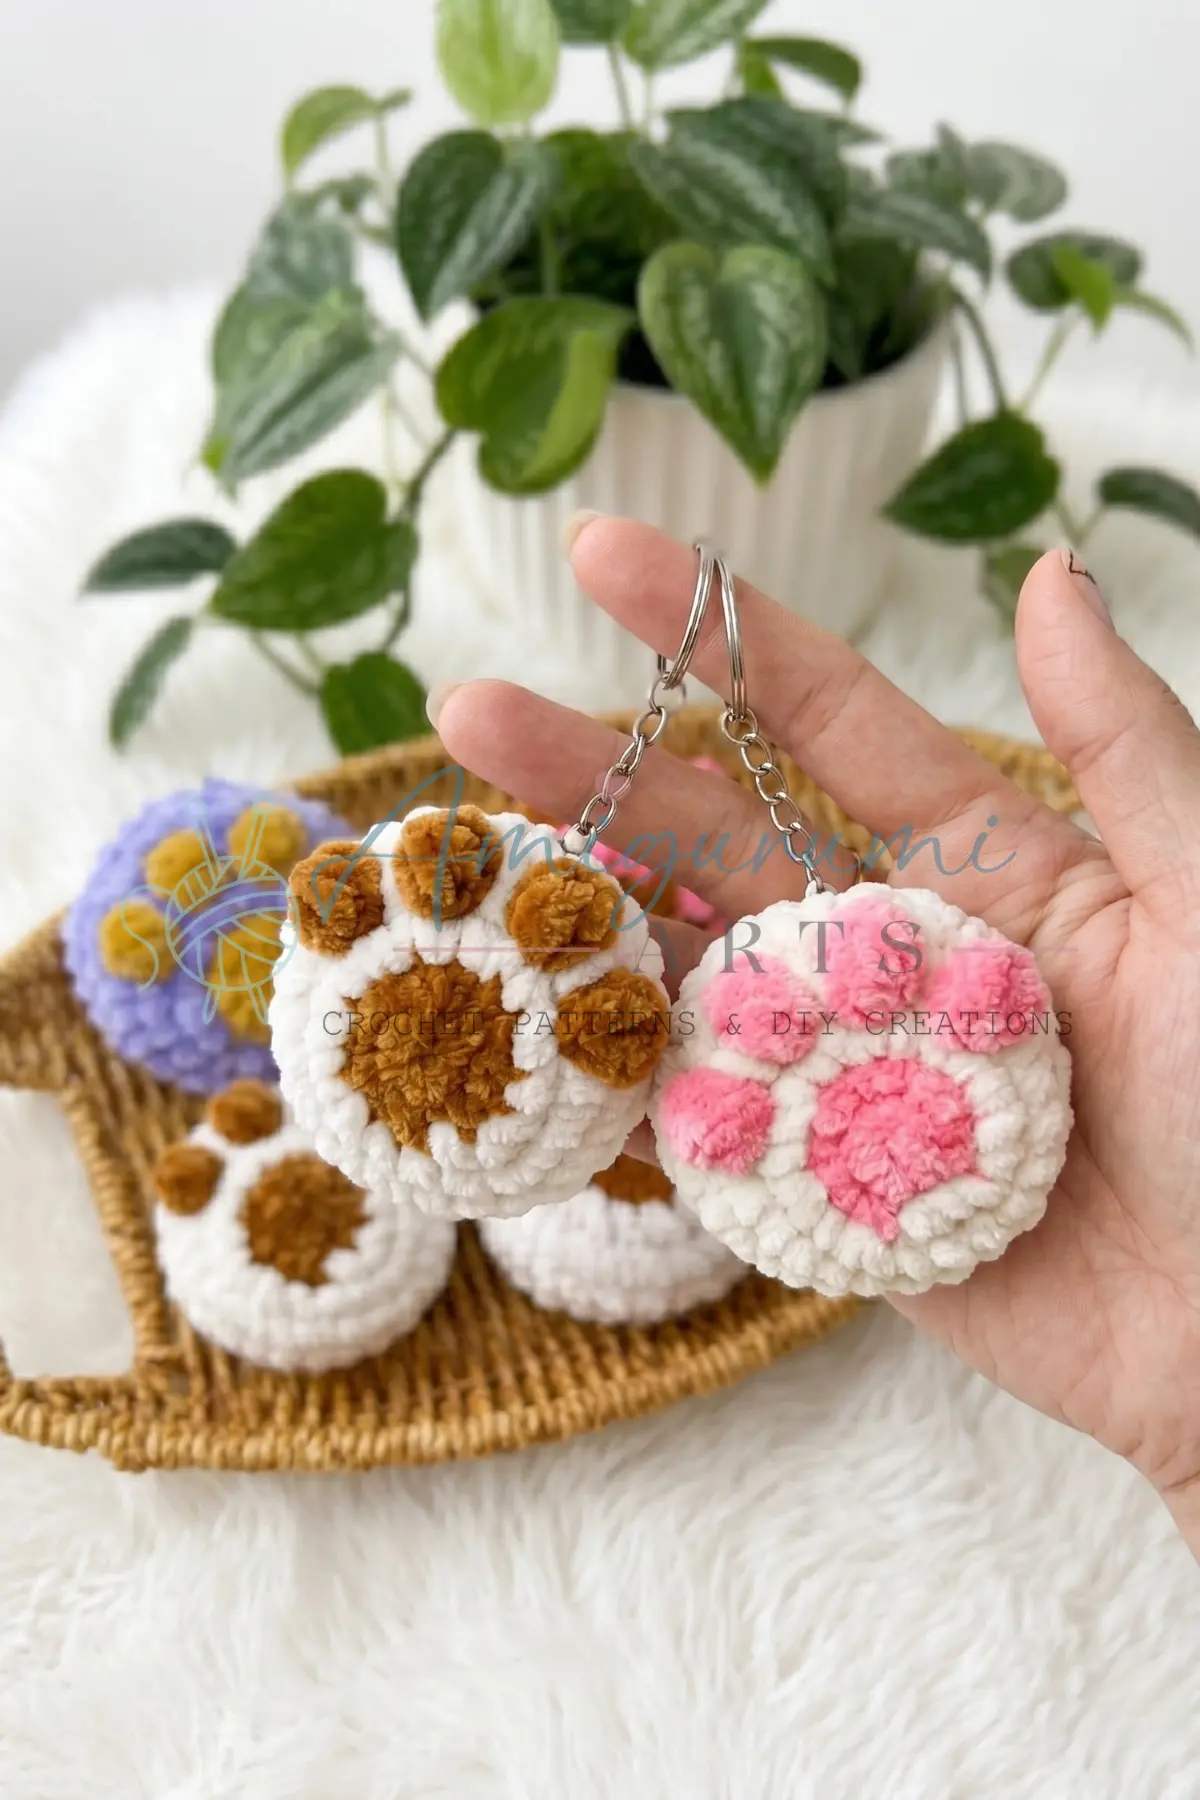
Use C-2 / 2.75 mm hook and Crest/Tail yarn (Gazzal Baby Bamboo #95233). Work directly onto the body.
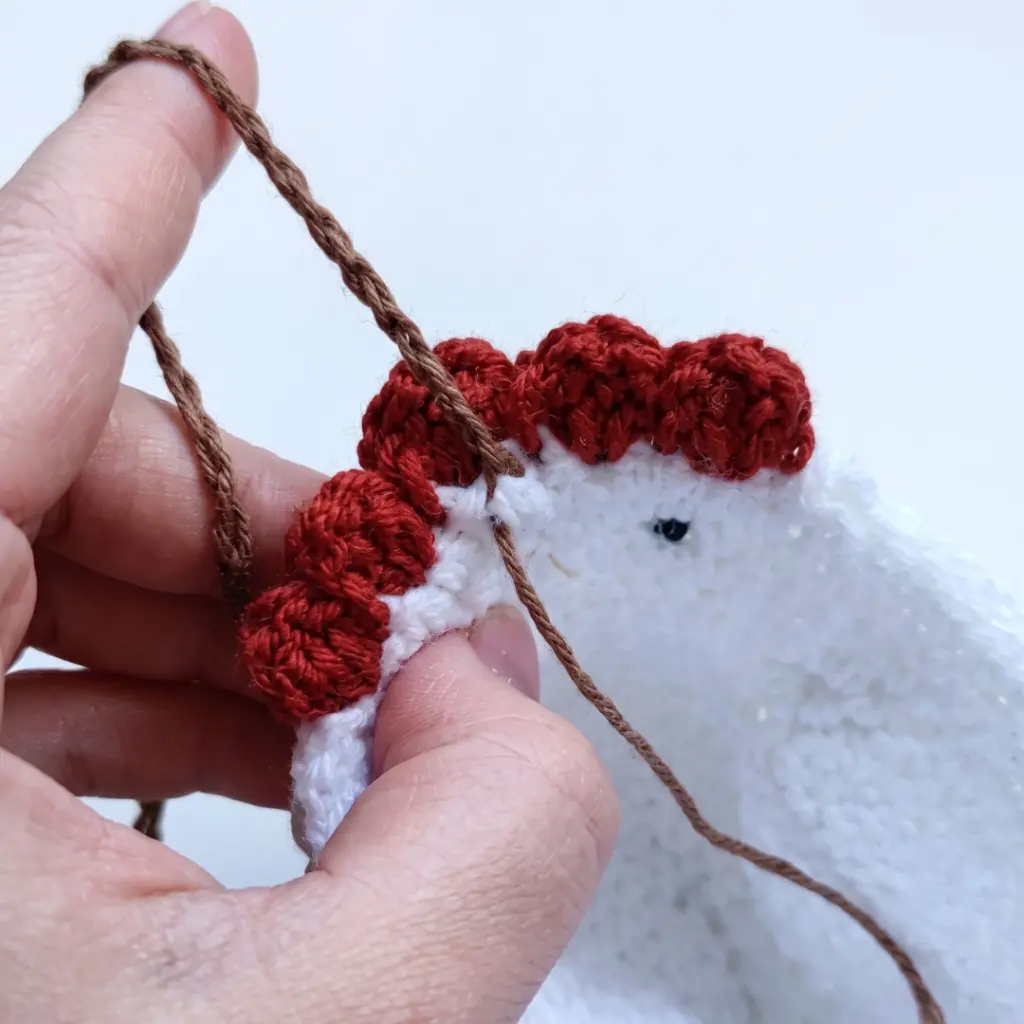
- Locate the stitch at one of the folded side edges of the bag. Join yarn with a sl st.
- Curl 1: Ch 10. Starting in the 2nd chain from the hook, work 2 dc in each chain back down to the bag. Sl st into the body to anchor.
- Curl 2: Repeat from Ch 10 into the same base stitch to create a second curl.
- Curl 3: Repeat once more into the same base stitch.
You now have 3 curly tail feathers emerging from the same point. Fasten off and weave in the end.
Beak
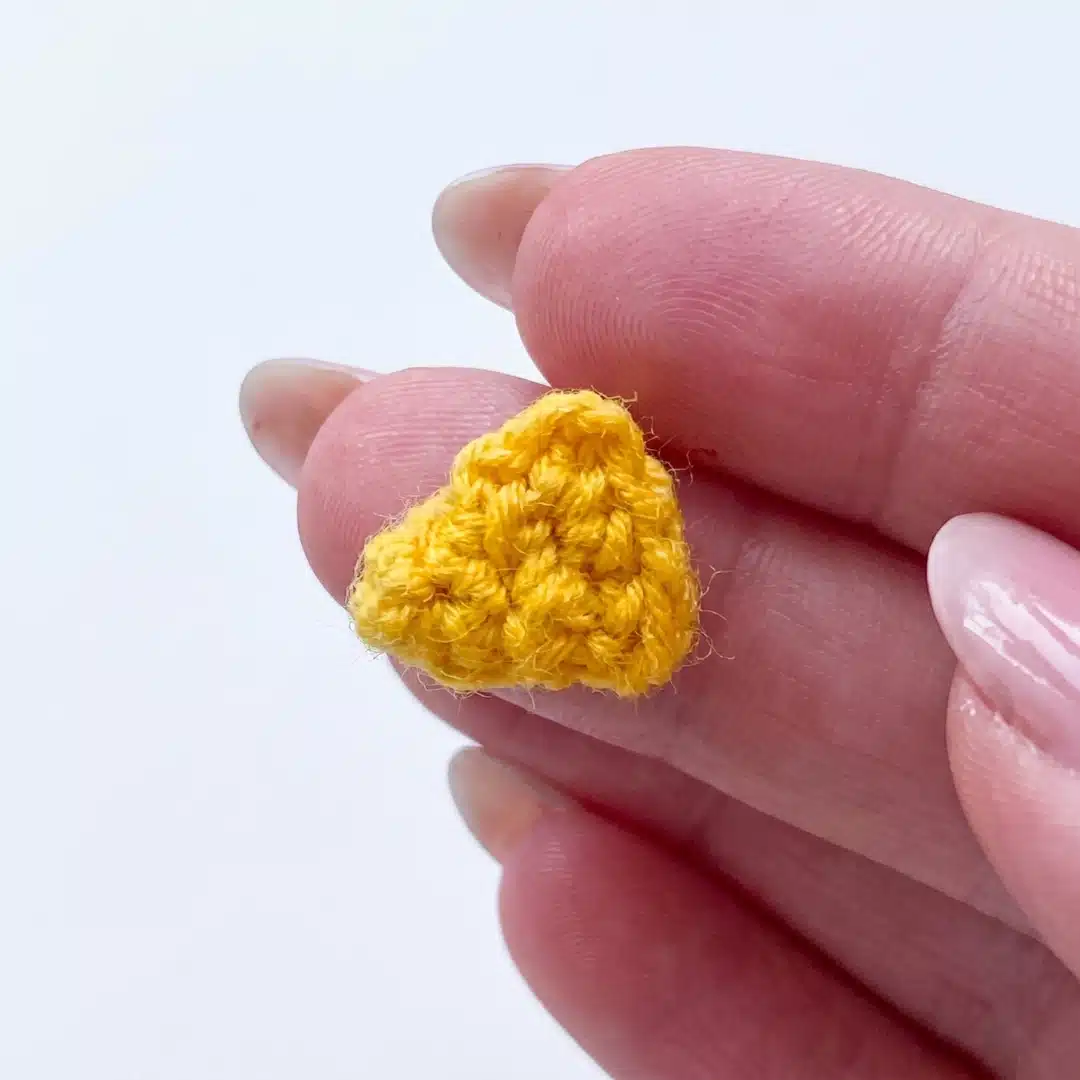
Use Steel #8 / 1.5 mm hook and Beak yarn (Gazzal Baby Cotton #3417).
- Rnd 1: 3 sc in MR. (3)
- Rnd 2: inc in each st around. (6)
- Rnd 3: sc in each st around. (6)
- Rnd 4: 1 sc, inc repeat 3 times. (9)
Fold the beak flat and work 4 sc through both layers to close. Fasten off, leaving a long yarn tail for sewing.
Crest
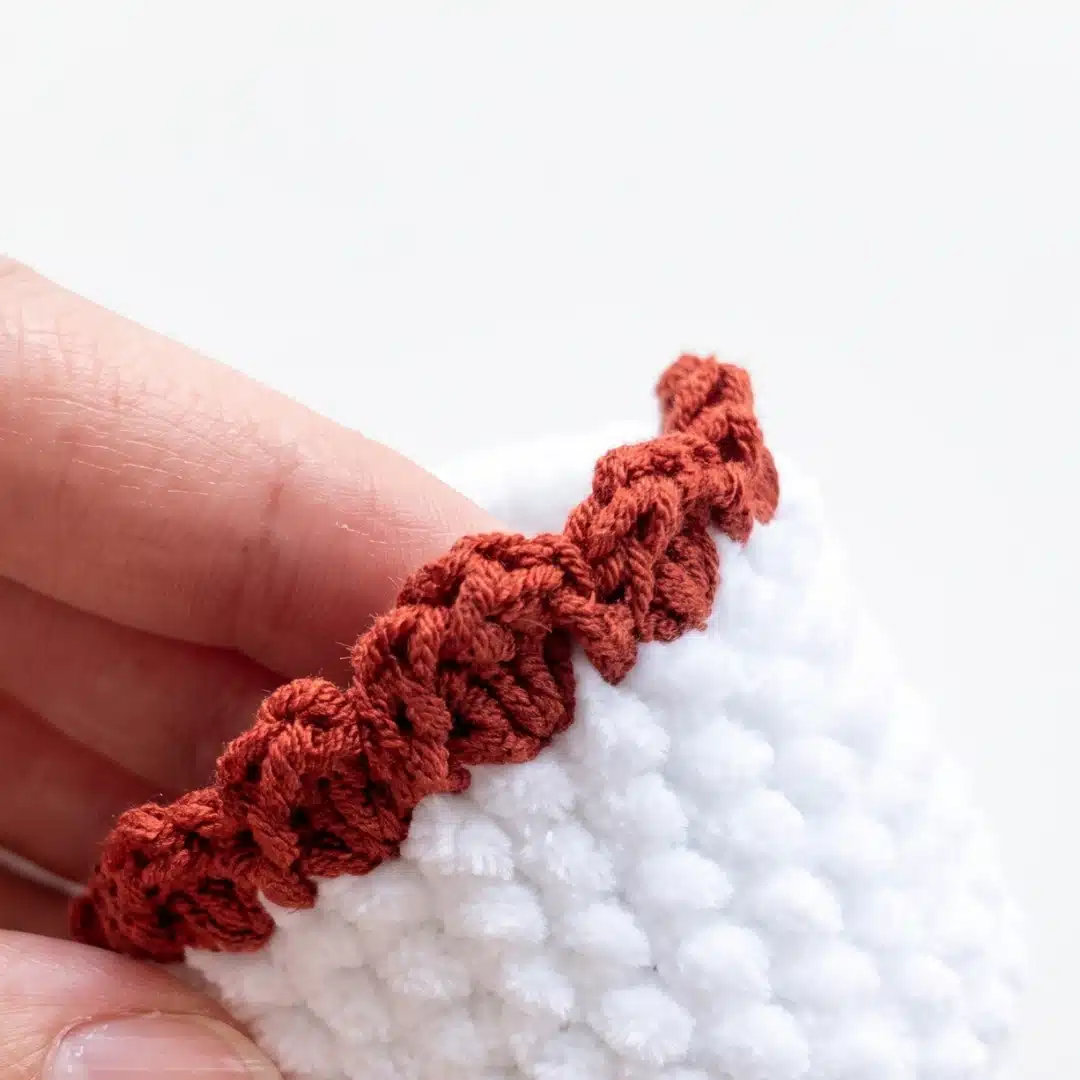
Use C-2 / 2.75 mm hook and Crest/Tail yarn (Gazzal Baby Bamboo #95233). Work directly onto the body at the opposite fold from the tail.
- Place stitch markers to identify 5 stitches on each side of the fold (10 sts total across the top edge).
- Join yarn with a sl st just before the first marked stitch.
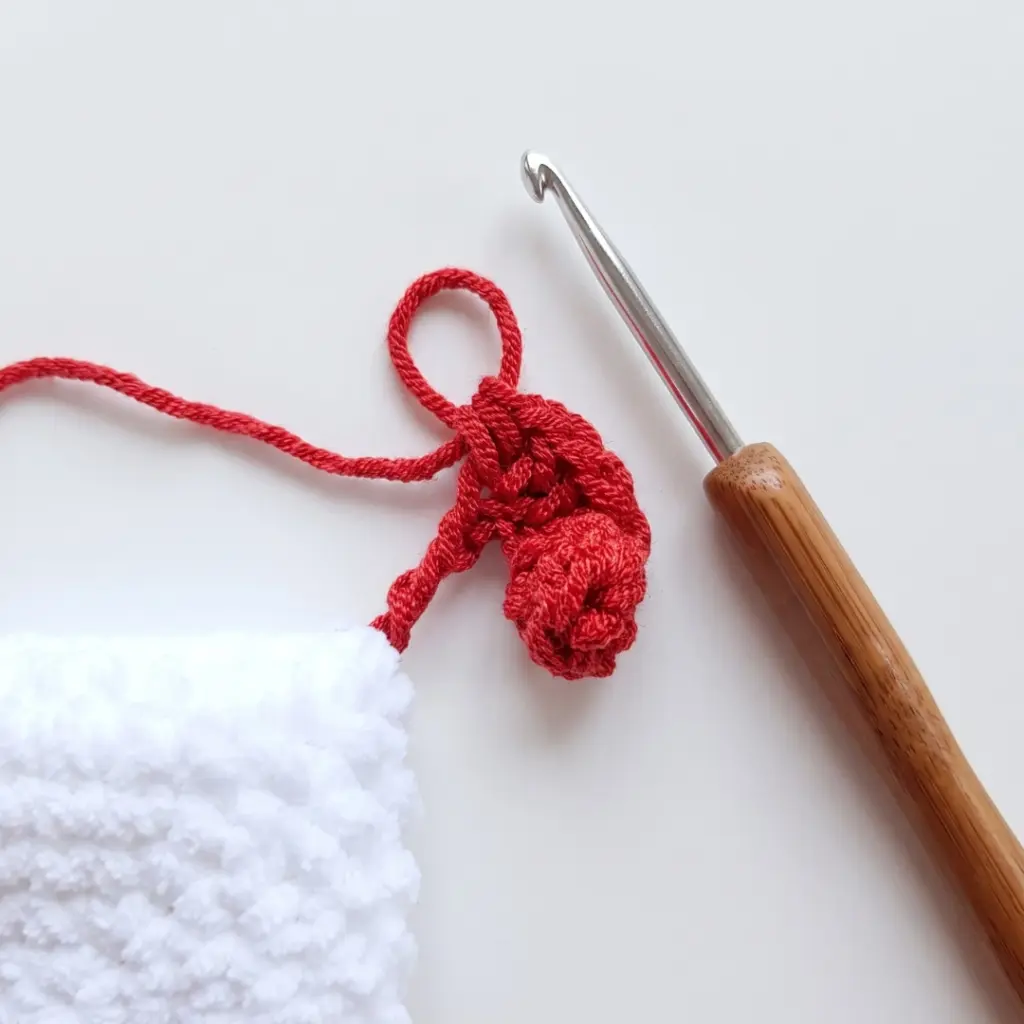
- Crest Row: Into the next st: hdc, 2 dc, hdc. Sl st into the following st. Repeat this shell sequence 4 more times across the marked stitches (5 shells total).
Fasten off and weave in the end.
Legs (make 2)
Use Steel #8 / 1.5 mm hook and Leg yarn (Alize Bella #466).
- Rnd 1: 5 sc in MR. (5)
- Rnd 2: inc in each st around. (10)
- Rnds 3–6: sc in each st around. (10) Work 4 rounds even.
Fold flat and work 5 sc through both layers to close. Fasten off, leaving a long yarn tail for sewing.
Assembly
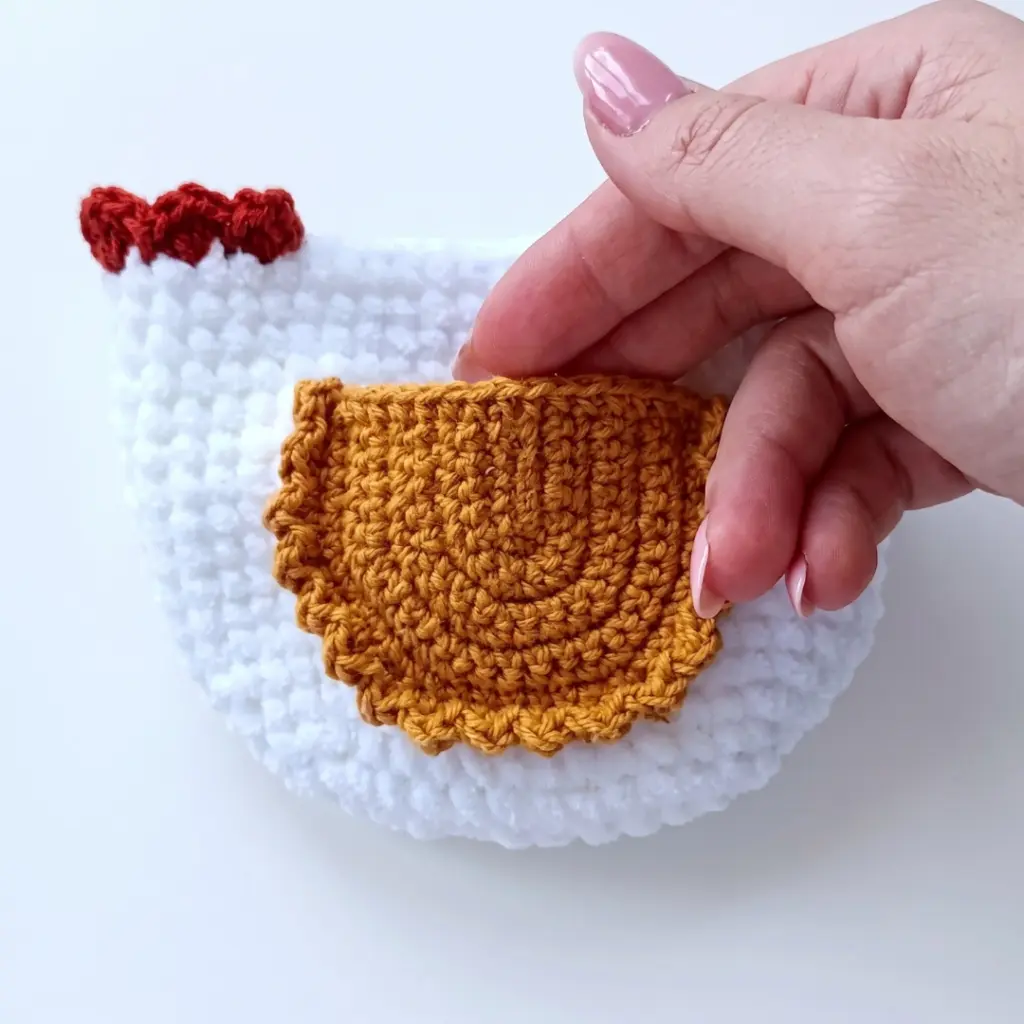
- Attach the Wings: Working into the remaining back loops on the body, sew each wing onto the sides of the bag so the wing forms a small open pocket. Use the long yarn tails and a whipstitch to secure the lower and side edges, leaving the ruffled top edge open.
- Attach the Legs: Using matching yarn and a yarn needle, sew each leg to the bottom edge of the bag, evenly spaced. Use the yarn tails and a whipstitch, pulling firmly to keep the legs upright.
- Attach the Beak: Sew the folded beak onto the front center of the bag at a natural face position, using the yarn tail and small whipstitches.
- Embroider the Eyes: Using black cotton embroidery thread, embroider two small eyes on either side of the beak with a satin stitch or several small straight stitches worked in a circle to build up each eye.
- Make the Strap: Using C-2 / 2.75 mm hook and Leg/Strap yarn (Alize Bella #466), join yarn with a sl st into the front loop of a stitch at the fold below the crest. Chain 160. Join with a sl st into the front loop of the corresponding stitch at the opposite fold, below the tail. Working back along the strap in the opposite direction, work 160 sl sts back along the chain to reinforce it. Fasten off and weave in both ends.
Weave in all remaining ends securely on the wrong side of the bag.
Tips
- Keep your tension tight on the body. Because this bag needs to hold its shape without any lining or structure, a tighter tension through the body rounds will give you crisper definition at the edges and a bag that sits well. If the fabric feels floppy, try going down a half hook size.
- Mark the fold lines early. The crest, tail, and strap all anchor to the two folded side edges of the oval body. Place stitch markers at the center stitches of each short end right after you finish the foundation round — this saves a lot of counting and frustration later.
- Stuff the beak very lightly before closing. Before you work the final 4 sc to fold and close the beak, tuck in the tiniest pinch of fiberfill or a small yarn scrap. This gives the beak a slightly rounded, three-dimensional look that is much more charming than a flat version.
- The wing ruffle works best when relaxed. Don’t pull your yarn too tight during the ruffle row — a slightly looser tension here lets the hdc and dc stitches flare out naturally and creates a more convincing feather shape. If the ruffle curls inward, wet-block the wings flat before sewing them on.
- Reinforce the strap attachment. The 160-chain strap takes a bit of strain during use. When you anchor each end with a sl st into the front loop of the body, weave the yarn tail back through several stitches along the body edge before trimming — this distributes the load and prevents the attachment point from pulling loose over time.
Frequently Asked Questions
Can I use a different yarn for the body?
While the pattern recommends Himalaya Dolphin Baby for its specific bulky weight and texture, you can substitute other bulky or super bulky yarns. However, using the recommended yarn and hook sizes will ensure the bag measures approximately 10 cm × 12.5 cm (4″ × 5″).
How do I make the wings form pockets?
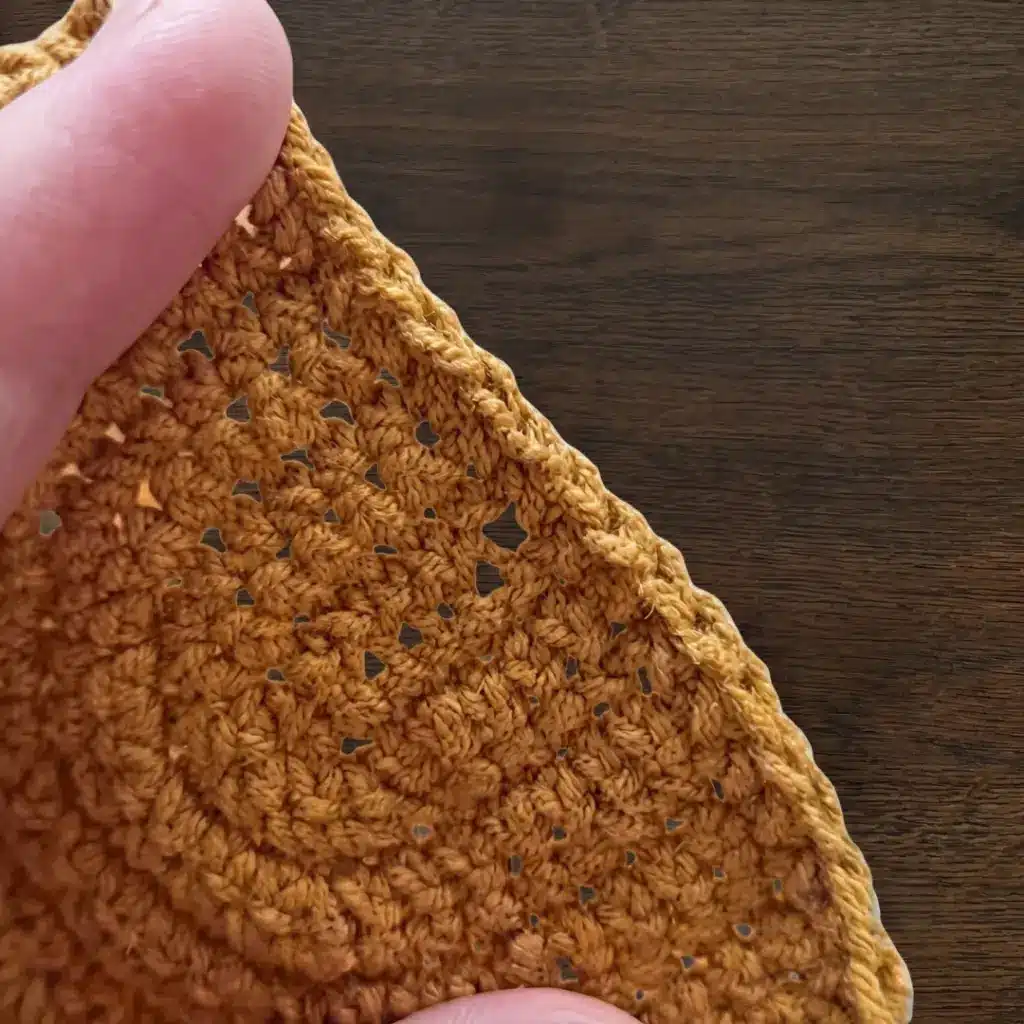
The wings are designed to attach over the remaining front loops of the body. When sewing the wings on, secure the lower and side edges but leave the ruffled top edge open. This creates a small open pocket inside the wing.
Why do I need two different hooks?
The body and wings are worked with the US C-2 / 2.75 mm hook. However, the beak and legs are small pieces that require more precision and tighter stitches, so they are worked with the US Steel #8 / 1.5 mm hook. Switching hooks ensures these small features are neat and proportional.
Is this pattern suitable for beginners?
This is considered an intermediate-level project. It involves working in the round, shaping an oval, attaching multiple components, and embroidering details. If you are a beginner, you may find the assembly and tension control challenging, but it is a great project to stretch your skills.
How do I reinforce the strap?
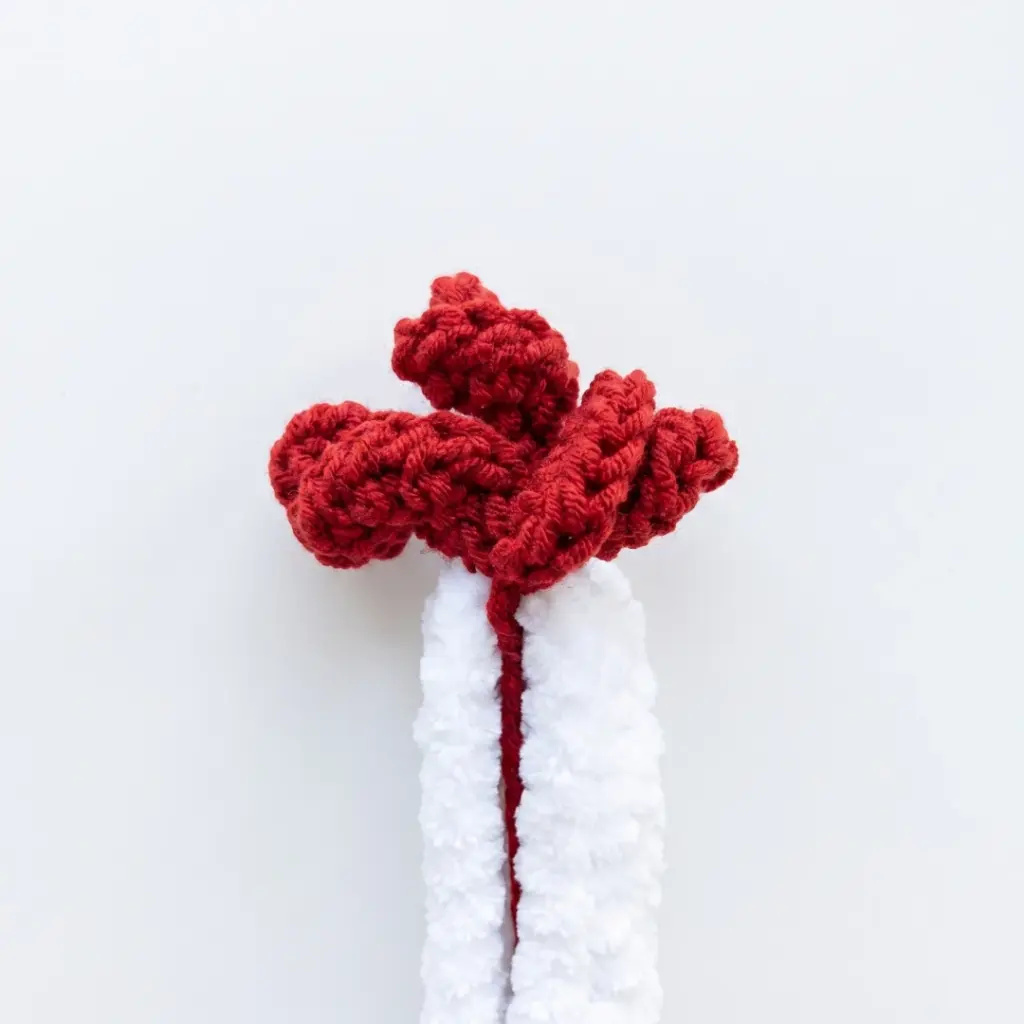
The strap is made by chaining 160 and then working 160 slip stitches back along the chain. This double-layering technique reinforces the strap, making it stronger and more durable for carrying the bag.
Pin This Crochet Pattern!