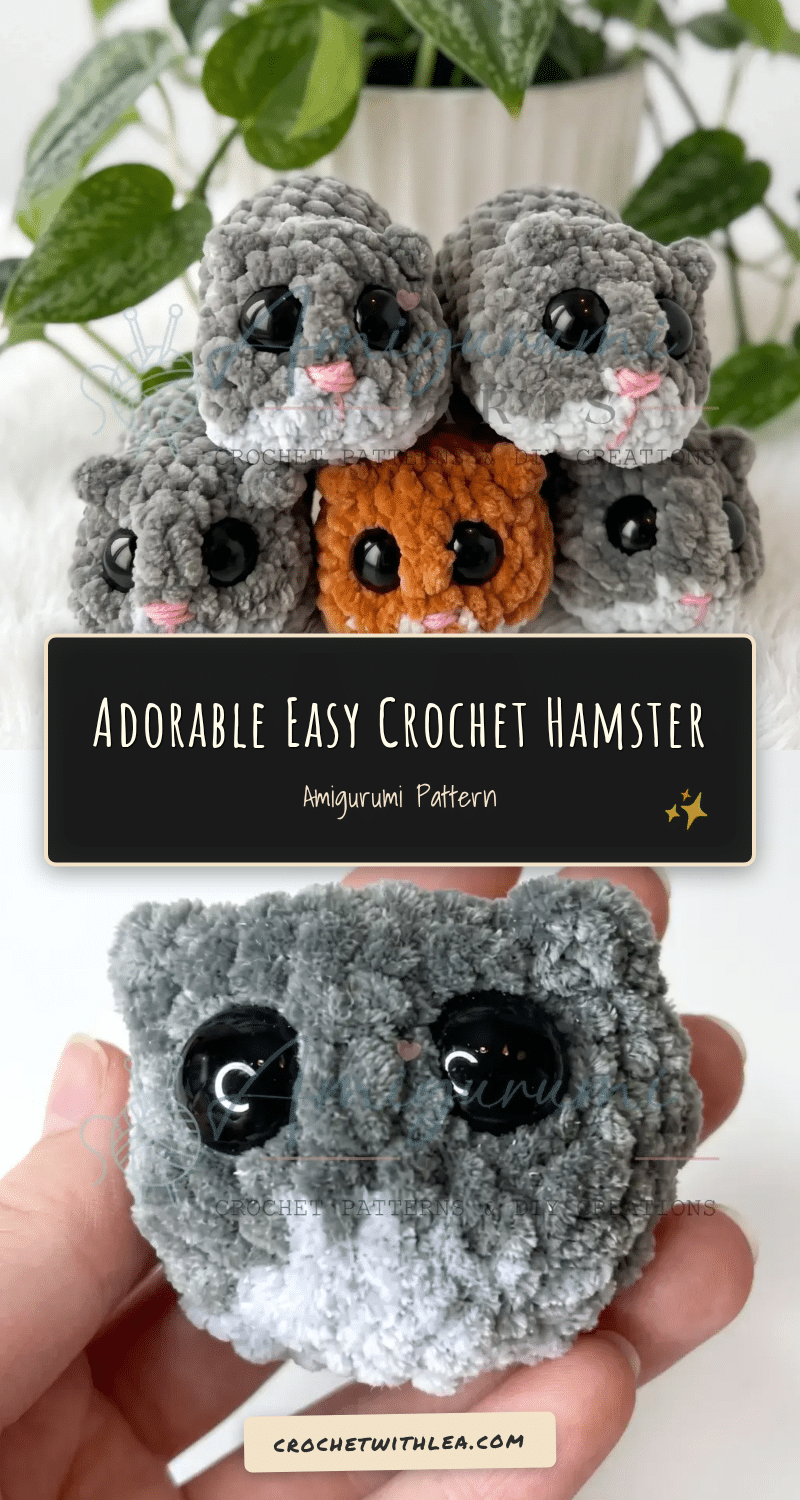
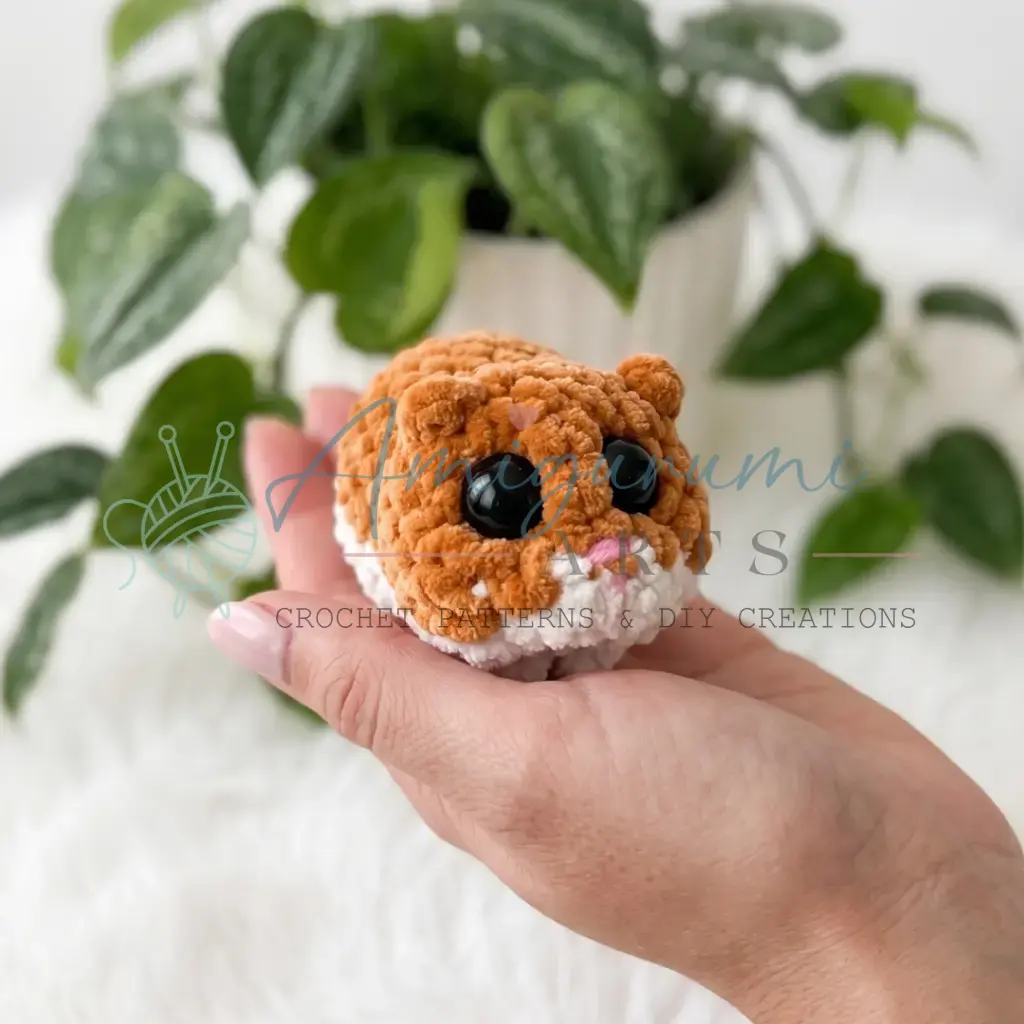
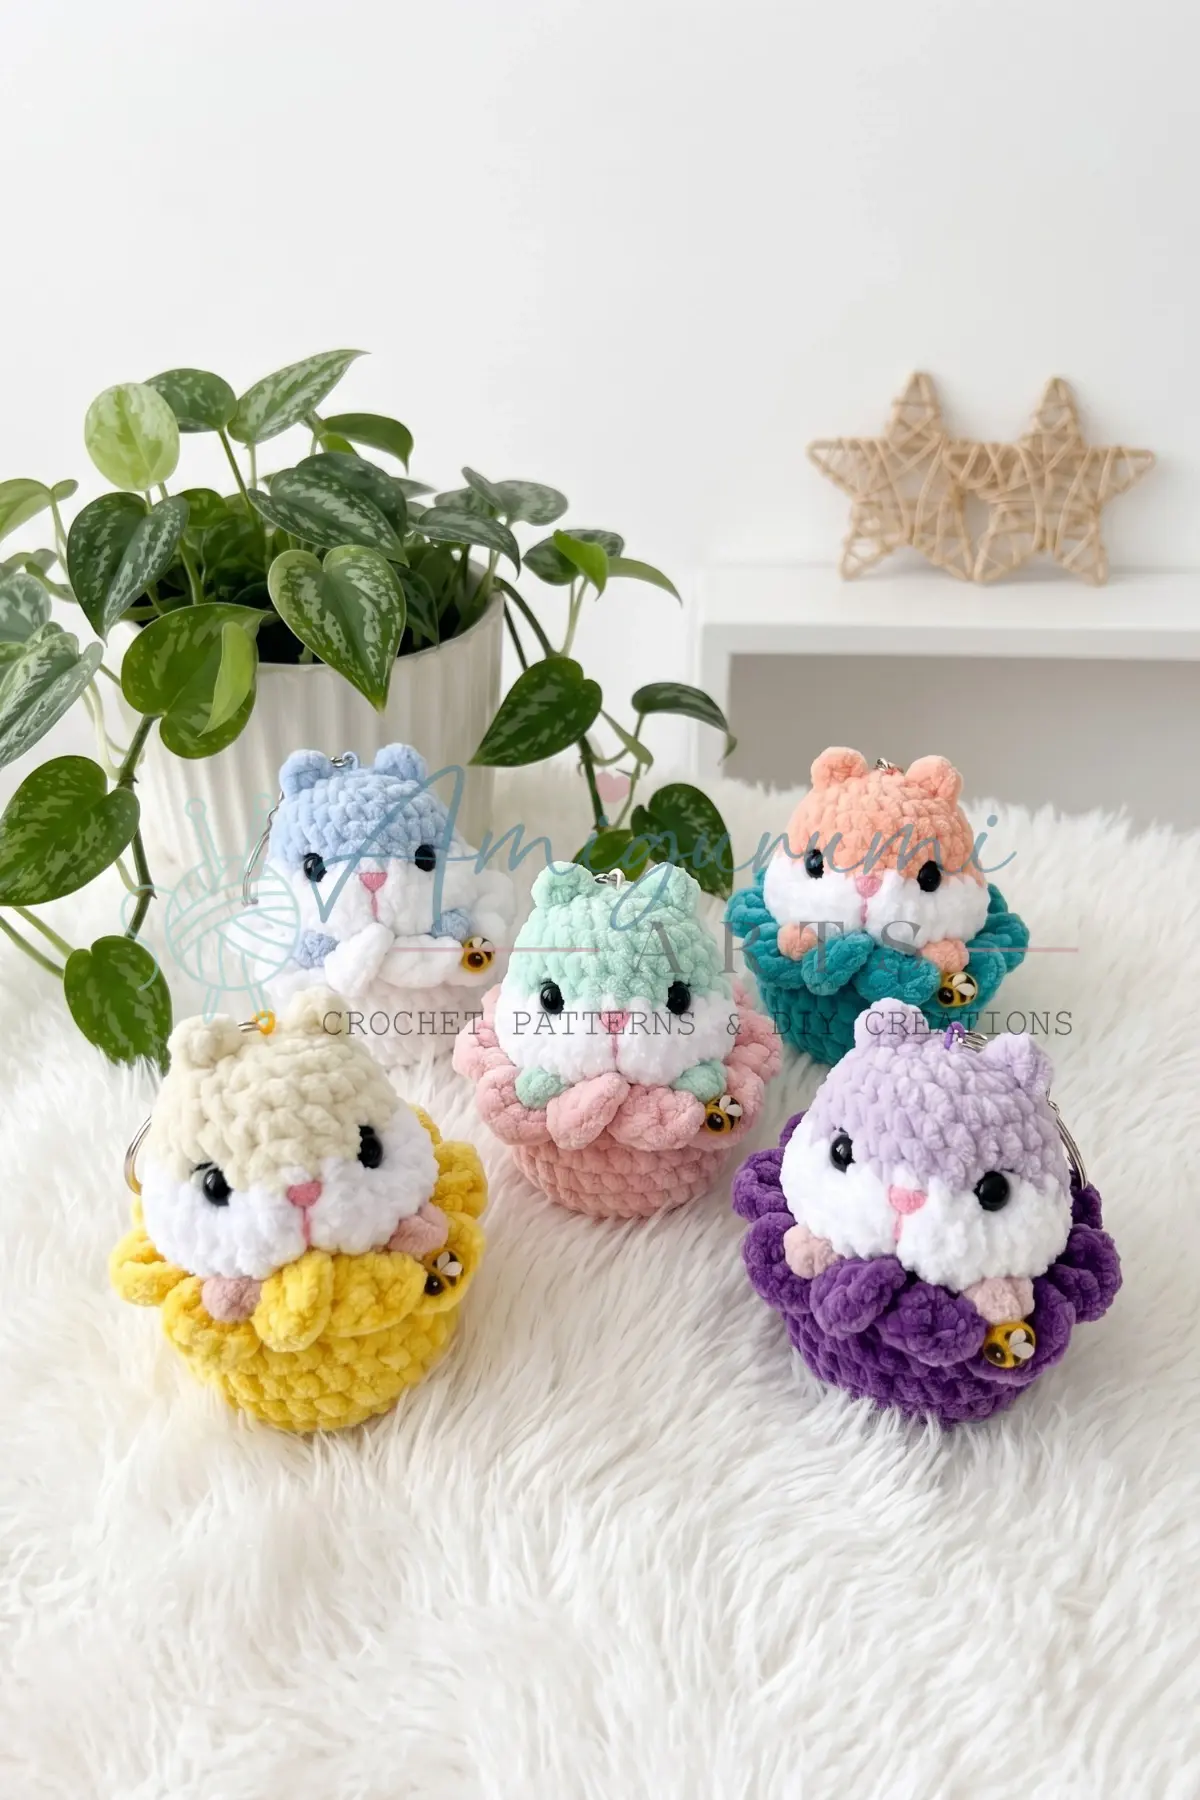
There is a specific kind of magic in amigurumi that comes from the rhythm of the hook and the gradual emergence of shape. It starts with a simple foundation, but as you work through the rounds, the fabric begins to curve and cup, transforming flat loops into a three-dimensional form. For this project, the texture plays a starring role. The interplay between tight single crochets and the voluminous, airy Puff Stitches creates a tactile contrast that is incredibly satisfying to make. You will feel the nose shaping up, the cheeks puffing out, and the body rounding off, all while managing two colors to define the hamster’s distinct silhouette. It is a project that rewards patience with a plush, huggable result.
Texture and Stitch Notes
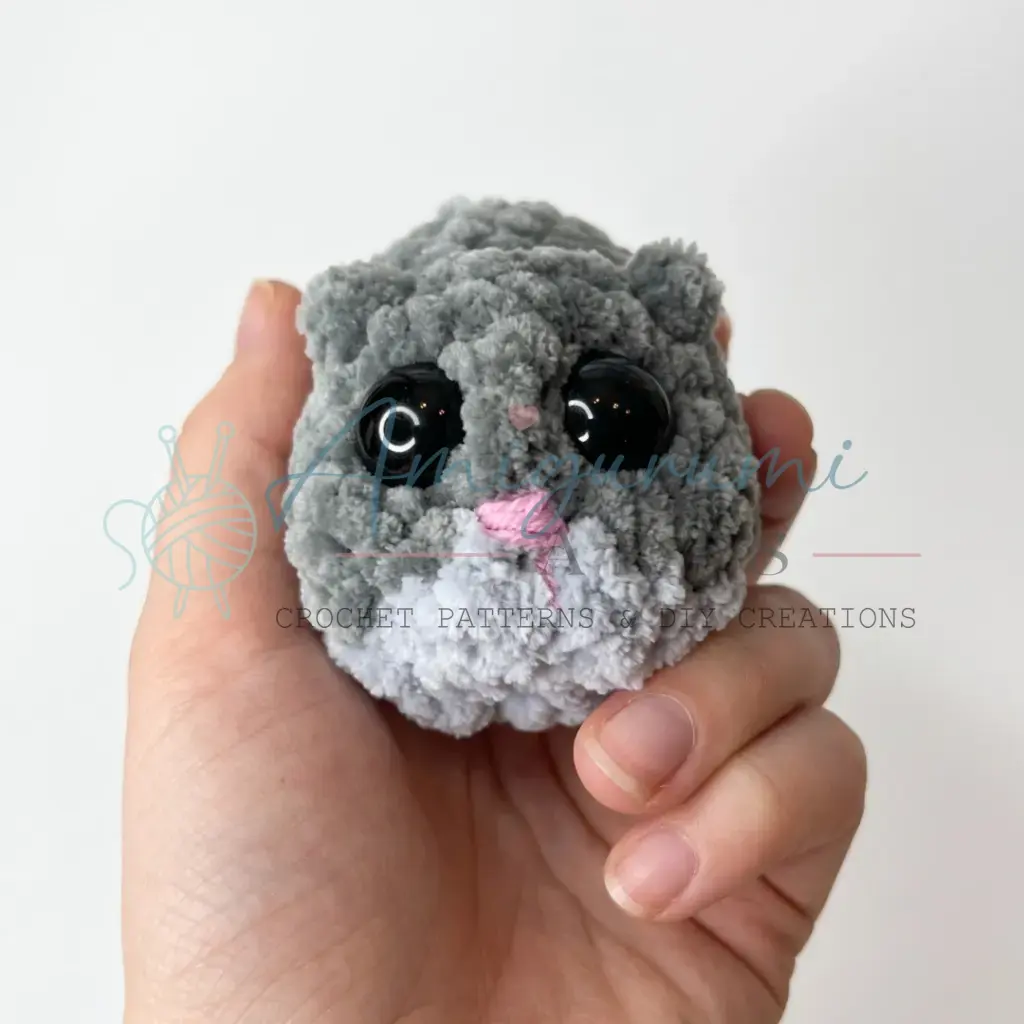
What makes this hamster pattern particularly delightful is how the stitch choices define the character. The face and belly are worked in smooth, tight single crochets, providing a clean canvas for the safety eyes and the eye indentation technique. In contrast, the back features Puff Stitches that add a unique, bumpy texture reminiscent of fur or the natural contours of a hamster’s back. These Puff Stitches are not just decorative; they add volume and softness to the piece. Additionally, the use of Half Double Crochets (hdc) in the early rounds helps create the gentle curve of the nose, while the Invisible Decreases keep the shaping seamless and professional. The two-color technique is essential here, as the light color defines the front features while the dark color anchors the back, giving the amigurumi its recognizable profile.
Project Overview
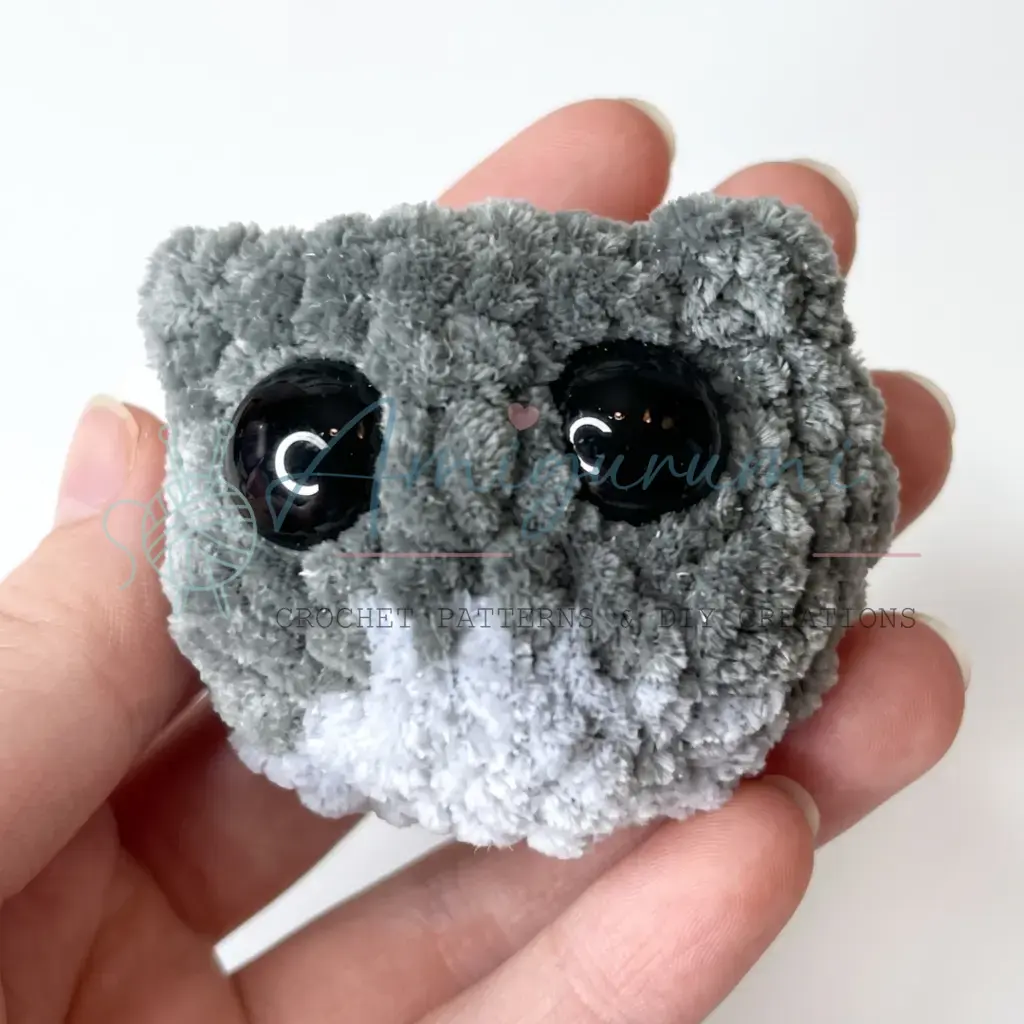
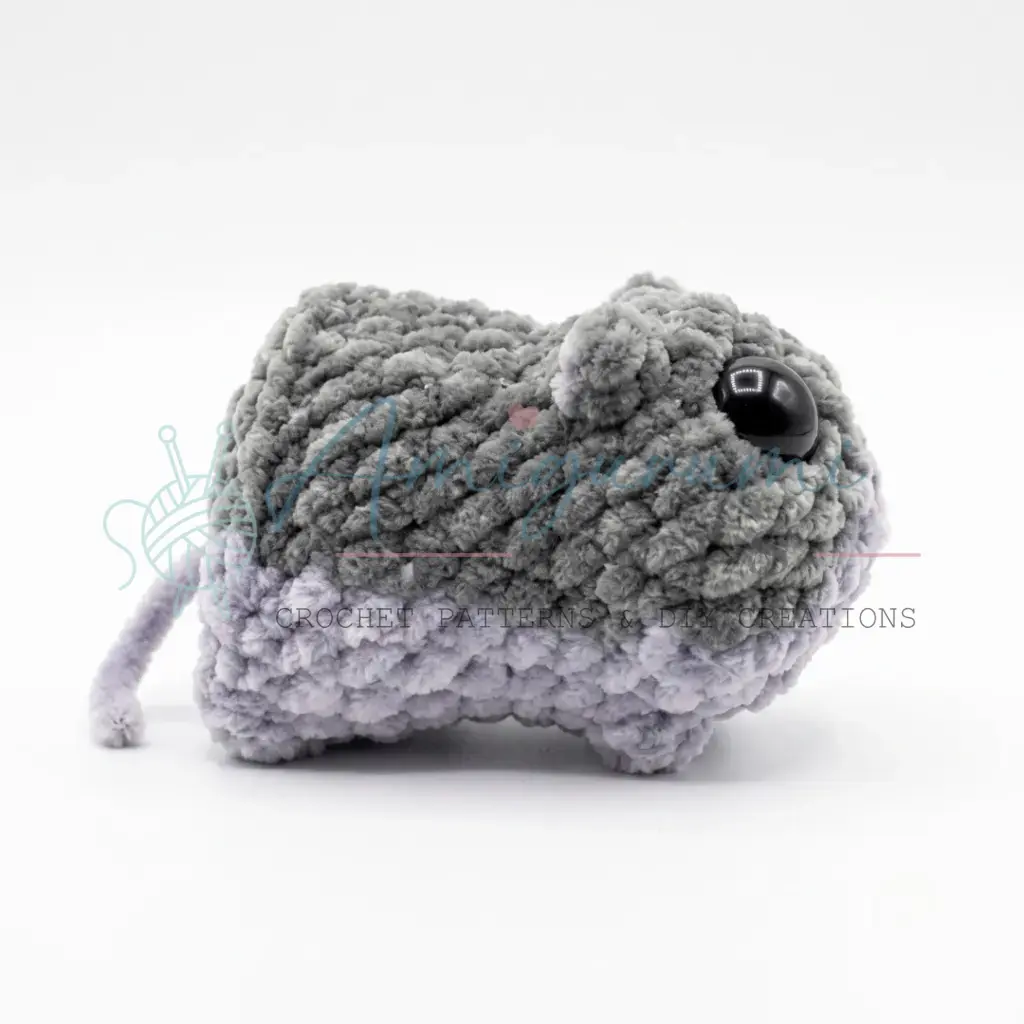
This adorable hamster amigurumi is worked in one continuous piece from the nose tip to the tail. It is designed for crocheters who are comfortable with basic amigurumi rounds and are ready to incorporate texture stitches. The pattern utilizes a two-color scheme to create the hamster’s distinct face and back, and includes specific instructions for ear shaping and eye indentation to achieve a lifelike expression.
Materials
- Yarn: Light worsted weight (Category 3 / DK). You will need two colors:
- Light color: Main color for the face and belly.
- Dark color: Contrast color for the back and details.
- Hook: E-4 / 3.5 mm (or a size appropriate for your yarn to achieve a tight amigurumi fabric).
- Safety Eyes: 14 mm, 1 pair.
- Stuffing: Polyester fiberfill.
- Stitch Marker: To mark the beginning of each round.
- Yarn Needle / Tapestry Needle: For weaving in ends.
- Scissors.
Gauge and Finished Size
Gauge and finished size measurements are not specified in the source pattern. To ensure a tight fabric suitable for amigurumi, use the recommended hook size or go down a hook size if your fabric is too loose. The goal is to prevent stuffing from showing through.
Abbreviations
- ch: Chain
- dc: Double Crochet
- dec: Invisible Decrease (2 sts decreased to 1)
- hdc: Half Double Crochet
- inc: Increase (2 sc in same stitch)
- MR: Magic Ring
- ps: Puff Stitch (3 double crochets worked into the same stitch, closed together at the top with a shared final pull-through)
- sc: Single Crochet
- sl st: Slip Stitch
Pattern Notes
- This pattern is written in US crochet terminology.
- The hamster is worked in a continuous spiral (no joining, no turning chains) from nose to tail as a single piece.
- Place a stitch marker at the beginning of each round and move it up as you go.
- Two colors are used throughout. The dark color is used for the back sections of each round; the light color is used for the face and belly sections. Color sections within each round are noted in the instructions.
- Stitch count for each round is given in parentheses at the end of the line: (##).
- Safety eyes (14 mm) are inserted between Rounds 3 and 4, with 5 sc between them. Insert them before stuffing and before the opening becomes too small.
- The Puff Stitch (ps) in this pattern consists of 3 double crochets worked into the same stitch, joined at the top — these form the hamster’s chubby cheeks.
- Stuff the hamster firmly and evenly as you work the decrease rounds.
- The eye indentation technique is worked after the piece is fully closed.
Pattern Instructions
Head & Body (Worked as One Continuous Piece)
The hamster is worked from the nose tip through to the back end in a single piece. Dark color sections are noted per round. Begin with the light color.
Rnd 1 (Foundation): Begin with a foundation chain of 4 ch. Starting in the 2nd ch from the hook: 2 sc across, 3 sc in the last ch (corner), then working back along the opposite side: 2 sc, inc in the first ch. (9)
Rnd 2: inc, 2 hdc, inc, [dark color: inc, inc] , 2 sc, inc. (14)
Note: The increase at the start of this round is worked in sc, the hdc increases shape the nose curve, and the bracketed dark-color section builds the first back shaping.
Rnd 3: inc (dc-based), [dark color: inc (hdc), inc (hdc), inc (hdc), inc (hdc), inc (dc), inc (dc), inc (dc)] , 4 sc, inc (dc), inc (dc). (24)
Rnd 4: 14 sc [light] , 8 sc [dark] , 2 sc [light] . (24)
Insert safety eyes between Rounds 3 and 4 now, with 5 sc between them, centered on the light-color face section.
Rnd 5: 4 sc [light — right ear base] , 6 sc [dark — left ear base] , 5 sc [light] , 2 sc [light] , ps, sc, ps, 3 sc [light] , sc + offset sc [light] . (24)
After completing the round, work the ear on each side:
Ear (worked in place at the ear-base stitches): Chain 2, then work 1 hdc into the 2nd ch from the hook. Fasten off and secure. Repeat for the second ear at its corresponding base stitches.
Rnd 6: 14 sc [light] , 8 sc [dark] , 2 sc [light] . (24)
Rnd 7: 2 sc, 4 dec, 4 sc [light] , 8 sc [dark] , 2 sc [light] . (20)
The 4 decreases at the start of this round close up the nose/muzzle shaping.
Rnd 8: 10 sc [light] , 8 sc [dark] , 2 sc + offset sc [light] . (20)
Rnd 9: 2 sc, inc repeat 3 times [light] , 2 sc, inc repeat 3 times [dark] , 2 sc [light] . (26)
Rnds 10–11: 12 sc [light] , 12 sc [dark] , 2 sc [light] . Work these 2 rounds even with no shaping. (26)
Rnd 12: 12 sc [light] , 4 sc [dark] , ps, 3 sc, ps, 3 sc [dark] , 2 sc [light] . (26)
The two Puff Stitches on the dark section form the hamster’s back texture detail.
Rnd 13: 2 sc, dec repeat 3 times [light] , 2 sc, dec repeat 3 times [dark] , 2 sc [light] . (20)
Rnd 14: sc, dec repeat 3 times [light] , sc, dec repeat 3 times [dark] , sc, dec [use the first stitch of the following round as the second stitch of this final decrease] . (14)
Cut and secure the light color yarn at the end of Round 14. Optional: At the second decrease of Round 14, you can create a small tail by chaining 2 and working 1 sc in the 2nd ch from the hook before fastening off that tail detail.
Begin stuffing the body firmly now if you haven’t been doing so gradually.
Rnd 15: 7 dec around. (7)
Pull the yarn tail through the remaining 7 stitches to close the opening. Weave in the end securely.
Eye Indentation
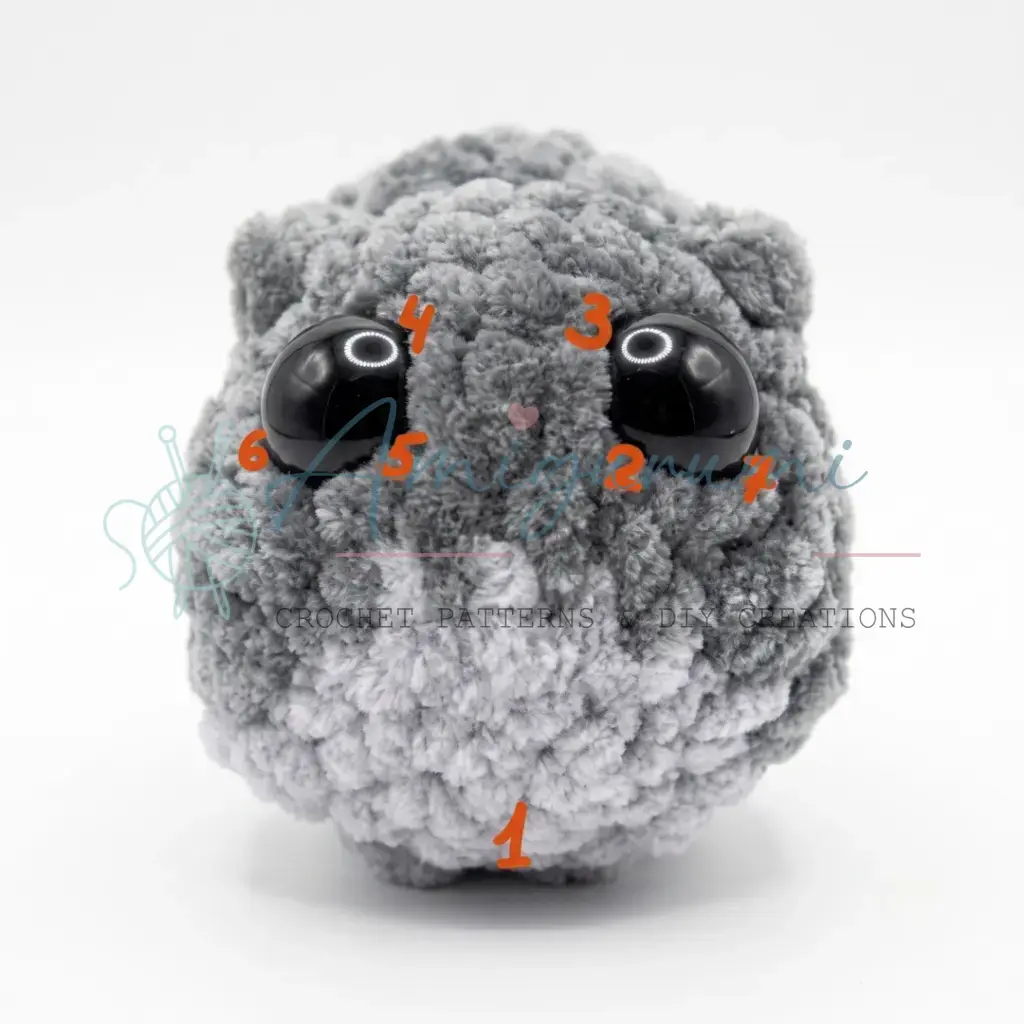
This step gives your hamster that soft, sunk-in expression — it’s worth the extra few minutes. Thread a long piece of yarn onto your needle. You’ll be working two separate tacking passes through the head.
First indentation pass — Points 1 → 2 → 3 → 4 → 5 → 1: Enter at Point 1 (below the left eye), pass through the head interior, and exit at each numbered anchor point in sequence, gently pulling the yarn snug each time to draw the eye inward. Return to Point 1 to complete the loop.
Second indentation pass (optional, for deeper indentation) — Points 1 → 6 → 5 → 1 → 7 → 2 → 1: Using the same yarn without cutting, continue the tacking sequence through these additional anchor points, always returning to Point 1 as your anchor base. Fasten off and weave in the end through the body interior.
Assembly
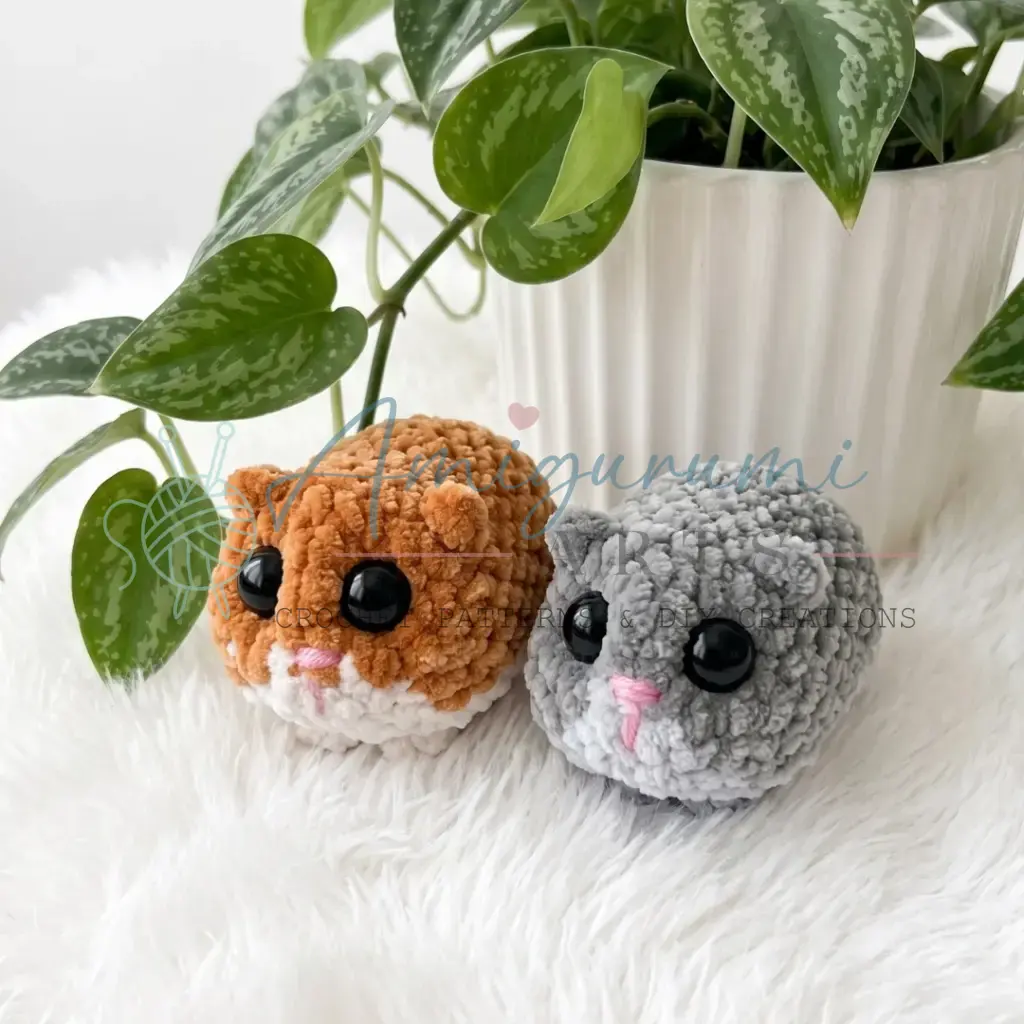
Your hamster is worked as a single piece, so there are no major components to sew together. Confirm the safety eyes are firmly locked in place from the inside. Check that the ears are secure at their attachment points; if any ear feels loose, reinforce it with a few additional stitches using the yarn tail. Complete the eye indentation technique as described above. Weave in all remaining yarn ends through the body interior, pulling each tail through several stitches before trimming to prevent unraveling.
Tips
- Keep your tension tight throughout. Amigurumi fabric should have no visible gaps — stuffing showing through breaks the illusion. If you can see the fiberfill between stitches, go down a hook size.
- Work the invisible decrease correctly for the nose section. Insert your hook under the front loops only of two consecutive stitches, then yarn over and pull through both loops, then yarn over and pull through the two loops on the hook. This keeps decreases virtually invisible on the right side.
- Stuff gradually, not all at once. Add fiberfill every few rounds during the decrease section rather than trying to push it all in at the end. This gives you a rounder, more even shape without lumps near the closure.
- For the Puff Stitch cheeks: Work each dc of the puff stitch slowly, leaving all loops on the hook until you’re ready for the final pull-through. Giving each partial dc a slight tug before starting the next one keeps the puff plump and even.
- Color carrying: When switching between your light and dark color sections within a round, try to carry the unused color loosely along the inside of the work rather than cutting and rejoining each time. This reduces the number of ends to weave in and keeps the tension consistent across both colors.
FAQs
What size safety eyes should I use?
The pattern recommends using 14 mm safety eyes. They should be inserted between Rounds 3 and 4, with 5 sc between them, centered on the light-color face section.
How do I make the Puff Stitch (ps)?
The Puff Stitch in this pattern consists of 3 double crochets worked into the same stitch, closed together at the top with a shared final pull-through. Work each dc slowly, leaving all loops on the hook until ready for the final pull-through.
Do I need to join rounds?
No. The hamster is worked in a continuous spiral with no joining and no turning chains. Use a stitch marker to keep track of the beginning of each round.
How do I create the eye indentation?
After the piece is fully closed and stuffed, use a long piece of yarn and a needle to tack through the head interior. Follow the specific point sequences (1→2→3→4→5→1) to gently pull the fabric inward around the eyes for a soft, sunk-in look.
Can I make a tail for the hamster?
Yes. At the second decrease of Round 14, you can create a small tail by chaining 2 and working 1 sc in the 2nd ch from the hook before fastening off that tail detail.
What kind of yarn is best for this pattern?
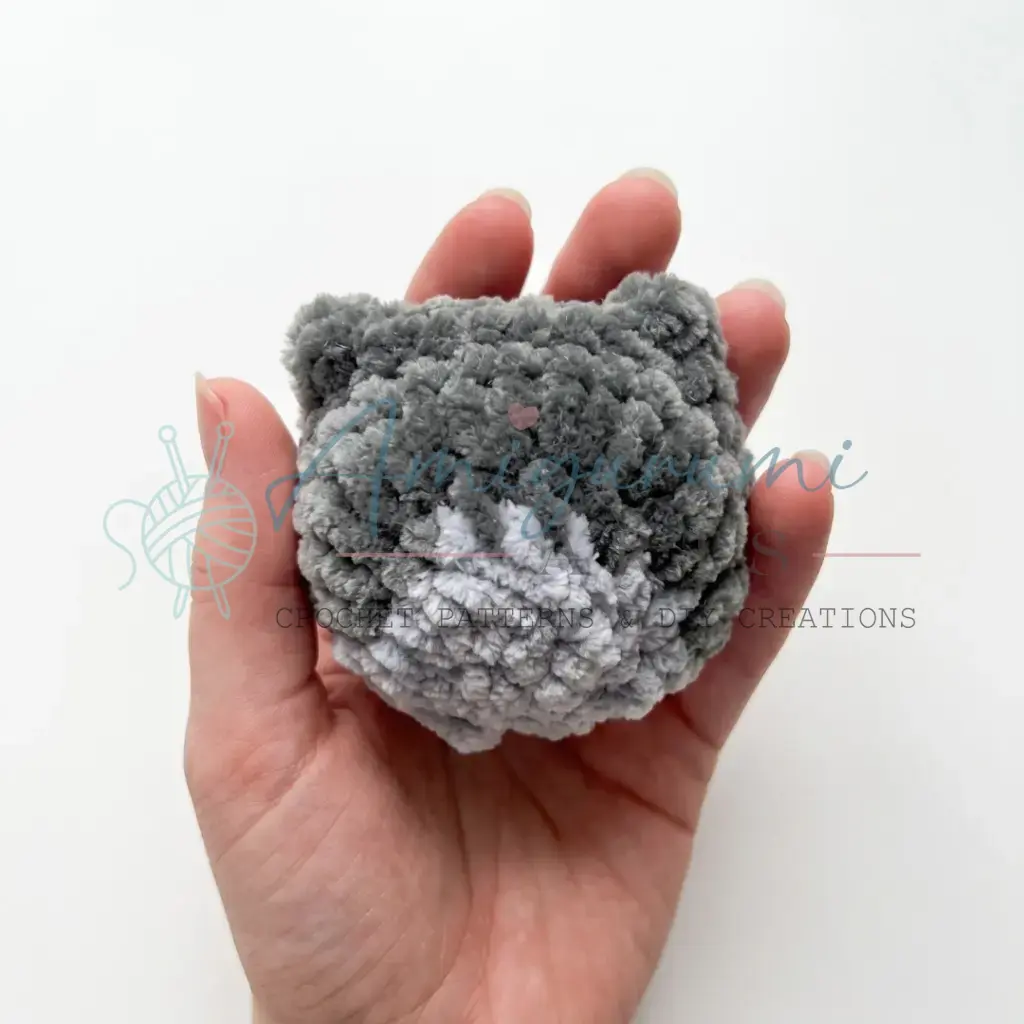
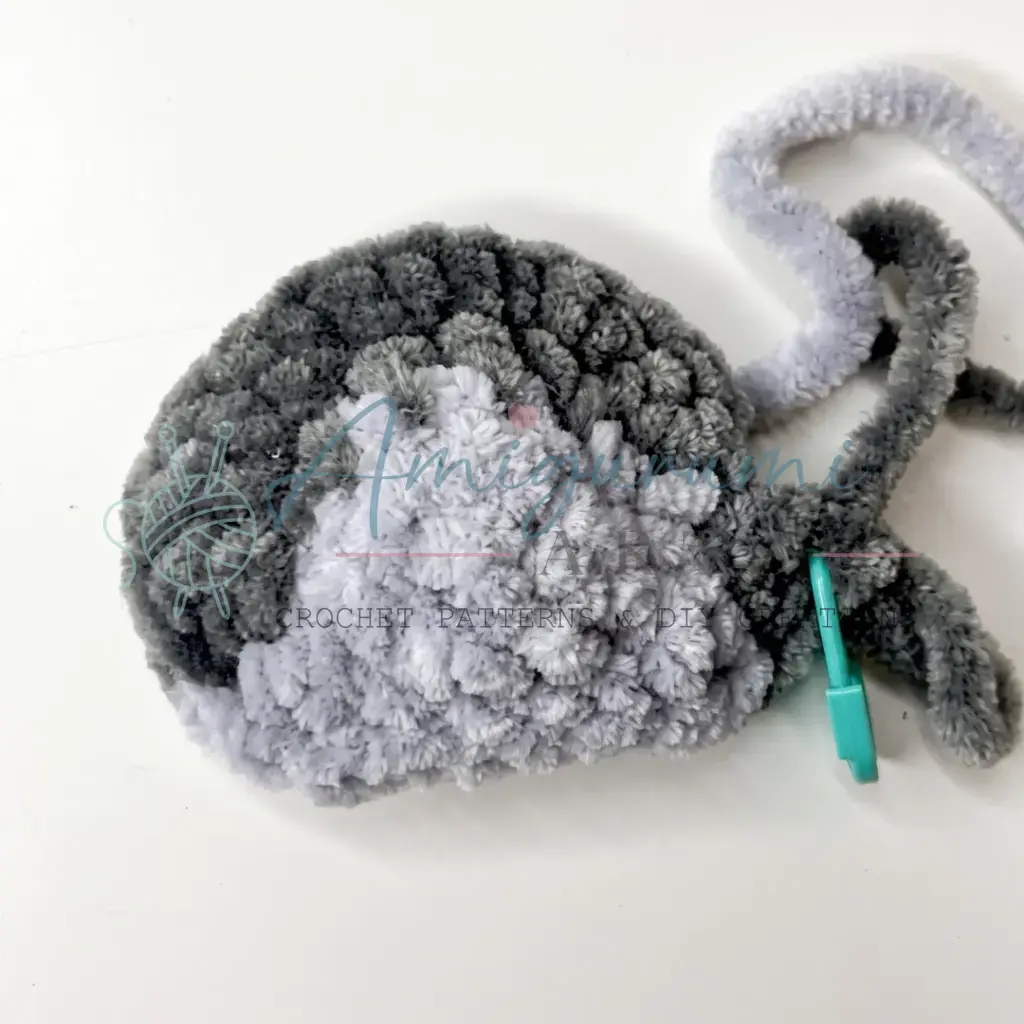
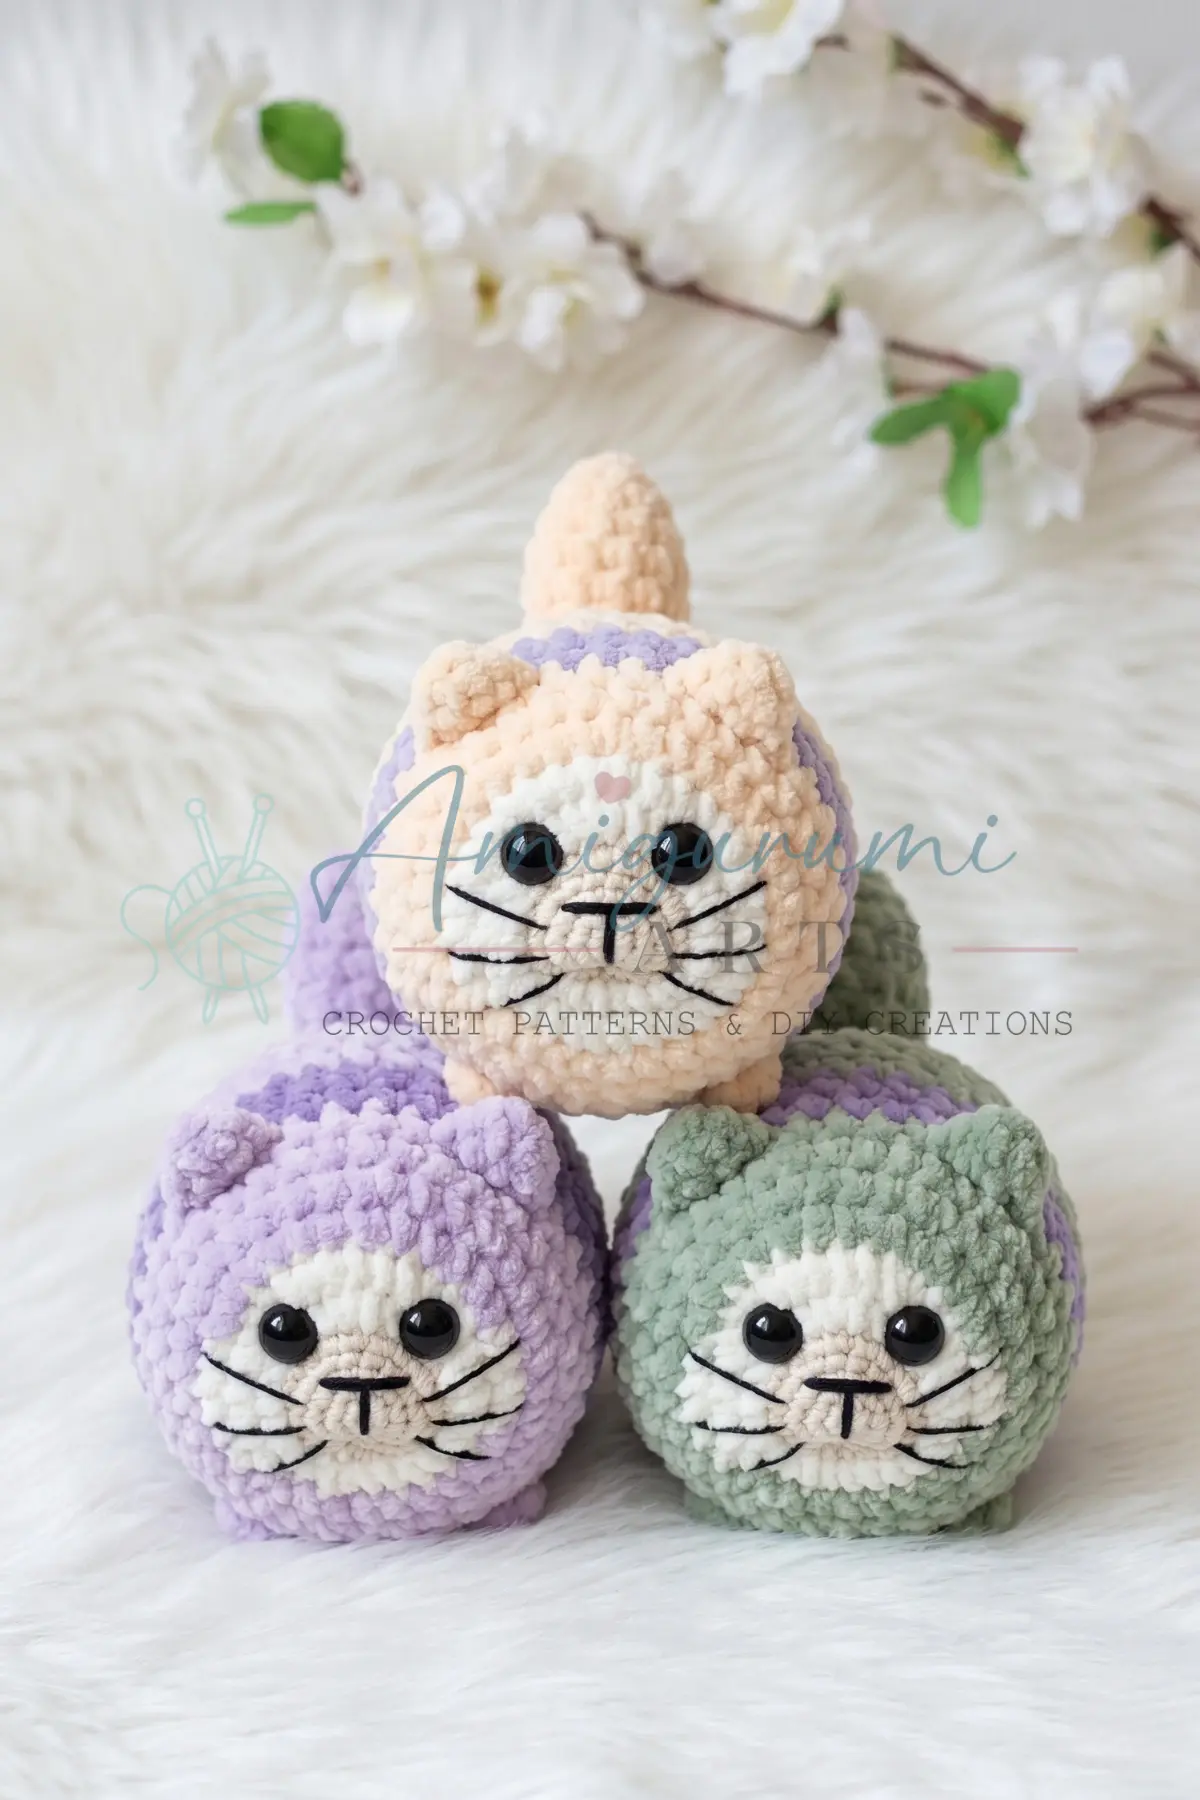
Use light worsted weight yarn (Category 3 / DK). You will need two colors: a light color for the face and belly, and a dark color for the back and details.
Pin This Crochet Pattern!