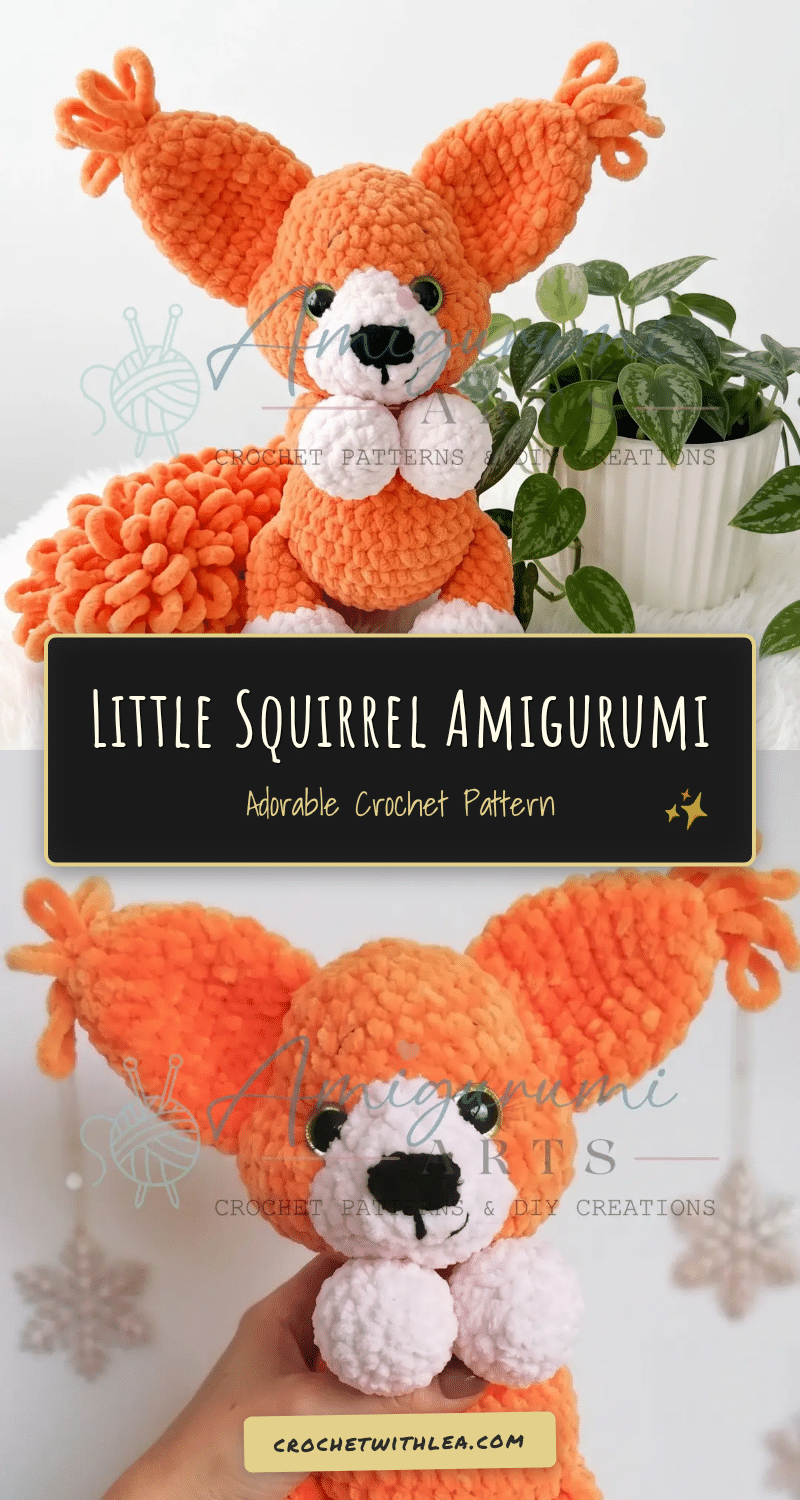
There is something undeniably heartwarming about a handmade toy that seems to look back at you with quiet curiosity. This Little Squirrel Amigurumi is exactly that kind of project: a squishy, display-worthy companion that earns a permanent spot on a shelf or in the arms of a child. The combination of a plush, chunky texture and the clever use of spike stitches for the tail and ears gives the finished piece a softness that really sets it apart from standard amigurumi. It is an intermediate project that rewards patience with a result that looks far more impressive than the effort it takes.
Why the Finished Piece Stands Out
What makes this squirrel truly special is the textural contrast between the smooth, rounded body and the wild, fluffy loops of the tail and ears. Using Himalaya Dolphin Baby or a similar plush yarn allows for a “spike sc” technique that creates elongated loops without needing to anchor them—the yarn’s natural texture holds the loops in place beautifully. This gives the squirrel a distinct, wilder look compared to tighter stitches. Additionally, the all-in-one body-head construction keeps the assembly manageable while ensuring a sturdy, seamless toy that can withstand lots of cuddles. The sculpted muzzle adds a layer of character that elevates this from a simple stuffed animal to a charming character with personality.
Project Overview
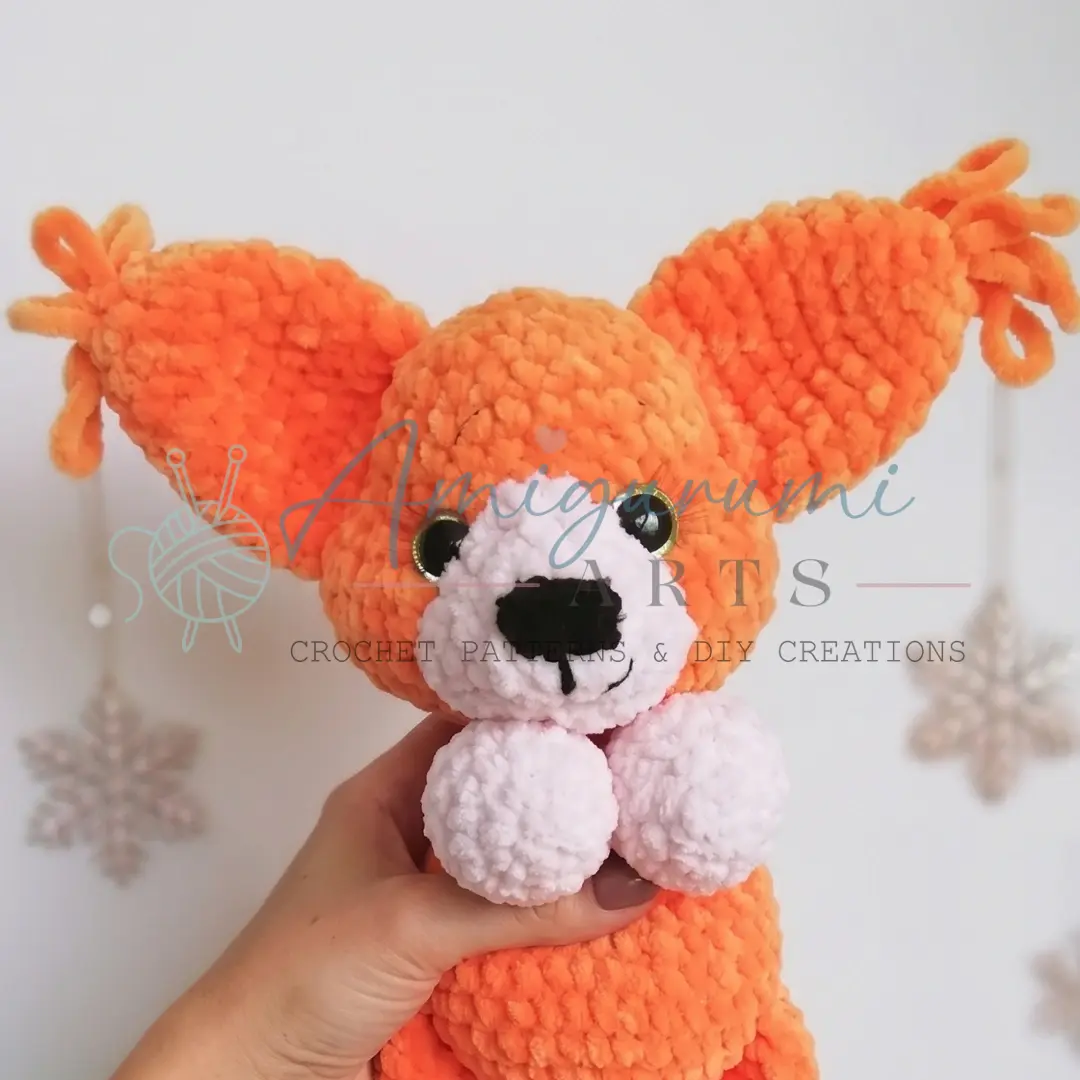
This pattern guides you through creating a small, upright squirrel using chunky plush yarn. The project features a continuous spiral construction for the body and head, with limbs and the tail attached directly into the body rounds for a clean finish. The tail and ears utilize a specialized spike stitch to create a fluffy, looped texture.
Materials
- Yarn:
- Main color: Himalaya Dolphin Baby (or any chunky/bulky weight plush yarn)
- Contrast color: Himalaya Dolphin Baby in a second color (for paws, muzzle, and nose)
- Hook Size: G-6 / 4.0 mm (for main body); E-4 / 3.5 mm (for nose only)
- Safety Eyes: 16 mm, 1 pair
- Stuffing: Polyester fiberfill
- Tightening Thread: Cotton yarn or strong thread (for sculpting the muzzle)
- Tools:
- Long needle with a large eye (for muzzle sculpting)
- Stitch marker
- Yarn needle / tapestry needle
- Scissors
Gauge and Finished Size
Gauge is not critical for amigurumi, but your fabric should be tight enough that stuffing does not show through. Adjust hook size down if needed.
Abbreviations
- BLO — Back Loop Only
- ch — Chain
- dec — Invisible Decrease (insert hook in front loops of next 2 sts, pull up a loop, yarn over, pull through all 3 loops)
- inc — Increase (2 sc in same stitch)
- MR — Magic Ring
- Rnd — Round
- sc — Single Crochet
- sl st — Slip Stitch
- SM — Stitch Marker
- spike sc — Spike Single Crochet (insert hook lower than usual, pull up an elongated loop to the working height, complete as sc — creates a looped, fluffy texture)
- st / sts — Stitch / Stitches
Pattern Notes
This Little Squirrel Amigurumi pattern is written in US crochet terminology. All pieces are worked in a continuous spiral (no joining slip stitch at end of rounds) unless otherwise noted. Use a stitch marker to track the beginning of each round. Stitch counts are given at the end of each round in parentheses: (##).
The Legs, Arms, and Tail are attached directly into the Body during the body rounds — read ahead before beginning the body section. Safety eyes are placed between Rounds 22 and 23 of the Body-Head section. Insert and secure them before closing that area with stuffing.
Spike sc is used throughout the Tail and Ears to create a fluffy looped texture. Insert your hook a stitch or two lower than usual, pull the yarn up to the current working height, and complete as a regular single crochet. There is no need to anchor the loops — they hold naturally in plush yarn.
Pattern Instructions
Legs (make 2)
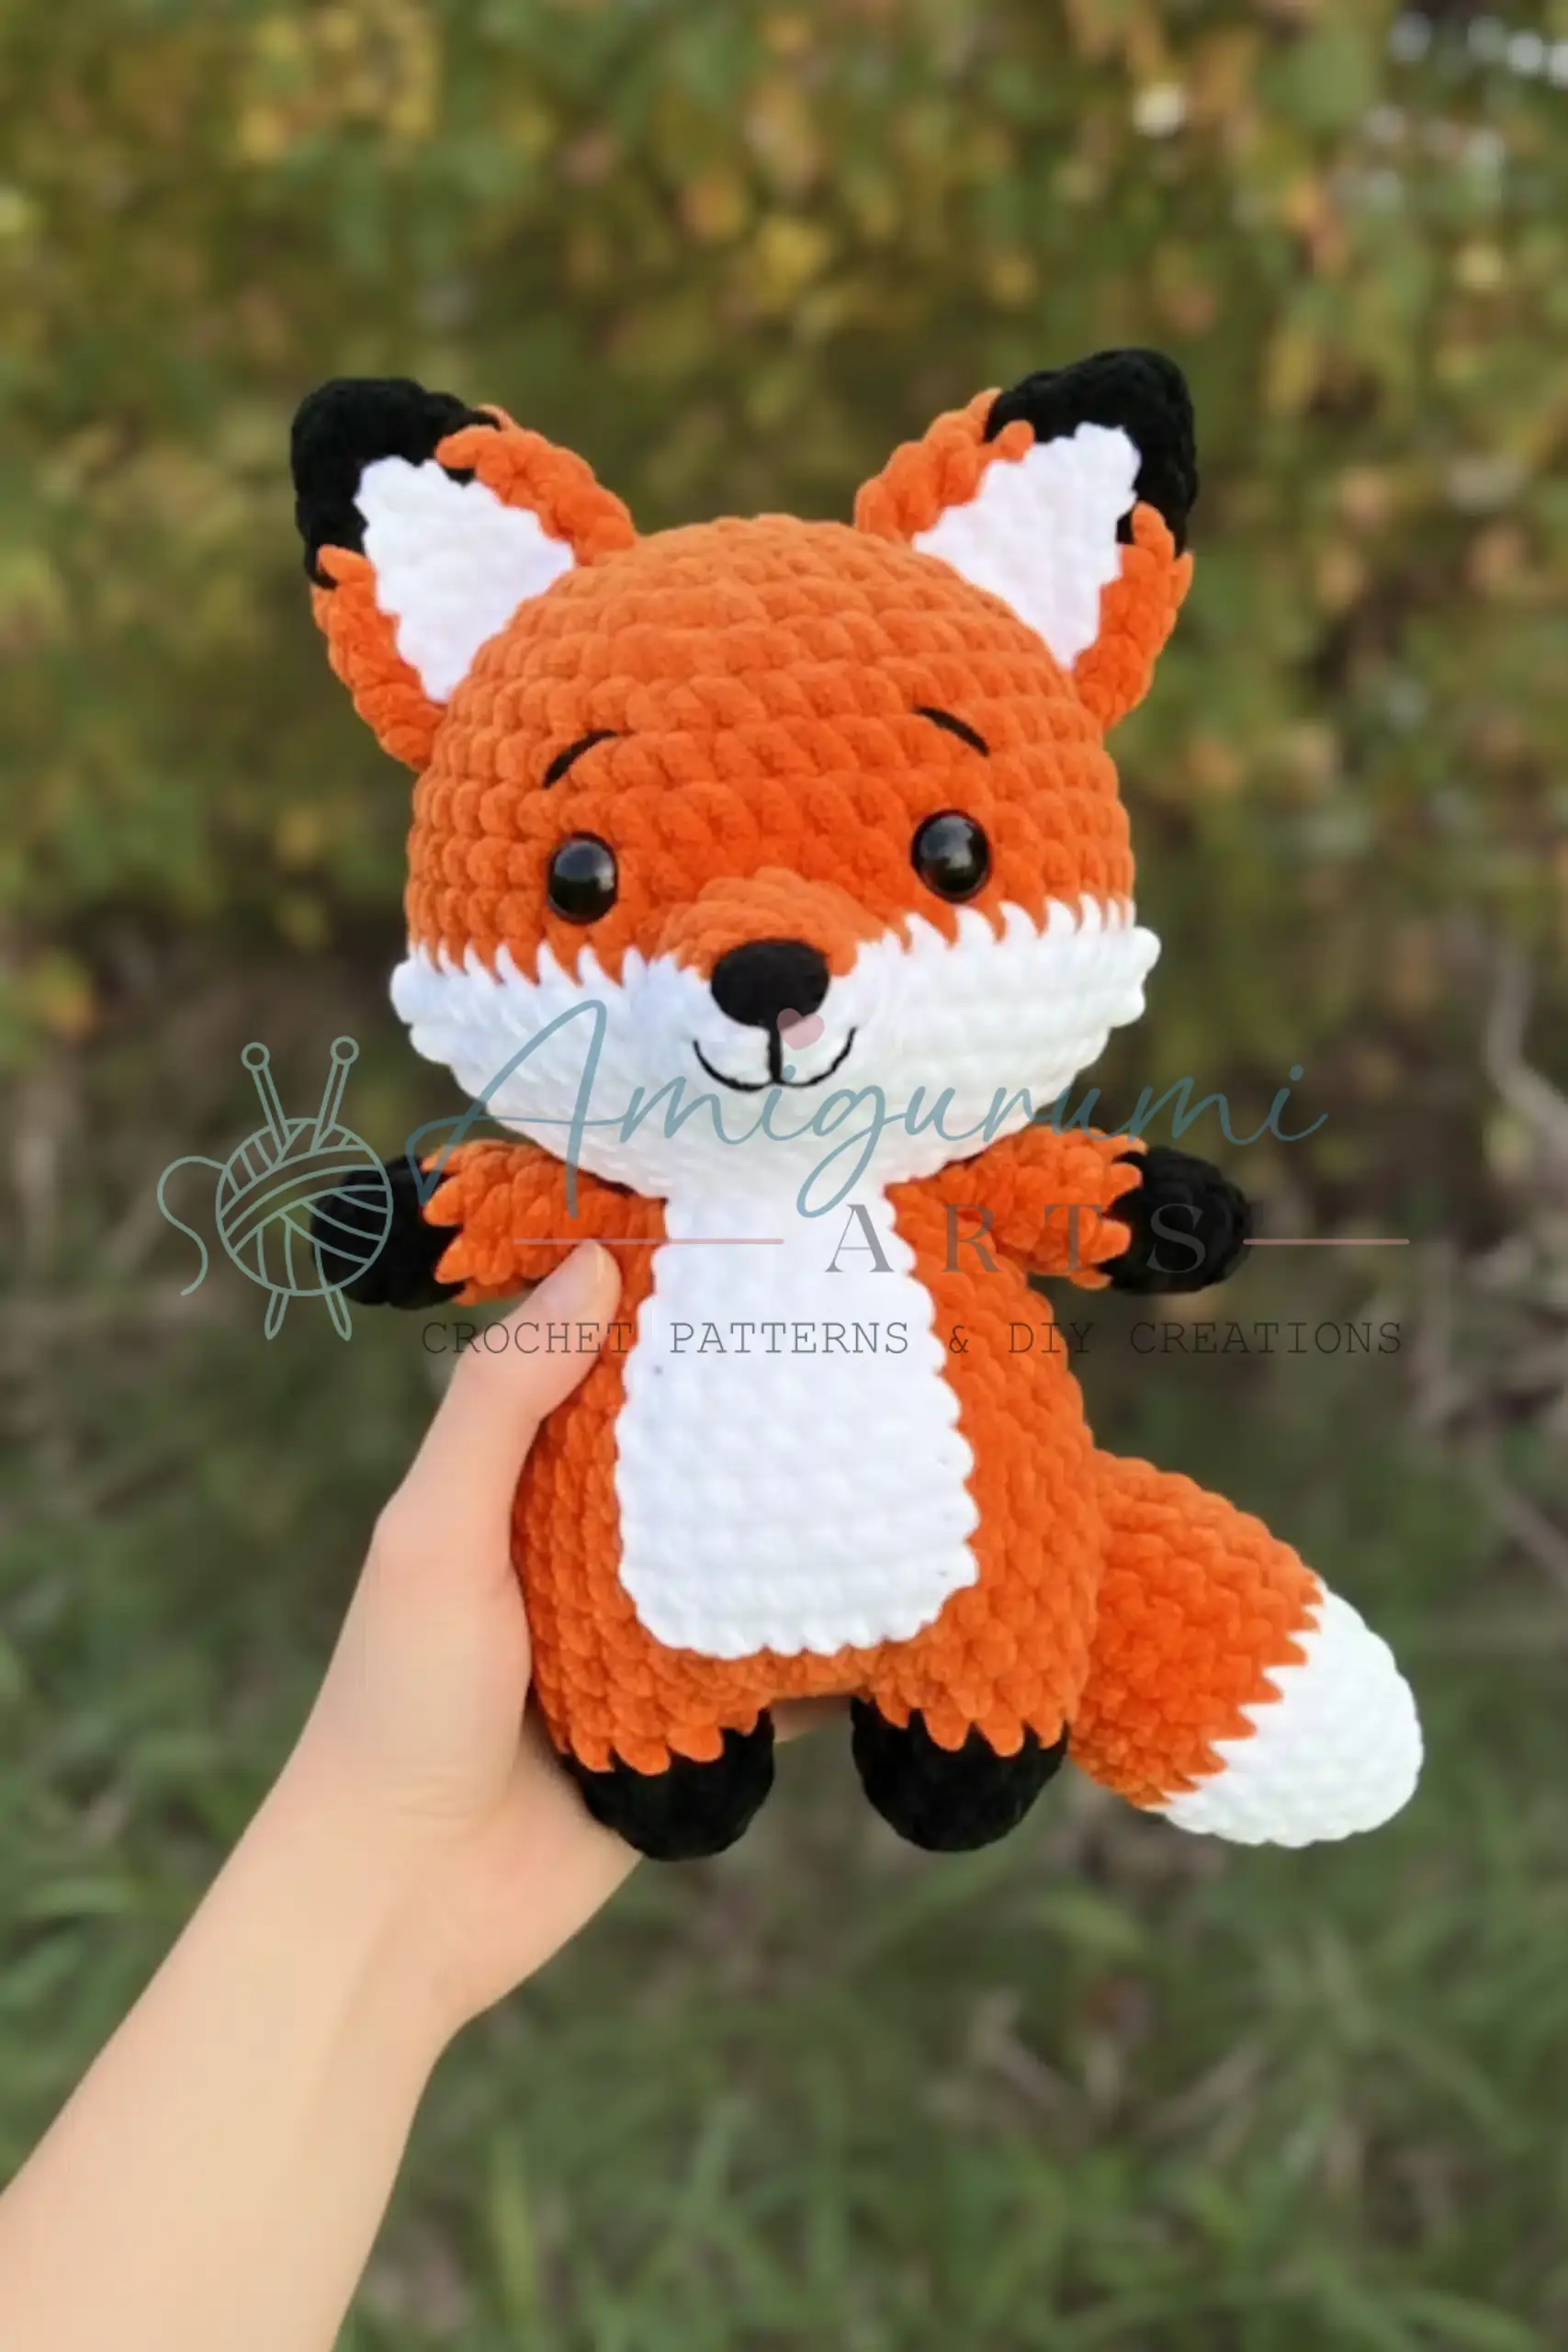
Begin with contrast color yarn.
- Rnd 1: 5 sc in MR. (5)
- Rnd 2: inc in each st around. (10)
- Rnd 3: sc, inc repeat 5 times around. (15)
- Rnd 4: 2 sc, inc repeat 5 times around. (20)
- Rnds 5–7: sc in each st around. (20)
- Rnd 8: 8 dec, 4 sc. (12)
Switch to main color yarn.
- Rnds 9–13: sc in each st around. (12)
Stuff the leg firmly. Flatten the opening and sc across — 6 sc through both layers — to close. Fasten off and weave in ends.
Arms (make 2)
Begin with contrast color yarn.
- Rnd 1: 5 sc in MR. (5)
- Rnd 2: inc in each st around. (10)
- Rnd 3: sc, inc repeat 5 times around. (15)
- Rnds 4–5: sc in each st around. (15)
- Rnd 6: sc, dec repeat 5 times around. (10)
Switch to main color yarn.
- Rnds 7–11: sc in each st around. (10)
Stuff lightly. Flatten the opening and sc across — 5 sc through both layers — to close. Fasten off and weave in ends.
Tail
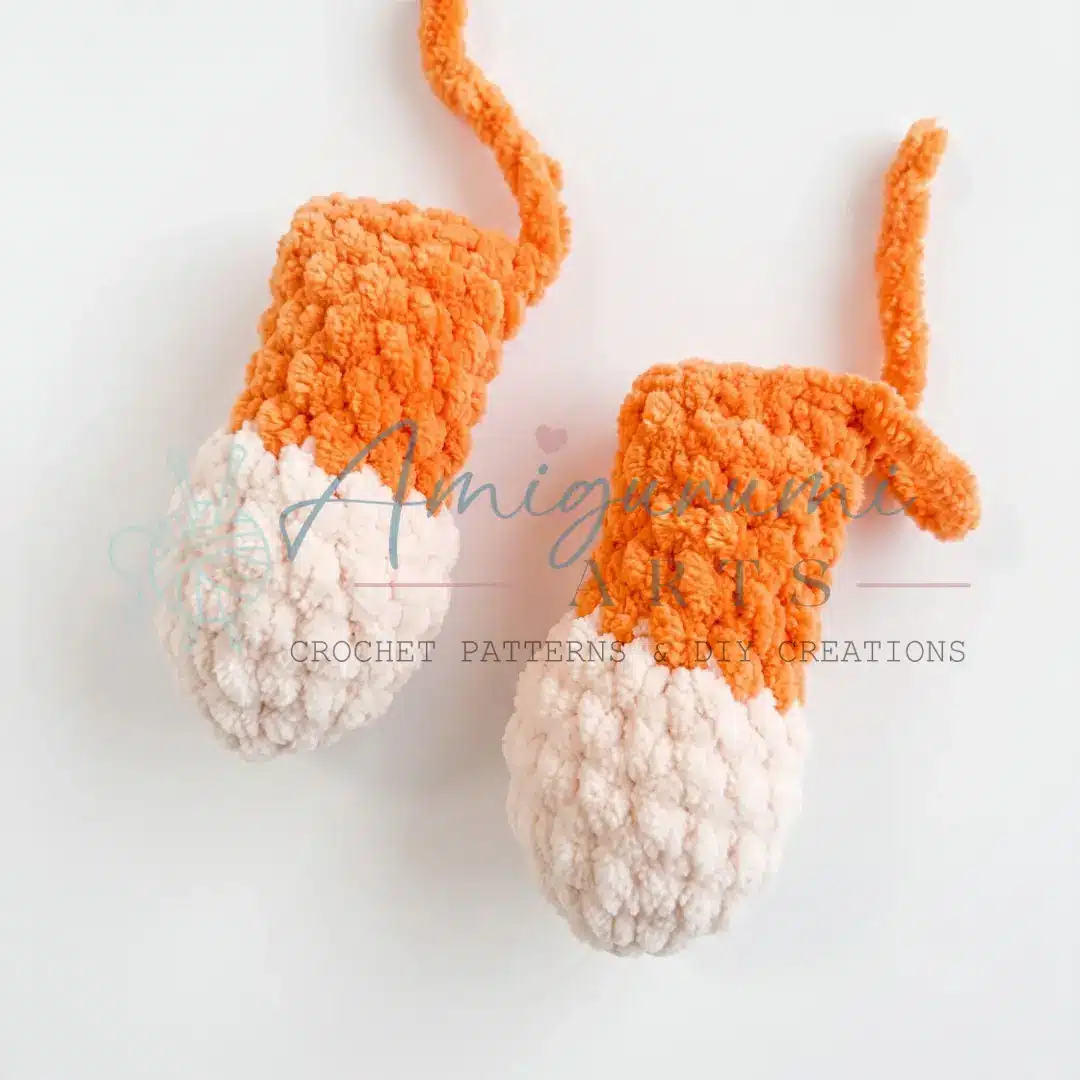
This piece is worked entirely using spike sc to create a fluffy, looped texture. Work in continuous spiral throughout.
- Rnd 1: 6 sc in MR. (6)
- Rnd 2: inc (spike sc style) in each st around. (12)
- Rnd 3: spike sc, inc repeat 6 times around. (18)
- Rnds 4–6: spike sc in each st around. (18)
- Rnd 7: spike sc, dec repeat 3 times around, then spike sc in each remaining st. (15)
- Note: Rnd 7 works 3 decrease pairs from the total 18 sts: work [spike sc, dec] × 3, leaving the remaining 9 sts as spike sc to reach 15 total.
- Rnd 8: spike sc in each st around. (15)
- Rnd 9: 3 spike sc, dec repeat 3 times around. (12)
- Rnds 10–13: spike sc in each st around. (12)
- Rnd 14: 4 sc, dec repeat 2 times around. (10)
- Rnds 15–16: spike sc in each st around. (10)
Do not stuff. Flatten the tail and sc across — 5 sc through both layers — to close. Fasten off, leaving a long tail for attachment.
Body-Head
This is one continuous piece. The legs, arms, and tail are joined into the body during specific rounds — have all three ready before you begin.
- Rnd 1: 6 sc in MR. (6)
- Rnd 2: inc in each st around. (12)
- Rnd 3: sc, inc repeat 6 times around. (18)
- Rnd 4: 2 sc, inc repeat 6 times around. (24)
- Rnd 5: sc in each st around. (24)
- Rnd 6: 3 sc, then sc 6 sts joining the left leg (working through both the body stitches and the closed edge of the left leg simultaneously), 6 sc, then sc 6 sts joining the right leg, 3 sc. (24)
- Rnd 7: 3 sc, sc, inc repeat 3 times, 6 sc, sc, inc repeat 3 times, then sc 5 sts joining the tail. Move your stitch marker — the new beginning of round starts immediately after the tail join. (30)
- Rnd 8: sc in each st around. (30)
- Rnd 9: 3 sc, dec repeat 6 times around. (24)
- Rnd 10: 2 dec over 4 sts, 5 sc, dec, dec, 2 sc, dec, 3 sc. (20)
- Note: Rnd 10 shapes the waist asymmetrically. Read carefully: (2 sc, dec) × 2, 5 sc, (dec, 2 sc) × 2, 3 sc = 20 sts.
- Rnd 11: sc 5 sts joining the left arm (working through both body and closed edge of left arm), 6 sc, sc 5 sts joining the right arm, 4 sc. (20)
- Continue stuffing the body as you go.
- Rnd 12: 2 sc, dec repeat 5 times around. (15)
- Rnd 13: sc, dec repeat 5 times around. (10)
The head begins now — continue without fastening off.
- Rnd 14: inc in each st around. (20)
- Rnd 15: sc, inc repeat 10 times around. (30)
- Rnd 16: sc in each st around. (30)
- Rnd 17: 8 sc, 4 inc, 8 sc, 4 inc, 6 sc. (38)
- Rnd 18: 8 sc, inc, sc repeat 4 times, 8 sc, sc, inc repeat 4 times, 6 sc. (46)
- Rnds 19–20: sc in each st around. (46)
- Rnd 21: 8 sc, dec, sc repeat 4 times, 8 sc, sc, dec repeat 4 times, 6 sc. (38)
- Rnd 22: 8 sc, 4 dec, 8 sc, 4 dec, 6 sc. (30)
- Rnd 23: sc, dec repeat 5 times around. (25)
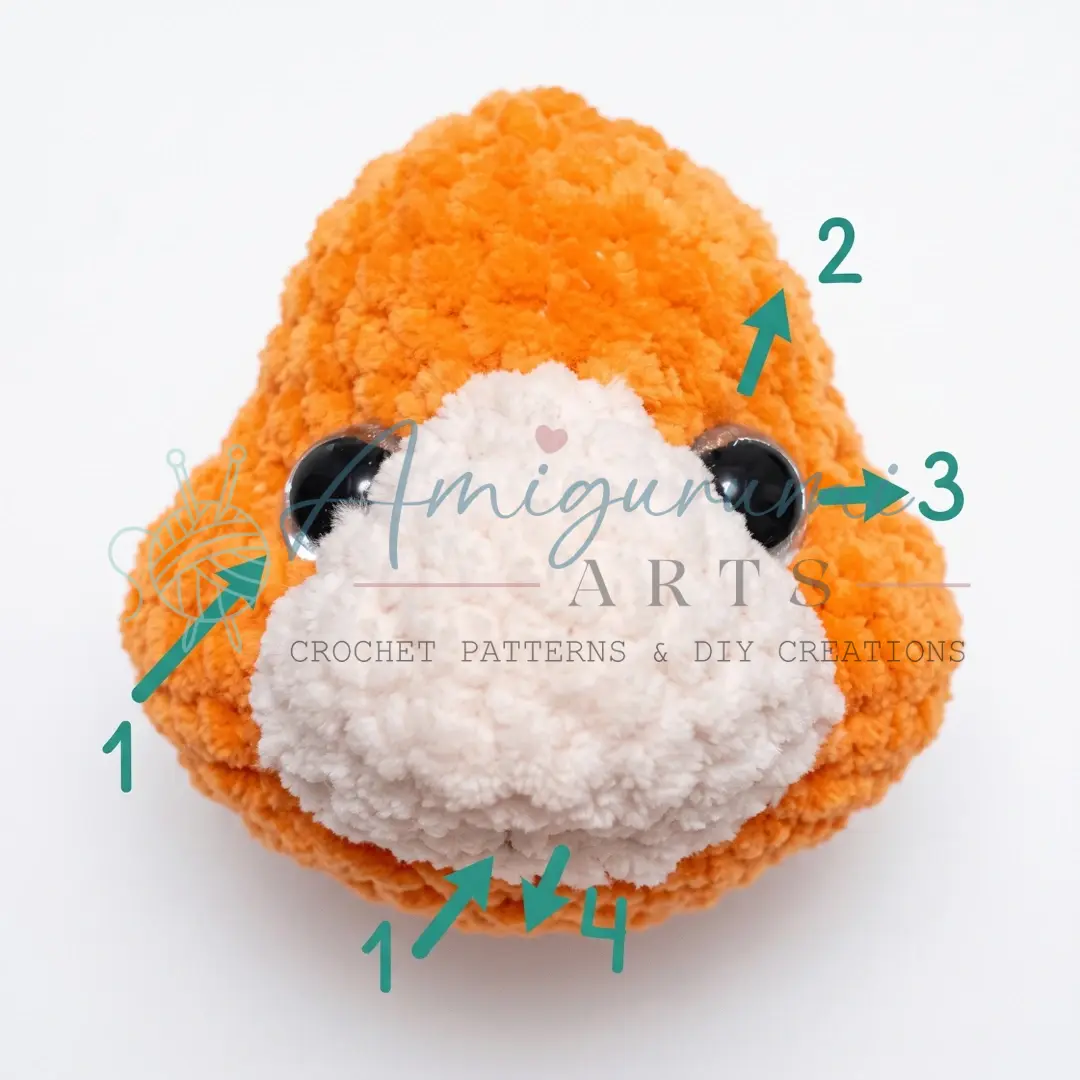
Place safety eyes between Rounds 22 and 23 before continuing. Position them in the cheek areas on either side of the muzzle zone. Stuff the head firmly as you proceed.
- Rnds 24–26: sc in each st around. (25)
- Rnd 27: 3 sc, dec repeat 5 times around. (20)
- Rnd 28: 2 sc, dec repeat 5 times around. (15)
- Rnd 29: sc, dec repeat 5 times around. (10)
- Rnd 30: dec 5 times around. (5)
Pull the remaining opening closed. Fasten off and weave in the end.
Ears (make 2)
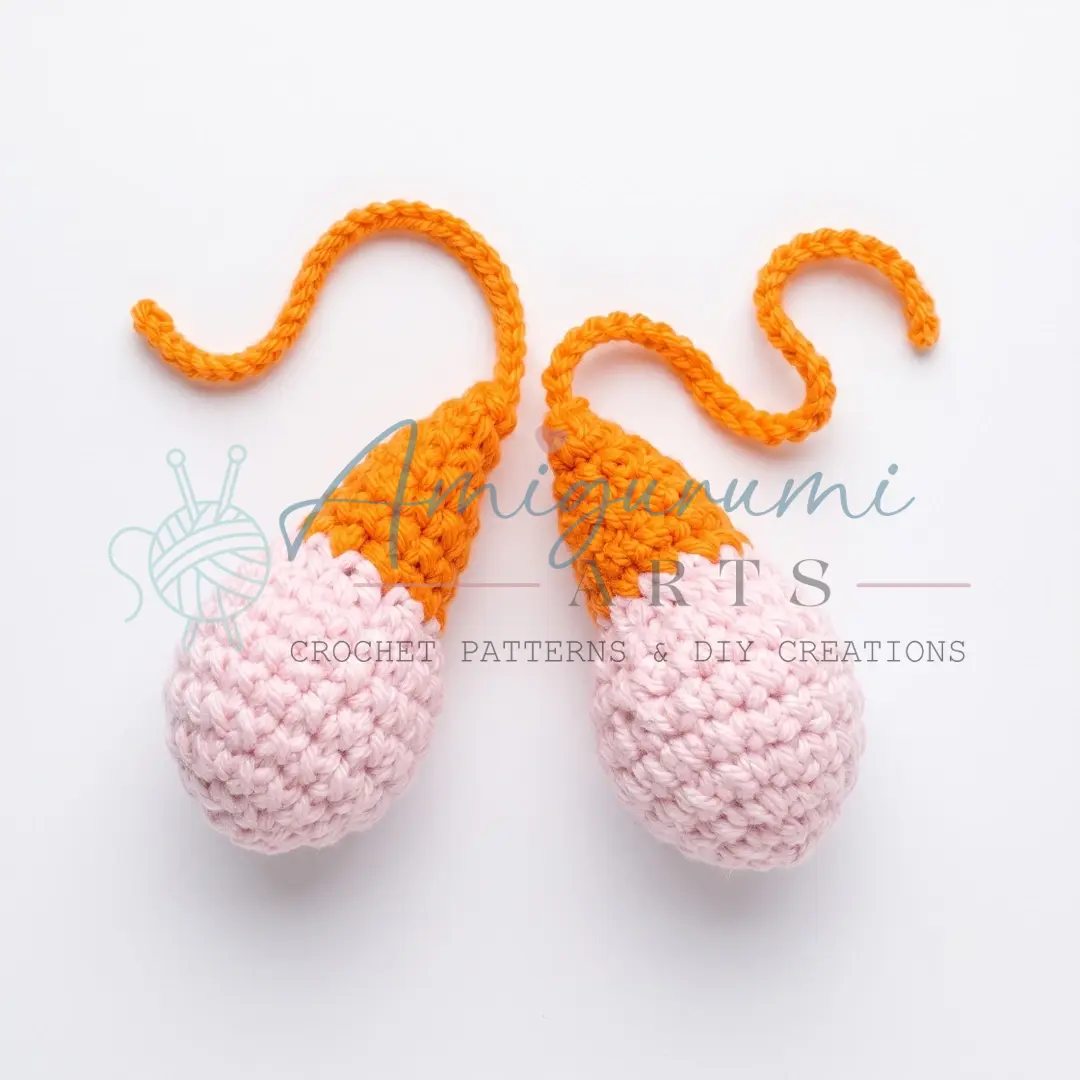
Begin with main color yarn.
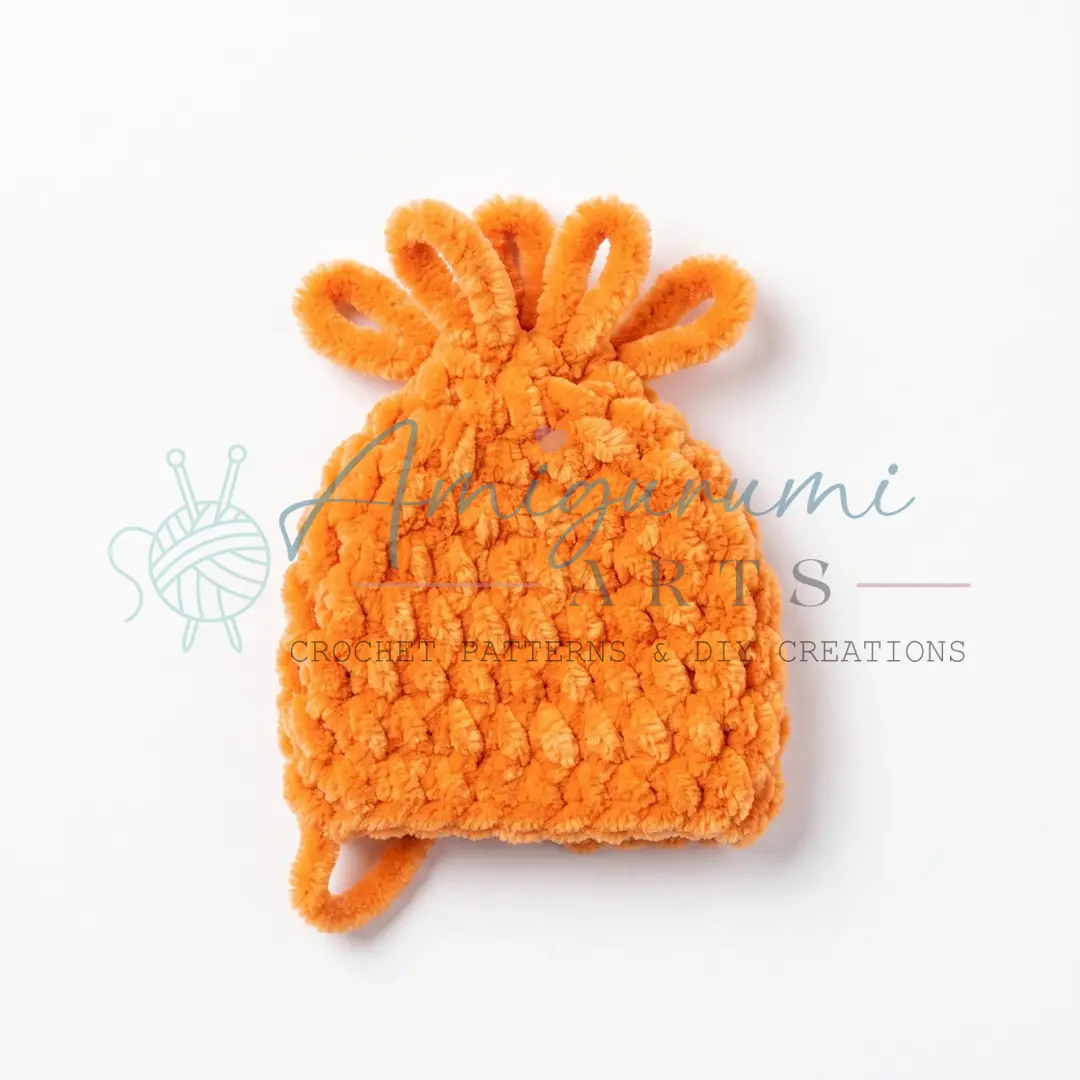
- Rnd 1: 6 spike sc in MR. (6)
- Rnd 2: inc (in sc) in each st around. (12)
- Rnd 3: 2 sc, inc repeat 4 times around. (16)
- Rnd 4: sc in each st around. (16)
- Rnd 5: 3 sc, inc repeat 4 times around. (20)
- Rnds 6–9: sc in each st around. (20)
Do not stuff. Flatten and sc across — 10 sc through both layers — to close. Fasten off, leaving a long tail for sewing.
Muzzle
Work in contrast color yarn.
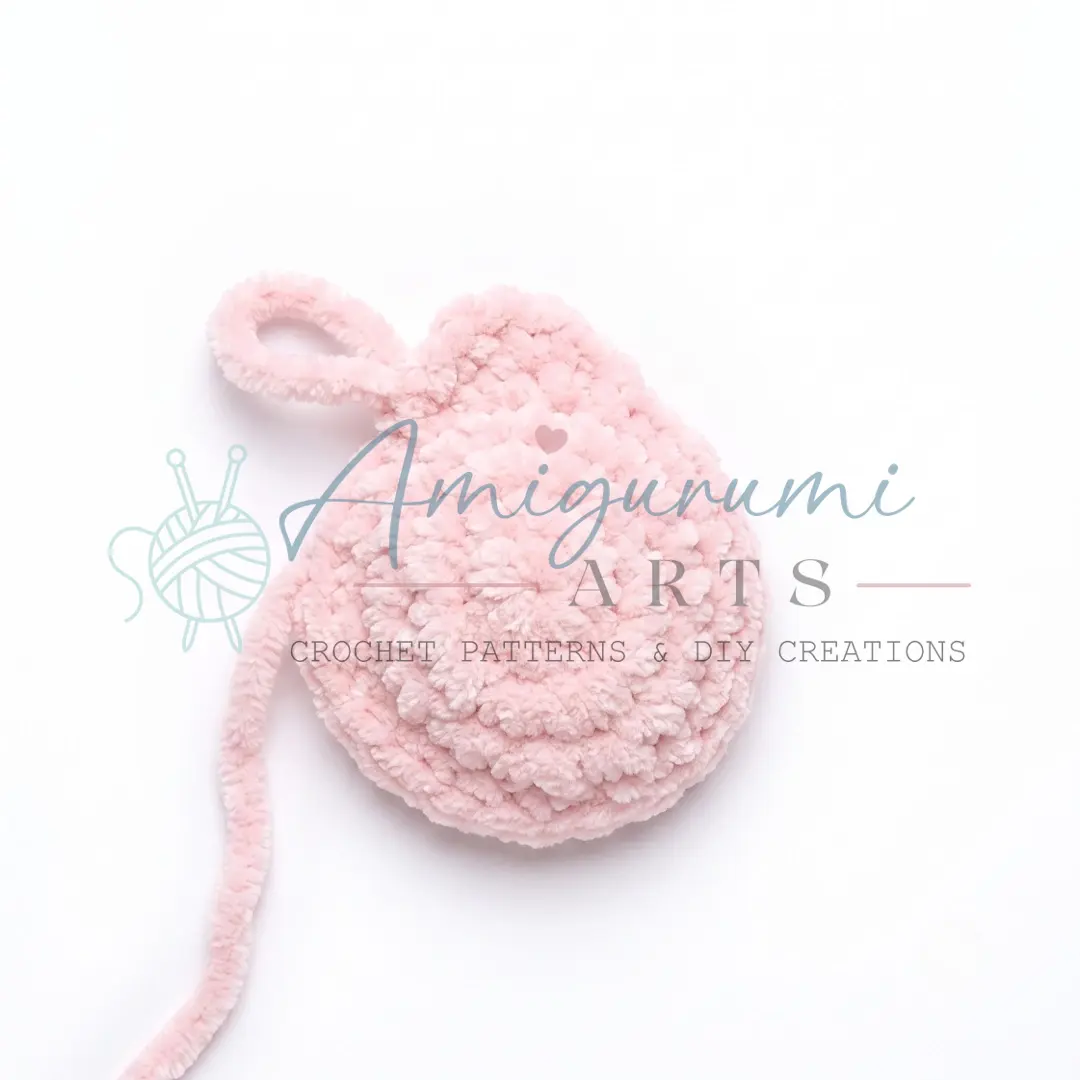
- Rnd 1: 6 sc in MR. (6)
- Rnd 2: inc in each st around. (12)
- Rnd 3: 2 sc, inc repeat 4 times around. (16)
- Rnd 4: 2 sc, 3 inc, 6 sc, 3 inc, 2 sc. (22)
Now shape the nose bridge (worked flat from this point): Work 1 sc, 1 sl st, ch 1, turn. From the second stitch after the ch (the next live stitch), work 2 dec, ch 1, turn. Work 1 dec. Then work 3 sl st down along the side of the piece to secure.
Fasten off, leaving a long tail for sewing. The elongated/pointed side of the muzzle piece is sewn between the safety eyes, with light stuffing behind it to give it dimension.
Nose (small separate piece)
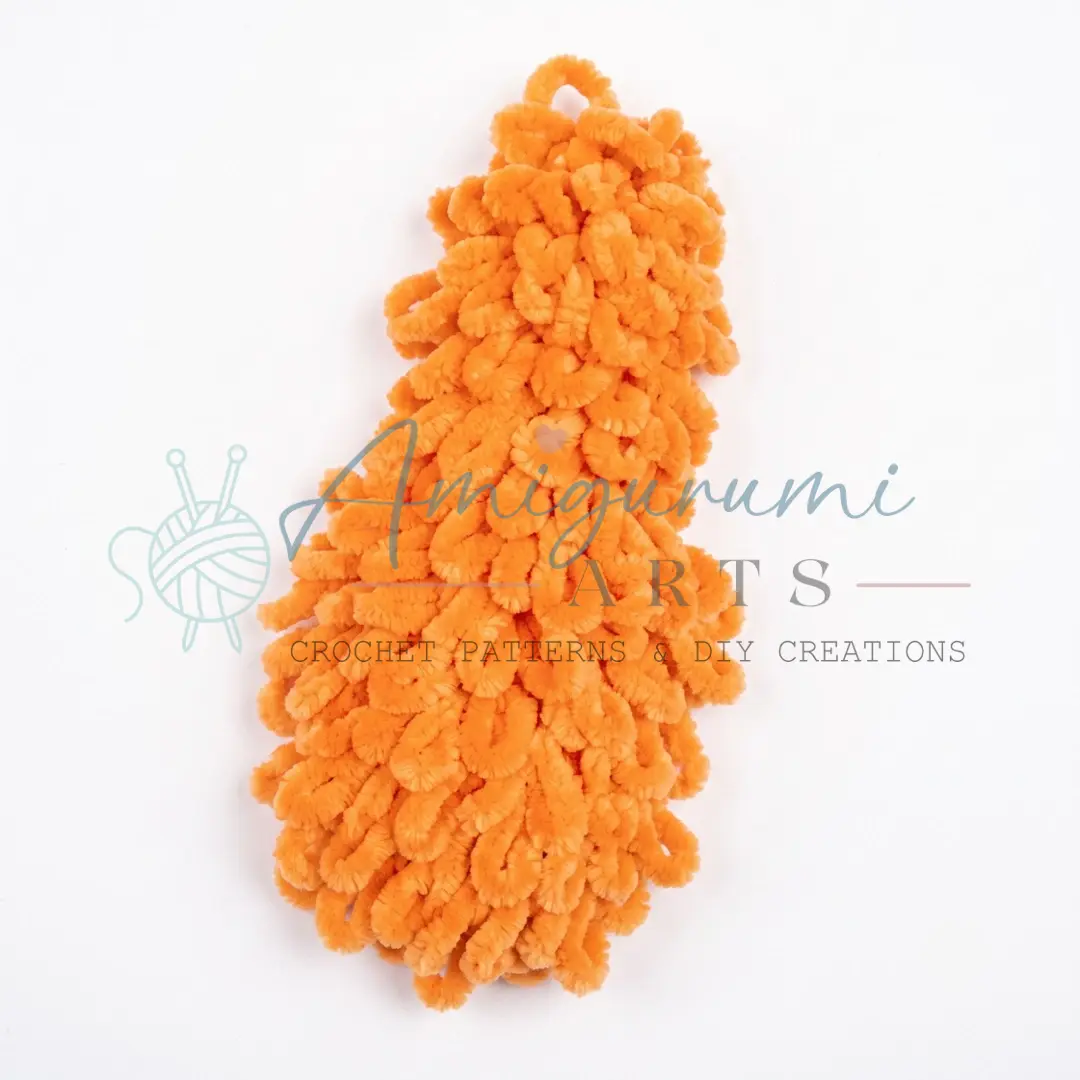
Work with contrast color yarn and E-4 / 3.5 mm hook.
- Ch 4. Starting in the second ch from hook, work 3 sc. (3)
Fasten off, leaving a tail for sewing. Sew the nose to the tip of the muzzle.
Assembly
- Attach the muzzle. Position it with the pointed/elongated end upward, centered between the safety eyes. Sew in place using the yarn tail and a whipstitch around the edges. Before closing completely, add a small amount of stuffing to give the muzzle a rounded, 3D shape.
- Sculpt the muzzle. Thread cotton yarn onto your long needle. Insert the needle from the back of the head, bring it out near the left side of the muzzle, pull gently to create a subtle dimple, and anchor the thread at the “mouth” position. Repeat symmetrically for the right side. Pull firm and knot securely — then bury the thread inside the head so the knot disappears.
- Attach the nose. Sew the small 3-stitch nose piece to the tip of the muzzle.
- Embroider the face. Using black cotton yarn, embroider small eyebrows above the safety eyes and a simple curved mouth below the muzzle. A few straight stitches are all you need.
- Sew on the ears. Position both ears symmetrically on top of the head. The spike-sc side should face forward. Sew firmly through the base of each ear, using the long yarn tail and a whipstitch or mattress stitch.
- Final check. Make sure all yarn tails are woven in securely, the toy is stuffed to a satisfying firmness, and all parts are attached without any gaps.
Tips & Tricks
- Keep your spiral tight. Plush yarn like Dolphin Baby is very forgiving, but it can disguise gaps. Use the smallest hook that lets you work comfortably — if you can see the stuffing through the stitches, go down a hook size.
- Master the invisible decrease. For the cleanest shaping, always work your decreases through the front loops only of the next two stitches. This keeps the dec stitch lying flat and practically invisible in the finished fabric.
- Stuff in stages. Don’t wait until a piece is nearly closed to add stuffing — it becomes almost impossible to distribute evenly. Add stuffing every 3–4 rounds during the head section so the shape stays round and firm right to the top.
- Spiked stitches in plush yarn. When working spike sc on the tail and ears, pull the loop up generously — about double the usual height. The yarn’s texture will hold the loop in place without any additional anchoring, and a fuller loop gives a much fluffier appearance.
- Joining limbs cleanly. When you sc across the closed edge of a leg or arm into the body round, make sure you’re catching both layers of the flattened limb with each stitch. A clean join here prevents the arms and legs from flopping or twisting once the toy is finished.
Frequently Asked Questions
Can I use a different yarn for this pattern?
Yes, you can use any chunky or bulky weight plush yarn. However, keep in mind that the spike sc technique relies on the yarn’s ability to hold loops; very slippery or non-plush yarns may not hold the texture as well.
How do I attach the limbs without them twisting?
When joining the legs and arms in Rounds 6 and 11 of the Body-Head, ensure you are working through both the body stitches and the closed edge of the limb simultaneously. This anchors the limb firmly and prevents twisting.
What if I don’t have a 3.5 mm hook for the nose?
You can use a smaller hook than the main body to create a tighter fabric for the nose, but if you don’t have one, you can use your main hook and simply work tighter stitches to ensure the nose piece remains small and firm.
How do I secure the safety eyes?
Insert the safety eyes between Rounds 22 and 23 of the Body-Head section. Secure them with the provided washer or plastic backing on the inside of the head before adding final stuffing to that area.
Why is the waist shaped asymmetrically in Round 10?
The pattern specifies an asymmetric decrease in Round 10 to give the squirrel a more natural, dynamic posture. Follow the stitch count carefully to maintain the intended shape.
Pin This Crochet Pattern!