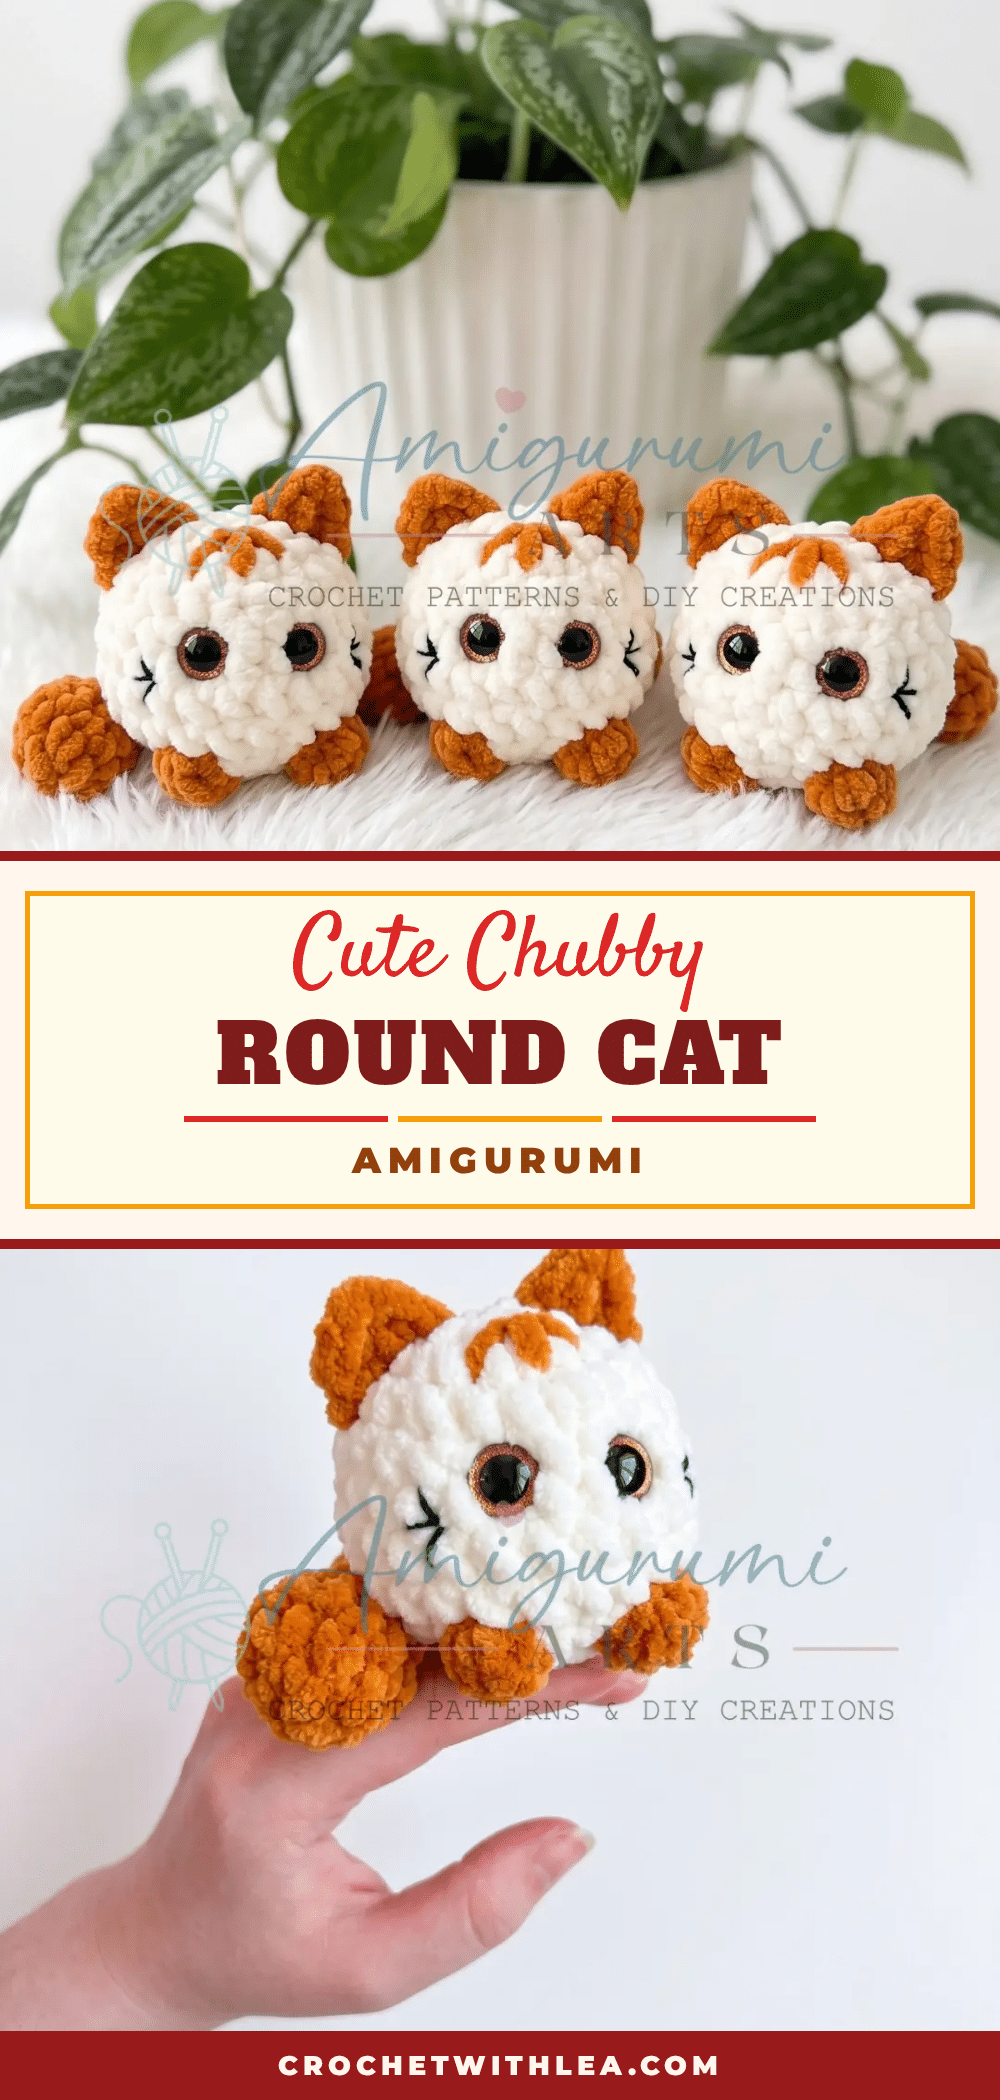
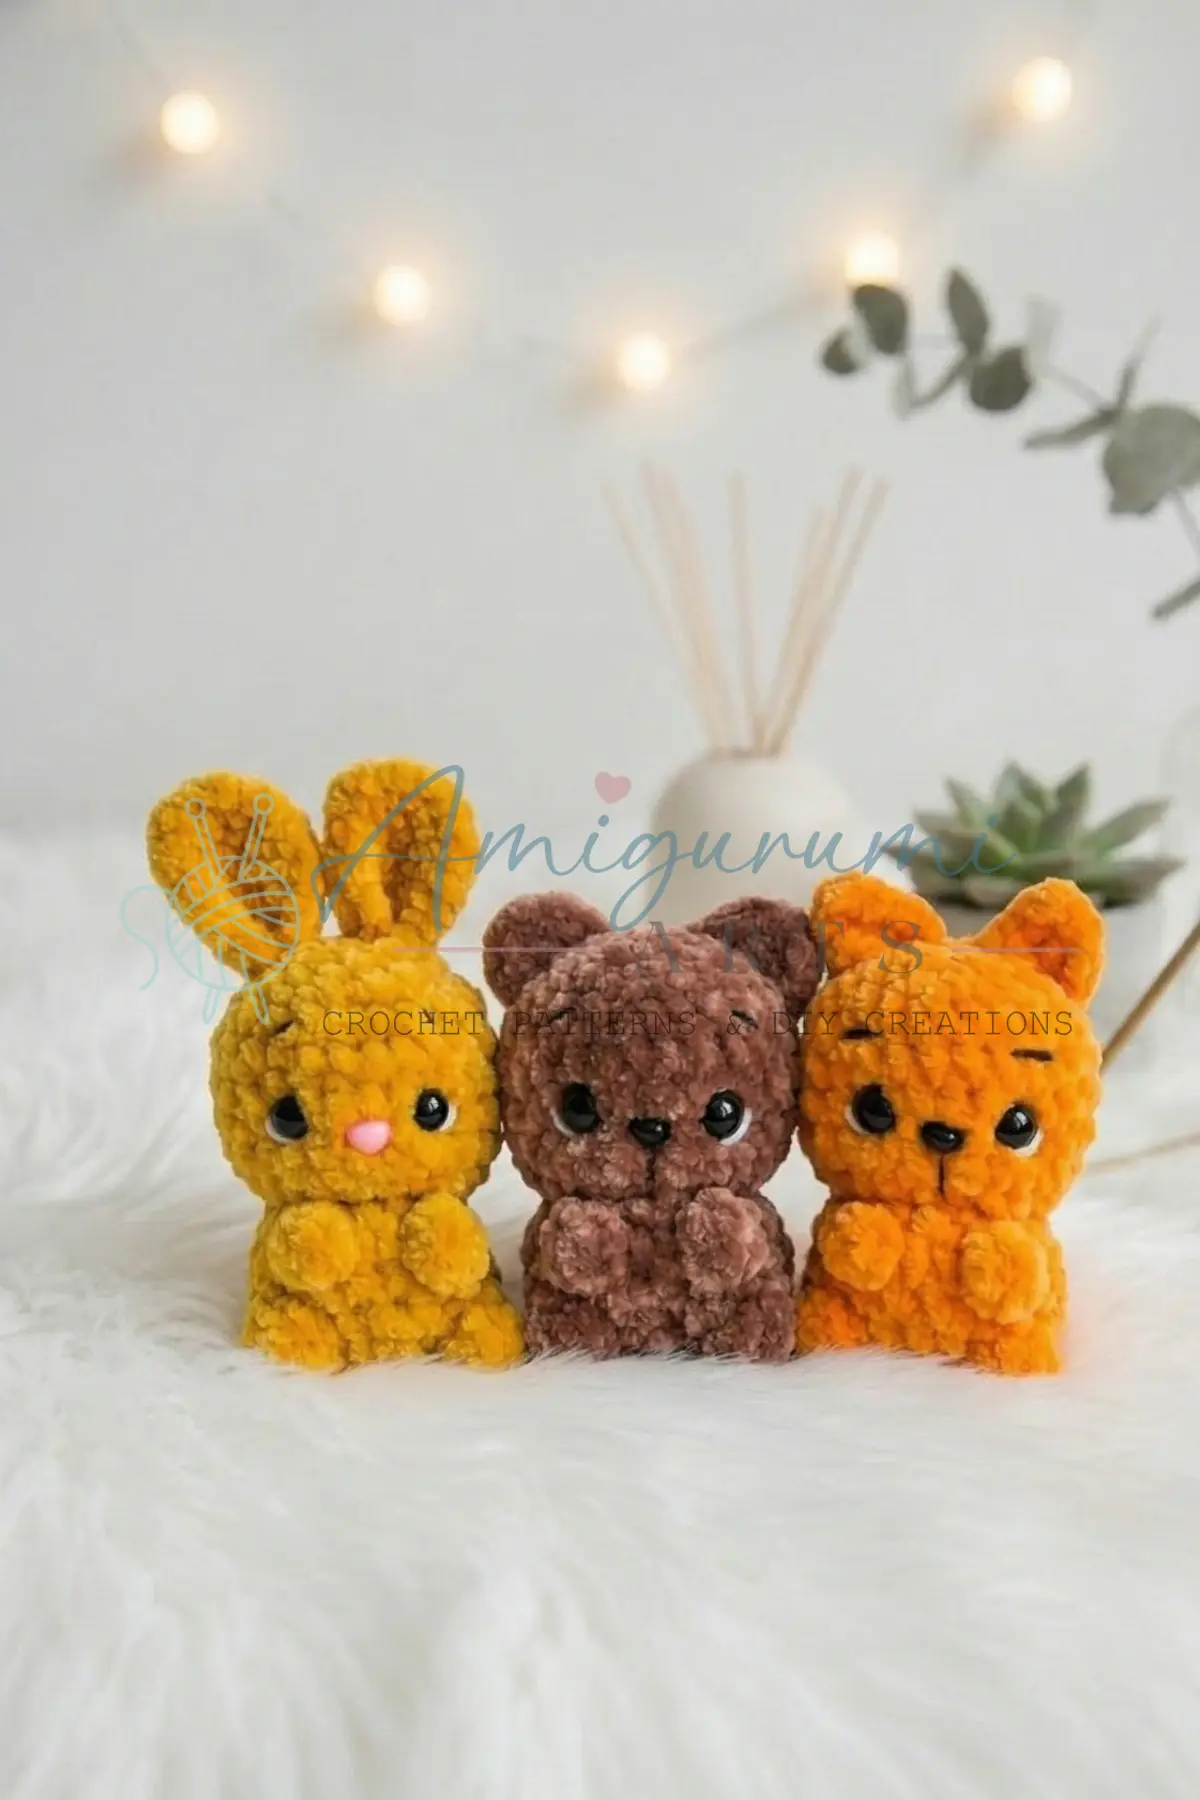
Your hook is poised over the yarn, the magic ring is secure, and the first round of stitches is forming a perfect circle. There is a specific kind of magic in amigurumi where a flat circle slowly transforms into a three-dimensional character. With the Cute Chubby Round Cat, that transformation happens quickly. As you work the body in a continuous spiral, you will feel the fabric tighten and the shape emerge, culminating in those sculpted ears and the final, satisfying attachment of the tail. This pattern is designed to be a quick, satisfying project that rewards you with a plush, squishy companion.
Why This Project Works
This chubby kitty is more than just a beginner project; it is a masterclass in sculpting without sewing. The design eliminates the frustration of attaching separate ears by working them directly into the body’s existing stitches. This creates a seamless, organic look that is incredibly satisfying to achieve. The “chubby” aesthetic is achieved through a specific stuffing technique—firmly stuffing the body while leaving the tail airy—which gives the cat a relaxed, sleepy posture. The color changes in Round 9 introduce the paw bobbles, adding a tactile element that makes the cat feel grounded and real. It is the perfect project for a rainy afternoon, offering a quick win with a high-end, professional finish.
Project Overview
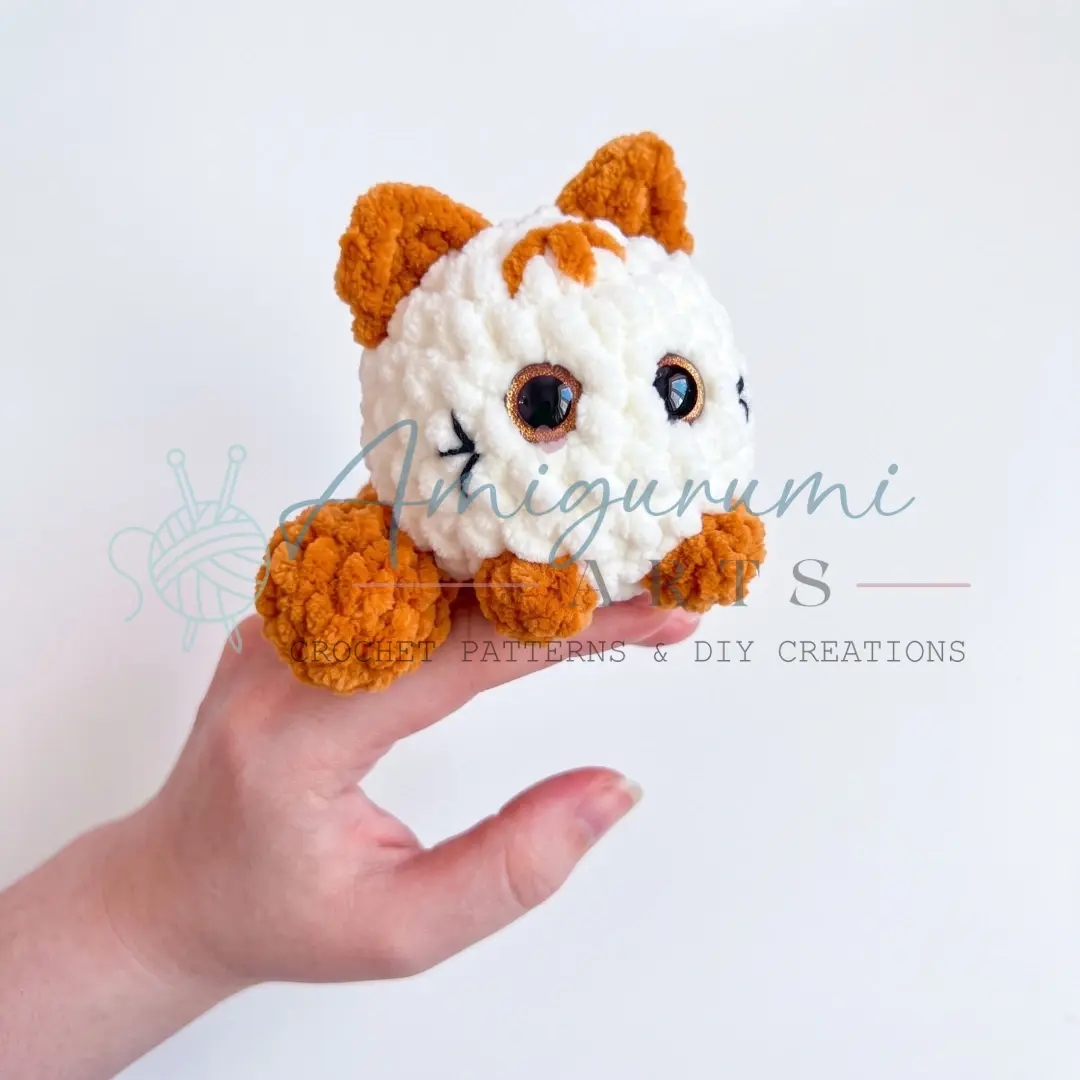
This amigurumi pattern creates a round, chubby cat using DK weight yarn. The body is worked top-to-bottom in a continuous spiral, featuring integrated ears and sculpted paw bobbles. The tail is a separate piece that is sewn on at the end. The pattern is written in US crochet terminology and is suitable for beginners looking for a charming first creature.
Materials
- Yarn: DK weight / light worsted (e.g., Wolans Bunny Baby or similar soft DK yarn)
- Colors: Milk/Cream color (approx. 11 g) and Brown color (approx. 6 g)
- Hook: E-4 / 3.5 mm
- Safety Eyes: 12 mm × 2
- Stuffing: Polyester fiberfill
- Notions: Stitch markers, yarn needle / tapestry needle, scissors
Gauge and Finished Size
Gauge is not critical for this project, but your fabric should be tight enough that stuffing does not show through. If you can see gaps, go down a hook size. The finished size is determined by your tension and hook choice, but the pattern is designed to create a compact, round shape.
Abbreviations
- BLO — Back Loop Only
- ch — Chain
- dc — Double Crochet
- dec — Invisible Decrease (insert hook into front loops of next 2 sts, pull up a loop, yo, pull through all 3 loops)
- hdc — Half Double Crochet
- inc — Increase (2 sc in same stitch)
- MR — Magic Ring
- sc — Single Crochet
- sl st — Slip Stitch
- st / sts — Stitch / Stitches
Pattern Notes
This Round Kitty Chubby Round Cat amigurumi pattern is written in US crochet terminology. The body is worked in a continuous spiral (no joining, no turning chains). Use a stitch marker to track the beginning of each round. The tail is also worked in a continuous spiral. The ears are not crocheted in the round — they are worked directly onto the body by inserting into existing stitches between completed rounds. Stitch counts are given in parentheses at the end of each round: (##). Safety eyes (12 mm) are placed between Rounds 5 and 6. Read ahead before closing those rounds — you cannot insert safety eyes after the opening is closed. Stuff the body firmly before working the final decrease round.
Pattern Instructions
Body (worked top to bottom)
Work with Cream/Milk yarn throughout, except where Brown is indicated.
Rnd 1: 6 sc in MR. (6)
Rnd 2: inc in each st around. (12)
Rnd 3: sc, inc repeat 6 times around. (18)
Rnd 4: 2 sc, inc repeat 6 times around. (24)
Rnds 5–8: sc in each st around. (24) (4 rounds total)
Place 12 mm safety eyes between Rounds 5 and 6. Space the eyes 2 sts apart from each other.
Rnd 9: 2 sc, dec, 2 sc, dec, sc — switch to Brown: work 1 bobble stitch (6 incomplete dc closed together at the top to form the paw); switch to Cream: dec, sc — switch to Brown: work 1 bobble stitch (paw); switch to Cream: dec, 2 sc, dec, 2 sc, dec. (18)
The two paw bobbles sit at the front of the body, framing the face. The color changes happen within the round — carry the unused color loosely or cut and rejoin as you prefer.
Rnd 10: sc, dec repeat 6 times around. (12)
Stuff the body firmly with fiberfill now.
Rnd 11: dec 6 times around. (6)
Close the opening, cut yarn, and weave in the end.
Ears
The ears are worked directly into the body, inserted between existing rounds — no separate pieces to sew on. Use Brown yarn.
First Ear (worked bottom to top — toward the crown)
Count 4 sts away from one eye, moving toward the side of the head. Join Brown yarn with a sl st between Rounds 3 and 4 at that point.
Into the next stitch (between Rounds 2 and 3), work all of the following into that single stitch: hdc, dc, ch 2, dc, hdc. Into the next stitch (between Rounds 1 and 2), work 1 sl st.
Fasten off, cut yarn, and weave in the end.
Second Ear (worked top to bottom — from the crown downward)
Position the second ear symmetrically on the other side of the head, the same distance from that eye.
Begin by working 1 sl st between Rounds 1 and 2. Into the stitch between Rounds 2 and 3, work the same 6-element combination: hdc, dc, ch 2, dc, hdc — all into that single stitch. Into the stitch between Rounds 3 and 4, work 1 sl st.
Fasten off, cut yarn, and weave in the end.
Tail
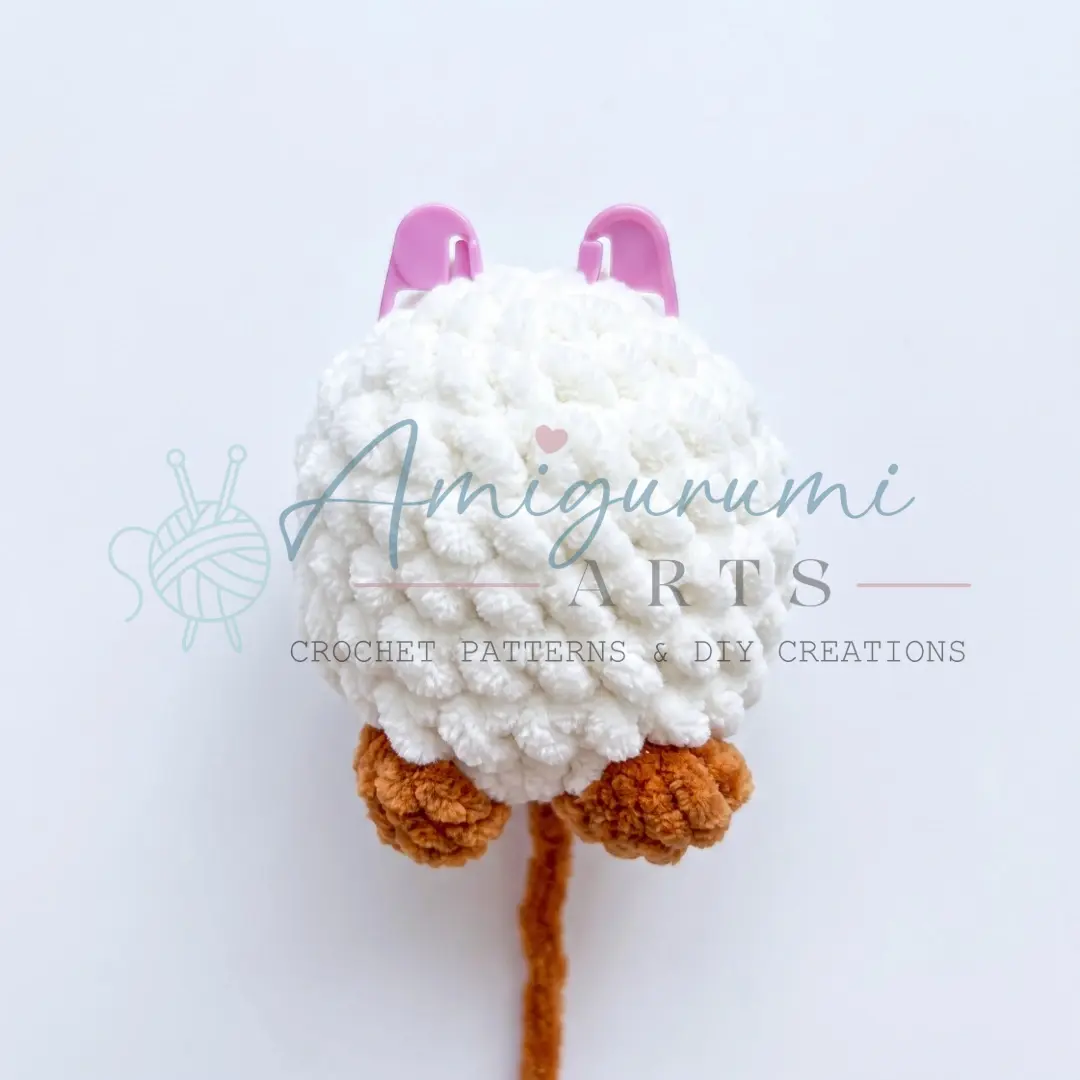
Work with Brown yarn.
Rnd 1: 6 sc in MR. (6)
Rnd 2: inc in each st around. (12)
Rnd 3: sc in each st around. (12)
Rnd 4: sc, dec repeat 4 times around. (8)
Rnds 5–8: sc in each st around. (8) (4 rounds total)
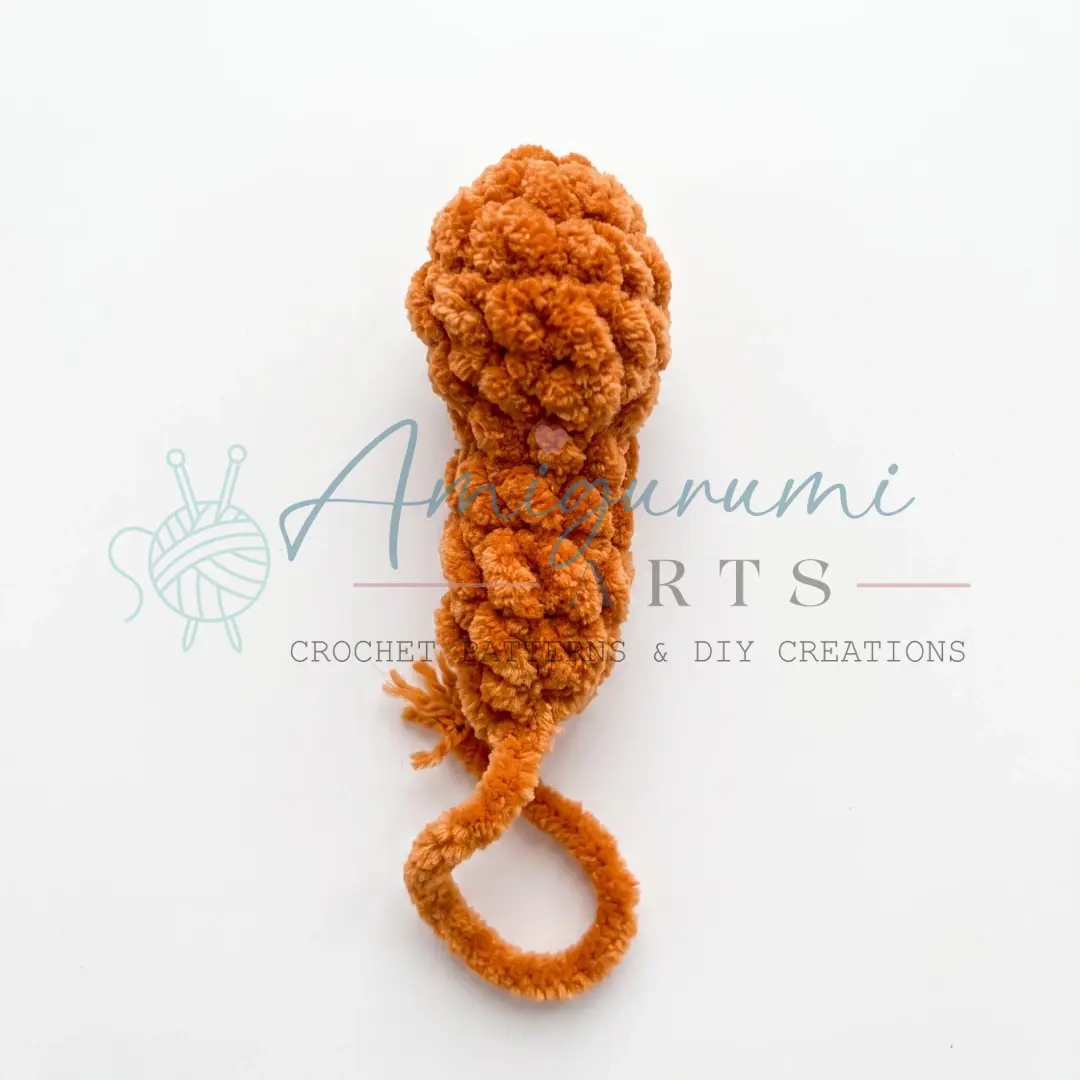
Stuff the tail lightly with fiberfill.
Rnd 9: dec 4 times around. (4)
Close the opening, cut yarn, and leave a long tail for sewing.
Assembly
Hold the completed tail against the back of the body, centered, at the level of Rounds 7 and 8. Using the long yarn tail and your tapestry needle, sew the tail securely to the body at that position using whipstitch or mattress stitch, working all the way around the base of the tail opening. Weave in all remaining ends on both the body and the tail.
Tips
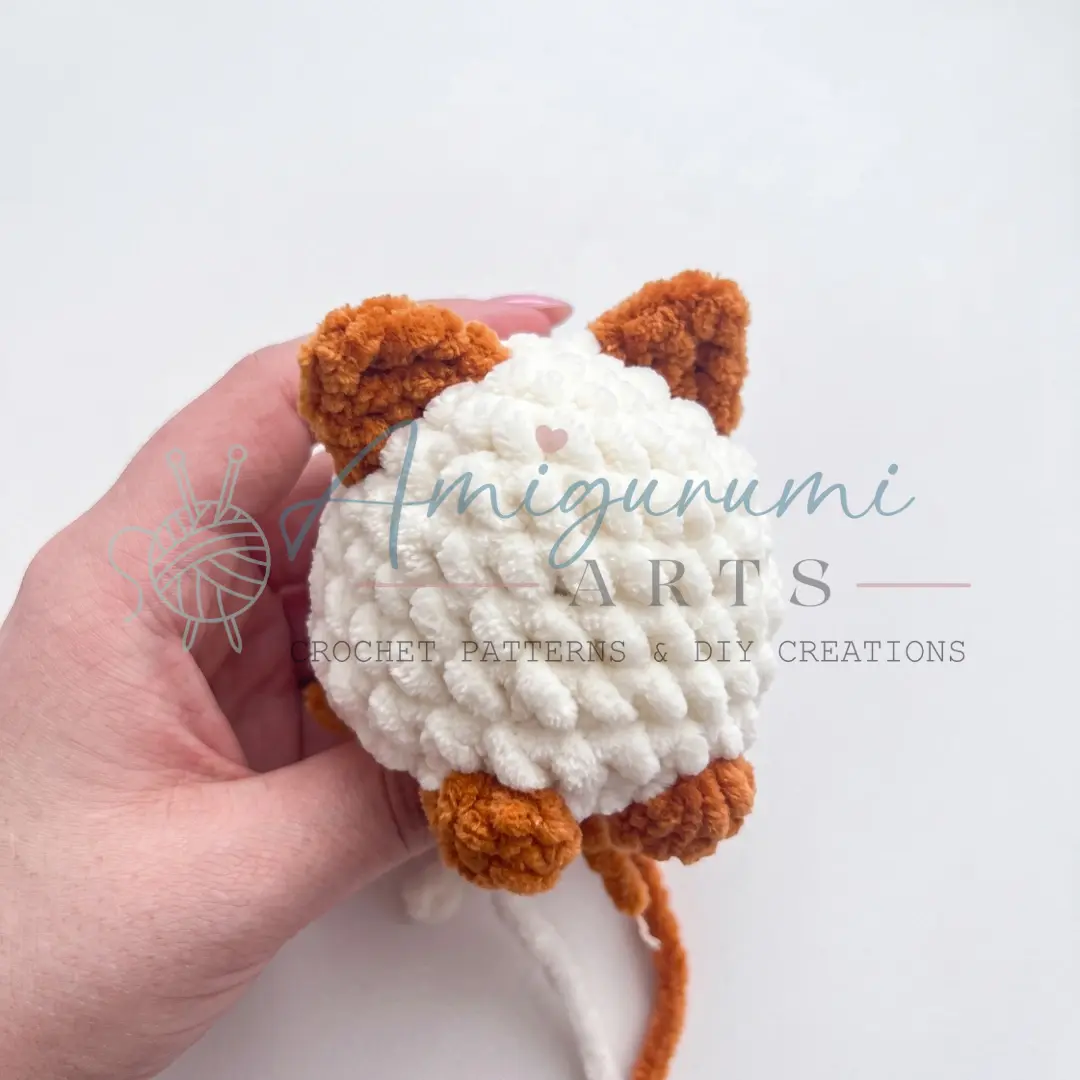
- Keep your tension tight on the body. Amigurumi works best with a snug fabric — if the fiberfill is peeking through the stitches, try a 3.0 mm hook instead. A tighter fabric also helps the cat hold its round, chubby shape over time.
- Insert safety eyes before you lose the opening. Round 9 tightens the body significantly, and by Round 10 the gap is very small. Set a reminder in your stitch marker or a sticky note — “eyes go in before Rnd 10.”
- The paw bobbles in Round 9 take a little patience. Work all 6 incomplete dc into a single stitch, then pull the final loop through all 7 loops on your hook at once. Pull firmly so the bobble pops forward on the right side of the work. If it’s falling backward, flip the piece and push it through with your fingertip while it’s still warm from your hands.
- Stuff the tail lightly, not firmly. A densely stuffed tail will stick out stiffly. A light, airy filling lets the tail curve naturally and gives it that soft, limp-noodle quality that makes the finished cat look relaxed and sleepy.
- Matching the ears symmetrically is the trickiest part of this pattern. Before joining the yarn for the second ear, count carefully from the eye on that side and compare the placement to the first ear. A stitch marker placed on the correct spot before you join the yarn is worth the extra ten seconds.
Frequently Asked Questions
What yarn weight works best for this chubby round cat pattern?
This pattern is designed for DK or light worsted weight yarn (CYCA weight 3), which gives the cat its dense, smooth fabric and clearly defined stitch lines. A softer fiber like cotton-blend or acrylic works well and holds its shape after stuffing. Avoid very fluffy or textured yarns for your first attempt, as they make it harder to see your stitches and keep an accurate count.
Can I use a different hook size if I want a larger or smaller cat?
Yes, you can adjust the finished size by changing your hook. A 4.0 mm or 4.5 mm hook with the same yarn will produce a noticeably larger cat, while a 2.5 mm or 3.0 mm hook will make a smaller, denser version. Keep in mind that going up in hook size will also loosen your fabric, so consider stuffing a little more firmly to maintain the round shape.
My ears look uneven — how do I get them to match?
The most common cause of uneven ears is miscounting the distance from the eye before joining the yarn. Use a stitch marker to pin both ear positions before you begin crocheting either one, then compare them visually from the front of the cat. It also helps to work both ears in good lighting so you can clearly see the gaps between rounds where you insert your hook.
How do I close the final 4 stitches on the tail neatly?
After working your final 4 decreases, cut the yarn leaving a 6-inch tail. Thread the tail onto your tapestry needle, then pass it through the front loop of each remaining stitch in order, slipping them off the needle as you go. Pull tight to close the hole and weave the end into the tail body.
Pin This Crochet Pattern!