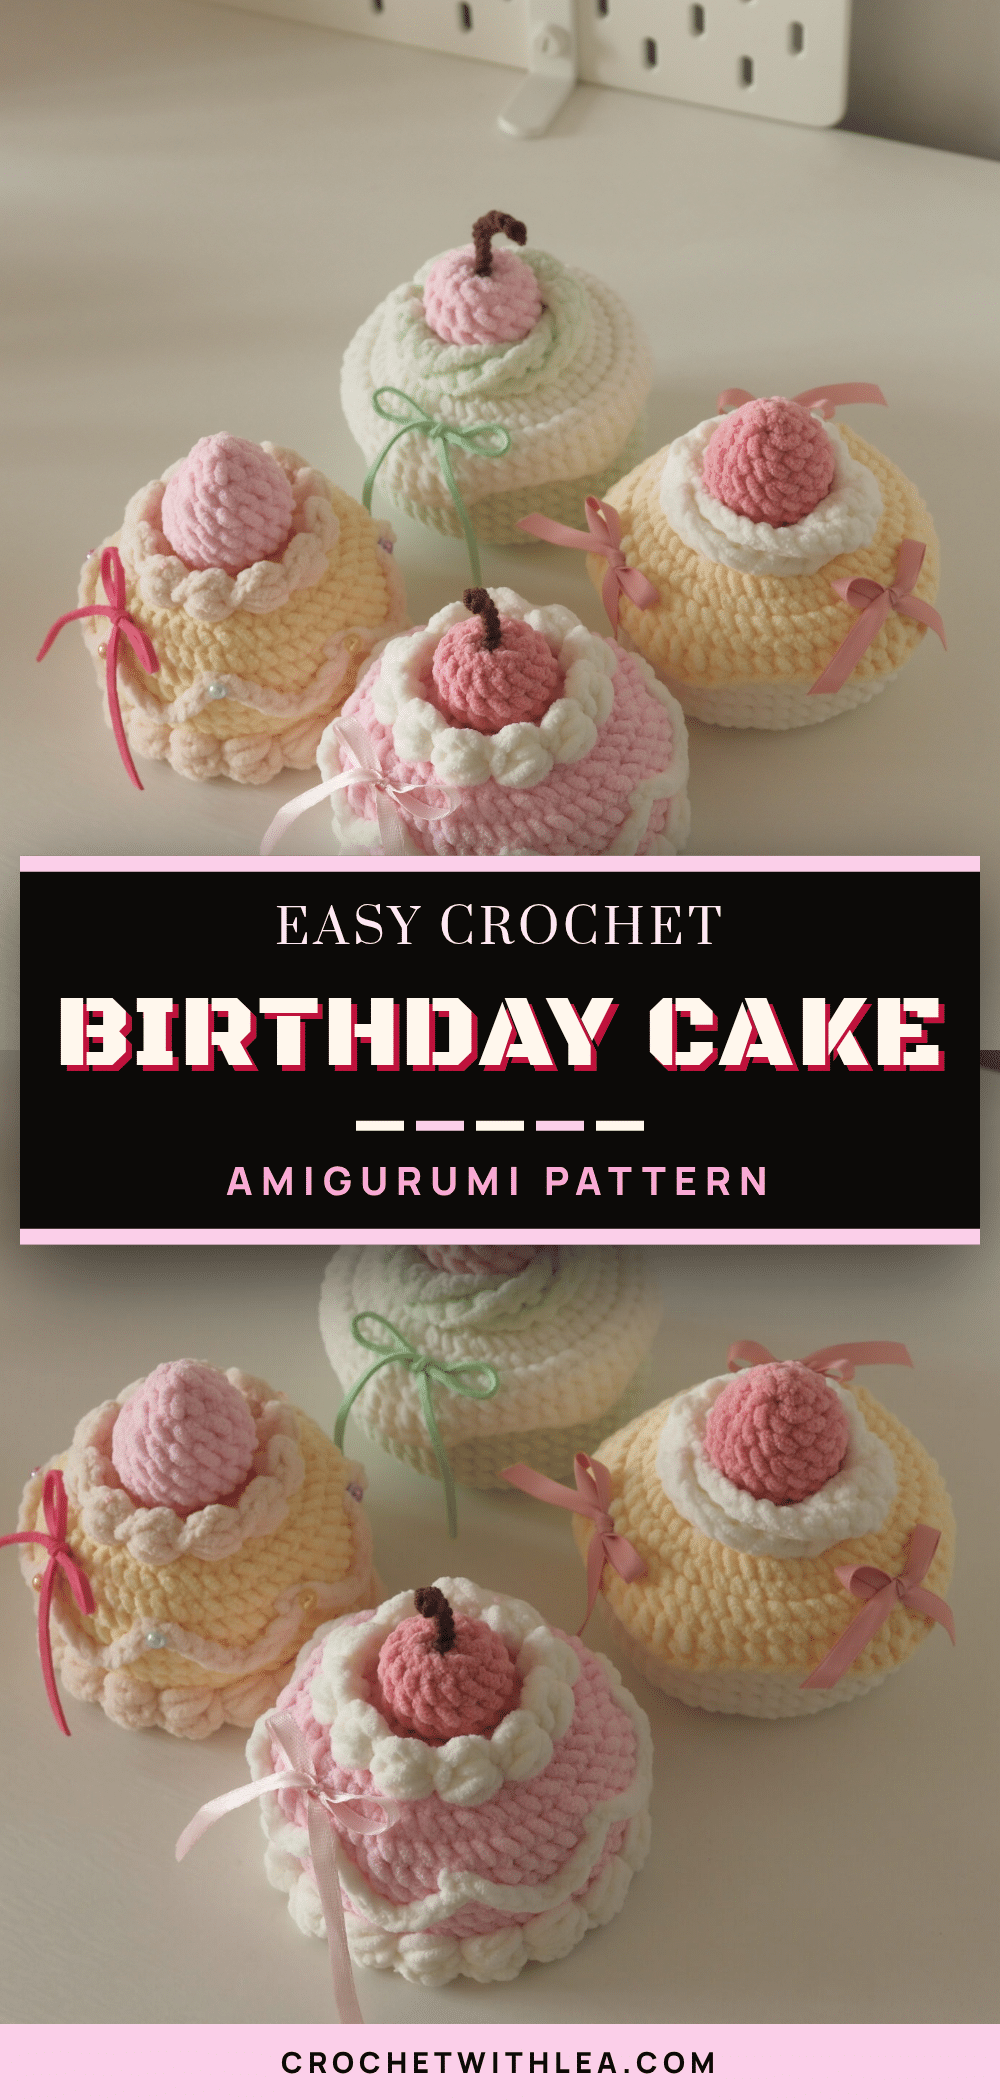
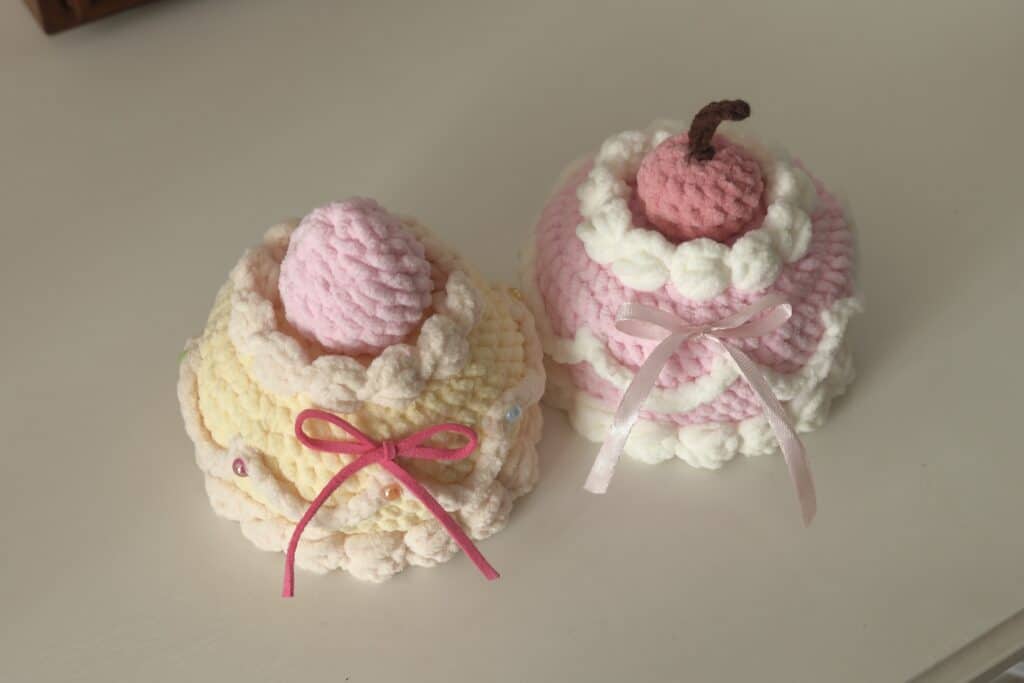
There is something undeniably sweet about the idea of a birthday cake that never melts and always brings a smile. This adorable crochet birthday cake pattern transforms simple yarn into a charming amigurumi keepsake, perfect for gifting to a loved one or keeping as a cheerful desk companion. The design offers two distinct looks—a classic creamy cake and a whimsical princess cake—allowing you to choose the aesthetic that best fits the occasion. Whether you are celebrating a milestone or just want to add a touch of handmade joy to your space, these plushies are a delightful project that balances structure with soft, cuddly texture.
Yarn and Color Notes
For this project, medium-sized chenille yarn is the star of the show. Chenille’s plush, velvety texture gives the finished cake a soft, inviting appearance that mimics the look of a real dessert while remaining durable and huggable. The source pattern suggests using any color you prefer, which opens up endless creative possibilities. For the classic “Creamy Cake,” soft pastels like vanilla, mint, or baby pink work beautifully to evoke the feeling of frosting. For the “Princess Cake,” you might choose a more vibrant palette or metallic tones to highlight the decorative elements. The choice of yarn fiber directly impacts the final drape and “squish” factor, so selecting a chenille blend ensures your cake maintains its shape while feeling delightfully tactile.
Project Overview
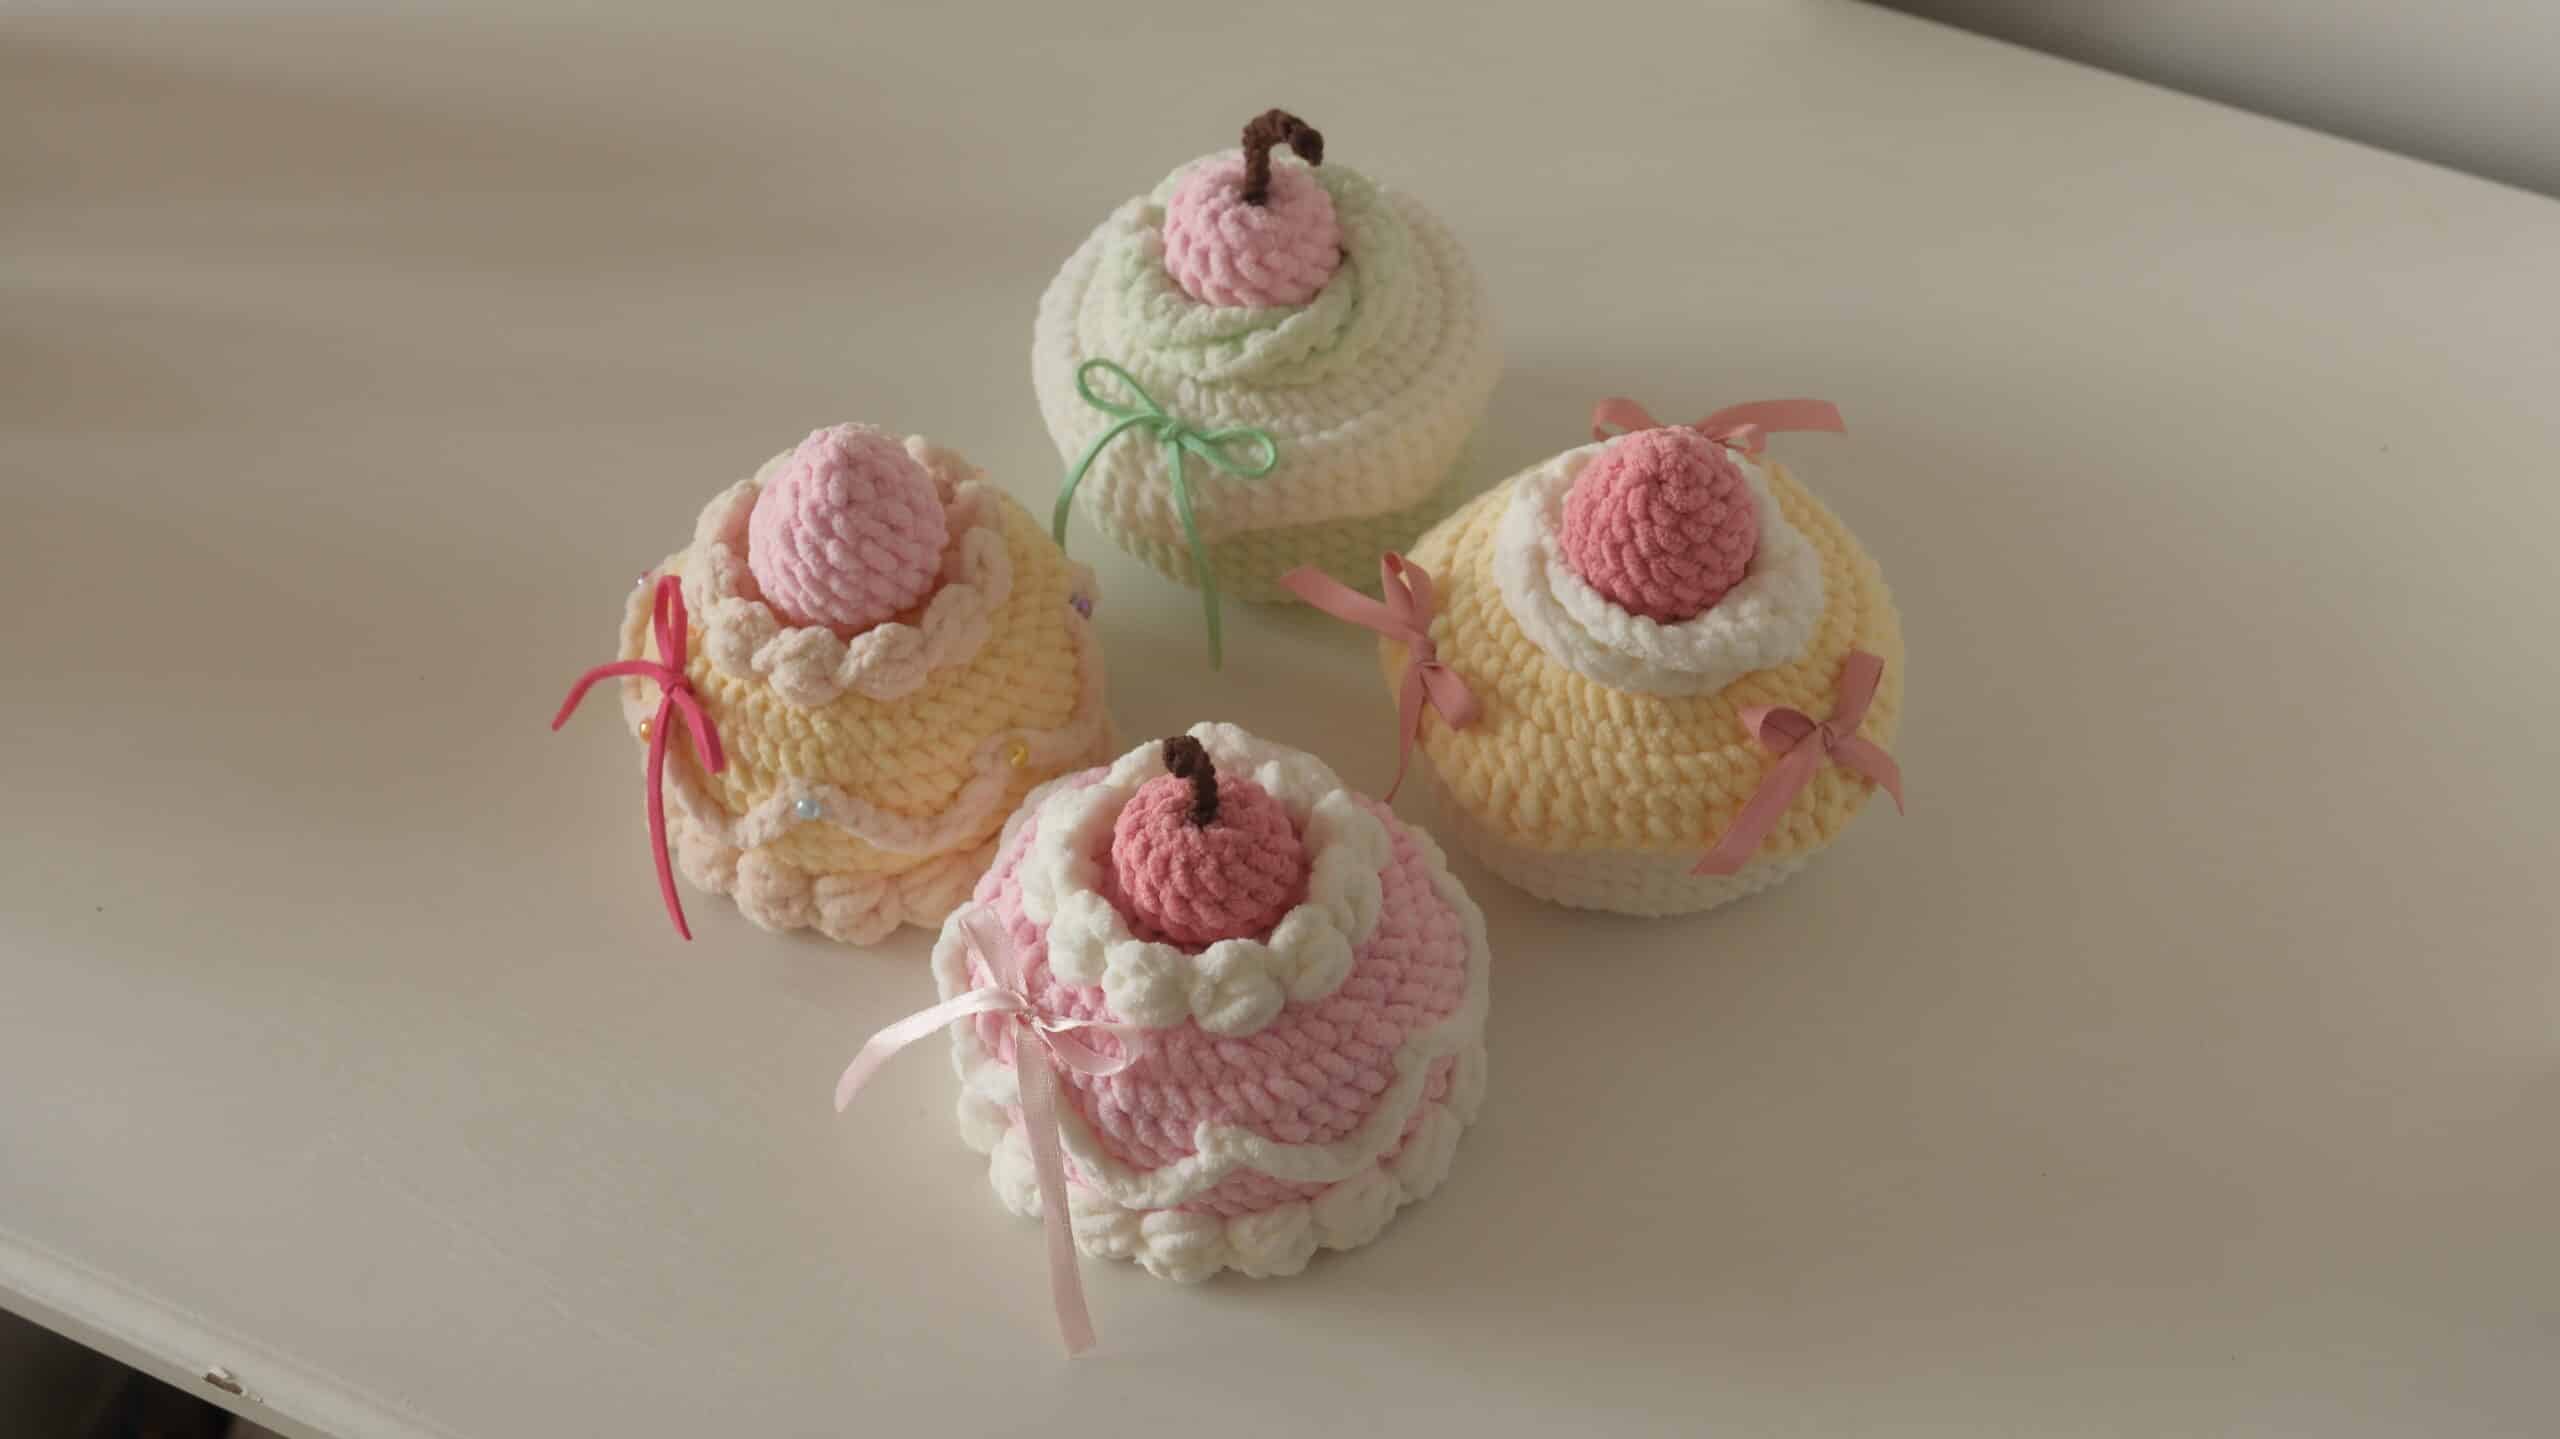
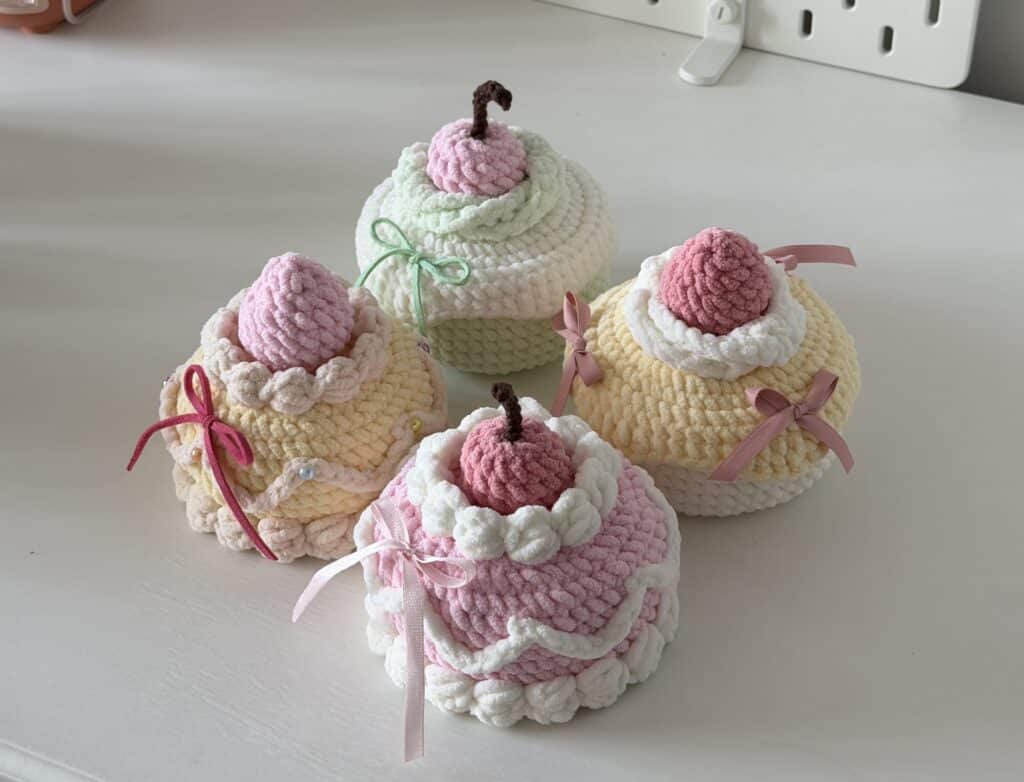
This pattern provides instructions for two distinct amigurumi cake designs. Design 1 features a classic creamy cake with a removable lid and a surrounding whipped cream ring. Design 2 offers a more intricate princess cake style, featuring textured frosting details and decorative ribbons. Both designs include instructions for creating small fruit toppers, such as strawberries and cherries, to complete the look. The project is suitable for crocheters comfortable with basic amigurumi techniques, including working in joined rounds, increasing, decreasing, and working in the back loop only (BLO) or front loop only (FLO) to create specific structural details.
Materials
- Medium-sized chenille yarn in any color you prefer
- 4mm crochet hook
- Fiber filling
- Stitch markers
- Darning needle and scissors
- Satin or faux suede cord / half pearls (optional, for extra decoration)
- Sport weight (5ply) yarn in brown (for cherry stems)
- 2.5 or 3mm crochet hook (for cherry stems)
Abbreviations
The abbreviations are in US terminology!
- R – round/row
- Ch – chain
- mr – magic ring
- st – stitch
- sc – single crochet
- inc – increase
- dec – decrease
- dc – double crochet
- hdc – half double crochet
- slst – slip stitch
- * – repeat
- [] – total stitch count in each round/row
- sk – skip
Pattern Notes
- Work in joined rounds unless otherwise specified.
- Use a stitch marker to keep track of the beginning of each round.
- For Design 2, specific texture stitches are used to create the frosting effect.
- Open the accompanying video tutorial for visual guidance on complex steps, such as the frosting and decoration assembly.
Pattern Instructions
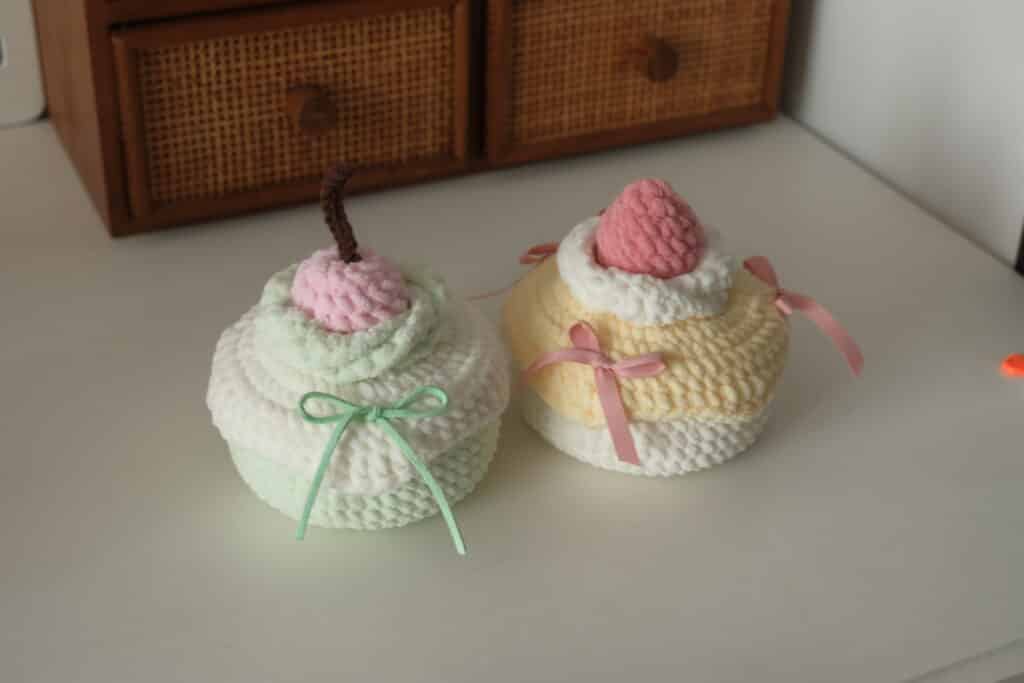
Design 1: Creamy Cake Base
Start with a magic ring. Work in joined rounds.
- R1: 10sc in mr, 1slst [10]
- R2: Ch1, 10inc, 1slst [20]
- R3: Ch1, (1sc, 1inc)*10, 1slst [30]
- R4: Ch1, (1sc, 1inc, 1sc)*10, 1slst [40]
- R5: Ch1, (3sc, 1inc)*10, 1slst [50]
- R6: BLO, Ch1, 50sc, 1slst [50]
- R7-R13: Ch1, 50sc, 1slst (7 rounds) [50]
Cut yarn leaving a 12-inch tail.
Lid (Cream on top)
Start with a magic ring. Work in joined rounds.
- R1: 10sc in mr, 1slst [10]
- R2: Ch1, 10inc, 1slst [20]
- R3: Ch1, (1sc, 1inc)*10, 1slst [30]
- R4: Ch1, (1sc, 1inc, 1sc)*10, 1slst [40]
- R5: Ch1, (3sc, 1inc)*10, 1slst [50]
- R6: Ch1, 50sc, 1slst [50]
- R7: FLO, Ch1, 50sc, 1slst [50]
- R8: Ch1, 50sc, 1slst [50]
- R9: Ch1, [(3sc, 1hdc, 2dc, 1hdc, 3sc), (2sc, 1hdc, 4dc, 1hdc, 2sc),]*2, (3sc, 1hdc, 2dc, 1hdc, 3sc)
Cut yarn and weave in the end.
Whipped Cream (Surrounding Fruit)
Start with a slip knot and make 25ch.
- R1: 24sc [24]
- R2: Ch1 & turn, BLO 24sc [24]
- R3: Ch1, 1sc into each FLO left in R2 [24]
Cut yarn, twist 3 times from the right end and sew the ends together.
Design 2: Princess Cake Base
Start with a magic ring. Work in joined rounds.
- R1: 10sc in mr, 1slst [10]
- R2: Ch1, 10inc, 1slst [20]
- R3: Ch1, (1sc, 1inc)*10, 1slst [30]
- R4: Ch1, (1sc, 1inc, 1sc)*10, 1slst [40]
- R5: Ch1, (3sc, 1inc)*10, 1slst [50]
- R6: Ch1, 50sc, 1slst [50]
- R7: BLO, Ch1, 50sc, 1slst [50]
- R8-R12: Ch1, 50sc, 1slst (5 rounds) [50]
- R13: Ch1, (3sc, 1dec)*10, 1slst [40]
- R14: Ch1, (3sc, 1dec)*8, 1slst [32]
- R15: BLO, Ch1, (1sc, 1dec, 1sc)*8, 1slst [24]
Start stuffing and continue stuffing after each following round.
- R16: Ch1, (1sc, 1dec)*8, 1slst [16]
- R17: Ch1, 8dec [8]
Cut yarn, close the leftover hole and weave in the ends.
Frostings (on Design 2)
Into FLOs left in R7 & R15 of the Base; (2ch, 3hdc puff st, sk2, 1slst into 3rd)* repeat till the end of round. Cut yarn and weave in the ends by tying yarn ends together.
Decoration (on Design 2)
Between R11 & R12 of the Base, starting from the first sc of the round; (1slst, 8ch, sk6, 1slst)*repeat till the end of round. Cut yarn and weave in the ends by tying yarn ends together.
Strawberry
Start with a magic ring. Make continuous rounds.
- R1: 6sc in mr [6]
- R2: 6inc [12]
- R3: (1sc, 1inc)*6 [18]
- R4-R6: 18sc (3 rounds) [18]
- R7: 9dec [9]
Stuff inside and close the leftover hole.
Cherry
Start with a magic ring. Make continuous rounds.
- R1: 8sc in mr [8]
- R2: 8inc [16]
- R3-R5: 16sc (3 rounds) [16]
- R6: 8dec [8]
Stuff inside and close the leftover hole.
Stem
Use a sport weight (5ply) yarn with a 2.5 or 3mm hook, in Brown. Starting with a slip knot; 10ch, 9slst. Cut yarn leaving a 4-inch tail and sew the stem on top of the cherry.
Assembly
- Sew the BLO of R7 of the lid and the last round of the base together, using the long yarn tail left on the Base.
- Stuff enough to keep the shape of the cake (but not too tightly) before completely sewing them up.
- Sew the whipped cream on top of the cake, leaving enough space to put either strawberry or cherry inside.
- Pull each string down to R9 and glue them in place.
- Sew the stem on top of the cherry.
Tips
- Visual Aid: Do not miss out any details! Open the video tutorial as you crochet along to make the process more effective and time-saving.
- Extra Decorations: You can use any material you have to make the cakes cuter and more realistic. The designer used satin and faux suede cords, tying them on the cakes to make ribbons. Colorful half pearls can also be used to decorate Design 2. This is the part where you have fun and get creative with craft materials you have at home.
FAQs
What type of yarn is best for this pattern?
The pattern recommends medium-sized chenille yarn for its soft, plush texture. However, you can use any yarn weight that suits your preference, keeping in mind that the finished size may vary.
Can I use a different hook size?
The pattern specifies a 4mm hook for the main body and a 2.5 or 3mm hook for the cherry stems. Using a different hook size will affect the gauge and the tightness of your stitches, so it is best to stick to the recommended sizes for the intended shape.
How do I make the frosting on Design 2?
The frosting is created using a special stitch combination: (2ch, 3hdc puff st, sk2, 1slst into 3rd). This is worked into the FLOs left in R7 and R15 of the base to create a textured, raised effect.
Is this pattern suitable for beginners?
This pattern is best suited for crocheters with basic amigurumi experience, as it involves working in joined rounds, increasing, decreasing, and sewing multiple components together. However, with the video tutorial and clear instructions, dedicated beginners may also succeed.
Can I sell the finished cakes?
Yes, you are welcome to sell any finished items made from these patterns for personal use. However, mass production and selling the patterns themselves are not allowed. Please credit the original designer when sharing your creations.
Pin This Crochet Pattern!