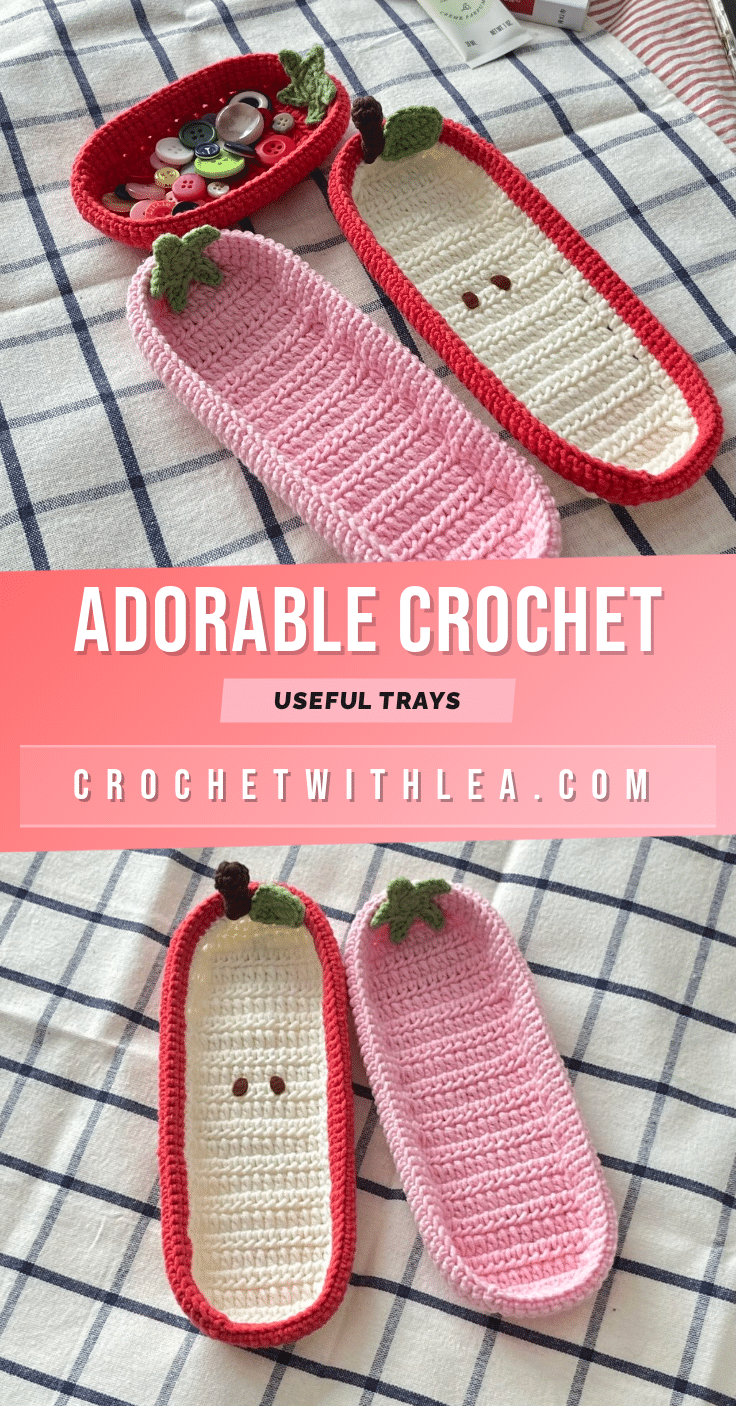
Looking for a quick, practical, and adorable project to fill your crochet stash? These adorable crochet trays are the perfect solution. Originally designed as a holder for drawing pencils, this versatile pattern easily transforms into a charming fruit-themed accessory for your home or a delightful handmade gift. Whether you are crafting a strawberry, apple, or tomato tray, this project offers a simple way to create functional decor that brings a pop of color and personality to any space.
Gift and Use Ideas
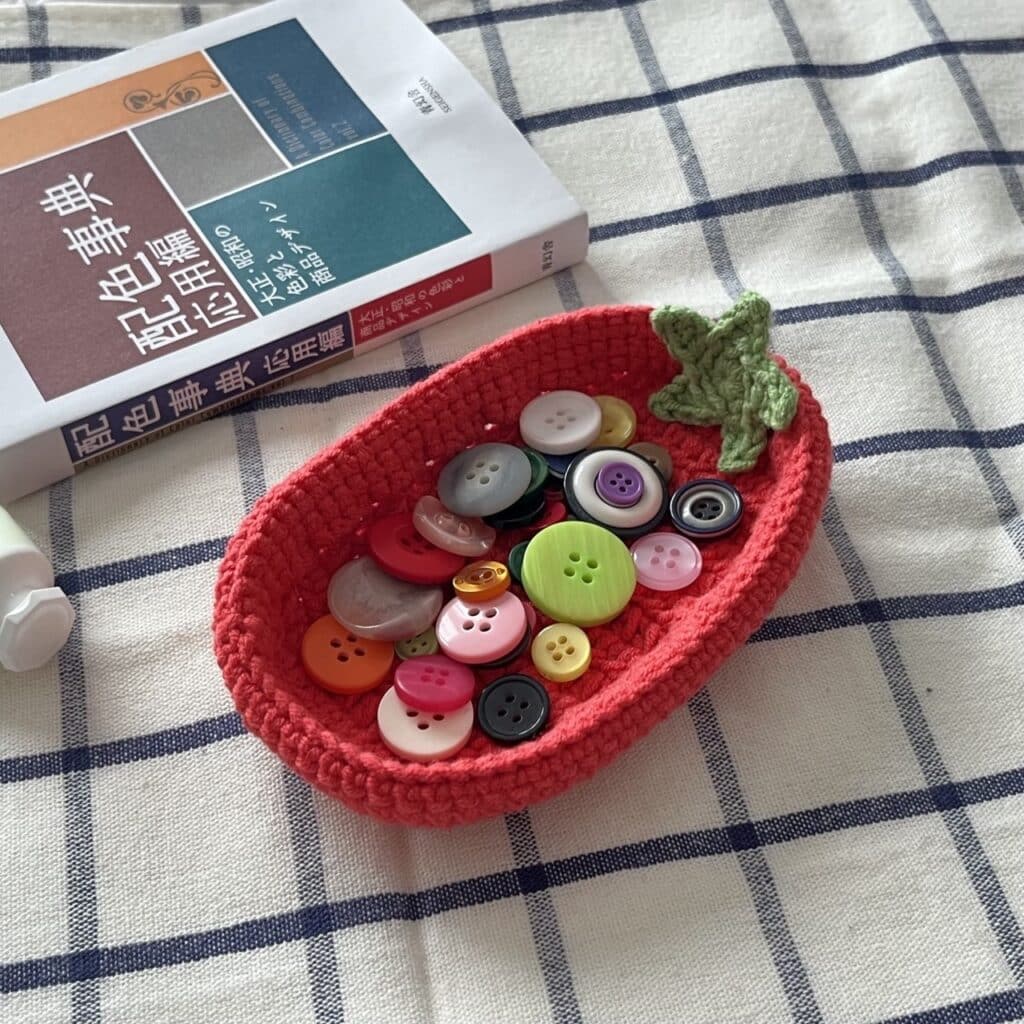
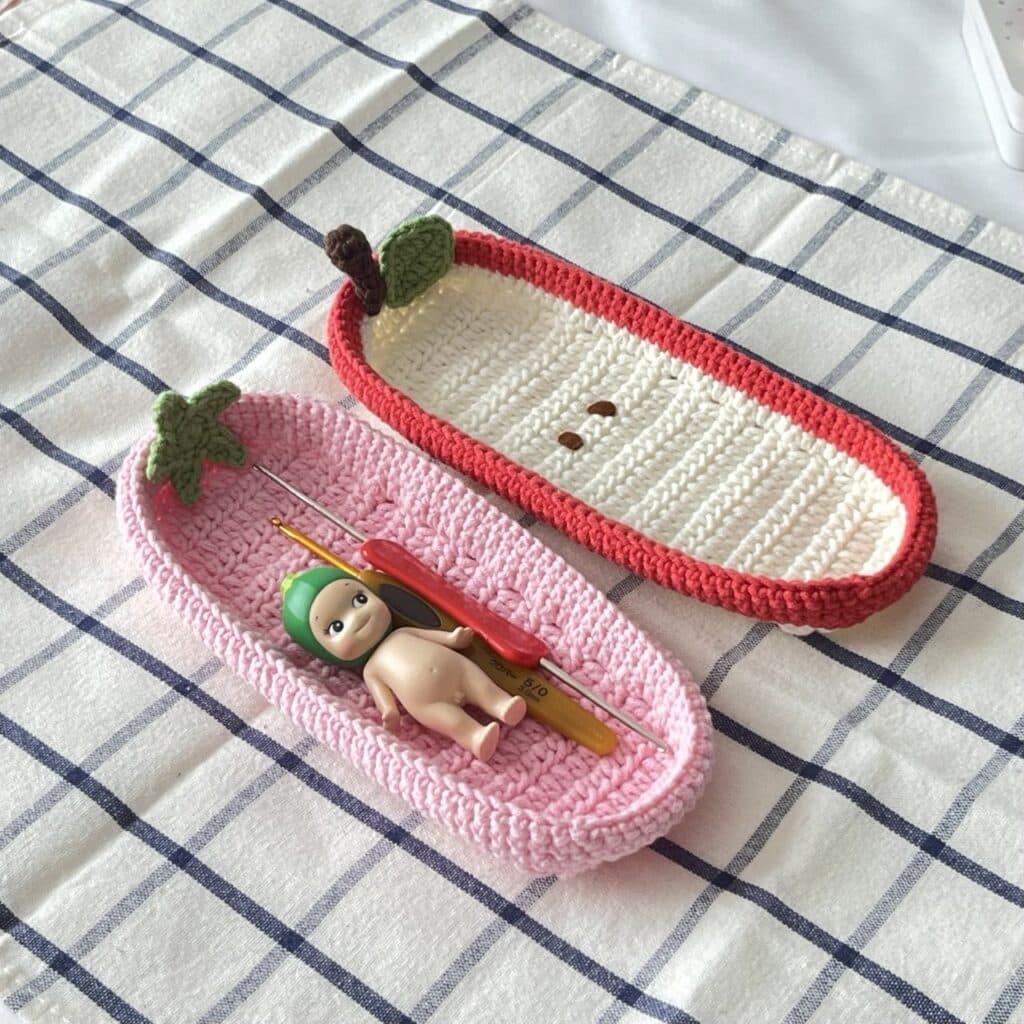
While the creator initially made these trays to organize drawing pencils, their potential extends far beyond stationery. The fruit-themed variations—strawberry, apple, and tomato—make them excellent decorative pieces for a kitchen or dining area. You can use them to hold jewelry, keys, or small trinkets on a vanity table. Because they are lightweight and flat, they also make charming gifts for housewarmings or hostesses. The optional felt accents on the apple tray add a realistic touch that elevates the piece from a simple coaster to a conversation-starting decor item.
Project Overview
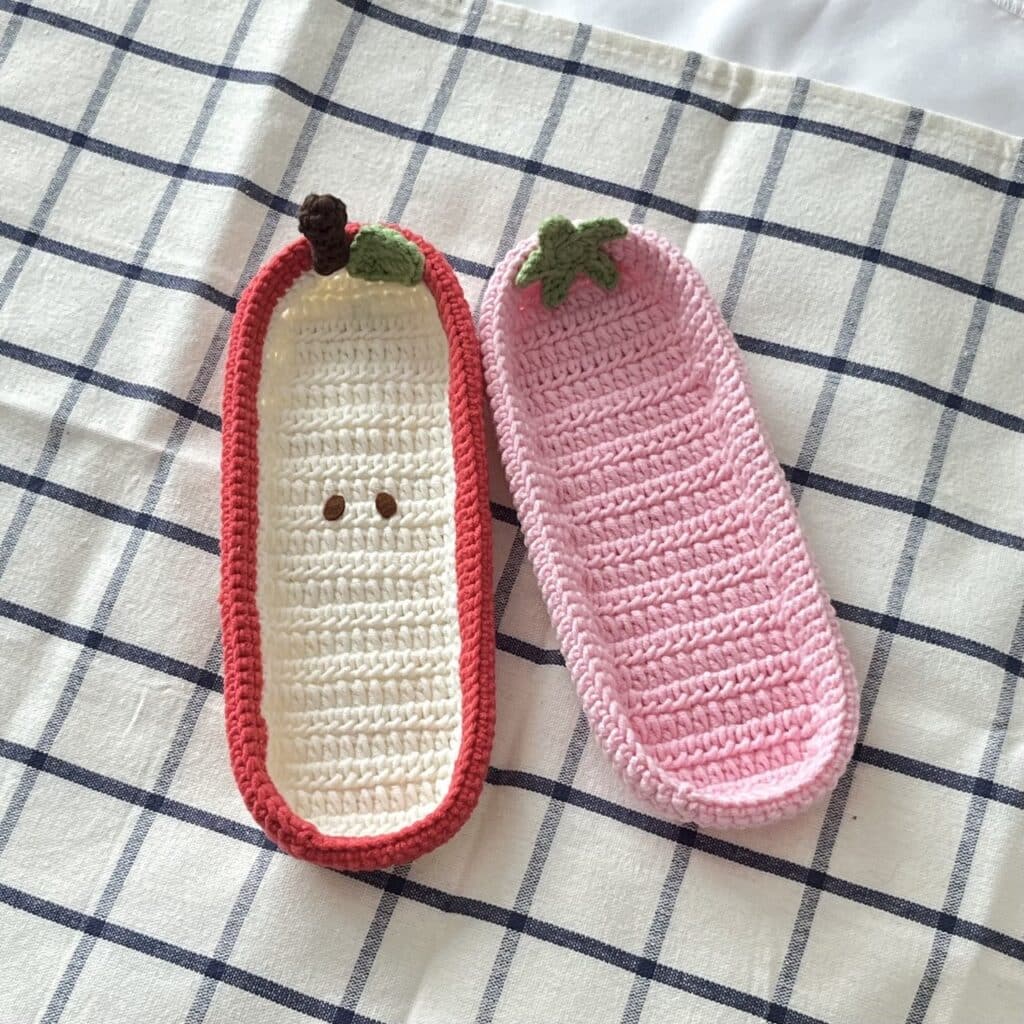
This pattern guides you through creating a flat, rectangular crochet tray with a structured border and an optional fruit-themed topper. The project is categorized as amigurumi-style crafting due to the use of magic rings and specific shaping techniques, though the main body is worked flat. You can choose between a longer base (for strawberry and apple trays) or a shorter base (for the tomato tray). The pattern includes instructions for a star leaf, an apple leaf, and an apple stem to customize your finished piece.
Materials
- Cotton or Acrylic yarn (sports weight, 5ply) in any color you prefer
- 3mm crochet hook
- Stitch markers
- Darning needle
- Scissors
- Brown felt cloth (optional, for apple tray details)
Gauge and Finished Size
Specific gauge measurements and finished dimensions are not provided in the source pattern. The creator notes that small differences in total stitch counts are negligible as long as the bordering looks clean and neat. For consistent results, ensure your tension allows the fabric to remain flat and sturdy.
Abbreviations
The abbreviations are in US terminology!
- R – round/row
- Ch – chain
- st – stitch
- sc – single crochet
- inc – increase
- dec – decrease
- dc – double crochet
- hdc – half double crochet
- slst – slip stitch
- *- repeat
- [] – total stitch count in each round/row
- sk – skip
Pattern Notes
- Base Note: The main base instructions provided are for a longer base suitable for Strawberry and Apple trays.
- Stitch Count: There will be a total of 112 sts after working the sides, which makes up Round 1 of the border. Small differences in total stitch count here can be negligible as long as the bordering looks clean and neat.
Pattern Instructions
Base (Longer Base for Strawberry and Apple Trays)
Start with 12ch.
- R1 Starting from second chain from the hook, 10hdc [10]
- R2 Ch2 & turn, 1hdc inc, 8hdc, 1hdc inc [12]
- R3 Ch2 & turn, 1hdc inc, 10hdc, 1hdc inc [14]
- R4-R21 Ch2 & turn, 14hdc (18 rows) [14]
- R22 Ch2 & turn, 1dec, 10hdc, 1dec [12]
- R23 Ch2 & turn, 1dec, 8hdc, 1dec [10]
After R23, continue crochet along the edges with sc, 2sc into the edge of each row in vertical side and 1sc into each st in horizontal sides.
- 1st side: 46sc
- 2nd side: Crocheting into lower loop of each ch, 10sc
- 3rd side: 46sc
- 4th side: Crocheting along R23 of the base, 10sc
There will be a total of 112 sts and this will make up Round 1 again.
- R1 Bordering along the edge [112sc]
- R2-R3 Ch1, 112sc, 1slst (2 rounds) [112]
- R4 Ch1, FLO 112sc, 1slst [112]
- R5-R6 Ch1, 112sc, 1slst (2 rounds) [112]
Cut the yarn and weave in the ends.
Shorter Base (for Tomato Tray)
Start with 12ch.
- R1 starting from second chain from the hook, 10hdc [10]
- R2 Ch2 & turn, 1hdc inc, 8hdc, 1hdc inc [12]
- R3 Ch2 & turn, 1hdc inc, 10hdc, 1hdc inc [14]
- R4-R12 Ch2 & turn, 14hdc (9 rows) [14]
- R13 Ch2 & turn, 1dec, 10hdc, 1dec [12]
- R14 Ch2 & turn, 1dec, 8hdc, 1dec [10]
Continuing bordering and working up a total of 6 more rounds, applying the similar technique as the longer trays.
Star Leaf (for Tomato & Strawberry Trays)
Start with a magic ring.
- R1 8sc in mr, 1slst
- R2 (Ch4, 1slst, 1sc, 1hdc, sk next st on R1, 1slst into anther)*5
Cut the yarn.
Apple Leaf
Start with 8ch.
- R1 Starting from second chain from the hook, 2sc, 1hdc, 2dc, 1hdc, ( 4sc) into last ch, 1hdc, 2dc, 1hdc, 2sc, 1slst into first sc
Cut the yarn.
Apple Stem
Start with a magic ring.
- R1 8sc in mr [8]
- R2-R3 8sc (2 rounds) [8]
- R4 (2sc, 1dec)*2 [6]
- R5-R6 6sc (2 rounds) [6]
Close the round with 2sc, by crocheting opposite stitches together, and cut the yarn.
Assembly
You can either sew or glue the leaves onto the top of the tray. For the Apple Tray, I recommend sewing the stem in place. Cut two small oval shapes from brown felt and glue it to the center of the Apple tray to create a more adorable and realistic look.
Tips
- Do not miss out any details! Open the accompanying video tutorial as you crochet along to make the process more effective and time-saving.
FAQs
What type of yarn is best for these trays?
The pattern recommends using cotton or acrylic yarn in sports weight (5ply). Cotton is often preferred for trays because it is durable and holds its shape well, but acrylic works well for a softer, more budget-friendly option.
Can I make the tray larger or smaller?
Yes, you can adjust the size by modifying the number of rows in the base sections. The source pattern notes that small differences in total stitch counts are negligible as long as the bordering looks clean and neat.
How do I attach the fruit toppers?
The leaves and stems can be attached using either sewing or glue. For the apple stem, sewing is recommended for better stability, while the felt accents can be glued to the center of the tray.
Is this pattern suitable for beginners?
This project uses basic stitches like single crochet, half double crochet, and slip stitch. It is a great project for crocheters who are comfortable with working in rows and joining rounds, making it accessible for intermediate beginners.
What is the purpose of the FLO round?
Round 4 of the border is worked in the Front Loop Only (FLO). This technique creates a defined ridge or groove around the edge of the tray, adding structure and a professional finish to the border.
Pin This Crochet Pattern!