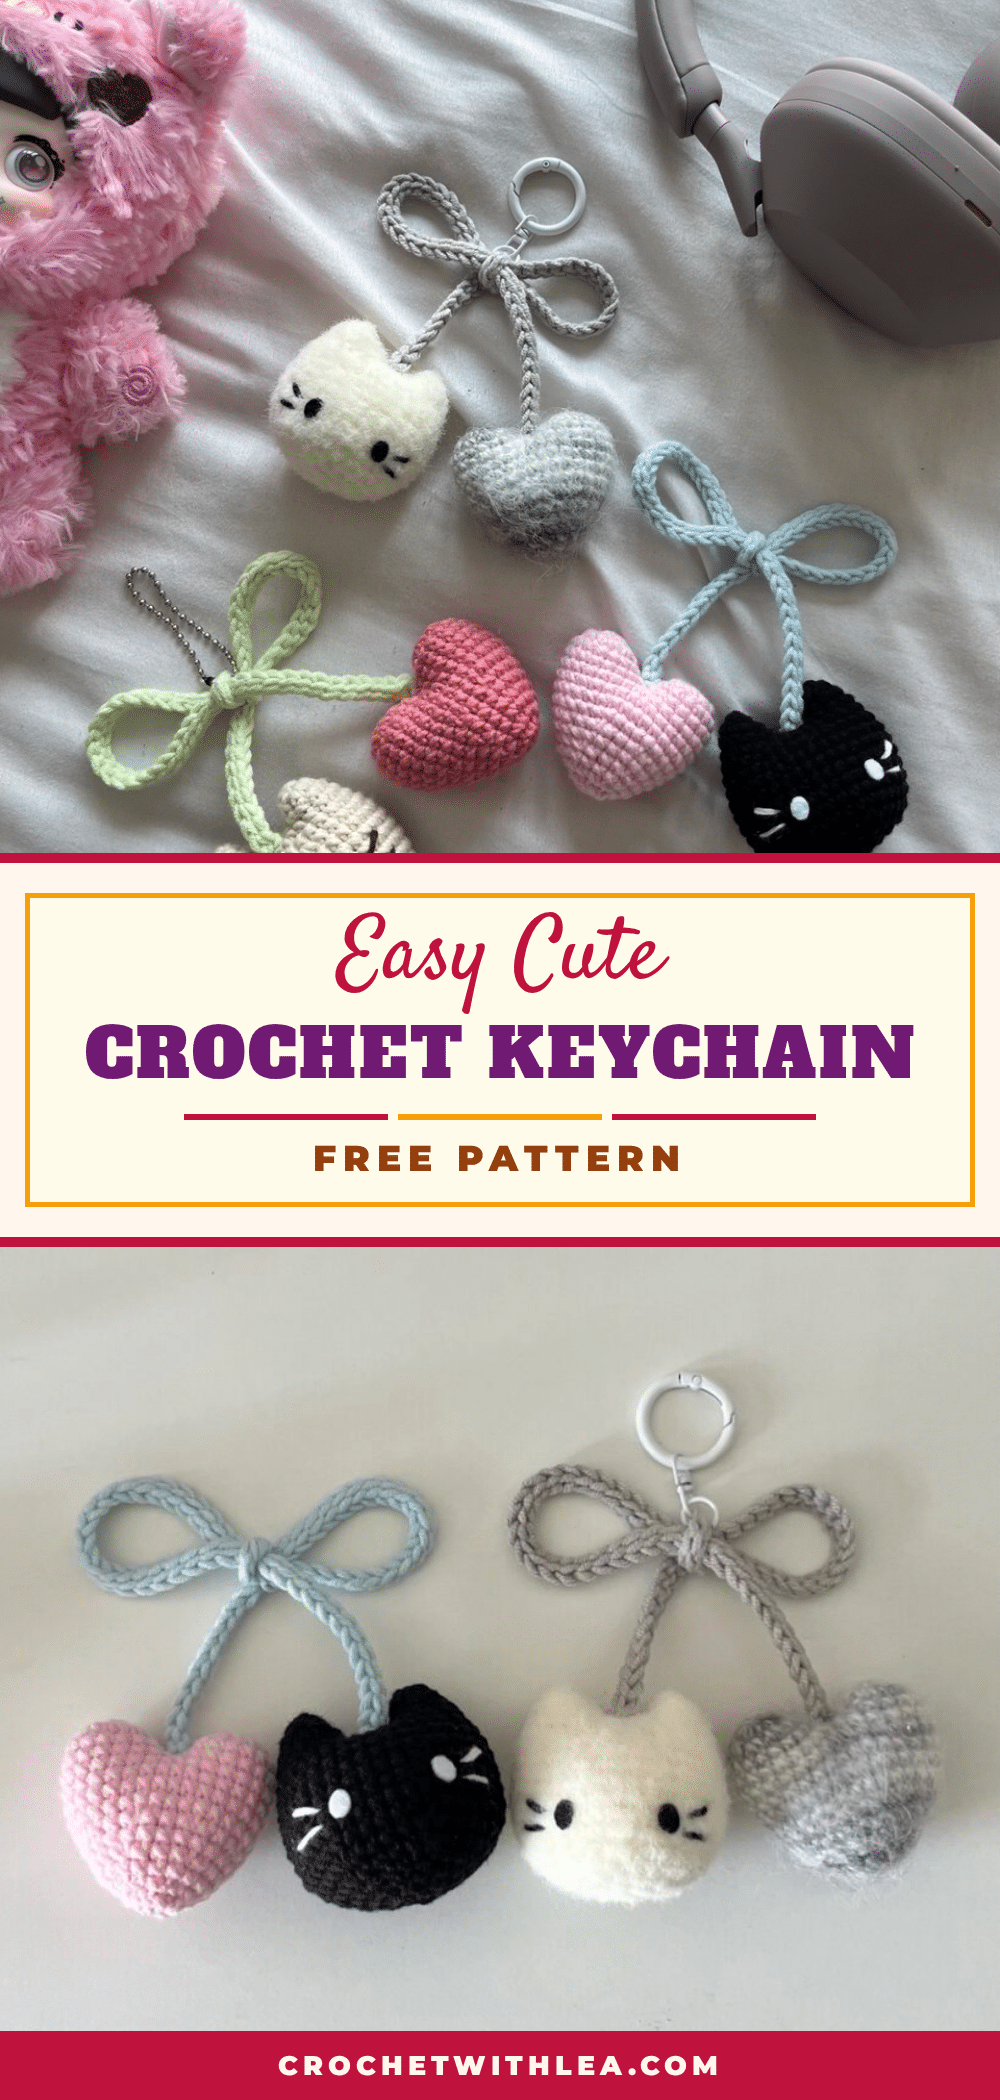
Have you ever started a magic ring and accidentally pulled the tail too tight, leaving you with a tiny, unworkable hole? Or perhaps you’ve worried that joining separate amigurumi pieces would result in a lopsided mess? If so, you are not alone. These are common beginner hiccups, but this project is designed to be forgiving. The structure of this cute keychain relies on simple single crochet stitches and clear joining steps that guide your hands, making it an ideal way to build confidence without the pressure of complex shaping.
Maker Notes
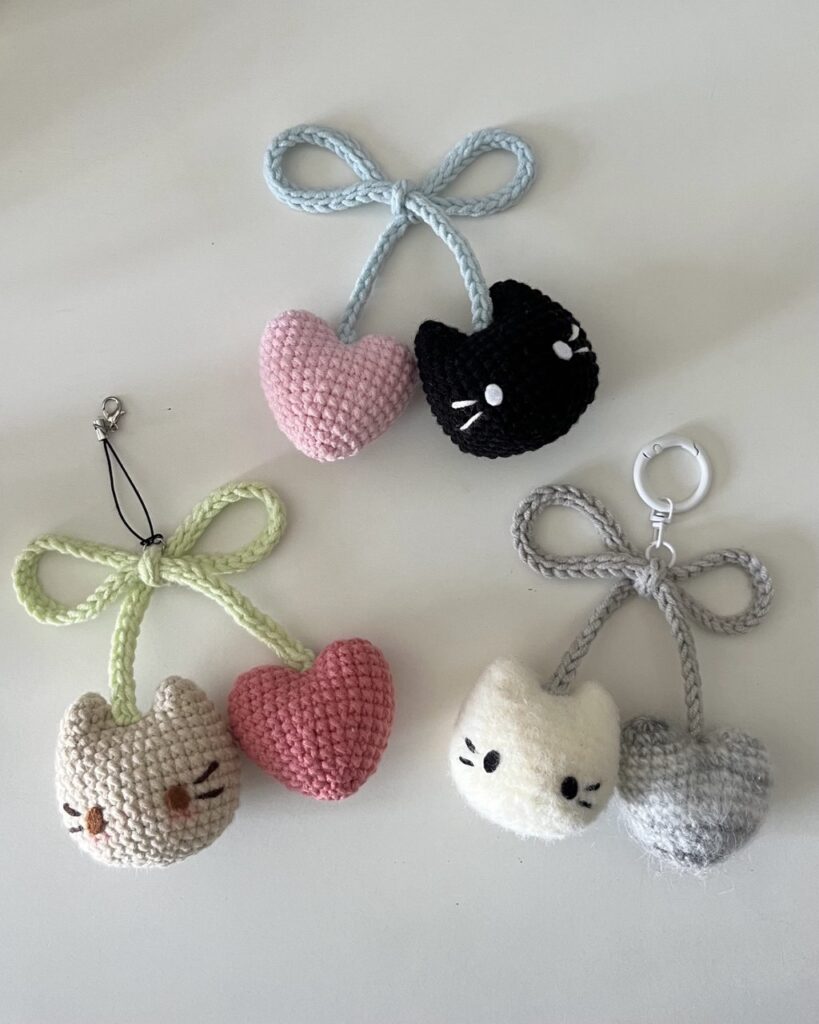
This pattern features a charming duo: a cat head and a heart, perfect for Valentine’s Day or as a year-round accessory. The design allows for creative freedom with yarn colors, though the source suggests using sports weight (5ply) cotton or acrylic for a sturdy finish. I recommend choosing contrasting colors for the cat and the heart to make the keychain pop. The inclusion of a braided string adds a tactile element, and tying it into a bow gives the finished piece a polished, gift-ready look. This project is excellent for using up small yarn scraps, making it an eco-friendly and budget-conscious choice for makers.
Project Overview
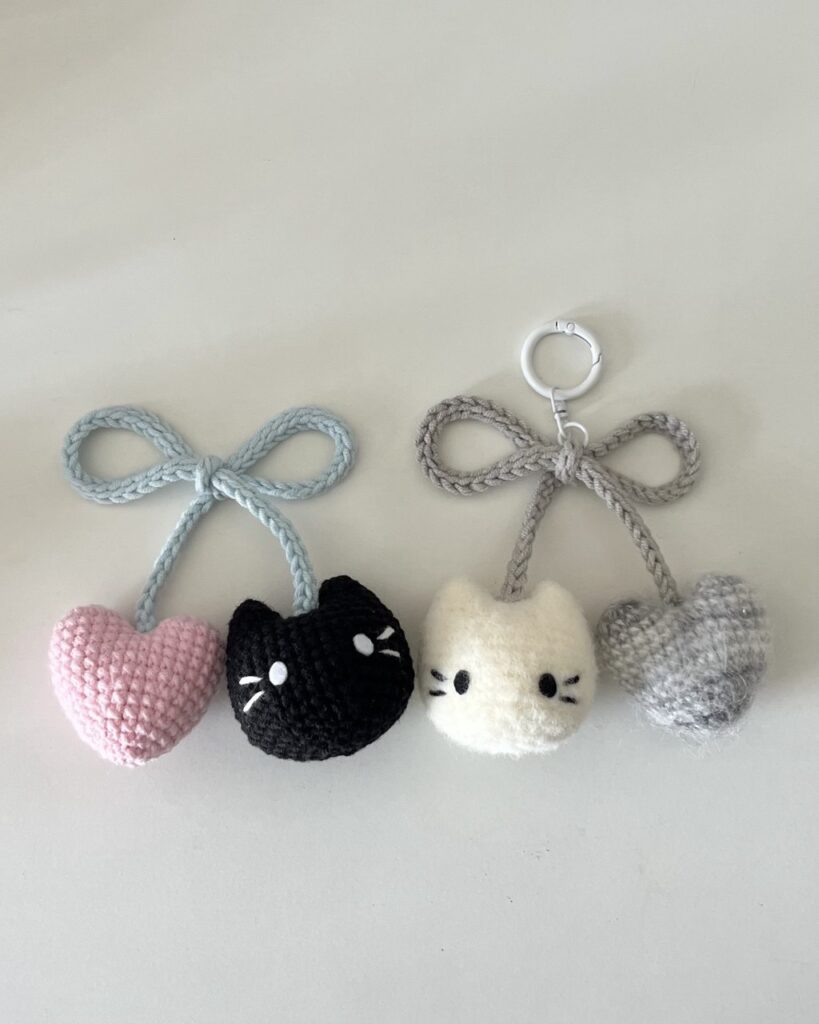
This amigurumi pattern creates a small, adorable keychain featuring a cat head and a heart attached to a braided string. The project is designed for beginners and intermediate crocheters who are comfortable with basic stitches. It involves creating two separate components (the ears, the head, and the heart) and joining them seamlessly. The pattern uses US terminology throughout.
Materials
- Cotton or Acrylic yarn (sports weight, 5ply) in any color you prefer
- 3mm crochet hook
- Stuffing material
- Felt cloth in black for eyes (optional; you can also embroider the eyes)
- Stitch markers
- Darning needle
- Scissors
Gauge and Finished Size
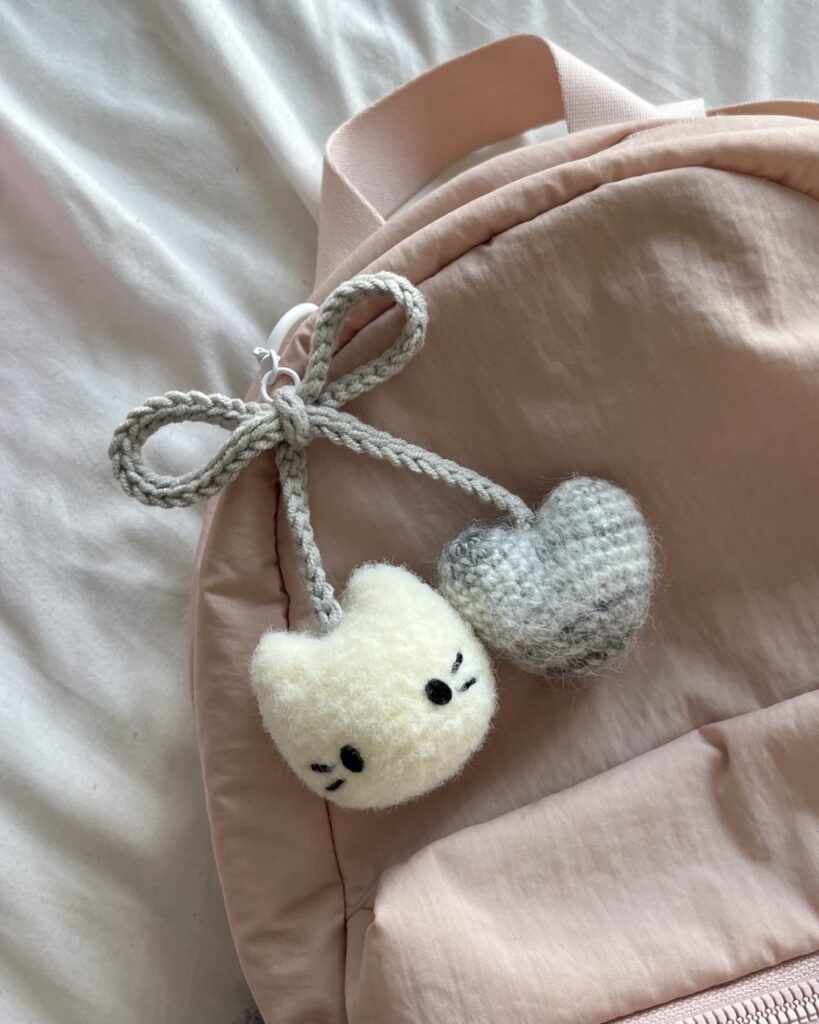
Specific gauge and finished measurements are not provided in the source pattern. To ensure your keychain fits standard keyrings, maintain a consistent tension using the recommended 3mm hook and sports weight yarn. The final size will depend on your individual crochet tension.
Abbreviations
The abbreviations are in US terminology!
- R – round/row
- Ch – chain
- st – stitch
- sc – single crochet
- inc – increase
- dec – decrease
- slst – slip stitch
- *- repeat
- [] – total stitch count in each round/row
- sk – skip
Pattern Notes
- The abbreviations are in US terminology!
- Copyright Notice @chubbiesbyash: The crochet patterns shared on this blog are designed by me and are for personal use only. You are welcome to sell any finished items made from these patterns, but mass production and selling the patterns themselves are not allowed. Please don’t use the photos from this blog without permission. If you share your creations, I’d appreciate it if you credit me with a link to my blog, Instagram or YouTube channel as this helps me grow as a creator. Thanks for your support!
Pattern Instructions
Cat Head
Start with a magic ring.
- R1 6sc in mr [6]
- R2 (1sc, 1inc)*3 [9]
Ears
Start with a magic ring.
- R1 6sc in mr [6]
- R2 (1sc, 1inc)*3 [9]
Cut the yarn and make another ear. DO NOT cut the yarn after the 2nd ear!
Joining Ears
- Ch3 (on 2nd ear), and make 1sc into the last sc of 1st ear to join. Watch this part of the tutorial for a more detailed explanation.
- R3 9sc on 1st ear, 1sc on each back loop of ch, 9sc on 2nd ear, 1sc on each front loop of ch [24]
- R4 (3sc, 1inc)*6 [30]
- R5 30sc [30]
- R6 (4sc, 1inc)*6 [36]
- R7-R12 36sc (6 rounds) [36]
- R13 (4sc, 1dec)*6 [30]
Start stuffing and continue stuffing as you go.
- R14 (3sc, 1dec)*6 [24]
- R15 (1sc, 1dec, 1sc)*6 [18]
- R16 (1sc, 1dec)*6 [12]
- R17 6dec [6]
Cut the yarn and close the head. Watch this part of the tutorial for a more detailed explanation!
Heart
Start with a magic ring.
- R1 8sc in mr[8]
- R2 8inc[16]
- R3 16sc [16]
Cut the yarn and make another piece. DO NOT cut the yarn after the 2nd piece!
Joining
- Make 1sc into the last sc of the 1st piece to join.
- R4 16sc (on 1st piece), 16sc (on 2nd piece) [32]
- R5-R8 32sc (4 rounds) [32]
- R9 (2sc, 1dec)*8 [24]
- R10 24sc [24]
- R11 (2sc, 1dec)*6 [18]
Start stuffing and continue stuffing as you go.
- R12 18sc [18]
- R13 (1sc, 1dec)*6 [12]
- R14 6dec [6]
Cut the yarn and close the heart!
String
Start with a slip knot. Make 80ch, 1slst into back bumps of each ch all the way to the end. Cut the yarn leaving a long tail and join the cat head and heart on each end of the string. Tie the string into a bow. Watch this part of the tutorial for a more detailed explanation!
Assembly
The assembly is integrated into the pattern instructions above. Key steps include joining the ears to form the head base, stuffing the head before closing, joining the two heart pieces, stuffing the heart, and finally attaching the completed head and heart to the braided string. Ensure you weave in all ends securely.
Tips
- Do not miss out any details! Open this video as you crochet along to make the process more effective and time-saving.
- When joining the ears and heart pieces, use the chain stitches or slip stitches to create a seamless transition between components.
- Stuff the amigurumi firmly but gently to maintain the shape without distorting the stitches.
FAQs
What type of yarn is best for this keychain?
The pattern recommends sports weight (5ply) cotton or acrylic yarn. This weight provides enough structure for the keychain to hold its shape while remaining soft to the touch.
Can I embroider the eyes instead of using felt?
Yes, the pattern notes that felt cloth in black for eyes is optional. You can embroider the eyes using black yarn for a cleaner, integrated look.
How do I join the two ear pieces without cutting the yarn?
After completing the second ear, do not cut the yarn. Instead, chain 3 and make 1 single crochet into the last stitch of the first ear to join them together seamlessly.
What does “back bumps” mean in the string instructions?
When crocheting into the back bumps of the chain, you are inserting your hook into the V-shape on the back side of the chain stitches. This creates a neater, more defined braid effect for the string.
Is this pattern suitable for absolute beginners?
Yes, the pattern uses basic stitches like single crochet, increases, and decreases. The step-by-step joining instructions make it accessible for beginners who are comfortable with magic rings and basic shaping.
Pin This Crochet Pattern!