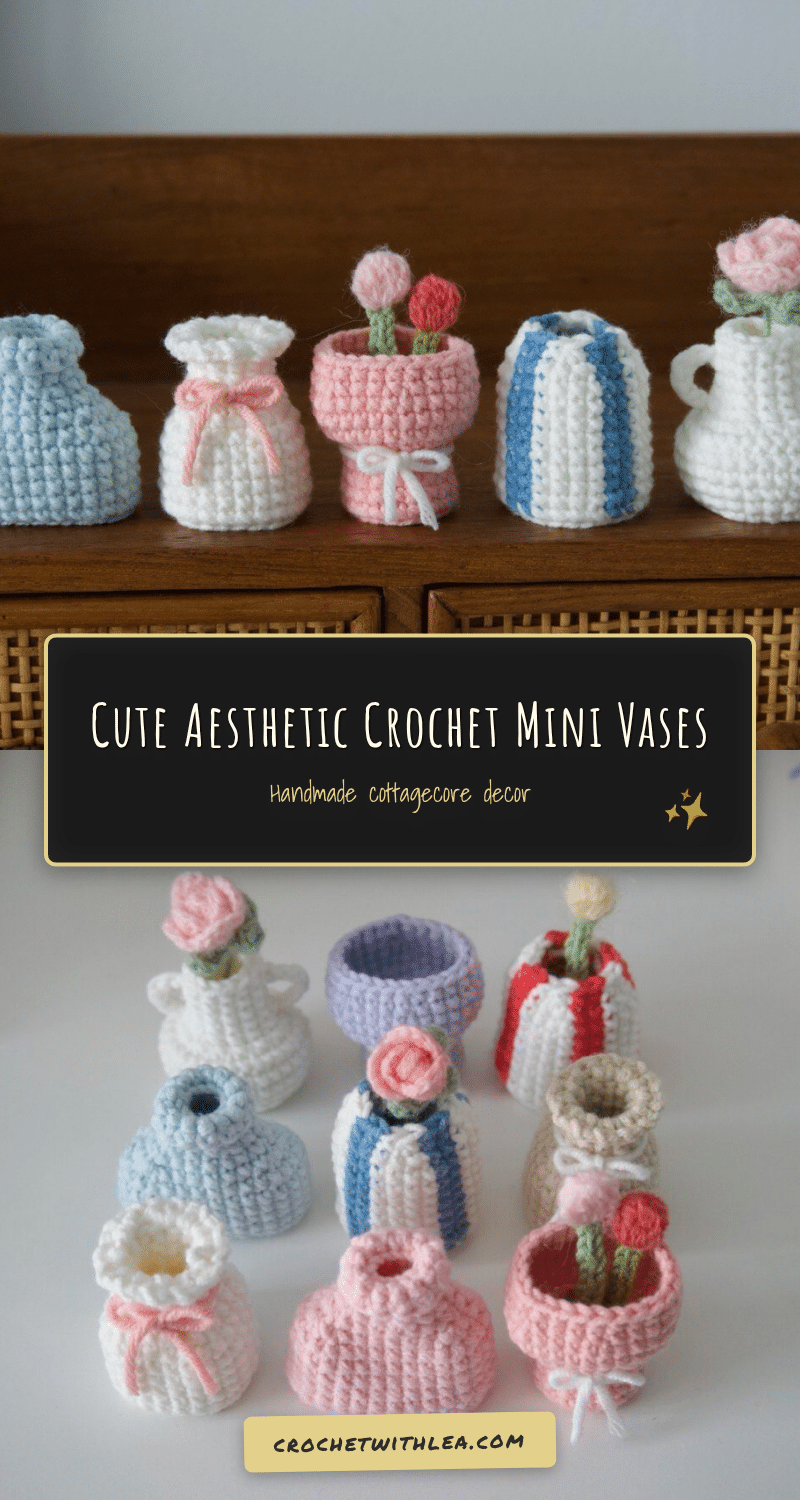
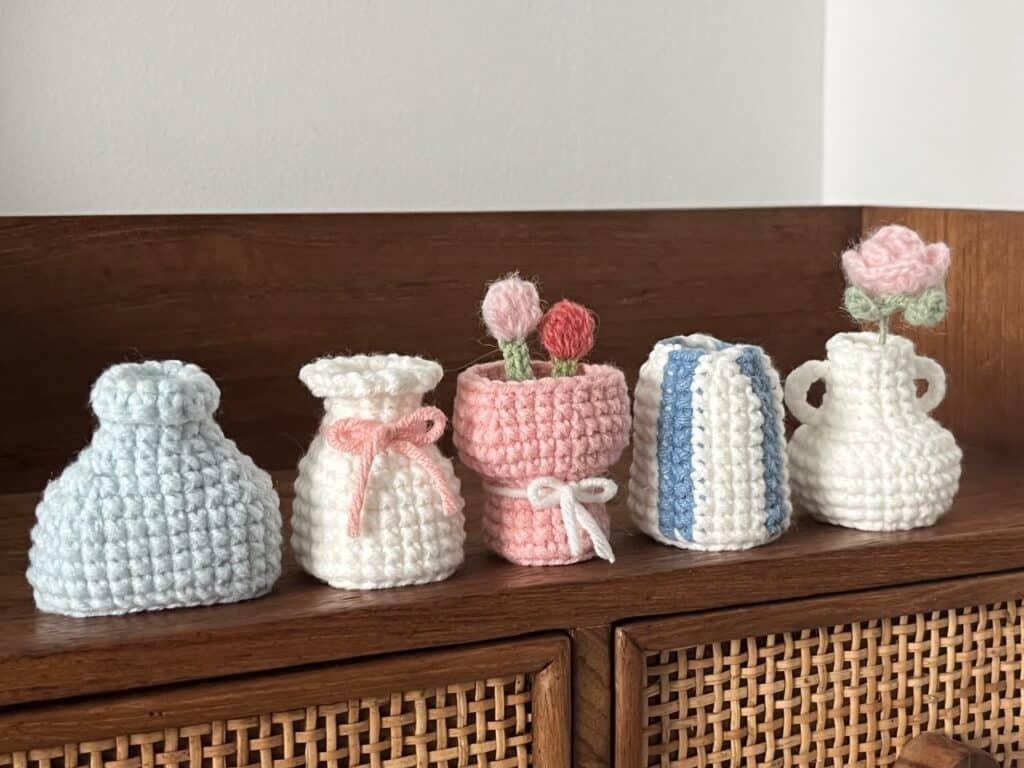
There is a special kind of magic in turning simple yarn into functional decor. These cute crochet mini vases are the perfect project for that feeling. They are delicate, minimal, and quick to make, making them an ideal addition to a desk, shelf, or windowsill. Whether you are looking to use up scrap yarn or add a splash of color to your space, these five designs offer a variety of shapes and styles to suit any aesthetic. From striped patterns to elegant bows, this collection allows you to experiment with texture and form while creating something truly charming.
Seasonal Styling Ideas
While these mini vases are lovely year-round, they shine particularly bright during the transition into warmer months. Imagine a cluster of them on a spring mantel holding dried lavender or faux eucalyptus. Their small scale makes them perfect for gifting at spring baby showers or as hostess gifts for Easter brunches. You can also lean into a cozy autumn vibe by using earthy tones like rust, olive, and cream, filling them with small dried sunflowers or wheat stalks. Because they are so lightweight, they are also excellent for travel, allowing you to craft a few on a rainy afternoon and bring them to a local farmers market or craft fair.
Project Overview
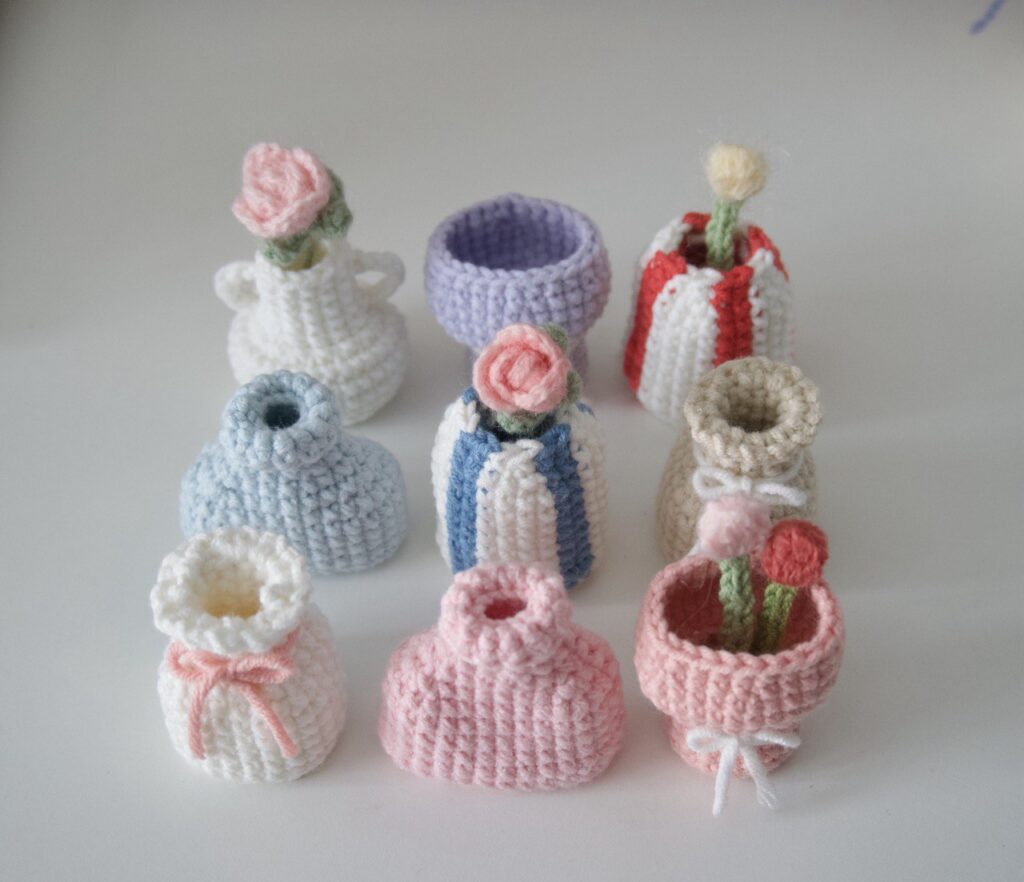
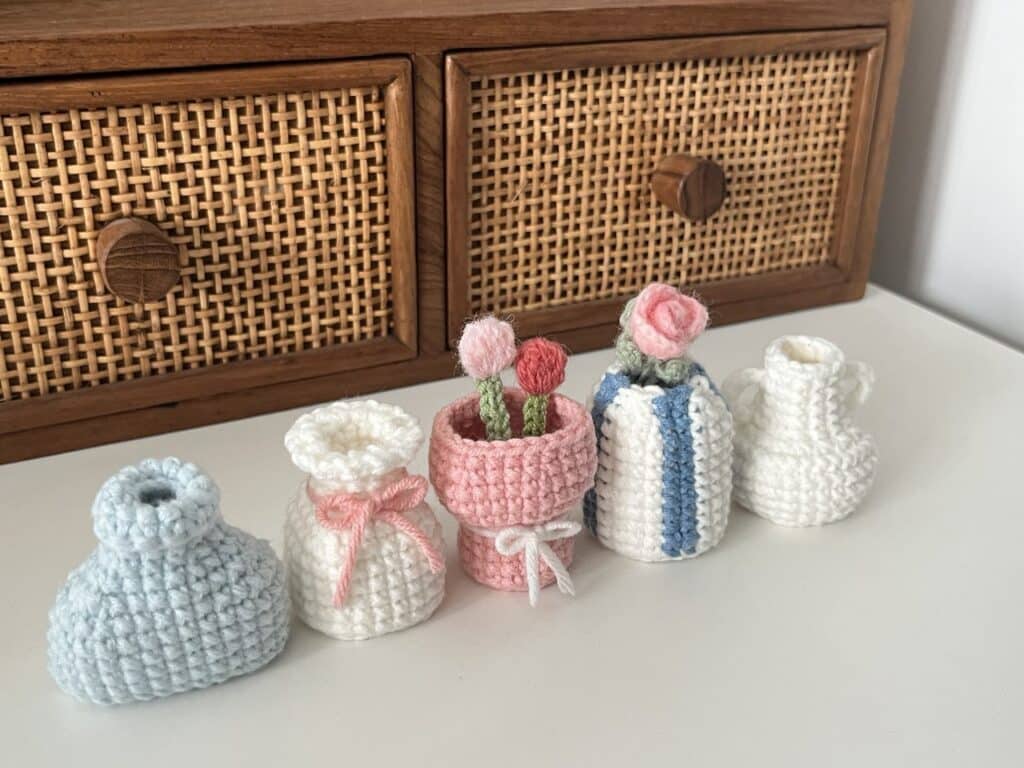
This project features five distinct amigurumi vase designs: a Striped Vase, a Bottle Vase, a Rectangular Bow Vase, a Pelike Vase, and a Bouquet Vase. The patterns are designed to be simple and easy to follow, utilizing standard crochet techniques. The primary focus is on creating delicate, minimal shapes that serve as perfect holders for dried flowers, faux blooms, or as standalone decorative pieces. The patterns utilize joined rounds and require patience when weaving in ends due to the small scale of the work.
Materials
- Cotton or Acrylic yarn (sports weight, 5ply) in any color you prefer.
- 3mm crochet hook.
- Stitch markers.
- Darning needle.
- Scissors.
- Ribbon (for finishing details).
Gauge and Finished Size
Specific gauge and finished size measurements are not provided in the source pattern. The vases are designed to be small, delicate pieces. Consistent tension is recommended to ensure the shapes hold their structure, particularly when working with the small stitch counts in the later rounds.
Abbreviations
The abbreviations are in US terminology!
- R – round/row
- Ch – chain
- mr – magic ring
- st – stitch
- sc – single crochet
- inc – increase
- dec – decrease
- slst – slip stitch
- FLO – front loop only
- BLO – back loop only
- *- repeat
- [] – total stitch count in each round/row
- sk – skip
Pattern Notes
We will use joined rounds for every round in all the vases. Connect with a slip knot at the end of each round and start every new round with Ch1. Ch1 & slst are not included in our total st count!
Pattern Instructions
Striped Vase
Start with a magic ring in White (base color) yarn.
- R1 Ch1, 6sc in mr, 1slst [6]
- R2 Ch1, 6inc, 1slst [12]
- R3 Ch1, (1sc, 1inc)*6, 1slst [18]
- R4 Ch1, (1sc, 1inc, 1sc)*6, 1slst [24]
- R5 Ch1, BLO (4sc in White, 2sc in Blue)*4, 1slst [24]
- R6-R13 Ch1, (4sc in White, 2sc in Blue)*4, 1slst (8 rounds) [24]
- R14 Ch1, (1dec, 2sc in White, 2sc in Blue)*4, 1slst [20]
- R15 Ch1, (1sc, 1dec in White, 2sc in Blue)*4, 1slst [16]
Cut the yarn and weave in the ends. Watch the tutorial to see how to work with two colors.
Bottle Vase
Start with a slip knot and make 10ch.
- R1 Starting from the 2nd ch from the hook, 1inc, 7sc, (4sc in one), 7sc, 1inc, 1slst [22]
- R2 Ch1, 2inc, 8sc, 3inc, 8sc, 1inc, 1slst [28]
- R3 Ch1, BLO, 28sc, 1slst [28]
- R4-R8 Ch1, 28sc, 1slst (5 rounds) [28]
- R9 Ch1, 2dec, 6sc, 4dec, 6sc, 2dec, 1slst [20]
- R10 Ch1, 1dec, 6sc, 2dec, 6sc, 1dec, 1slst [16]
- R11 Ch1, (2sc, 1dec)*4, 1slst [12]
- R12-13 Ch1, 12sc, 1slst (2 rounds) [12]
- R14 Ch1, FLO 12sc, 1slst [12]
- R15 Ch1, 12sc, 1slst [12]
Cut the yarn and weave in the ends.
Rectangular Bow Vase
Start with a magic ring.
- R1 Ch1, 6sc in mr, 1slst [6]
- R2 Ch1, 6inc, 1slst [12]
- R3 Ch1, (2sc, 1inc)*4, 1slst [16]
- R4 Ch1, (3sc, 3sc in one)*4, 1slst [24]
- R5 Ch1, BLO, 24sc, 1slst [24]
- R6-R10 Ch1, 24sc, 1slst (5 rounds) [24]
- R11 Ch1, (3sc, dec 3sc together)*4, 1slst [16]
- R12 Ch1, (2sc, 1dec)*4, 1slst [12]
- R13-R15 Ch1, 12sc, 1slst (3 rounds) [12]
- R16 Ch1, (1sc, ch1)*12, 1slst [12]
Cut the yarn and weave in the ends.
Pelike Vase
Start with a magic ring.
- R1 Ch1, 6sc in mr, 1slst [6]
- R2 Ch1, 6inc, 1slst [12]
- R3 Ch1, (1sc, 1inc)*6, 1slst [18]
- R4 Ch1, BLO, (1sc, 1inc, 1sc)*6, 1slst [24]
- R5 Ch1, 24sc, 1slst [24]
- R6 Ch1, (3sc, 1inc)*6, 1slst [30]
- R7-R9 Ch1, 30sc, 1slst (3 rounds) [30]
- R10 Ch1, 15dec, 1slst [15]
- R11 Ch1, FLO, (3sc, 1dec)*3, 1slst [12]
- R12-R15 Ch1, 12sc, 1slst (4 rounds) [12]
Bouquet Vase
Start with a magic ring.
- R1 Ch1, 6sc in mr, 1slst [6]
- R2 Ch1, 6inc, 1slst [12]
- R3 Ch1, (1sc, 1inc)*6, 1slst [18]
- R4 Ch1, BLO, 18sc, 1slst [18]
- R5-R7 Ch1, 18sc, 1slst (3 rounds) [18]
- R8 Ch1, (4sc, 1dec)*3, 1slst [15]
- R9 Ch1, FLO, 15inc, 1slst [30]
- R10-R12 Ch1, 30sc, 1slst (3 rounds) [30]
- R13 Ch1, (3sc, 1dec)*6, 1slst [24]
- R14 Ch1, 24sc, 1slst [24]
Cut the yarn and weave in the ends.
Handles
Insert your hook vertically on R11 and make 7ch, skip 2 rounds and make a slst on R14. Cut the yarn and weave in the ends. Make another handle. Watch the tutorial for a more detailed explanation.
Assembly
Once the individual vase bodies are complete, follow these steps to finish the details:
- Rectangular Bow Vase: Wrap and tie a ribbon in between R12 & R13.
- Bouquet Vase: Wrap and tie a ribbon in between R8 & R9.
- General: Cut the yarn and weave in all loose ends securely. Ensure handles are attached firmly to the designated rounds.
Tips
The pattern of these vases is quite simple and easy to follow, but you need to be patient while weaving in ends or adding some details because they are small and can be a bit tricky to work with. It is highly recommended to open the accompanying video tutorial as you crochet along to make the process more effective and time-saving. Do not miss out on any details!
FAQs
What type of yarn is best for these mini vases?
The pattern recommends cotton or acrylic yarn in sports weight (5ply). Cotton is often preferred for amigurumi because it holds its shape well and provides a smooth finish, but acrylic works well for a softer, more budget-friendly option.
Why are the rounds joined?
Using joined rounds prevents the spiral from twisting and ensures a neat, continuous edge. Each round is connected with a slip stitch, and you start the next round with a chain 1. Note that the chain 1 and slip stitch are not counted in the total stitch count.
How do I handle the two-color section in the Striped Vase?
Starting at Round 5, you will switch between White and Blue. The pattern instructs you to work in the Back Loop Only (BLO) for Round 5 to create a defined edge, then continue carrying the colors as specified. Refer to the tutorial video for specific techniques on managing yarn tension and switching colors.
Can I use stuffing for these vases?
These patterns are designed to be delicate and minimal. While you can lightly stuff them if desired, many makers leave them unstuffed or use very little stuffing to maintain the flat, aesthetic look described in the source. The focus is on the shape and the ribbon details.
How do I attach the handles?
Handles are created by inserting the hook vertically into the fabric at Round 11, chaining 7, skipping two rounds, and slip stitching into Round 14. This creates a small arch. Repeat for the second handle on the opposite side.
Pin This Crochet Pattern!