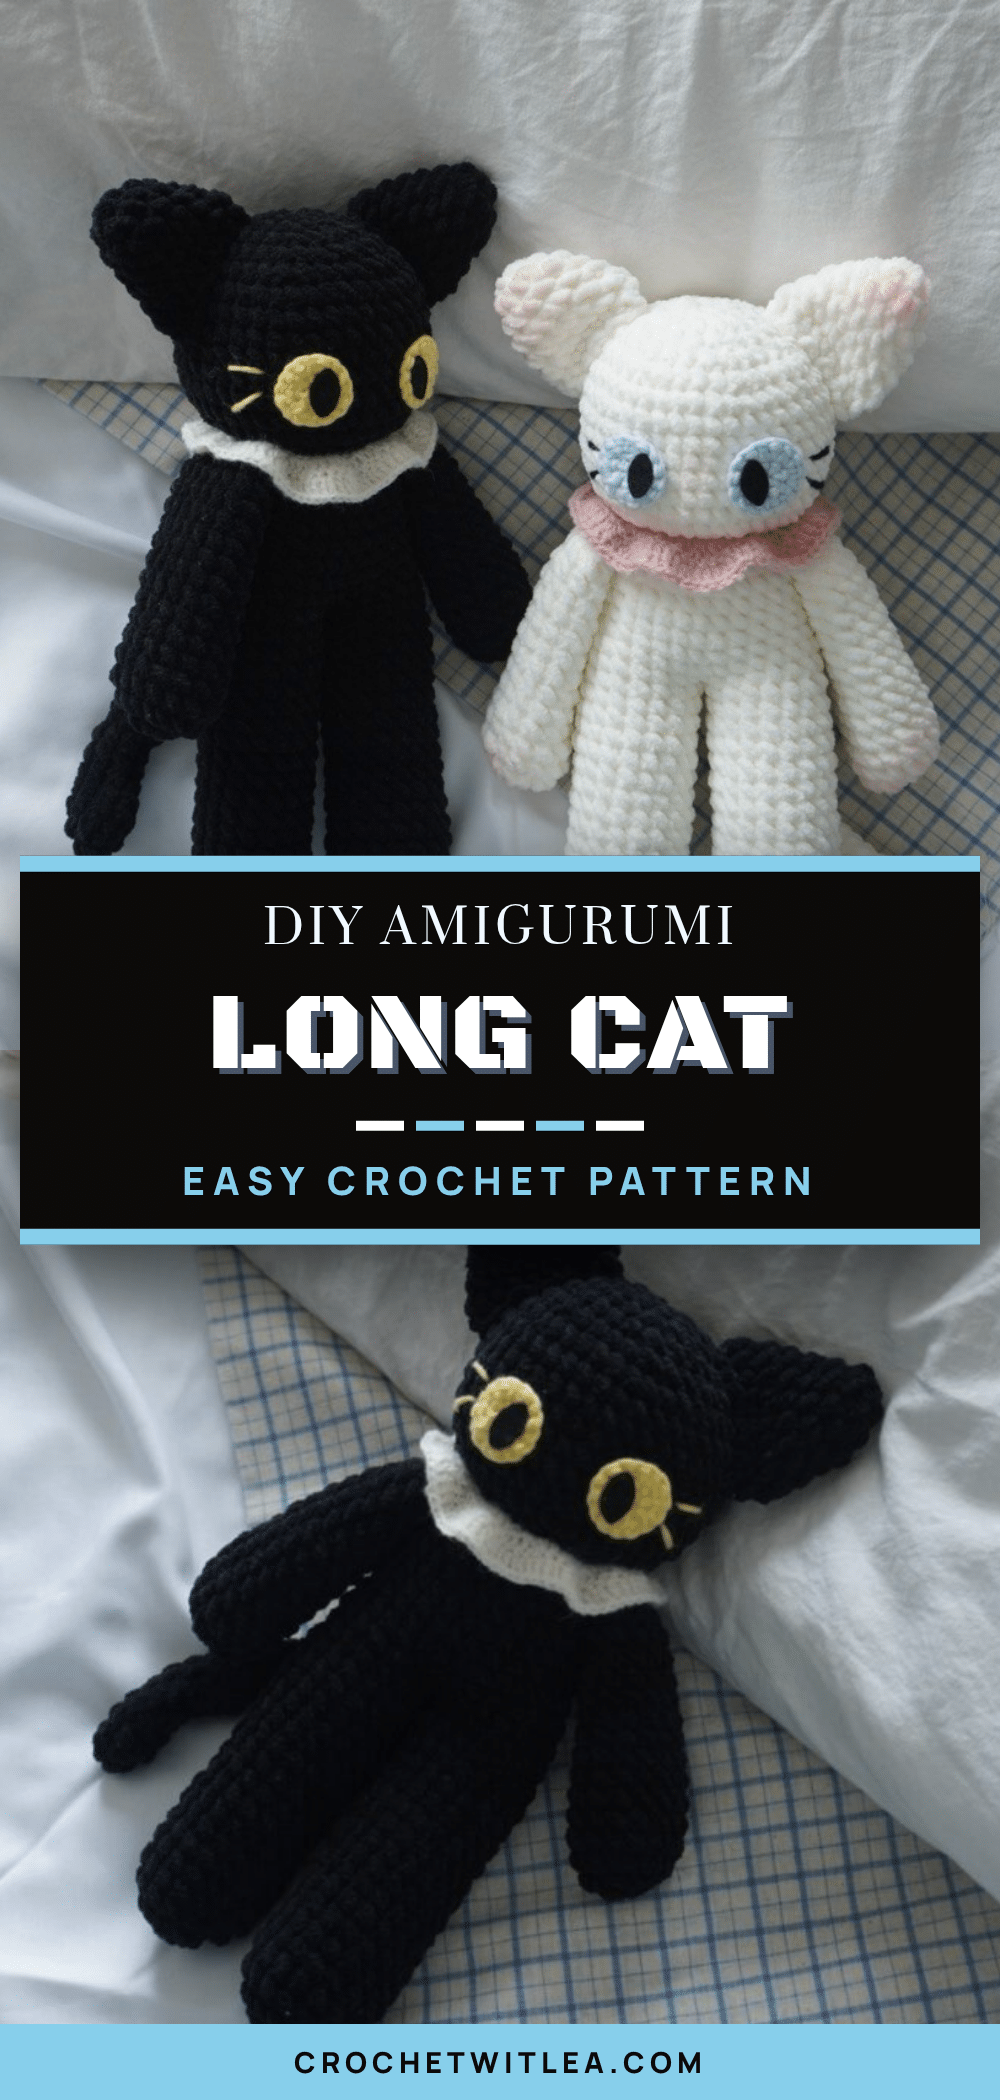
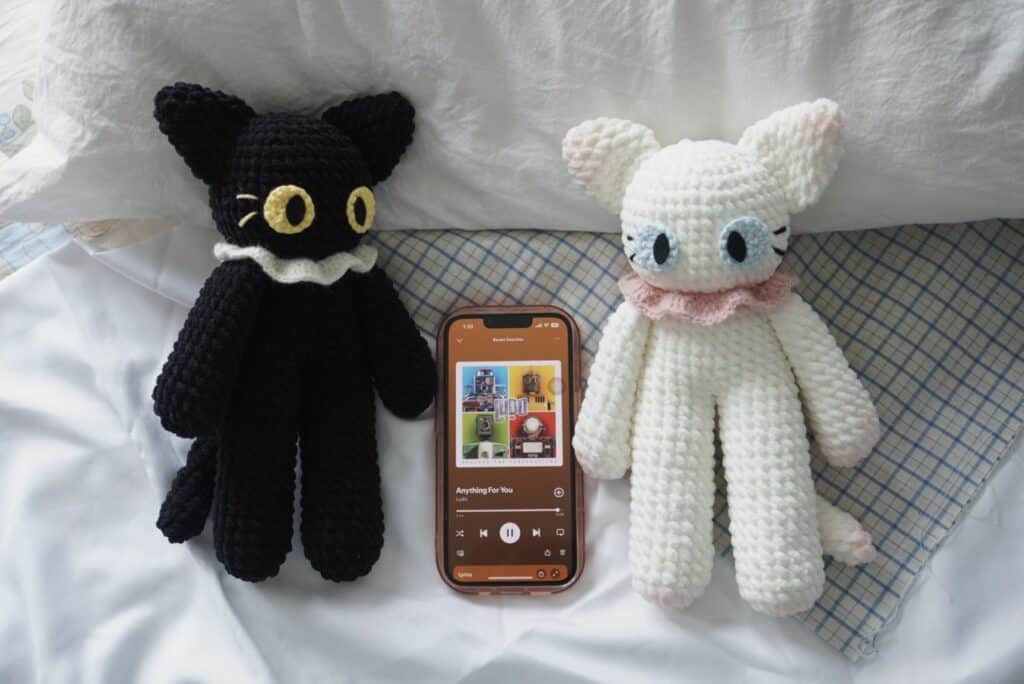
Yarn is spread across the table, the hook is already in your hand, and the magic ring is just beginning to take shape. There is a specific kind of calm that comes with starting a new amigurumi project, especially one with as much character as this long-legged cat. It is not just about following the stitches; it is about watching the silhouette emerge from the yarn, round by round. This project invites you to slow down, enjoy the texture of the chenille, and build a companion that is both goofy and endearing. Whether you are crafting a black cat for a spooky season or a white one for a bright spring day, the process is as rewarding as the final result.
Why This Project Works
This pattern stands out because it balances simplicity with distinct personality. The exaggerated proportions—long legs and a compact body—give the cat a whimsical, modern look that is very popular in the amigurumi community. Using chenille yarn adds a velvety, plush texture that makes the finished piece incredibly huggable, while the inclusion of a bendable wire in the tail allows for dynamic posing. It is a forgiving project for beginners because the stitch counts are straightforward, yet the assembly and facial details provide enough depth to keep experienced makers engaged. The design encourages creativity in color choices, allowing you to make a pair of contrasting cats that look wonderful displayed together.
Project Overview
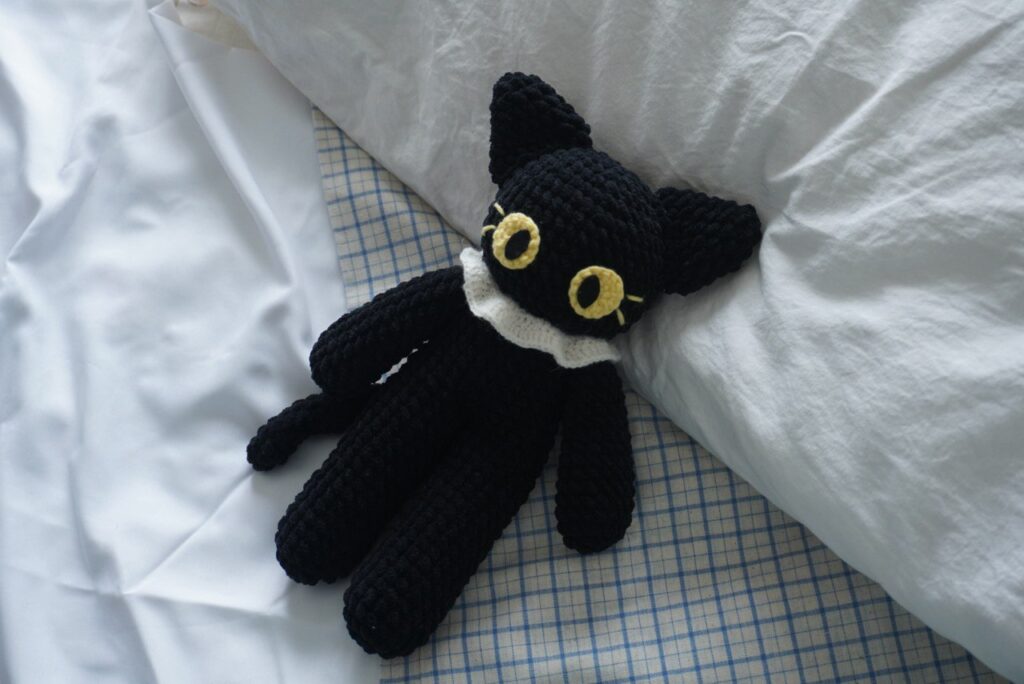
This is a beginner-friendly amigurumi pattern for a long-legged cat. The project is worked in continuous rounds, starting with the legs and joining them to form the body and head in one piece. It includes separate components for the arms, ears, eyes, and a bendable tail, along with a crochet collar. The pattern is designed to be worked with thick chenille yarn for a plush finish, though sport weight yarn can be used for specific details like the eyes.
Materials
- Yarn: Chenille yarn (~5mm thick) in any color you prefer (approx. 300g).
- Secondary Yarn: 5ply sports yarn (for eyes and collar details).
- Crochet Hooks: 3mm hook for main body; 2.5mm hook for eyes; 4mm or 5mm hook for sports yarn details.
- Stuffing: Fiber filling.
- Wire: For creating a bendable tail.
- Accessories: Black felt cloth (for eyes), stitch markers, darning needle, and scissors.
Gauge and Finished Size
Specific gauge measurements and finished dimensions are not provided in the source pattern. The finished size will vary based on the specific yarn weight and hook size used. The pattern is designed to be worked with ~5mm thick chenille yarn.
Abbreviations
The abbreviations are in US terminology!
- R – round/row
- Ch – chain
- mr – magic ring
- st – stitch
- sc – single crochet
- inc – increase
- dec – decrease
- dc – double crochet
- slst – slip stitch
- FLO – front loop only
- BLO – back loop only
- *- repeat
- [] – total stitch count in each round/row
- sk – skip
Pattern Notes
- Video Reference: For the most effective and time-saving process, it is recommended to follow along with the accompanying video tutorial, especially for joining the legs and assembling the face.
- Eye Construction: The large (Iris) part of the eye is crocheted, but you can also use felt cloth for this part if you prefer. The source uses sport weight yarn (5ply) with a 2.5mm hook for the eyes.
- Yarn Substitution: You can use sport weight (5ply) yarn or thinner yarn for the body if you prefer a different texture, using a suitable hook size.
- Copyright: This pattern is for personal use only. You may sell finished items made from this pattern, but mass production or selling the pattern itself is not allowed. Please do not use photos from the source blog without permission. Credit is appreciated when sharing creations.
Pattern Instructions
Hands
Start with a magic ring!
- R1 8sc in mr [8]
- R2 8inc [16]
- R3-R14 16sc (12 rounds) [16]
- R15 (2sc, 1dec) *4 [12]
- Close the hand with 5sc by crocheting the opposite stitches together!
Legs
Start with a magic ring!
- R1 8sc in mr [8]
- R2 8inc [16]
- R3 (7sc, 1inc) *2 [18]
- R4-R17 18sc (14 rounds) [18]
- R18 (7sc, 1dec) *2 [16]
Stuff the legs. Cut the yarn and make another leg, DO NOT cut the yarn after the 2nd leg!
Connecting to Make Body
With the yarn from the 2nd leg, start from the last sc of R18 on the 1st leg to join the two. Rounds are reset and counted again as R1 for the body!
- R1 Join with the 1st leg on its last st! 16sc (on 1st leg), 16sc (on 2nd leg) [32]
- R2 32sc [32]
- R3 (6sc, 1dec) *4 [28]
- R4-R8 28sc (5 rounds) [28]
- R9 (5sc, 1dec)*4 [24]
- R10 (1sc, 1dec, 1sc)*6 [18]
- R11 FLO 18inc [36]
- R12 (5sc, 1inc)*6 [42]
- R13-R19 42sc (7 rounds) [42]
Start stuffing the body!
- R20 (2sc, 1dec, 2sc)*7 [35]
- R21 (3sc, 1dec)*7 [28]
Start stuffing the head!
- R22 (2sc, 1dec)*7 [21]
- R23 (1sc, 1dec)*7 [14]
- R24 7dec [7]
Cut the yarn and close the head.
Ears
Start with a magic ring!
- R1 6sc in mr [6]
- R2 6inc [12]
- R3 12sc [12]
- R4 (3sc, 1inc)*3 [15]
- R5 15sc [15]
- R6 (2sc, 1inc)*5 [20]
Close the ears with 9sc by crocheting the opposite stitches together!
Eyes
The large (Iris) part of the eye is crocheted but you can also use felt cloth for this part as well if you prefer. I used a sport weight yarn (5ply) with a 2.5mm hook.
- Start with a magic ring!
- R1 7sc in mr, 1slst
- R2 7inc
Cut the yarn and weave in the ends.
Tail
Start with a magic ring!
- R1 6sc in mr [6]
- R2 (2sc, 1inc) *2 [8]
- R3-R21 8sc (19 rounds)
Cut the yarn leaving a long tail. To make the tail bendable, prepare a wire which is about an inch longer than the tail. Insert the wire first into the tail, then stuff the tail surrounding the wire.
Collar
You can use the sport weight (5ply) yarn or thinner yarn, with a suitable hook size.
- Make a slip knot and make Chains long enough to wrap around the neck (just enough to make both ends meet)
- R1: Starting from 3rd ch from the hook, [1 dc, 1 dc inc] repeat to end.
- R2: Ch2 & Turn, [2 dc, 1 dc inc] repeat to end.
Cut the yarn and weave in the ends. Add chains to both ends of the collar for strings.
Assembly
- Arms: Sew the arms in between R9 & R10, aligned with the legs.
- Ears: Sew the ears on R17 to R22, on the head.
- Tail: Sew the tail on R2 to R3 of the body.
- Eyes: Attach the eyes applique (Iris) on R14 to R16 of the head, then cut the black felt cloth to an oval shape and glue it onto the applique.
And there you have it! You’ve done an amazing job getting this far. Take a moment to admire your work—you’ve put in the effort, and it shows. It might not be perfect, but it’s a reflection of your creativity and dedication, and that’s what truly matters. Be proud of what you’ve accomplished!
Tips
- Patience Pays Off: The only part that needs extra patience is sewing and making the face, but that is what makes the final result special!
- Follow Along: Do not miss out on any details! Open the video tutorial as you crochet along to make the process more effective and time-saving.
FAQs
What type of yarn is best for this pattern?
The pattern is designed for ~5mm thick chenille yarn for a plush, soft finish. However, you can substitute with sport weight (5ply) yarn or thinner yarn if you prefer a different texture, adjusting your hook size accordingly.
How do I make the tail bendable?
Prepare a wire that is about an inch longer than the tail. Insert the wire into the tail first, then stuff the fiber filling around the wire to secure it in place.
Can I use felt for the eyes instead of crochet?
Yes, while the pattern includes instructions for crocheting the iris, you can use black felt cloth for this part if you prefer a simpler approach.
How should I position the arms?
Sew the arms in between rounds 9 and 10 of the body, ensuring they are aligned with the legs for a balanced look.
Is this pattern suitable for beginners?
Yes, the pattern is beginner-friendly. It uses basic stitches and clear instructions, making it a great project for those new to amigurumi.
Pin This Crochet Pattern!