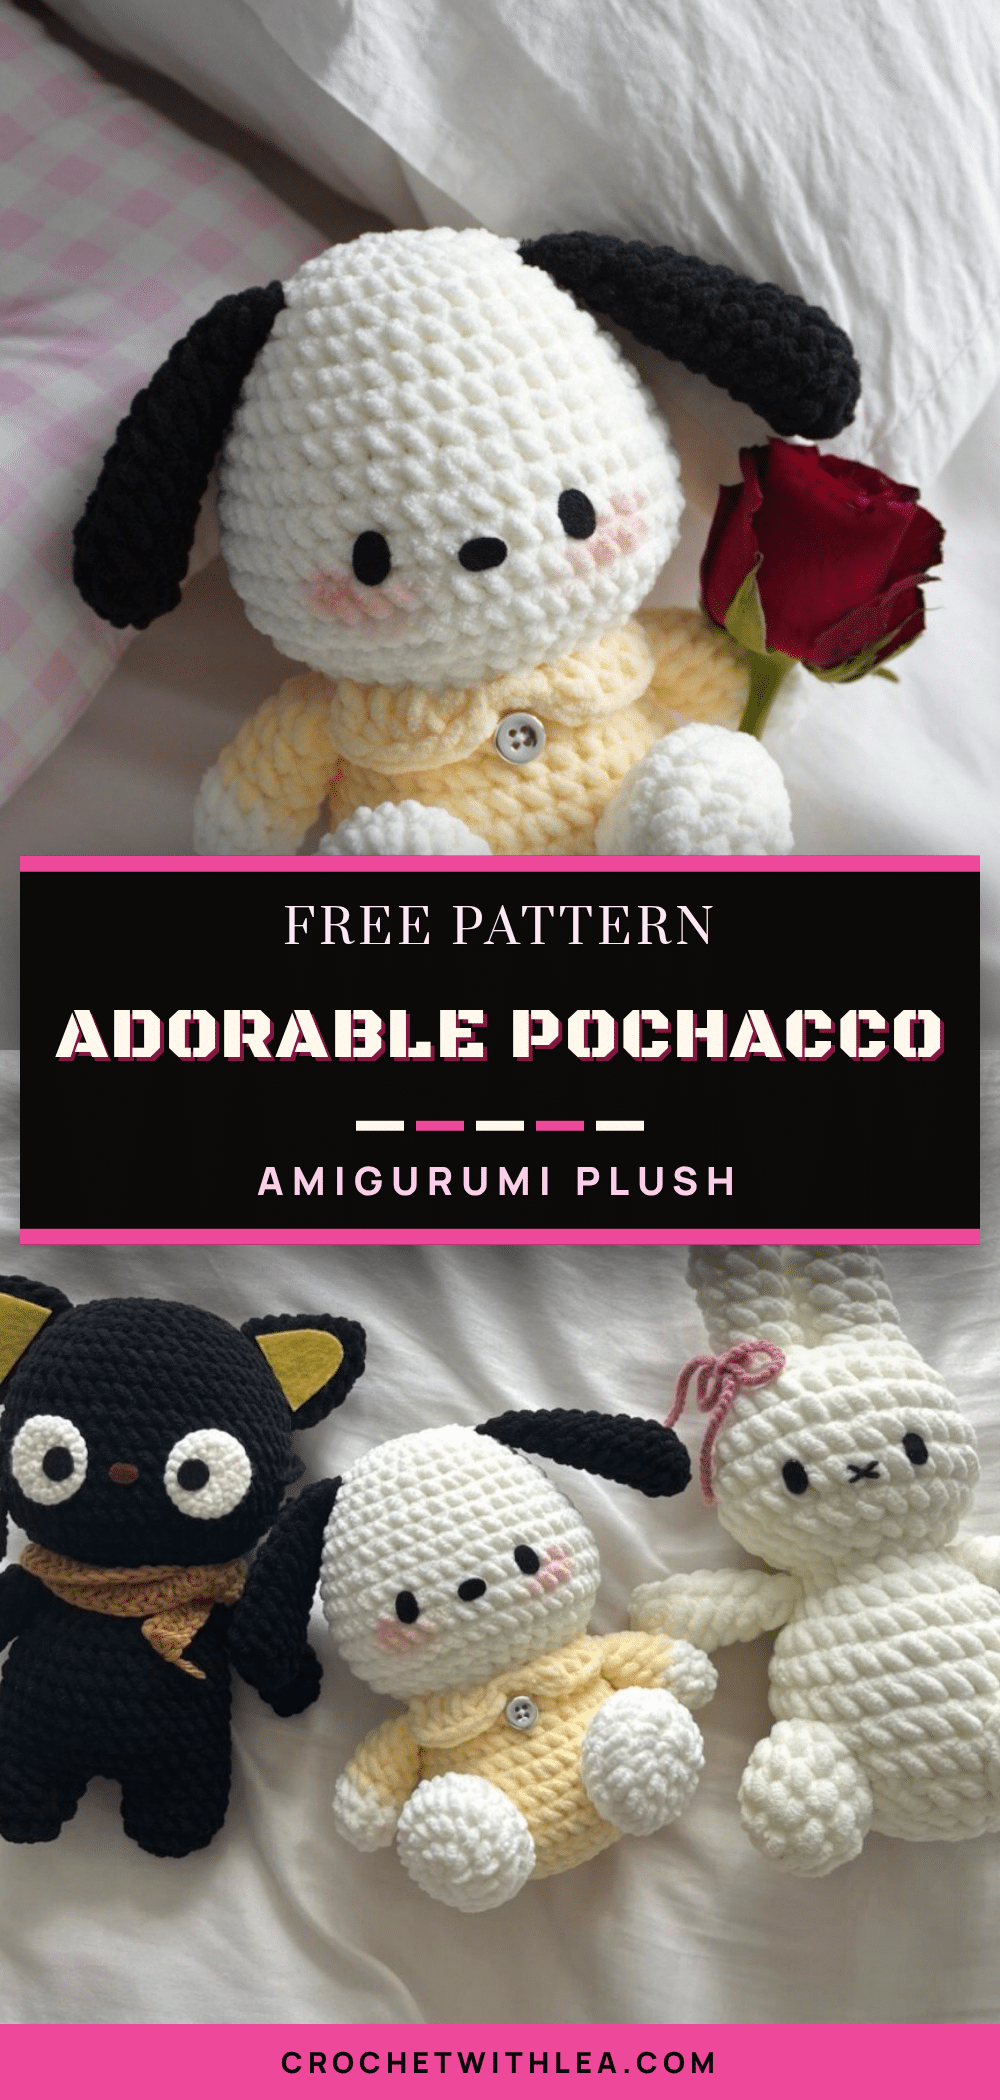
This adorable Pochacco amigurumi is the perfect handmade gift for a child’s birthday, a baby shower, or a cozy desk companion for any crochet lover. With its soft, squishy body and sweet expression, this plushie is designed to be a comforting presence in everyday life. Whether you are looking for a market-table item to sell or a quick project to brighten your home, this beginner-friendly pattern makes it easy to bring this beloved character to life. The simple shapes and minimal sewing requirements allow you to focus on the joy of creating a plush friend that is sure to be hugged often.
Gift and Use Ideas
Once you have finished crocheting this sweet Pochacco, the possibilities for its use are endless. Its compact size and durable construction make it an ideal travel buddy for children, providing comfort during car rides or naps. You can also place it on a shelf or desk as a cheerful decor piece that adds a pop of personality to any room. For those interested in selling handmade goods, the simple color palette and high-quality chenille yarn give it a premium look that appeals to collectors of Sanrio-inspired characters. Additionally, the soft texture makes it a soothing sensory toy for little ones.
Project Overview
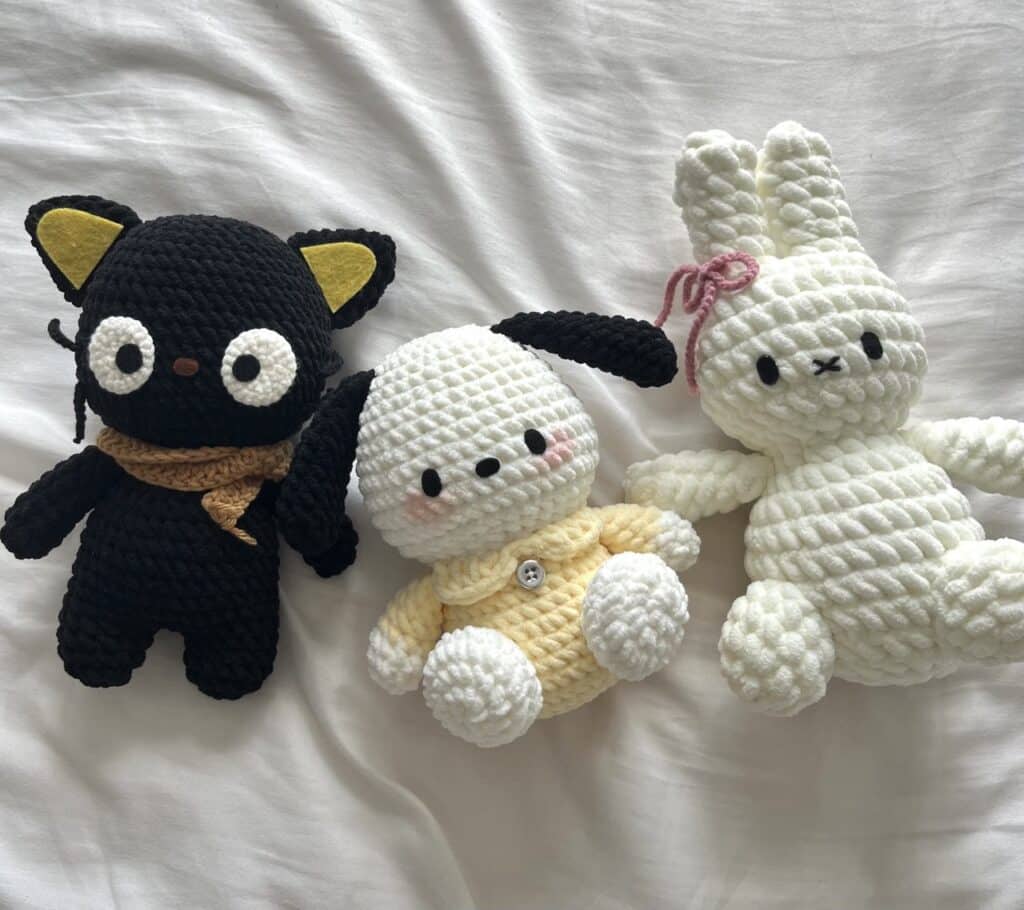
This pattern guides you through creating a complete Pochacco plushie, including the head, body, arms, legs, ears, and a charming collar. The design utilizes a mix of white and black chenille yarn for the character’s signature look, with a customizable color for the shirt. The pattern is structured to be beginner-friendly, ensuring a relaxing crafting experience while producing a high-quality, professional-looking amigurumi.
Materials
- Yarn: Chenille yarn of around 5mm thick in White, Black, and any color you prefer (for the shirt).
- Crochet Hook: 4mm or 4.5mm crochet hook.
- Accessories: Black Felt cloth & glue (for eyes/nose if not using safety eyes), stuffing materials, stitch markers, darning needle, and scissors.
Gauge and Finished Size
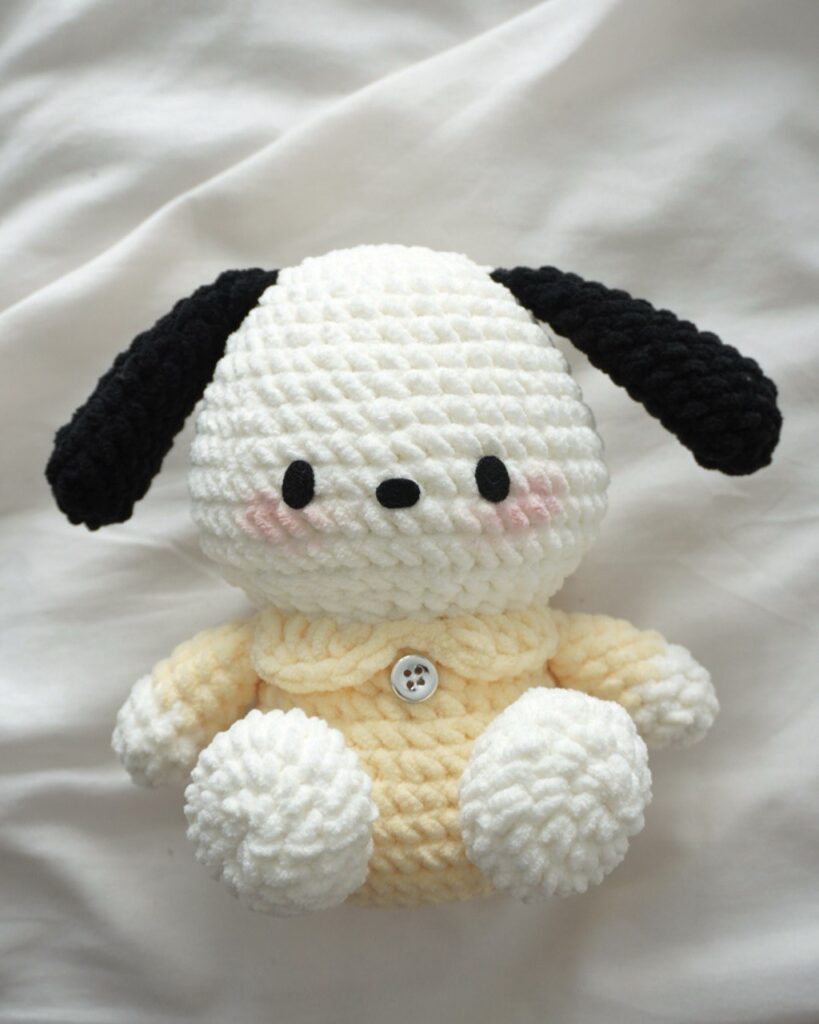
Specific gauge and finished size measurements are not provided in the source pattern. The finished size will depend on your tension and the specific thickness of the chenille yarn used.
Abbreviations
The abbreviations are in US terminology!
- R – round/row
- Ch – chain
- mr – magic ring
- st – stitch
- sc – single crochet
- inc – increase
- dec – decrease
- hdc – half double crochet
- slst – slip stitch
- FLO – front loop only
- BLO – back loop only
- *- repeat
- [] – total stitch count in each round/row
- sk – skip
Pattern Notes
Do not miss out any details! It is recommended to open the accompanying video tutorial as you crochet along to make the process more effective and time-saving. The pattern is designed for personal use; you are welcome to sell finished items, but mass production and selling the patterns themselves are not allowed. Please credit the creator if you share your creations.
Pattern Instructions
Arms
Start with a magic ring in White yarn.
- R1 8sc in mr [8]
- R2 (3sc, 1inc) *2 [10]
- R3 10sc [10]
- Change to Yellow yarn at the end of R3!
- R4 In Yellow, 10sc [10]
- R5-R7 10sc (3 rounds) [10]
Stuff the arms lightly and crochet the opposite stitches together to get 4sc. Cut the yarn leaving a long tail for sewing.
Head
Start with a magic ring in White yarn.
- R1 8sc in mr [8]
- R2 8inc [16]
- R3 (1sc, 1inc) *8 [24]
- R4 (1sc, 1inc, 1sc) *8 [32]
- R5-R6 32sc (2 rounds) [32]
- R7 (3sc, 1inc) *8 [40]
- R8-R9 40sc (2 rounds) [40]
- R10 (2sc, 1inc, 2sc) *8 [48]
- R11-R14 48sc (4 rounds) [48]
- R15 (2sc, 1dec) *12 [36]
- R16 (2sc, 1dec, 2sc) *6 [30]
- R17 (3sc, 1dec) *6 [24]
Stuff the head nice and tight! Change to Yellow yarn at the end of R17!
- R18 In Yellow, BLO 24sc [24]
- R19 (3sc, 1inc) *6 [30]
- R20 30sc [30]
- R21 (2sc, 1inc, 2sc) *6 [36]
- R22 36sc [36]
- R23 (5sc, 1inc) *6 [42]
- R24-R26 42sc (3 rounds) [42]
- R27 (4sc, 1dec) *7 [35]
- R28 (3sc, 1dec) *7 [28]
- R29 (2sc, 1dec) *7 [21]
- R30 (1sc, 1dec) *7 [14]
Stuff the body nice and tight! R31 7dec [7]. Stuff a bit more and close the body.
Legs
Start with a magic ring in White yarn.
- R1 8sc in mr [8]
- R2 8inc [16]
- R3 (1sc,1inc) *8 [24]
- R4 24sc [24]
- R5 4sc, 8dec, 4sc [16]
- R6 (2sc, 1dec) *4 [12]
Stuff the legs and cut the yarn leaving a long tail.
Ears
Start with a magic ring in Black yarn.
- R1 8sc in mr [8]
- R2 (1sc, 1inc) *4 [12]
- R3-R8 12sc (6 rounds) [12]
- R9 (4sc, 1dec) *2 [10]
- R10 10sc [10]
- R11 (3sc, 1dec) *2 [8]
- R12 8sc [8]
Do not stuff the ears. Crochet the opposite stitches together to get 4sc.
Collar
Mark a center point of the body and take 4 stitches to the left and 4 stitches to the right of that point. We mark a total of 9 stitches in the center! Crochet the collar directly on FLO of R18!
(2ch,1hdc), 2hdc, (1hdc, ch1, 1slst), 1slst, (1slst, ch1, 1hdc), 2hdc, (1hdc, 2ch, 1slst)
Assembly
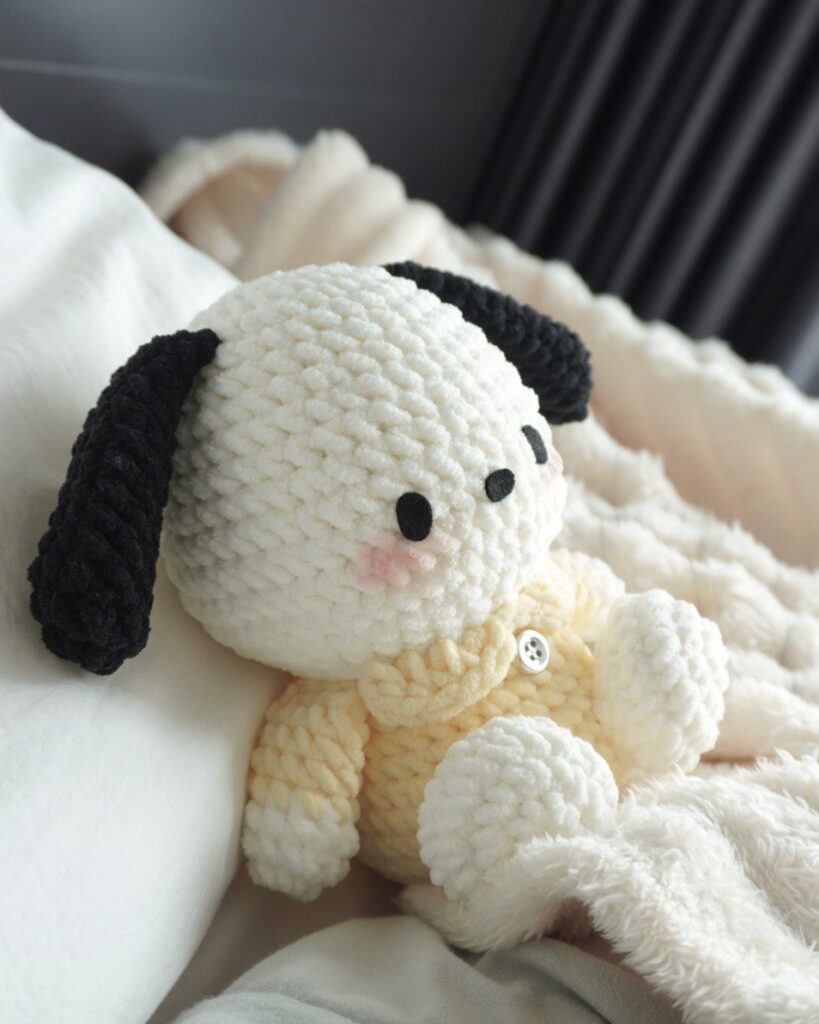
- Arms: Sew the arms next to each collar in between R18 and R19.
- Legs: Sew the legs on R24 to R26 with about 5 stitches apart between two legs.
- Ears: Sew the ears in between R4 and R5 with about 5.5cm apart between two ears.
- Face: Attach the eyes and nose on R12, with 6sc apart between two eyes and the nose in the middle.
- Details: Sew a button in the center of the collars to make it look more charming.
Tips
Do not miss out any details! Open the video tutorial as you crochet along to make the process more effective and time-saving. Ensure you stuff the head and body nice and tight for a sturdy finish.
FAQs
What type of yarn is best for this pattern?
The pattern recommends chenille yarn of around 5mm thick. This yarn provides a soft, plush texture that is perfect for amigurumi.
Can I use a different hook size?
The pattern suggests a 4mm or 4.5mm crochet hook. You may adjust the hook size if your tension is significantly tighter or looser than the yarn weight requires, but this may affect the final size.
How do I attach the collar?
The collar is crocheted directly onto the body. Mark a center point and work 4 stitches to the left and right (9 stitches total) on the Back Loop Only (BLO) of Round 18.
Is this pattern suitable for beginners?
Yes, the pattern is described as beginner-friendly and super relaxing to make, with simple shapes and minimal sewing requirements.
Can I sell the finished Pochacco plushie?
Yes, you are welcome to sell any finished items made from these patterns for personal use, but mass production and selling the patterns themselves are not allowed.
Pin This Crochet Pattern!