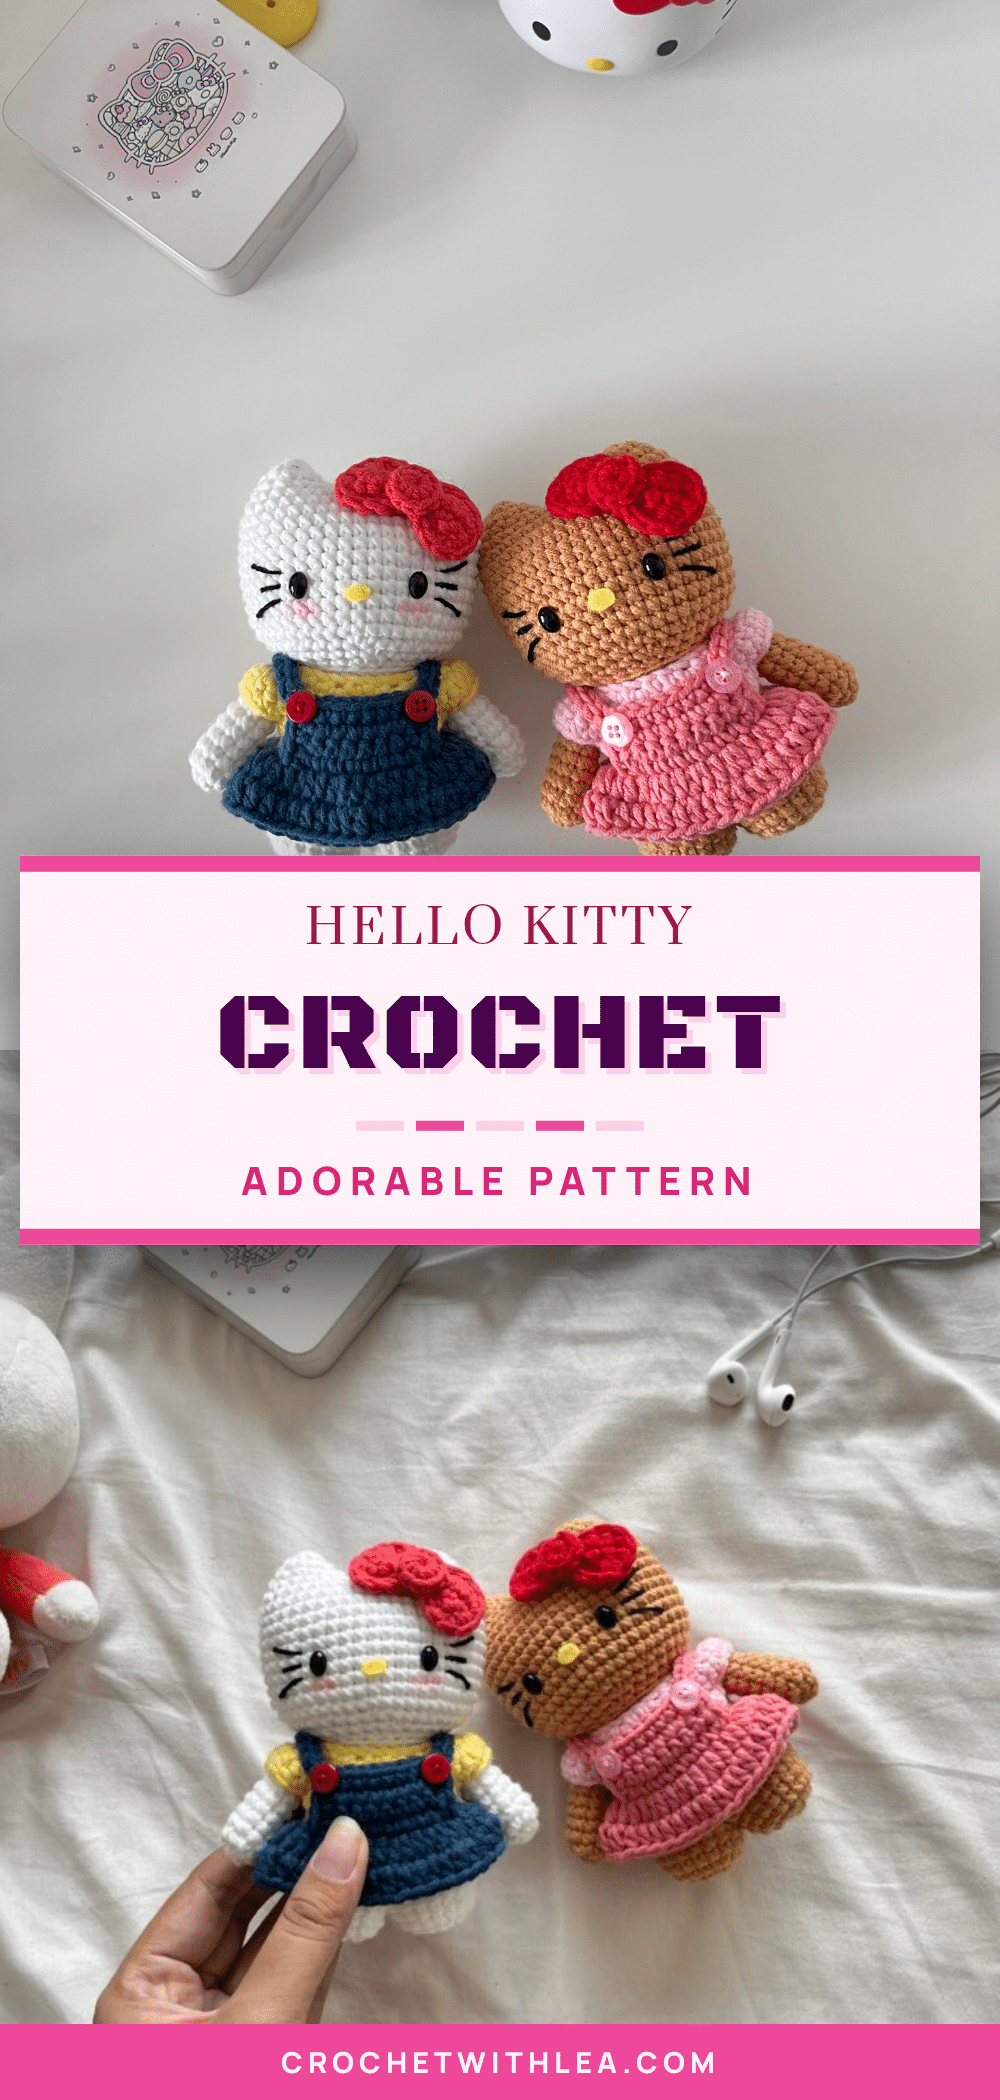
There is something undeniably magical about holding a finished amigurumi that is soft, squishy, and just adorable. This Hello Kitty plushie brings that exact joy, offering a delightful mix of nostalgia and charm that makes it perfect for cuddling or displaying. Whether you are looking for a sweet gift for a child or a cute addition to your own collection, this pattern delivers a tidy, display-worthy result that is sure to bring a smile to anyone’s face.
Why the Finished Piece Stands Out
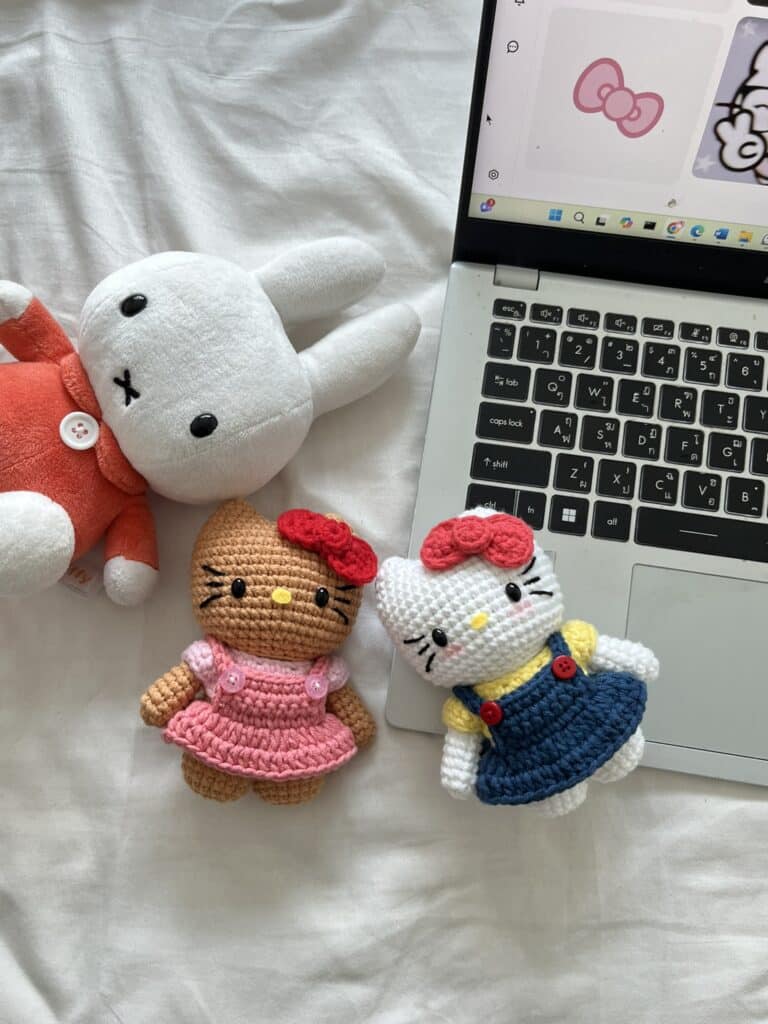
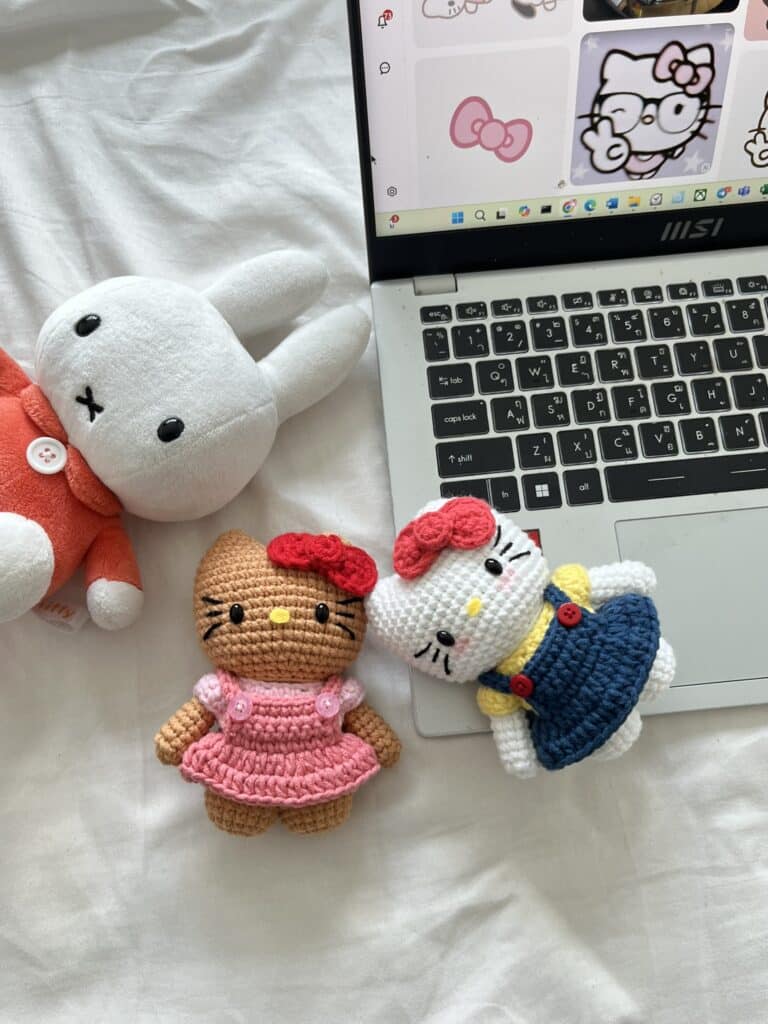
What makes this Hello Kitty design truly special is the attention to detail in her outfit. Unlike simpler amigurumi that rely solely on the character’s face, this pattern includes a layered wardrobe—a cozy t-shirt and an overall dress—that adds depth and personality to the plushie. The combination of the soft cotton or acrylic yarn with the distinct red bow and black felt eyes creates a classic look that feels both timeless and fresh. The squishy texture of the body and head invites you to squeeze it, making it not just a decorative item, but a comforting companion. The structured yet cute proportions ensure that she sits upright nicely on shelves or desks, adding a pop of pink and red to any space.
Project Overview
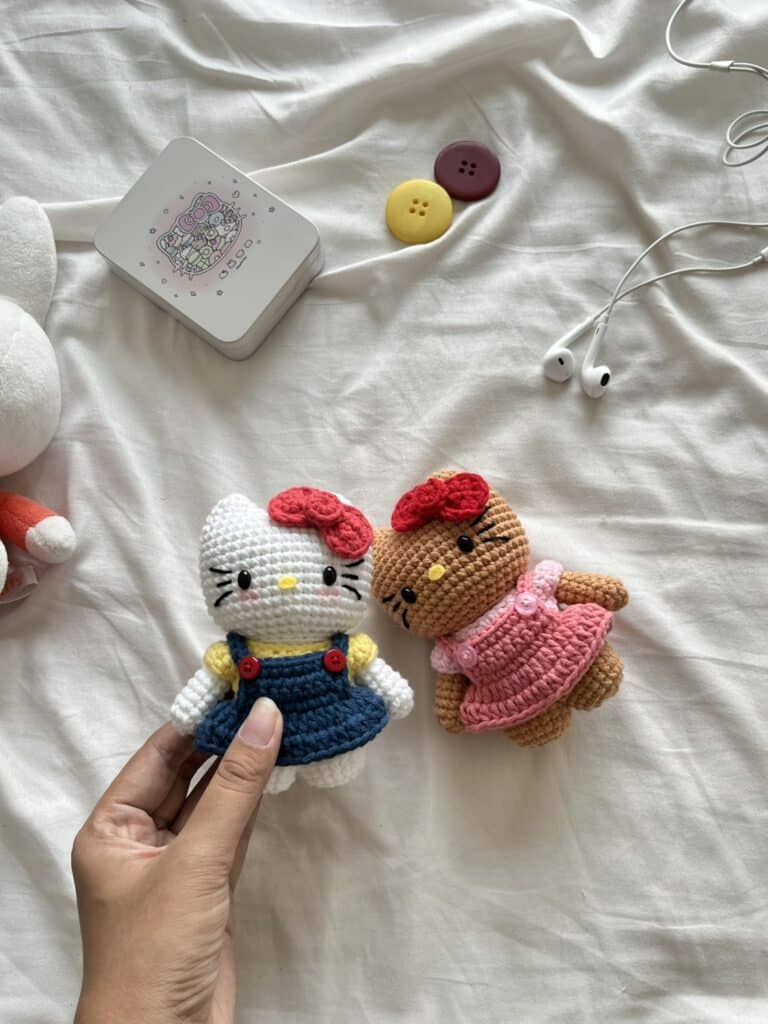
This amigurumi pattern guides you through creating a Hello Kitty plushie wearing a cute little dress. The project involves crocheting the head with attached ears, a body with integrated hands, and separate clothing items including a t-shirt, an overall dress, and a signature bow. The pattern is designed for personal use and includes clear instructions for assembly, ensuring a professional finish.
Materials
- Yarn: Cotton (5ply), Acrylic, or Sport weight in light brown, light pink, rosy pink, red, and black.
- Crochet Hook: 3mm hook.
- Eyes: 7mm long oval plastic eyes.
- Accessories: Black & Yellow felt cloth, glue.
- Stuffing: Stuffing materials.
- Tools: Stitch markers, darning needle, and scissors.
Abbreviations
The abbreviations are in US terminology!
- R: round/row
- Ch: chain
- mr: magic ring
- st: stitch
- sc: single crochet
- inc: increase
- dec: decrease
- hdc: half double crochet
- slst: slip stitch
- FLO: front loop only
- BLO: back loop only
- *: repeat
- []: total stitch count in each round/row
- sk: skip
Pattern Notes
The crochet patterns shared on this blog are designed by the creator and are for personal use only. You are welcome to sell any finished items made from these patterns, but mass production and selling the patterns themselves are not allowed. Please do not use the photos from the blog without permission. If you share your creations, it is appreciated to credit the creator with a link to their blog, Instagram, or YouTube channel.
Pattern Instructions
Ears & Head
R1: 6sc in mr [6]
R2: (1sc, 1inc) *3 [9]
Cut the yarn and make the second ear. Do not cut the yarn after the 2nd ear!
On the second ear, make 4ch and connect at last st of the 1st ear.
R3: (2sc, 1inc) *3, 4sc (on each ch), (2sc, 1inc) *3, 4sc (on each ch) [32]
R4: (3sc, 1inc) *8 [40]
R5: (7sc, 1inc) *5 [45]
R6-R15: 45sc (10 rounds) [45]
R16: (3sc, 1dec) *9 [36]
Start stuffing the head!
R17: (4sc, 1dec) *6 [30]
R18: (3sc, 1dec) *6 [24]
Cut the yarn and stuff the head thoroughly.
Hands
R1: 7sc in mr [7]
R2: 2sc, 1inc, 3sc, 1inc [9]
R3-R9: 9sc (7 rounds) [9]
Stuff the hands lightly and close with 4sc by crocheting the opposite sc together.
Legs & Body
R1: 8sc in mr [8]
R2: 8inc [16]
R3: (3sc, 1inc) *4 [20]
R4-R5: 20sc (2 rounds) [20]
Cut the yarn and make the 2nd leg. Do not cut the yarn after making the 2nd leg! Connect to the 1st leg at the last sc of R5. Make 16sc only on the 1st and 2nd leg leaving out 4sc on each.
R6: 16sc on each leg [32]
R7-R12: 32sc (6 rounds) [32]
R13: (3sc, 1dec, 3sc) *4 [28]
Start stuffing the body!
R14: 28sc [28]
R15: (5sc, a) *4 [24]
We are joining the hands together with the body on R16.
R16: 4sc, (4sc with hands), 8sc, (4sc with hands), 4sc [24]
R17: 24sc [24]
Stuff the body thoroughly and cut the yarn leaving a long tail.
T-shirt
Start with a slip knot and make 27ch.
R1: Starting from the 2nd ch from the hook, (2sc, 1inc) *8, 2sc [26]
R2: Ch1 & turn, (3sc, 1inc)*8, 2sc [42]
R3: Ch1 & turn, 42sc [42]
R4: Ch1 & turn, 6sc, (1ch, sk8), 14sc, (1ch, sk 8), 6sc [26sc]
Cut the yarn leaving a long tail.
Dress
Start with a slip knot and make 32ch.
R1: Starting from 3rd ch from the hook, (1hdc, 1hdc inc)*15 [45]
R2: 45hdc [45]
Cut the yarn.
Locate the middle 8sc on the top part of the dress to make the upper part of the dress.
R1-R3: 8sc (3 rounds) [8]
Crochet along the 3 sides of the upper part we just made and add straps. 3sc on 1st side, (Strap: 19ch, 18slst), 8sc on 2nd, (Strap: 18sc, 18slst), 3sc on 3rd.
Cut the yarn.
Bow
Start with a slip knot and make 7ch.
R1: Starting from 2nd ch from the hook, 1inc, 4sc, 1inc [8]
R2-R3: 8sc (2 rounds) [8]
R4: 1dec, 4sc, 1dec [6]
Crochet along four sides of the piece we just made! 4sc on the 1st side, 6sc on 2nd, 4sc on 3rd, 6sc on 4th [20].
Cut the yarn and weave in the ends.
Circle: 10sc in mr [10].
Using a darning needle and a piece of yarn, form the rectangle piece into a bow shape, add the circle in the middle and sew it on top the head of Hello Kitty.
Assembly
- Sew the head and the body together.
- Add the eyes on R11-R12 of the head, with 7sc apart between two eyes.
- Put the shirt on and sew two sides together to close the back.
- Put the overall dress on and sew or glue the straps at the back.
Tips
Do not miss out on any details! It is highly recommended to open the video tutorial as you crochet along to make the process more effective and time-saving, especially for connecting the ears and joining the hands to the body.
FAQs
What type of yarn is best for this pattern?
The pattern suggests using Cotton (5ply), Acrylic, or Sport weight yarn. These weights work well with a 3mm hook to create a sturdy yet soft plushie.
How do I attach the hands to the body?
The hands are joined to the body during Round 16 of the body section. You will crochet 4sc, then work 4sc that include the hands, followed by 8sc, then the other hands, and finish with 4sc.
Where should I place the eyes?
Place the 7mm long oval plastic eyes on Round 11 or Round 12 of the head, ensuring there are 7 stitches between the two eyes.
Can I use a different hook size?
The pattern is designed for a 3mm hook. Using a significantly different hook size may alter the gauge and the final size of the amigurumi, so sticking to the recommended size is best for accuracy.
Is this pattern suitable for beginners?
This pattern is designed to be simple and fun, but it does involve joining parts (like ears and hands) which may require some patience. Following the video tutorial alongside the written instructions is recommended for the best results.
Pin This Crochet Pattern!