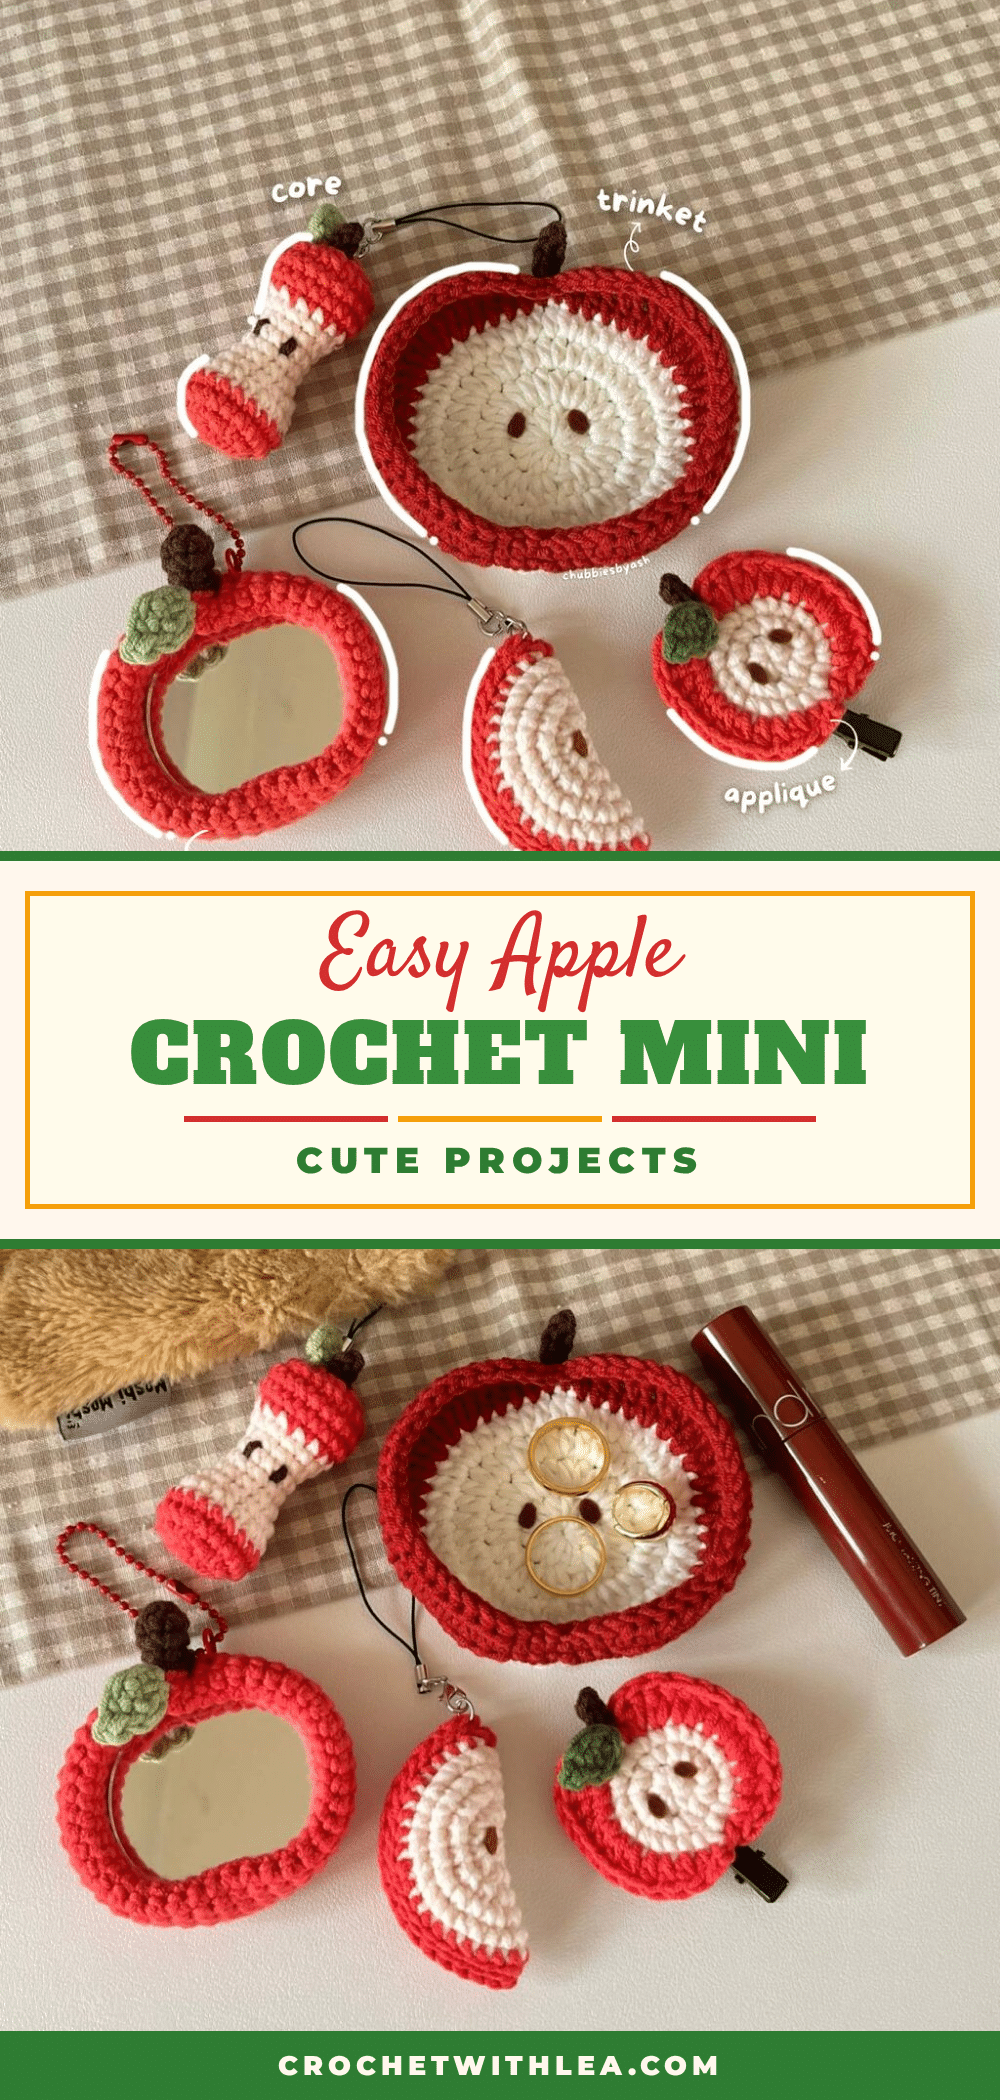
There is something undeniably charming about bringing a bit of orchard freshness into your crafting space. These apple-themed crochet mini projects offer a delightful way to celebrate the season, whether you are looking for a quick gift for a friend, a unique addition to your fall decor, or simply a fun way to use up small scraps of yarn. From a hollowed-out apple core to a functional mirror and a whimsical trinket, this collection provides a variety of shapes and techniques that are perfect for crocheters seeking a bite-sized challenge.
Seasonal Styling Ideas
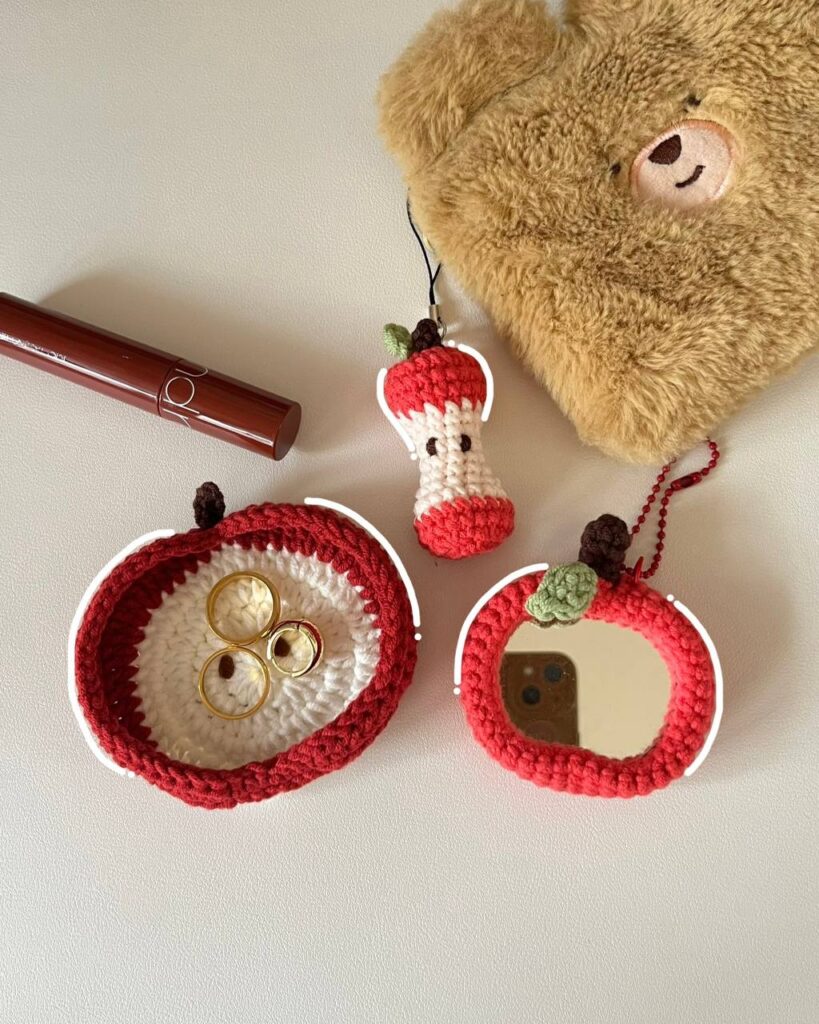
These miniature apple designs are incredibly versatile. The apple mirror makes a lovely addition to a vanity or a child’s nursery, while the apple slice and trinket serve as adorable keychains or bag charms. The appliqué can be sewn onto tote bags, pillowcases, or children’s clothing for a pop of color. Because the patterns utilize a mix of reds, greens, and creams, they fit seamlessly into autumn harvest themes or spring garden aesthetics. They are also excellent stress-relief projects for crocheters who want a quick win without committing to a large blanket or sweater.
Project Overview
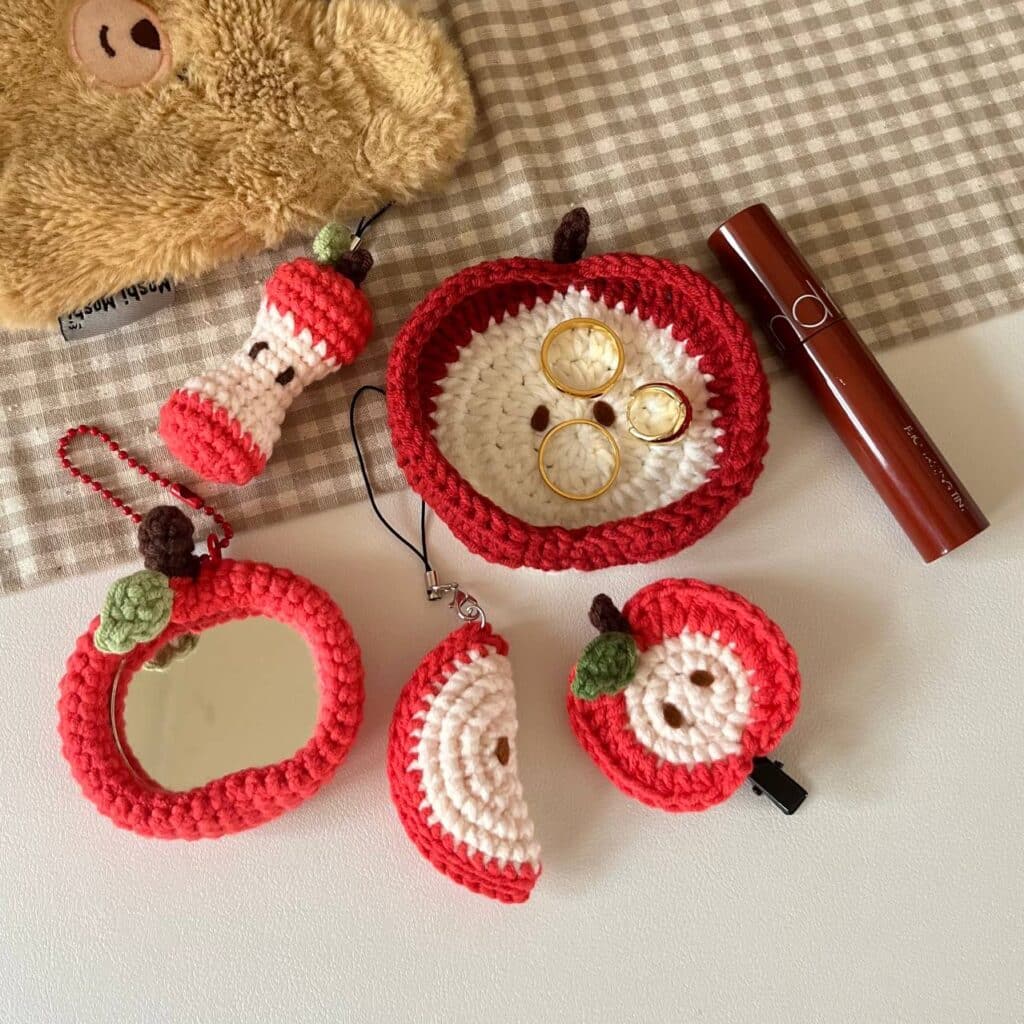
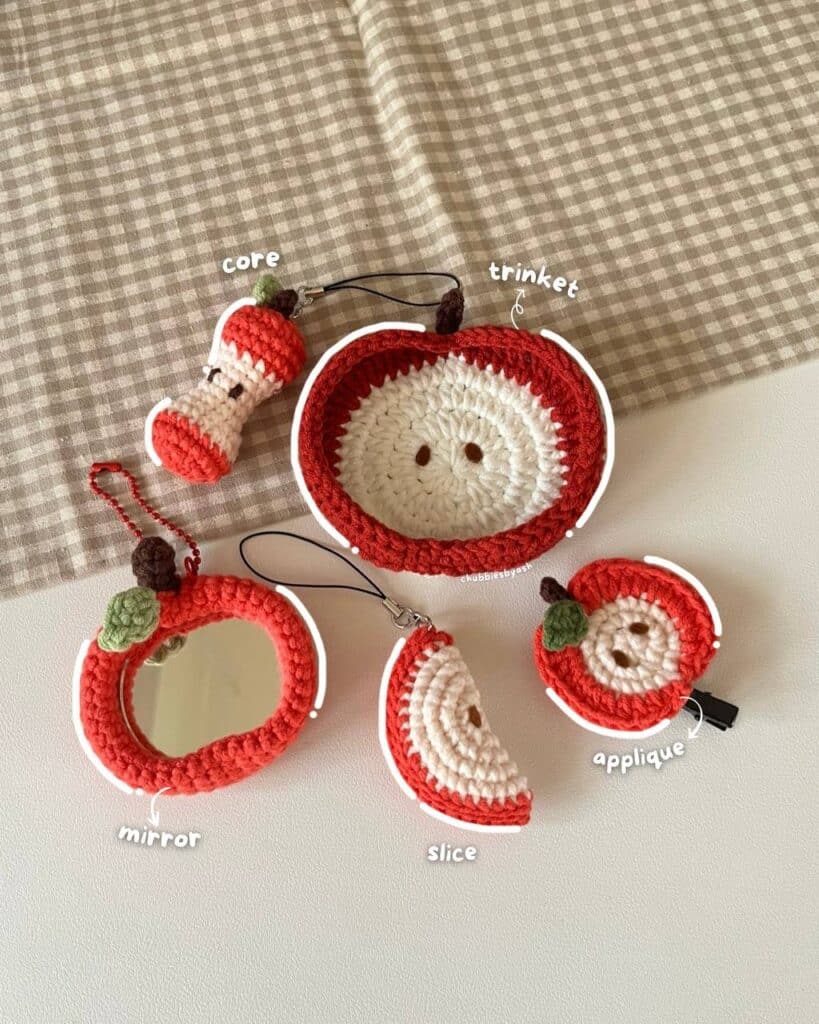
This collection features six distinct amigurumi and accessory projects: an Apple Core, an Apple Mirror, an Apple Slice, an Apple Trinket, and an Apple Appliqué. Each project utilizes basic crochet stitches to create textured, three-dimensional shapes. The projects are designed to be beginner-friendly, focusing on color changes and simple assembly to create a cohesive set of apple-themed items.
Materials
- Yarn: Cotton (5ply), Acrylic, or Sport weight in White, Light Peach (skin color), Red, Burgundy, Green, and Brown.
- Crochet Hooks: 3mm hook (primary), 2.5mm hook (optional).
- Accessories: Round mirror (5cm wide), Brown felt cloth, glue.
- Tools: Stuffing materials, stitch markers, darning needle, and scissors.
Gauge and Finished Size
Specific gauge and finished size measurements are not provided for these mini projects. The dimensions will vary slightly based on your personal tension and yarn weight. The projects are designed to be small, handheld items.
Abbreviations
Abbreviations are in US terminology.
- R – round/row
- Ch – chain
- mr – magic ring
- st – stitch
- sc – single crochet
- inc – increase
- dec – decrease
- dc – double crochet
- hdc – half double crochet
- slst – slip stitch
- FLO – front loop only
- BLO – back loop only
- *- repeat
- [] – total stitch count in each round/row
Pattern Notes
- Abbreviations are in US terminology.
- Do not miss out any details! Open the accompanying video tutorial as you crochet along to make the process more effective and timesaving.
Pattern Instructions
Apple Core
Start with a magic ring, using Red yarn!
- R1 7sc in mr [7]
- R2 7inc [14]
- R3 (1sc, 1inc)*7 [21]
- R4-R5 21sc (2 rounds) [21]
Change to Skin color yarn at the end of R5! Watch this part of the tutorial to see how to change colors!
- R6 (1sc, 1dec)*7 [14]
- R7 (5sc,1dec)*2 [12]
- R8 (4sc, 1dec)*2 [10]
- R9-R10 10sc (2 rounds) [10]
- R12 (4sc, 1inc)*2 [12]
- R13 (5sc, 1inc)*2 [14]
- R14 (1sc, 1inc)*7 [21]
Chage back to Red yarn at the end of R14!
- R15-R16 21sc (2 rounds) [21]
- R17 (1sc, 1dec)*7 [14]
- R18 7dec [7]
Cut the yarn and close the body. See this part of the tutorial to see how to close the remaining hole after the last round!
Stalk
Crochet directly in between R1 & R2; 3ch, 2slst , Cut the yarn & weave in the ends! Watch this part of the tutorial to see how to make the stalk in more details.
Leaf
In mr, 2ch, 1hdc, 2ch, 1slst Cut the yarn and sew the leaf beside the stalk. Using the brown yarn, embroider the apple seeds! Watch this part of the tutorial to see how to embroider the seeds.
Apple Mirror
Start with a magic ring, using the Red yarn!
- R1 Ch1, 10sc, 1slst (into the first sc) [10]
- R2 Ch1, 10inc, 1slst [20]
- R3 Ch1, (1sc, 1inc)*10, 1slst [30]
- R4 Ch1, 30sc, 1slst [30]
- R5 Ch1, (1sc, 1inc, 1sc)*10, 1slst [40]
- R6 Ch1, 40sc, 1slst [40]
- R7 FLO, Ch1, 40sc, 1slst [40]
- R8-R13 Ch, 40sc, 1slst [40]
Cut the yarn leaving a long tail of about 16 inches. Flip your crochet piece and sew R13 and R7 together to form the border so that we can put our mirror. Watch this part of the tutorial for more details.
Stalk
- R1 7sc in mr [7]
- R2-R4 7sc (3 rounds) [7]
Cut the yarn leaving a long tail.
Leaf
Start with a slip knot. 3ch, 1sc, (1sc, 2ch, 1slst, 1sc) in the last ch, 1sc (into lower part of the ch, 1slst (into the 1 st sc) Cut the yarn leaving a long tail. Put the mirror inside and use glue if you want to make it extra secure. Sew the stalk on top and the leaf beside it.
Apple Slice
Start with a magic ring using White yarn!
- R1 8sc in mr, 1slst [8]
- R2 Ch1, 8inc, 1slst [16]
- R3 Ch1, (1sc, 1inc)*8, 1slst [24]
- R4 Ch1, (1sc, 1inc, 1sc)*8, 1slst [32]
- R5 Ch1, (3sc, 1inc)*8, 1slst [40]
Change to Red yarn at the end of R5!
- R6 Ch1, 40sc, 1slst [40]
Fold in half and join the opposite stitches together with slst by using BLO for the front half and FLO for the back half. Watch this part of the tutorial for more details.
You can either embroider the apple seeds or cut the brown felt cloth into tiny seeds and glue them, in the middle!
Apple Trinket
Start with a magic ring, using the White yarn.
- R1 Ch1, 12hdc in mr, 1slst (into first hdc) [12]
- R2 Ch1, 12hdc inc, 1slst [24]
- R3 Ch1, (1hdc, 1hdc inc)*12, 1slst [36]
- R4 Ch1, (1hdc, 1hdc inc, 1hdc)*12, 1slst [48]
Change to the Red or Burgundy yarn at the end of R4!
- R5 Ch1, 3sc, 6hdc, 6dc, 4dc inc, 3dc, 1hdc, 2sc, 1hdc, 3dc, 4dc inc, 6dc, 6hdc, 3sc, 1slst [56]
- R6 Ch1, 3sc, 6hdc, 17dc, 1hdc, 2sc, 1hdc, 17dc, 6hdc, 3sc, 1slst [56]
- R7 1slst in each st Cut the yarn and weave in the ends.
Stalk
Locate middle 2sc on R5 & R6 to make the stalk. 4ch, Starting from 2 nd ch from the hook,1slst, 2sc, 1slst (onto the trinket) You can either embroider the apple seeds or cut the brown felt cloth into tiny seeds and glue them, in the middle of the trinket!
Apple Appliqué
Start with a magic ring using Skin color yarn!
- R1 8sc in mr [8]
- R2 Ch1, 8inc, 1slst [16]
- R3 Ch1, (1sc, 1inc)*8, 1slst [24]
Change to Red yarn at the end of R3!
- R4 Ch1, 1sc, 8hdc, 2dc inc, 2sc, 2dc inc, 8hdc, 1sc [28]
Cut the yarn and weave in the ends.
Stalk
Locate the middle 2sc at the top to crochet the stalk directly onto the applique. 3ch, 2slst, 1slst into next sc Cut the yarn and weave in the end. Make the same leaf as Apple mirror and sew it beside the stalk. Cut the red felt into a circle and glue it at the back to cover the yarn ends from weaving in. Watch this part of the tutorial for more details. You can either embroider the apple seeds or cut the brown felt cloth into tiny seeds and glue them, in the middle of the applique!
Assembly
Refer to the specific instructions above for each component. Key assembly steps include:
- Watch this part of the tutorial to see how to change colors!
- See this part of the tutorial to see how to close the remaining hole after the last round!
- Watch this part of the tutorial to see how to make the stalk in more details.
- Cut the yarn and sew the leaf beside the stalk.
- Watch this part of the tutorial to see how to embroider the seeds.
- Flip your crochet piece and sew R13 and R7 together to form the border so that we can put our mirror. Watch this part of the tutorial for more details.
- Put the mirror inside and use glue if you want to make it extra secure. Sew the stalk on top and the leaf beside it.
- Fold in half and join the opposite stitches together with slst by using BLO for the front half and FLO for the back half. Watch this part of the tutorial for more details.
- You can either embroider the apple seeds or cut the brown felt cloth into tiny seeds and glue them, in the middle!
- You can either embroider the apple seeds or cut the brown felt cloth into tiny seeds and glue them, in the middle of the trinket!
- Make the same leaf as Apple mirror and sew it beside the stalk. Cut the red felt into a circle and glue it at the back to cover the yarn ends from weaving in. Watch this part of the tutorial for more details. You can either embroider the apple seeds or cut the brown felt cloth into tiny seeds and glue them, in the middle of the applique!
Tips
- Do not miss out any details! Open this video as you crochet along to make the process more effective and timesaving.
FAQs
What type of yarn is best for these projects?
The pattern suggests using Cotton (5ply), Acrylic, or Sport weight yarn. Cotton is often preferred for amigurumi because it holds its shape well and provides a smooth finish.
Can I use a different hook size?
The pattern recommends a 3mm hook. A 2.5mm hook is listed as optional, which you might use if you prefer a tighter stitch to prevent stuffing from showing through.
How do I attach the mirror to the Apple Mirror project?
After sewing R13 and R7 together to form the border, place the mirror inside the pocket created. You can use glue to secure the mirror if you want it to be extra secure.
How do I embroider the seeds?
Use brown yarn to embroider the seeds in the center of the apple core, slice, trinket, or appliqué. Alternatively, you can cut tiny seed shapes from brown felt cloth and glue them in place.
Are these patterns suitable for beginners?
Yes, these projects use basic stitches like single crochet, double crochet, and half double crochet. They are great for beginners looking to practice color changes and basic shaping.
Pin This Crochet Pattern!