There is a specific kind of magic in the way stitches build upon one another, creating texture and form that feels almost alive. When you work with chunky chenille yarn, the focus shifts to the tactile pleasure of the loop, the softness of the pile, and the satisfying snap of the hook pulling through. This project celebrates those little details—the way a cluster stitch creates a subtle ridge, how a decrease pulls fabric inward to shape a curve, and the gentle compression of stuffing that gives an amigurumi its character. It is a process that rewards patience, inviting you to slow down and appreciate the rhythm of rounds and the geometry of single crochets.
Texture and Stitch Notes
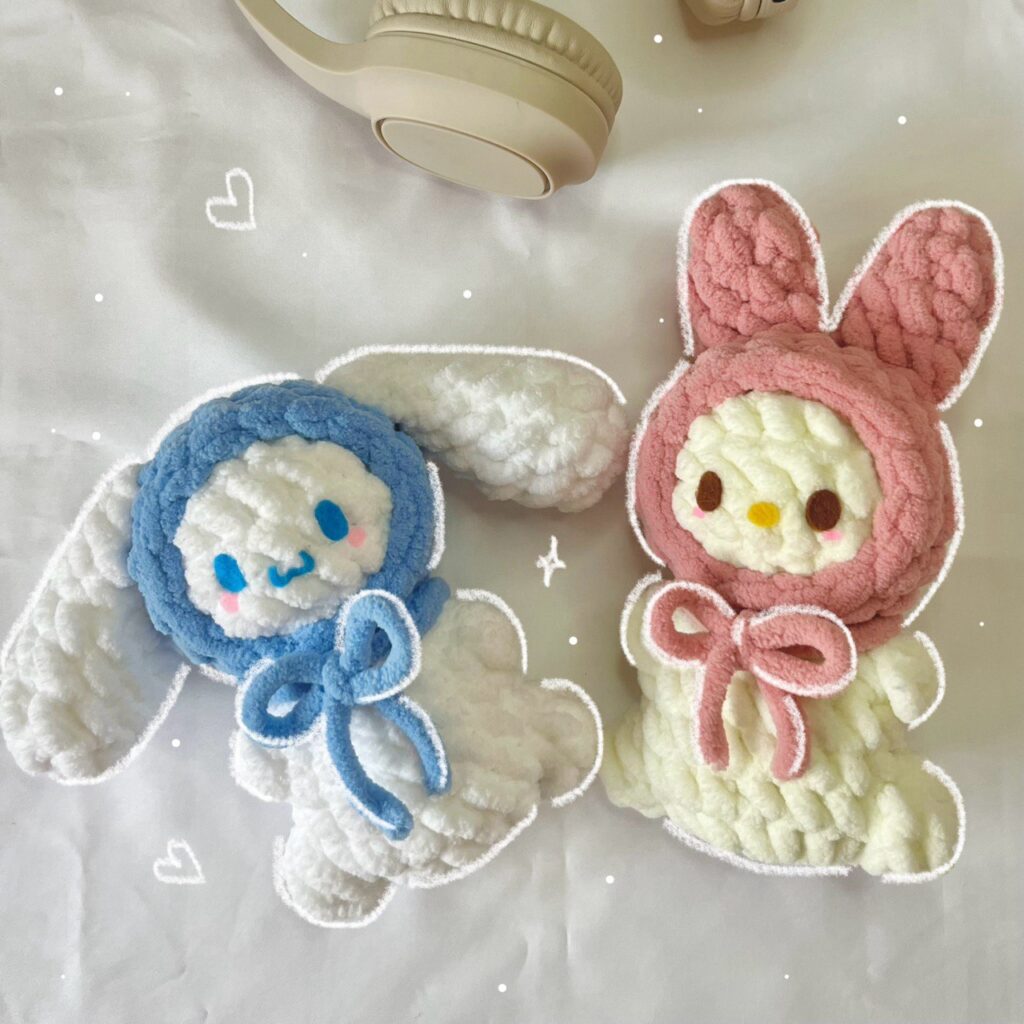
The defining feature of these Sanrio characters is the plush, cloud-like texture provided by the chunky chenille yarn. This material naturally hides minor tension inconsistencies, making it an excellent choice for beginners while still offering a luxurious finish for experienced makers. The pattern relies heavily on cluster stitches to create the distinctive facial features of the characters. The 4dc cluster stitch adds a structured, slightly raised detail to the cheeks, while the 3hdc cluster stitch creates a softer, more integrated contour for the lower face. Paying attention to the placement of these clusters is key to capturing the cute, expressive faces of Cinnamoroll and My Melody. The hood is worked seamlessly around the head, creating a unified shape that emphasizes the roundness of the design.
Project Overview
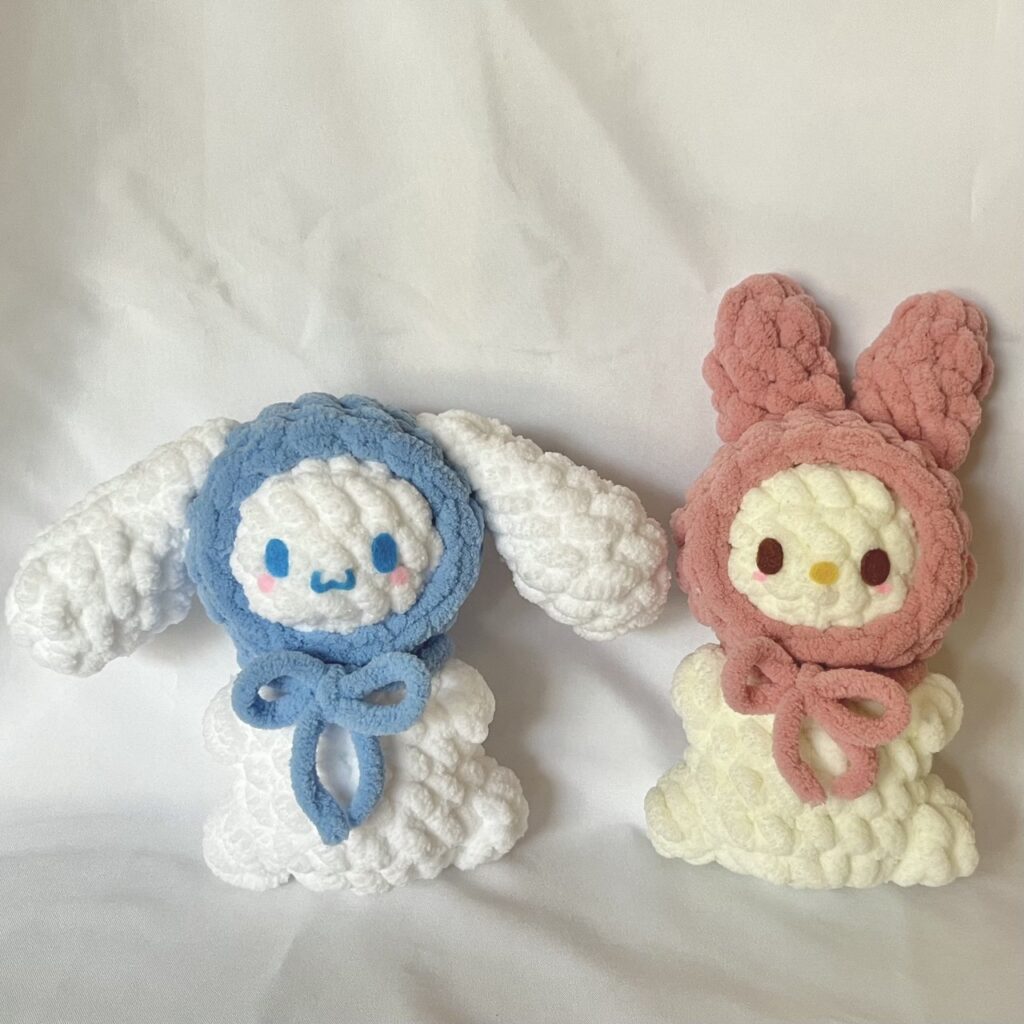
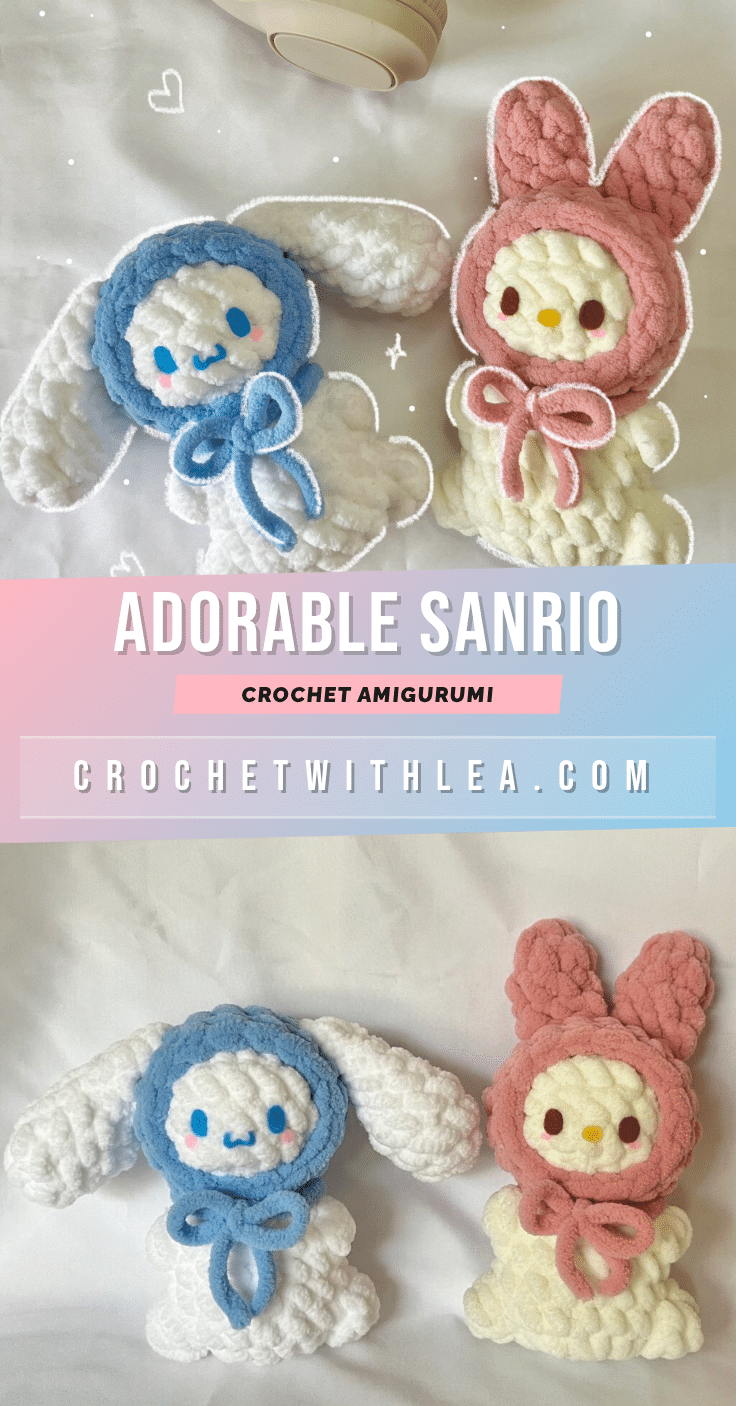
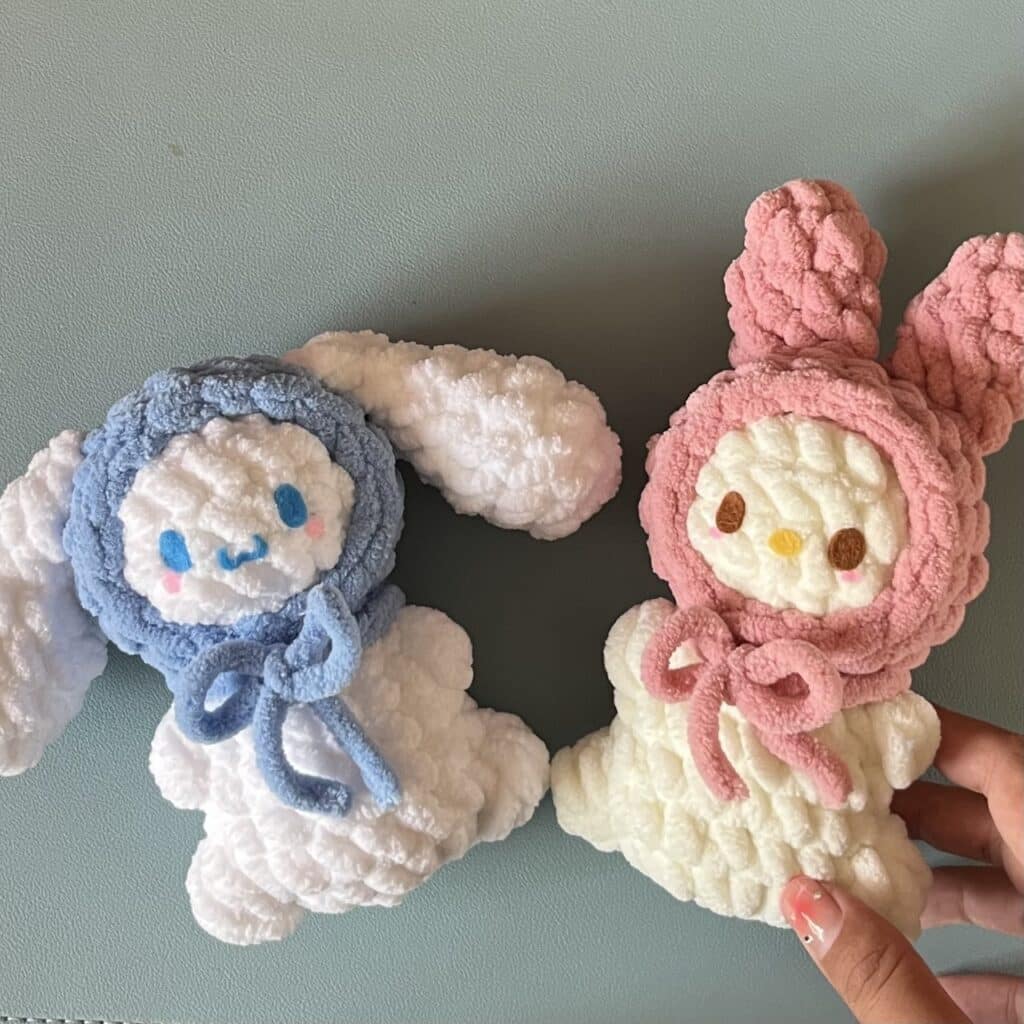
This pattern allows you to create adorable, quick-to-make Sanrio plushies, specifically inspired by Cinnamoroll and My Melody. Designed to be completed in just an hour or two, these amigurumi characters are perfect for gifting, decoration, or as a comforting handmade keepsake. The pattern utilizes chunky yarn and a large hook to ensure a fast finish, resulting in a soft, huggable toy. You can choose to make them as standard-sized plushies or use a smaller yarn size to create cute keychain-sized versions.
Materials
- Yarn: Chunky Chenille yarn (around 6mm thick) in white, cream, pink, and blue.
- White and Cream for Cinnamoroll.
- Pink for My Melody.
- Blue for Cinnamoroll’s hood.
- Crochet Hook: 6mm crochet hook.
- Stuffing: Silicon filling.
- Accessories: Felt cloth in brown, blue, and yellow.
- Tools: Scissors, glue, and a darning needle.
- Assembly Yarn: Cotton, Acrylic, or Sports yarn (for sewing parts together, as chunky yarn is too thick for this step).
Gauge and Finished Size
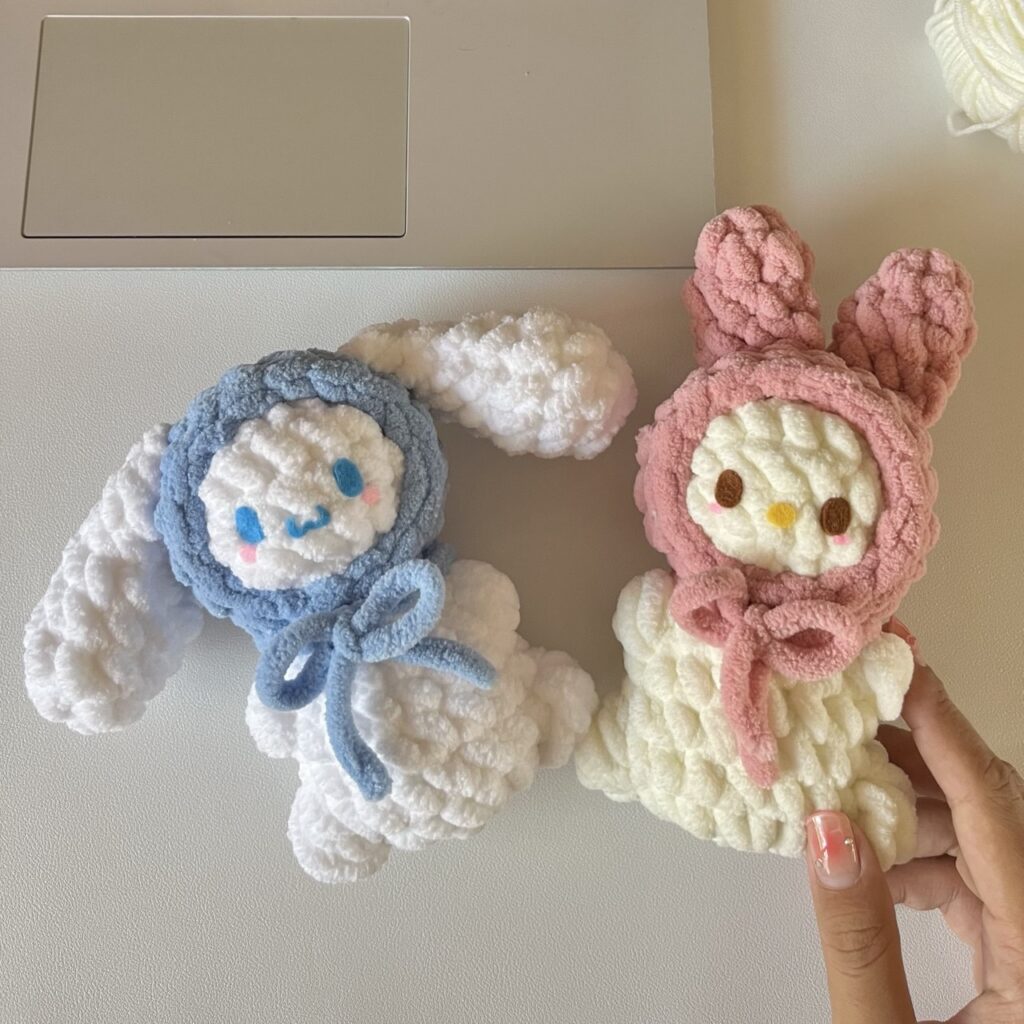
Specific gauge measurements and finished dimensions are not provided in the source pattern. The finished size will depend on the exact thickness of the yarn used. The pattern notes that using a smaller yarn size will result in a much smaller plushie, suitable for use as a keychain.
Abbreviations
Abbreviations are in US terminology.
- mr – magic ring
- ch – chain
- R – round / row
- sc – single crochet
- inc – increase
- dec – decrease
- slst – slip stitch
- * – repeat
- [ ] – total stitch count in each round
Pattern Notes
- Abbreviations are in US terminology.
- Do not miss out any details! Open the accompanying video tutorial as you crochet along to make the process more effective and time-saving.
- For the best results, it is essential to use the same yarn size (chunky chenille around 6mm) as the designer. However, using a smaller yarn size is acceptable if you prefer a smaller finished size.
Pattern Instructions
Body
Start with a magic ring.
- R1: 8sc in mr [8]
- R2: 8inc [16]
- R3: 3sc, 4dc cluster stitch, 7sc, 4dc cluster stitch, 4sc [16]
- Refer to tutorial for how to make 4dc cluster st.
- R4-R5: 1sc in each stitch (2 rounds) [16]
- R6: 4sc, 3hdc cluster stitch, 6sc, 3hdc cluster stitch, 4sc [16]
- Refer to tutorial for how to make 3hdc cluster st.
- R7: BLO (2sc, 1dec)*4 [12]
Cut the yarn, leaving a long tail and stuff the body.
Head
Start with a magic ring.
- R1: 8sc in mr [8]
- R2: 8inc [16]
- R3-R4: 1sc in each stitch (2 rounds) [16]
- R5: (6sc, 1dec)*2 [14]
- Start stuffing the head!
- R6: 7dec [7]
Stuff the head a bit more and cut the yarn, leaving a long tail. Close the head using a darning needle. Refer to the tutorial for how to close the head seamlessly.
Hood
Use chunky blue yarn for Cinnamoroll, pink yarn for My Melody.
Start with a magic ring.
- R1: 10sc in mr [10]
- R2: 10inc [20]
- R3-R5: 1sc in each stitch (3 rounds) [20]
Put the head into the hood!
- R6: (3sc, 1dec)*4 [16]
Cut the yarn and weave in the ends. Refer to the tutorial for how to weave in the ends seamlessly and clean.
Cinnamoroll Ears (make 2)
Start with a magic ring using the White yarn.
- R1: 6sc in mr [6]
- R2: 6inc [12]
- R3: 1sc in each stitch. [12]
- R4: (2sc, 1dec)*3 [9]
- R5: 1sc in each stitch. [9]
- R6: (1sc, 1dec)*3 [6]
- R7: 1sc in each stitch. [6]
Close the ear by crocheting the opposite stitches together with 3sc, without stuffing. Refer to the tutorial for how to close the ear. Cut the yarn, leaving a long tail.
My Melody Ears (make 2)
Start with a magic ring using Pink yarn.
- R1: 6sc in mr [6]
- R2-R3: 1sc in each stitch (2 rounds) [6]
Close the ear by crocheting the opposite stitches together with 3sc, without stuffing. Cut the yarn, leaving a long tail.
Assembly
Use a cotton yarn (you can use Acrylic or Sports yarn as well) to sew the head and the body together instead of chunky yarn, as the chunky yarn is too thick for sewing.
With the remaining yarn tails, sew the Cinnamoroll ears vertically on R4 and R5 of the hood. For My Melody, sew the ears on R4 of the hood. Refer to the tutorial for a more detailed explanation of placement.
Tips
- Yarn Choice: For the best results, just like in the designer’s pictures, it’s essential to use the same yarn size (chunky chenille around 6mm). However, if you’d prefer to use a smaller yarn size, that’s totally okay too! Just keep in mind that the finished plushie will turn out much smaller—perfect for transforming into a cute little keychain.
- Video Tutorial: Do not miss out any details! Open the video tutorial as you crochet along to make the process more effective and time-saving.
- Finishing: Take a moment to admire your work. It might not be perfect, but it’s a reflection of your creativity and dedication.
Final Touches
I used Blue and Pink felt cloth to make their eyes (You can, of course, use safety eyes of any shape you like). Cut the felt into small oval shapes and glued them onto the face. Make a Ribbon scarf by wrapping the chunky yarn around the neck twice and tying it into a bow in front.
FAQs
Can I use a different type of yarn?
While the pattern is designed for chunky chenille yarn (around 6mm thick) to achieve the specific plush texture and size, you can use other yarns. Keep in mind that using a thinner yarn will result in a significantly smaller finished size, which is great for keychains.
How do I make the 4dc and 3hdc cluster stitches?
These are special stitches that create the facial details. It is highly recommended to watch the accompanying video tutorial to see exactly how to execute the 4dc cluster stitch and the 3hdc cluster stitch for the best results.
What should I use to sew the parts together?
Do not use the chunky chenille yarn for assembly, as it is too thick. The pattern suggests using cotton, Acrylic, or Sports yarn to sew the head to the body and to attach the ears.
How do I attach the ears?
For Cinnamoroll, sew the ears vertically on rounds 4 and 5 of the hood. For My Melody, sew the ears on round 4 of the hood. Use the long tails left from crocheting the ears for this process.
Can I make these as keychains?
Yes! If you prefer a smaller plushie, simply use a smaller yarn size. This will create a much smaller version that is perfect for use as a keychain or bag charm.
Where can I find the video tutorial?
The pattern references a video tutorial for detailed instructions on the cluster stitches, closing the head, weaving in ends, and ear placement. You can find this on the original creator’s YouTube channel or blog.
Pin This Crochet Pattern!