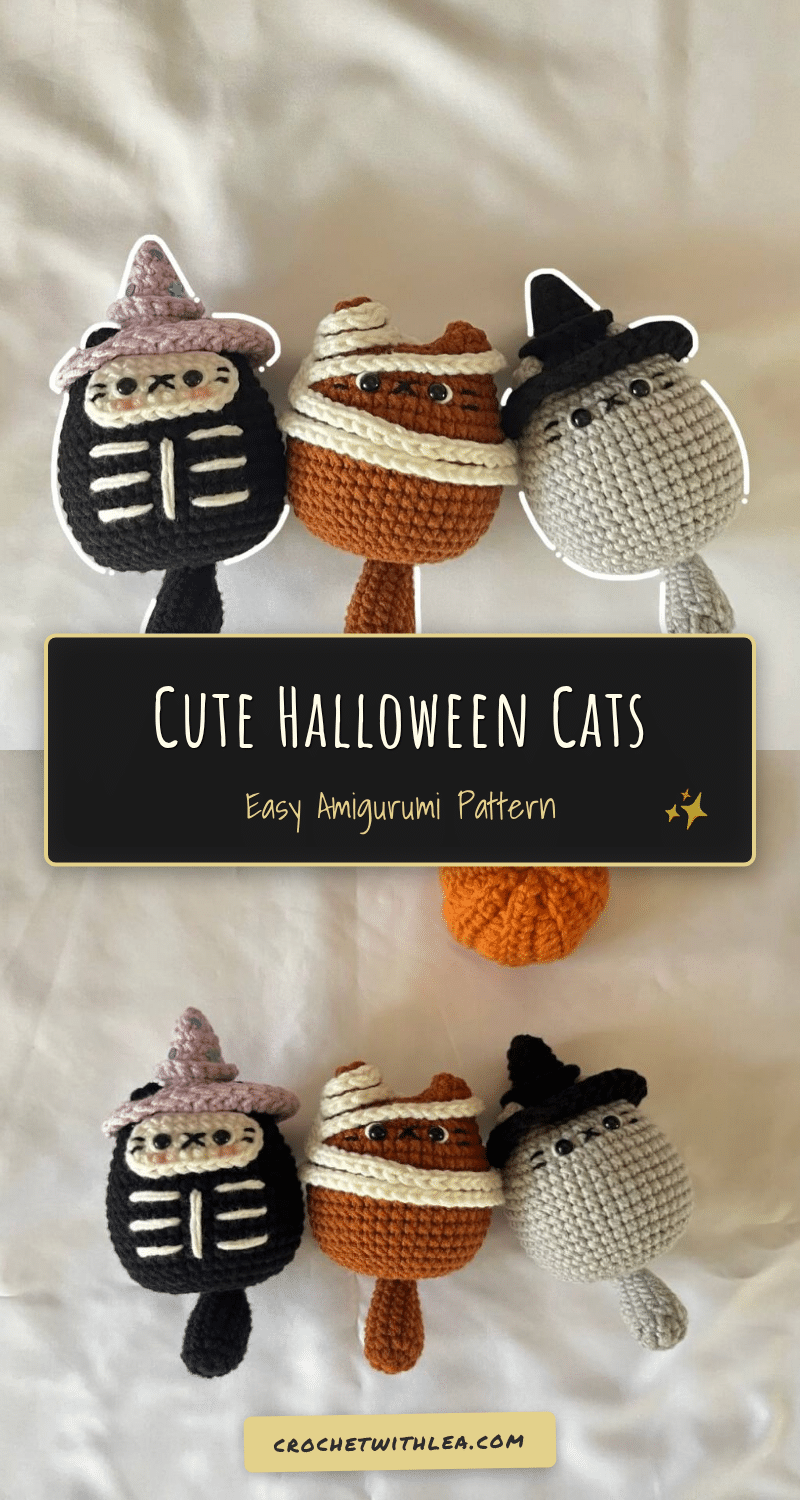
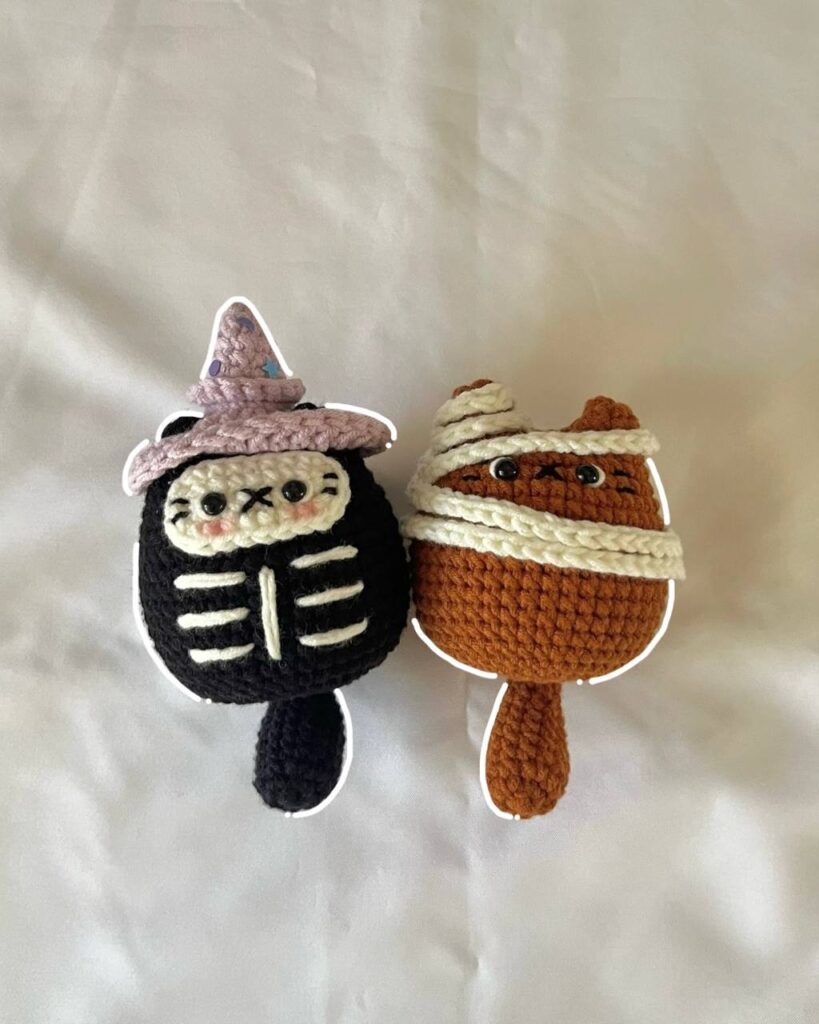
These adorable Halloween cats are the perfect handmade gift for friends, a charming addition to your seasonal decor, or a delightful item to sell at local craft markets. Designed to be low-sew and easy to make, this pattern allows you to create spooky yet sweet amigurumi characters that capture the festive spirit without requiring advanced skills. Whether you are a beginner looking for a quick project or an experienced crocheter wanting a fun seasonal piece, these cats offer a rewarding crafting experience.
Gift and Use Ideas
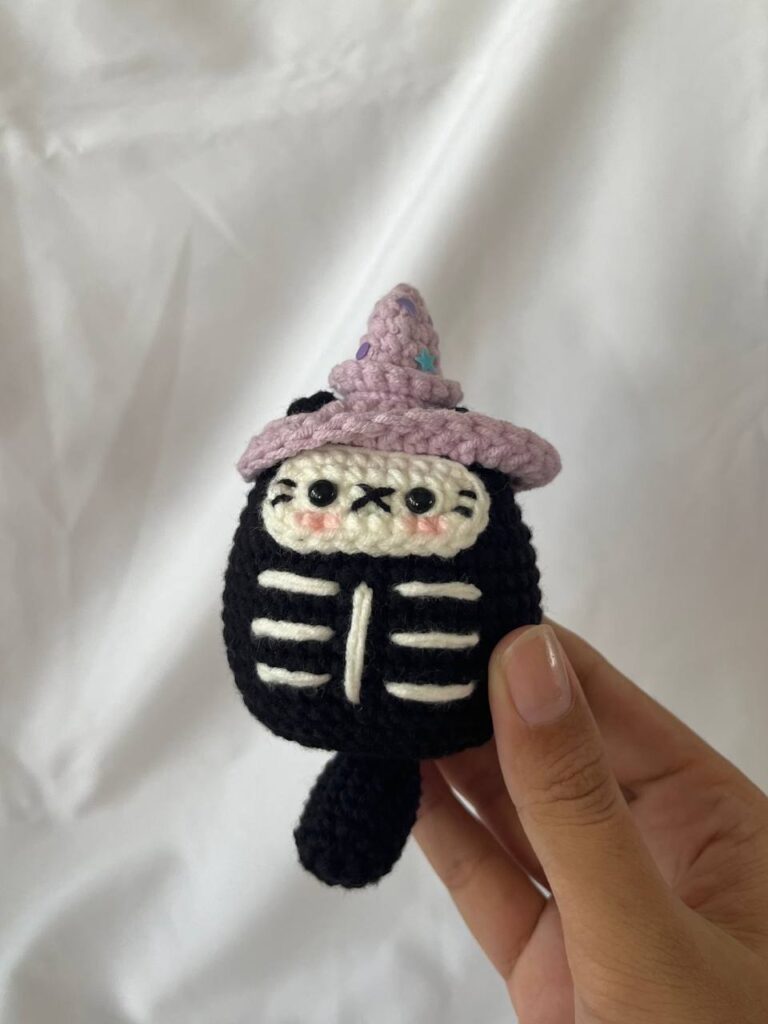
Amigurumi cats are incredibly versatile. You can dress them up as a “spooky” black cat with bandages and a witch hat, or keep them classic with a brown or purple colorway. They make excellent Halloween party favors, nursery decor for a child’s room, or a cozy companion for your bookshelf. The low-sew nature of this pattern means you can produce them quickly for holiday events or use them as a stress-relief project during the autumn season.
Project Overview
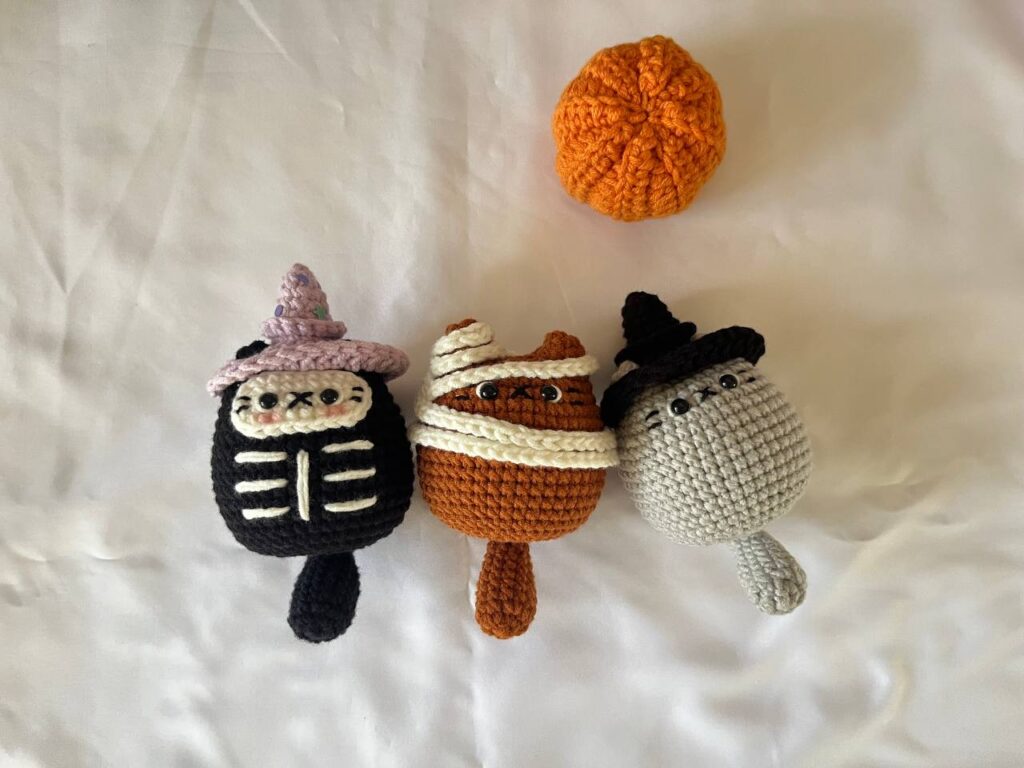
This pattern guides you through creating a cute Halloween cat amigurumi. The design features a body with attached ears, a separate tail, and optional accessories like bandages and a witch hat. The pattern includes instructions for a face patch for the black cat variation. The project is designed to be straightforward, with clear instructions for connecting components and adding facial details.
Materials
- Yarn: Acrylic / Cotton or Sport yarn (5ply) in Brown, Purple, Black, and White.
- Hook: 3mm crochet hook.
- Notions: Stitch marker, Pins, Glue, Darning Needle, and Scissors.
Gauge and Finished Size
Specific gauge and finished size measurements are not provided in the source pattern. To ensure your cat fits the intended accessories (like the hat or bandages), it is recommended to crochet a test swatch or the first ear to check your tension. Use a 3mm hook and sport weight yarn as specified.
Abbreviations
Abbreviations are in US terminology.
- Ch: Chain
- st: stitch
- R: round / row
- sc: single crochet
- inc: increase
- dec: decrease
- hdc: half double crochet
- dc: double crochet
- slst: slip stitch
- BLO: back loop only
- FLO: front loop only
- *: repeat
- []: total stitch count in each round
Pattern Notes
- Do not miss out any details! It is recommended to open the accompanying video tutorial as you crochet along to make the process more effective and time-saving.
- Refer to the tutorial video for specific visual guides on connecting ears, closing the amigurumi hole, making the face, sewing the tail, wrapping bandages, and creating the face patch.
Pattern Instructions
Body and Ears
Use Brown yarn and start with a magic ring.
- R1: 5sc in mr [5]
- R2: 5inc [10]
Make 2 ears. Cut the yarn after making the first ear. DO NOT cut the yarn after making the second ear.
Make 4ch and connect to the last stitch of the first ear by making 1sc, which will be the first sc of our new round.
- R3: 10sc (on the first ear), 4sc (on the upper loops of Ch4), 10sc (on the second ear), 4sc (on the lower loops of Ch4) [28]
- R4-R5: 1sc in each stitch (2 rounds) [28]
- R6: (3sc, 1inc)*7 [35]
- R7: 1sc in each stitch [35]
- R8: (2sc, 1inc, 2sc)*7 [42]
- R9-R18: 1sc in each stitch (10 rounds) [42]
- R19: (1sc, 1dec)*14 [28]
Start stuffing and continue stuffing after each following rounds!
- R20: 14dec [14]
- R21: 7dec [7]
Cut the yarn and close the body.
Face Details
We’ll continue making the face.
- Glue the eyes on the R7 with 4sc apart between them.
- Using the darning needle, embroider the white yarn around the half of the eyes for a cuter look.
- Separate the black yarn into two strands and embroider an x shape in the middle two stitches between the eyes.
- Embroider the two whiskers beside each eye, one stitch apart from each other.
Tail
Start with a magic ring.
- R1: 6sc in mr [6]
- R2: 6inc [12]
- R3-R7: 1sc in each stitch (5 rounds) [12]
- R8: (2sc, 1dec)*3 [9]
- R9-R10: 1sc in each stitch (2 rounds) [9]
- R11: 2sc, 1dec, 3sc, 1dec [7]
- R12-R16: 1sc in each stitch (5 rounds) [7]
Close the tail with 3sc by crocheting the opposite sc together. Cut the yarn, leaving a long tail. Using the darning needle, sew the tail on R14 or R15 on the back of the body.
Bandages
Use White yarn and start with a slip knot.
Long Bandage: Ch120, 1slst into each ch (starting from the 2nd ch from the hook) [119]. Cut the yarn, leaving a long tail.
Short Bandage: Ch25, 1slst into each ch (starting from the 2nd ch from the hook) [24]. Cut the yarn, leaving a long tail.
Face Patch for the Black Cat
Use White yarn and start with a slip knot. Make 8ch.
- R1: Starting from the 2nd ch from the hook, 1inc, 5sc, (4sc in 1 st), 5sc, 1inc, 1slst (into the first sc) [18]
- R2: Ch1, 1sc, 1inc, 5sc, 1inc, 2sc, 1inc, 5sc, 1inc, 1sc [22]
Cut the yarn, leaving a long tail.
Witch Hat (Purple)
Use purple yarn and start with a magic ring.
- R1: 6sc into mr [6]
- R2: (1sc, 1inc)*3 [9]
- R3: 1sc in each stitch [9]
- R4: (2sc, 1inc)*3 [12]
- R5: 1sc in each stitch [12]
- R6: (3sc, 1inc)*3 [15]
- R7: In BLO, 1sc in each stitch [15]
- R8: In FLO, 3dc inc, 6ch, skip 3sc, 3dc inc, 6ch, skip 3sc, 3dc inc [30]
- R9: 12dc, (in FLO, 6dc), 12dc, 1slst (into the next st) [30]
Ch1, cut the yarn, and weave in the ends.
Insert the hook into the FLO of the 1st stitch in R7 and bring the purple yarn. In FLO, make 1sc into each stitch, 1slst (into the first sc) [15]. Cut the yarn and weave in the ends.
Assembly
- Glue the eyes on the R7 with 4sc apart between them.
- Using the darning needle, embroider the white yarn around the half of the eyes for a cuter look.
- Separate the black yarn into two strands and embroider an x shape in the middle two stitches between the eyes.
- Embroider the two whiskers beside each eye, one stitch apart from each other.
- Using the darning needle, sew the tail on R14 or R15 on the back of the body.
- Wrap the bandage around the head and the body and sew it using the darning needle (You can also glue it if you prefer).
- Wrap the bandage around the left ear and sew it using the darning needle. (You can also glue it if you prefer).
- Using the darning needle, insert the needle into the first stitch of R2, come back to the final stitch, and insert into BLO and the loop underneath.
- Weave the end into the wrong side of the face patch.
- Make the face in the same way as you would do onto the body of the other cats.
- Glue the face patch to the body, right below the ears.
Tips
- Watch the tutorial video for specific visual guides on connecting ears, closing the amigurumi hole, making the face, sewing the tail, wrapping bandages, and creating the face patch.
- For the face patch, ensure you weave the end into the wrong side for a clean finish.
- Use glue for attaching the eyes and face patch if you prefer a quicker assembly, but sewing provides a more secure bond.
FAQs
What type of yarn is best for this pattern?
The pattern recommends Acrylic / Cotton or Sport yarn (5ply). This weight works well with a 3mm hook to create a tight fabric that prevents stuffing from showing.
Do I need to sew all the parts?
While sewing is the primary method for assembly, the pattern notes that you can also use glue for attaching the eyes, face patch, and bandages if you prefer.
How do I connect the ears to the body?
After making the first ear, do not cut the yarn. Make 4 chains and connect to the last stitch of the first ear with 1 single crochet to begin the new round on the second ear. This creates a continuous piece for the head and ears.
Can I make the cat without the hat and bandages?
Yes, the hat and bandages are optional accessories. You can follow the body and tail instructions to create a plain cat, or customize the color scheme to your liking.
How do I close the amigurumi hole?
After the final round of decreases, cut the yarn leaving a long tail. Use a darning needle to weave the tail through the front loops of the final stitches and pull tight to close the hole securely.
Pin This Crochet Pattern!