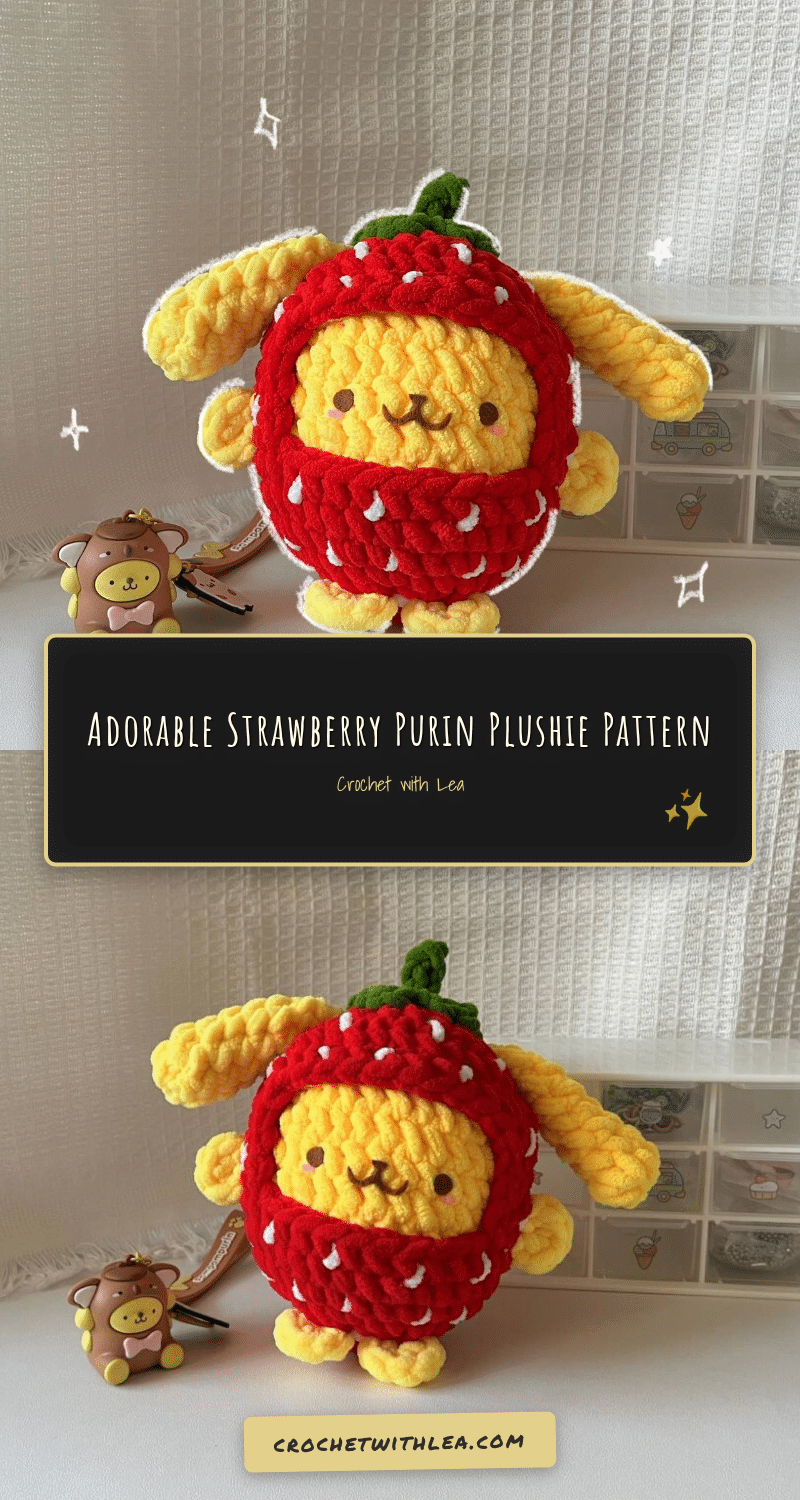
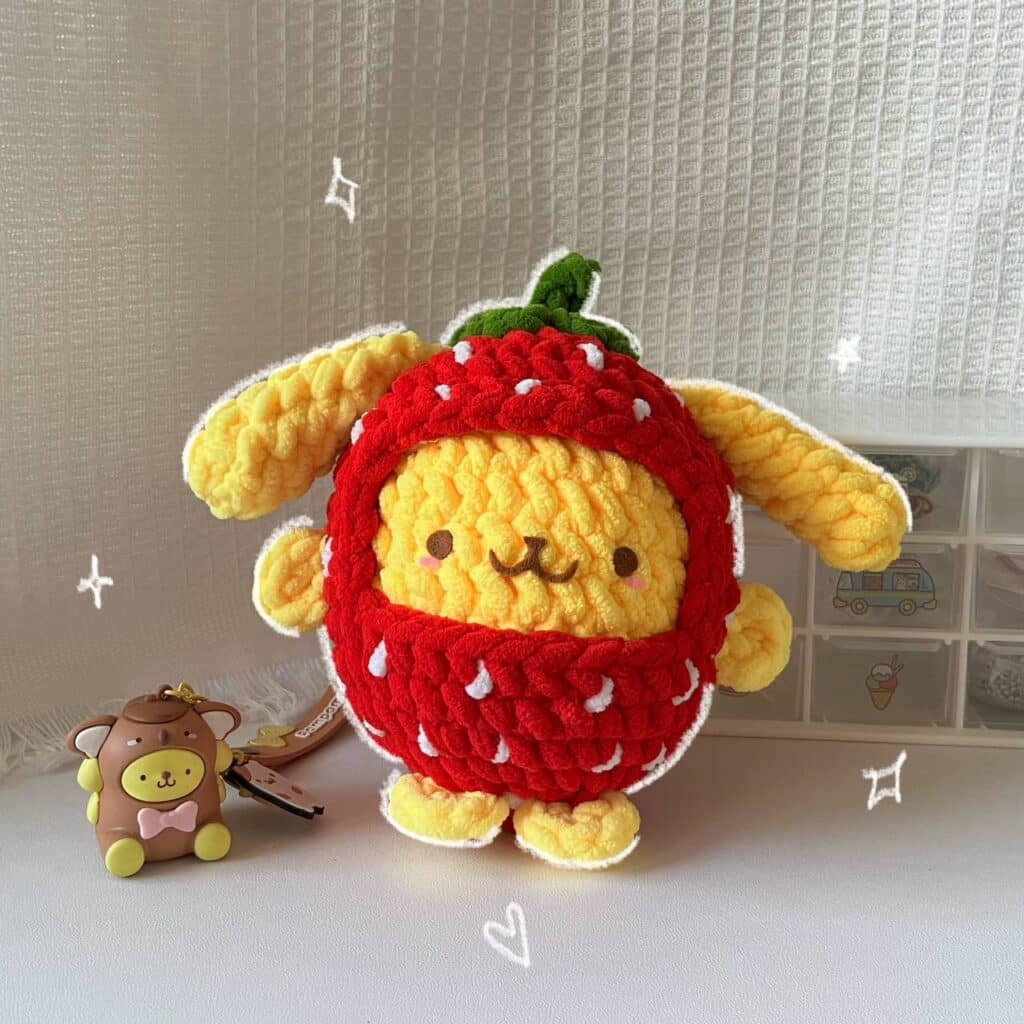
There is something undeniably charming about transforming simple strands of fiber into a character that feels like a warm hug. For this Strawberry Purin Amigurumi, the choice of yarn was the first step in bringing this sweet treat to life. The pattern calls for chunky chenille yarn, which offers a plush, velvety texture that mimics the softness of the dessert’s custard and jelly layers. Selecting a vibrant yellow for the body and a rich red for the hood creates an instant pop of color, while the green accents for the leaf add a natural touch. This tactile quality not only makes the project a joy to crochet but ensures the finished plushie is as huggable as it is adorable, perfect for a gift or a shelf companion.
Yarn and Color Notes
The chunky chenille yarn is the star of this project, providing a soft, fuzzy finish that requires minimal finishing work. The yellow yarn forms the base body and limbs, offering a creamy contrast to the red hood. The red yarn is used for the hood, which covers the head and upper body, while green yarn brings the leaf and stalk to life. White yarn is reserved for the delicate embroidered spots on the hood, adding that classic strawberry detail. Brown felt cloth is used for the facial features, grounding the character with a neutral tone. When selecting your yarn, consider the weight and fiber content to ensure the plushie holds its shape while remaining soft. The chenille texture helps hide minor tension inconsistencies, making this a forgiving project for crocheters of various skill levels.
Project Overview
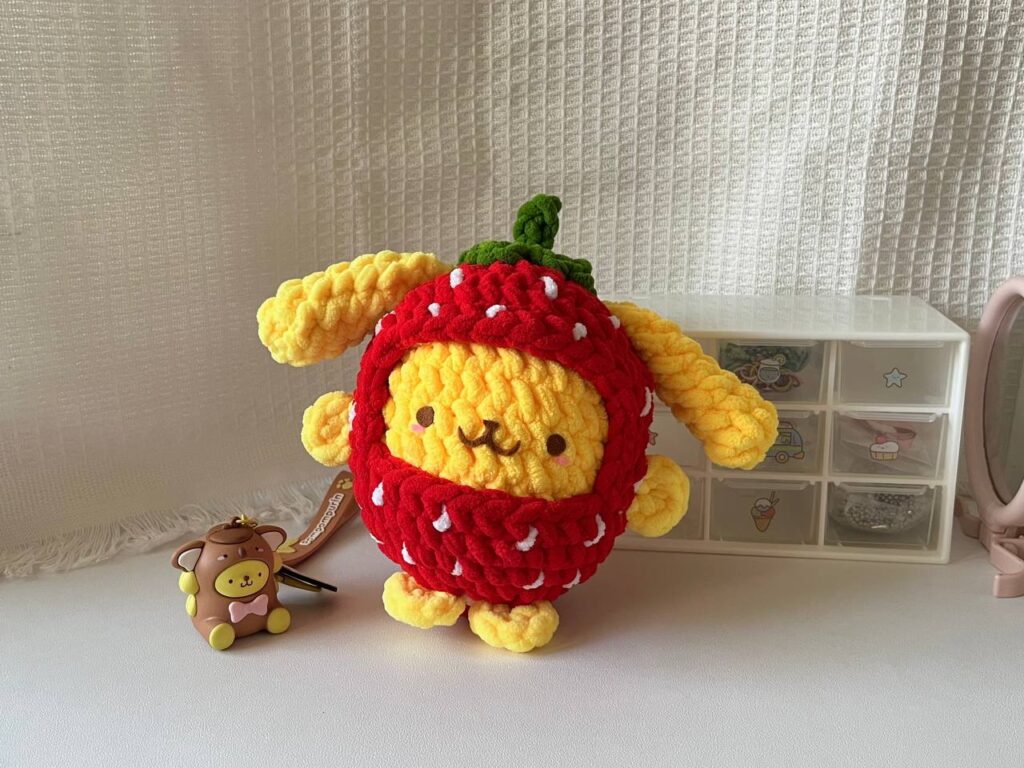
This amigurumi pattern guides you through creating a Strawberry Purin character, featuring a yellow body, a red hood with white spots, green leaf accents, and a felt face. The project involves crocheting several components—the body, hood, ears, hands, feet, leaf, and stalk—and assembling them into a cohesive plushie. The pattern uses US terminology and includes detailed instructions for shaping and assembly.
Materials
- Chunky Chenille yarn in Yellow, Red, Green, and White
- 6mm crochet hook
- Felt cloth (brown)
- Stuffing material (silicon or fiber)
- Glue
- Scissors
- Darning needle
Gauge and Finished Size
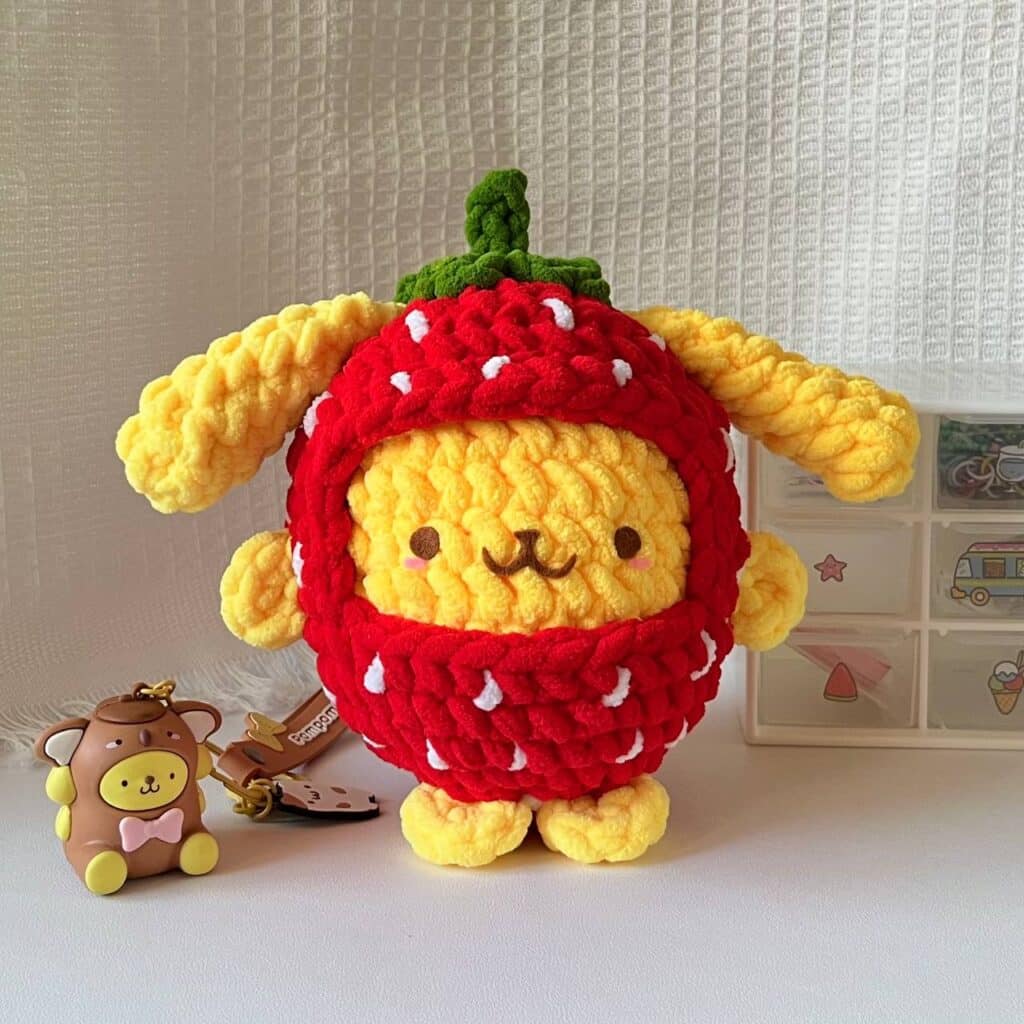
Specific gauge measurements and finished dimensions are not provided in the source pattern. However, using the recommended 6mm hook and chunky chenille yarn will help achieve the intended plush, soft appearance. Ensure your tension is consistent to maintain the structural integrity of the amigurumi.
Abbreviations
Abbreviations are in US terminology.
- Ch – Chain
- mr – magic ring
- st – stitch
- R – round
- sc – single crochet
- inc – increase
- dec – decrease
- hdc – half double crochet
- slst – slip stitch
- * – repeat
- [] – total stitch count in each round
Pattern Notes
- Abbreviations are in US terminology.
- For the best results, follow the instructions carefully. Refer to the accompanying video tutorial to make the process more effective and timesaving.
- When edging, the goal is a cleaner look. Exact stitch counts are not critical as long as the work looks neat and tidy.
Pattern Instructions
Body
Use Yellow yarn and Start with a magic ring.
- R1 6sc in mr [6]
- R2 6inc [12]
- R3 (1sc, 1inc)*6 [18]
- R4 (1sc, 1inc, 1sc)*6 [24]
- R5 (3sc, 1inc)*6 [30]
- R6-R10 1sc in each stitch (5 rounds) [30]
- R11 (3sc, 1dec)*6 [24]
- Start stuffing the body and continue stuffing after each following rounds!
- R12 (2sc, 1dec)*6 [18]
- R13 (1sc, 1dec)*6 [12]
- R14 6dec [6]
Cut the yarn and close the body. Watch the tutorial to see how to close the amigurumi hole.
Hood
Use Red yarn and start with a magic ring.
- R1 7sc in mr [7]
- R2 7inc [14]
- R3 (1sc, 1inc)*7 [21]
- R4 (1sc, 1inc, 1sc)*7 [28]
- R5 (3sc, 1inc)*7 [35]
- R6-R7 1sc in each stitch (2 rounds) [35]
Cut the yarn and Count 12sc to the right and 12sc to the left to leave 11sc in between. For R8, Start from the right 12 th stitch, and we’ll crochet in clockwise direction. Insert the hook, bring the red yarn, and make ch1. Watch the tutorial for a more detailed explanation.
- R8 24sc, Ch1, Turn [24]
- R9-R10 24sc, Ch1, Turn (2 rounds) [24]
- R11 9sc, 1dec, 4sc, 1dec, 7sc [22]
Put the body inside the hood after R11. Make 11ch. Connect to the first stitch on the other side with a slip stitch, ensuring the chains are not twisted, and Cut the yarn.
Find the center point in the middle at the back of the red hood (It doesn’t have to be the exact middle stitch). Insert the hook into that stitch, bring the red yarn, and make 1ch. Watch the tutorial for a more detailed explanation.
- R12 9sc, 1dec, (in the upper sides of the chains, 9sc, 1dec), 9sc, 1dec [30]
- R13 (3sc, 1dec)*6 [24]
- R14 (2sc, 1dec)*6 [18]
- R15 (1sc, 1dec)*6 [12]
- R16 6dec [6]
Cut the yarn and close the hole. We will continue to crochet along the sides of the hood opening. Insert the hook into the first stitch on the bottom left corner, bring the red yarn, and make 1slst into the next stitch. 3sc, 1dec (in the corner), 9sc (in the lower sides of the chains), 1dec (in the corner), 4sc, 1slst (into the stitch in the bottom) [18]. Since the purpose of edging is to get a cleaner look, you don’t need to have the exact stitch count. It’s okay as long as it looks neat and tidy. Cut the yarn and weave in the ends. Watch the tutorial to see how to do the edging.
Ears
Use Yellow yarn and Start with a slip knot. Make 5ch.
- R1 Starting from the 2 nd ch from the hook, 3sc , 1inc, (continue crocheting into lower parts of the ch), 2sc, 1inc [9]
- R2-R6 1sc in each stitch (5 rounds) [9]
- R7 2sc, 1dec, 3sc, 1dec [7]
Close the ears by crocheting the opposite stitches together with 3sc. Cut the yarn, leaving a long tail and make another ear.
Hands and Feet
Use Yellow yarn and Start with a magic ring. Make 6sc into the magic ring. Cut the yarn, leaving a long tail. Make a total of 4 for hands and feet.
Green Leaf
Use Green yarn and Start with a magic ring. (2ch, 1hdc, 2ch, 1slst in the mr)*5 into mr. Ch1, pull the yarn tightly and cut the yarn.
Stalk of the Leaf
Use Green yarn and start with a slip knot. 4ch, Starting from the 2 nd ch from the hook, 3slst Ch1 and cut the yarn.
Assembly
Now, we’ll assemble all these parts.
- Using the darning needle, sew the hands on each side of the face opening with 3sc apart from it.
- Sew the legs to the bottom and center of the body.
- Sew the ears on the R3-R4 at the top of the hood. Watch the tutorial to see how to sew in more details.
- Sew the leaf onto the head using the darning needle (You can also use glue it if you prefer). Watch the tutorial to see how to make the green leaf.
- Sew it into the center of the leaf using the darning needle.
- Using the white yarn and darning needle, embroider the white spots on the red hood. Watch the tutorial to see how to embroider the white spots.
- Finally, we’ll make the face. Cut the two circle for the eyes and a smiling mouth from the brown felt cloth. Glue them onto the face. Watch the tutorial to see how to make the face.
Tips
- When edging the hood, remember that the purpose is to get a cleaner look. You don’t need to have the exact stitch count. It’s okay as long as it looks neat and tidy.
- Refer to the video tutorial for visual guidance on closing holes, sewing parts, and creating the leaf and face for the most effective and timesaving process.
FAQs
What type of yarn is best for this pattern?
The pattern recommends chunky chenille yarn for a plush, soft texture. Yellow, red, green, and white colors are needed for the body, hood, leaf, and details.
How do I attach the hood to the body?
The body is inserted into the hood after round 11 of the hood. You then continue crocheting around the opening, connecting the back chains with slip stitches to secure the body inside.
What size crochet hook should I use?
A 6mm crochet hook is recommended for this pattern to work with the chunky chenille yarn.
How do I make the white spots on the hood?
Using white yarn and a darning needle, embroider the white spots onto the red hood after the hood and body are assembled.
Can I use glue instead of sewing for the face?
Yes, the pattern suggests that you can glue the brown felt cloth eyes and mouth onto the face if you prefer, though sewing is also an option.
Pin This Crochet Pattern!