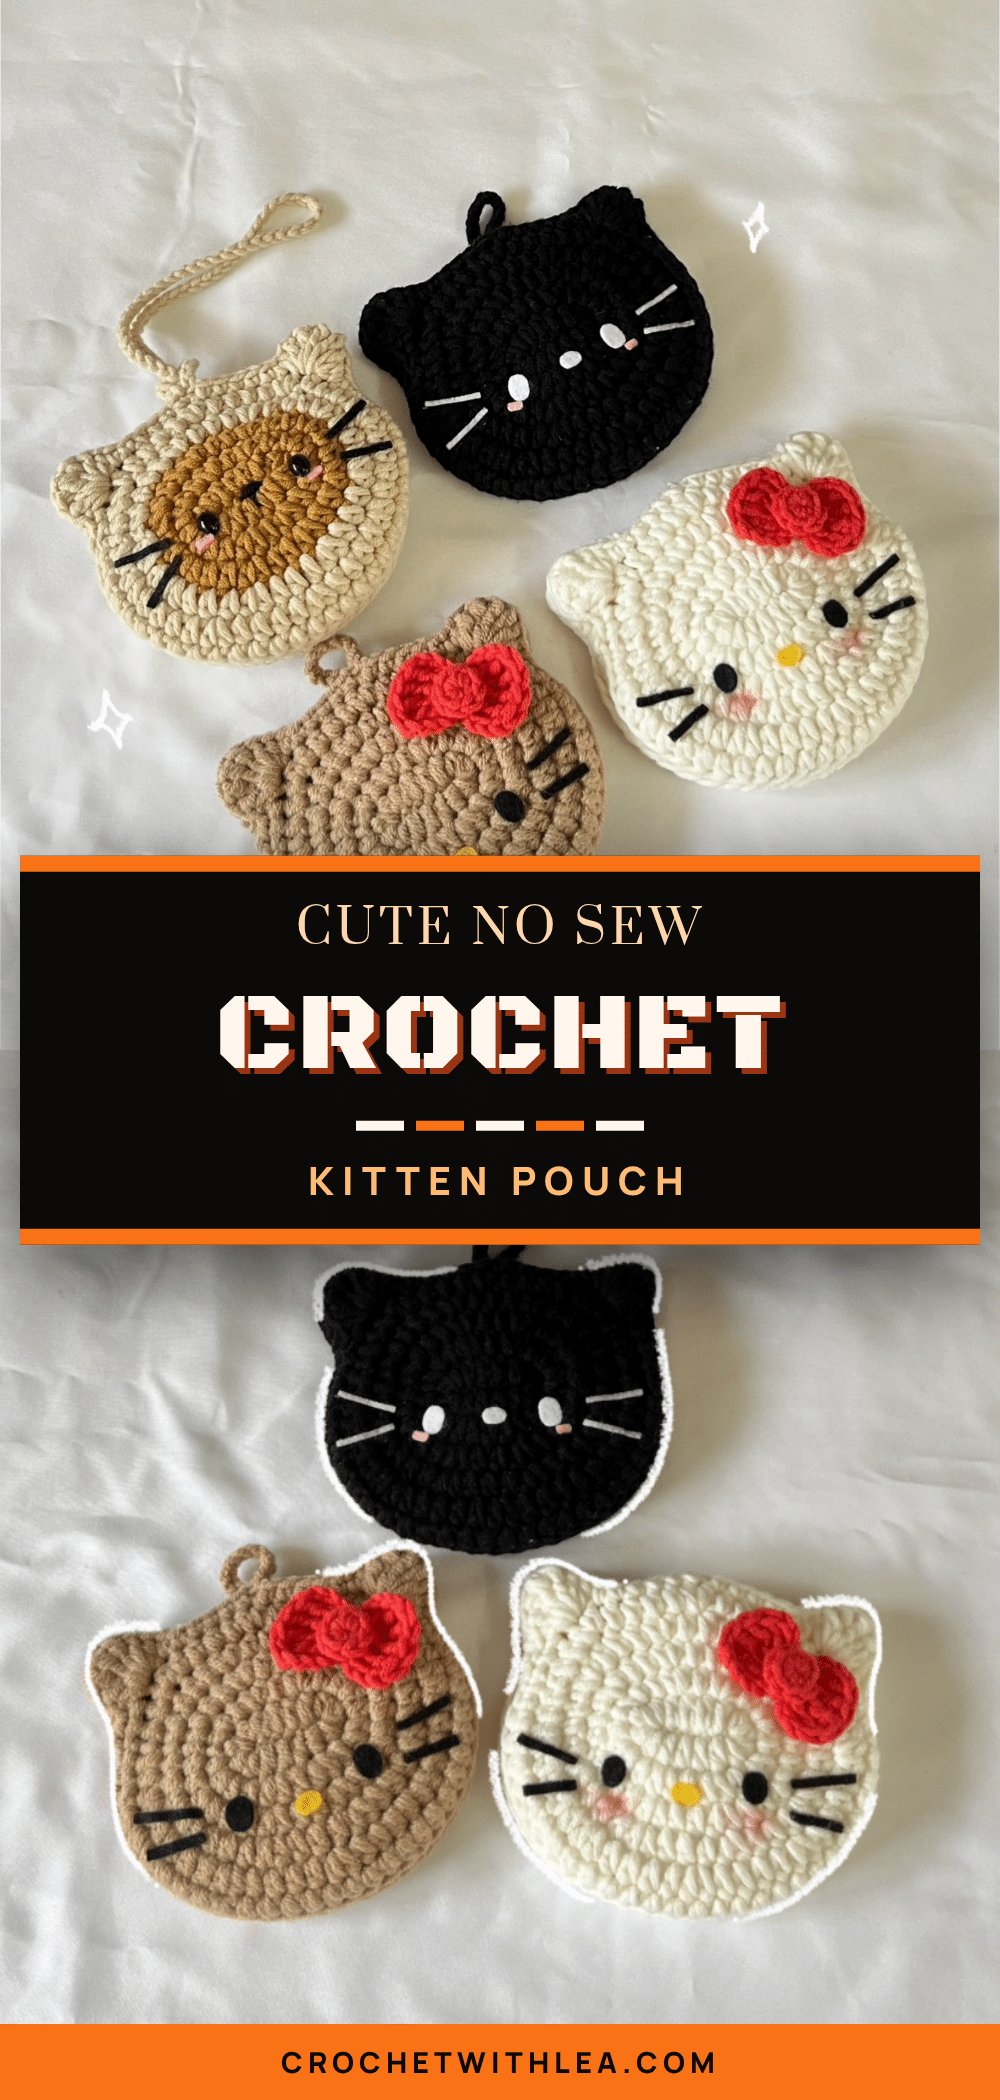
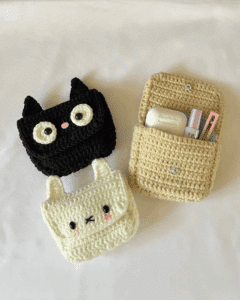
Crochet is often celebrated for the way it builds structure round by round, but there is a special kind of magic in projects that rely on texture and shaping to create character without the need for sewing. This no-sew crochet kitten pouch pattern is a delightful example, using joined rounds and strategic stitch placement to form a three-dimensional pouch that stands on its own. The interplay of half double crochet and single crochet creates a dense, sturdy fabric perfect for holding small treasures, while the integrated ears and strap loop add whimsical details that make the project feel complete. By focusing on the tactile nature of the stitches and the satisfaction of a seamless finish, this beginner-friendly design invites you to explore the joy of creating something both functional and adorable.
Texture and Stitch Notes
One of the most satisfying aspects of this pouch is the way the joined rounds create a defined, spiral-free edge that helps the pouch maintain its shape. The pattern relies heavily on half double crochet (hdc) for the body, which offers a nice balance of drape and structure. Pay close attention to the texture changes in Round 6, where single crochet (sc) and taller stitches like double crochet (dc) and treble crochet (tr) are introduced to form the ears. These taller stitches create a natural curl and volume, giving the pouch its feline silhouette. Additionally, the “no-sew” assembly method using front loop only (FLO) and back loop only (BLO) creates a distinct ridge along the side of the pouch, adding a professional-looking structural detail that highlights the craftsmanship.
Project Overview
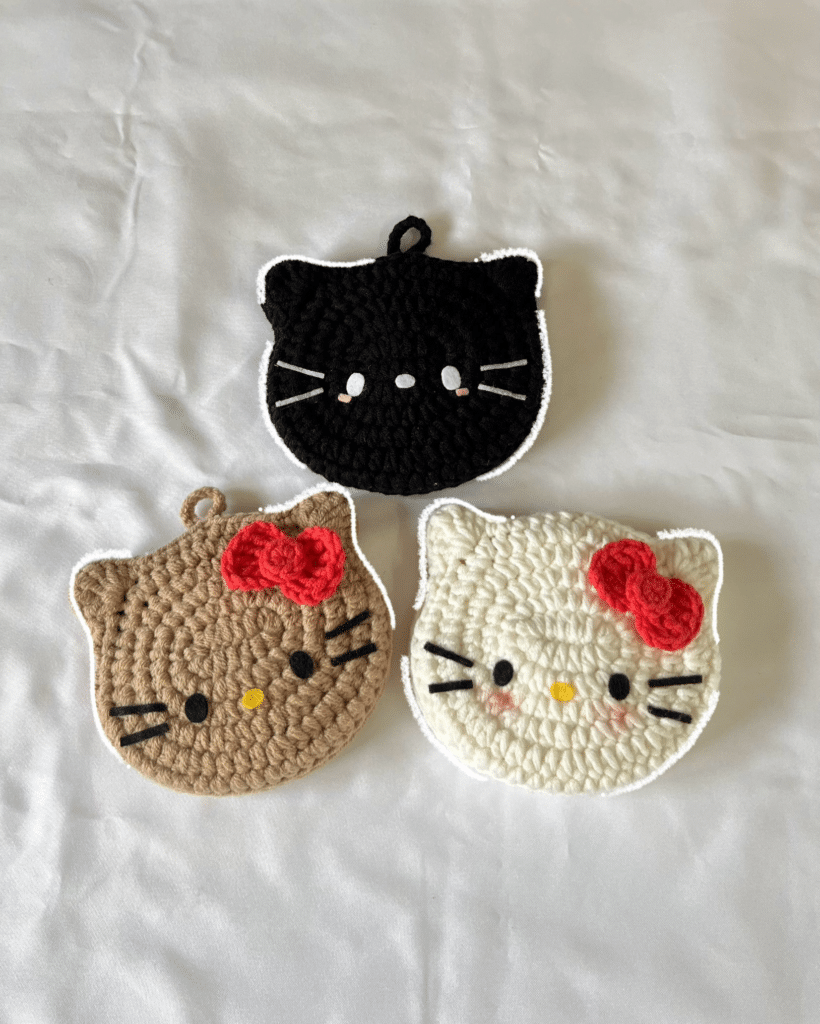
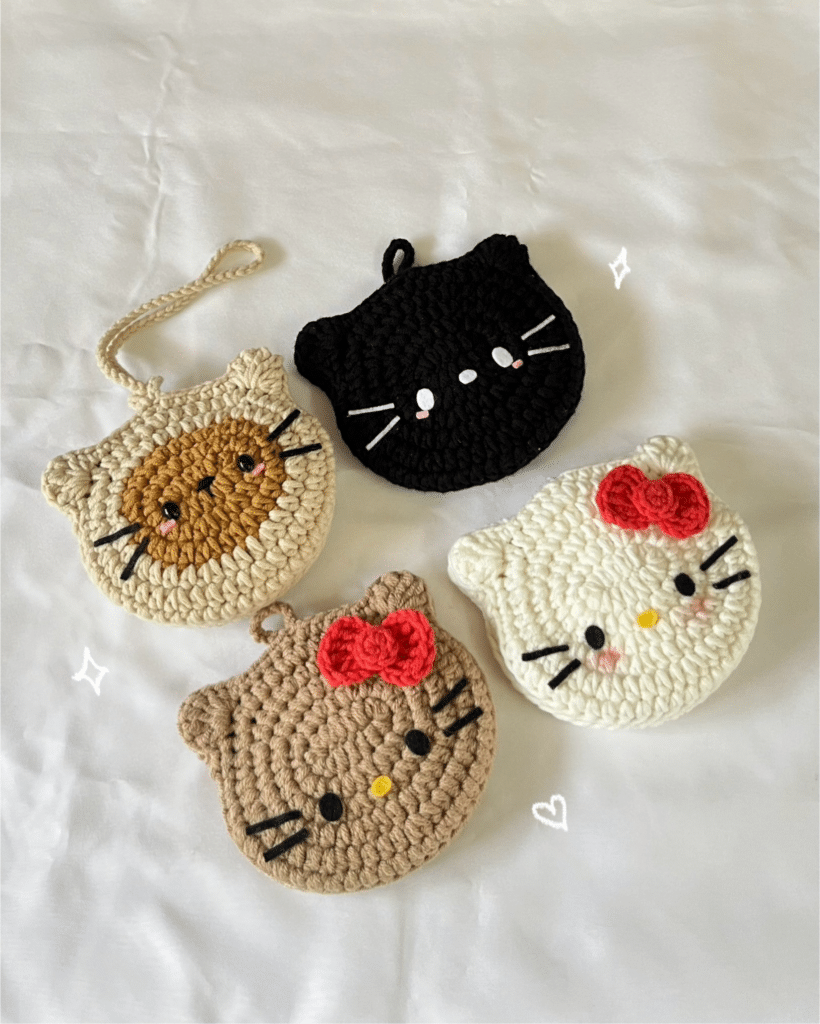
This beginner-friendly amigurumi pattern guides you through creating a cute, no-sew crochet kitten pouch. The design features a two-tone color scheme (though a single-tone version is possible) with integrated ears and an optional hanging strap. The pouch is constructed by making two identical panels and joining them together in a way that creates a sturdy, voluminous shape without the need for sewing. Final details like the nose, whiskers, eyes, and a bow are added using felt and simple embroidery, making this a quick and rewarding project for crocheters of all levels.
Materials
- Yarn: Cotton/acrylic or sports yarn (5ply) in Beige, Brown, and Black. (Optional: Red for the bow, Pink for blush).
- Crochet Hook: 3mm.
- Eyes: 8mm long plastic oval eyes.
- Felt Cloth: Black and pink felt.
- Tools: Darning needle, glue, scissors.
Gauge and Finished Size
Specific gauge and finished size measurements are not provided in the source pattern. It is recommended to check your hook size if your stitches feel too loose or tight, as this will affect the final dimensions and the fit of the pouch.
Abbreviations
Abbreviations are in US terminology.
- Ch – Chain
- mr – magic ring
- st – stitch
- R – round / row
- sc – single crochet
- inc -increase
- dc – double crochet
- hdc – half double crochet
- tr – treble crochet
- slst – slip stitch
- BLO – back loops only
- FLO – front loops only
- * – repeat
- [] – total stitch count in each round
Pattern Notes
Joined Rounds: This pattern uses joined rounds. At the end of every round, make a slip stitch (slst) into the first half double crochet (hdc) of that round. Begin each new round with a chain 1 (Ch 1). The first half double crochet (hdc) of the new round should be made in the same stitch where you just made the slip stitch (the first hdc of the previous round). Please note that slst and Ch1 are NOT included in our total stitch count.
Color Options: You will only need yarn in one color if you want to make the pouch one tone (e.g., white for Hello Kitty). This pattern demonstrates a two-tone pouch using beige and brown yarns. If you prefer a one-tone look, follow the pattern without changing colors.
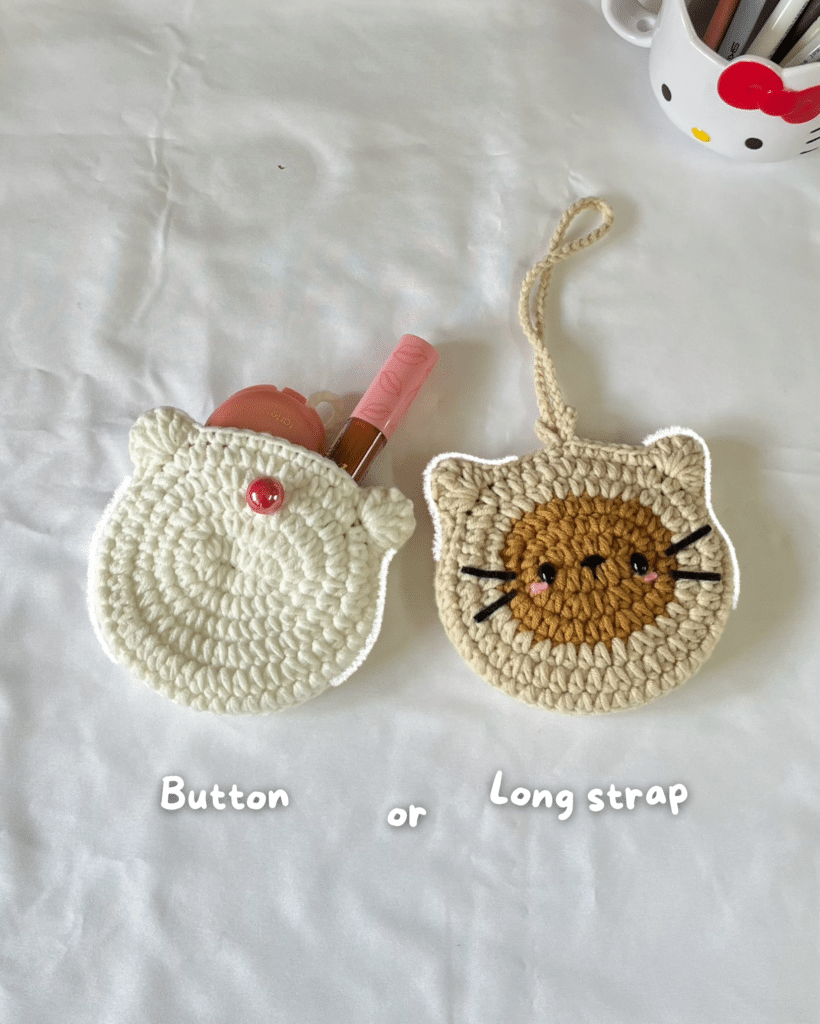
Strap Options: In Round 6, you can choose to include a hanging strap. For a long strap, chain 60 and make 1 slip stitch into the first chain. If you do not want a strap, simply skip this step and finish Round 6 as written.
Pattern Instructions
First Panel
Start with brown yarn. Make a slip knot and chain 8.
R1: 1hdc inc (into the 3rd ch from the hook), 4hdc, 4hdc in 1ch, 4hdc, 1hdc inc, 1slst (into the first hdc) [16]
R2: Ch1, (1hdc, 1hdc inc)*8, 1slst (into the first hdc) [24]
R3: Brown Ch1, (2hdc, 1hdc inc)*8, Beige 1slst (into the first hdc) [32]. Color change note: We will only use beige yarn for the rest of the pattern.
R4: Ch1, (3hdc, 1hdc inc)*8, 1slst (into the first hdc) [40]. Tip: Stretch the edges a little bit to flatten the piece.
R5: Ch1, (2hdc, 1hdc inc, 2hdc)*8, 1slst (into the first hdc) [48]
R6: Ch1, 2sc, 26hdc, 4sc, (1hdc, 1dc, 3tr, 1dc, 1hdc), 6sc, 12ch, 1slst (into the first ch), 6sc, (1hdc, 1dc, 3tr, 1dc, 1hdc), 2sc, 1slst (into the first sc) [60]. Note: In this round, we add the ears and the loop for hanging the pouch. Stretch the ears to get the right shape.
Cut the yarn. Make the second panel using only beige color and following the same pattern until you reach the loop part in R6. If you don’t want a strap, leave out the loop part and finish R6 by following the same pattern. If you want a long strap, Ch60 and 1slst into the first ch. After that, follow the same pattern until the end of the round and cut the yarn.
Nose
Cut the black yarn of about 8 inches and separate the yarn into 2 strands. On the first panel made, embroider the nose of 2ch width in the center over the starting chains using the darning needle. Alternatively, you can glue oval shaped felt cloth as the nose (Use white felt cloth for black cat and yellow felt cloth for Hello Kitty).
Connecting the Two Panels
Put the right sides of the panels together and crochet them together in an anti-clockwise direction. Start from the sc before the left ear for both panels and end in the sc after the right ear of both panels (You can move the stitches backwards if you want a wider opening, e.g., start and end in the top stitches of both ears).
We will only use FLO of the upper panel and BLO of the lower panel for the whole connecting round. This will result in more prominent structure and volume of the pouch. Insert the hook into the FLO of the upper panel and BLO of the lower panel, and bring the beige yarn. Be sure to skip the slst since we don’t count these as a stitch.
Connecting Round: Ch1, 1sc in each stitch (all the way until the end), 1slst (into the same stitch as the last sc). Cut the yarn and weave in the ends using the darning needle. Flip the piece inside out gently.
Hello Kitty’s Bow (Optional)
Start with red yarn. Start with a magic ring.
BOW: (Ch4, 4tr, Ch4, 1slst)*2 into mr. Pull the yarn tail tightly, Ch1 and cut the yarn. Weave in the ends using the darning needle and cut the yarn.
CIRCLE: Make 8sc into mr. Pull the yarn tail tightly and cut the yarn. Using the darning needle, insert the yarn end into the first stitch of the circle, come back to the final stitch, insert into BLO and the loop underneath it. Pull gently, weave in the ends, and cut the yarn.
Assembly
Whiskers: Cut the black felt cloth into four thin sticks (You can use white felt cloth if your pouch is black). Glue 2 sticks each onto the either side of the face.
Eyes: Glue two oval eyes to the either side of the nose (You can also use black felt cloth for the eyes).
Bow: Glue the bow just below the ears and the circle in the center of the bow.
Button: We will now sew the button to the pouch. Using the darning needle, sew the button on the R4 of the second panel on the opposite side of the button loop from the first panel.
Final Touch: As a final touch, add some blush using pink eyeshadow and brush underneath the eyes of Hello Kitty.
Tips
- Refer to the accompanying video tutorial for visual guidance on joining rounds, changing colors, and assembling the pouch.
- When connecting the panels, ensure you are working into the correct loops (FLO of the top panel, BLO of the bottom panel) to create the desired structural ridge.
- If you are making a single-tone pouch, simply ignore the color change instructions in R3 and continue with one color throughout.
- Stretch the ears and edges gently after crocheting to help the pouch lay flat and maintain its shape.
FAQs
Can I make this pouch in just one color?
Yes! The pattern is designed to be adaptable. If you prefer a one-tone pouch (like the Hello Kitty version), simply use one color of yarn throughout the entire project and skip the color change instructions in Round 3.
How do I create the hanging strap?
In Round 6, after crocheting the first ear section, you will chain 12. To make a longer strap, chain 60 instead and slip stitch into the first chain. Then continue with the second ear section. If you don’t want a strap, simply skip the chain step and proceed to the second ear section.
What type of yarn is best for this project?
The pattern suggests cotton/acrylic or sports yarn (5ply). This weight provides a nice balance of durability and softness, making it ideal for a pouch that will be used frequently.
How do I join the two panels without sewing?
The panels are joined by crocheting through both layers simultaneously. You work into the Front Loop Only (FLO) of the top panel and the Back Loop Only (BLO) of the bottom panel. This creates a sturdy, visible seam that adds character to the pouch.
Can I use this pattern for other animals?
Absolutely! The base structure is a simple pouch. You can change the yarn colors, felt details, and eye shapes to create different animals or characters. The technique remains the same regardless of the theme.
Pin This Crochet Pattern!