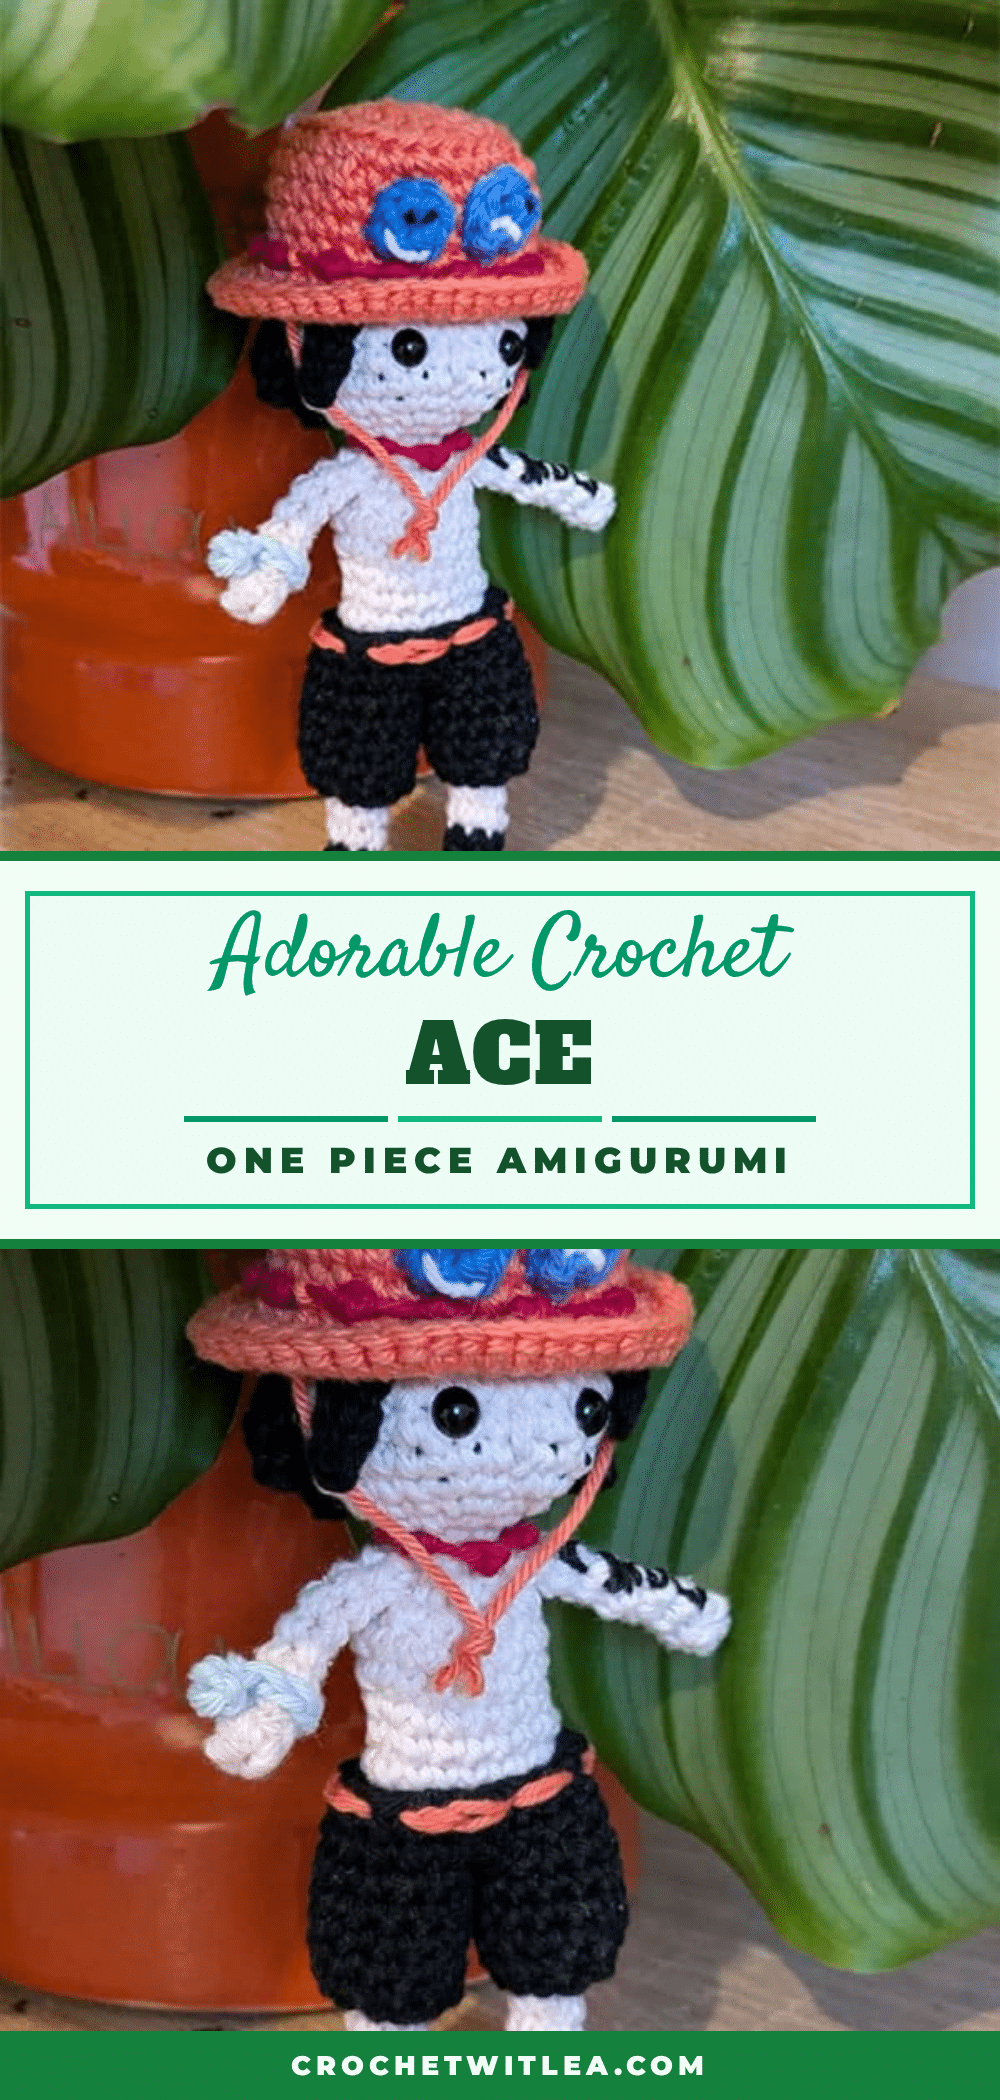
There is a specific kind of magic that happens when you sit down with a hook and a ball of yarn, and suddenly a character you love starts to take shape in your hands. For this project, that moment arrives as you pull the first few rounds of Ace’s iconic hat, watching the orange yarn transform into a recognizable silhouette. It is a grounded, satisfying process where every stitch builds the foundation for a piece of anime history. This Ace amigurumi pattern captures the essence of the One Piece character through distinct color blocking and detailed accessories, allowing you to create a collectible figure that feels both playful and authentic.
Why This Project Works
This pattern stands out because it balances structural simplicity with high-impact details. Ace is a character defined by his bold colors and distinct accessories, and this design translates those traits effectively into crochet. The use of front loop only (flo) and back loop only (blo) techniques on the hat creates a subtle texture that mimics the fabric of his actual attire, while the custom “pearl” necklace adds a unique, handmade charm that elevates the piece beyond a standard doll. It is an excellent project for makers who want to practice color changes and assembly techniques without getting bogged down in overly complex shaping. The result is a sturdy, display-ready figure that captures the spirit of the character through thoughtful design choices.
Project Overview
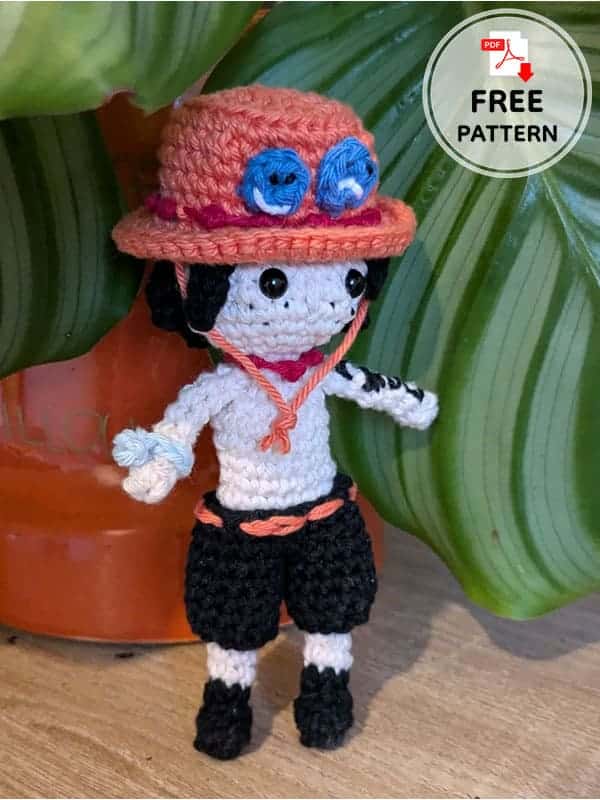
This amigurumi pattern guides you through creating Ace from the One Piece anime series. The project involves crocheting several distinct components: legs, a body, a head, a hat, shorts, arms, hair strands, and decorative elements like a pearl necklace and hat ornaments. The design relies on precise color changes and specific assembly steps to achieve the character’s recognizable look. The pattern includes instructions for a “long pose” accessory, allowing you to display the figure in a dynamic stance.
Materials
- Yarn Colors: Skin tone, black, purple, white, blue, aqua, red, and orange.
- Embroidery Thread: Thin black thread for facial details and freckles.
- Red Thread: Approximately 50 cm for the neck necklace and 1 meter for the hand necklace.
- Orange Thread: For the belt and hat decorations.
- Safety Eyes: For the face (placement specified in instructions).
- Stuffing: Standard polyester fiberfill.
- Hook: Appropriate size for your yarn weight (not specified in source).
- Notions: Tapestry needle for assembly, stitch markers.
Gauge and Finished Size
Specific gauge measurements and finished dimensions are not provided in the source pattern. To ensure the figure holds its shape and the safety eyes fit correctly, use a hook size that produces a tight fabric so stuffing does not show through. Consistency in tension is more critical than matching a specific gauge number for this type of character amigurumi.
Abbreviations
The following abbreviations are used in this pattern:
- sc: Single crochet
- ch: Chain
- slst: Slip stitch
- inc: Increase
- dec: Decrease
- hdc: Half double crochet
- flo: Front loop only
- blo: Back loop only
- st(s): Stitch(es)
Pattern Notes
- Design: This pattern is designed by melocrochette.
- Working in Rounds: Unless otherwise stated, work in continuous rounds. Use a stitch marker to mark the beginning of each round.
- Color Changes: Change colors as indicated in the instructions. Weave in ends as you go or at the end of assembly.
- Assembly: Stuff components firmly before closing. The order of assembly is crucial for the final look, particularly regarding the hair and hat decorations.
Pattern Instructions
Legs (Make 2)
Rd 1: In black, in a magic loop, 8 sc (8).
Rd 2: 8 sc (8).
Rd 3: 4 sc in blo, 2 dec (6).
Rd 4: 6 sc (draw up the loop with the black thread, yarn over with skin thread).
Rd 5-11: In skin tone, 6 sc (6).
Note: The body continues on the second leg.
Body
Rd 12: 1 sc, 2 ch, 6 sc in the other leg, 2 sc in the previous ch, 5 sc in the 1st leg (16).
Rd 13-15: 16 sc (16).
Rd 16: 5 sc, 1 dec, 7 sc, 1 dec (14).
Rd 17: 5 sc, 1 inc, 7 sc, 1 inc (16).
Rd 18: 6 sc, 1 inc, 7 sc, 1 inc, 1 sc (18).
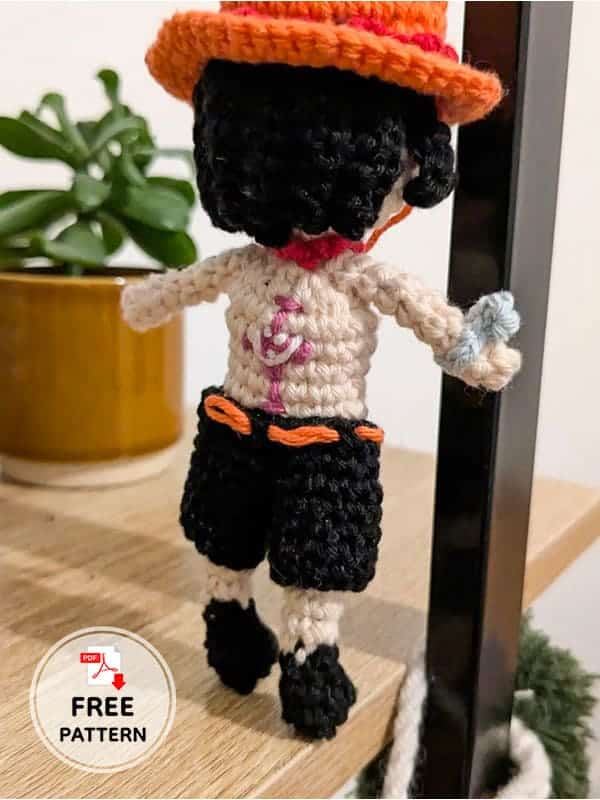
Rd 19: 7 sc, 1 inc, 8 sc, 1 inc, 1 sc (20). Embroider the symbol on the back.
Rd 20: (1 sc, 1 dec) x 6, 1 dec (13).
Rd 21: 6 dec, 1 sc (7).
Rd 22: 1 dec, 5 sc (6).
Head
Rd 23: 6 inc (12).
Rd 24: (1 sc, 1 inc) x 6 (18).
Rd 25: (1 sc, 1 inc, 1 sc) x 6 (24).
Rd 26: (3 sc, 1 inc) x 6 (30).
Rd 27-29: 30 sc (30).
Rd 30: (3 sc, 1 dec) x 6 (24).
Assembly Note: Add safety eyes between rd 28 and 29, with 5 st between each. Embroider the nose. With thin black thread, embroider freckles.
Hat
Rd 1: In orange, in a magic loop, 6 sc (6).
Rd 2: 6 inc (12).
Rd 3: (1 sc, 1 inc) x 6 (18).
Rd 4: (1 sc, 1 inc) x 9 (27).
Rd 5: blo (6 sc, 1 inc, 6 sc, 1 dec) x 2 (30).
Rd 6-8: 30 sc (30).
Rd 9: flo (2 sc, 1 inc, 2 sc) x 6 (36).
Rd 10: (5 sc, 1 inc) x 6 (42).
Rd 11: (3 sc, 1 inc, 3 sc) x 6 (48).
Shorts (Make 2)
Rd 1: In black, 12 ch.
Rd 2: Close the chain in a circle with 12 sc (12).
Rd 3-5: 12 sc (12). It continues on the 2nd shorts leg.
Rd 6: 6 sc, 12 sc in the other leg, 6 sc in the 1st leg (24).
Rd 7: 1 dec, 3 sc, 1 dec, 4 sc, 1 dec, 4 sc, 1 dec, 5 sc (20).
Rd 8: 20 sc, 1 slst. Sew an orange thread to make a belt.
Arms (Make 2)
Rd 1: In skin tone, in a magic loop, 5 sc (5).
Rd 2: 3 sc, 1 dec (4).
Rd 3-8: 4 sc (4). Embroider the left arm.
Hair
In black, crochet the following strands:
- 6 ch, in 2nd st from hook 3 slst, 2 sc (Make x2)
- 7 ch, in 2nd st from hook 3 slst, 3 sc (Make x1)
- 8 ch, in 2nd st from hook 7 sc (Make x5)
- 9 ch, in 2nd st from hook 8 sc (Make x1)
Assembly: Starting from the right side of the face, sew the strands to the bottom of the hat with the following order, from left to right: 6, 7, 8, 8, 9, 8, 8, 8, 6.
Pearls (Necklace and Hand Ornament)
Take a red thread (50 cm) and make several big knots: make 2 loops then pass the thread 2 times inside for each knot. Make as many knots as needed to go around the neck. Same thing for the hand, with an initially longer thread (1 m).
Hat Deco (Make 2)
Rd 1: In blue, in a magic loop, 6 sc, 1 slst. Embroider the face expressions and sew on the hat. Sew 2 orange threads on both side of the hat and knot.
Long Pose
In aqua, 7 ch, in 2nd st from hook 1 hdc, 1 slst. Wrap the work around the arm and crochet 1 slst on the other end.
Assembly
- Face Details: Add safety eyes between rd 28 and 29 of the head, with 5 st between each. Embroider the nose and freckles with thin black thread.
- Shorts: Sew an orange thread around the waist of the shorts to create a belt.
- Hat Hair: Starting from the right side of the face, sew the black hair strands to the bottom of the hat in the specified order: 6, 7, 8, 8, 9, 8, 8, 8, 6.
- Hat Decorations: Embroider face expressions on the blue hat decorations (Hat Deco) and sew them onto the hat. Sew 2 orange threads on both sides of the hat and knot them.
- Necklace: Create the pearl necklace using the red thread knots and place it around the neck.
- Final Assembly: Attach the legs to the body, stuff the body and head firmly, and sew the head to the body. Attach the arms and shorts as desired.
Tips
- Hat Texture: The pattern uses both front loop only (flo) and back loop only (blo) rounds on the hat. Be careful to maintain this distinction to create the subtle ridged texture characteristic of the character’s hat.
- Hair Placement: The hair strands are specific lengths. Lay them out in the order 6, 7, 8, 8, 9, 8, 8, 8, 6 before sewing to ensure the correct distribution of volume on the hat.
- Pearl Knots: For the necklace, ensure your knots are tight and uniform. If the thread is too loose, the “pearls” may look uneven. Practice on a scrap piece first if you are new to knotting.
FAQs
What size hook should I use?
The source pattern does not specify a hook size. Use a hook that matches your yarn weight but is slightly smaller than recommended to ensure tight stitches, which is crucial for amigurumi to prevent stuffing from showing.
How do I attach the hair to the hat?
Crochet the individual black strands as instructed. Then, starting from the right side of the face, sew them to the bottom edge of the hat in this specific left-to-right order: 6, 7, 8, 8, 9, 8, 8, 8, 6.
How is the pearl necklace made?
Using a 50 cm red thread, create knots by making 2 loops and passing the thread through 2 times for each knot. Continue this until the necklace fits around the neck. A longer thread (1 m) is used for the hand ornament.
Where do I embroider the symbol?
The symbol is embroidered on the back of the body during Round 19 of the body instructions.
How do I make the “long pose” accessory?
Crochet this in aqua yarn: 7 ch, then in the 2nd st from hook, work 1 hdc and 1 slst. Wrap the resulting piece around the arm and secure with 1 slst on the other end to create a dynamic pose.
Pin This Crochet Pattern!