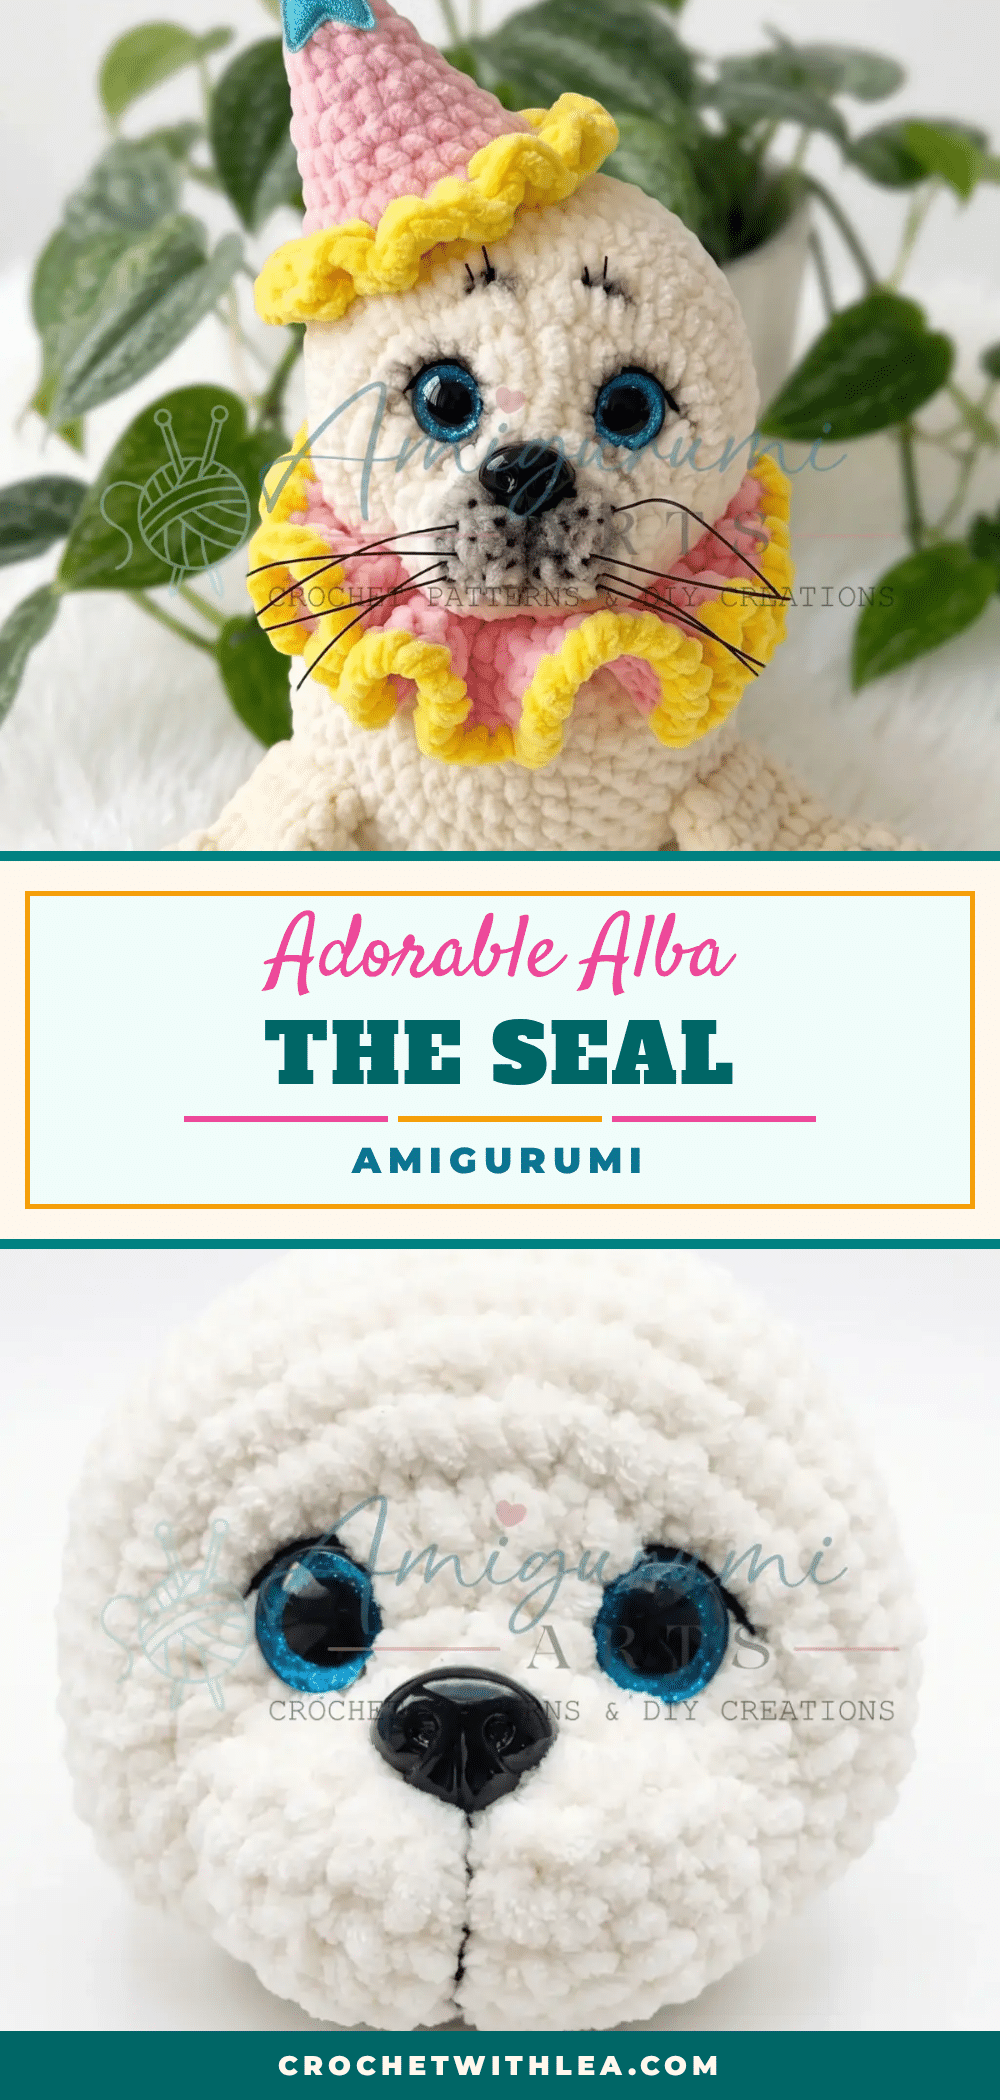
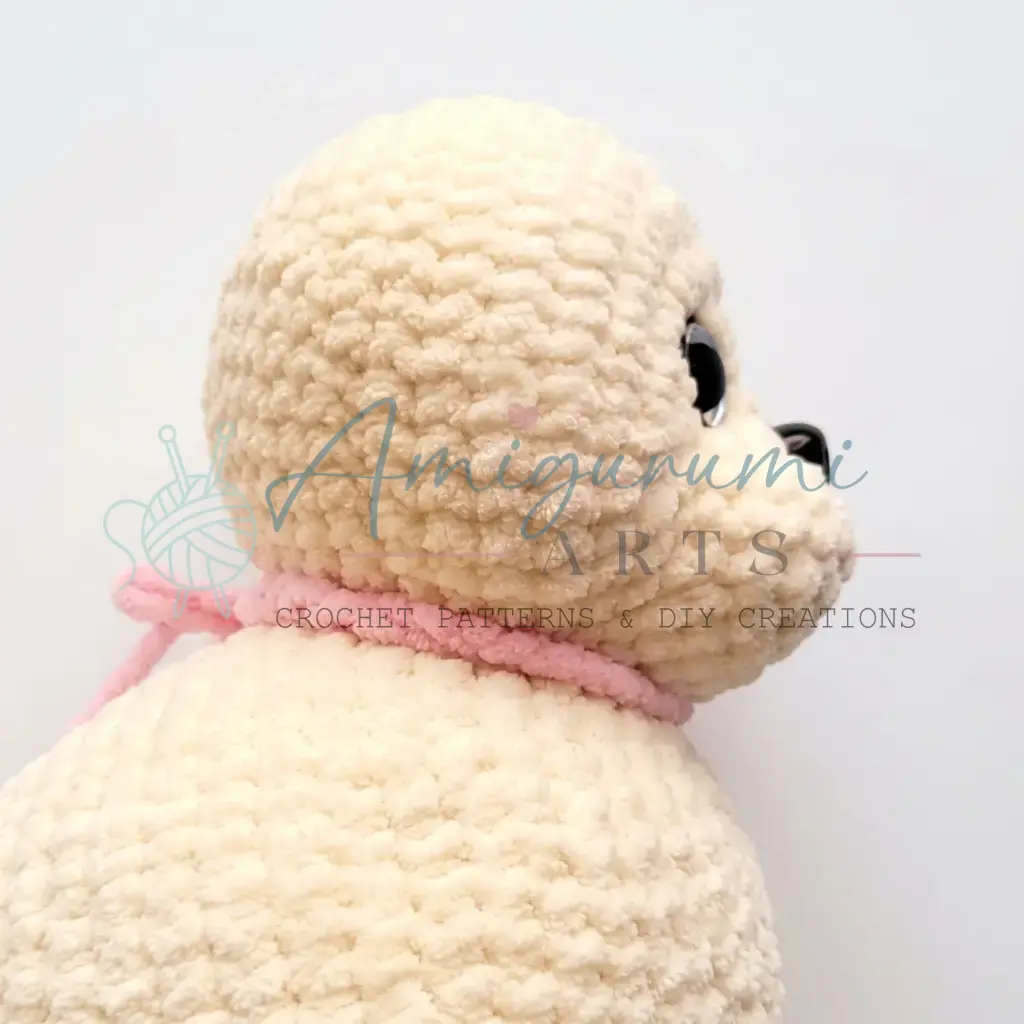
Picture a little circus seal balancing on her flippers, a jaunty hat perched on her head and a colorful ball at her side that’s Alba, and she’s every bit as charming to crochet as she looks. This intermediate-level amigurumi seal is worked mostly in plush velvet yarn, giving her that irresistibly soft, rounded look that’s impossible to put down once you pick it up. Alba measures approximately 22 cm from nose to tail (not counting her hat) and stretches to around 30 cm when fully assembled. She’s made up of several distinct components flippers, body, head, collar, hat, and ball so she’s a satisfying project to work through in stages. If you’re comfortable with increases, decreases, and working in a continuous spiral, you’ll find her very manageable. Grab your hook and your plushest yarn let’s bring Alba to life.
Yarn and Color Notes
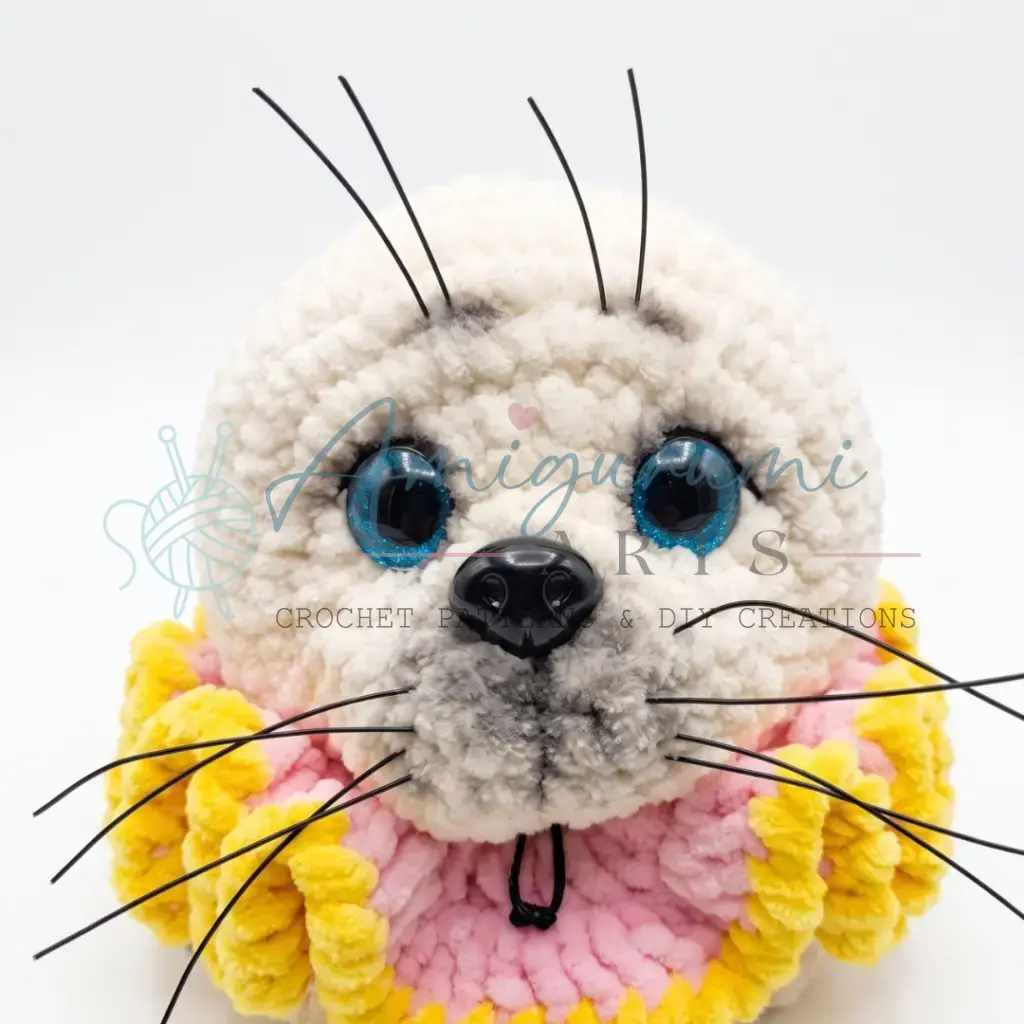
Alba’s charm lies in her texture. The plush velvet weight yarn creates a dense, cloud-like fabric that hides the individual stitches, giving the seal a professional, store-bought finish. For the main body and head, the cream color provides a classic seal look, while the dark pink and yellow accents on the collar, hat, and ball add a playful, circus-inspired pop of color. The contrast between the soft cream body and the crisp black details (like the eyelashes and flipper stripes) makes her facial features pop. When choosing your yarn, look for a velvet or plush variety that has a bit of stretch; this helps the fabric hold its shape while remaining soft to the touch. The sport-weight black yarn is essential for the fine details, so ensure you have a small amount on hand for the embroidery work.
Project Overview
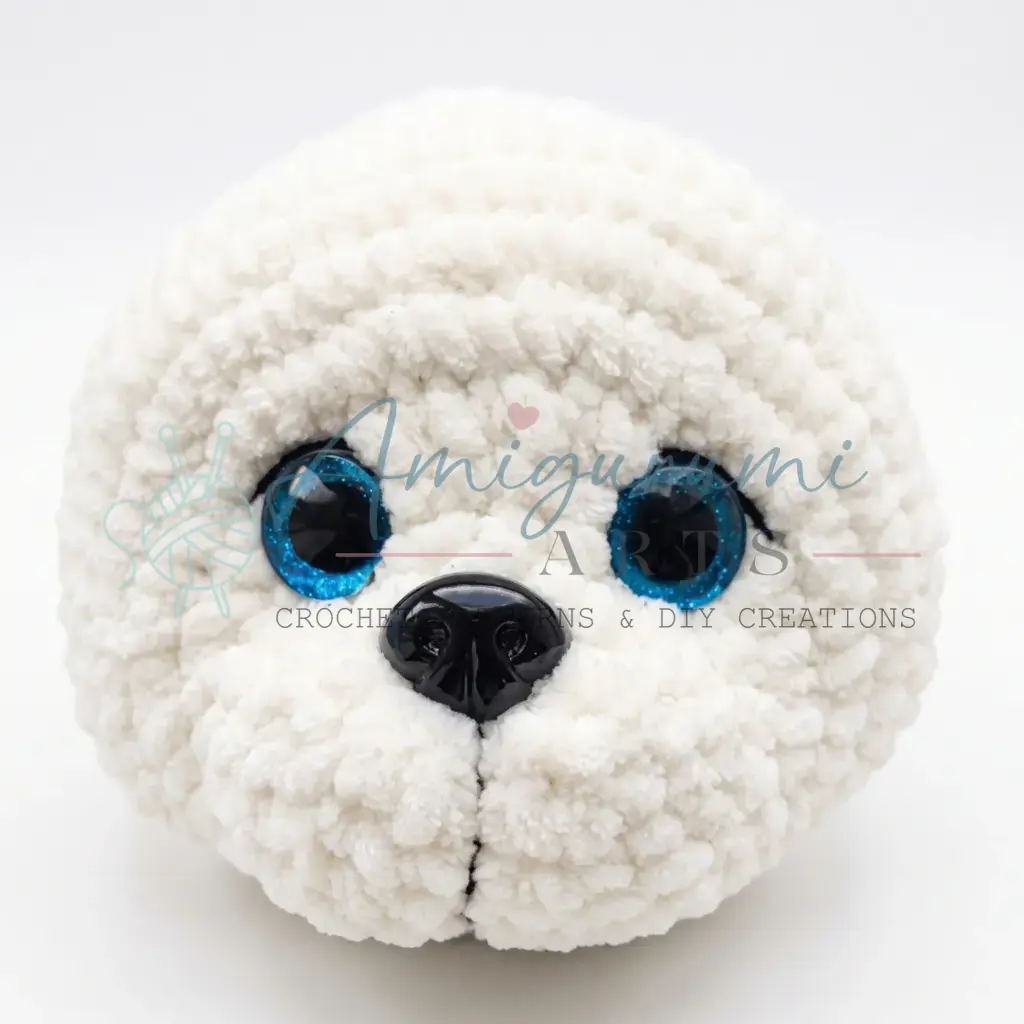
This pattern creates Alba the Seal, a plush amigurumi character. The project involves crocheting several distinct parts—flippers, body, head, collar, hat, and ball—and assembling them into a cohesive figure. The body and head are worked in continuous spirals, while the collar and hat use joined rounds. The pattern includes specific instructions for needle-sculpting the eyes and shading the muzzle for a polished, three-dimensional look.
Materials
- Yarn (plush/velvet weight, approx. 100 g / 120 m per skein):
- Cream — approximately 100 g (main body and head color)
- Dark pink — approximately 37 g (collar, hat, ball stripes)
- Yellow — approximately 20 g (collar trim, hat trim, ball stripes)
- Yarn (sport/DK weight, approx. 50 g / 160 m per skein):
- Black — a small amount (for embroidering eyelashes and decorative stripes on flippers)
- Hook: E-4 / 3.5 mm
- Safety eyes: 18 mm, any color — 2
- Safety nose: black, oval approx. 20 × 15 mm — 1
- Stuffing: polyester fiberfill
- Stitch markers: several
- Yarn needle / tapestry needle
- Sewing needle
- Scissors
- A firm thread or yarn: (for needle-sculpting the face around the eyes)
- Black fishing line / monofilament: 0.5–0.6 mm diameter (for whiskers and brow lines)
- Black makeup brush and dry pastels or eyeshadow: (for shading the muzzle)
- Black permanent marker: (for adding detail dots around whiskers)
- Any decorative embellishments: (star ornament for the hat, ribbon or ties if desired)
Gauge and Finished Size
Gauge is not critical for amigurumi, but your fabric should be tight enough that stuffing does not show through. If your stitches are loose, go down half a hook size. Alba measures approximately 22 cm from nose to tail (not counting her hat) and stretches to around 30 cm when fully assembled.
Abbreviations
- BLO — Back Loop Only
- ch — Chain
- dc — Double Crochet
- dec — Decrease (invisible decrease recommended)
- FLO — Front Loop Only
- hdc — Half Double Crochet
- inc — Increase (2 sc in same stitch)
- inc-dc — Increase worked in double crochet (2 dc in same stitch)
- inc-hdc — Increase worked in half double crochet (2 hdc in same stitch)
- MR — Magic Ring
- sc — Single Crochet
- sl st — Slip Stitch
- SM — Stitch Marker
Pattern Notes
This pattern is written in US crochet terminology. The body, head, flippers, hat, and ball are all worked in a continuous spiral — do not join at the end of each round unless instructed. Use a stitch marker to track the beginning of each round. The collar is worked in joined rounds (sl st + 2 ch to join and begin each round). Stitch counts are given at the end of each round in parentheses: (18).
Offset stitches (shift stitches): Several rounds include an offset stitch to keep increases and decreases stacked vertically. This extra stitch is worked to reposition the start of the round and is not counted in the stitch total for that round. It is noted in the instructions wherever it occurs.
The back flippers are not stuffed. The body is stuffed firmly. Stuff the head gradually as the decreases progress. Install safety eyes between Rnds 5 and 6 of the head. Install the safety nose between Rnds 2 and 3, centered on the muzzle. Needle-sculpting the face (pulling yarn through the head to create slight indents around each eye socket) is described in the Head section — read through it before installing the eyes.
Pattern Instructions
Front Flippers (make 2)
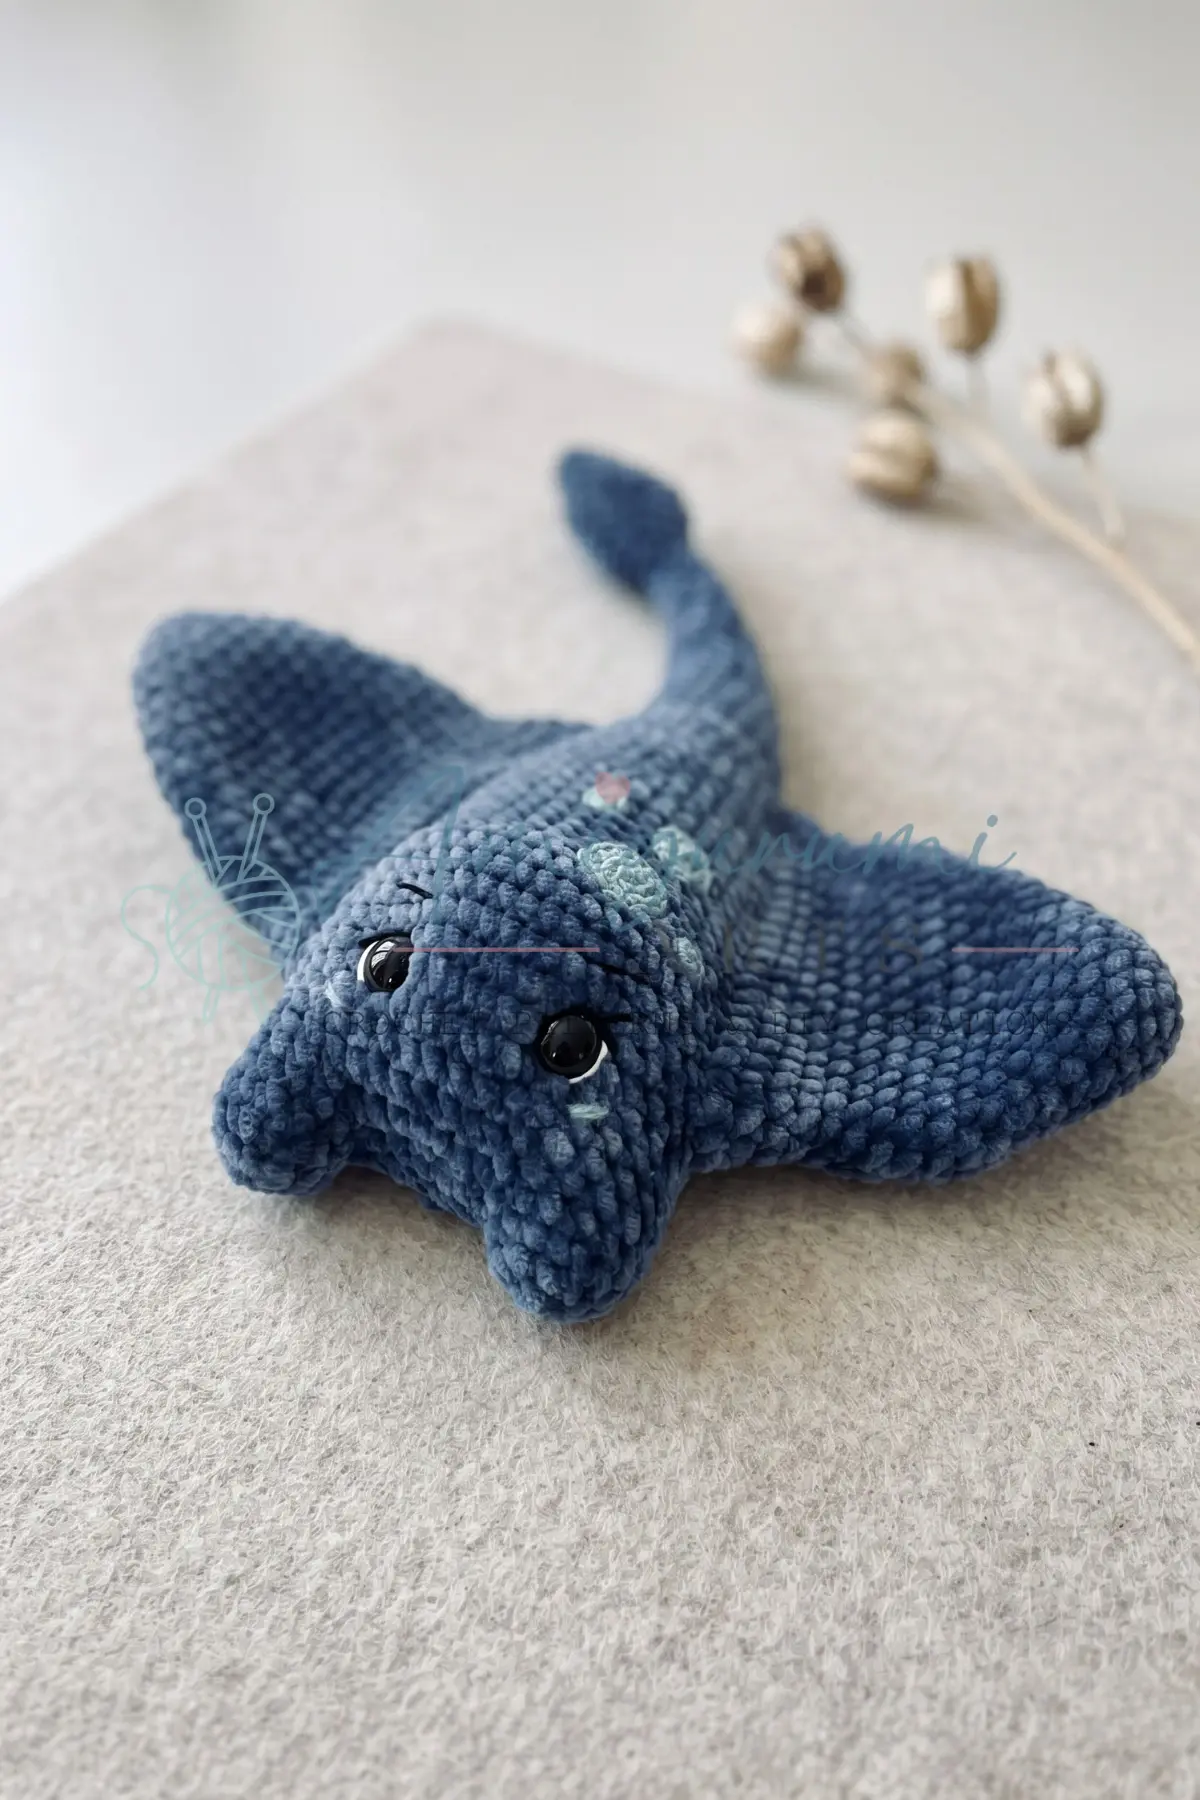
The left and right flippers are mirror images of each other, so read each version carefully.
Left Front Flipper
Rnd 1: Foundation chain of 7 ch. Starting in the 2nd ch from the hook, work along the chain: inc, 4 sc, 4 sc in the last ch (corner); working back along the other side of the foundation chain: 4 sc, inc. (16)
Rnd 2: inc, 3 sc, 3 hdc, inc-hdc, inc-hdc, 3 hdc, 3 sc, inc. (20)
Rnds 3–6: 5 sc, 10 hdc, 5 sc. (20) (Work 4 rounds total; include one offset stitch in Rnd 6 to reposition the round start — offset stitch not counted.)
Rnd 7: 10 sc worked through the front post of stitches (raised/convex surface), 9 sc. (19) Note: Because the beginning of this round was worked through stitch posts rather than the top loops, one stitch is naturally lost — this is intentional.
Rnd 8: Offset stitch (not counted), 9 sc, 10 sc worked through the back post of stitches (concave surface). (19)
Decreases are positioned along the upper surface of the flipper.
Rnd 9: dec, 6 sc, dec, 9 sc. (17)
Rnd 10: dec, 5 sc, dec, 8 sc. (15)
Rnd 11: 15 sc, sl st.
Cut yarn, leaving a long tail for sewing. Pull the tail through the sl st to secure.
Right Front Flipper
Rnd 1: Foundation chain of 7 ch. Starting in the 2nd ch from the hook, work along the chain: inc, 4 sc, 4 sc in the last ch (corner); working back along the other side of the foundation chain: 4 sc, inc. (16)
Rnd 2: inc, 3 sc, 3 hdc, inc-hdc, inc-hdc, 3 hdc, 3 sc, inc. (20)
Rnds 3–6: 5 sc, 10 hdc, 5 sc. (20) (Work 4 rounds total; include one offset stitch in Rnd 6 — offset stitch not counted.)
Rnd 7: 9 sc, 10 sc worked through the front post of stitches (raised/convex surface). (19) Note: one stitch is naturally lost as in the left flipper.
Rnd 8: Offset stitch (not counted), 10 sc worked through the back post of stitches (concave surface), 9 sc. (19)
Decreases are positioned along the upper surface of the flipper.
Rnd 9: 9 sc, dec, 6 sc, dec. (17)
Rnd 10: 8 sc, dec, 5 sc, dec. (15)
Rnd 11: 15 sc, sl st.
Cut yarn, leaving a long tail for sewing. Pull the tail through the sl st to secure.
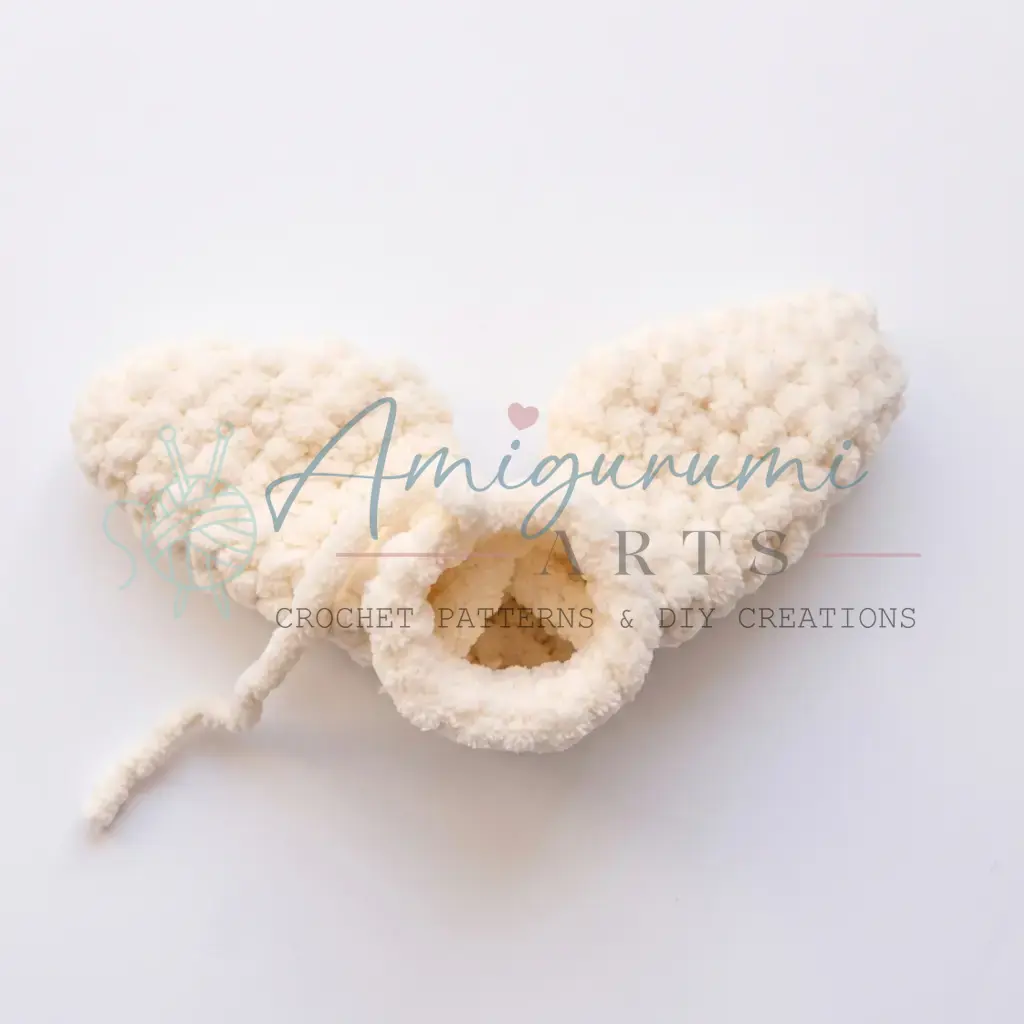
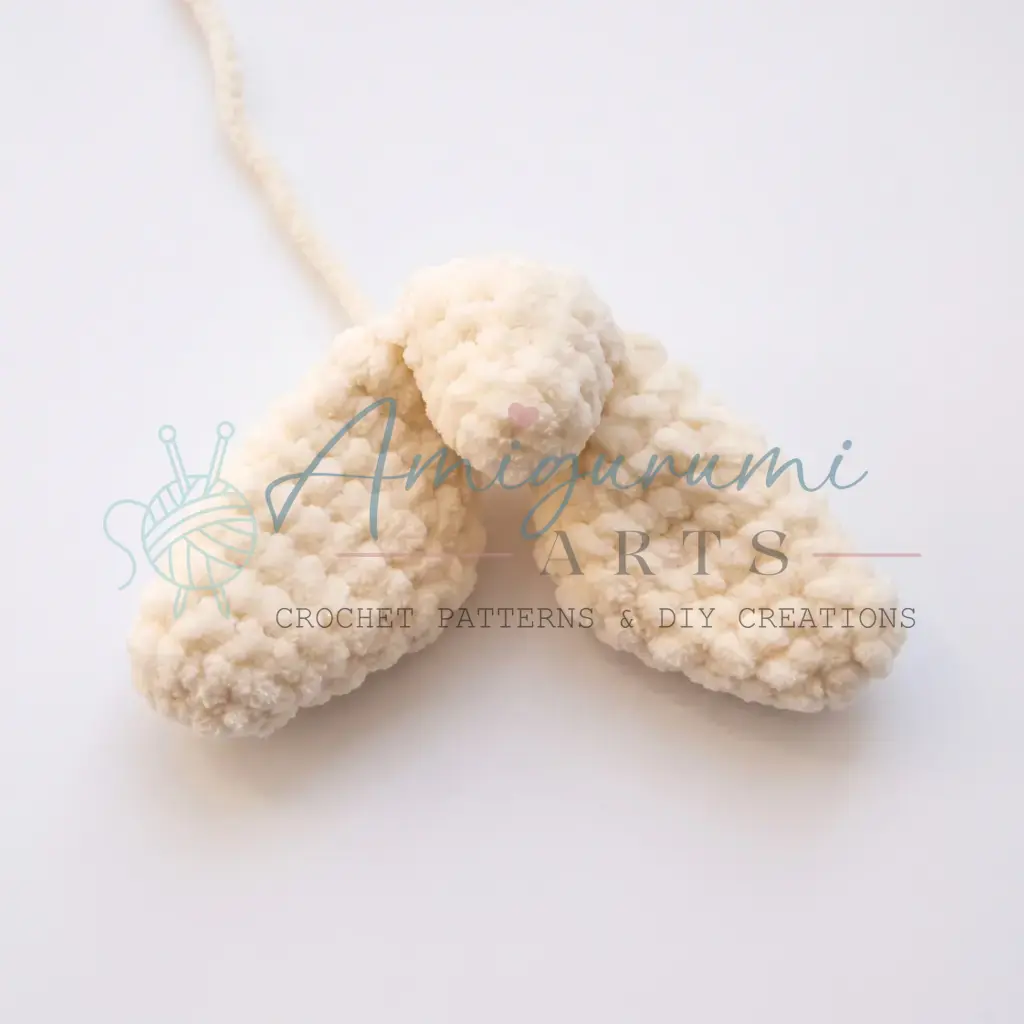
Make 2 identical pieces. Do not stuff.
Back Flippers (make 2)
Make 2 identical pieces. Do not stuff.
Rnd 1: Foundation chain of 4 ch. Starting in the 2nd ch from the hook: inc, sc, 3 sc in the last ch (corner); working back along the other side of the foundation chain: 2 sc. (8)
Rnd 2: inc, 6 sc, inc. (10)
Rnd 3: Offset stitch (not counted), inc, 8 sc, inc. (12)
Rnd 4: inc, 10 sc, inc. (14)
Rnd 5: Offset stitch (not counted), inc, 12 sc, inc. (16)
Rnd 6: inc, 14 sc, inc. (18)
Rnd 7: 18 sc. (18)
Rnd 8: Offset stitch (not counted), dec, dec, 10 sc, dec, dec. (14)
Rnd 9: dec, dec, 6 sc, dec, dec. (10)
Rnd 10: 10 sc, sl st.
Cut yarn, pull through the sl st, and weave the end into the flipper.
Body
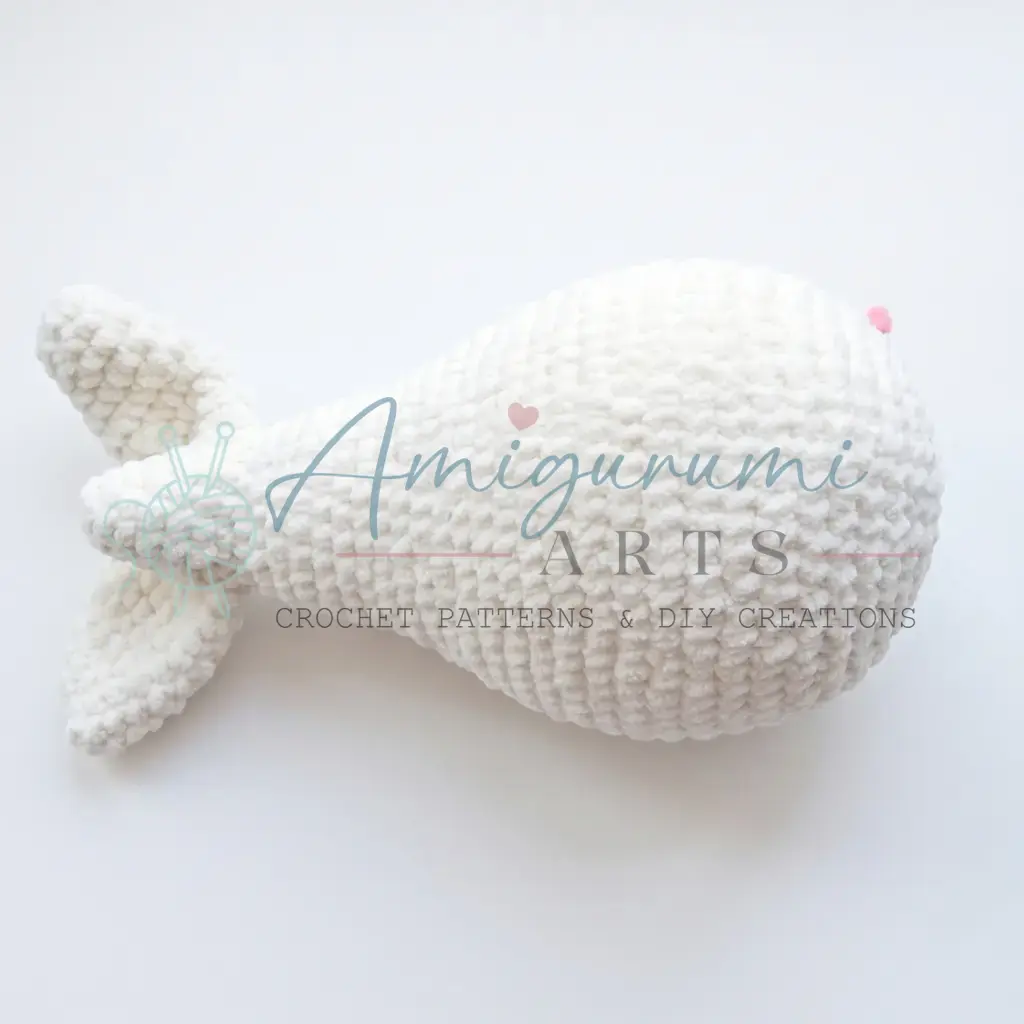
The body begins with the tail and then joins to the back flippers.
Tail
Rnd 1: 6 sc in MR. (6)
Rnd 2: sc, inc repeat 3 times. (9)
Rnd 3: 9 sc. (9)
Rnd 4: 2 sc, inc repeat 3 times. (12)
Rnd 5: 3 sc, inc repeat 3 times. (15)
Joining the Tail and Back Flippers
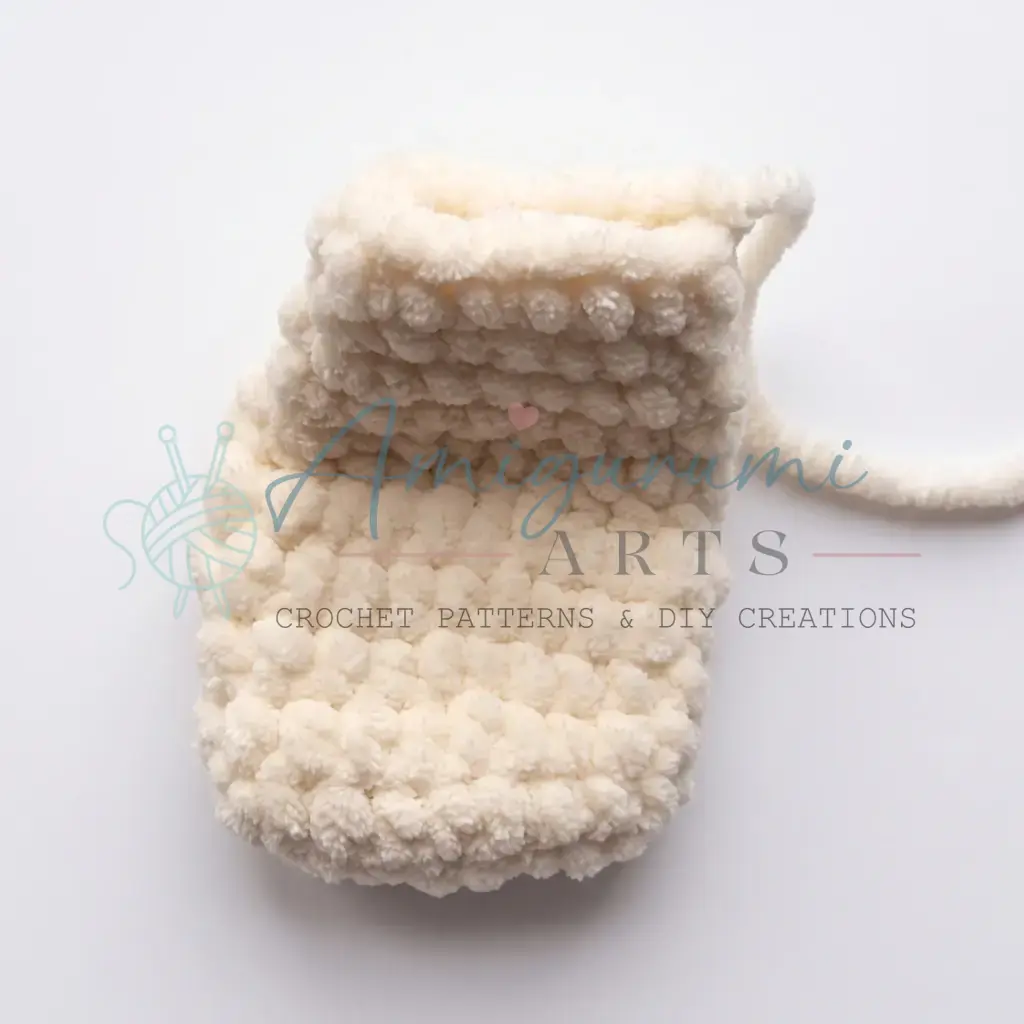
Work Rnd 6 by crocheting across both the tail and the inner edges of the back flippers simultaneously.
Rnd 6: 5 sc across the inner edge of the left back flipper, 5 sc across the tail, 5 sc across the inner edge of the right back flipper. (15)
Place a stitch marker. Now work Rnd 7, catching the outer edges of the back flippers. Pull the yarn snugly at each transition point to avoid gaps. If small holes appear at the join, close them later with a needle and yarn after stuffing.
Rnd 7: 5 sc across the outer edge of the left back flipper, inc, sc repeat 2 times, inc across the tail, 5 sc across the outer edge of the right back flipper. (18)
The stitch marker travels along the strict center of the belly. Add offset stitches where needed to keep it centered — offset stitches are not counted.
Rnd 8: 3 sc, inc, sc repeat 3 times, sc, inc repeat 3 times, 3 sc. (24)
Rnds 9–10: 24 sc. (24)
Rnd 11: Offset stitch (not counted), 4 sc, inc, 4 sc repeat 4 times. (28)
Rnd 12: 28 sc. (28)
Rnd 13: 6 sc, inc, 2 sc repeat 6 times, 4 sc. (34)
Rnd 14: Offset stitch (not counted), 34 sc. (34)
Rnd 15: 6 sc, inc, 3 sc repeat 6 times, 4 sc. (40)
Rnd 16: 40 sc. (40)
Rnd 17: 7 sc, inc, 4 sc repeat 6 times, 3 sc. (46)
Rnd 18: Offset stitch (not counted), 46 sc. (46)
Rnd 19: 7 sc, inc, 5 sc repeat 6 times, 3 sc. (52)
Rnd 20: 52 sc. (52)
Rnd 21: 8 sc, inc, 6 sc repeat 6 times, 2 sc. (58)
Rnd 22: Offset stitch (not counted), 58 sc. (58)
Rnd 23: 8 sc, inc, 7 sc repeat 6 times, 2 sc. (64)
Rnds 24–27: 64 sc. (64) (Work 4 rounds; include one offset stitch in Rnd 26 — offset stitch not counted.)
Rnd 28: (5 sc, dec, 8 sc, dec, 8 sc, dec, 5 sc) repeat 2 times. (58)
Rnd 29: 3 sc, dec, 3 sc repeat 3 times, 10 sc, 3 sc, dec, 3 sc repeat 3 times. (52)
Rnd 30: 3 sc, dec, 3 sc repeat 3 times, 4 sc, 3 sc, dec, 3 sc repeat 3 times. (46)
Rnd 31: Offset stitch (not counted), 2 sc, dec, 2 sc repeat 3 times, 10 sc, 2 sc, dec, 2 sc repeat 3 times. (40)
Place stitch markers at stitches 7 and 33 — these mark the attachment points for the front flippers.
Begin stuffing the body firmly with fiberfill at this point. Do not stuff the back flippers.
Rnd 32: 3 sc, dec, 3 sc repeat 2 times, 8 sc, 3 sc, dec, 3 sc repeat 2 times. (36)
Rnd 33: 4 sc, dec repeat 6 times. (30)
Rnd 34: 3 sc, dec repeat 6 times. (24)
Rnd 35: 2 sc, dec repeat 6 times. (18)
Rnd 36: sc, dec repeat 6 times. (12)
Rnd 37: dec repeat 6 times. (6)
Cut yarn. Using a yarn needle, thread the tail through the remaining 6 stitches and pull tight to close the opening. Weave the end securely into the body.
Head
The head is worked from the muzzle outward.
Rnd 1: Foundation chain of 5 ch. Starting in the 2nd ch from the hook: inc, 2 sc, 3 sc in the last ch (corner); working back along the other side of the foundation chain: 3 sc. (10)
Rnd 2: inc, inc, 2 hdc, inc, inc, inc, 2 sc, inc. (16)
Rnd 3: sc, inc repeat 2 times, 2 hdc, inc, sc repeat 3 times, 3 sc, inc. (22)
Rnd 4: 2 sc, inc repeat 2 times, 2 hdc, inc, 2 sc repeat 3 times, 4 sc, inc. (28)
Move the stitch marker forward by 3–4 sc so it aligns with the first round. The marker should sit on a straight line back from the start of Rnd 1.
Rnd 5: inc repeat 14 times, 14 sc. (42)
Mark the 4th–5th and 10th–11th increases in Rnd 5 — these mark the eye placement positions.
Rnd 6: sc, inc repeat 14 times, 14 sc. (56)
Rnd 7: 56 sc. (56)
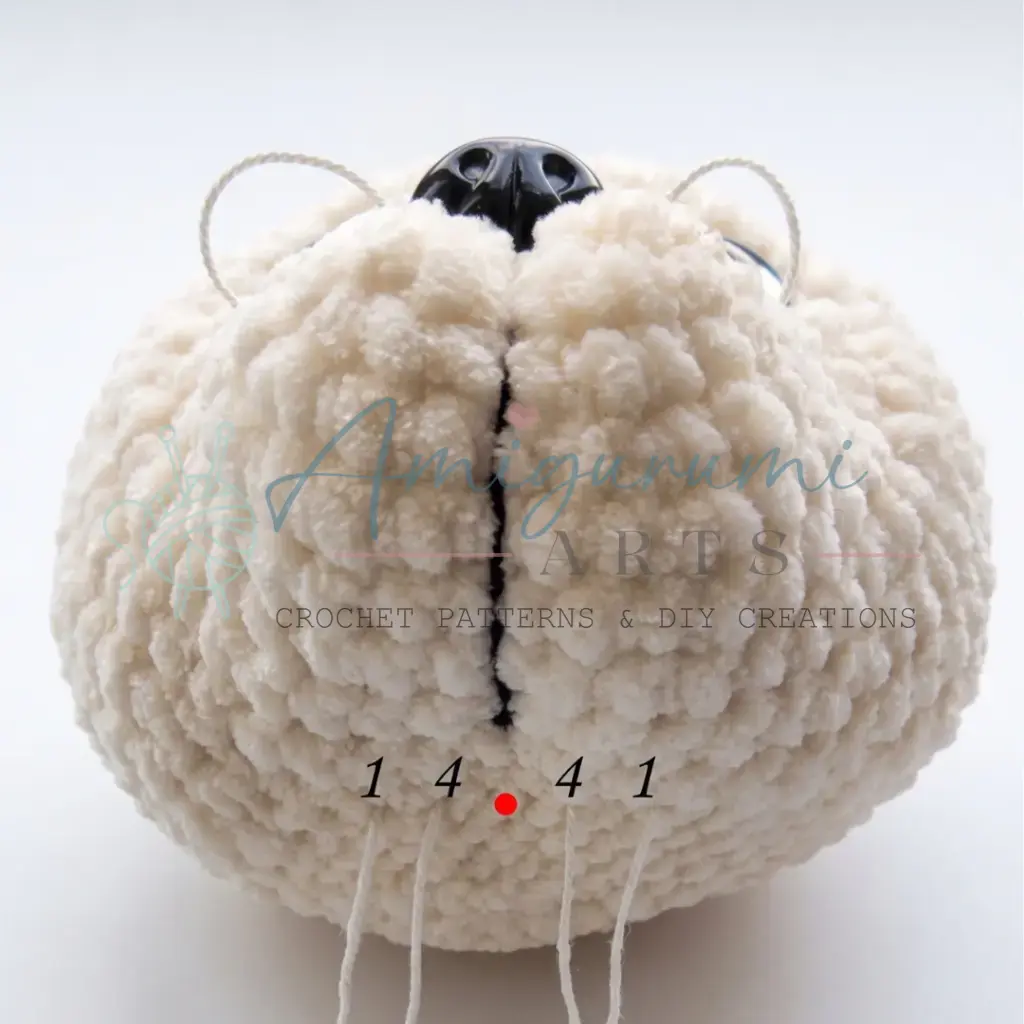
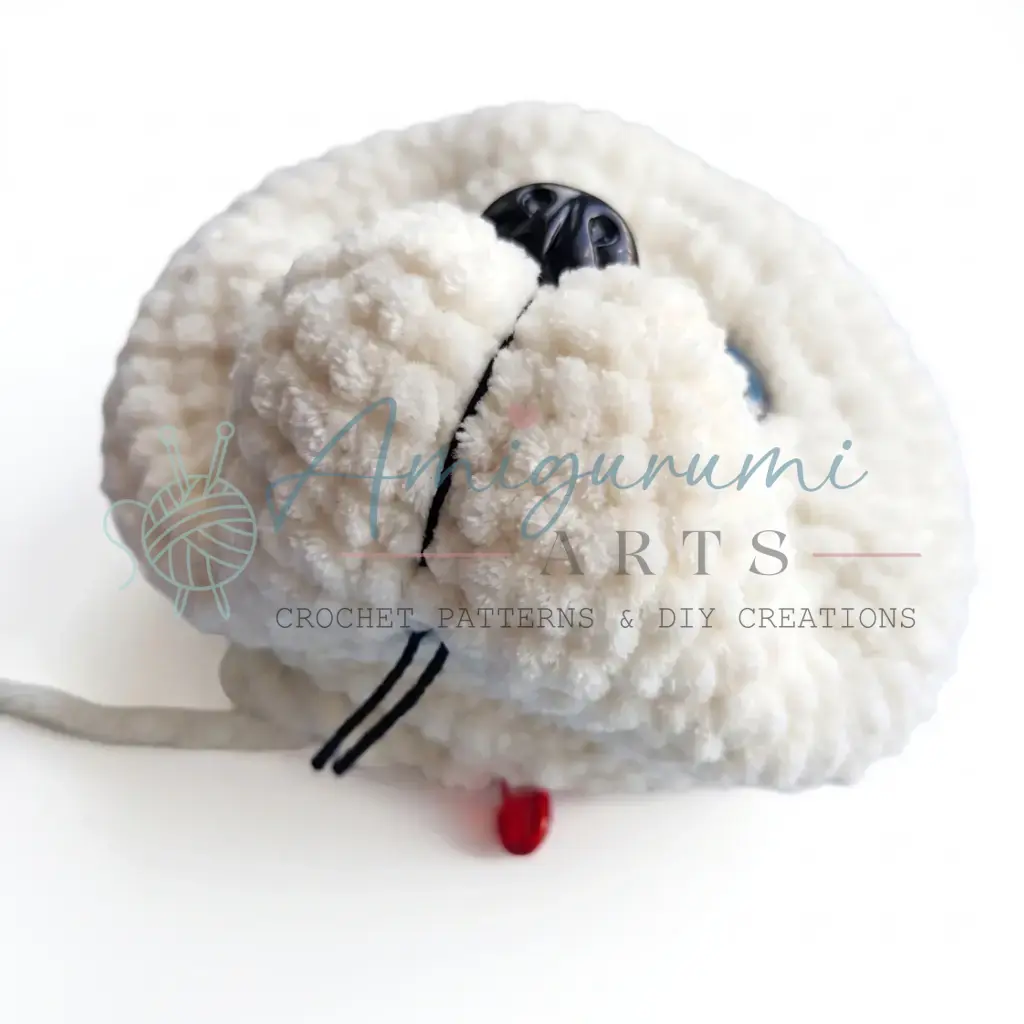
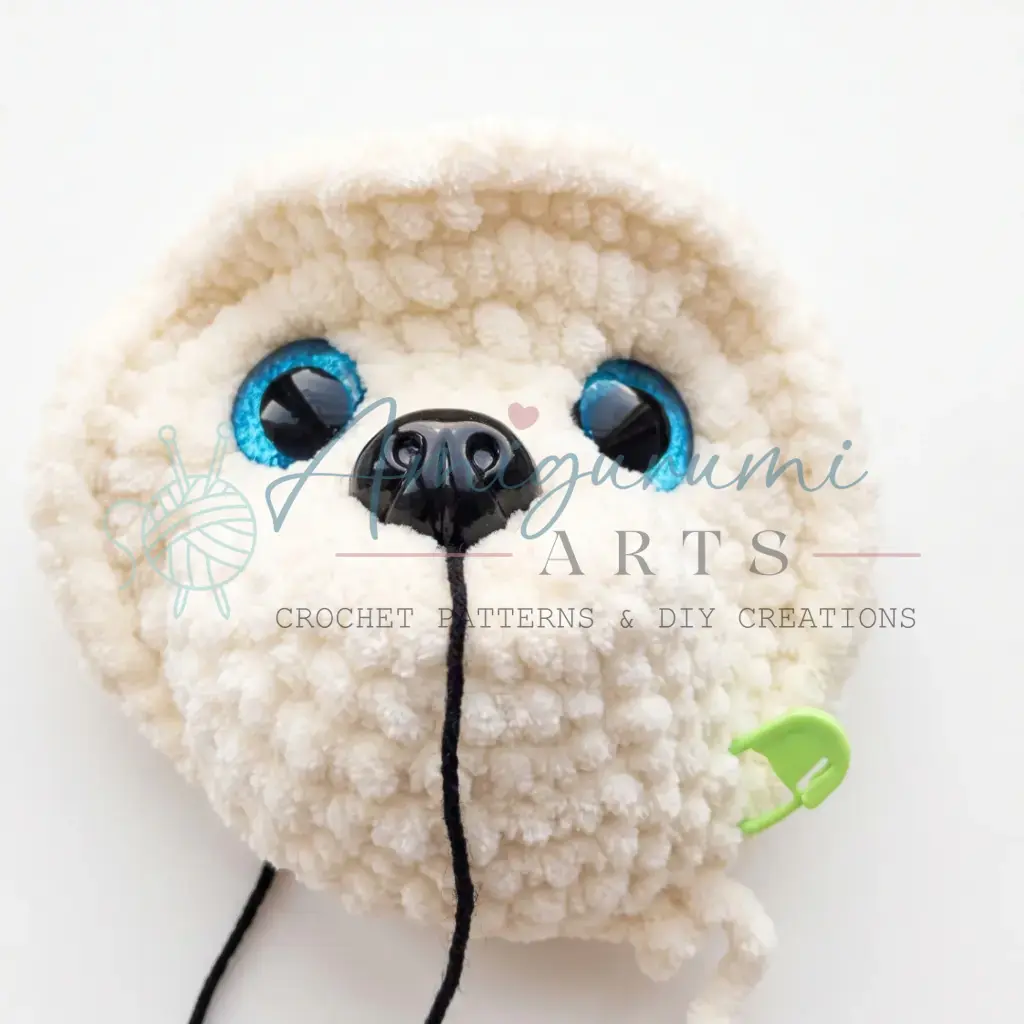
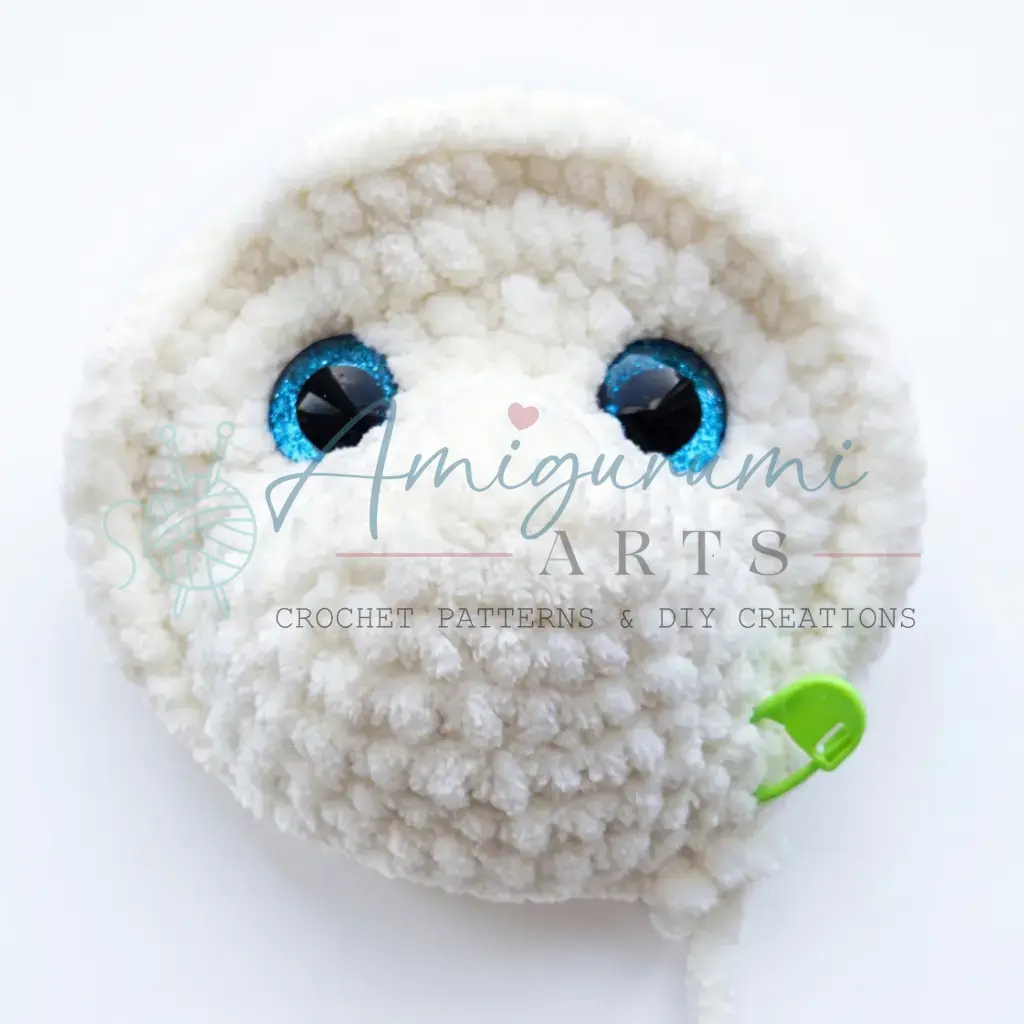
Install the 18 mm safety eyes between Rnds 5 and 6, aligned with the marked increases. Install the safety nose between Rnds 2 and 3, centered on the muzzle. Before setting the nose, tie a length of black sport-weight yarn in a knot at the base of the nose position, leaving two 10 cm tails. Thread one tail through the muzzle at the nose insertion point, then push the nose post through and secure the backing.
Rnds 8–11: 44 sc, 12 sl st. (56) (Work 4 rounds; include one offset stitch in Rnd 10 — offset stitch not counted.)
Rnd 12: dec, 40 sc, dec, 12 sl st. (54)
Rnd 13: 6 sl st, 30 sc, 18 sl st. (54)
Rnd 14: 7 sc, dec repeat 6 times. (48)
Rnd 15: 6 sc, dec repeat 6 times. (42)
Rnd 16: 5 sc, dec repeat 6 times. (36)
Stuff the muzzle area with fiberfill now. Bring the inner end of the black nose yarn out through the center of the muzzle at Rnd 7, pull both yarn ends firmly to create a slight indent, and tie them in a knot. Weave the ends into the head.
Begin stuffing the head with fiberfill gradually from here.
Rnd 17: 4 sc, dec repeat 6 times. (30)
Rnd 18: 3 sc, dec repeat 6 times. (24)
Rnd 19: 2 sc, dec repeat 6 times. (18)
Rnd 20: sc, dec repeat 6 times. (12)
Finish stuffing the head firmly.
Rnd 21: dec repeat 6 times, sl st. (6)
Cut yarn and pull through the sl st. Thread the tail through the remaining stitches with a needle, pull tight to close, and weave the end into the head.
Needle-Sculpting the Eye Sockets
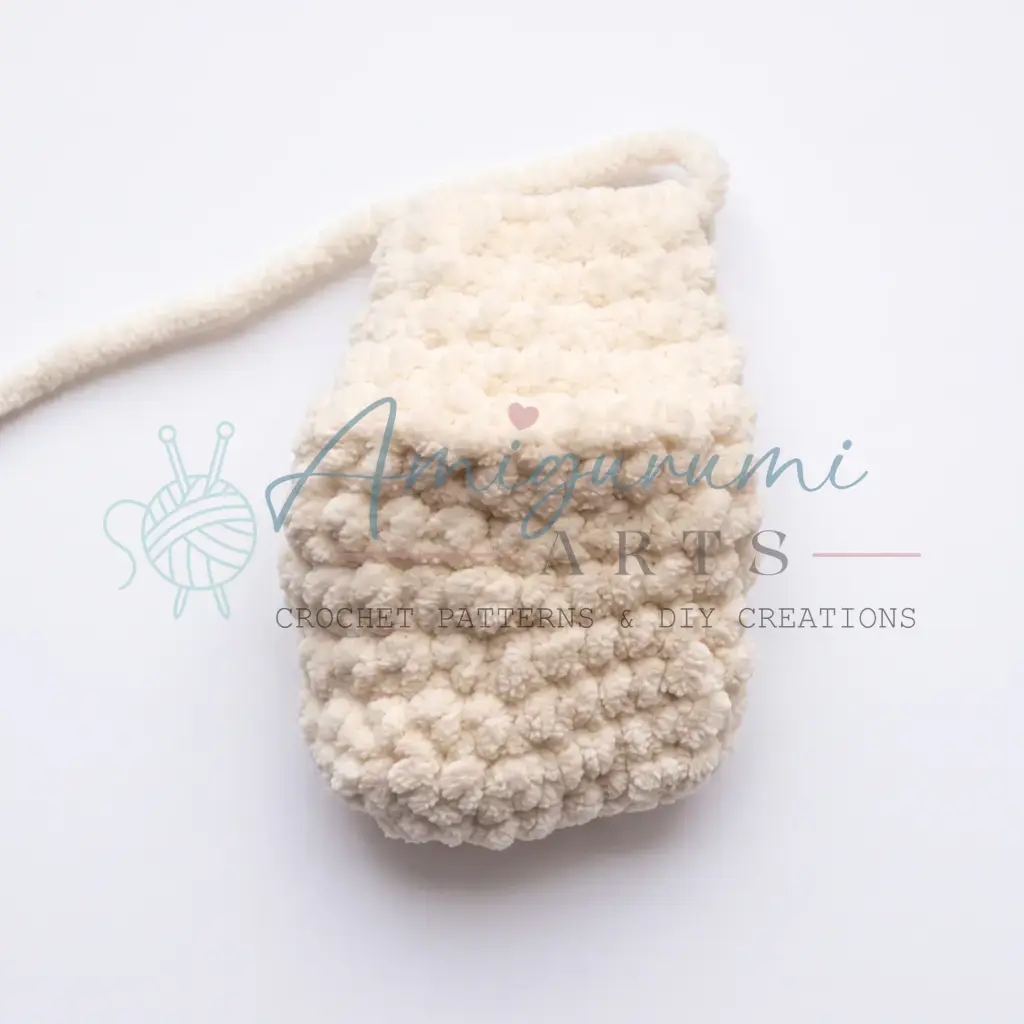
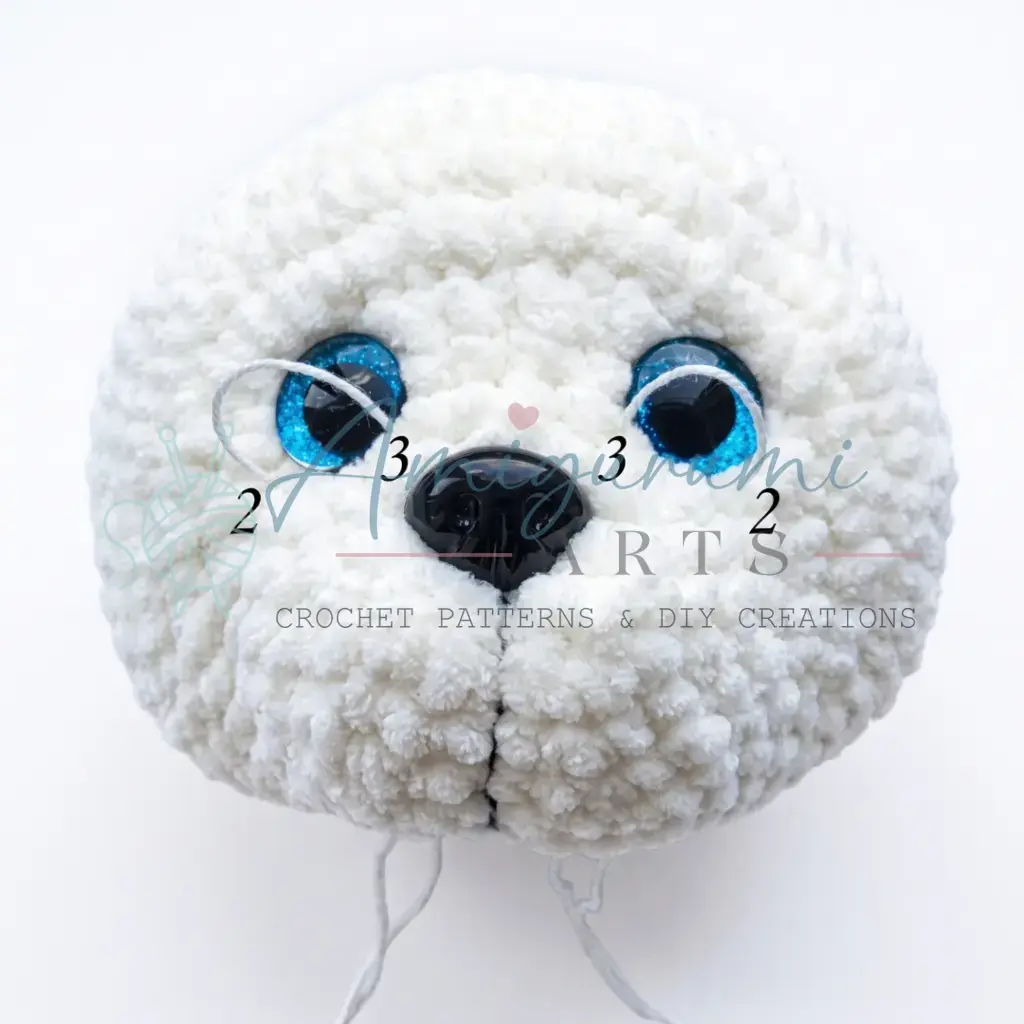
Thread a firm yarn or thread onto a yarn needle. Push the needle into the head at Point 1 (located between Rnds 8 and 9, approximately 3 stitches from the center line) and bring it out at Point 2 (the outer corner of one eye). Then insert the needle at Point 3 (the inner corner of the same eye — the distance between Points 2 and 3 equals the diameter of the safety eye). Bring the needle back out at Point 4 (1 stitch toward center from Point 1). Pull both thread ends firmly to sink the eye slightly into the head, creating a natural socket. Tie a secure knot and hide the ends inside the head. Repeat for the second eye.
Collar
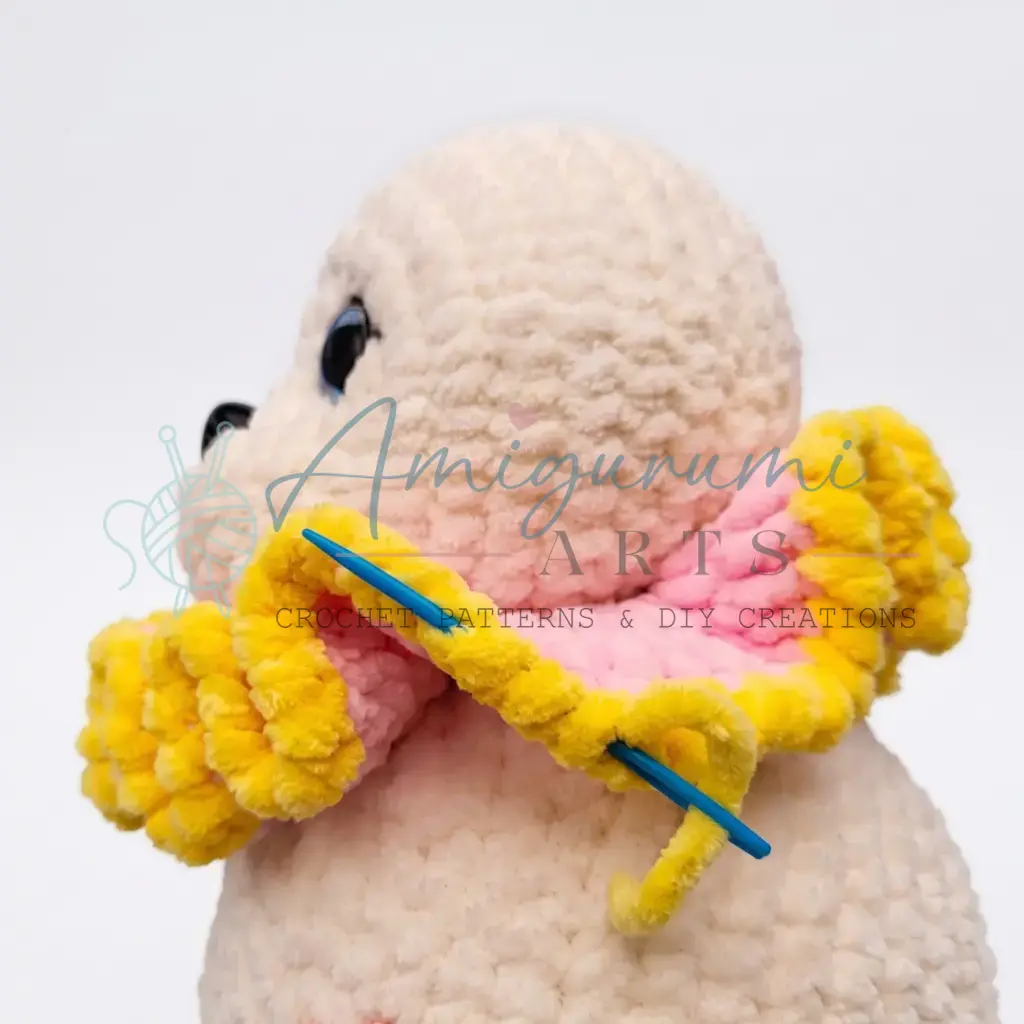
This collar is worked as an attached collar. If you’d like it to be removable, work back-and-forth rows instead of joined rounds, adding 2 ch and turning at the end of each row, and crochet ties to fasten it. The collar is worked in pink, then trimmed in yellow.
Rnd 1: Foundation chain of 34 ch + 1 extra ch to join into a ring. Join with a sl st.
Rnd 2: 2 ch (counts as first dc), work 34 inc-dc (2 dc in each st) around, sl st to join. (68)
Rnd 3: 2 ch, work 68 inc-dc around, sl st to join. (136)
Switch to yellow.
Rnd 4: Work 136 sc in reverse single crochet (crab stitch) around.
Fasten off and weave all ends between the stitches.
Hat
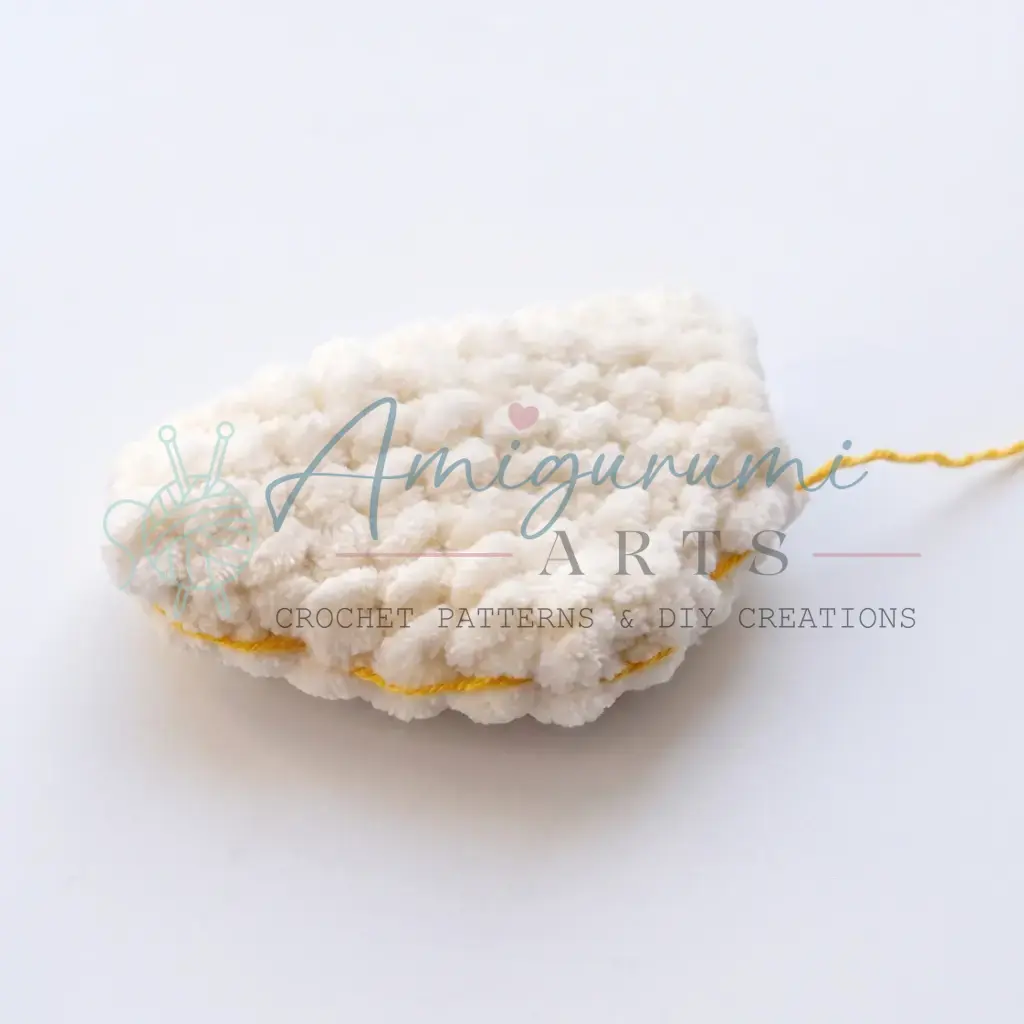
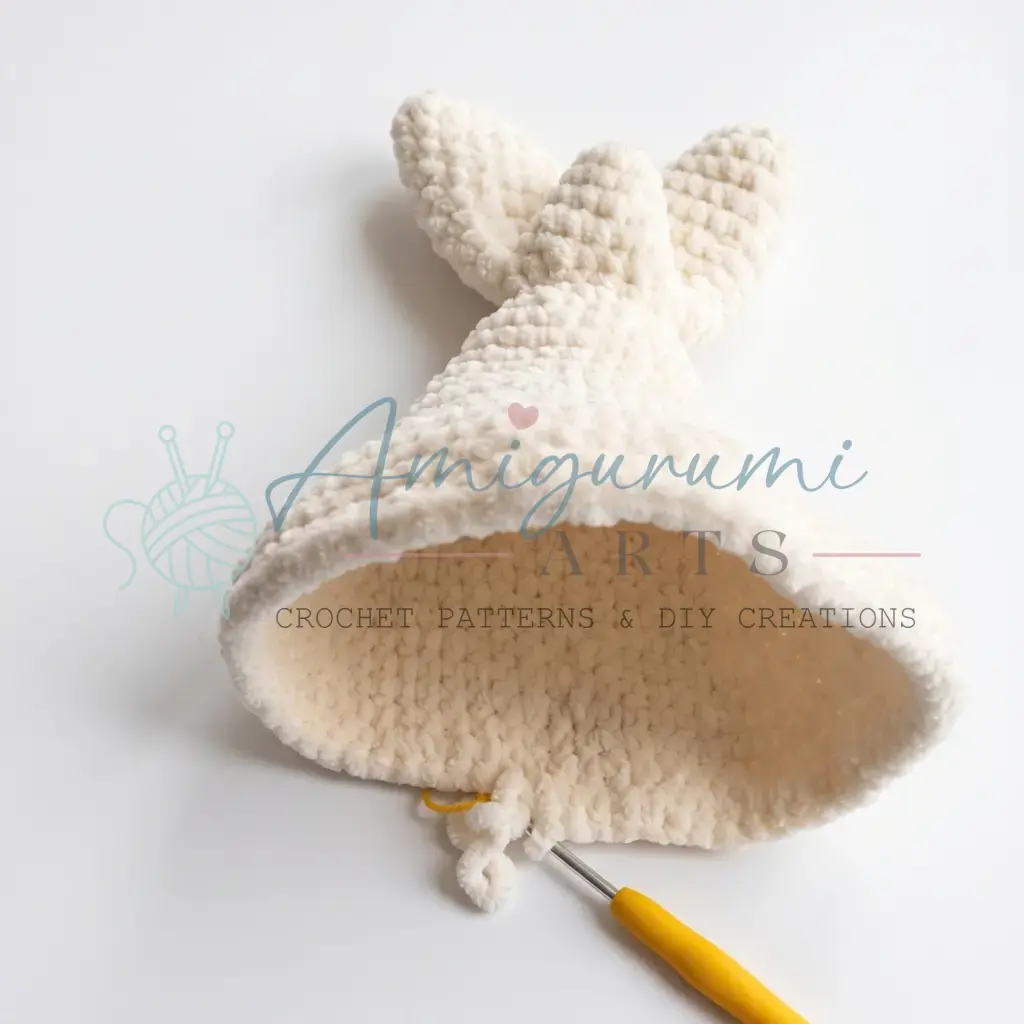
This hat is worked as an attached hat. If you’d like it to be removable, crochet or sew on ties. The hat is worked in pink, then trimmed in yellow.
Rnd 1: 6 sc in MR. (6)
Rnd 2: 6 sc. (6)
Rnd 3: sc, inc repeat 3 times. (9)
Rnd 4: 2 sc, inc repeat 3 times. (12)
Rnd 5: 3 sc, inc repeat 3 times. (15)
Rnd 6: 4 sc, inc repeat 3 times. (18)
Rnd 7: 5 sc, inc repeat 3 times. (21)
Rnd 8: 6 sc, inc repeat 3 times. (24)
Rnd 9: 7 sc, inc repeat 3 times. (28)
Rnd 10: 28 sc, sl st. (28)
Fasten off pink and secure.
Switch to yellow.
Rnd 11: Working in FLO, work inc-dc (2 dc) in each stitch around, sl st to join. (56)
Fasten off yellow and secure.
Lightly stuff the hat with fiberfill before attaching. Sew the hat to the head through the back loops of Rnd 10. Attach a star decoration or any embellishment of your choice to the front of the hat.
Ball
Rnd 1 (pink): 6 sc in MR. (6)
Rnd 2 (pink): inc in each st around. (12)
Rnd 3 (pink): sc, inc repeat 6 times. (18)
Rnd 4 (pink): 2 sc, inc repeat 6 times. (24)
Rnd 5 (yellow): 3 sc, inc repeat 6 times. (30)
Rnd 6 (yellow): 4 sc, inc repeat 6 times. (36)
Rnd 7 (pink): 5 sc, inc repeat 6 times. (42)
Rnds 8–10 (pink): 42 sc. (42)
Rnd 11 (pink): 5 sc, dec repeat 6 times. (36)
Rnd 12 (yellow): 4 sc, dec repeat 6 times. (30)
Rnd 13 (yellow): 3 sc, dec repeat 6 times. (24)
Begin stuffing the ball with fiberfill.
Rnd 14 (pink): 2 sc, dec repeat 6 times. (18)
Rnd 15 (pink): sc, dec repeat 6 times. (12)
Finish stuffing the ball firmly.
Rnd 16 (pink): dec repeat 6 times, sl st. (6)
Fasten off. Thread the tail through the remaining stitches, pull tight to close, and weave the end into the ball. Add any decorative embellishments you like.
Assembly
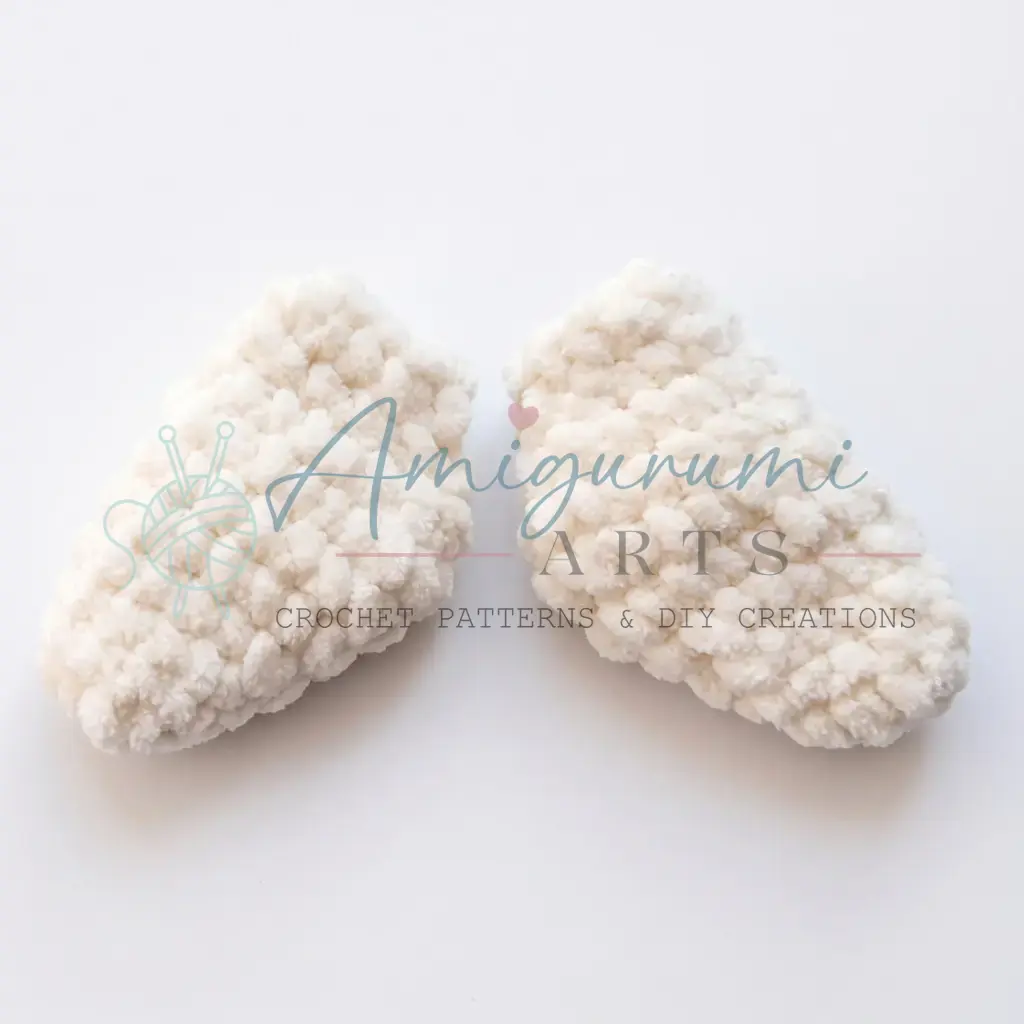
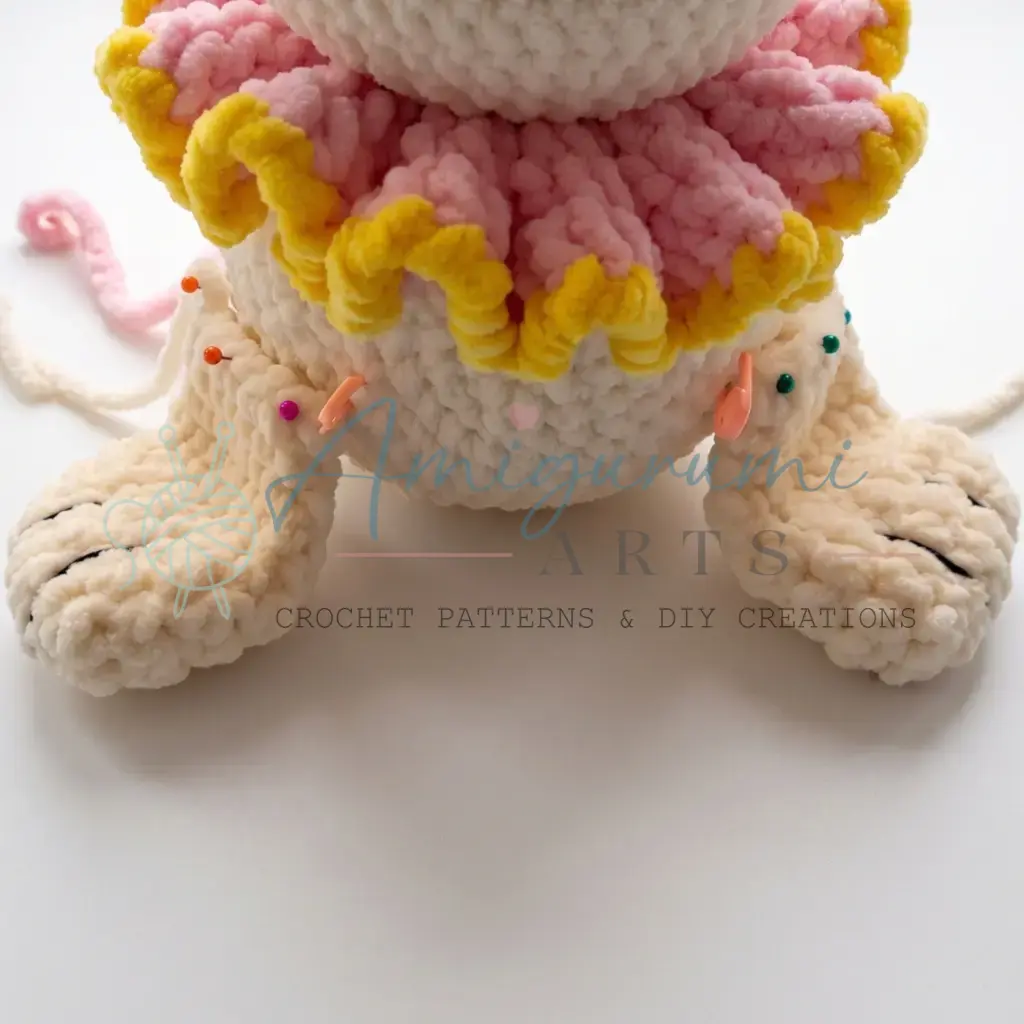
Use pins before you sew any part. Before committing a single stitch of assembly, pin every component (head, flippers, hat) in place and step back to look at the proportions. A flipper that’s a stitch too high or low changes the whole character of the piece. It takes two minutes and saves a lot of unpicking.
Attach the front flippers at the stitch markers placed in Rnd 31 of the body. Attach the back flippers at the join points in Rnd 6/7. Sew the head to the body. Attach the collar around the neck. Sew the hat to the top of the head. Attach the ball to one of the front flippers or hold it with the flipper.
Use the black sport-weight yarn to embroider eyelashes and decorative stripes on the flippers. Use the black fishing line for whiskers and brow lines. Use the black makeup brush and dry pastels or eyeshadow to shade the muzzle. Use the black permanent marker to add detail dots around the whiskers.
Tips
- Keep your tension firm throughout. Plush velvet yarn is forgiving, but it can hide loose stitches that leave gaps when the piece is stuffed. Work just tightly enough that you can’t see the fiberfill peeking through. If you find yourself fighting the yarn, try gripping the hook a touch higher up the shaft.
- Track your offset stitches carefully. This pattern uses offset stitches in several rounds to keep shaping symmetrical. Always remember: the offset stitch is worked but never counted in the stitch total. Use a second stitch marker in a different color to flag each offset so you don’t accidentally include it in your count.
- Stuff the body progressively, not all at once. The pattern tells you when to start stuffing — don’t wait until the piece is almost closed to add fiberfill. Stuffing in stages lets you check the shape as you go and ensures even firmness all the way through. Alba should feel like a firm, plush pillow — not rock-hard, not squishy.
- Use pins before you sew any part. Before committing a single stitch of assembly, pin every component (head, flippers, hat) in place and step back to look at the proportions. A flipper that’s a stitch too high or low changes the whole character of the piece. It takes two minutes and saves a lot of unpicking.
- Practice the needle-sculpting on a swatch first. Pulling yarn through the stuffed head to indent the eye sockets is one of the most impactful finishing steps in this pattern, but it can feel intimidating the first time. The key is pulling both thread ends evenly and gradually — you want a gentle indent, not a cave. Go slow, check both eyes for symmetry, and knot only when you’re happy with the result.
FAQs
Can I make the collar and hat removable?
Yes. For the collar, work back-and-forth rows instead of joined rounds, adding 2 ch and turning at the end of each row, and crochet ties to fasten it. For the hat, crochet or sew on ties to secure it to the head.
Why are there offset stitches in the pattern?
Offset stitches are used to keep increases and decreases stacked vertically, ensuring the shaping of the amigurumi remains symmetrical. They are worked but not counted in the stitch total.
How do I prevent gaps in my amigurumi?
Ensure your tension is firm. If your stitches are loose, go down half a hook size. The fabric should be tight enough that stuffing does not show through.
What is needle-sculpting?
Needle-sculpting involves threading a firm yarn through the stuffed head to create slight indents around the eye sockets. This gives the eyes a more natural, set-in look rather than sitting flat on the surface.
Can I use a different hook size?
The pattern recommends an E-4 / 3.5 mm hook. If your gauge is too loose and stuffing shows through, try going down half a hook size. If your fabric is too stiff, you might go up half a size, but keep tension firm.
Pin This Crochet Pattern!