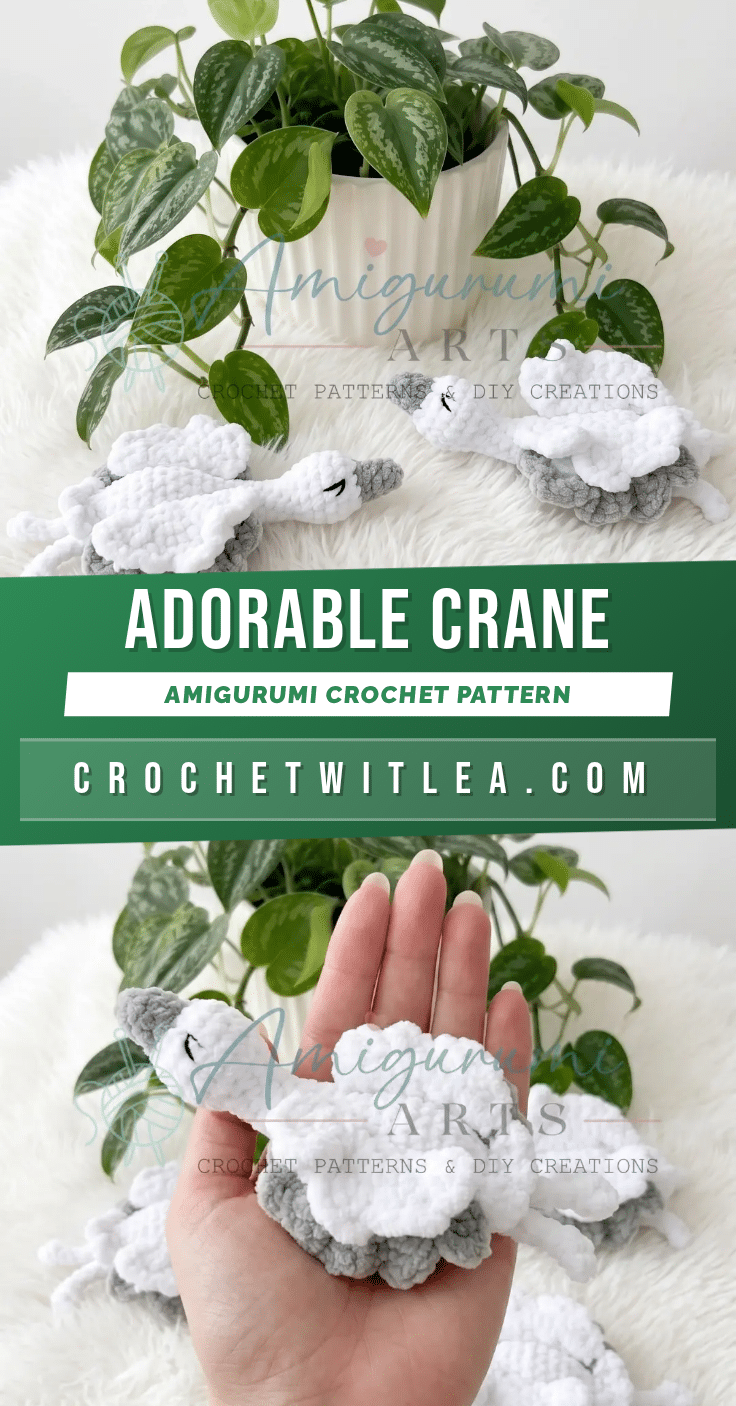
There is something deeply calming about the rhythm of amigurumi. A quiet evening, a small batch of yarn, and the steady click of the hook against the stitches. As you count rounds and pull the yarn through, the stress of the day seems to unravel, replaced by the focus of a relaxing repeat. This crane amigurumi pattern invites you into that peaceful space. With its sweeping wings, delicate tail, and two-tone body in gray and white, it makes a meaningful handmade gift or a peaceful addition to any shelf. This beginner-friendly amigurumi pattern is worked in the round with just a handful of components, so even if you’re newer to crocheting in the round, you’ll find this project very approachable.
Small Details That Make It Better
Cranes carry a quiet elegance that’s hard to capture in fabric, but this little crocheted crane does it beautifully. The design relies on the contrast between the gray head and the white body to create a striking visual balance. By working the wings flat in turning rows, the pattern gives them a natural, spread shape that mimics the bird’s graceful posture. The tail feathers are worked directly off the body without cutting the yarn, allowing for a seamless transition and a drape that feels organic rather than attached. These thoughtful details ensure the finished piece looks polished and lifelike, making it a rewarding project for makers who appreciate the nuance of texture and form.
Project Overview
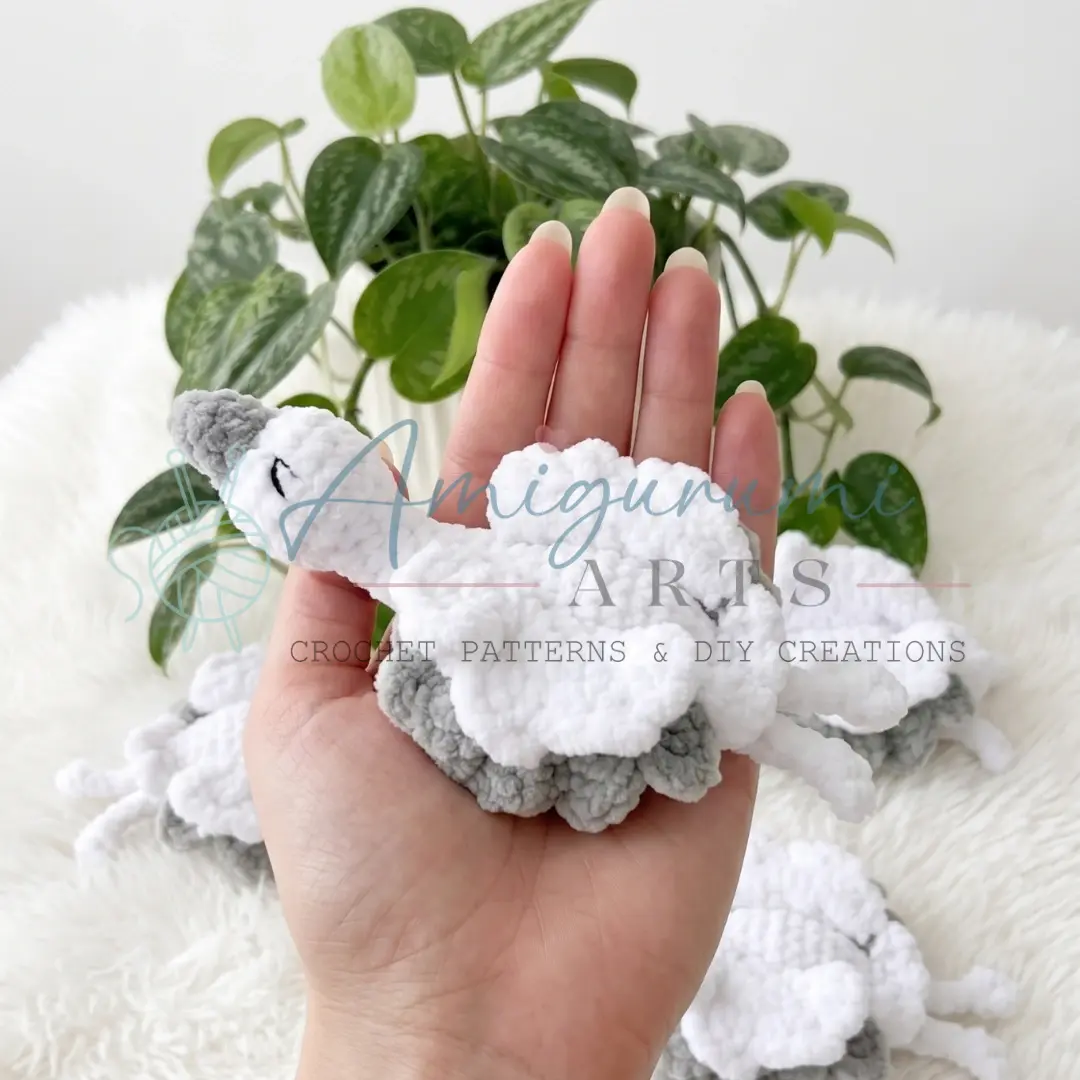
This beginner-friendly amigurumi pattern is worked in the round with just a handful of components, so even if you’re newer to crocheting in the round, you’ll find this project very approachable. The body and neck are worked as one continuous piece, transitioning from gray to white as you go. The wings are worked flat in turning rows, giving them a natural, spread shape. Grab your hook and let’s bring this graceful bird to life.
Materials
- Yarn: Light worsted or DK weight yarn in gray and white
- Hook size: Appropriate for your yarn weight (suggested E-4 / 3.5 mm for DK, or follow yarn label)
- Stuffing: Polyester fiberfill
- Tools: Yarn needle / tapestry needle, Scissors, Stitch marker (for tracking rounds in continuous spiral)
Note: Safety eyes are not used in this pattern — eyes are embroidered directly onto the finished piece.
Abbreviations
- ch — Chain
- dc — Double Crochet
- dec — Invisible Decrease (2 sc worked together)
- inc — Increase (2 sc in the same stitch)
- MR — Magic Ring
- sc — Single Crochet
- sk — Skip
- sl st — Slip Stitch
- st / sts — Stitch / Stitches
Pattern Notes
- This crane amigurumi pattern is written in US crochet terminology.
- The Body is worked in a continuous spiral — do not join rounds or chain at the start of each round. Use a stitch marker to track the beginning of each round.
- The Wings are worked flat in turning rows with a chain at the end of each row before turning.
- Stitch count for each round or row is given in parentheses at the end of the line: (##)
- Stuff the Body lightly and gradually as you work — not too firmly. Stuff as you go so you can reach inside easily.
- Eyes are embroidered onto the finished crane after assembly.
- The tail is worked directly off the body without cutting the yarn — instructions follow the final body round.
Pattern Instructions
Body
Work in a continuous spiral. Begin with gray yarn. Stuff lightly as you go.
Rnd 1: 4 sc in MR. (4)
Rnd 2: sc, inc repeat 2 times around. (6)
Rnds 3–4: sc in each st around. (6) — 2 rounds total. At the end of Rnd 4, switch to white yarn.
Rnd 5: inc in each st around. (12)
Rnd 6: sc, inc repeat 6 times around. (18)
Rnd 7: 2 sc, inc repeat 6 times around. (24)
Rnds 8–9: sc in each st around. (24) — 2 rounds total.
Rnd 10: sc, dec repeat 8 times around. (16)
Rnd 11: dec in each pair of sts around. (8)
Rnds 12–16: sc in each st around. (8) — 5 rounds total. This forms the neck.
Rnd 17: sc, inc repeat 4 times around. (12)
Rnd 18: 2 sc, inc repeat 4 times around. (16)
Rnd 19: 3 sc, inc repeat 4 times around. (20)
Rnd 20: 4 sc, inc repeat 4 times around. (24)
Rnds 21–24: sc in each st around. (24) — 4 rounds total.
Rnd 25: 4 sc, dec repeat 4 times around. (20)
Rnd 26: 3 sc, dec repeat 4 times around. (16)
Rnd 27: 2 sc, dec repeat 4 times around. (12)
Rnd 28: sc, dec repeat 4 times around. (8)
Rnd 29: dec 4 times around. (4) — Do not cut yarn. Continue directly to the tail.
Tail
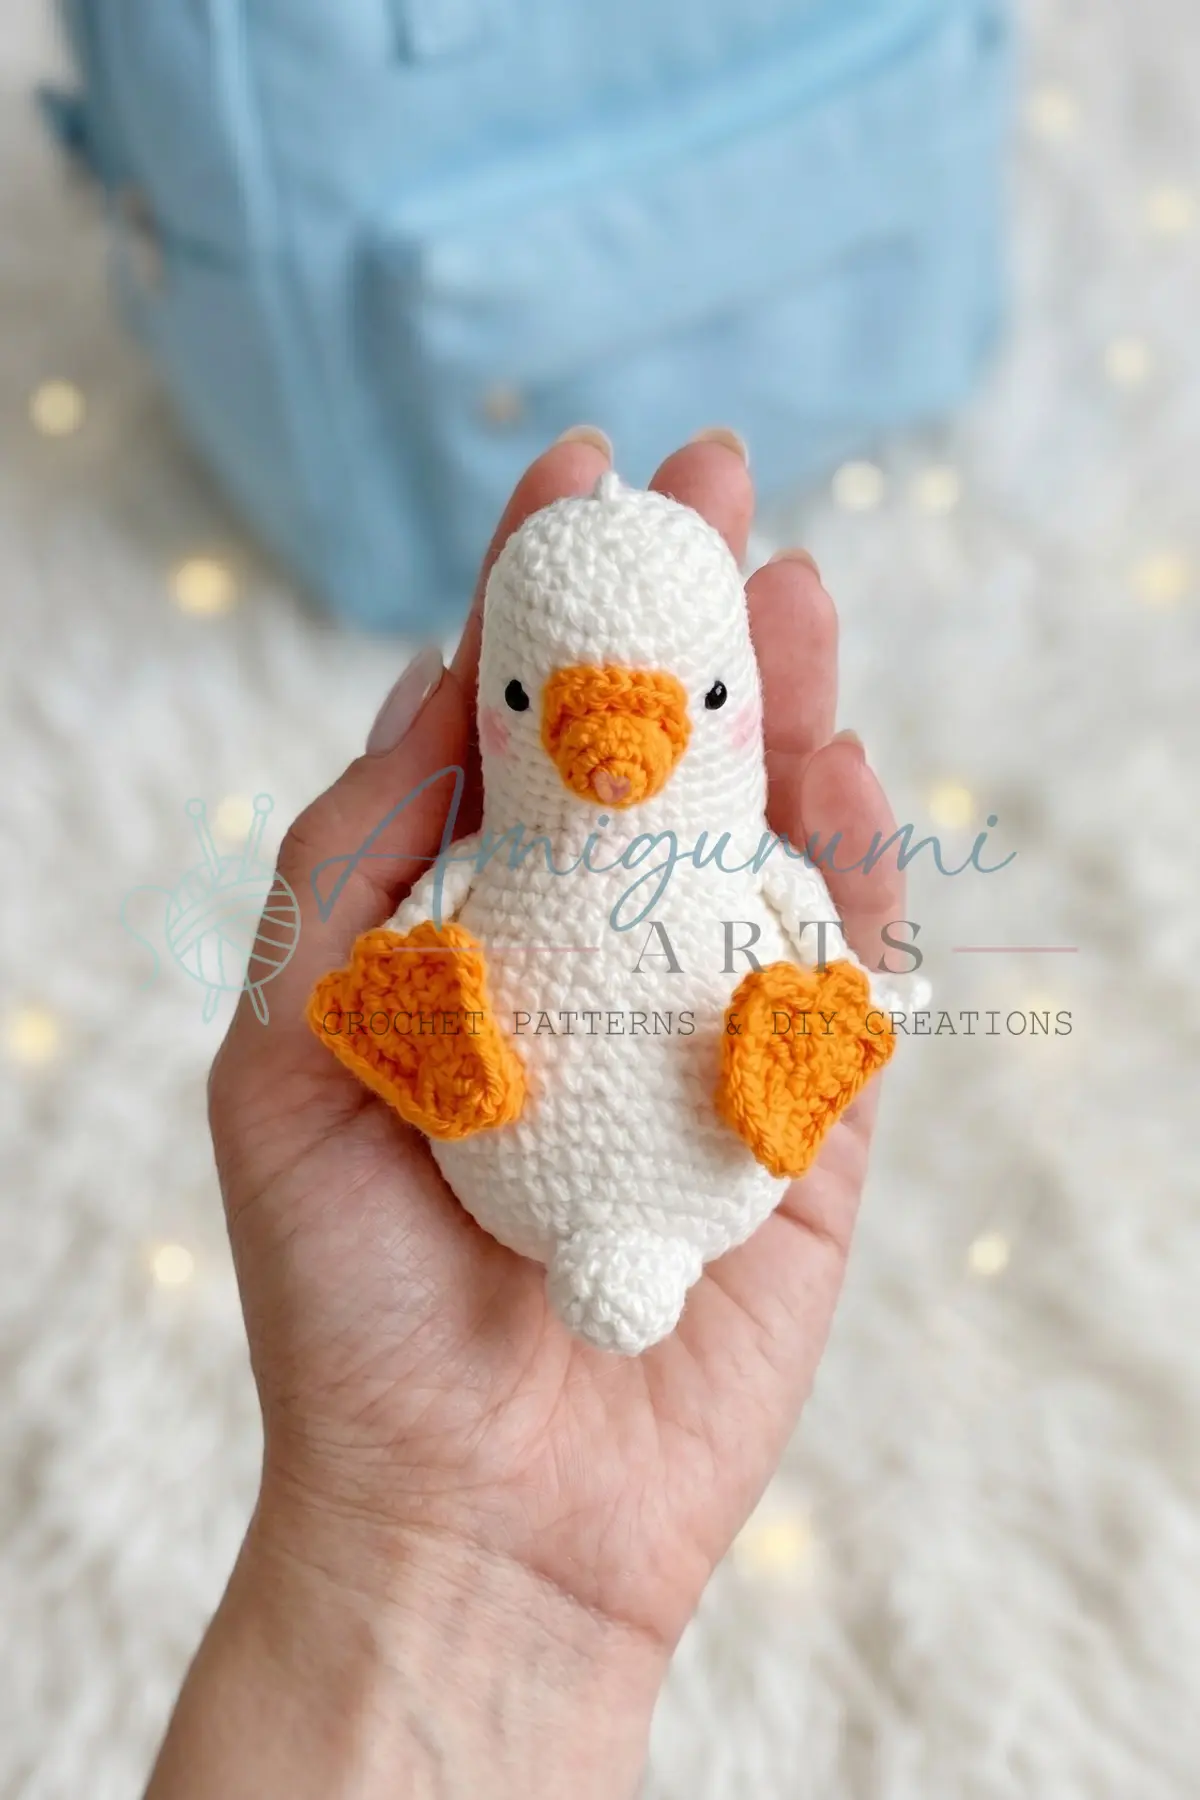
Without cutting yarn, work the tail as follows:
Ch 4. Starting in the 2nd chain from the hook, sc in each of the next 3 chains, sl st into the base. This completes one tail feather. Repeat this sequence 2 more times for a total of 3 tail feathers. Cut yarn, secure, and weave the end inside the body.
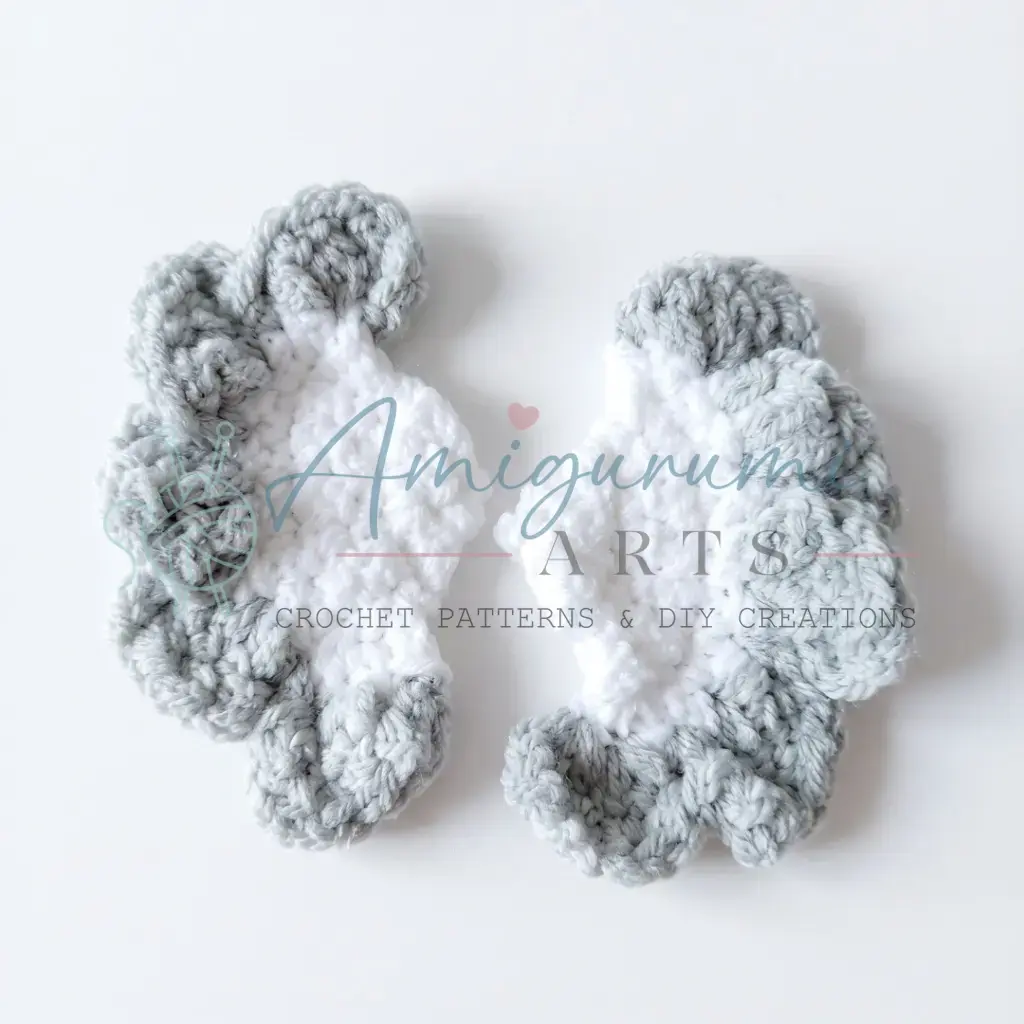
Wings (Make 4 pieces — 2 all-white, 2 with Row 6 worked in gray)
Work flat in turning rows. At the end of each row, chain 1 before turning.
To begin: Chain 2, then starting in the 2nd chain from the hook:
Row 1: inc in first st. (2)
Row 2: inc in each st across. (4)
Row 3: inc, 2 sc, inc. (6)
Row 4: inc, 4 sc, inc. (8)
Row 5: inc, 6 sc, inc. (10)
Row 6: ch 3, 3 dc in same st, sl st repeat 5 times. (5 shell points worked) — For 2 of the 4 wing pieces, work this row in gray yarn.
Cut yarn, secure ends.
Hold one all-white wing piece and one wing piece with the gray Row 6 together (wrong sides facing), and sew them together or treat as a single doubled wing when attaching — sew wings to the center of the body.
Assembly
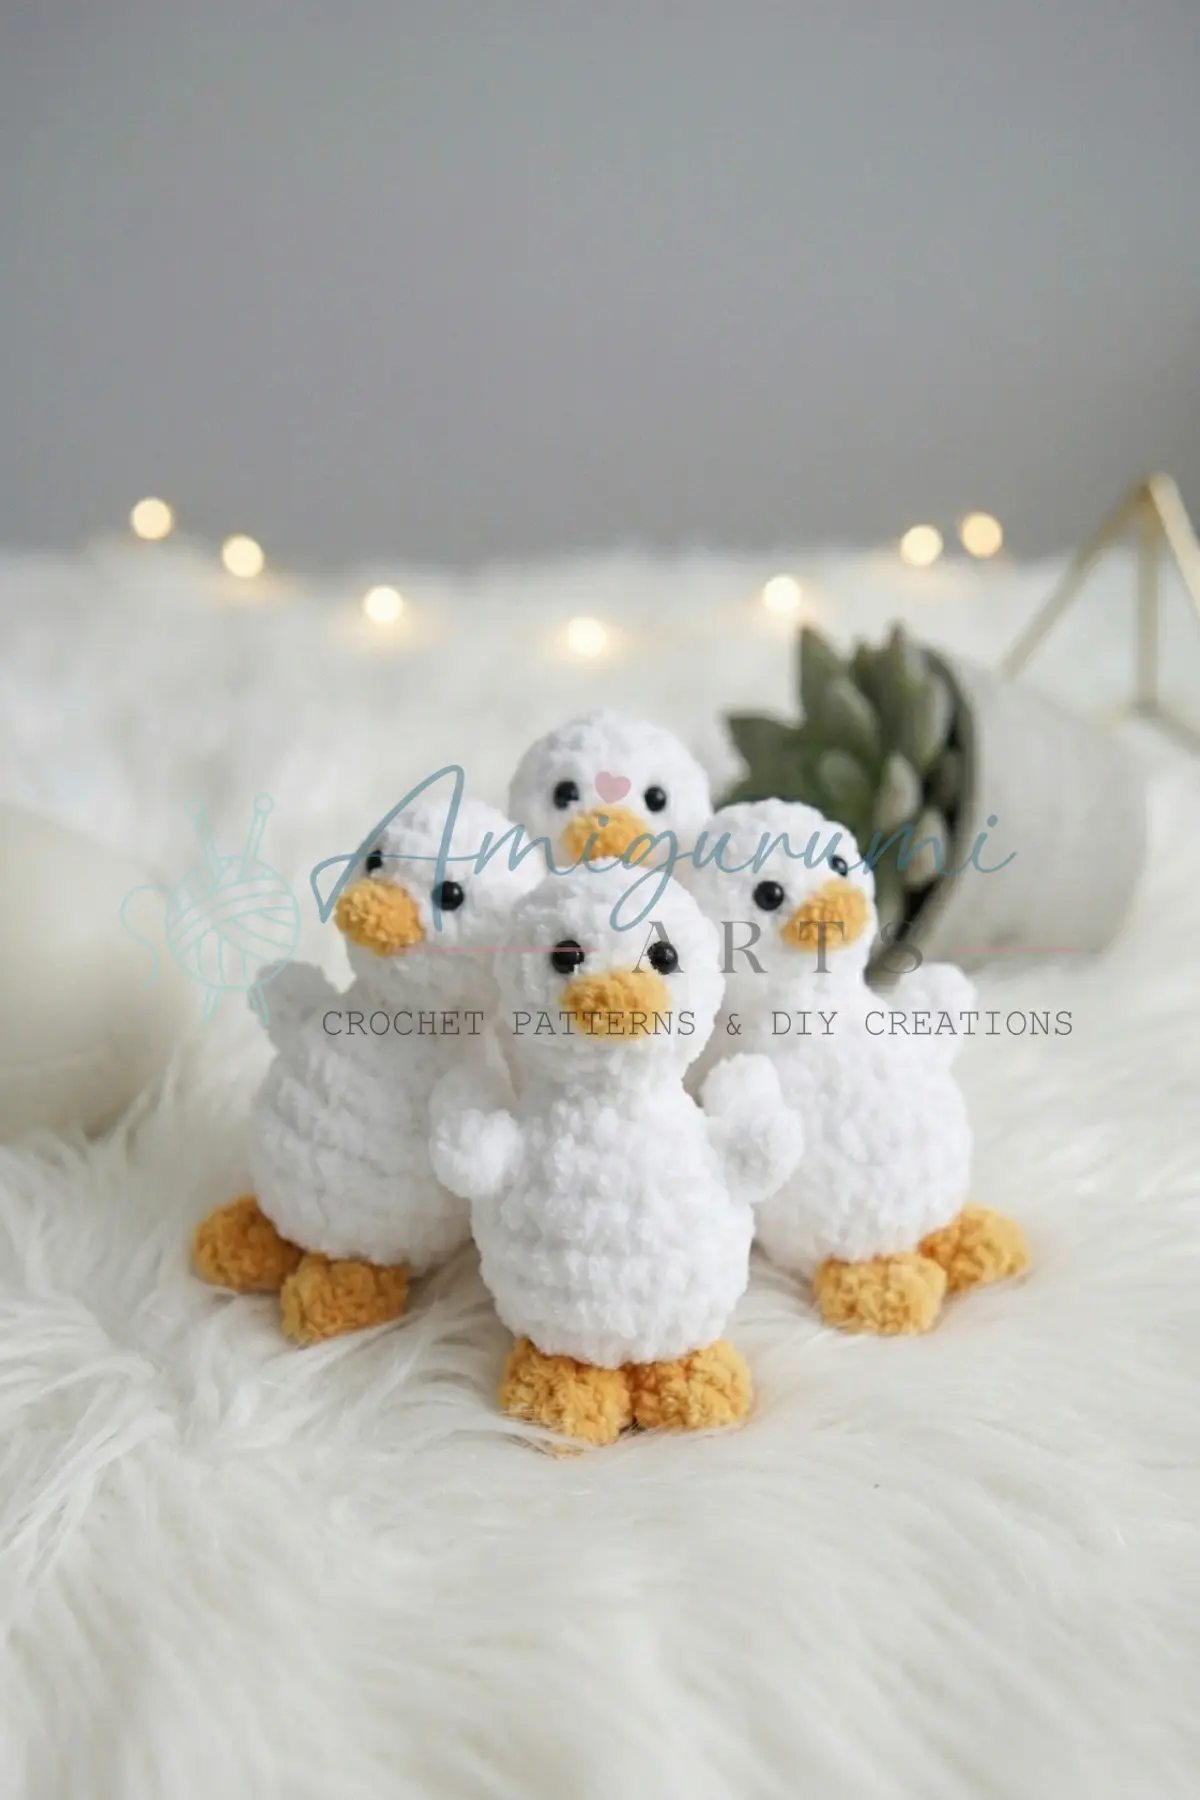
- Finish stuffing the Body lightly through the remaining opening before the tail was worked. The neck area (Rnds 12–16) should remain slender — use minimal stuffing there.
- Embroider the eyes on either side of the head (the gray section, Rnds 1–4 area), using black yarn or embroidery thread. Position them symmetrically.
- Pair each all-white wing with one gray-trimmed wing (wrong sides together). You now have 2 finished wings.
- Sew one wing to each side of the body at the center point, using the yarn tail and a whipstitch or mattress stitch. Keep the feathered edge (Row 6) facing outward and slightly downward.
- Weave in all remaining yarn ends securely.
Tips
- Keep your tension snug throughout the body. Amigurumi stitches should be tight enough that no stuffing peeks through the gaps. If you can see white fiberfill through your stitches, try going down half a hook size.
- Mark your rounds faithfully. The body works up quickly, but losing your place between Rnds 12–16 (the neck) is easy since every round looks the same. Move your stitch marker up at the start of every round without fail.
- Color changes. The color change at Rnd 4 → 5 will show more cleanly if you make the switch on the last yarn-over of the final stitch in Rnd 4, pulling the new white yarn through to complete that stitch. This keeps the transition tidy at the back of the neck.
- Tail feathers. When working the tail feathers, keep each ch-4 loop loose and even. Pulling too tightly will make the feathers curl under rather than fan out. A relaxed tension gives them a natural, graceful drape.
- Sewing on the wings. Pin them in place with a stitch marker or straight pin before sewing to check symmetry. Step back and look at the bird from the front — both wings should sit at the same height and angle before you commit to sewing.
FAQs
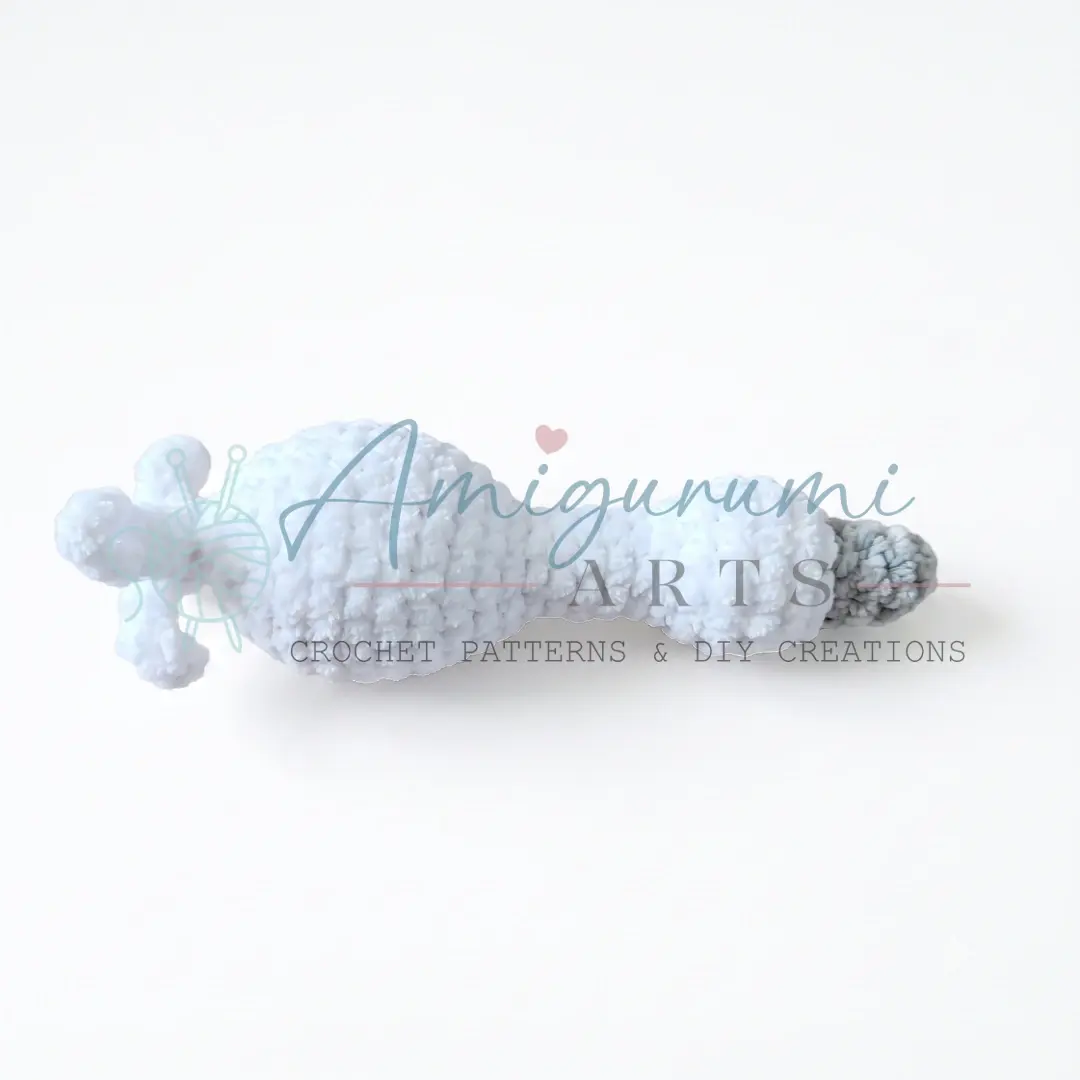
Can I use a different yarn weight for this crane pattern?
Yes, you can substitute a different yarn weight, but keep in mind that the finished size will change. A fingering or sport weight yarn with a smaller hook will give you a more delicate, miniature crane. A worsted weight will produce a noticeably larger bird. Whatever weight you choose, use a hook size that creates a tight, gap-free fabric so the stuffing does not show through.
How do I keep the neck of the crane from flopping over?
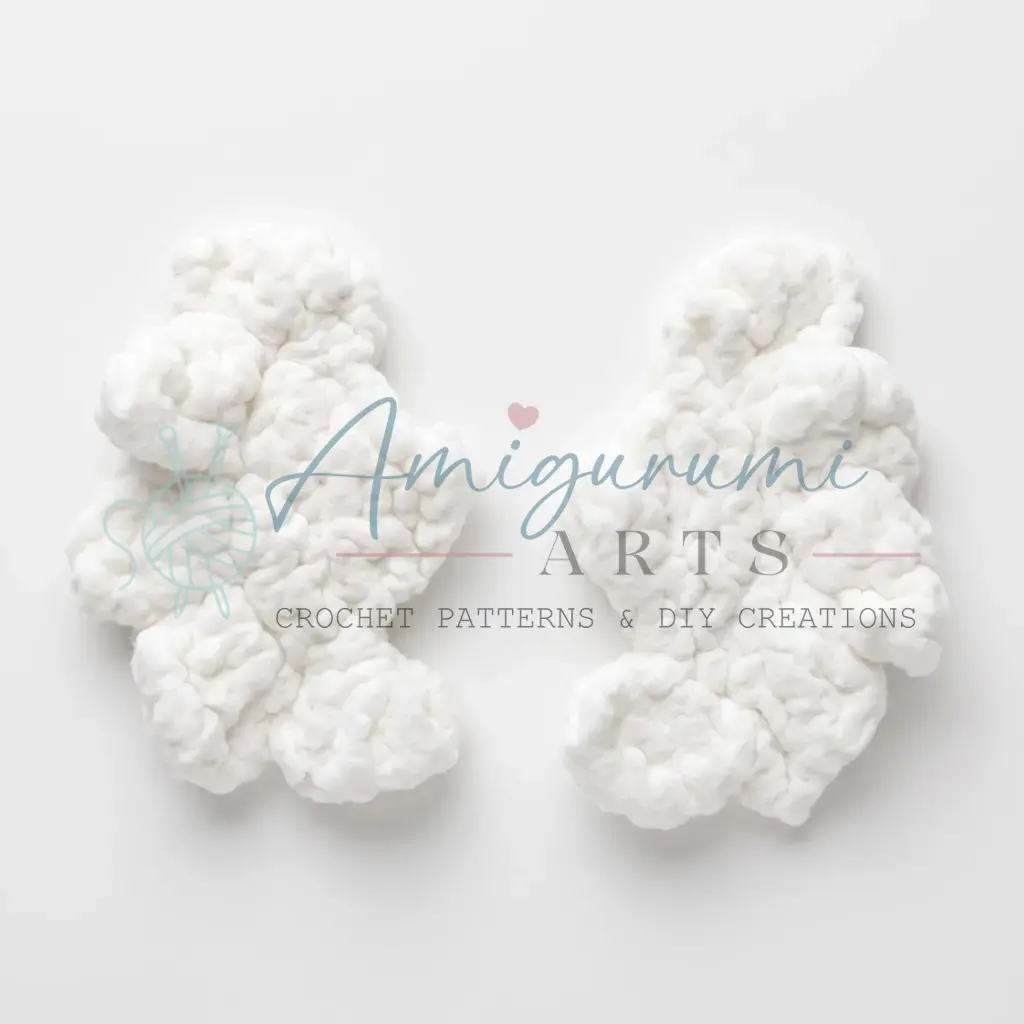
The neck section (Rnds 12-16) is intentionally narrow, so use minimal stuffing there – just enough to give it a little structure without making it stiff. If your crane’s neck still flops, try inserting a small piece of pipe cleaner or floral wire wrapped in a bit of fiberfill before closing the body. This lets you pose the neck at a gentle curve, which looks very natural on a finished crane.
Do I need to make all four wing pieces, or can I use just two?
The pattern calls for four pieces total – two all-white and two with a gray Row 6 – which are then paired together before sewing onto the body. Using a doubled wing gives it more structure, body, and a clean finished look on both sides. You can use just two single-layer wings if you prefer a flatter, lighter result, but the doubled version holds its shape much better.
How do I embroider the eyes neatly on such a small piece?
Use a single strand of black yarn or black embroidery floss and a sharp tapestry needle. Work two or three small straight stitches close together to form each eye, or use a single French knot if you are comfortable with that technique. Place both eyes at the same round on the head and the same stitch distance from the center front of the face – measuring by stitch count rather than by eye.
Pin This Crochet Pattern!