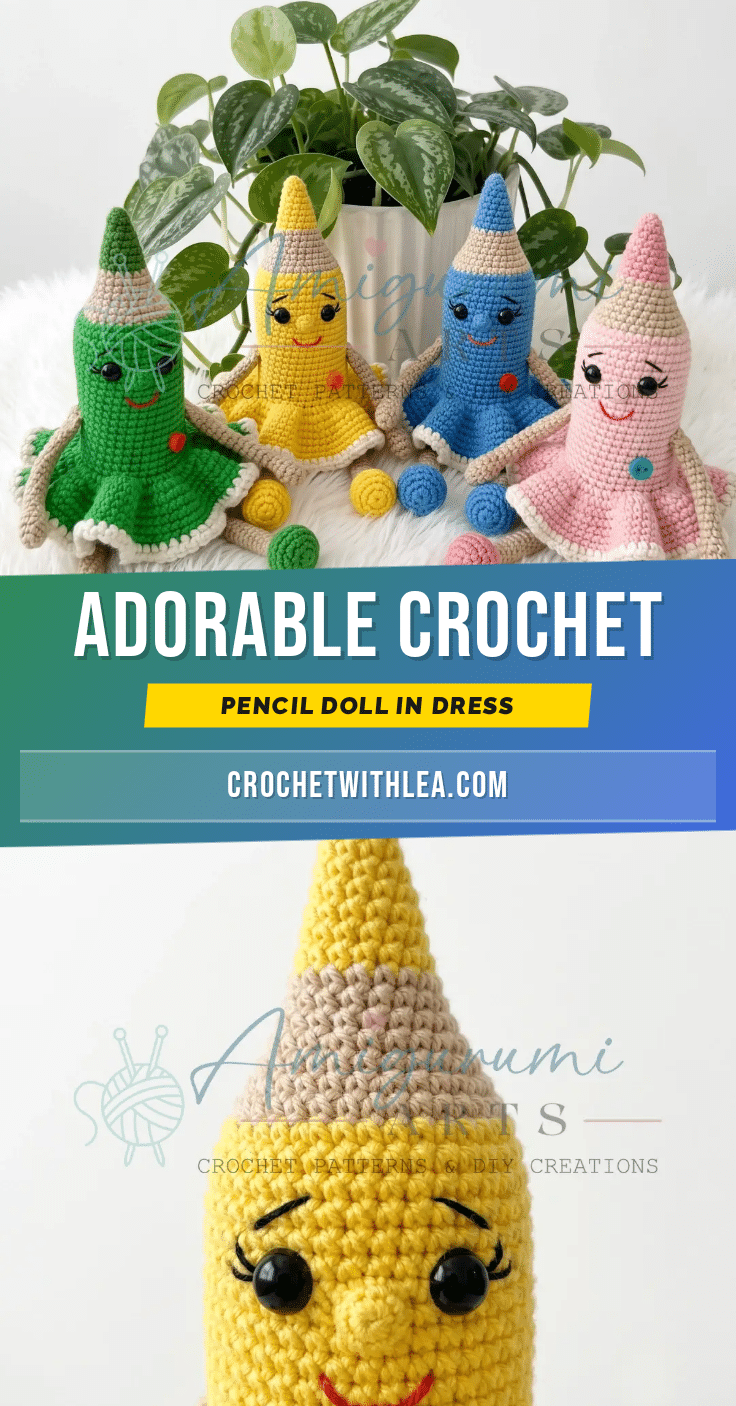
There is a particular kind of magic in amigurumi that comes from watching a spiral of stitches transform into a three-dimensional character. It is the rhythm of the hook, the satisfying pop of the increase, and the way a simple tube of yarn suddenly gains shape and personality. This Pencil Doll pattern captures that joy perfectly, blending a slim, structured body with a flared, ruffled skirt. It is a project that rewards patience with a charming result that stands upright and ready to be loved.
Texture and Stitch Notes
What makes this doll truly delightful is the interplay between the firm, cylindrical body and the soft, flowing skirt. The body is worked in a continuous spiral, creating a seamless surface that highlights the smooth texture of the cotton-acrylic blend yarns. The use of the invisible decrease ensures that the shaping remains flat and tidy, a crucial detail when working with the pale cream yarn that forms the face. Meanwhile, the skirt introduces a different texture entirely; by working into the front loops left behind in a specific round, the pattern creates a natural flare that fans out beautifully. The final picot-style edging adds a delicate, decorative finish that elevates the piece from a simple toy to a thoughtful, handmade gift.
Project Overview
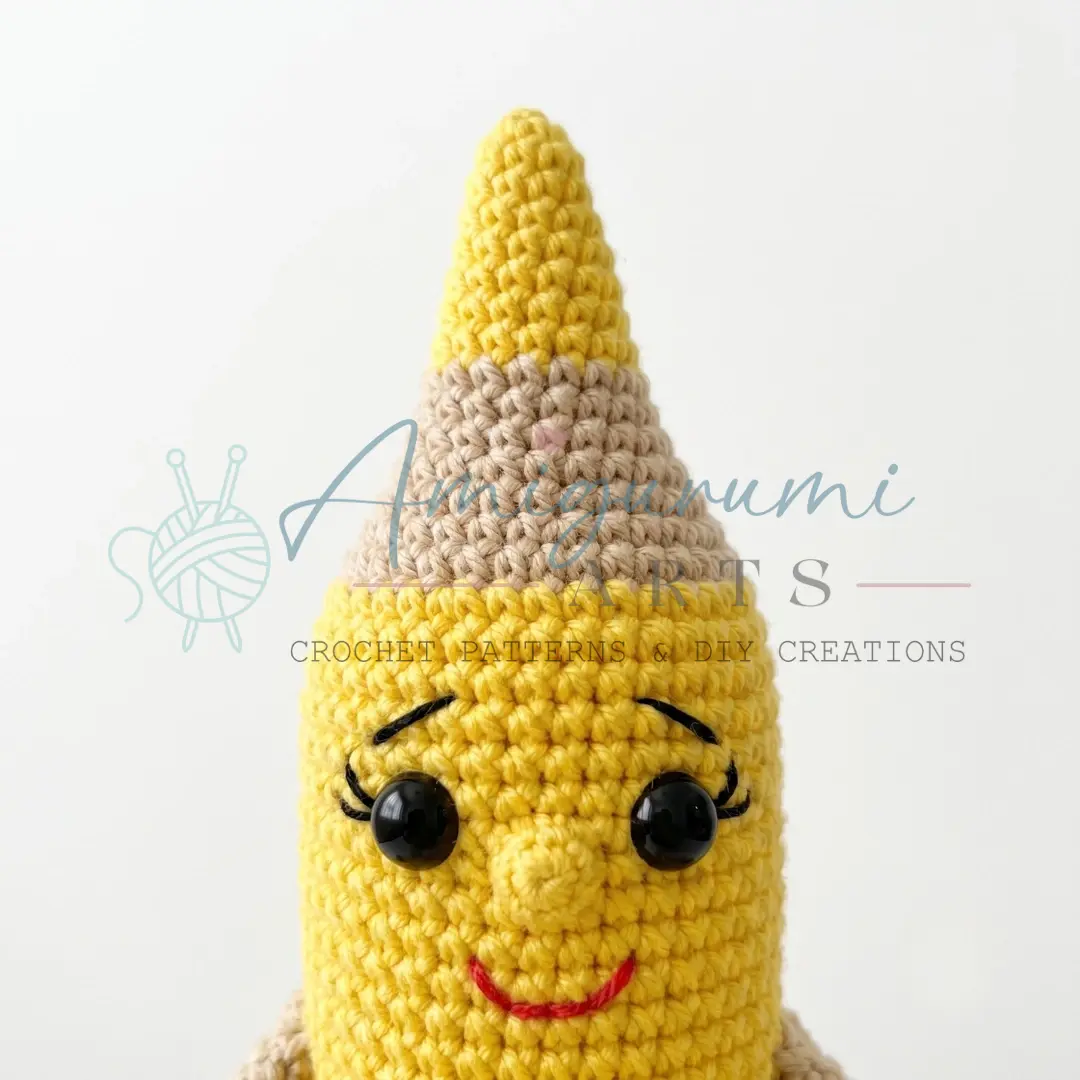
This Pencil Doll Amigurumi pattern is written in US crochet terminology. The body, arms, and legs are worked in a continuous spiral — do not join rounds unless instructed. Use a stitch marker to track the beginning of each round. The finished height is approximately 20 cm (approx. 8 inches) including legs. This is a wonderful beginner-to-intermediate amigurumi project.
Materials
- Yarn A — Dark Pink: YarnArt Jeans, color 59 (Sport/DK weight, cotton-acrylic blend)
- Yarn B — Light Pink: YarnArt Jeans, color 36 (Sport/DK weight, cotton-acrylic blend)
- Yarn C — Light Beige: YarnArt Jeans, color 05 (Sport/DK weight, cotton-acrylic blend)
- Yarn D — Cream/Milk: Alize Cotton Gold Tweed, color 62 (Sport/DK weight)
- Yarn E — Gray: Alize Cotton, color 200 (Sport/DK weight)
- Hook: US B-1 / 2.0 mm (main body and parts)
- Hook: US B-1 / 2.25 mm (skirt)
- Safety eyes: 7 mm, 2 pieces
- Stuffing: Fiberfill (polyester stuffing)
- Stitch markers
- Yarn needle / tapestry needle
- Scissors
- Black and red sewing thread: (for embroidered facial details)
Gauge and Finished Size
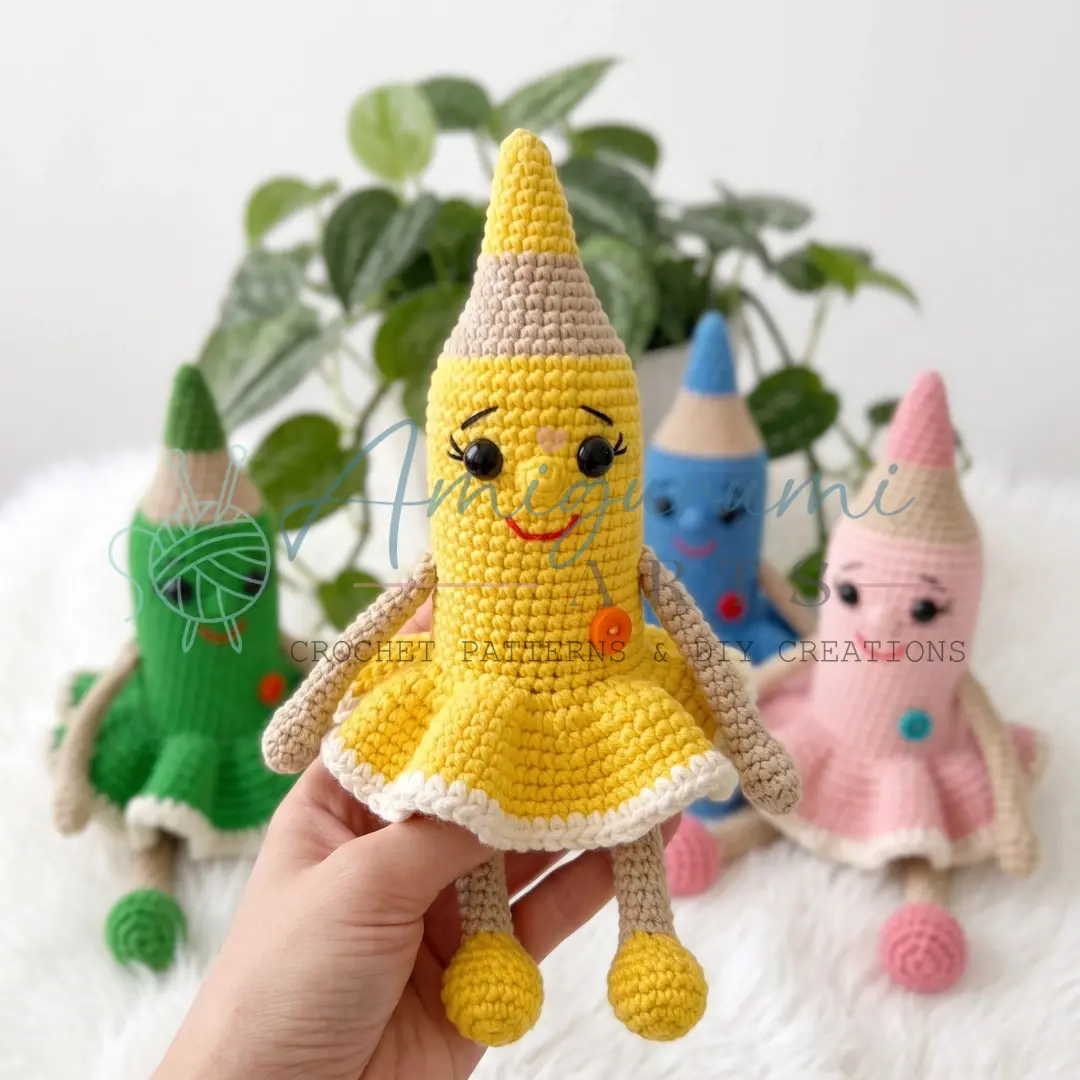
Gauge is not critical for this project, but a tight tension is recommended so stuffing does not show through the fabric. Your stitches should feel firm and have no gaps. The finished height is approximately 20 cm (approx. 8 inches) including legs.
Abbreviations
- BLO — Back Loop Only
- ch — Chain
- dec — Invisible Decrease (insert hook into front loop of next 2 sts, pull up a loop, yarn over, pull through all 3 loops)
- dc — Double Crochet
- FLO — Front Loop Only
- inc — Increase (2 sc in same stitch)
- MR — Magic Ring
- sc — Single Crochet
- sk — Skip
- sl st — Slip Stitch
- SM — Stitch Marker
- st / sts — Stitch / Stitches
Pattern Notes
Stitch counts are given at the end of each round in parentheses: (##). Stuff as you go. The body is stuffed continuously during construction. The arms are not stuffed. Only the foot portion of the legs is stuffed (Rnds 1–7). Safety eyes (7 mm) are inserted and secured after completing Rnd 25. The eyeholes are created in Rnd 21. A Bobble Stitch in this pattern refers to 3 double crochets worked into one stitch and closed together at the top — used once in Rnd 22 to form the doll’s nose. The skirt is worked using a larger hook (US B-1 / 2.25 mm) into the remaining front loops left at Rnd 36 of the body. Work with the doll’s tip (pencil point) facing toward you.
Pattern Instructions
Body
Begin with Yarn A (Dark Pink) and US B-1 / 2.0 mm hook.
Rnd 1: 6 sc in MR. (6)
Rnd 2: sc in each st around. (6)
Rnd 3: sc, inc repeat 3 times around. (9)
Rnd 4: sc in each st around. (9)
Rnd 5: 2 sc, inc repeat 3 times around. (12)
Rnd 6: sc in each st around. (12)
Rnd 7: 3 sc, inc repeat 3 times around. (15)
Rnd 8: sc in each st around. (15)
Switch to Yarn D (Cream).
Rnd 9: 4 sc, inc repeat 3 times around. (18)
Rnd 10: sc in each st around. (18)
Rnd 11: 5 sc, inc repeat 3 times around. (21)
Rnd 12: sc in each st around. (21)
Rnd 13: 6 sc, inc repeat 3 times around. (24)
Rnd 14: 3 sc, inc repeat 6 times around. (30)
Rnd 15: sc in each st around. (30)
Switch to Yarn B (Light Pink).
Rnd 16: 2 sc, inc, 4 sc, inc repeat 5 times, 2 sc. (36)
Rnds 17–20: sc in each st around. (36) (4 rounds)
Rnd 21: 15 sc, ch 1, sk 1 st, 5 sc, ch 1, sk 1 st, 14 sc. (36) These chain-1 spaces form the eye sockets. The stitch count remains 36.
Rnd 22: 18 sc, Bobble Stitch in next st (3 dc worked into 1 st, closed together at top — this forms the nose) , 17 sc. (36)
Continue stuffing the body firmly as you work.
After completing Rnd 25, insert and secure your 7 mm safety eyes into the chain-1 spaces created in Rnd 21.
Rnds 23–35: sc in each st around. (36) (13 rounds)
Work 2 slip stitches to shift the start-of-round marker to the center back of the doll before continuing.
Rnd 36 (BLO): sc in BLO of each st around. (36) The front loops left here will be used for the skirt.
Rnds 37–38: sc in each st around. (36) (2 rounds)
Switch to Yarn E (Gray).
Rnds 39–41: sc in each st around. (36) (3 rounds)
Switch to Yarn C (Light Beige).
Rnd 42 (BLO): sc in BLO of each st around. (36)
Rnds 43–44: sc in each st around. (36) (2 rounds)
Rnd 45: 2 sc, dec, 4 sc, dec repeat 5 times, 2 sc. (30)
Rnd 46: 3 sc, dec repeat 6 times around. (24)
Rnd 47: 1 sc, dec, 2 sc, dec repeat 5 times, 1 sc. (18)
Rnd 48: sc, dec repeat 6 times around. (12)
Rnd 49: dec 6 times around. (6)
Pull the opening closed, fasten off, and weave the yarn tail into the piece.
Arms (Make 2)
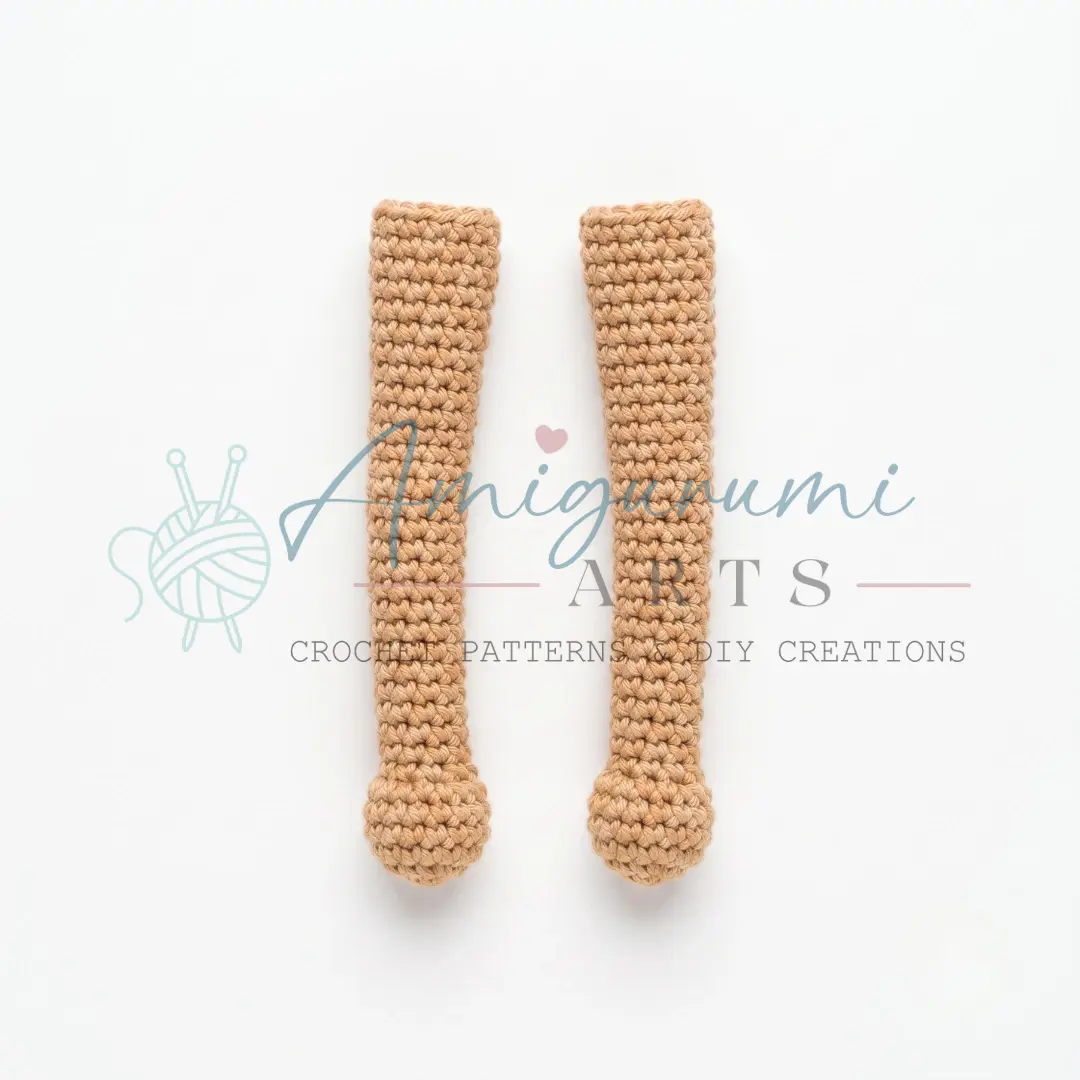
Work with Yarn D (Cream) and US B-1 / 2.0 mm hook. Do not stuff the arms.
Rnd 1: 5 sc in MR. (5)
Rnd 2: inc in each st around. (10)
Rnds 3–4: sc in each st around. (10) (2 rounds)
Rnd 5: dec 5 times around. (5)
Rnds 6–19: sc in each st around. (5) (14 rounds)
Flatten the opening, align the edges, and sc through both layers to close — working 2 sc across. Fasten off, leaving a yarn tail for sewing.
Legs (Make 2)
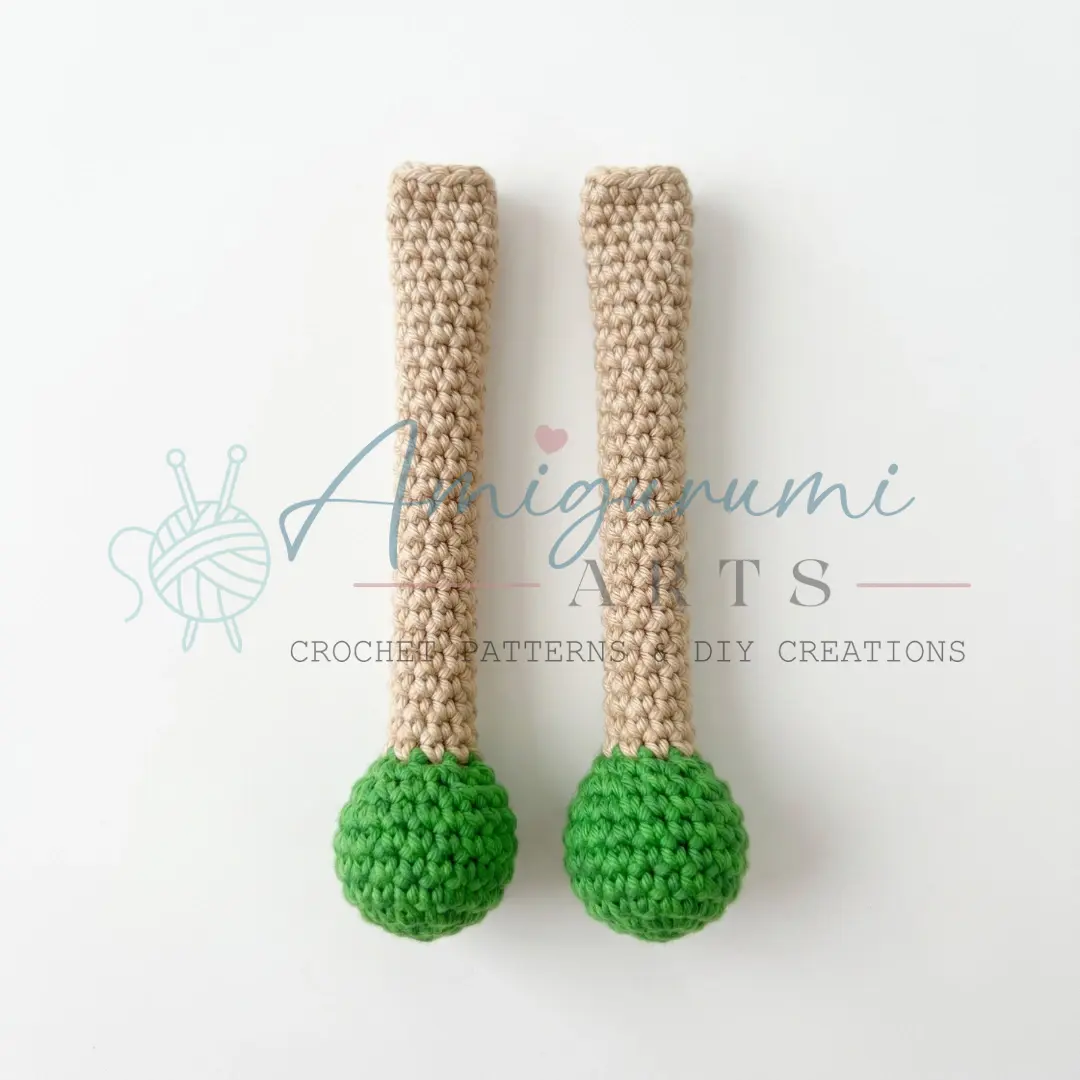
Work with Yarn A (Dark Pink) and US B-1 / 2.0 mm hook.
Rnd 1: 6 sc in MR. (6)
Rnd 2: inc in each st around. (12)
Rnd 3: sc, inc repeat 6 times around. (18)
Rnd 4 (BLO): sc in BLO of each st around. (18)
Rnd 5: sc in each st around. (18)
Stuff the foot firmly. Switch to Yarn D (Cream). From this point, do not add more stuffing.
Rnd 6: sc, dec repeat 6 times around. (12)
Rnd 7: dec 6 times around. (6)
Rnds 8–28: sc in each st around. (6) (21 rounds)
Flatten the opening, align the edges, and sc through both layers to close — working 3 sc across. Fasten off, leaving a yarn tail for sewing.
Skirt
Use Yarn B (Light Pink) and US B-1 / 2.25 mm hook. Join yarn to the remaining front loops from Rnd 36 of the body. Hold the doll with the pencil tip facing toward you.
Rnd 1 (FLO): inc in each st around (working into all 36 front loops). (72)
Rnd 2: sc, inc repeat 36 times around. (108)
Rnds 3–7: sc in each st around. (108) (5 rounds)
Switch to Yarn A (Dark Pink).
Edging: Work 1 sc, ch 2, alternating to the end of the round to create a decorative picot-style border. Fasten off and weave in ends.
Assembly
Attach the arms between Rnds 29 and 30 of the body, one on each side. Use the yarn tail and a yarn needle, sewing with whipstitch. Make sure both arms sit at the same height and angle evenly. Attach the legs between Rnds 40 and 41 of the body (in the gray section), positioning them side by side centered on the underside. Sew securely with the yarn tail using whipstitch, ensuring the feet point forward.
Embroider the face. Thread a needle with black sewing thread doubled. Embroider the eyebrows and eyelashes above and below the safety eyes using short straight stitches. Switch to red sewing thread doubled to embroider a small curved mouth below the nose bobble. Weave in all remaining yarn tails securely.
Tips
Keep your tension tight throughout the body. YarnArt Jeans is a smooth cotton-acrylic blend that can show gaps if your tension is loose. If you can see white fiberfill peeking through, go down half a hook size or work more firmly. A dense fabric makes the doll hold its pencil shape beautifully.
The invisible decrease is your best friend here. Because the doll’s body is worked in a pale cream section, any visible decrease ridges will stand out. Insert your hook into the front loops of the next two stitches simultaneously before pulling through — this keeps the decrease flat and nearly invisible on the right side.
Stuff the body firmly but not to bursting. A well-stuffed doll will hold its upright, pencil-like posture. Under-stuffed, the body will lean and crumple. Stop adding fiberfill only when the body feels solid and keeps its cylindrical shape on its own. The legs, by contrast, need no stuffing above the foot — the slim tube is what gives the piece its pencil-leg look.
Rnd 36 is a pivot point — treat it carefully. This BLO round separates the skirt loops from the body. After completing it, use a contrasting thread or pin to mark all 36 front loops before you move on. When you return to attach the skirt, those loops will be easy to find and you will not accidentally miss any, which would create a gap or pucker in the skirt.
For the skirt edging, keep the alternating sc and ch 2 border very consistent in tension. If the border ruffles or puckers unevenly, try holding the yarn slightly looser during the chain stitches. A relaxed edging round gives the skirt hem a soft, decorative finish without curling.
FAQs
Can I use a different yarn weight?
The pattern is designed for Sport/DK weight yarns to achieve the specific 20 cm height and the delicate proportions of the pencil shape. Using a heavier yarn may result in a doll that is too bulky or too short.
How do I make the invisible decrease?
Insert your hook into the front loops of the next two stitches simultaneously, pull up a loop, yarn over, and pull through all three loops on the hook. This creates a seamless decrease that is ideal for the smooth body of this doll.
What if I miss a stitch in the skirt?
It is crucial to work into all 36 front loops left from Rnd 36 of the body. If you miss a loop, the skirt may pucker or have a gap. Marking these loops with a stitch marker before starting the skirt helps prevent this.
Can I change the colors?
Absolutely! While the pattern uses specific colors to mimic a pencil and dress, you can choose any yarn colors you like to customize the doll to your preferences.
How do I secure the safety eyes?
Insert the safety eyes into the chain-1 spaces created in Rnd 21. Secure them firmly with the provided washers or nuts on the inside of the head after completing Rnd 25.
Pin This Crochet Pattern!