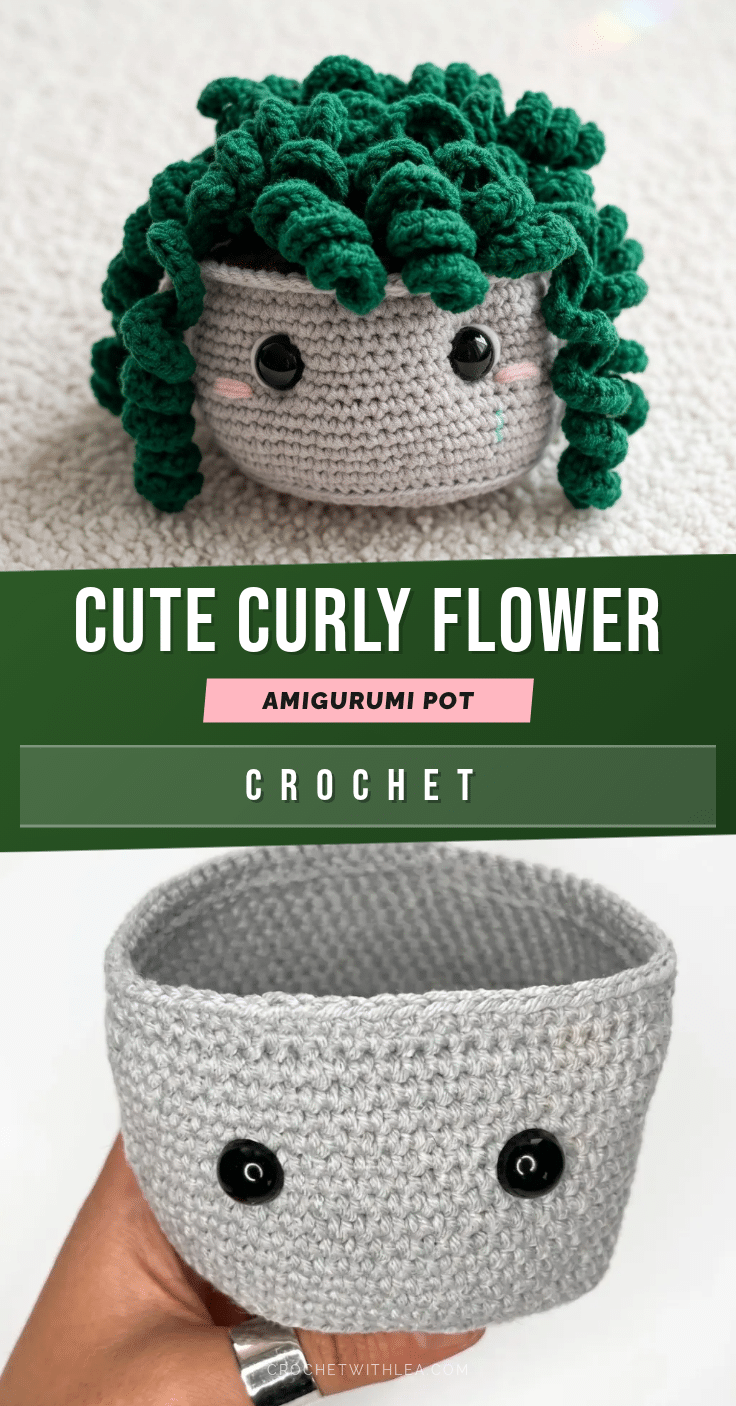
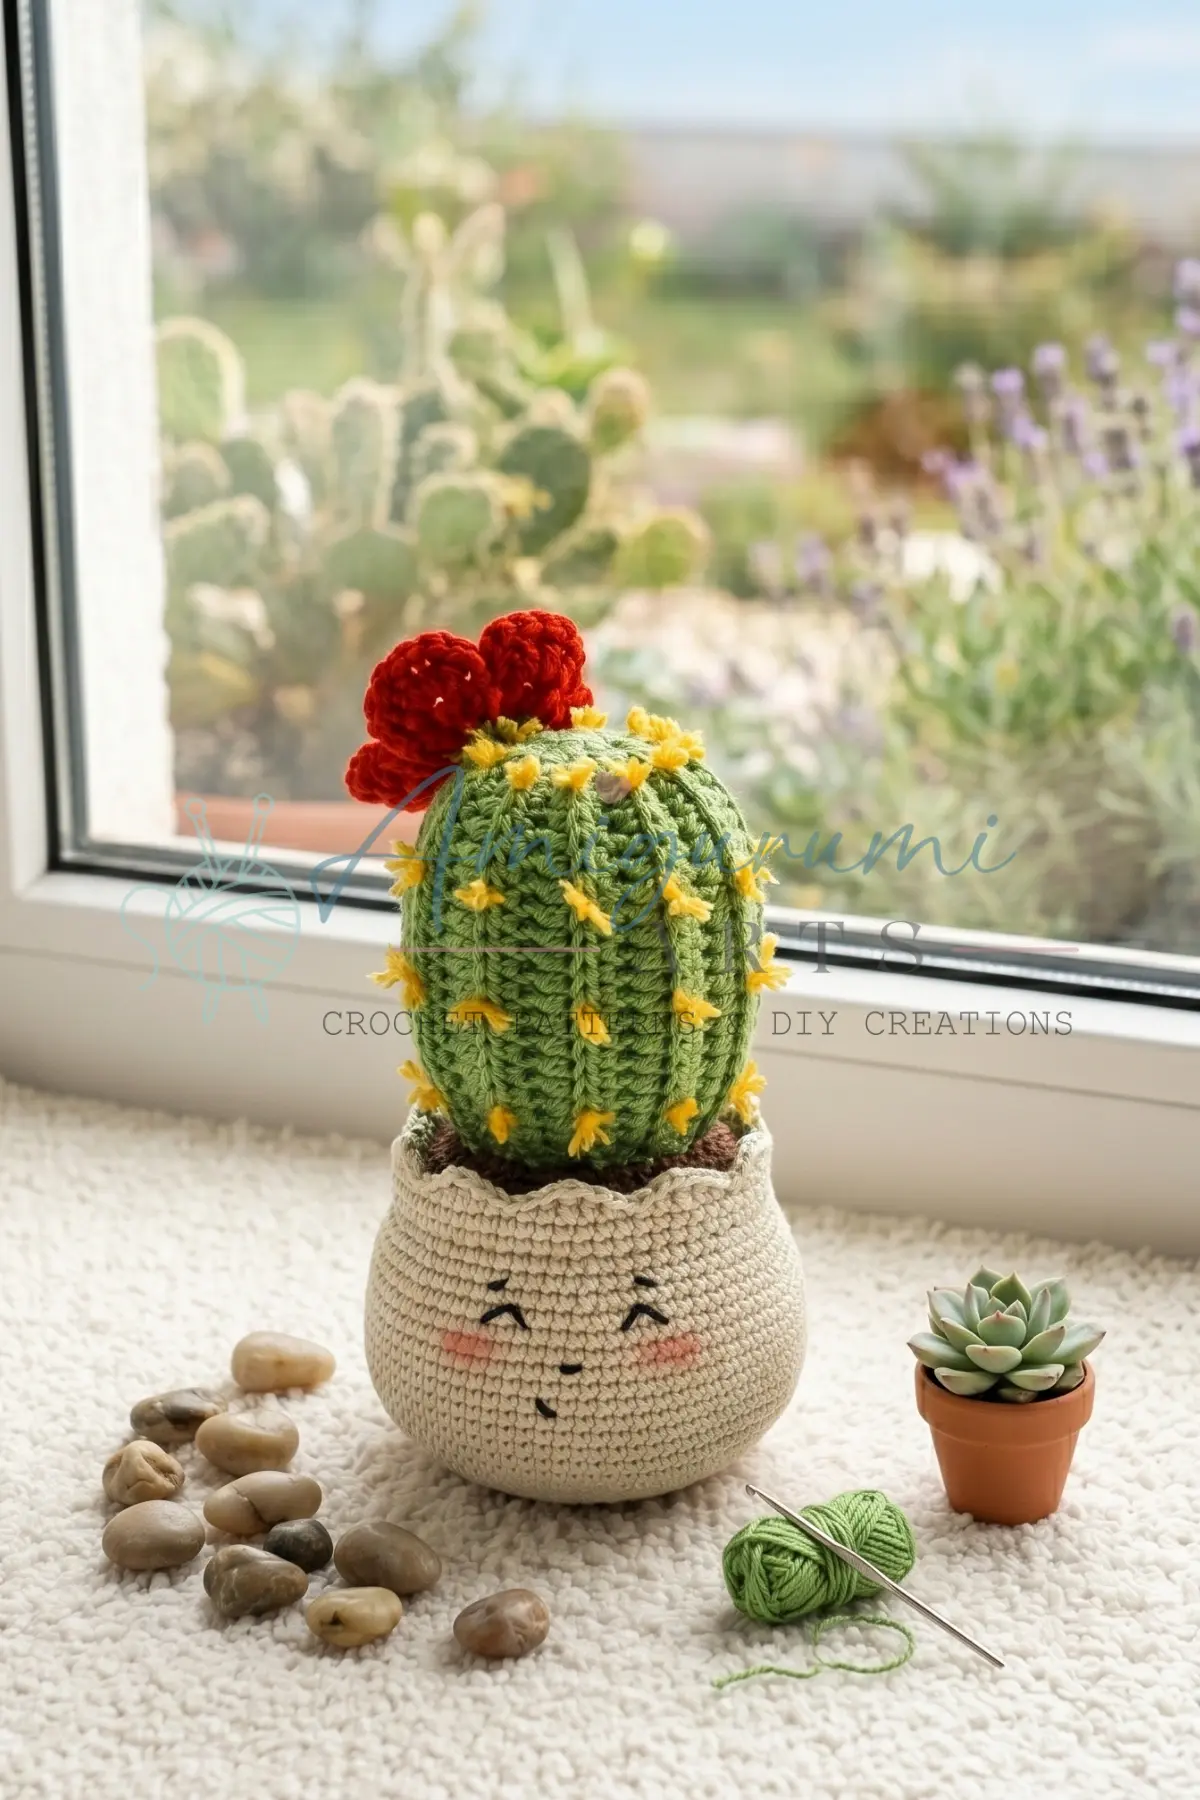
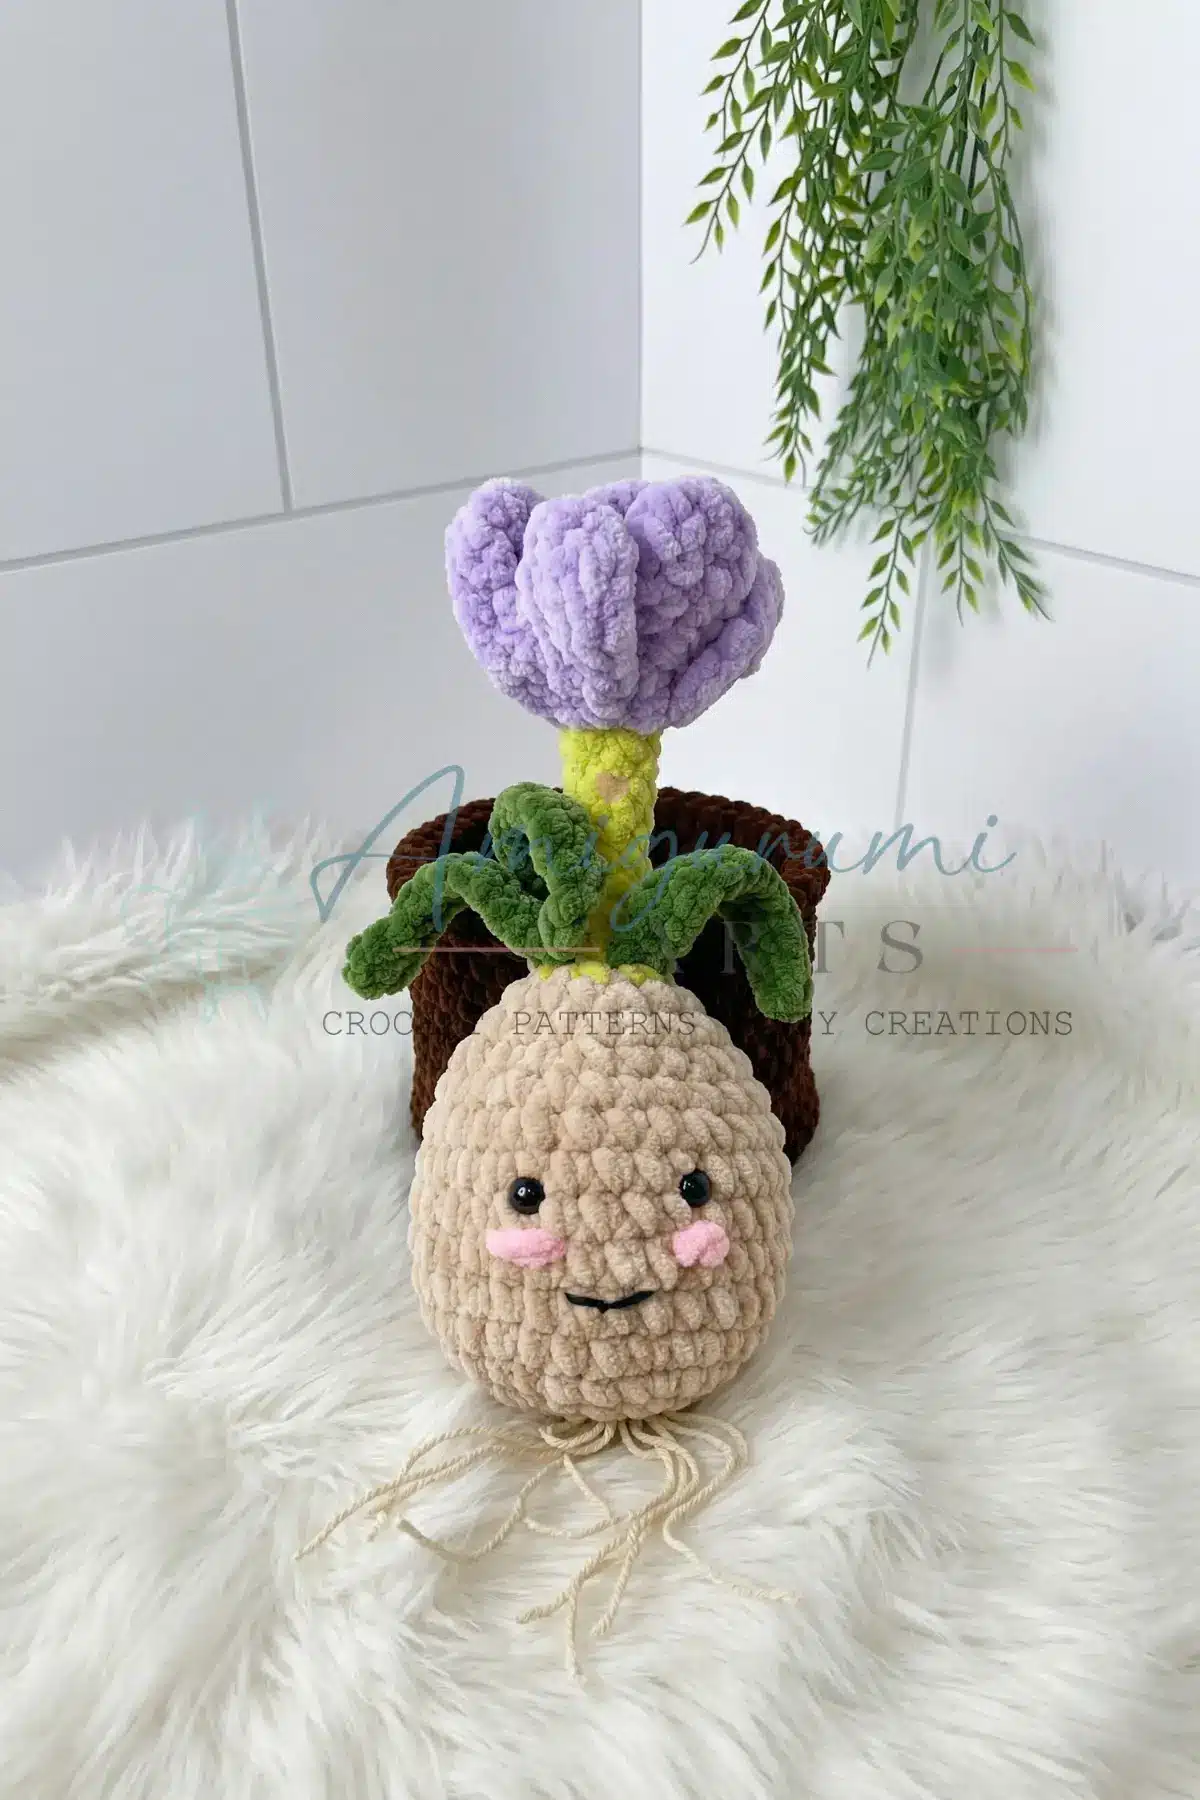
There is a specific kind of magic that happens when you reach into your yarn stash and find that perfect combination of textures. For this project, I found myself drawn to a soft cotton-acrylic blend, likely something like Alize Cotton Gold. The fiber content gives the pot a sturdy, structured body that holds its shape, while the cotton blend allows the green yarn to drape with a natural, organic weight. It was the decision to use a slightly matte finish rather than a high-shine acrylic that made the “soil” look realistic and the leaves feel lush. This isn’t just a toy; it is a deliberate textural study in whimsy, turning simple loops into a cascading garden of personality.
Yarn and Color Notes
The color palette for this amigurumi is designed to create a cohesive, earthy aesthetic. The pot itself is worked in a warm brown, providing a classic terracotta feel. The “soil” at the top uses a contrasting gray or dark brown to simulate the earth, creating a clear visual separation between the container and the plant. The curly leaves are a vibrant green, which pops beautifully against the neutral tones of the pot. For the handles, we return to the gray to tie the design together, making it look like a functional, albeit adorable, carrying vessel. The small accents of white and pink yarn for the face add a necessary touch of character, ensuring the “personality” of the piece shines through.
Project Overview
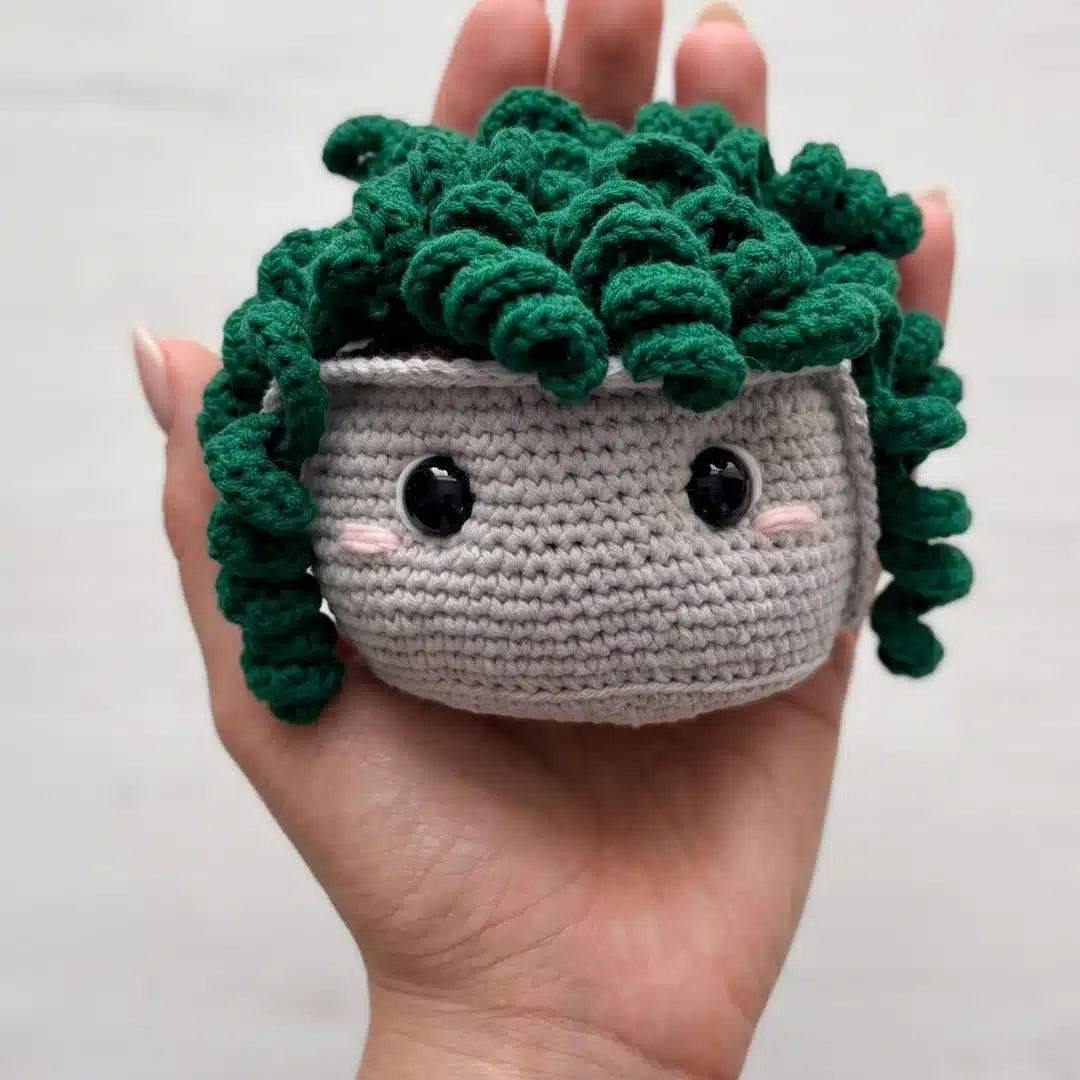
The Curly Flower Pot is a beginner-to-intermediate amigurumi project that combines standard shaping techniques with decorative chain extensions. The result is a three-dimensional character piece featuring a round pot with a face, topped with layers of swirling curly tendrils. It serves as excellent practice for working in continuous spirals, managing reserved loops, and creating decorative chain stitches. The finished piece is sturdy enough for display on a shelf or as a charming gift for plant lovers.
Materials
- Yarn: Light worsted / DK weight cotton blend in gray, green, and brown (e.g., Alize Cotton Gold or similar cotton-acrylic blend)
- Hook: US B-1 / 2.0 mm
- Safety Eyes: 13 mm — 2 pieces
- Stuffing: Polyfill / fiberfill
- Cardboard: One circle cut to approximately 8 cm (3 in) diameter for the pot base
- Stitch markers
- Yarn needle / tapestry needle
- Scissors
- Small amount of white yarn (for eye whites embroidery)
- Small amount of pink yarn (for cheek embroidery)
Gauge and Finished Size
Gauge is not critical for this project, but your fabric should be tight enough that stuffing does not show through. Adjust hook size down if needed. The finished size is determined by the pattern instructions, resulting in a sturdy pot base of approximately 8 cm (3 in) diameter.
Abbreviations
- BLO — Back Loop Only
- ch — Chain
- dec — Invisible Decrease
- FLO — Front Loop Only
- hdc — Half Double Crochet
- inc — Increase (2 sc in same stitch)
- MR — Magic Ring
- sc — Single Crochet
- sk — Skip
- sl st — Slip Stitch
- SM — Stitch Marker
- st / sts — Stitch / Stitches
Pattern Notes
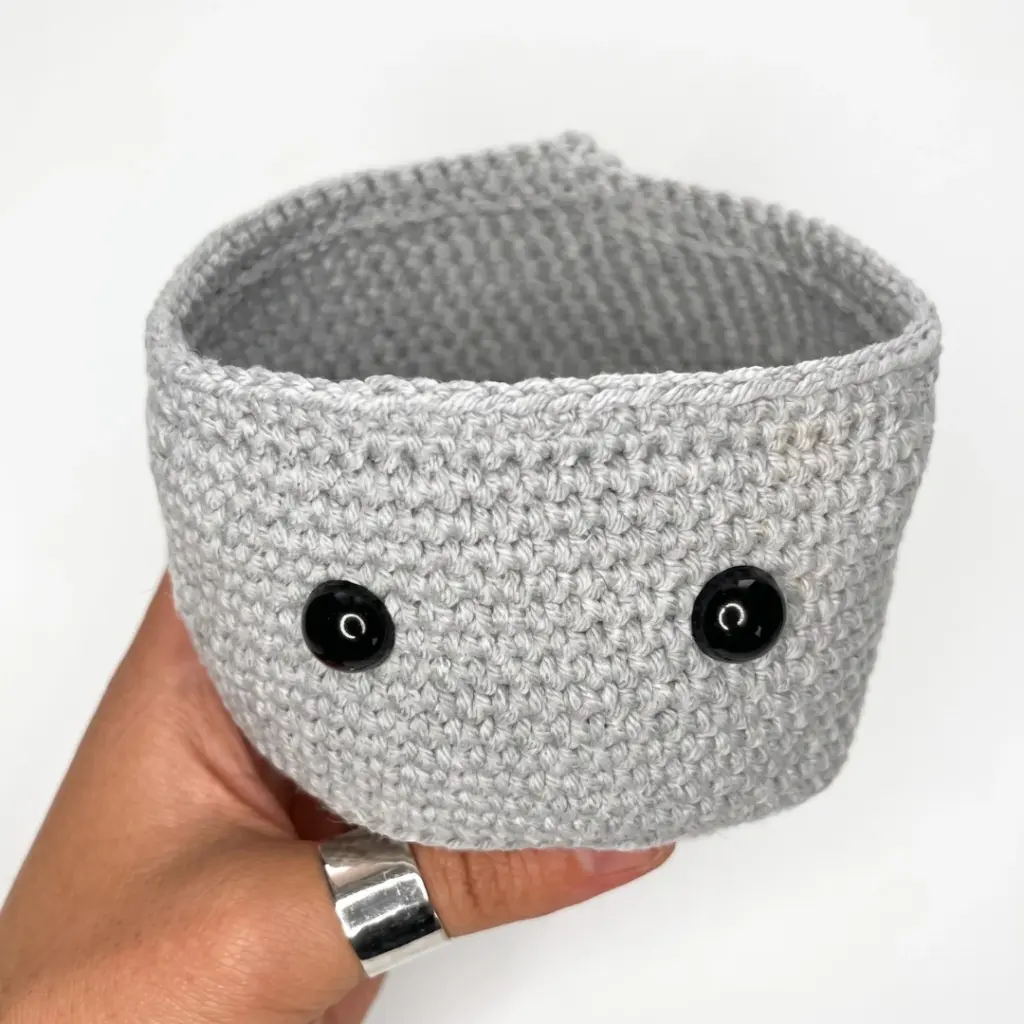
This curly flower pot crochet pattern is written in US crochet terminology. The Pot and Soil pieces are worked in continuous spiral rounds. The Curly Leaves are worked as chained extensions attached to reserved loops — they are not worked in the round. Stitch counts are given at the end of each round in parentheses: (##). Safety eyes (13 mm) are inserted between Rounds 18 and 19 of the Pot, spaced 8 stitches apart. Insert them before closing the piece. The Soil piece is attached to the top of the Pot using the reserved back loops left during Round 10 of the Pot. Read the Soil and Assembly sections before beginning. Cut an 8 cm (3 in) cardboard circle and place it inside the finished Pot to keep the base flat.
Pattern Instructions
Pot (worked in brown)
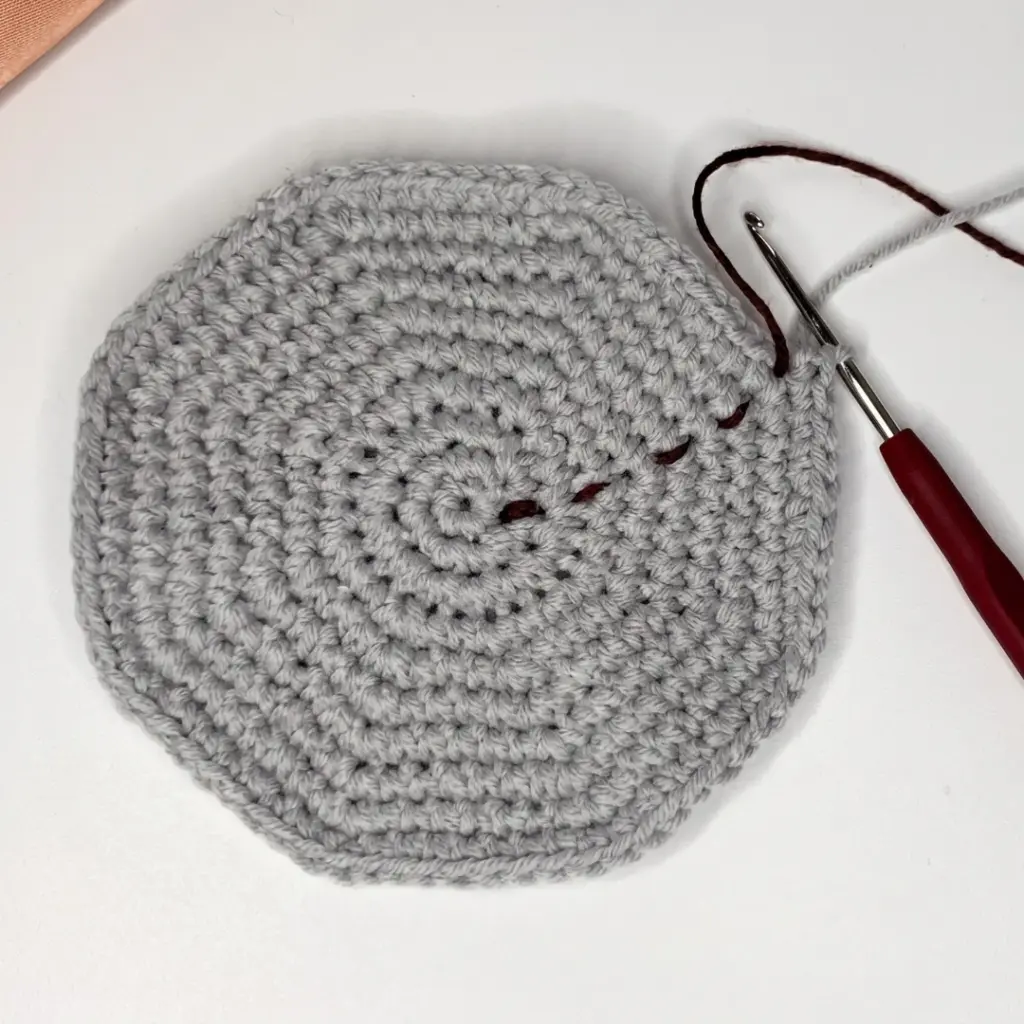
Rnd 1: 6 sc in MR. (6)
Rnd 2: inc in each st around. (12)
Rnd 3: inc in each st around. (24)
Rnd 4: 2 sc, inc repeat 8 times around. (32)
Rnd 5: 3 sc, inc repeat 8 times around. (40)
Rnd 6: 4 sc, inc repeat 8 times around. (48)
Rnd 7: 5 sc, inc repeat 8 times around. (56)
Rnd 8: 6 sc, inc repeat 8 times around. (64)
Rnd 9: 7 sc, inc repeat 8 times around. (72)
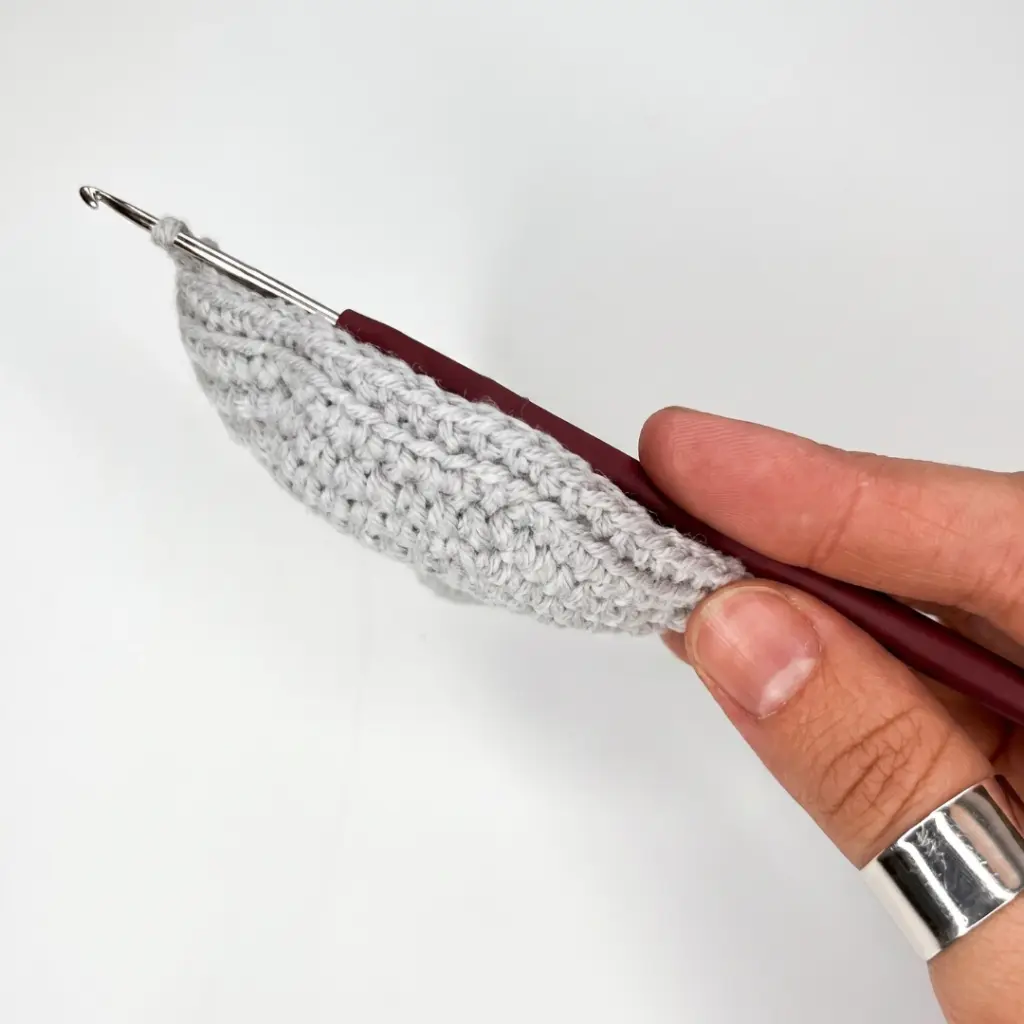
Rnd 10: sc in BLO in each st around. (72) This round creates a visible ridge and reserves the front loops for attaching the Soil later.
Rnds 11–23: sc in each st around. (72) 13 rounds total worked even.
After completing Rnd 23, insert the 13 mm safety eyes between Rounds 18 and 19, spaced 8 stitches apart across the front of the Pot.
Rnd 24: sc in FLO in each st around. (72) This creates the upper rim ridge.
Rnd 25: sc in each st around. (72)
Finish with a sl st. Cut yarn and weave in end. Place the 8 cm cardboard circle inside the base of the Pot to keep it flat and firm.
Soil (worked in gray or dark brown)
Note: All rounds of the Soil except the final round are worked in BLO.
Rnd 1: 6 sc in MR. (6)
Rnd 2: inc in each st around. (12)
Rnd 3: inc in each st around. (24)
Rnd 4: 2 sc, inc repeat 8 times around. (32)
Rnd 5: 3 sc, inc repeat 8 times around. (40)
Rnd 6: 4 sc, inc repeat 8 times around. (48)
Rnd 7: 5 sc, inc repeat 8 times around. (56)
Rnd 8: 6 sc, inc repeat 8 times around. (64)
Rnd 9: 7 sc, inc repeat 8 times around. (72)
Rnd 10: sc in FLO in each st around. (72) Final round, worked in front loops only. These loops will be used to join the Soil to the Pot.
Do not fasten off yet. Proceed immediately to the Assembly section to join the Soil to the Pot.
Curly Leaves (worked in green)
The curly leaves are attached directly to the reserved loops on the Soil surface. Each “curl” is made by chaining a length, then working 2 hdc into every chain back to the base — this creates the natural spiral curl.
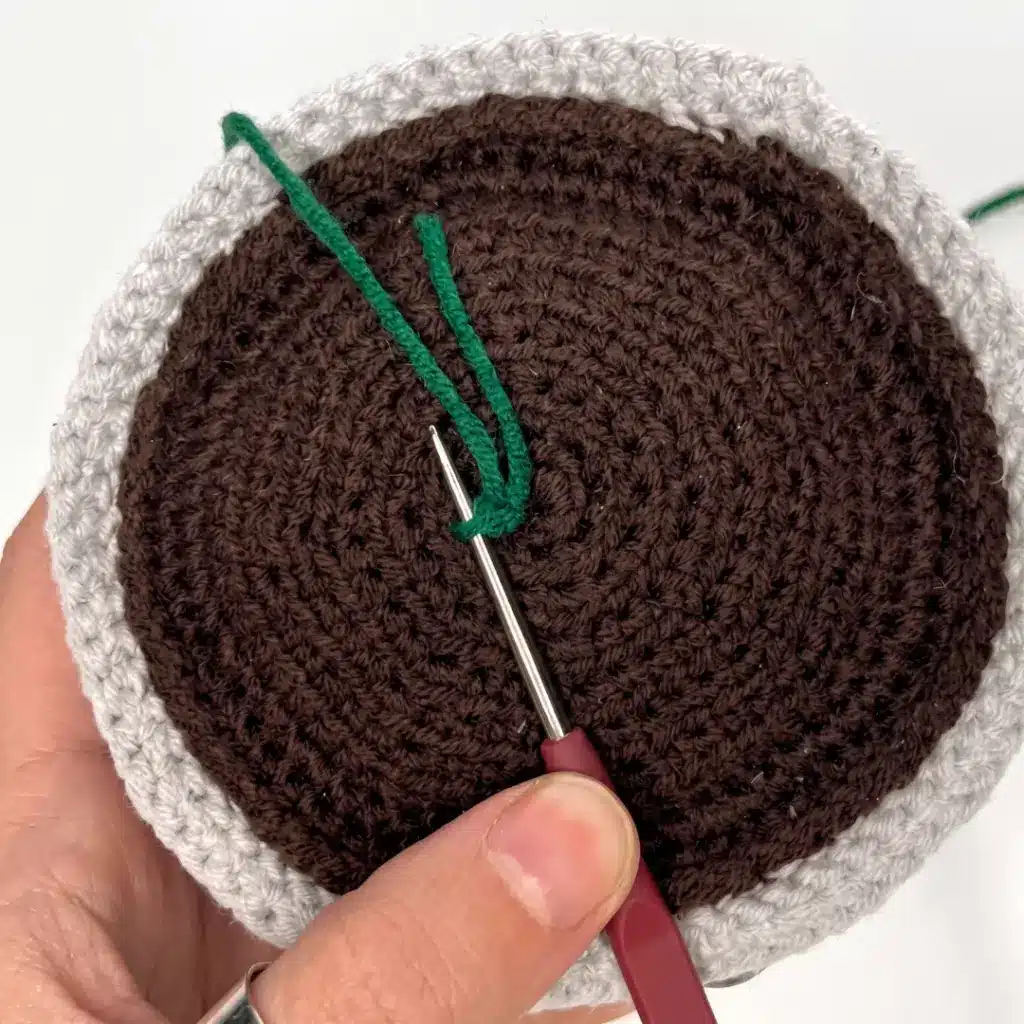
Join green yarn to the first reserved loop at the center of the Soil (the loops left from the BLO rounds).
First ring of leaves — make 5 curls:
For each curl:
Chain 26. Working back along the chain toward the Pot, work 2 hdc into each chain. At the end, skip the next loop on the Soil, then sl st into the following loop to anchor. This creates one curly tendril.
Repeat this sequence 5 times evenly around, completing 5 curls in this first ring.
Second ring of leaves — make 7 curls:
For each curl:
Chain 31. Working back along the chain, work 2 hdc into each chain. Skip 2 loops on the Soil between anchors, then sl st into the next loop to anchor.
Repeat this sequence 7 times evenly around, completing 7 curls in this second ring.
Third ring of leaves — make 10 curls, alternating lengths as follows:
Work the curls in this exact order, anchoring each one with a sl st into the next available loop on the Soil rim:
Curl 1: Chain 46. Work 2 hdc into each chain back to the Pot.
Curl 2: Chain 58. Work 2 hdc into each chain back to the Pot.
Curl 3: Chain 46. Work 2 hdc into each chain back to the Pot.
Curl 4: Chain 58. Work 2 hdc into each chain back to the Pot.
Curl 5: Chain 46. Work 2 hdc into each chain back to the Pot.
Curl 6: Chain 58. Work 2 hdc into each chain back to the Pot.
Curl 7: Chain 31. Work 2 hdc into each chain back to the Pot. Position this shorter curl at the center front, directly above the face.
Curl 8: Chain 58. Work 2 hdc into each chain back to the Pot.
Curl 9: Chain 46. Work 2 hdc into each chain back to the Pot.
Curl 10: Chain 58. Work 2 hdc into each chain back to the Pot.
Finish with a sl st. Cut yarn and weave in end.
Handles (worked in gray)
Two rope handles are added to the sides of the Pot.
Join gray yarn to one side of the Pot rim. Chain 55. Fasten off, securing the end to the directly opposite side of the Pot rim. Repeat on the other side of the Pot to create the second handle.
Assembly
Join the Soil to the Pot. Hold the Soil piece against the open top of the Pot, aligning the 72 front loops of the Soil’s final round with the 72 reserved back loops from Round 10 of the Pot. Working through both loops at the same time, sl st or sc around all 72 stitches to join them together into one continuous seam. Finish with a sl st and cut yarn.
Stuff the Pot. Before completing the join (or via the opening if working in sections), fill the Pot firmly with polyfill. Insert the cardboard circle into the base before stuffing to maintain a flat bottom. The Pot should feel solid and hold its round shape.
Embellish the face. Using white yarn, embroider small eye-white highlights next to each safety eye. Using pink yarn, embroider two small circles or oval shapes below the eyes for rosy cheeks.
Attach the handles. If not already attached during the Handles section, sew or fasten each gray chain handle securely to both sides of the Pot rim, using yarn tails and a tapestry needle.
Weave in all remaining ends.
Tips
- Keep your tension firm throughout the Pot. Amigurumi pieces need a tight, close fabric so the stuffing doesn’t peek through. If you can see daylight between your stitches, go down a hook size. A dense fabric also helps the Pot hold its shape.
- Mark your reserved loops immediately. When you work the BLO round on the Pot (Round 10) and the FLO round on the Soil (Round 10), the remaining loops are easy to lose track of once you continue working. Place a contrast yarn or a spare stitch marker along the loop ridge right after you complete those rounds, so you can find them instantly at assembly time.
- Curls will tighten as you go — don’t pull them straight. When working 2 hdc back along a long chain, the piece naturally wants to spiral. That’s exactly what you want. Work with relaxed tension on the chain return; pulling the chain taut will reduce the curl. Let the fabric do its thing.
- Position the face before inserting safety eyes. Once a 13 mm safety eye is locked in with its backing, it isn’t coming back out without a fight. Hold the Pot upright, decide exactly where you want the “face” to sit relative to the front center, and mark both eye positions with a pin before committing. The shorter curl (chain 31) is your centering guide. In the third ring of the outer leaves, the one shorter curl is intentionally placed at the front center, right above the face. Start your count from the face and place that curl first — then distribute the longer curls symmetrically on either side. This keeps the whole piece balanced and the face visible.
Frequently Asked Questions
What hook size should I use?
The pattern recommends a US B-1 / 2.0 mm hook. However, gauge is not critical. If your fabric is too loose and stuffing shows through, switch to a smaller hook to create a tighter weave.
How do I keep the pot base flat?
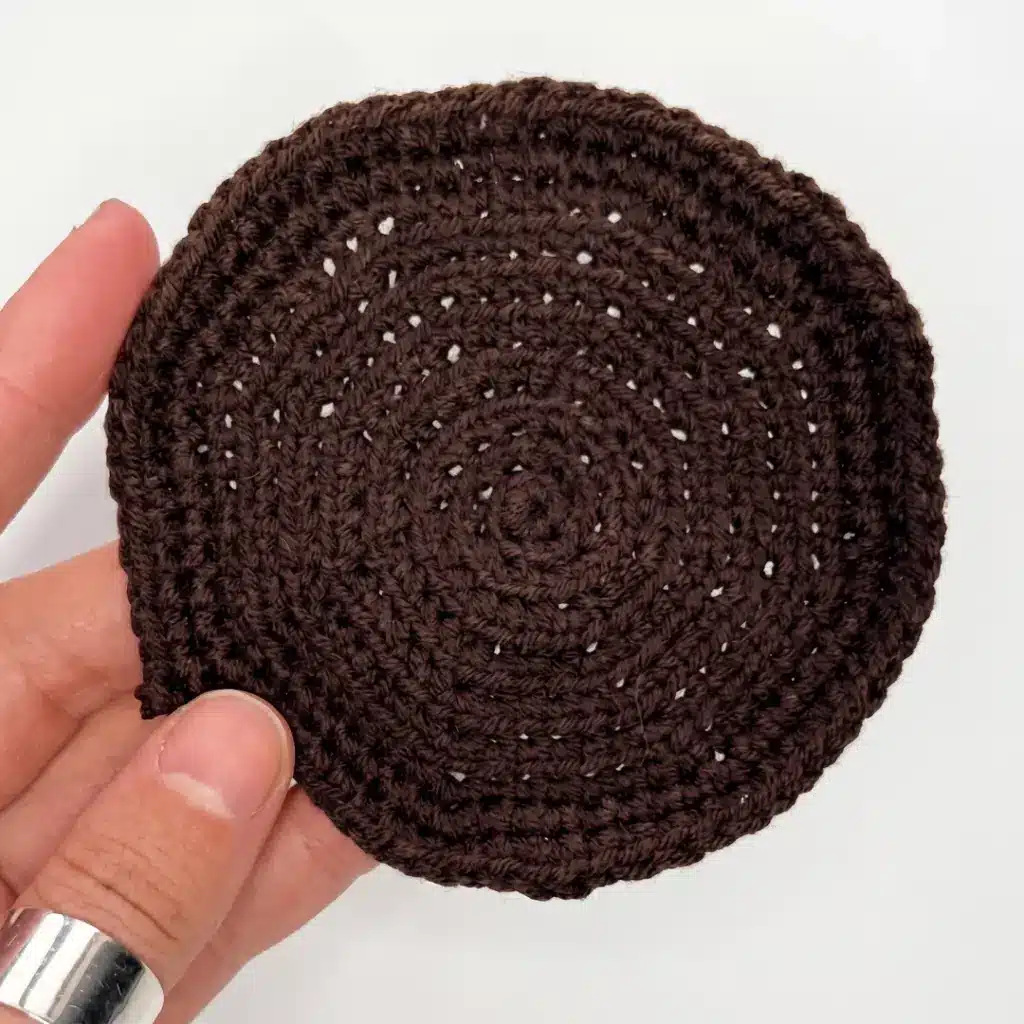
Insert an 8 cm (3 in) cardboard circle into the base of the Pot before stuffing. This provides structural support and ensures the pot sits flat on any surface.
Why are the leaves curly?
The curls are created by chaining a specific length and then working 2 hdc back along that chain. This technique causes the chain to spiral naturally. Avoid pulling the chain tight while working back; relaxed tension encourages the curl.
How do I attach the soil to the pot?
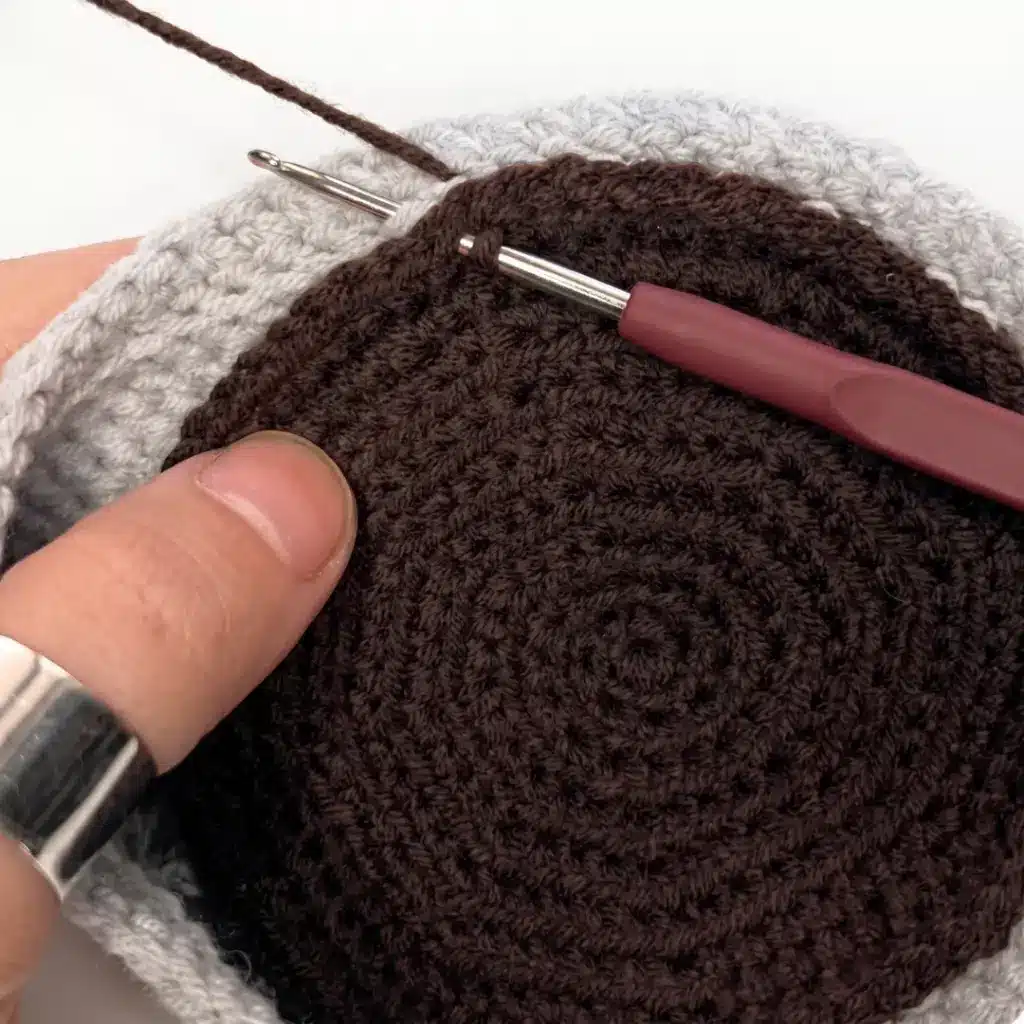
The soil is attached using the reserved loops. The soil’s final round is worked in FLO, leaving the back loops free. These are aligned with the front loops reserved in the pot’s Round 10 (worked in BLO). Join them using slip stitches or single crochets through both loops.
Can I make this pattern without the face?
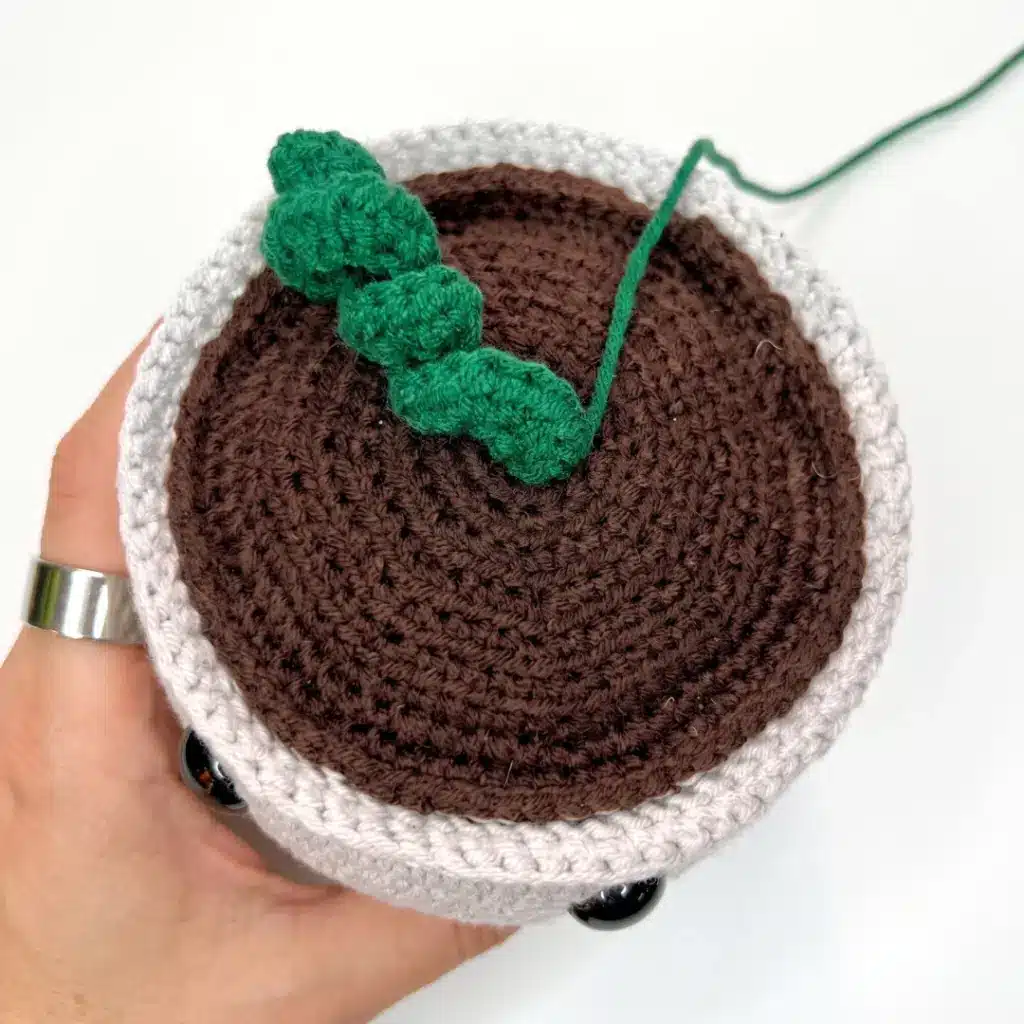
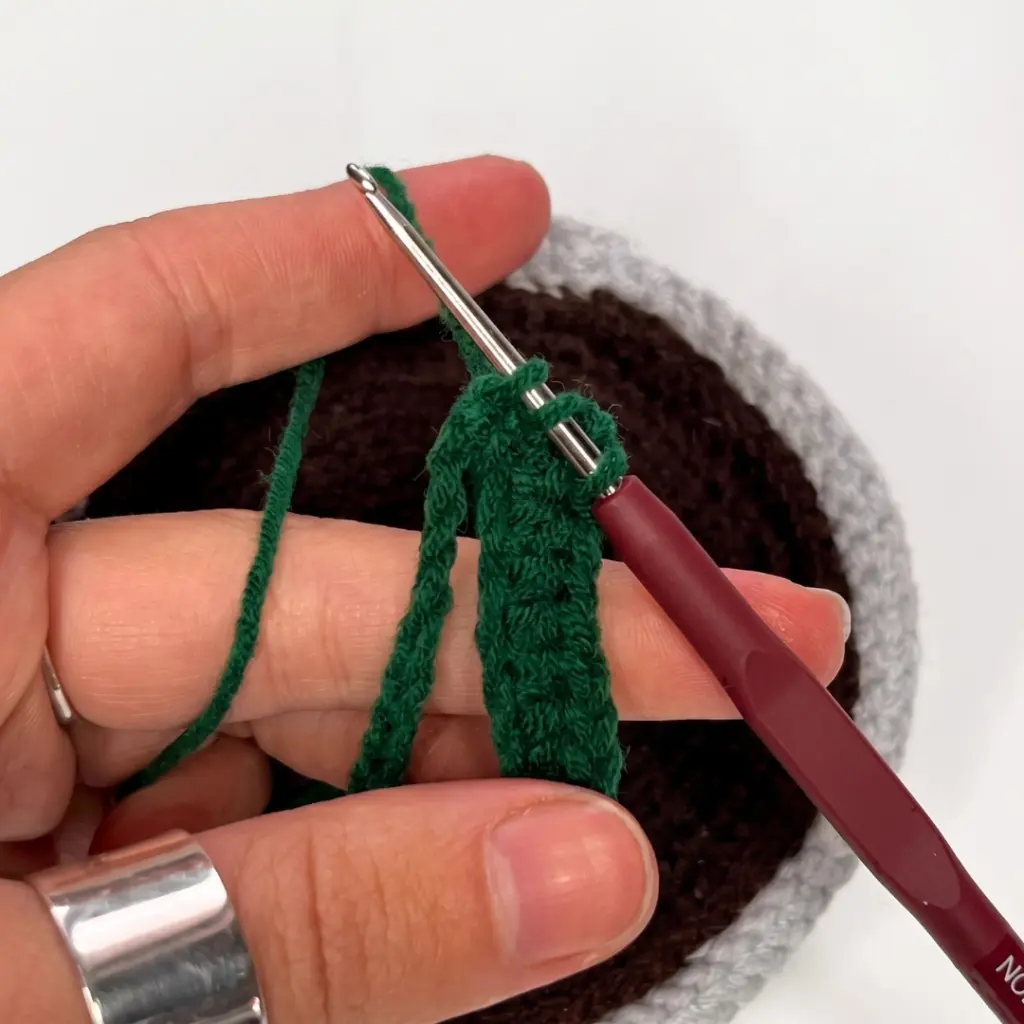
Yes. You can skip inserting the safety eyes and the embroidery for the cheeks and eye highlights if you prefer a more traditional plant pot appearance, though the face is a key part of the amigurumi character design.
Pin This Crochet Pattern!