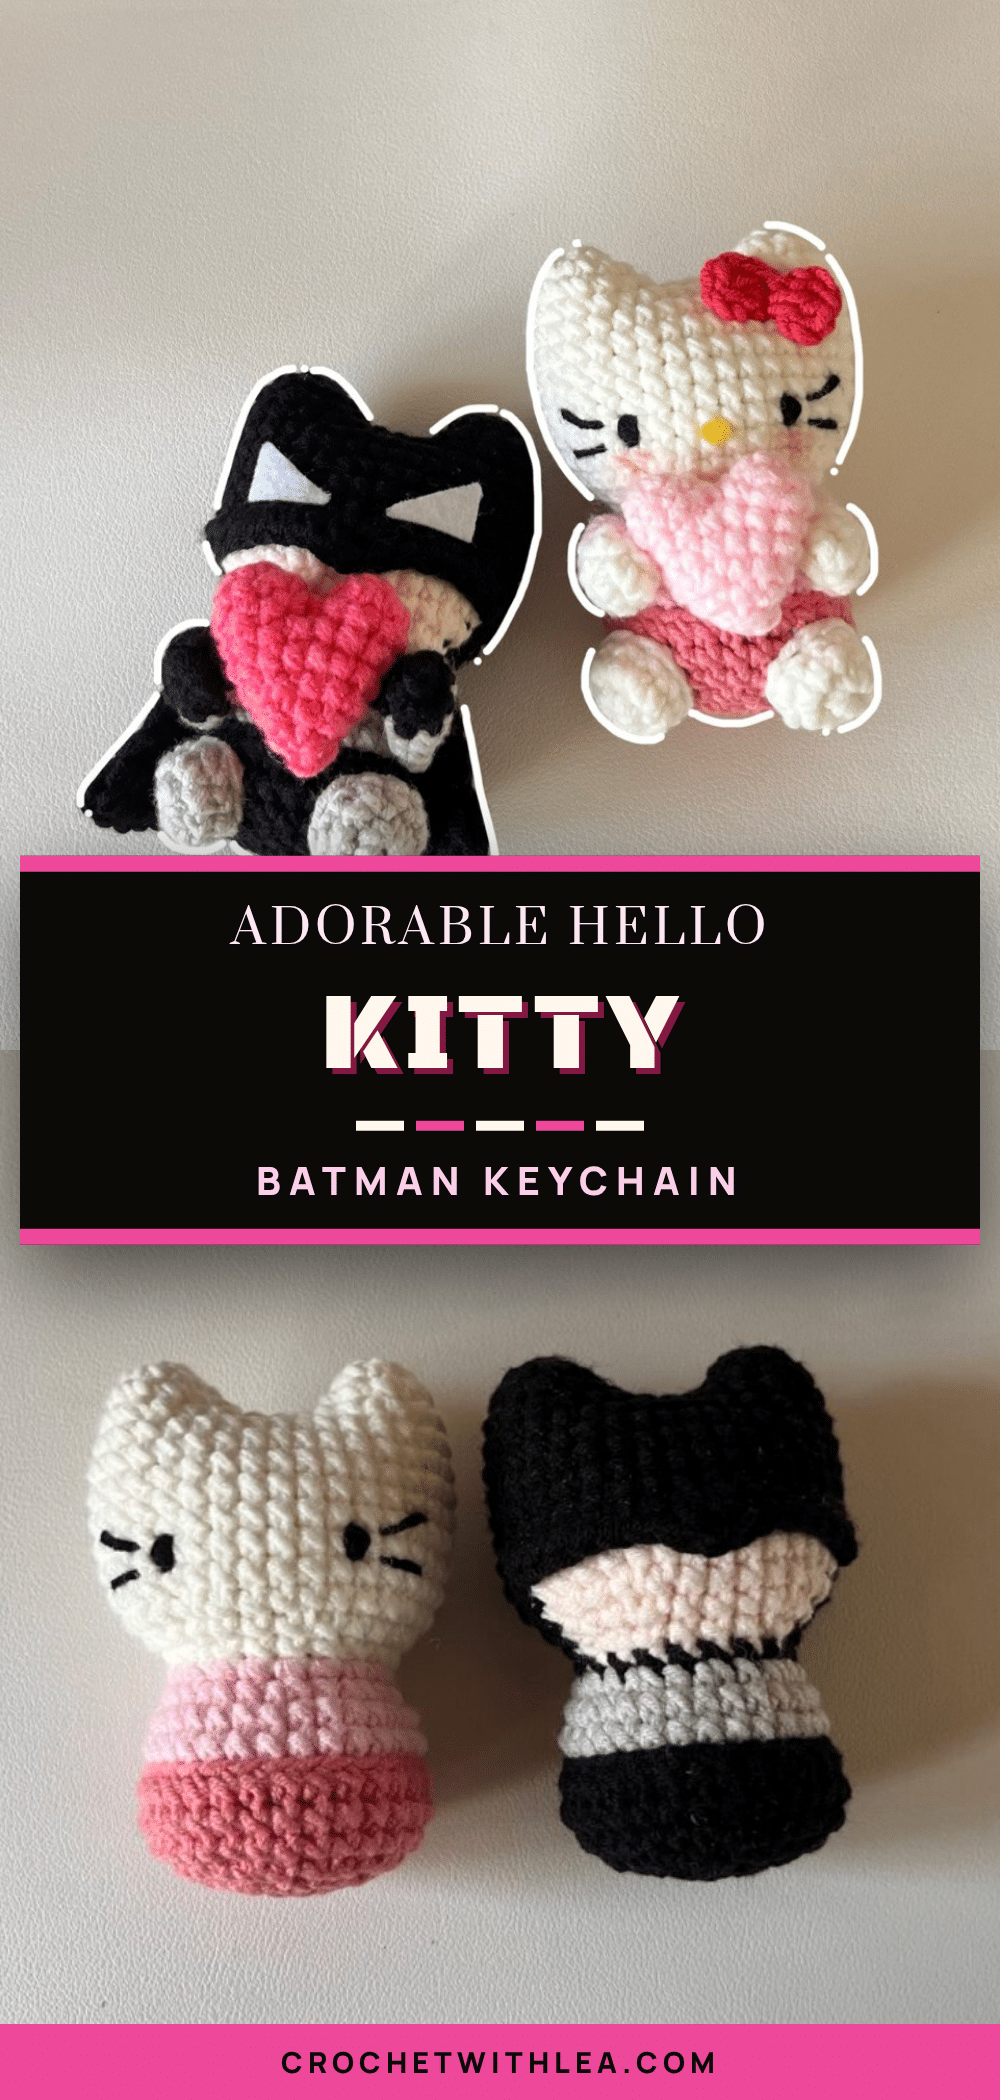
There is something undeniably charming about pulling two contrasting colors from your stash—perhaps a crisp white and a deep charcoal—and realizing they are destined to become something entirely new. This project began with a simple decision: what if the soft, rounded curves of a classic cat character could share a moment with the sharp, heroic silhouette of a caped crusader? The choice of cotton or sport-weight yarn adds a necessary structure to these tiny figures, allowing them to hold their shape while remaining soft enough to cuddle. It is a small, intentional pairing that turns a simple keychain into a conversation starter, proving that even the smallest projects can carry the biggest personalities.
Yarn and Color Notes
When selecting your yarn for this project, the texture plays a crucial role in the final aesthetic. Cotton or acrylic sport-weight yarns are ideal because they provide a smooth finish that highlights the intricate details of the amigurumi faces. For Hello Kitty, the contrast between the white head and the pink accents creates a classic, sweet look. For Batman, the black and grey combination offers a sleek, modern vibe. The mini heart in bright pink serves as a delightful pop of color that ties the two distinct characters together. Using a consistent yarn weight ensures that the pieces fit together harmoniously during assembly, making the final product feel cohesive and professionally finished.
Project Overview
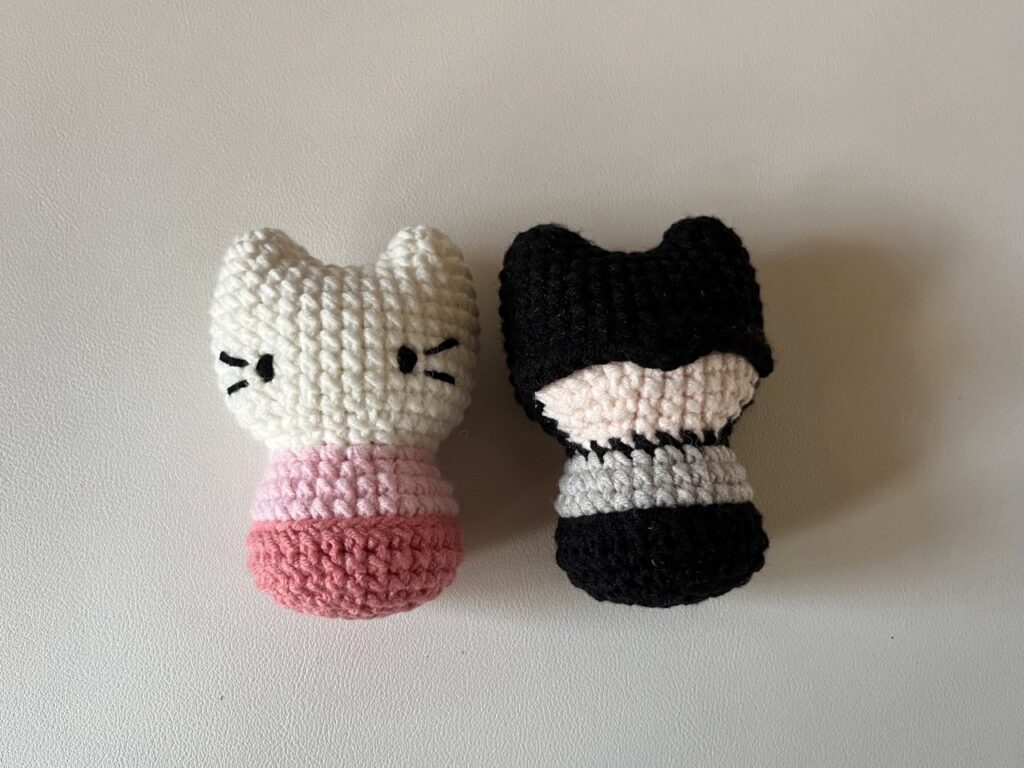
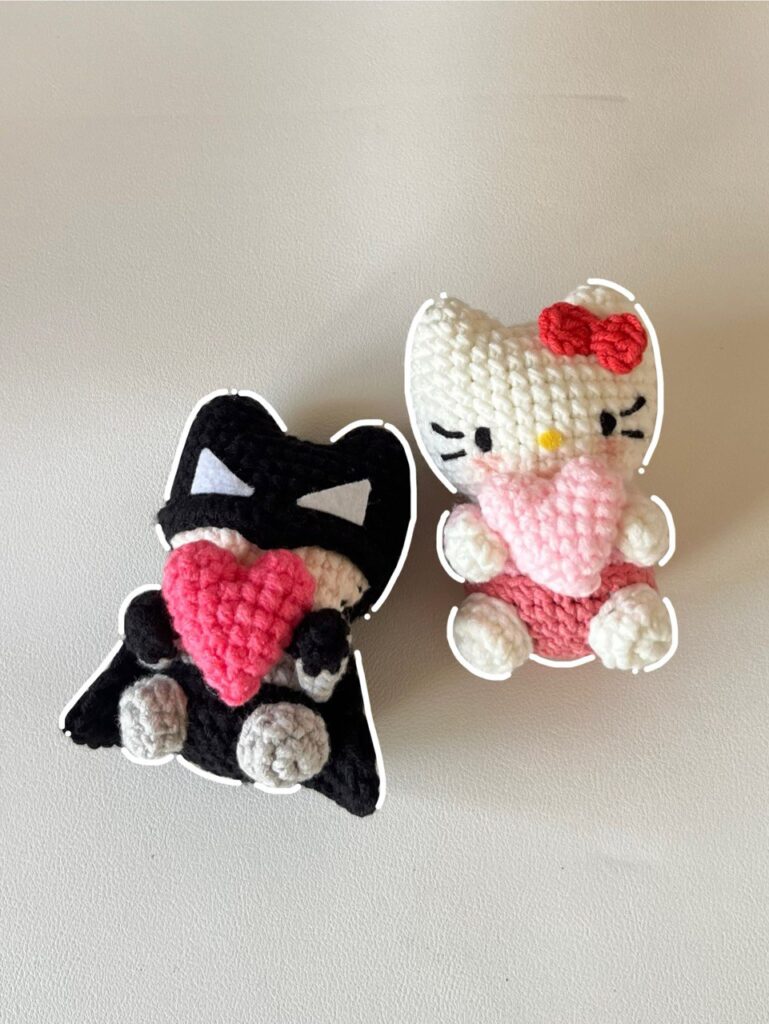
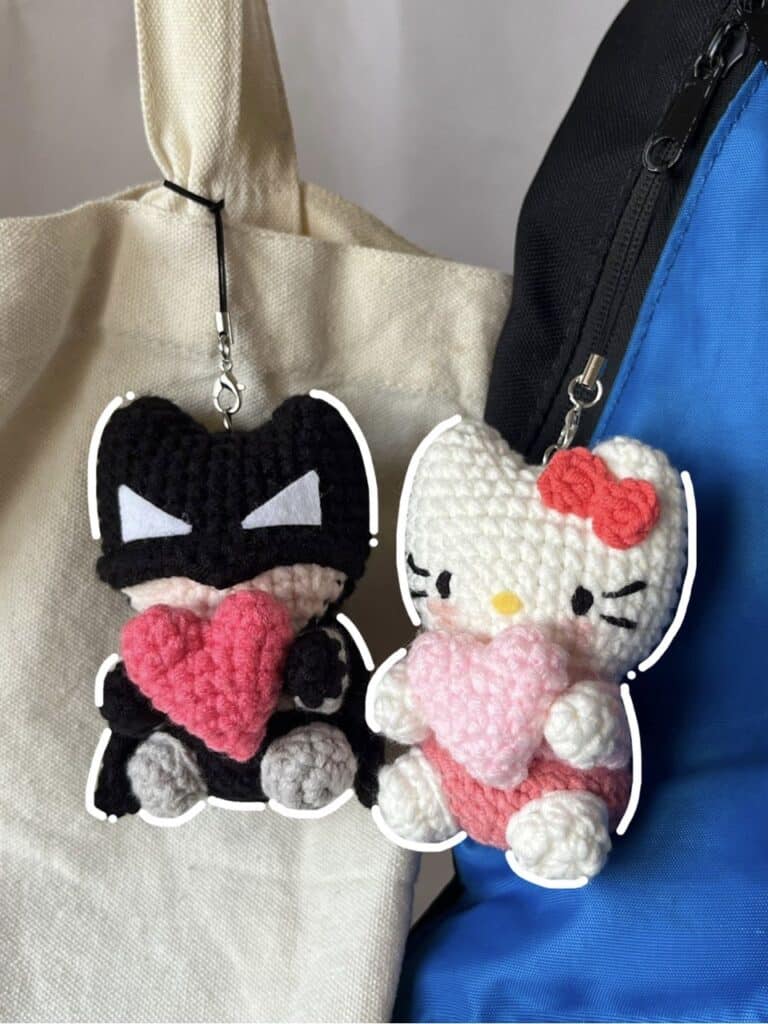
This pattern guides you through creating a charming Hello Kitty and Batman keychain pair. These tiny amigurumi figures are designed to be compact and adorable, making them perfect for Valentine’s Day gifts, keychains, or bag charms. While the project is not overly challenging, it requires patience and attention to detail due to the small scale. Every stitch matters, and taking your time will result in a satisfying and cute final product. The pattern includes instructions for both characters, along with accessories like a mini heart, bow, and cape.
Materials
- Yarn: Cotton (5ply), Acrylic, or Sport weight in White, Black, Light Pink, Dark Pink, Red, Grey, and Skin color.
- Crochet Hook: 3mm
- Stuffing material
- Adhesive: UHU Glue
- Optional: Felt cloth in White and Yellow
- Tools: Stitch markers, darning needle, pins, and scissors
Gauge and Finished Size
Specific gauge measurements and finished dimensions are not provided in the source pattern. The project is designed to be worked to fit the stitch counts provided, resulting in a small, compact keychain size.
Abbreviations
- Ch – Chain
- st – stitch
- mr – magic ring
- sc – single crochet
- inc – increase
- dec – decrease
- dc – double crochet
- BLO – back loop only
- FLO – front loop only
- slst – slip stitch
- *- repeat
- [] – total stitch count in each round/row
Pattern Notes
These patterns are designed for personal use. You are welcome to sell finished items made from this pattern, but mass production and selling the pattern itself are not allowed. Please do not use photos from the original blog without permission. If you share your creations, crediting the designer with a link to their blog, Instagram, or YouTube channel is appreciated. For the best results, follow the tutorial video closely to ensure effective and time-saving crocheting.
Pattern Instructions
Hello Kitty Head
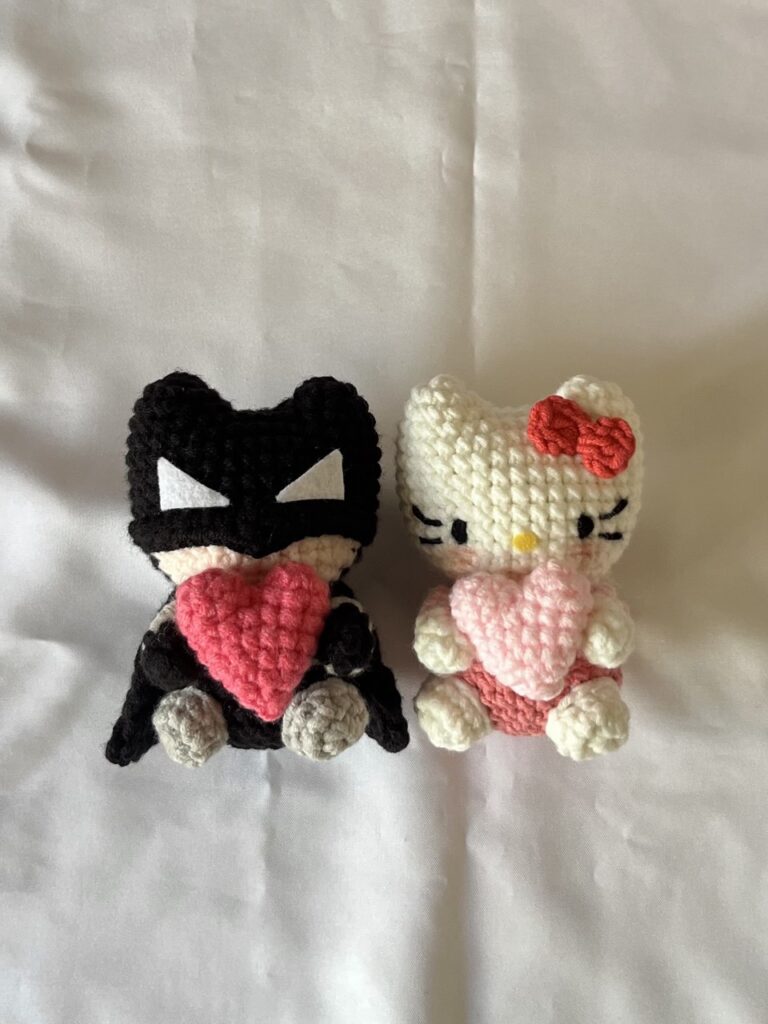
Start with a magic ring using White yarn.
- R1 6sc in mr [6]
- R2 6inc [12]
- Cut the yarn. Make the 2nd ear and DO NOT cut the yarn.
- Make 3ch and connect to the last stitch of the first ear by making 1sc, which will be the first sc of our new round, R1.
- R1 12sc (on 1st ear), 3sc on ch, 12sc (on 2nd ear), 3sc on ch [30]
- R2 (5sc, 1inc)*5 [35]
- R3-R9 35sc (7 rounds) [35]
- R10 (5sc, 1dec)*5 [30]
- R11 (4sc, 1dec)*5 [25]
- R12 (3sc, 1dec)*5 [20]
- Change to Pink yarn in the last sc of R12.
- R13 In Pink, 20sc [20]
- Start stuffing the head nice and tight!
- R14 (1sc, 1inc) *10 [30]
- R15-R16 30sc (2 rounds) [30]
- Change to a darker shade of Pink in the last sc of R16!
- R17 30slst [30]
- R18 Into BLO of slst, 30sc [30]
- R19-R20 30sc (2 rounds) [30]
- R21 (1sc, 1dec) *10 [20]
- Stuff the body after each following round!
- R22 (3sc, 1dec) *4 [16]
- R23 8dec [8]
- Cut the yarn and close the body using the remaining yarn tail.
Batman Head
Start with a magic ring using Black yarn!
- R1 6sc in mr [6]
- R2 6inc [12]
- Cut the yarn. Make the 2nd ear and DO NOT cut the yarn.
- Make 3ch and connect to the last stitch of the first ear by making 1sc, which will be the first sc of our new round, R1.
- R1 12sc (on 1st ear), 3sc on ch, 12sc (on 2nd ear), 3sc on ch [30]
- R2 (5sc, 1inc) *5 [35]
- R3 – R7 35sc (5 rounds) [35]
- We’ll start working with two colors, Black and Skin colors, in the upcoming rounds.
- R8 8sc in BLACK, BLO 14sc in SKIN, 13sc in BLACK [35]
- R9 8sc in BLACK, 14sc in SKIN, 13sc in BLACK [35]
- R10 BLACK, 5sc, 1dec, 1sc, SKIN 4sc, 1dec, 5sc, 1dec, 1sc, BLACK 4sc, 1dec, 5sc, 1dec [30]
- R11 BLACK 4sc, 1dec, 1sc, SKIN 3sc, 1dec, 4sc, 1dec, 1sc, BLACK 3sc, 1dec, 4sc, 1dec [25]
- R12 BLACK 3sc, 1dec, 1sc, SKIN 2sc, 1dec, 3sc, 1dec, 1sc, BLACK 2sc, 1dec, 3sc, 1dec [20]
- R13 In Black, 20sc [20]
- Change to Grey color in the last sc of R13!
- R14 In Grey, (1sc, 1inc) *10 [30]
- Stuff the head nice and tight!
- R15-R16 30sc (2 rounds) [30]
- Change to Black yarn in the last sc of R16!
- R17 In Black, 30slst [30]
- R18 Into BLO of slst, 30sc [30]
- R19 – R20 30sc (2 rounds) [30]
- R21 (1sc, 1dec) *10 [20]
- Stuff the body after each following round!
- R22 (3sc, 1dec) *4 [16]
- R23 8dec [8]
- Cut the yarn and close the body.
Batman’s Mask
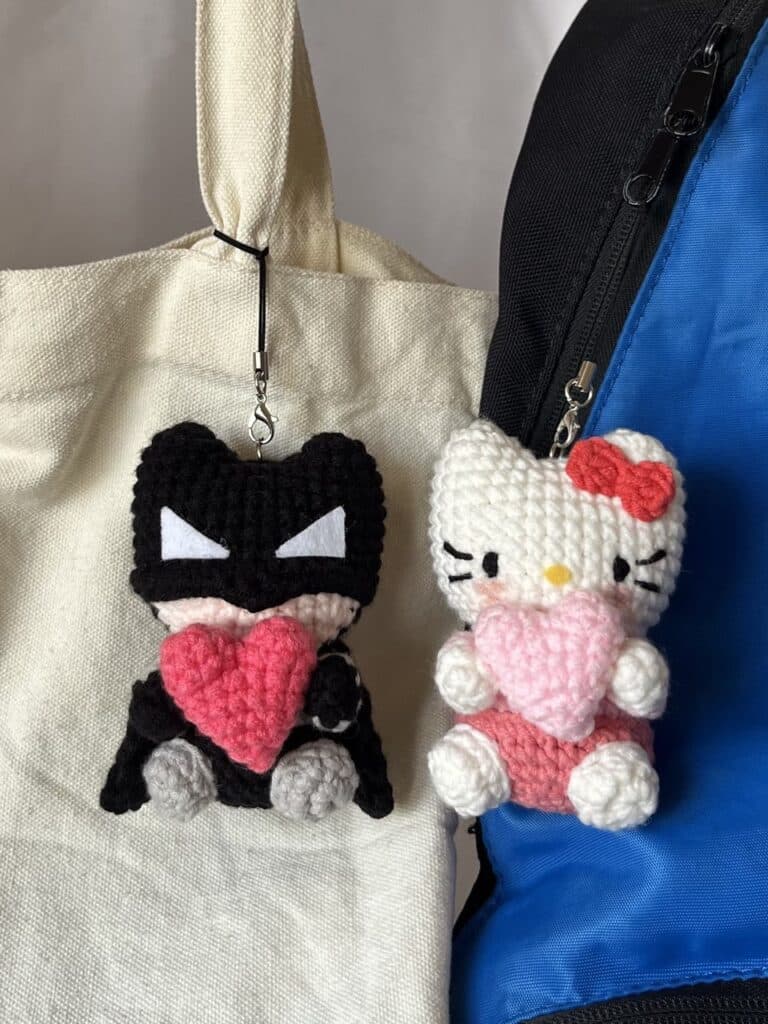
On FLO of R8, 6sc, 1dc, ch1, 1dc, 6sc.
Legs (Make 2)
Make legs in White for Hello Kitty, and in Grey for Batman.
- Start with a magic ring.
- R1 8sc in mr [8]
- R2 (3sc, 1inc) *2 [10]
- R3 10sc [10]
- Cut the yarn, leaving a long tail for sewing.
Hands (Make 2)
Start with White yarn for Hello Kitty, and with Black for Batman.
- Start with a magic ring.
- R1 6sc in mr [6]
- R2 (2sc, 1inc) *2 [8]
- Change to Pink yarn in the last sc of R2 for Hello Kitty, and to Grey yarn for Batman.
- R3-R5 8sc (3 rounds) [8]
- Close the hands with 3sc and cut the yarn, leaving a long tail.
Batman Cape
Using the Black yarn, start with a slip knot and make 18ch.
- R1 Starting from 3rd ch from the hook, 16hdc [16]
- R2 Ch2, Turn, 1hdc inc, 14hdc, 1hdc inc [18]
- R2 Ch2, Turn, 18hdc [18]
- R9 Ch2, Turn, 1hdc inc, 16hdc, 1hdc inc [20]
Hello Kitty Bow
Use the Red yarn. Into mr, (ch3, 1dc, ch3, 1slst) *2. Pull the yarn tightly and close the magic ring. Cut the yarn leaving a long tail.
Mini Heart
Using the pink yarn, start with a magic ring.
- R1 6sc in mr [6]
- R2 (1sc, 1inc) *3 [9]
- Cut the yarn and make another piece the same way but after the 2nd piece, DO NOT cut the yarn. We’ll connect the two pieces in R3.
- R3 Insert your hook into the last stitch of the first piece and make 1sc into that stitch. Continue crocheting 1sc into each stitch of the 1st piece. There will be a total of 9sc on the 1st piece. Then, make 1sc in each stitch of the 2nd piece. [18]
- R4 (7sc, 1dec) *2 [16]
- R5 16sc [16]
- R6 (2sc, 1dec) *4 [12]
- Stuff the heart.
- R7 6dec [6]
- Stuff the heart a bit more. Cut the yarn and close the heart.
Assembly
Embroider Hello Kitty’s eyes on R8 of the head (5th from up from color change) with 7sc in between two eyes. Embroider 2 whiskers behind each eye. Sew the legs on around R19-R21 of the body with about 3-4 sc in between. Place the hands on around R14-R16 of the body directly above the legs, ensuring the distance between two hands can fit the mini heart.
For Batman, you can embroider the eyes, or use white felt cloth and glue the eyes. Use yellow felt cloth to make Hello Kitty’s nose. Use UHU glue for attaching felt pieces and the mini heart.
Tips
Since these figures are tiny, every stitch and every piece matters. Smaller amigurumi can be a bit tricky because there is less room for error, but with enough patience, you will end up with an incredibly cute and satisfying result. Take your time, focus on those little stitches, and you will have the cutest Batman and Hello Kitty keychains ready in no time!
FAQs
What type of yarn is best for this pattern?
Cotton (5ply), Acrylic, or Sport weight yarns work best. Cotton provides a nice structure, while acrylic offers softness. Sport weight is ideal for the small scale of these keychains.
Do I need to use a 3mm hook?
Yes, a 3mm hook is recommended to ensure the stitches are tight enough to prevent stuffing from showing, which is crucial for small amigurumi.
How do I attach the ears to the head?
The pattern instructs you to make the first ear, cut the yarn, make the second ear without cutting, chain 3, and connect to the first ear with a single crochet to begin the new round. This creates a seamless join.
Can I use this pattern to sell finished keychains?
Yes, you are welcome to sell finished items made from this pattern for personal use. However, mass production and selling the pattern itself are not allowed.
How do I make the Batman mask?
The mask is created by working on the Front Loop Only (FLO) of Round 8 of the Batman head. The instructions are: 6sc, 1dc, ch1, 1dc, 6sc.
Pin This Crochet Pattern!