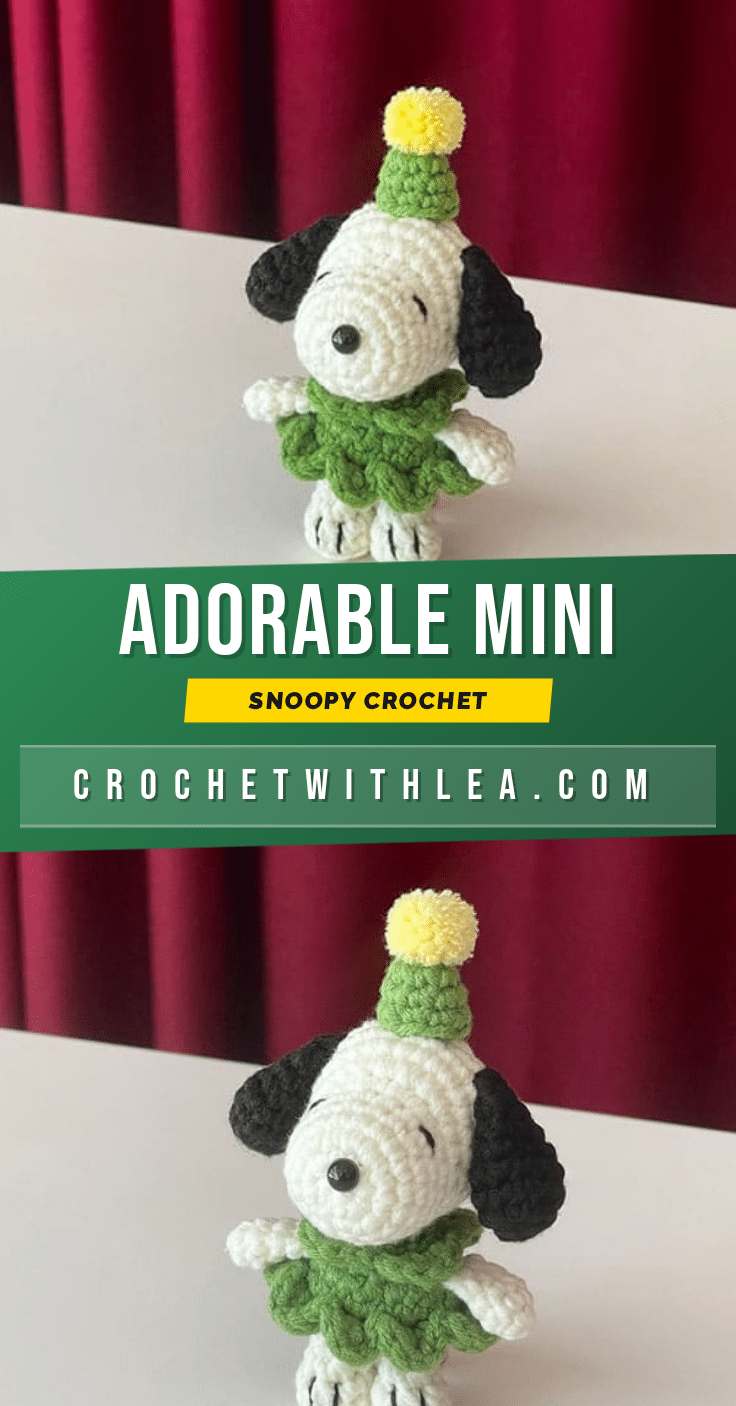
There is something undeniably heartwarming about holding a finished amigurumi that is small enough to fit in the palm of your hand yet detailed enough to capture a character’s personality. This adorable mini Snoopy is the perfect example of that magic. It is squishy, display-worthy, and instantly brings a smile to your face. Whether you are looking for a last-minute New Year’s gift or a sweet addition to a child’s toy collection, this little dog in a costume is ready to steal the show.
Why the Finished Piece Stands Out
What makes this mini Snoopy pattern particularly special is the charming costume detail. Unlike standard amigurumi, this design features a green skirt with ruffled edges and a cozy hat topped with a fluffy pompom. The contrast between the classic white and black dog features and the bright green outfit gives it a festive, storybook feel. At just 11 cm tall, it is compact enough to be used as a keychain, a bag charm, or a shelf sitter, making it a delightful project for makers who love creating portable, giftable art.
Project Overview
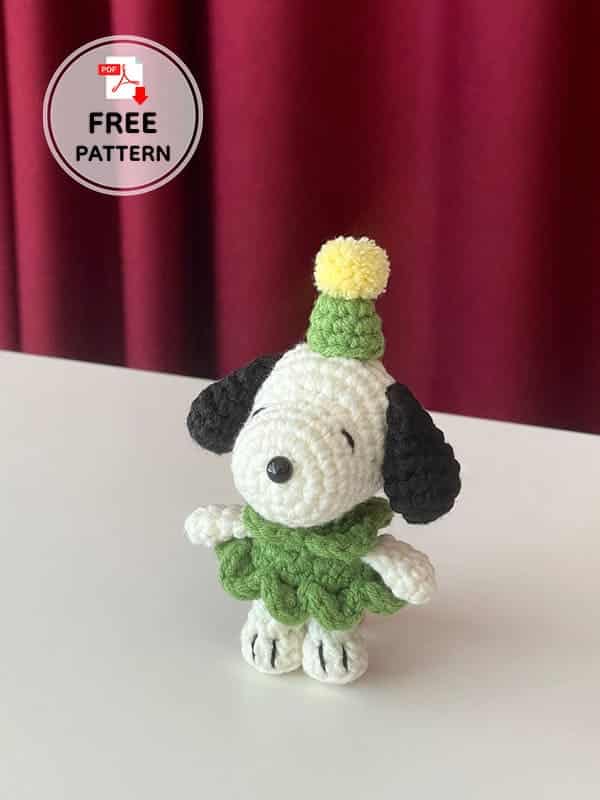
This project is a free crochet pattern for a mini Snoopy amigurumi designed by ddoding. It is a medium-complexity project that involves working in continuous rounds, joining components, and adding specific costume elements. The finished size is approximately 11 cm, making it a quick yet rewarding make.
Materials
- 2.5 mm cotton yarn (White and Green)
- 2.5 mm crochet hook
- Safety eyes (6 mm)
- Safety nose
- Stitch markers
- Yarn needle
- Sewing pins
- Stuffing
- Scissors
Gauge and Finished Size
With the specified materials (2.5 mm hook and cotton yarn), the finished mini Snoopy crochet pattern will be approximately 11 cm in size.
Abbreviations
US Terms
- R: Round
- MR: Magic ring
- Ch: Chain
- Sc: Single crochet
- Inc: Increase
- Dec: Decrease
- Slst: Slip stitch
- Dc: Double crochet
- BLO: Back loop only
- FO: Fasten off
- Hdc: Half double crochet
Pattern Notes
This pattern is designed for those who want to create a cute gift, particularly suitable for the New Year. The character includes a hat and skirt, adding a layer of detail to the standard amigurumi construction. Ensure you place stitch markers correctly when working on the body to align the ruffles and hat brim.
Pattern Instructions
Head
Make in white.
R1. (6) 6 sc in MR
R2. (12) 6 inc
R3. (18) (sc,inc)x6
R4-6. (18) 18 sc (3 rounds)
R7. (22) 7 sc, 4 inc, 7 sc
R8. (26) 9 sc, 4 inc, 9 sc
R9-11. (26) 26 sc (3 rounds)
R12. (24) (11sc,dec)x2
R13. (18) (2sc,dec)x6
R14. (15) (5sc,dec)x3
R15. (12) (sc,dec)x6 – start stuffing.
R16. (6) 6 dec – cut the yarn and FO.
Ears
Make 2.
R1. (6) 6 sc in MR
R2. (12) 6 inc
R3-4. (12) 12 sc (2 rounds)
R5. (9) (2sc,dec)x3
R6. (9) 9 sc
R7. (6) (sc,dec)x3
R8. Fold in half and crochet 3 sc through both sides. Do not stuff, leave a long tail for sewing.
Legs (make 2) – Body
Start with white.
R1. (5) 5 sc in MR
R2. (10) 5 inc
R3. (10) BLO 10sc
R4. (8) (3sc,dec)x2
R5. (6) (2sc,dec)x2
R6. (6) 6 sc FO, the first leg.
Second leg: 1 ch, don’t cut the yarn. Change the color to green and continue to the body. From R7, you need to do slst and chain 1 in each row.
R7. (14) (on the first leg) 6 sc, (on chain) 1sc, (on the second leg) 6 sc, (on chain) 1 sc
R8. (16) (6sc,inc)x2
R9. (24) (sc,inc)x8
R10. (24) BLO 24 sc – Place a stitch marker on the front loop of the first stitch
R11. (18) (2sc,dec)x6 – start stuffing.
R12. (12) (sc,dec)x6
R13. (12) BLO 12 sc – Place a stitch marker on the front loop of the last stitch.
R14. (12) 12 sc – Cut the yarn. Leave a long tail for sewing.
Ruffles
1. Start from the first stitch of R10 of the body. Attach yarn to the stitch marker location. ([sc,hdc,dc in the same st], [dc, hdc, sc in the same st], slst in next st) x8, slst to the first st.
2. Start from the last stitch of R13 of the body. Attach yarn to the stitch marker location. ([sc,hdc,dc in the same st], [dc,hdc,sc in the same st], slst in next st)x4, slst to the first st.
Arms (make 2)
R1. (6) 6 sc in MR
R2-4. (6) 6 sc (3 rounds)
R5. Fold in half and crochet 3 sc through both sides. Stuff lightly, cut the yarn and connect it between R11-12 of the body.
Hat
R1. (6) 6 sc in MR
R2. (9) (sc,inc)x3
R3. (9) 9 sc
R4. (12) (2sc,inc)x3 Cut the yarn and leave a long tail for sewing.
Make a Pompom
1. Prepare a 20 cm long yarn and wrap the new yarn around one finger about 15-20 times.
2. After pulling the yarn out from your finger, tie it tightly with the 20 cm yarn.
3. Cut both sides of the yarn into a circle with scissors and comb it to make it more voluminous. (the diameter is about 1.5cm)
4. Sew the finished pompom to the hat.
Assembly
- Insert safety nose between R1-2 of the head.
- Sew the eyes between R6-7 of the head.
- Sew ears on the sides of the head between R10-12.
- Stuff lightly, cut the yarn and connect the arms between R11-12 of the body.
- Sew the hat onto the head, securing the pompom on top.
Tips
- When working the body, ensure you switch colors cleanly between the white legs and the green skirt to keep the edges neat.
- The ruffles are created by working specific stitch combinations into the front loops marked in R10 and R13. Double-check your stitch markers before starting the ruffle rounds.
- For the pompom, combing the yarn thoroughly after cutting will give it the fluffiest, most professional finish.
FAQs
What size yarn is best for this pattern?
The pattern specifies 2.5 mm cotton yarn. Cotton is recommended for amigurumi as it holds its shape well and provides good definition for stitches.
Can I use a larger hook if my tension is tight?
It is best to stick with the 2.5 mm hook to ensure the finished size remains around 11 cm and the stuffing does not show through the stitches. If your tension is very tight, consider using a slightly softer yarn.
How do I attach the arms?
The arms are folded in half at the end of the pattern. You should sew them to the body between rounds 11 and 12, which places them just above the green skirt section.
Is this pattern suitable for beginners?
This pattern is suitable for crocheters who are comfortable with basic amigurumi techniques like magic rings, increasing, decreasing, and working in continuous rounds. The costume elements add a bit of complexity but are clearly explained.
How do I make the ruffles on the skirt?
The ruffles are created by attaching yarn to the stitch markers placed in the front loops of R10 and R13. You work a combination of single, half-double, and double crochets into the same stitch to create the flared effect.
Pin This Crochet Pattern!