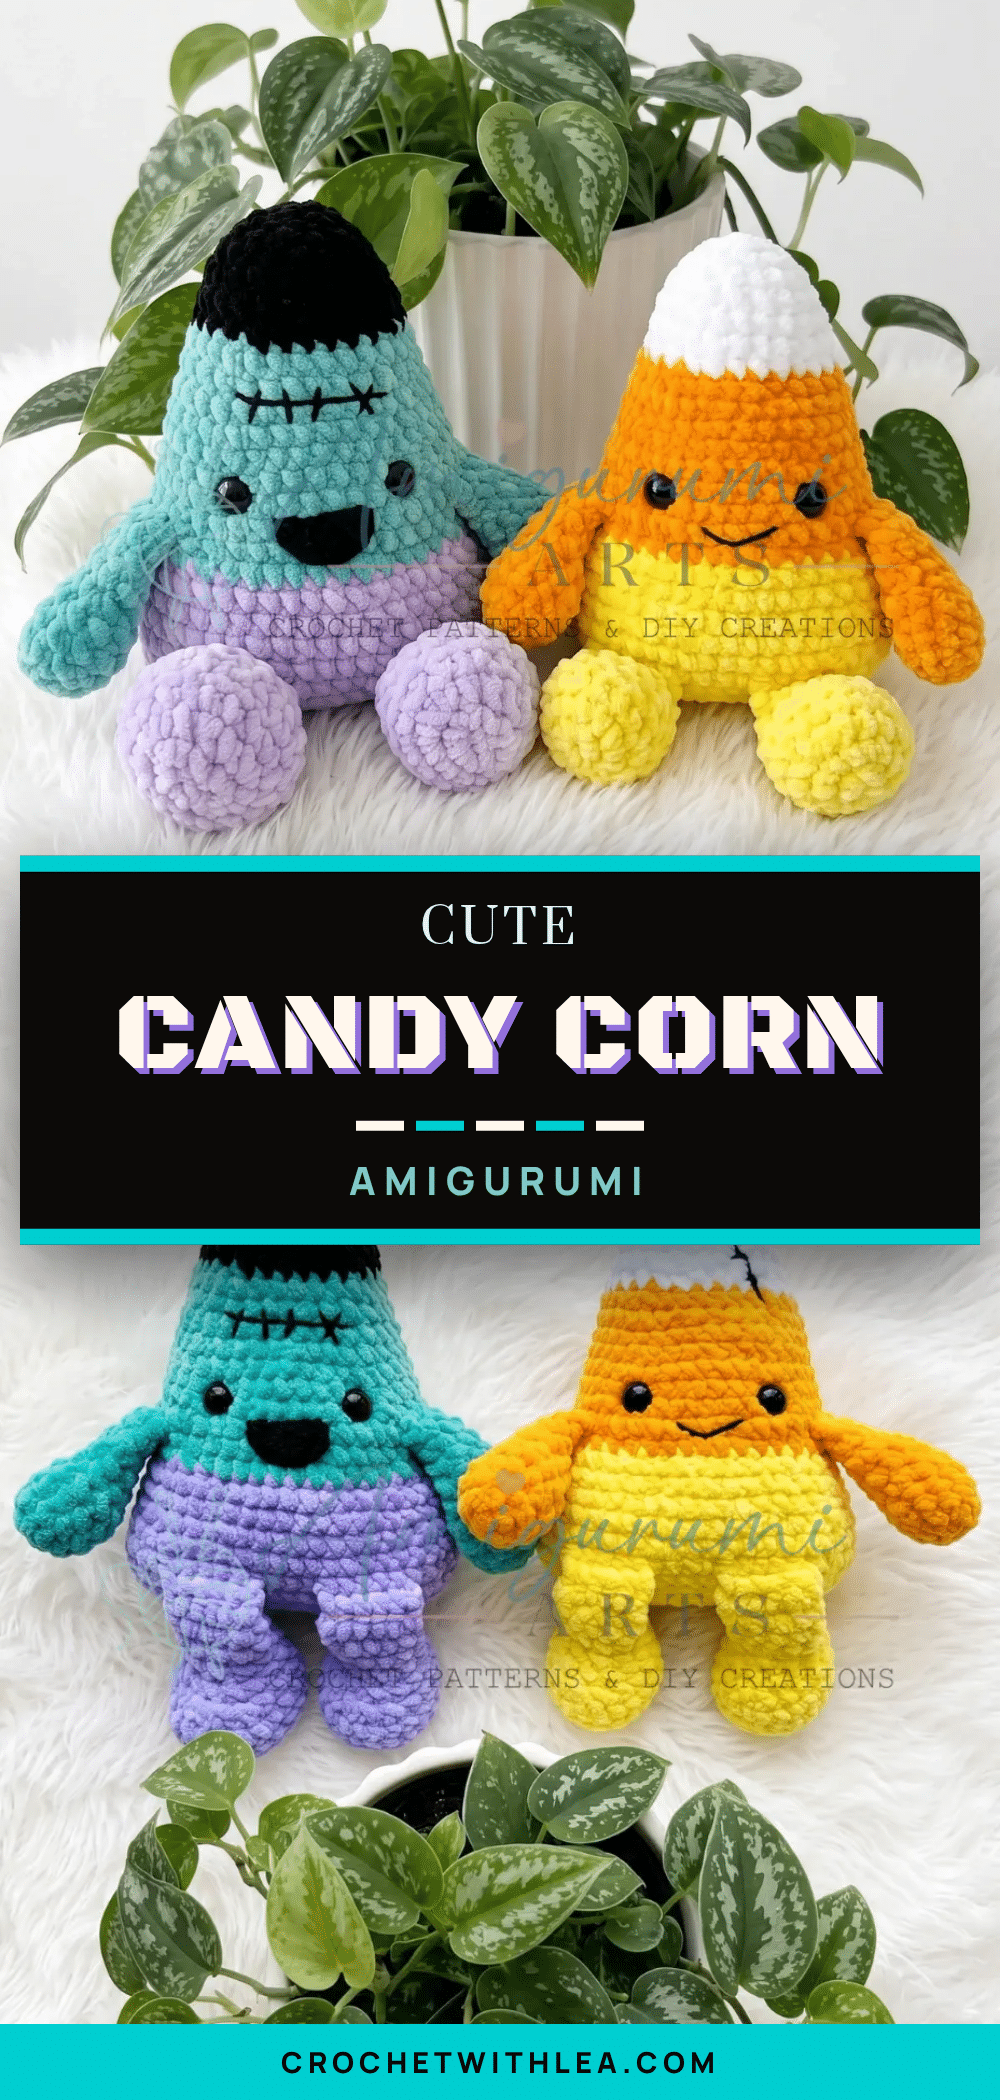
Picture a tiny, plush candy corn sitting on your desk in October—chubby little legs, stumpy arms, and that classic three-tone color block running from purple at the base to green in the middle to a bold black tip. This Candy Corn Amigurumi pattern produces a character that is every bit as charming as it sounds. It is a perfect candidate for a quick Halloween make that still has real personality, or a delightful addition to a holiday craft market table. This beginner-friendly project is worked primarily in the round using a continuous spiral, with one small flat section for the mouth, utilizing two yarn types to create a wonderful tactile contrast.
Gift and Use Ideas
While this candy corn is undeniably cute, its versatility makes it a fantastic handmade gift. The plush texture invites touch, making it an ideal comfort toy for children or a whimsical desk companion for adults. Because the pattern uses a continuous spiral and straightforward shaping, it is an excellent project for crocheters looking to build confidence with amigurumi techniques. The finished size is small enough to be a keychain, a bag charm, or a festive ornament, but substantial enough to serve as a centerpiece for a Halloween-themed shelf display. Pairing the soft purple and green plush yarn with the crisp cotton-blend mouth adds a professional finish that elevates it from a simple toy to a collectible piece.
Project Overview
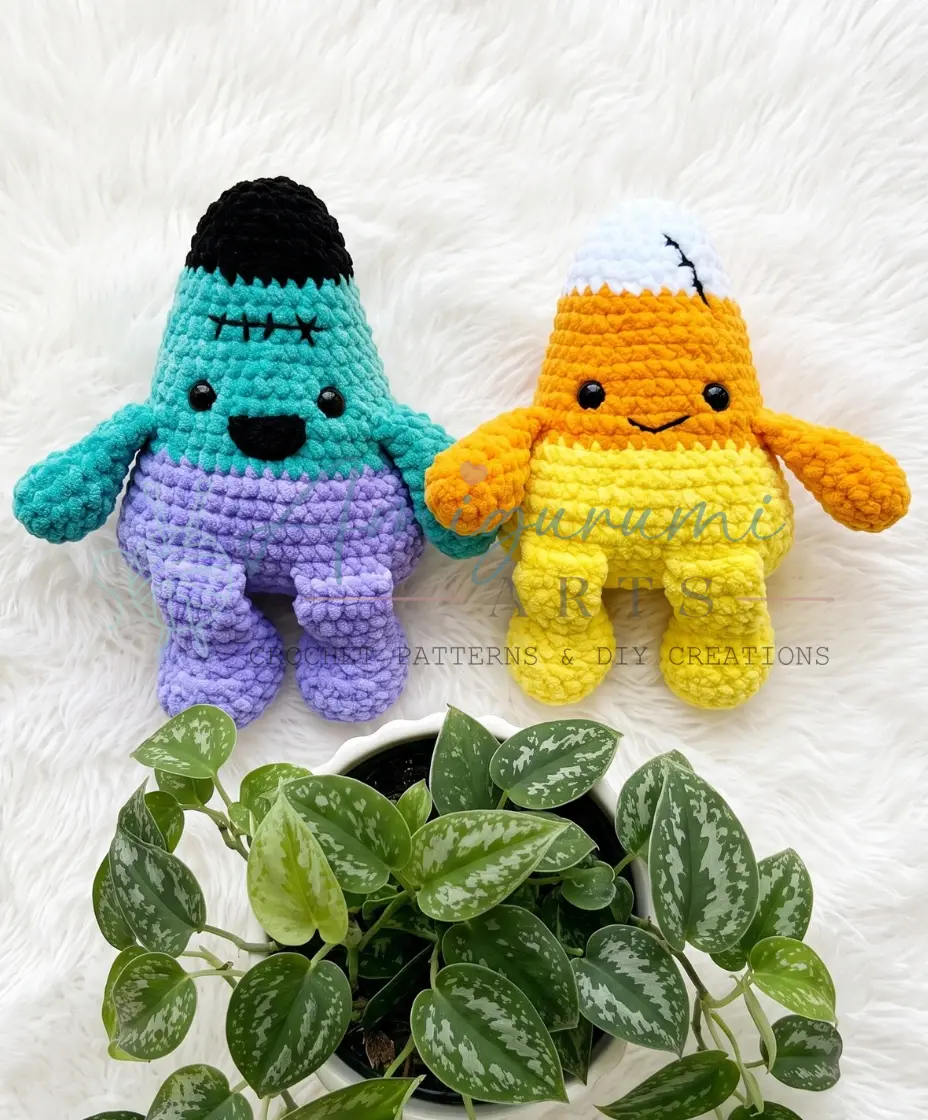
This pattern creates a whimsical candy corn character using US crochet terminology. The project is designed for beginners and features a continuous spiral body with integrated limbs, requiring no complex seaming for the legs and arms. The mouth is worked separately in flat rows to create a distinct, flatter detail that contrasts with the plush body.
Materials
- Yarn (main body): YarnArt Dolce plush yarn — purple (43 g), green (23 g), black (5 g)
- Yarn (mouth): YarnArt Jeans cotton-blend yarn — black
- Hook size (body): E-4 / 3.5 mm
- Hook size (mouth): US Steel 6 / 1.75 mm
- Safety eyes: 12 mm, 1 pair
- Stuffing: Fiberfill / polyester fiberfill
- Notions: Stitch marker, yarn needle / tapestry needle, scissors
Gauge and Finished Size
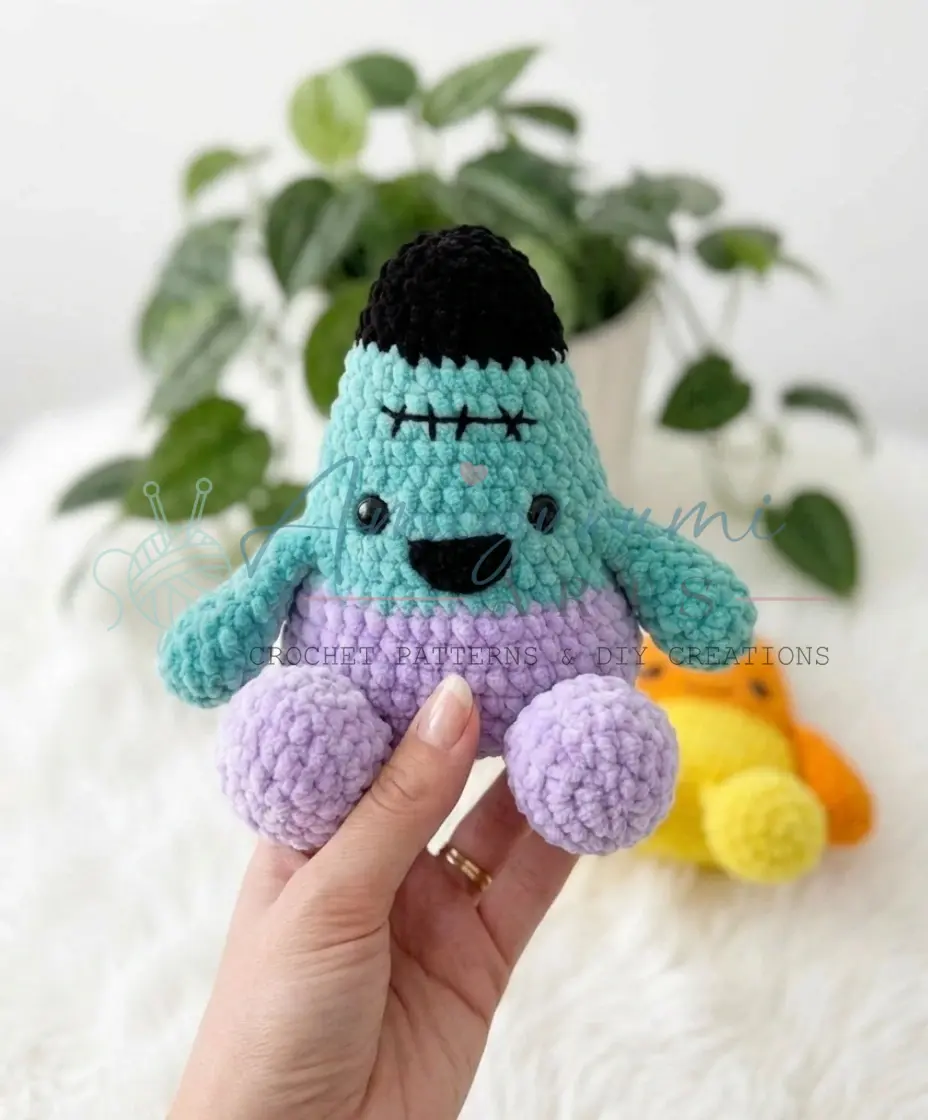
Gauge is not critical for amigurumi, but your fabric should be tight enough that stuffing does not show through. If it does, go down one hook size. The finished size is not explicitly measured in the source, but the pattern is designed to be a small, handheld amigurumi toy.
Abbreviations
- BLO — Back Loop Only
- ch — Chain
- dec — Invisible Decrease (insert hook in front loop of next st, then front loop of following st, yo and pull through both loops, yo and pull through remaining 2 loops)
- inc — Increase (2 sc in same stitch)
- MR — Magic Ring
- sc — Single Crochet
- sl st — Slip Stitch
- SM — Stitch Marker
- st / sts — Stitch / Stitches
Pattern Notes
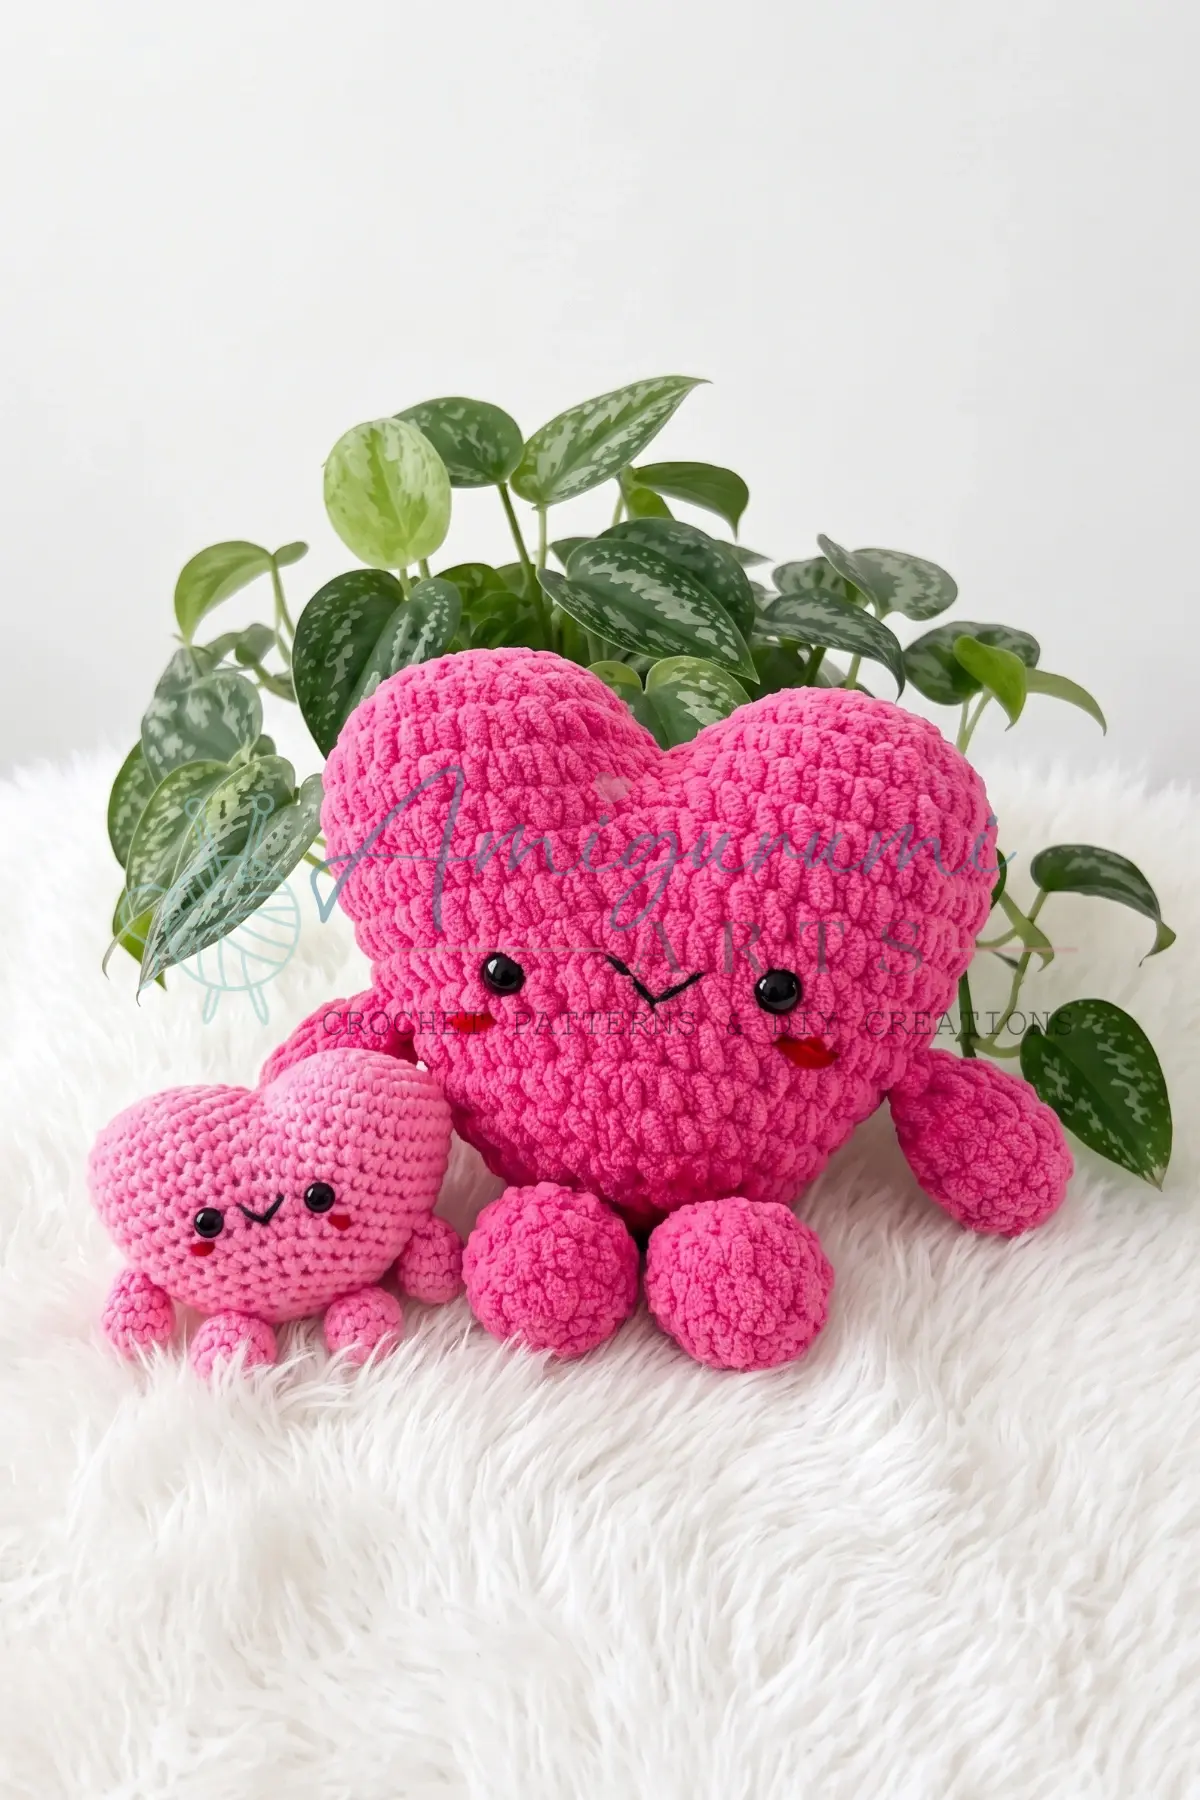
- This pattern is written in US crochet terminology.
- The body is worked in a continuous spiral — do not join rounds or chain at the start of a new round unless instructed.
- Move your stitch marker up each round.
- The mouth is worked in flat rows (back and forth), turning at the end of each row.
- Stitch counts are given at the end of each round or row in parentheses: (##).
- Offset stitch note: Several rounds begin with an offset stitch to keep the shaping increases and decreases aligned vertically. This stitch shifts the start of the round by one position and is not counted in the stitch total for that round. It is marked clearly where it occurs.
- Stitch marker placement for the body: Keep your stitch marker strictly along the left side of the toy as you look at it from the front (it will appear on your right as you hold the work facing away from you). Shift the start of the round using an offset stitch wherever noted — this stitch is not counted.
- Insert safety eyes before the opening becomes too small to reach inside comfortably — the exact round is noted in the Body instructions.
- Stuff the foot of each leg firmly before closing. The upper leg is not stuffed.
- The arms are stuffed only up to Round 7.
Pattern Instructions
Legs (make 2)
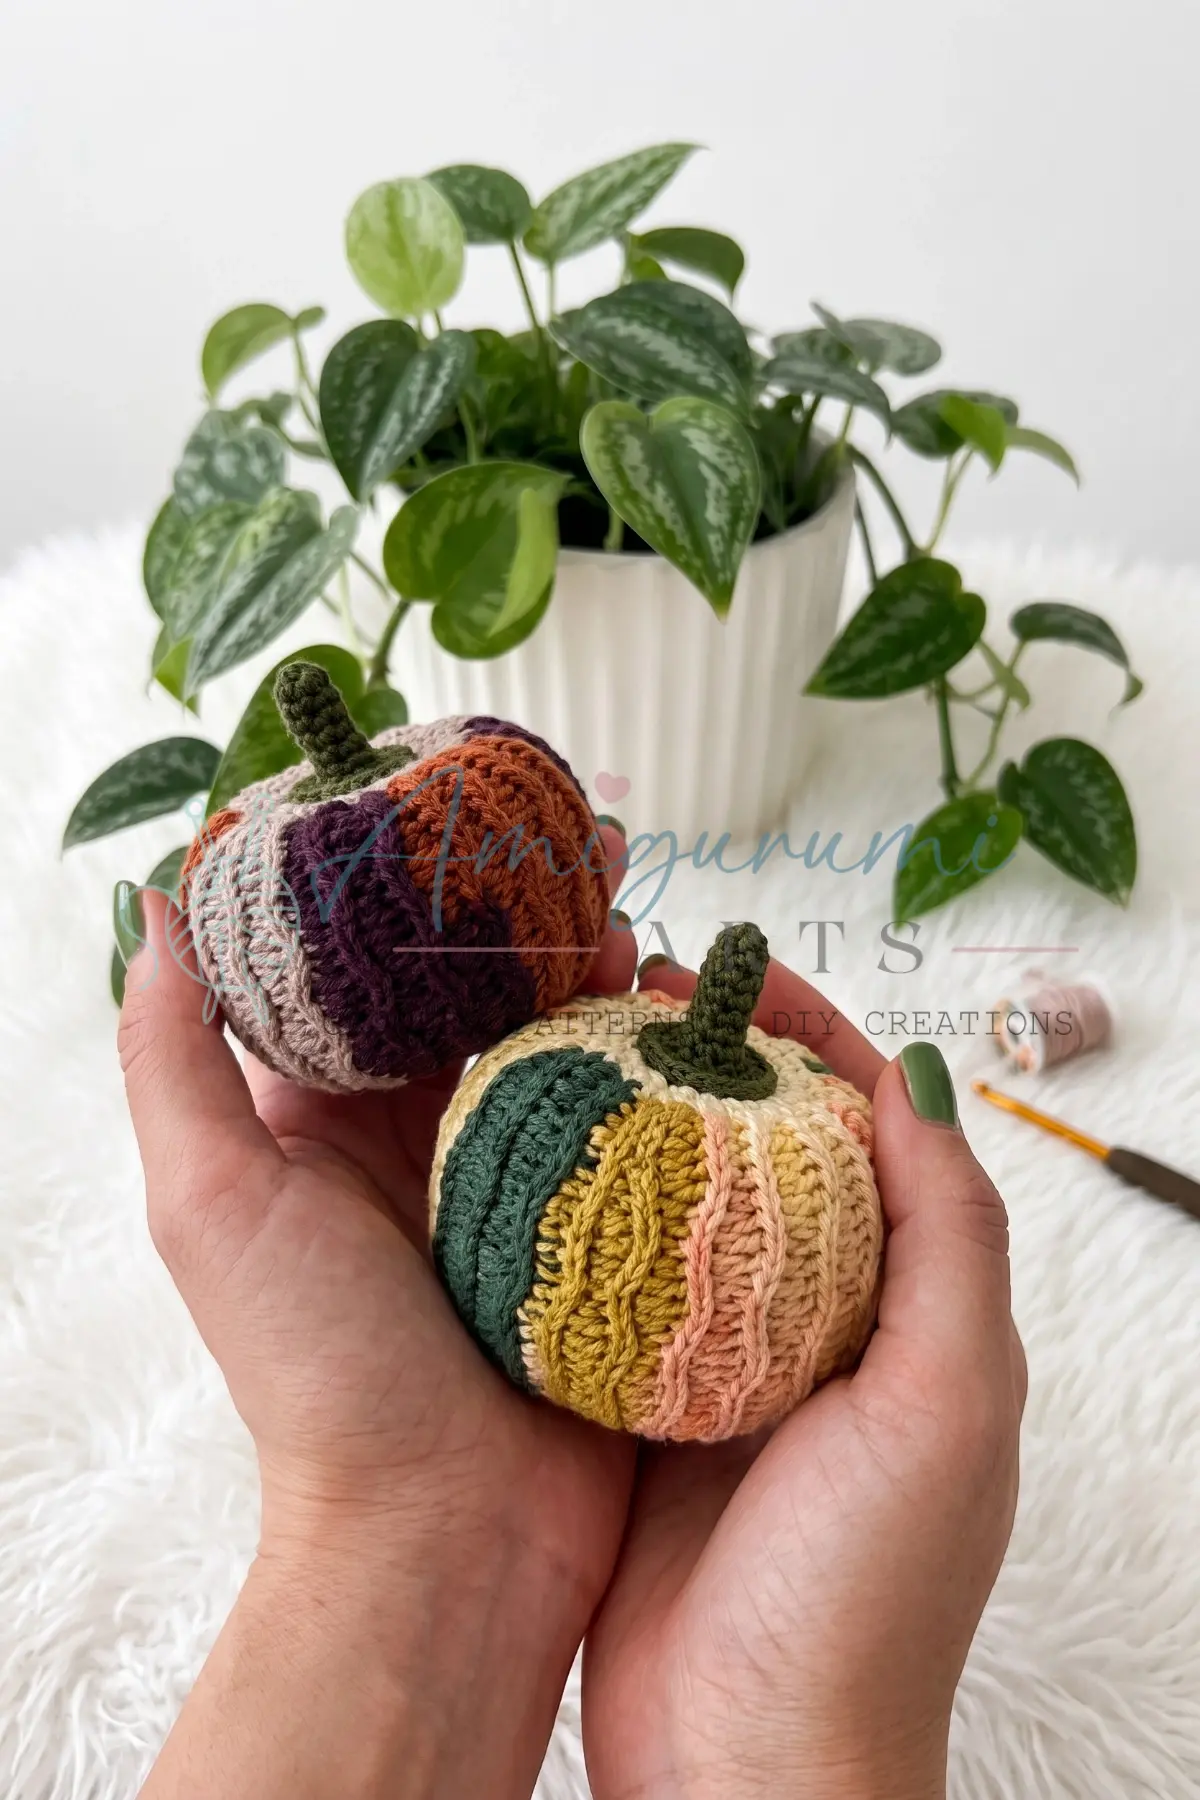
Work in purple plush yarn with E-4 / 3.5 mm hook.
Rnd 1: Foundation chain of 4 ch. Starting in the 2nd ch from hook, work along the chain as follows: inc, sc, 3 sc in the last ch (corner); continuing along the other side of the foundation chain: 2 sc. (8)
Rnd 2: 2 inc, sc, 3 inc, sc, inc. (14)
Rnd 3: sc, inc repeat 2 times, sc, sc, inc repeat 3 times, 2 sc, inc. (20)
Rnd 4: Shift your stitch marker to the heel position by working 2 sc. Then, working in BLO only, sc in each of the next 20 sts. (20) This ridge creates the ankle separation.
Rnd 5: sc in each st around. (20)
Rnd 6: 6 sc, 4 dec, 6 sc. (16)
Rnd 7: dec, 4 sc, dec repeat 2 times. (12)
Stuff the foot firmly with fiberfill now. Do not stuff the upper leg.
Rnd 8: 4 sc, 2 dec, 4 sc. (10)
Rnd 9: sc in each st around. (10)
Rnd 10: Work an incomplete round of 8–9 sc to align the opening evenly.
Fold the leg flat so the two sides are even. Working through both layers at once, sc 5 sts across to close the top of the leg. Chain 1, turn, and sc 5 sts back across in the opposite direction. Fasten off, leaving a long tail for attaching to the body.
Arms (make 2)
Work in green plush yarn with E-4 / 3.5 mm hook.
Rnd 1: Foundation chain of 2 ch. Work 6 sc in the 2nd ch from hook. (6)
Rnd 2: inc in each st around. (12)
Rnds 3–4: sc in each st around. (12) (2 rounds)
Rnd 5: 4 sc, dec repeat 2 times. (10)
Rnd 6: 3 sc, dec repeat 2 times. (8)
Rnd 7: sc in each st around. (8)
Stuff the arm with fiberfill up to Round 7 only. Leave the top portion unstuffed so it folds flat cleanly.
Rnd 8: 2 sc, dec repeat 2 times. (6)
Rnd 9: sc in each st around. (6)
Fold the arm flat. Working through both layers, sc 3 sts across to close the top. Fasten off, leaving a long tail for attaching to the body.
Body
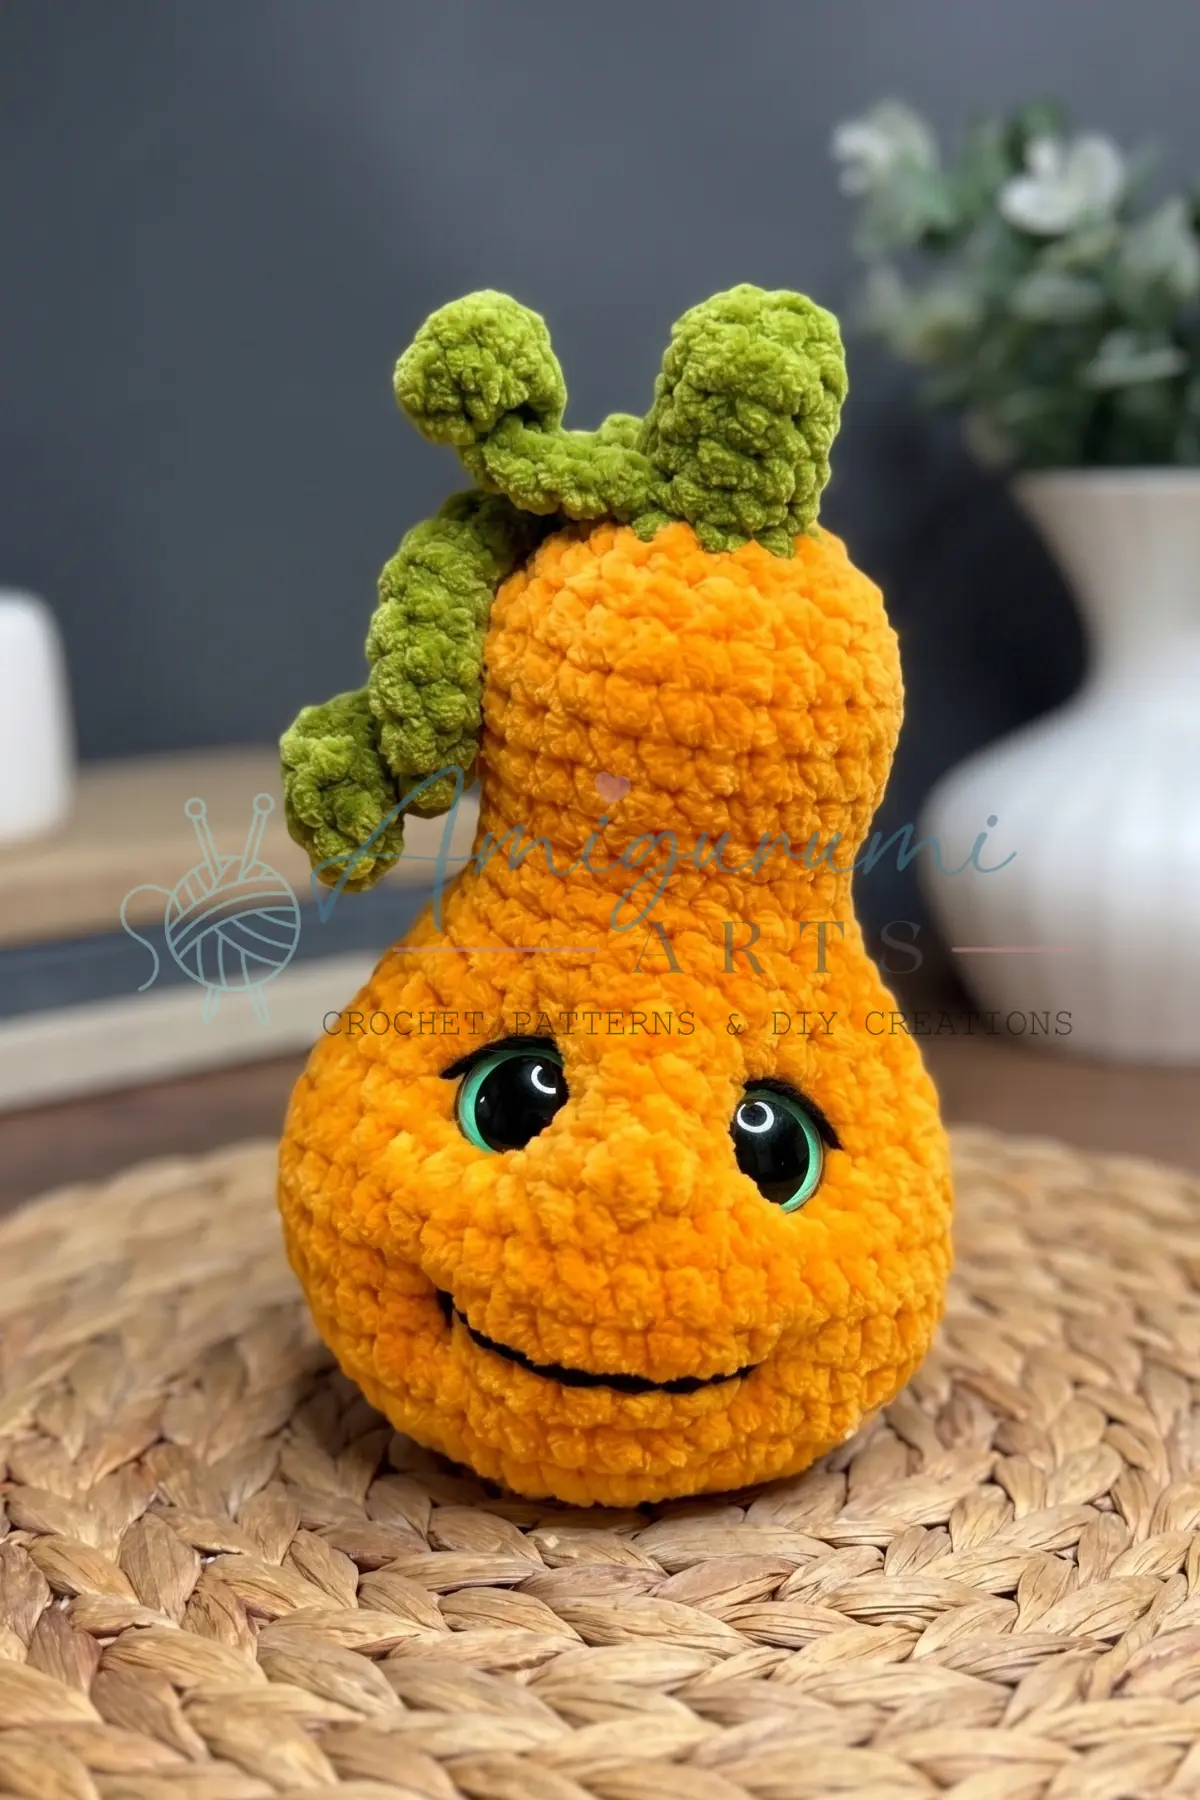
Begin with purple plush yarn and E-4 / 3.5 mm hook.
Rnd 1: Foundation chain of 15 ch. Starting in the 2nd ch from hook, work along the chain: inc, 12 sc, 4 sc in the last ch (corner); continuing along the other side of the foundation chain: 12 sc, inc. (32)
Rnd 2: 2 inc, 12 sc, 2 inc repeat 2 times. (40)
Rnd 3: sc, inc repeat 2 times, 12 sc, inc, sc repeat 2 times — work this full sequence 2 times around. (48)
Rnd 4: Work 1 offset stitch (not counted) . Then, working in BLO only, sc in each of the next 48 sts. (48)
Rnd 5 — Joining the legs: 5 sc, then work 5 sc together with the top edge of the first leg (holding the leg against the body and inserting your hook through both layers for each stitch), 4 sc, then work 5 sc together with the top edge of the second leg in the same way, 29 sc. (48)
Rnd 6: sc in each st around. (48)
Rnd 7: Work 1 offset stitch (not counted) . Then: 3 sc, dec, 14 sc, dec, 3 sc repeat 2 times. (44)
Rnds 8–9: sc in each st around. (44) (2 rounds)
Switch to green plush yarn.
Rnd 10: 3 sc, dec, 12 sc, dec, 3 sc repeat 2 times. (40)
Rnd 11: sc in each st around. (40)
Rnd 12 — Joining the arms: 3 sc together with the top edge of the first arm (holding the arm against the body and working through both layers), 14 sc, 3 sc together with the top edge of the second arm in the same way, 20 sc. (40)
Rnd 13: Work 1 offset stitch (not counted) . Then: 3 sc, dec, 10 sc, dec, 3 sc repeat 2 times. (36)
Rnds 14–15: sc in each st around. (36) (2 rounds)
Rnd 16: Work 1 offset stitch (not counted) . Then: 3 sc, dec, 8 sc, dec, 3 sc repeat 2 times. (32)
Rnd 17: sc in each st around. (32)
Insert the 12 mm safety eyes between Rounds 13 and 14, spacing them 8 sts apart, measured between the posts of the eyes (not the outer edges). Center them on the front of the body.
Switch to black plush yarn.
Rnd 18: Work 1 offset stitch (not counted) . Then: 2 sc, dec, 6 sc, dec, 2 sc repeat 2 times. (28) Begin adding fiberfill gradually from this round onward.
Rnd 19: sc in each st around. (28)
Rnd 20: Work 1 offset stitch (not counted) . Then: 2 sc, dec, 6 sc, dec, 2 sc repeat 2 times. (24)
Rnd 21: sc in each st around. (24)
Rnd 22: 2 sc, dec, 4 sc, dec, 2 sc repeat 2 times. (20)
Rnd 23: Work 1 offset stitch (not counted) . Then: 4 sc, dec, 8 sc, dec, 4 sc. (18)
Rnd 24: sc, dec repeat 6 times. (12)
Rnd 25: sc, dec repeat 4 times. (8)
Finish with a sl st. Cut yarn, leaving a tail long enough to close the opening. Thread the tail through the sl st loop, then use your yarn needle to run the yarn tail through the front loop of each remaining stitch around the opening and pull firmly to close. Weave in the end securely.
Mouth
Work in black YarnArt Jeans yarn with US Steel 6 / 1.75 mm hook. This piece is worked flat in turning rows.
Row 1: MR, work 4 sc into the ring. Pull ring closed. Ch 1, turn. (4)
Row 2: inc in each st across. Ch 1, turn. (8)
Row 3: sc, inc repeat 4 times. (12)
Fasten off, leaving a long tail for sewing the mouth onto the body.
Using the same black Jeans yarn and the fine hook, embroider small stitch lines across the mouth piece to create a stitched scar effect.
Assembly
- Lay out all pieces and confirm you have: 1 body, 2 legs (already joined), 2 arms (already joined), and 1 mouth piece.
- The legs and arms were joined directly to the body during the crocheting process in Rounds 5 and 12 — no additional sewing is needed for them.
- If any gap exists around the join, use the yarn tail to whipstitch the edge closed.
- Position the mouth on the front of the head, centered horizontally, roughly between Rounds 21 and 24 of the black section. Pin it in place before sewing.
- Sew the mouth using the long yarn tail and a whipstitch around the outer edge, catching the edge of each stitch on the mouth piece and the corresponding stitch on the body. Pull the stitches firmly but evenly — you want the mouth to sit flush, not pucker.
- Weave in all remaining yarn tails securely, burying the ends inside the body where possible so they are completely hidden.
Tips
- Keep your plush yarn fabric tight. Plush yarns have a forgiving texture that can hide loose stitches visually, but a loose fabric allows fiberfill to migrate over time. Work with a hook one size smaller than the yarn band recommends if your stitches feel open — the E-4 / 3.5 mm listed here is intentionally on the smaller side for this reason.
- Master the invisible decrease with plush yarn. Plush fibers make it harder to identify the front loops. Take a moment before each decrease round to pull the pile back gently with your fingernail and find the true V of each stitch. Working through the front loops only keeps the decrease invisible and the fabric surface smooth.
- Stuff firmly and in stages. Don’t wait until the end to add all your fiberfill. From Round 18 onward, add small amounts of stuffing every few rounds. This gives you much more control over the final shape — the body should be gently rounded all the way to the tip, tapering naturally rather than collapsing at the top.
- The offset stitch is your alignment tool, not a mistake. Several rounds call for an offset stitch before the main shaping sequence begins. This single untracked stitch shifts where the decreases fall, keeping vertical shaping lines straight rather than spiraling. Mark it clearly each time — use a contrasting-color marker if it helps — and remember it is never counted in the stitch total.
- Use a much finer hook for the mouth. The US Steel 6 / 1.75 mm hook and the lighter Jeans yarn produce a noticeably smaller, flatter piece than the plush body. This size contrast is intentional — it makes the mouth piece sit neatly on the surface without adding bulk. Don’t be tempted to use the body hook for this section.
FAQs
Why do I need an offset stitch in some rounds?
The offset stitch shifts the start of the round by one position. This ensures that your increases and decreases align vertically, keeping the shaping of the amigurumi symmetrical and preventing the spiral from twisting unevenly.
Can I use a different yarn for the body?
While you can substitute yarn, the plush texture of YarnArt Dolce is key to the soft, candy-like appearance. If you use a different yarn, ensure it is a worsted weight or similar thickness to maintain the intended size and fabric density.
How do I insert the safety eyes?
Insert the 12 mm safety eyes between Rounds 13 and 14. Space them 8 stitches apart, measured between the posts of the eyes (not the outer edges), and center them on the front of the body.
Why are the arms only partially stuffed?
The arms are stuffed only up to Round 7 to leave the top portion unstuffed. This allows the top of the arm to fold flat cleanly when sewn to the body, creating a more natural, relaxed pose.
What if my fabric is too loose?
If stuffing shows through your fabric, your stitches are too loose. Go down one hook size to tighten your tension. Tight fabric is essential for amigurumi to hold its shape and hide the stuffing.
Pin This Crochet Pattern!