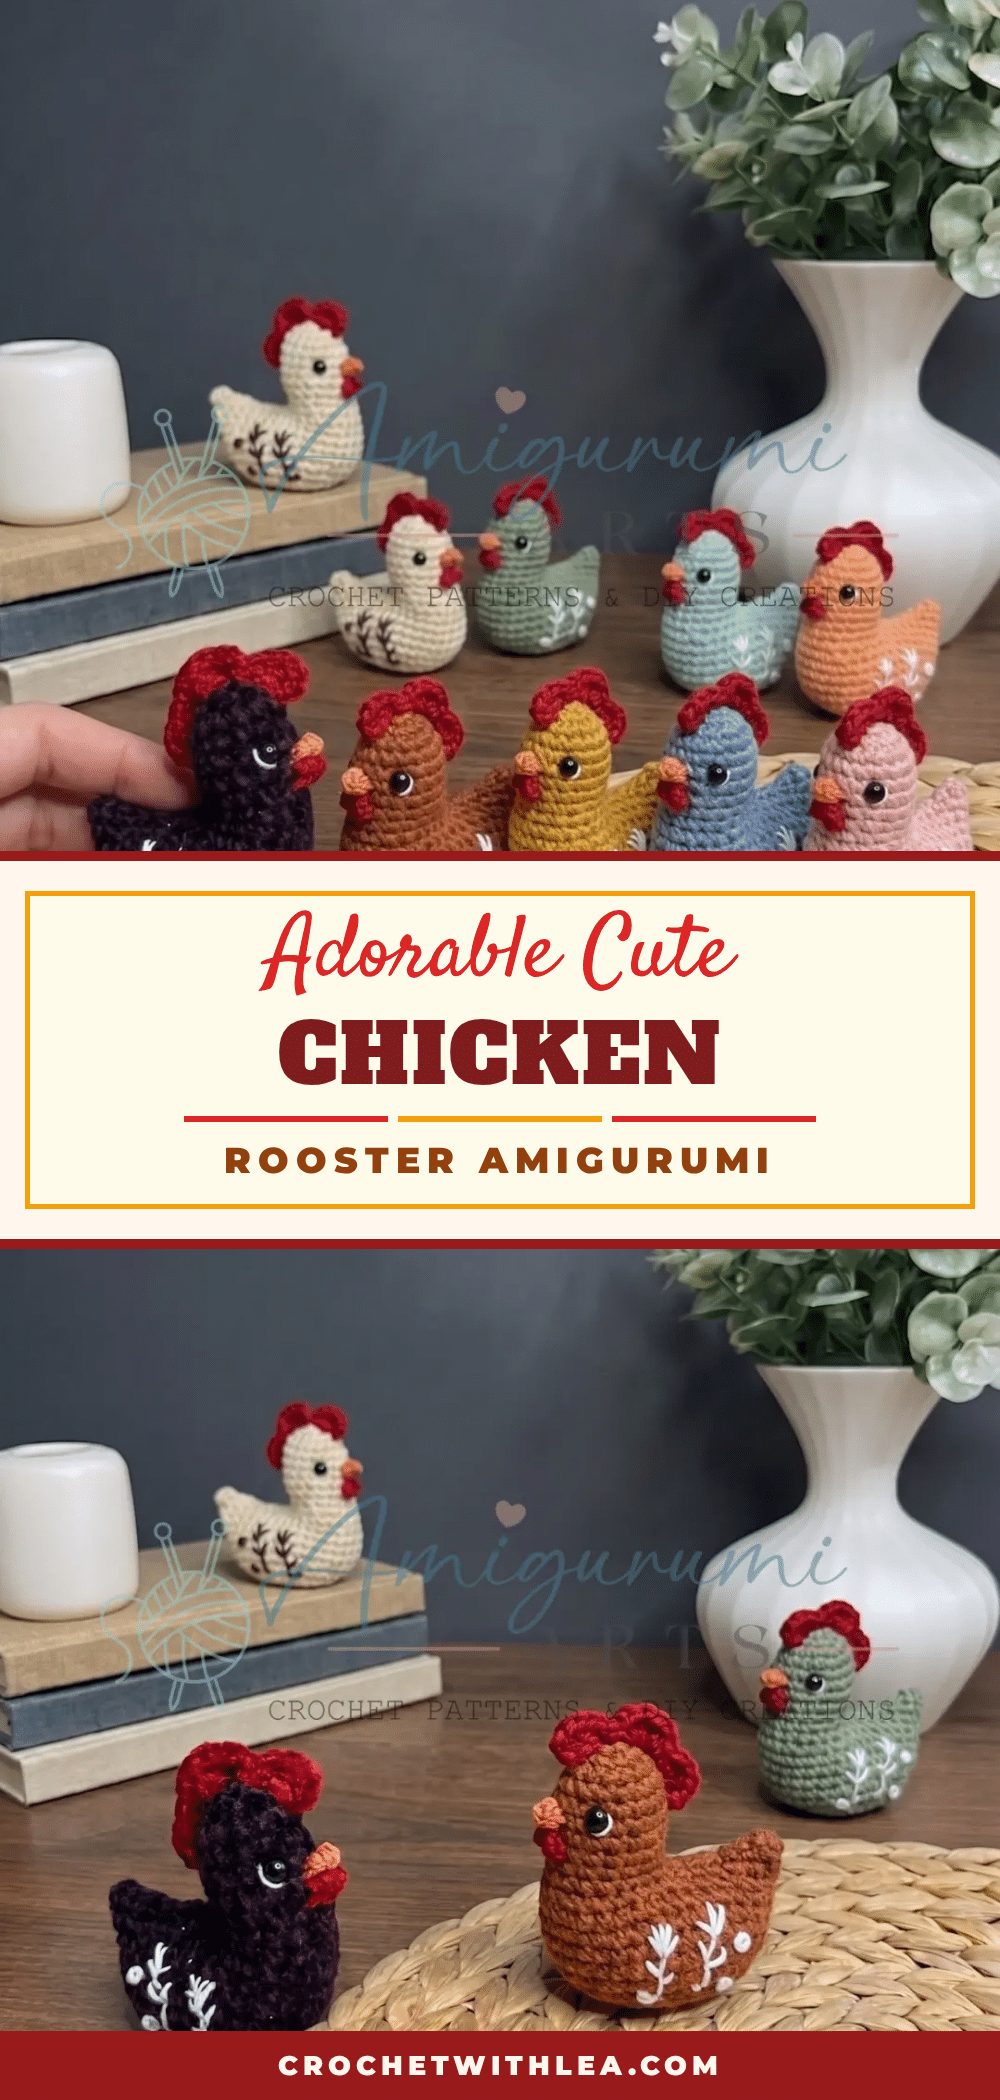
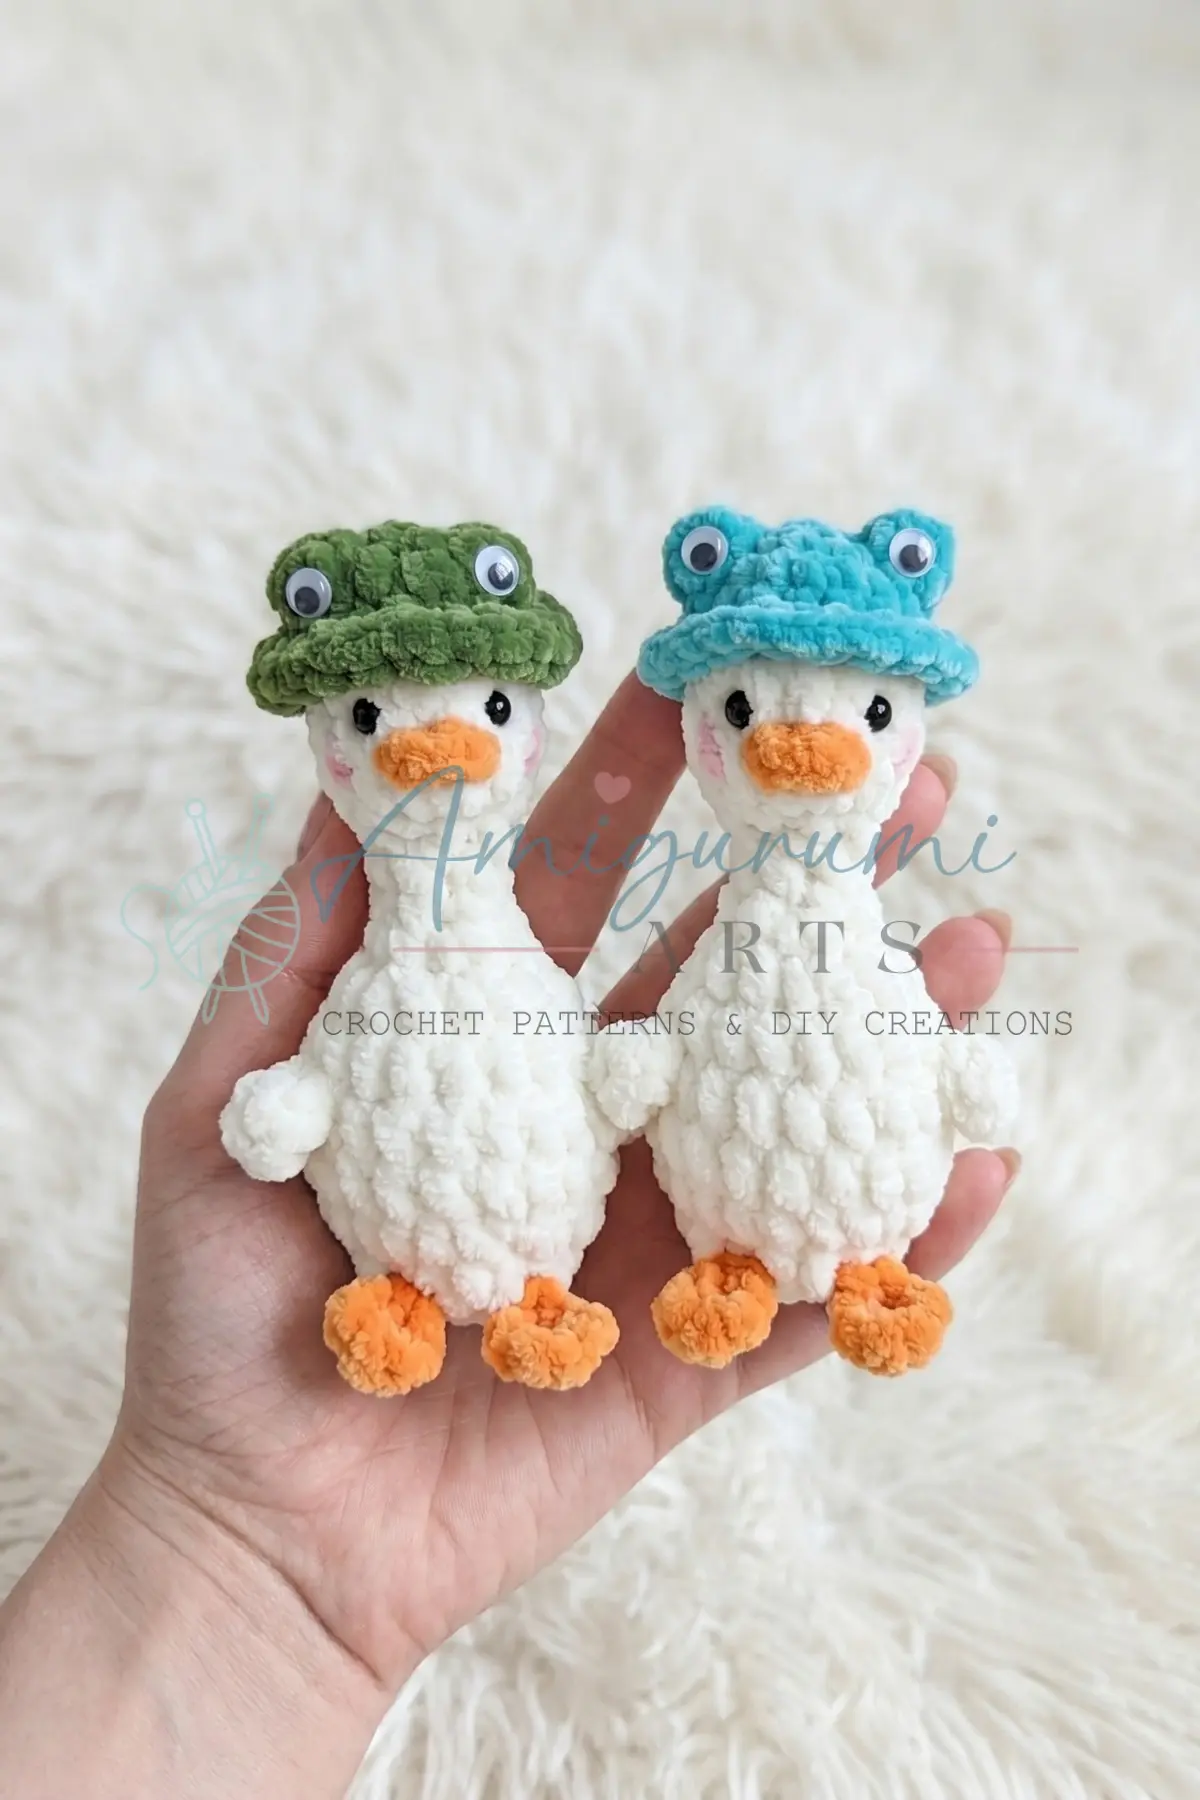
There is something undeniably cheerful about bringing a tiny, round friend to life with a crochet hook. This adorable chicken rooster amigurumi pattern is the perfect project for a scrap yarn afternoon, offering a delightful mix of plump curves and expressive details. Whether you are aiming for a plucky rooster with a bold comb or a sweet hen with subtle wattles, this design adapts to your imagination. It works up quickly in a single continuous piece, making it an ideal quick make for gifting, nursery decor, or simply celebrating the joy of handmade crafts.
Seasonal Styling Ideas
While this little bird is a year-round companion, its cheerful aesthetic lends itself beautifully to seasonal crafting. In spring, pair a white or pastel chicken with a small crocheted basket of daisies for an Easter table centerpiece. As summer approaches, these amigurumi friends make charming additions to picnic blankets or beach bag charms. For autumn, a golden-yellow chicken nestled among faux leaves adds a touch of farm-to-table warmth to your harvest decor. During the holidays, a red-combed rooster can double as a whimsical ornament or a festive stocking stuffer, proving that this simple pattern has endless styling potential.
Project Overview
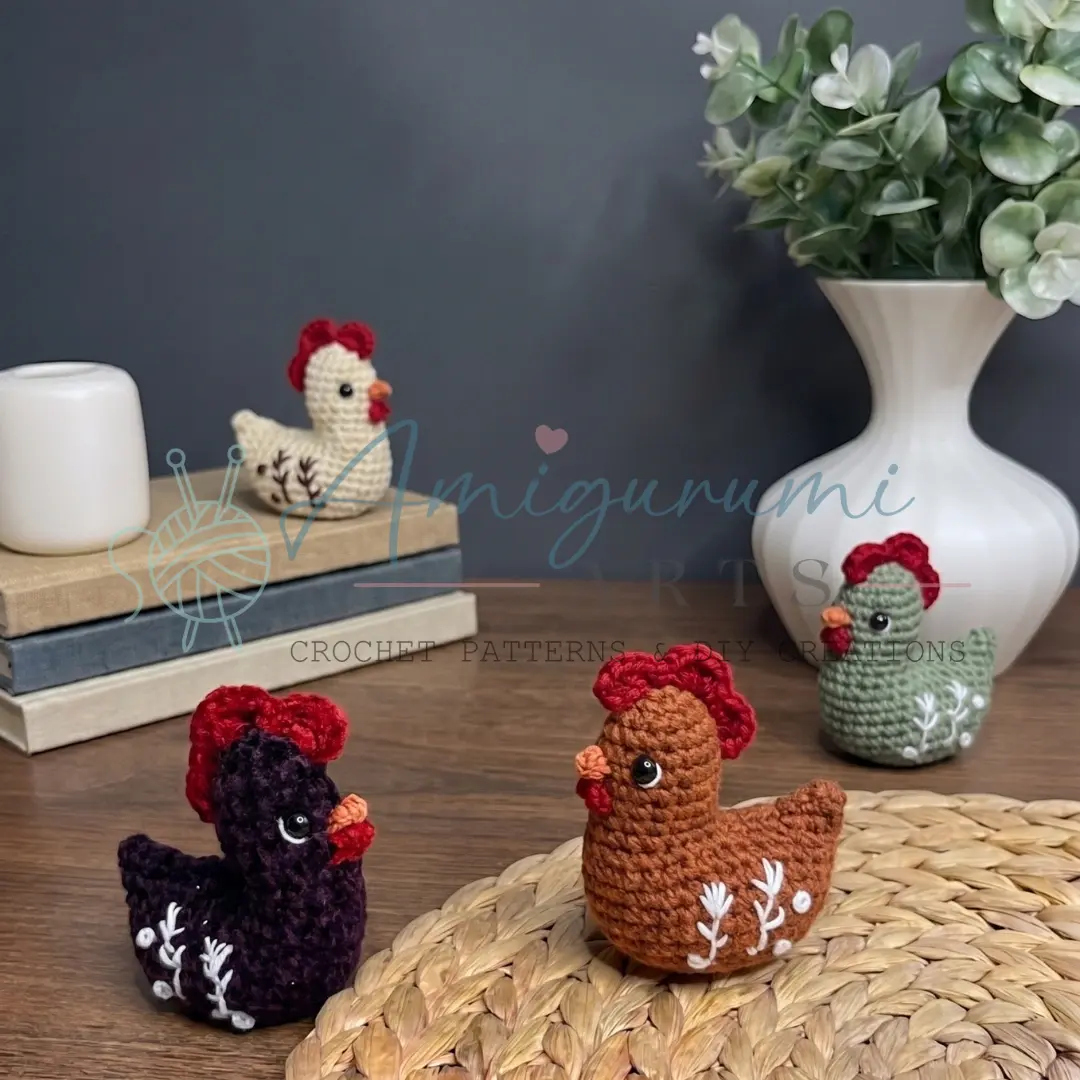
This cute chicken rooster amigurumi pattern is beginner-friendly and crochets up surprisingly fast. The body is worked in one continuous spiral, and the comb is added with just a few simple stitches at the end. If you have small amounts of velvet or velour yarn sitting in your stash, this is exactly where they belong. Grab your hook and let’s bring this little bird to life.
Materials
- Yarn: Any yarn weight — this pattern was originally made with fine bobbin velour yarn; fingering or sport weight in a smooth or velour texture works beautifully. You’ll need a main color for the body and a dark red for the comb.
- Hook: 1.1 mm (US size 000) — or size appropriate to your chosen yarn.
- Eyes: 3 mm black plastic half-beads or safety eyes, 2 pieces.
- Stuffing: Polyfill / fiberfill.
- Tools: Yarn needle / tapestry needle, Scissors.
- Embroidery Thread: Thin cotton thread or sewing thread (for embroidering the beak), White embroidery thread (optional, for eye whites and wing embroidery).
Gauge and Finished Size
Gauge is not critical for this project, but work tightly enough that stuffing does not show through the stitches.
- Small Size: Made in fine velour yarn on a 1.1 mm hook, the finished chicken is quite small — approximately 4–5 cm tall.
- Medium Size: Using worsted weight yarn on a 3.5 mm hook would produce a chicken roughly 8–10 cm tall.
Abbreviations
- ch — Chain
- dec — Invisible Decrease (insert hook into front loops of next 2 sts, yarn over, pull through both, yarn over, pull through 2 loops)
- hdc — Half Double Crochet
- inc — Increase (2 sc in same stitch)
- MR — Magic Ring
- sc — Single Crochet
- sk — Skip
- sl st — Slip Stitch
- st / sts — Stitch / Stitches
Pattern Notes
This cute chicken rooster amigurumi pattern is written in US crochet terminology. The body is worked in a continuous spiral — do not join at the end of each round. Use a stitch marker to track the first stitch of each round. Gauge is not critical for this project, but work tightly enough that stuffing does not show through the stitches. Stitch counts are given at the end of each round in parentheses: (##). The eyes are glued or attached at Round 5 of the head section, with 4 stitches between them. The beak is embroidered with thin cotton or sewing thread at eye level. Stuff the piece firmly before closing. An additional note about stuffing the back section is included in the instructions below.
Pattern Instructions
Body (worked as one continuous piece)
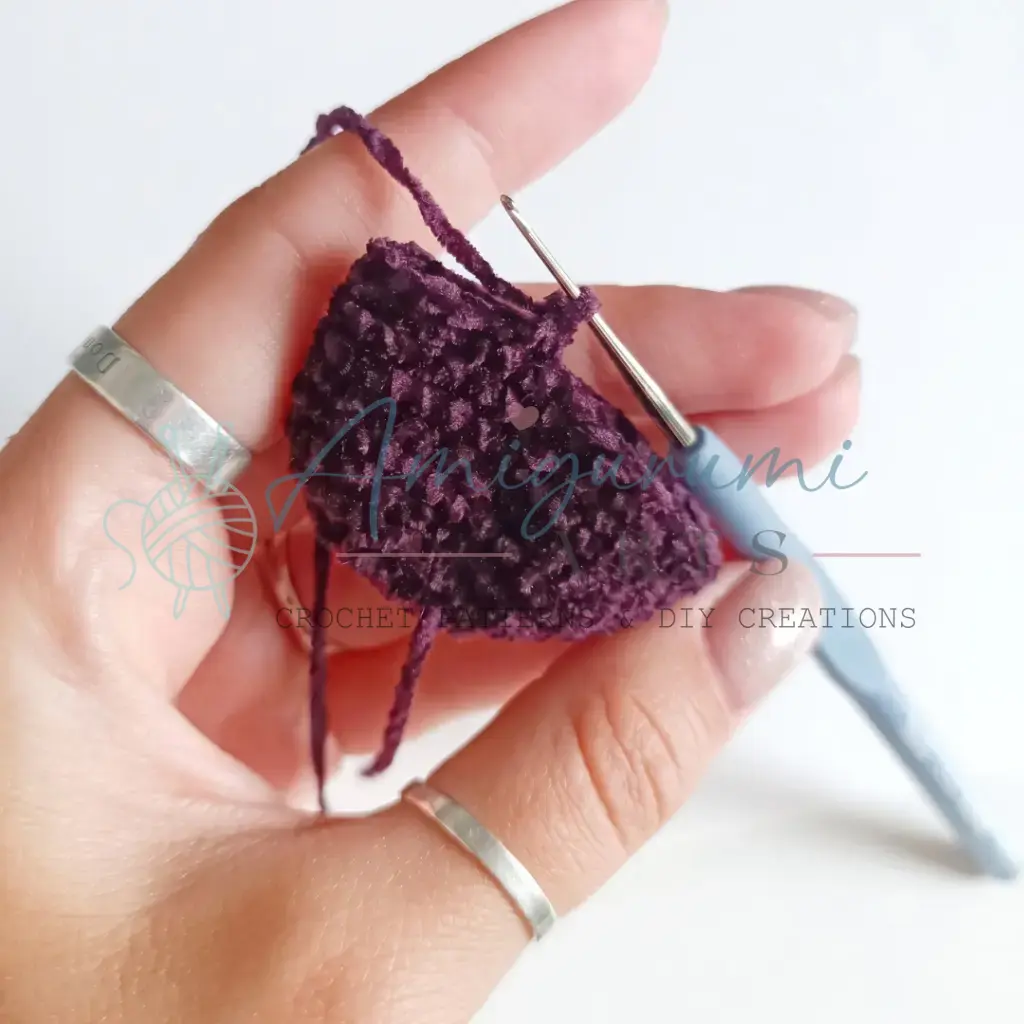
Rnd 1: 6 sc in MR. (6)
Rnd 2: inc in each st around. (12)
Rnd 3: sc, inc repeat 6 times around. (18)
Rnd 4: 2 sc, inc repeat 6 times around. (24)
Rnd 5: 3 sc, inc repeat 6 times around. (30)
Rnd 6: 4 sc, inc repeat 6 times around. (36)
Rnds 7–10: sc in each st around. (36)
Rnd 11: sc in next 12 sts, sk 24 sts, sl st to join the round closed. (12) This creates the head section — you are now working only across the 12 remaining stitches.
Rnds 12–15: sc in each st around. (12)
Rnd 16: dec 6 times around. (6)
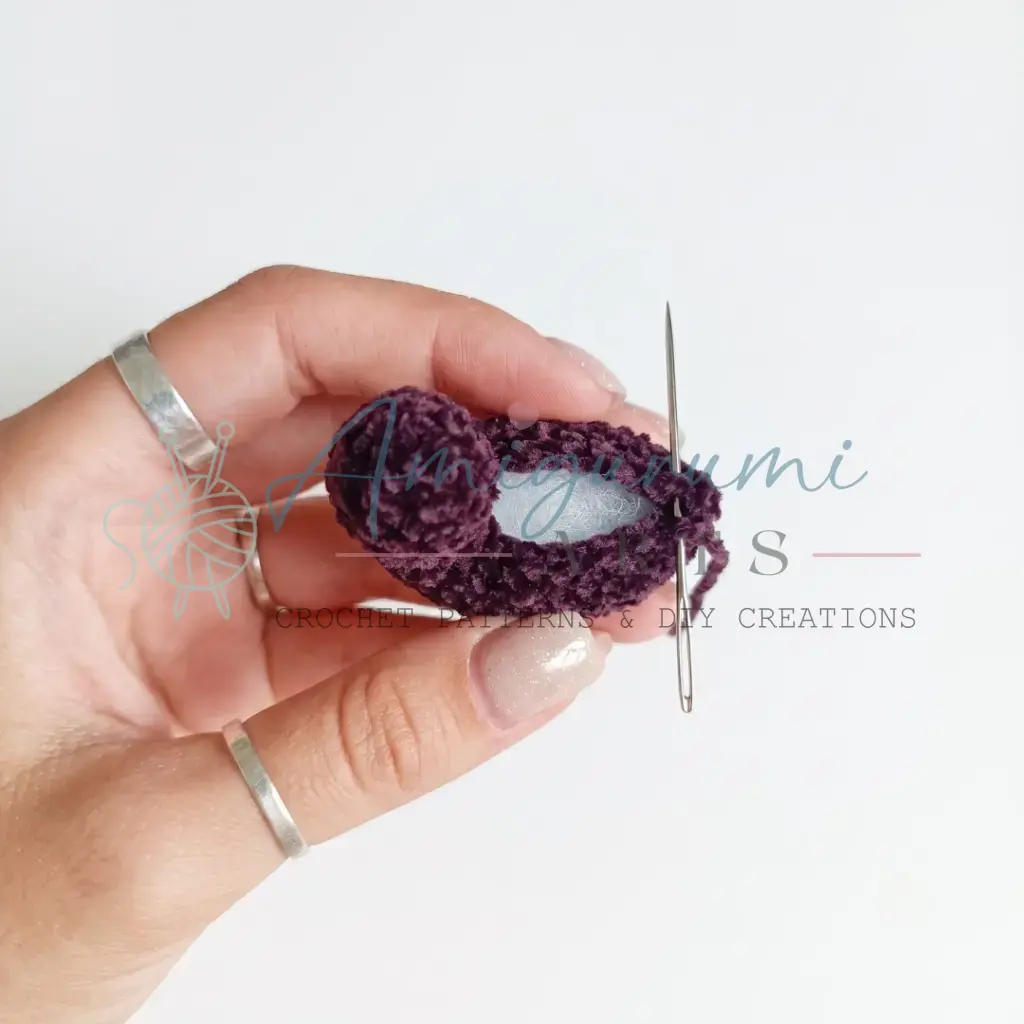
Thread your yarn needle and close the remaining 6-stitch opening by weaving through the front loops of all 6 sts and pulling tight. Before closing completely, add fiberfill to the head. Then use the needle to stitch closed any gap at the back of the body (where the 24 sts were skipped) and add fiberfill into the body through that opening as well.
Comb
Use dark red yarn. Attach yarn at the center top of the head, 3 stitches above the beak position.
3 ch, 2 dc in the same stitch at the base, sc in next st, 3 dc in next st, sc in next st, hdc in next st, sl st to finish.
Fasten off and weave in the end.
Wattles (Earring Details)
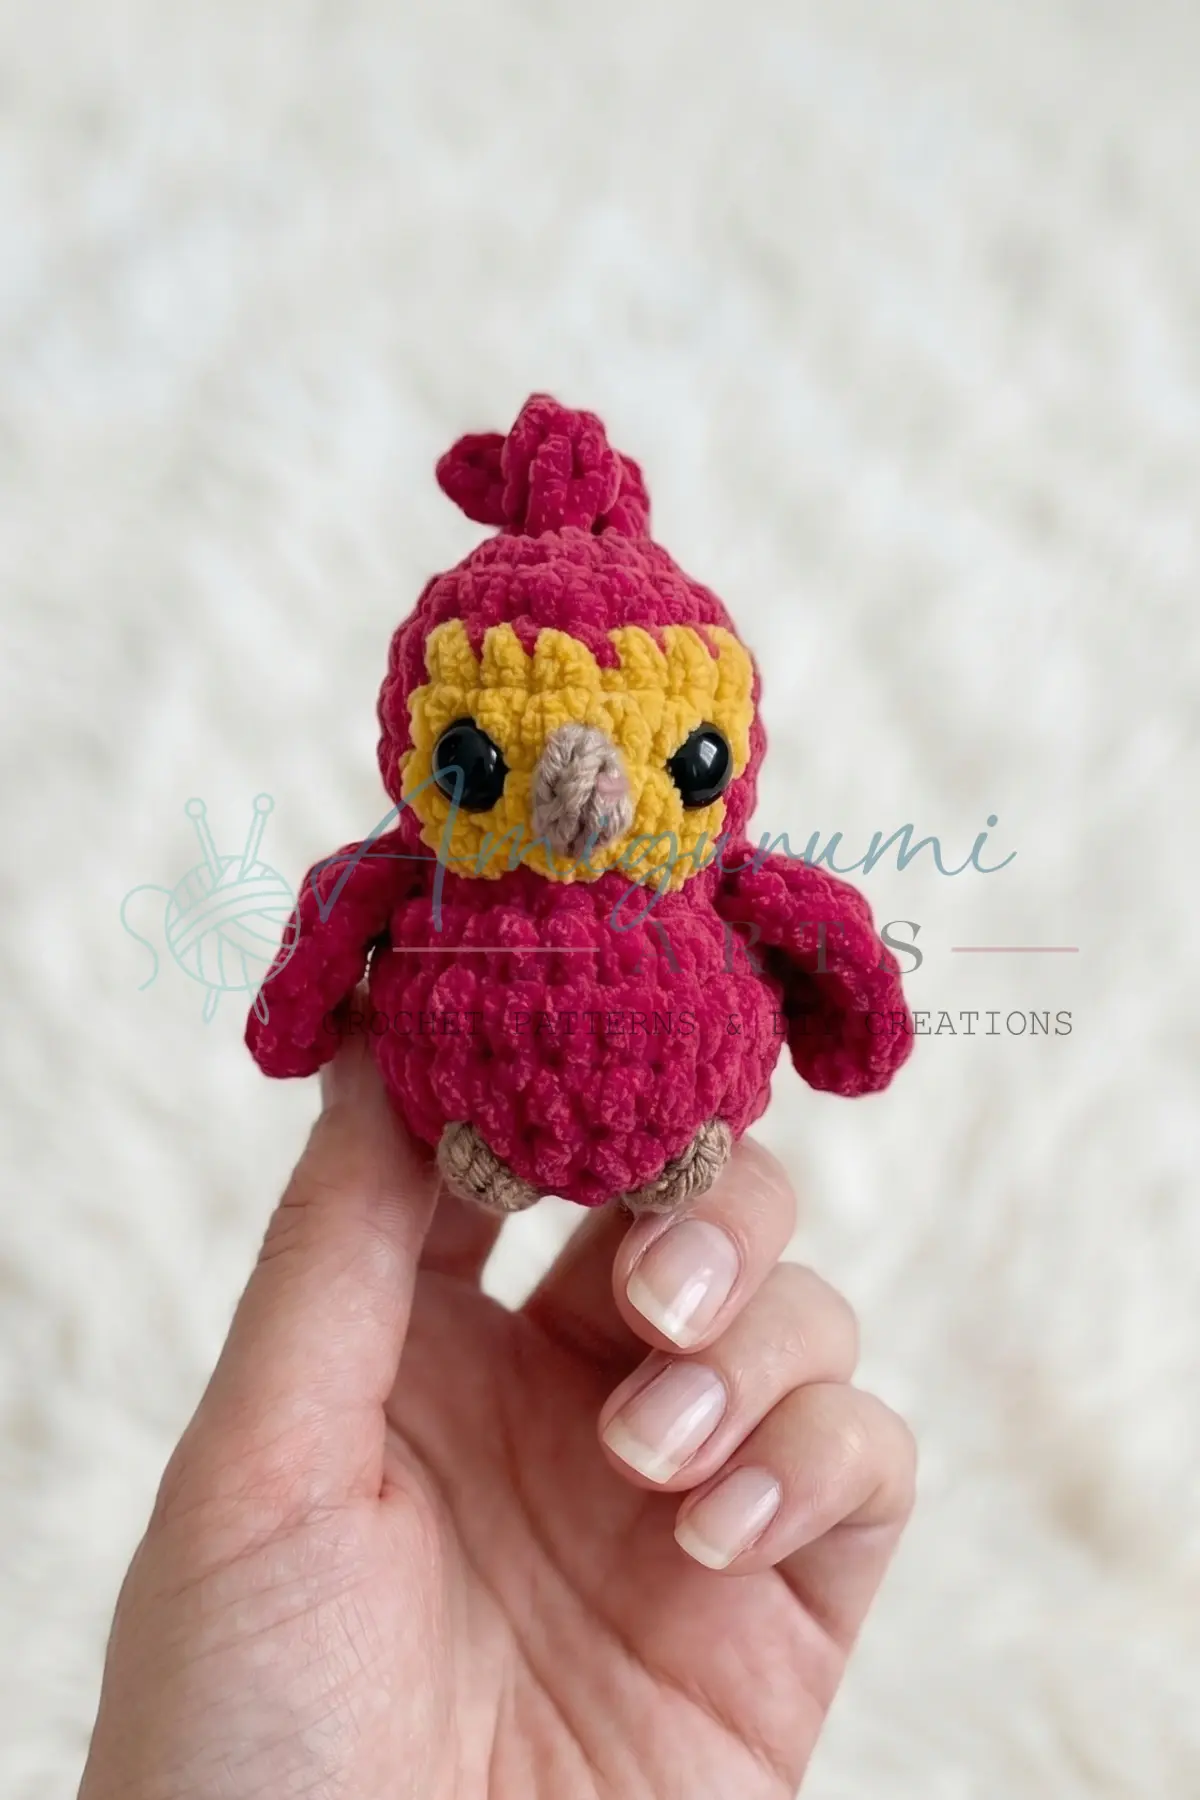
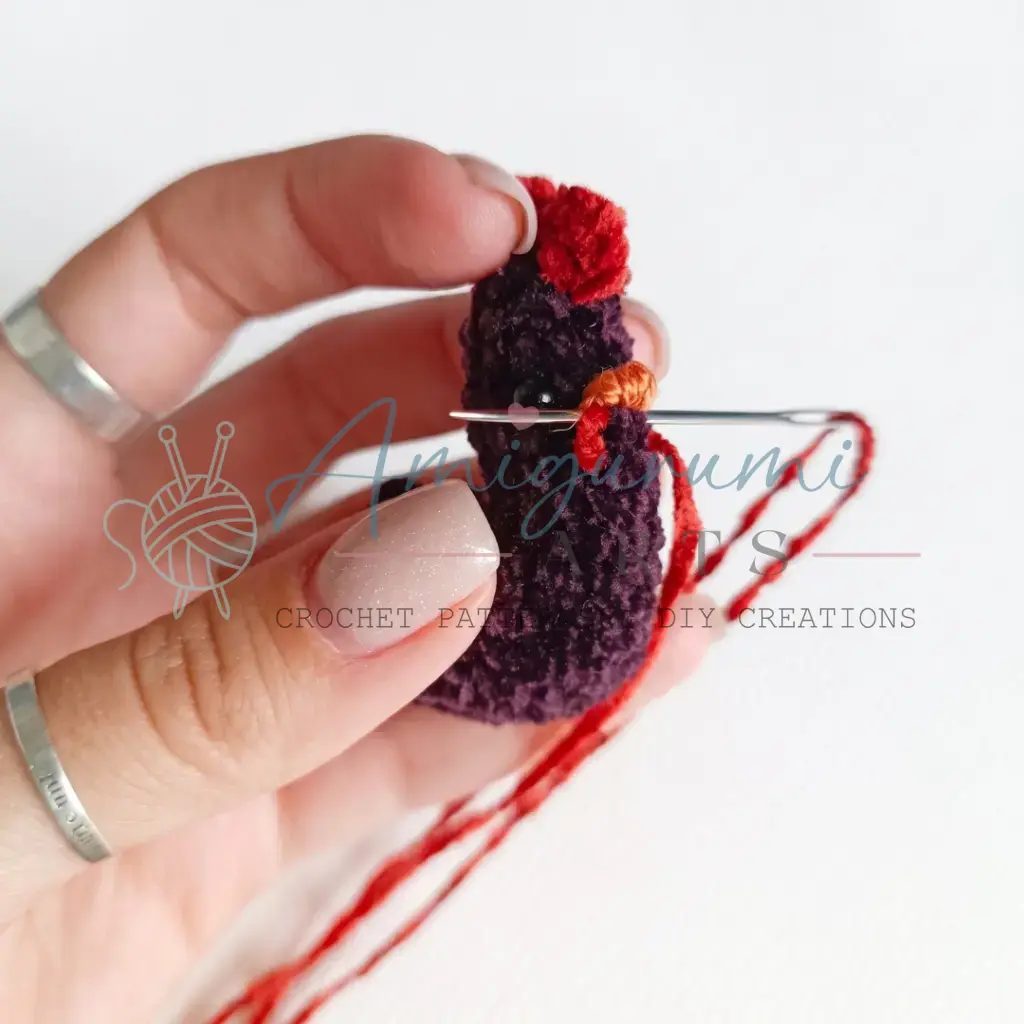
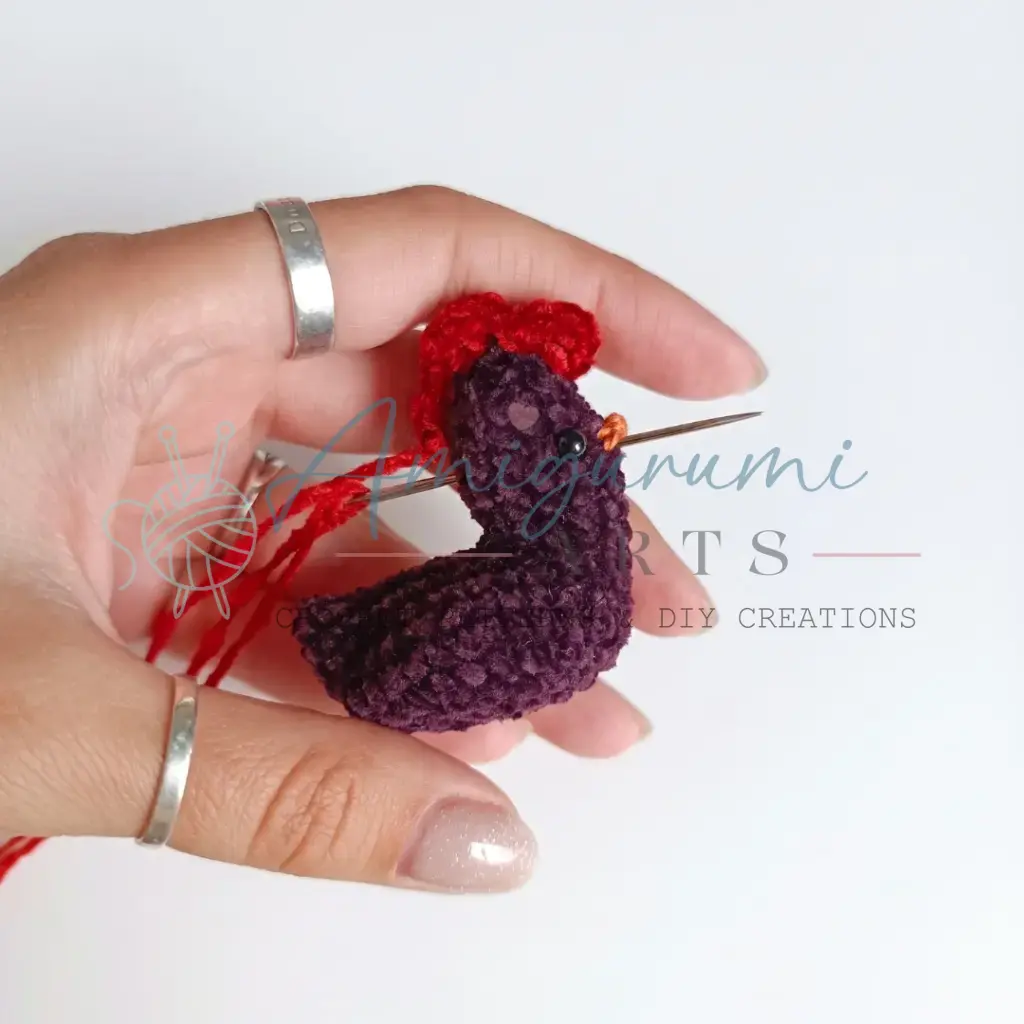
Bring a length of dark red yarn out beneath the beak. Work small embroidery stitches to form the wattles — make them small for a hen look, larger and more pronounced for a rooster. Secure the yarn and trim.
Beak
Using thin cotton or sewing thread in yellow or orange, embroider the beak as a single stitch (or a small V-stitch) at eye level, centered between the two eyes. Secure and trim.
Eye Whites (Optional)
Using white embroidery thread, add a small straight stitch beside each eye to suggest the whites. At the sides of the body, use simple straight stitches to suggest wings — a few parallel horizontal stitches work beautifully.
Assembly
Attach or glue the 3 mm black half-bead eyes at Round 5 of the head, with exactly 4 stitches between them. Embroider the beak at eye level, centered between the two eyes, using thin cotton or sewing thread. Attach the dark red yarn for the comb at the center top of the head, 3 stitches above the beak, and work the comb stitches as written above. Bring the dark red yarn beneath the beak to embroider the wattles. Secure and trim. Optionally, embroider eye whites and simple wing details with white thread as described above. Weave in all remaining ends.
Tips
- Yarn Choice: Velour or velvet yarn is ideal for this project because it hides stitch definition beautifully, making the fabric look smooth and plush. If you substitute with cotton or acrylic, your stitches will be more visible — which is perfectly lovely, just a different aesthetic.
- Tension: Work tightly throughout. Amigurumi requires firm tension so the fiberfill doesn’t peek through. If you can see daylight through your stitches, try going down a hook size.
- Round 11 Technique: The Rnd 11 skip is the trickiest moment. After working 12 sc, count your stitches carefully before skipping the next 24. Place a stitch marker at the 12th stitch when you begin the round so you always know exactly where to stop.
- Stuffing Strategy: Don’t forget to stuff both sections. The body stuffing goes in through the back gap (the skipped 24-stitch opening), and the head gets stuffed just before you close Round 16. A small amount of stuffing in each goes a long way — overstuffing the head will distort the shape.
- Comb Structure: For the comb, use a yarn that holds its shape rather than a very stretchy yarn. A slightly firmer dark red acrylic or cotton gives the comb structure and helps it stand upright rather than flopping to one side.
FAQs
Can I use a different yarn weight for this pattern?
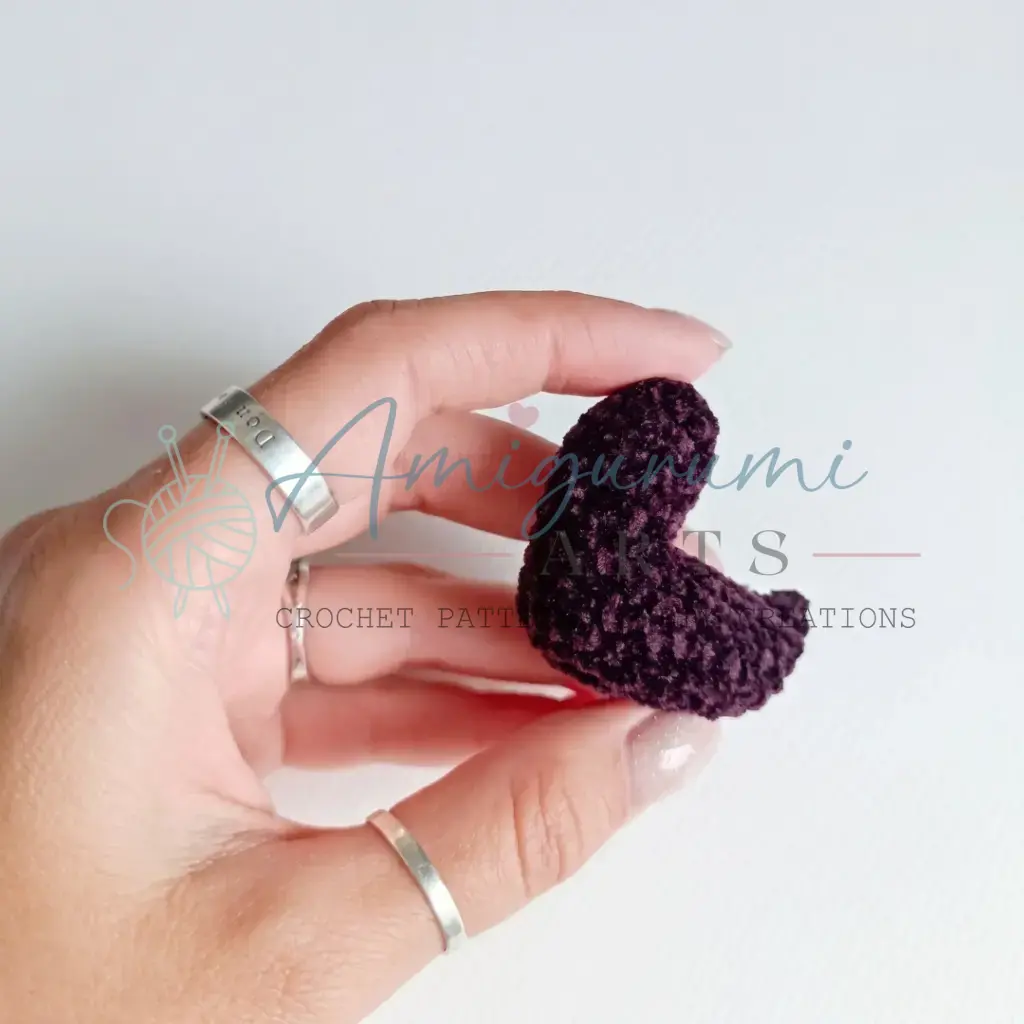
Yes — the original was made with fine bobbin velour yarn on a 1.1 mm hook, but you can use any yarn weight as long as you match your hook size to your yarn. A thicker yarn will simply produce a larger finished chicken. The structure and stitch counts stay exactly the same regardless of yarn weight.
How do I keep the comb from flopping over?
The comb holds its shape best when worked in a yarn with a little body — a smooth acrylic or cotton works well. If your comb still flops, try working the comb stitches a little more tightly, or use a single strand of wire or pipe cleaner inserted carefully inside before fastening off. A tiny dab of fabric stiffener also works wonders.
What is the finished size of this chicken?
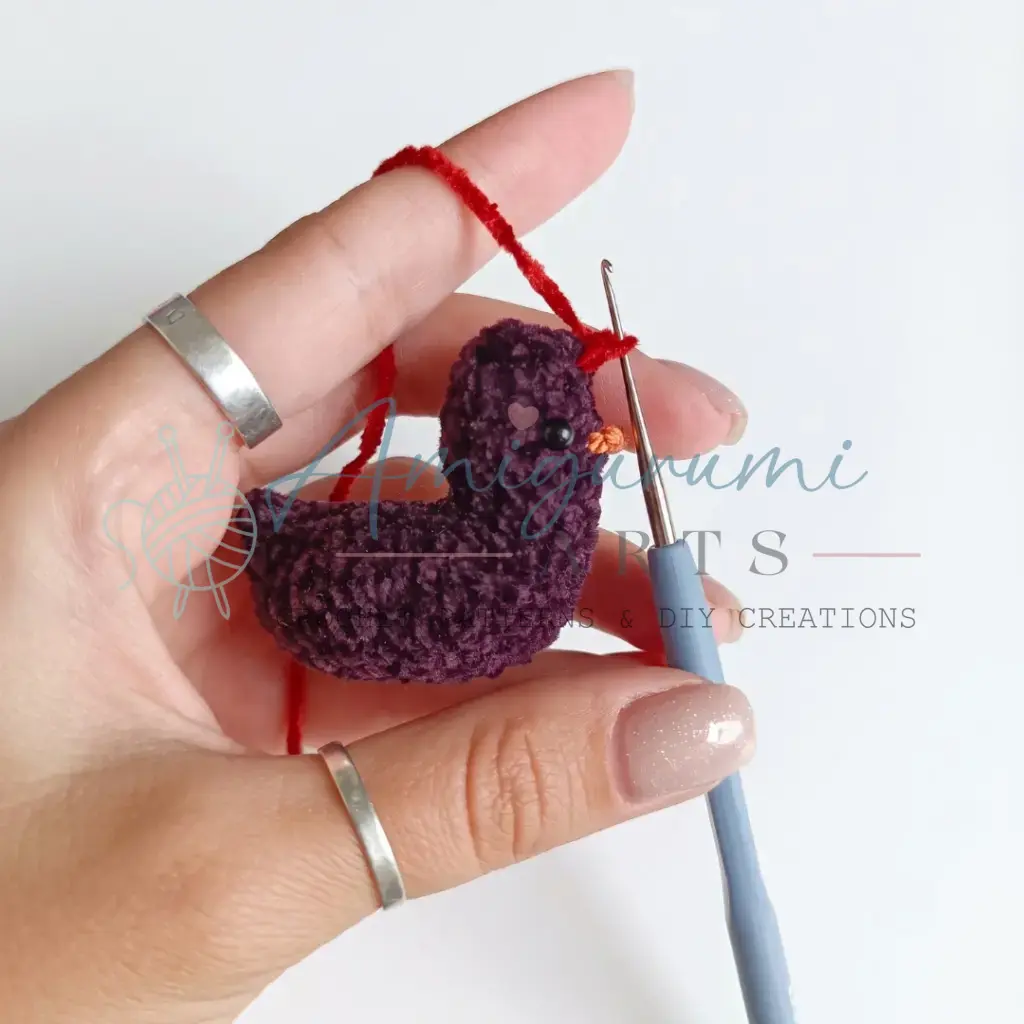
Finished size depends entirely on your yarn weight and hook size. Made in fine velour yarn on a 1.1 mm hook, the finished chicken is quite small — approximately 4–5 cm tall. Using worsted weight yarn on a 3.5 mm hook would produce a chicken roughly 8–10 cm tall.
Can I use safety eyes instead of glued half-bead eyes?
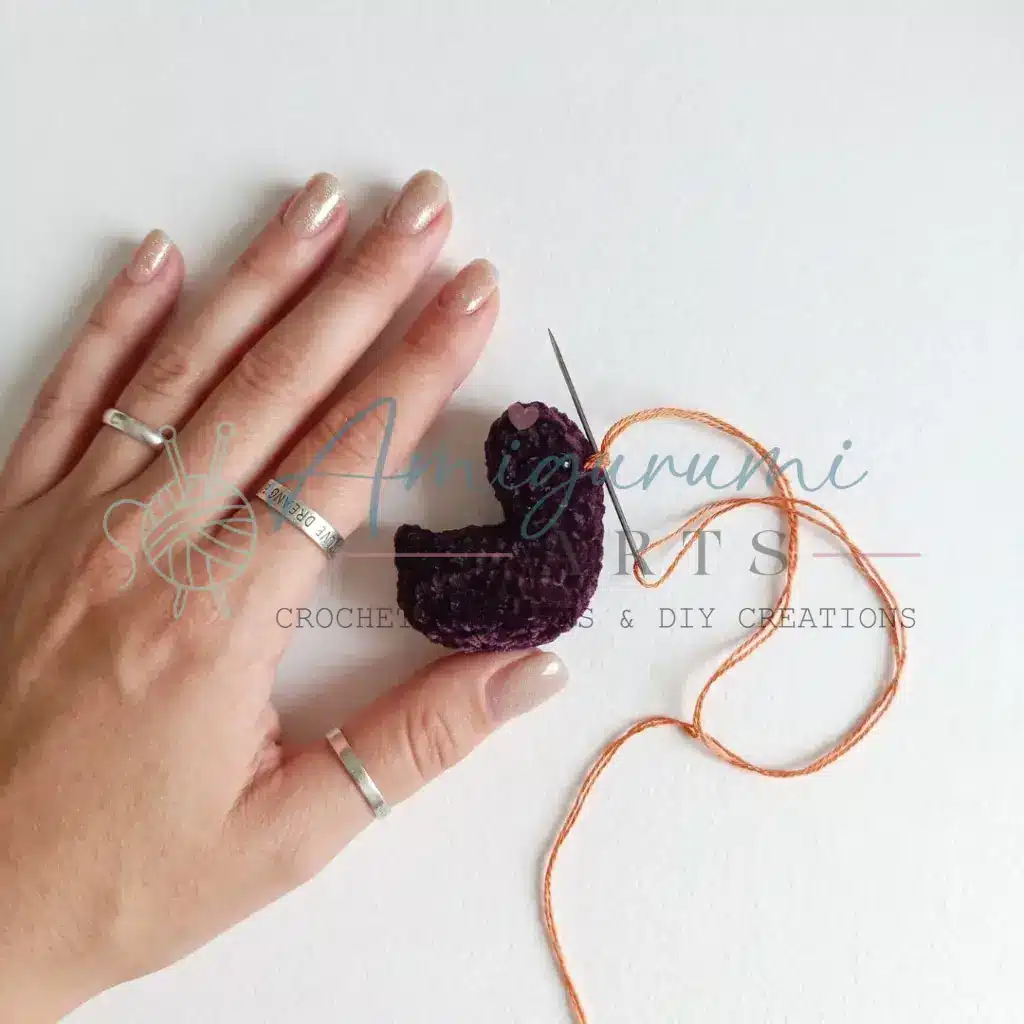
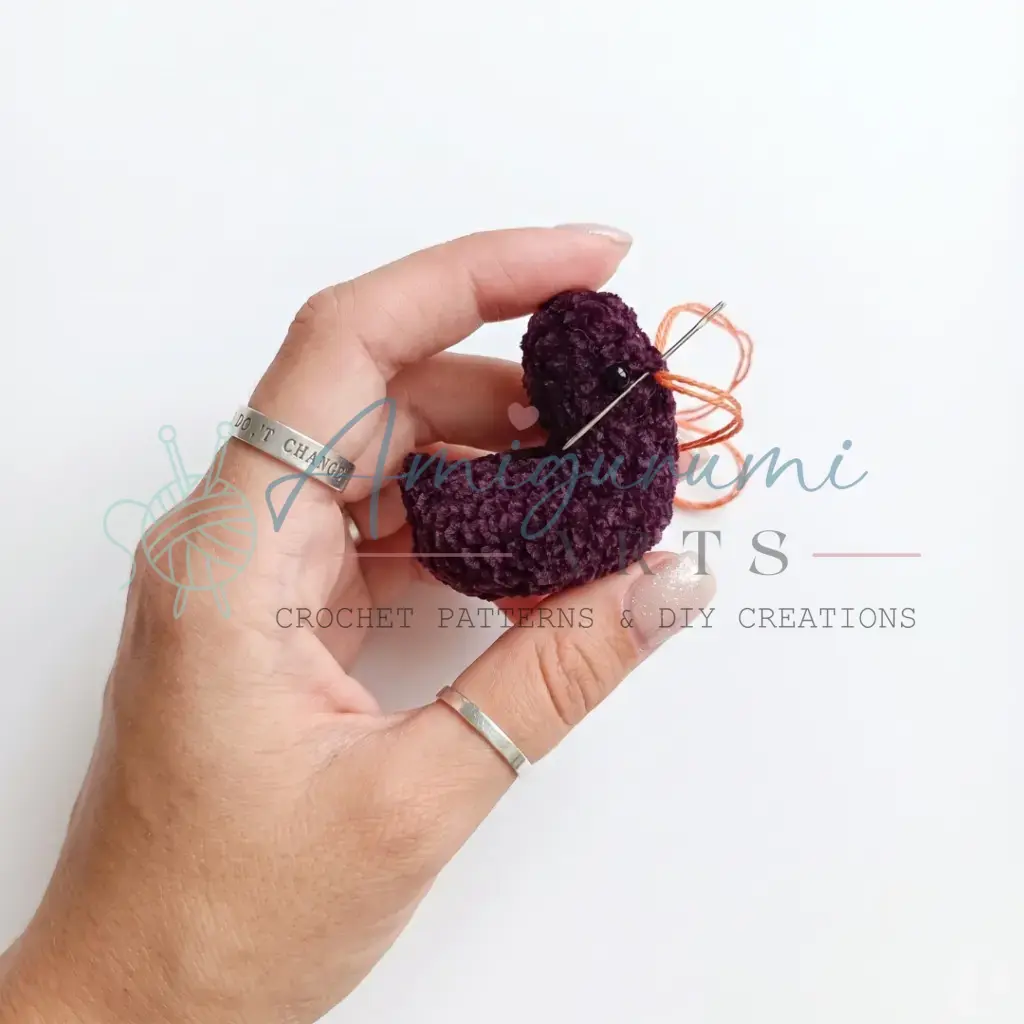
Absolutely. Standard 3 mm safety eyes are a direct substitute for the black plastic half-beads. If you use safety eyes, insert and lock them in place before stuffing and closing the head — once the opening is closed, you will not be able to reach inside to attach the backing washer.
Pin This Crochet Pattern!