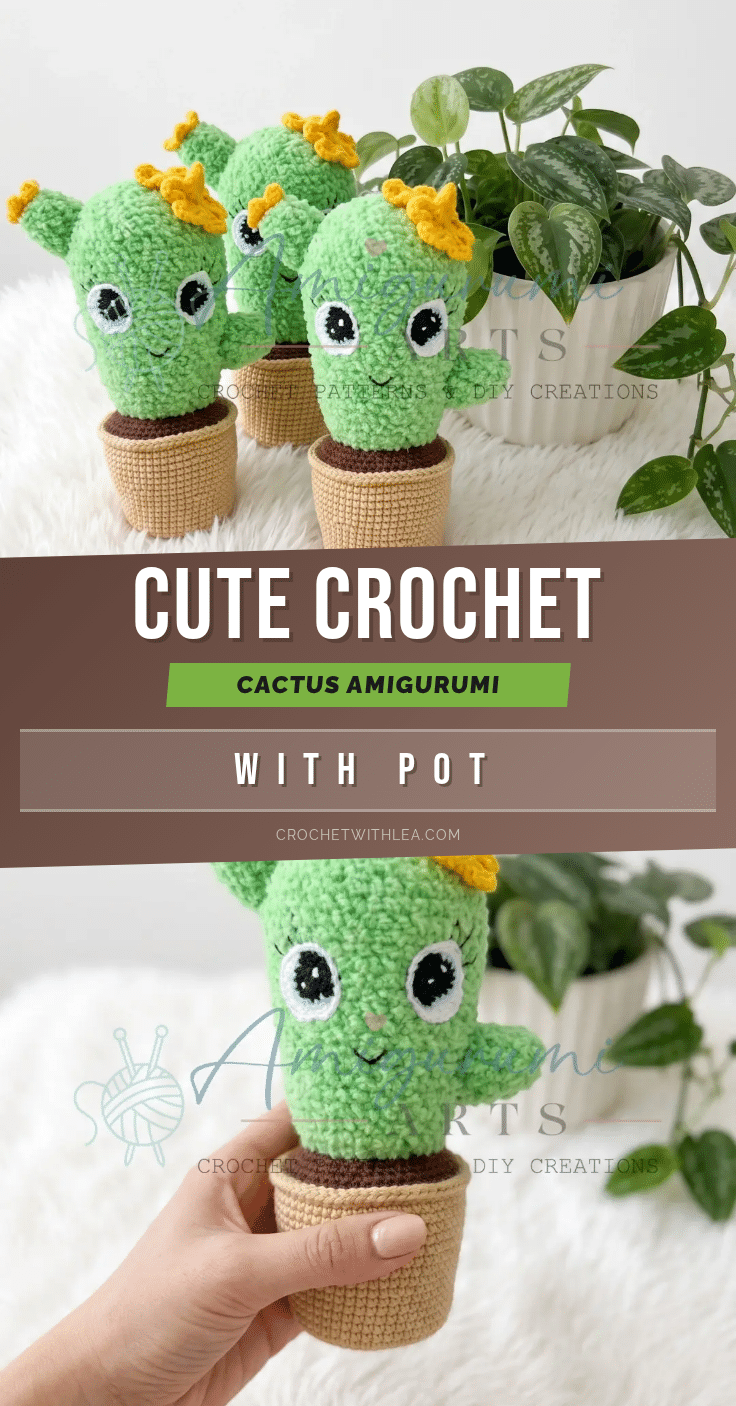
This tiny cactus sitting in its own crocheted terracotta pot — complete with embroidered eyelashes, a little smile, and a bloom on top — is exactly the kind of handmade piece that earns a permanent spot on someone’s desk. If you’ve been looking for a satisfying weekend project that doubles as a heartfelt gift, you’ve just found it. This beginner-friendly amigurumi crochet pattern works the pot and cactus as one continuous piece, so assembly is minimal and the result is sturdy enough to display anywhere. Whether you are making one for a housewarming, a desk companion, or a market table, this pattern provides clear stitch counts and structured instructions to help you grow your very own plant friend.
Gift and Use Ideas
While this cactus is undeniably cute, its practical design makes it a versatile addition to any space. The sturdy cotton pot and firm stuffing ensure it stands upright without tipping, making it perfect for bookshelves, windowsills, or office desks. The embroidered face adds a touch of personality that appeals to both children and adults, serving as a charming stress-relief toy or a decorative accent. Because the pot is worked as one continuous piece with the cactus, there are fewer loose parts to worry about, making it an excellent choice for gifting to friends who might not be careful with fragile items. You can also customize the flower colors to match seasonal themes or personal preferences, turning this pattern into a customizable decor piece for any occasion.
Project Overview
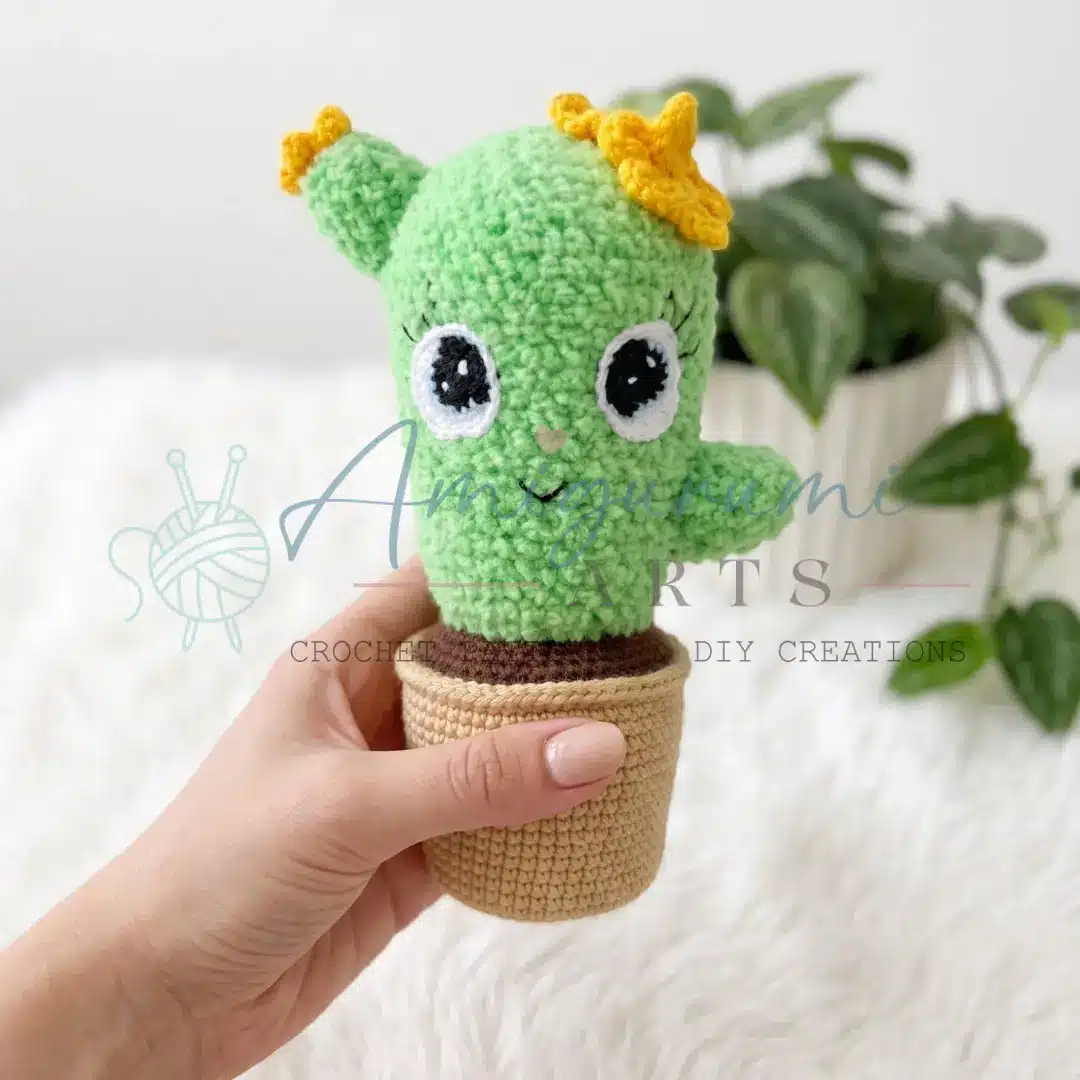
This beginner-friendly amigurumi crochet pattern works the pot and cactus as one continuous piece, so assembly is minimal and the result is sturdy enough to display anywhere. The pattern uses a combination of cotton and plush yarn to give the cactus its signature soft texture, while the structured cotton pot holds its shape beautifully. Stitch counts are clearly marked at every round, so you’ll always know exactly where you are.
Materials
- Yarn — Pot: Cotton yarn, color terracotta/orange (e.g., YarnArt Jeans #07), fingering weight
- Yarn — Soil: Cotton yarn, color brown (e.g., YarnArt Jeans #70), fingering weight
- Yarn — Cactus: Plush/fluffy yarn, color green (e.g., Himalaya Baby Soft #73628)
- Yarn — Flowers: Cotton yarn, color of your choice (e.g., YarnArt Jeans #35), fingering weight
- Yarn — Eyes: Very fine cotton yarn (e.g., Coco cotton or YarnArt Jeans split in half), in black, white, and light blue
- Hook Size 1 (1.75 mm): For pot, flowers, and eye details
- Hook Size B-1 (2.5 mm): For cactus body
- Hook Size 1 (1.0 mm): For small flower and eyes
- Small piece of plastic (for pot base reinforcement)
- Hot glue gun (optional, for securing plastic base)
- Fiberfill stuffing
- Yarn needle / tapestry needle
- Stitch marker
- Scissors
- White acrylic paint (for eye highlights, or embroider with white yarn)
Gauge and Finished Size
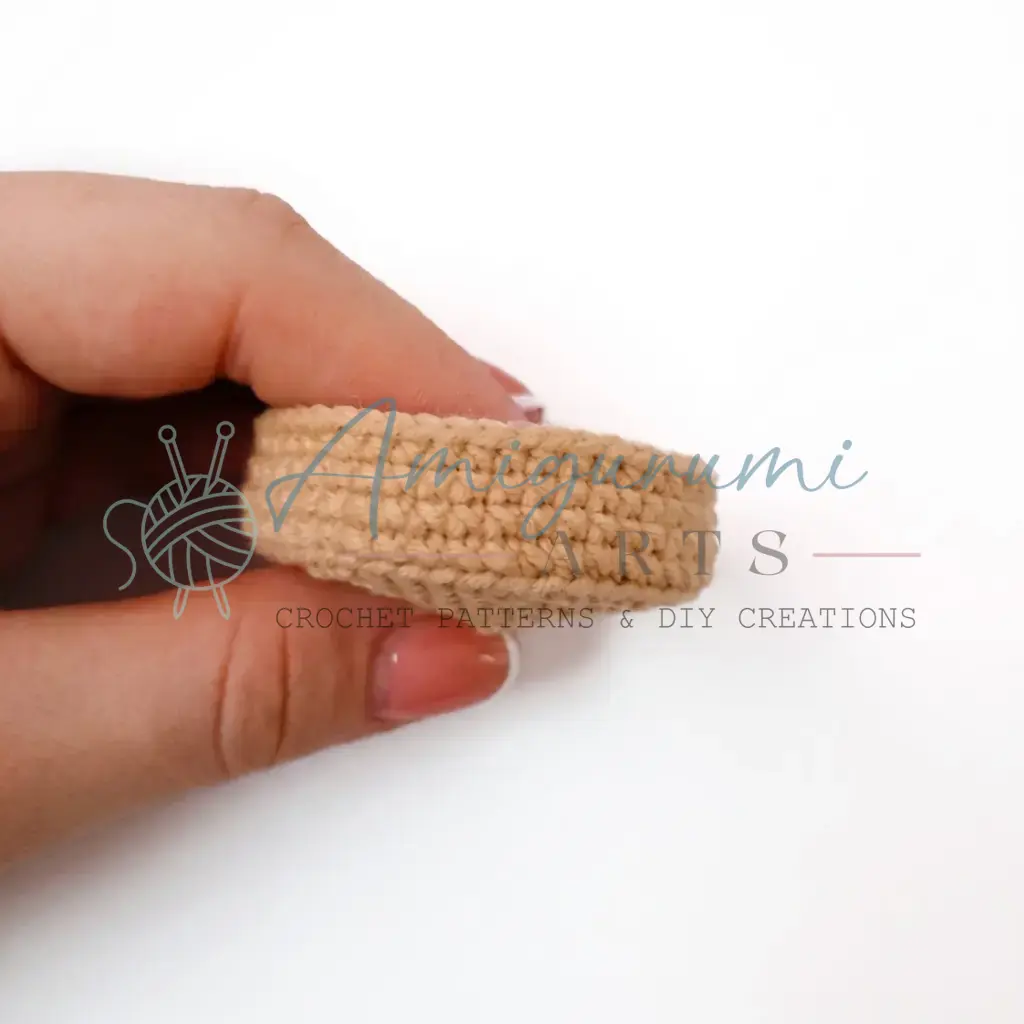
Gauge is not critical for this project, but work tightly enough that no stuffing shows through the stitches. The finished size is determined by the stitch counts provided in the pattern instructions.
Abbreviations
- ch — Chain
- ch-sp — Chain Space
- dc — Double Crochet
- dec — Invisible Decrease (2 sts crocheted together)
- FLO — Front Loop Only
- BLO — Back Loop Only
- inc — Increase (2 sc in same stitch)
- MR — Magic Ring
- sc — Single Crochet
- sl st — Slip Stitch
- tr — Treble Crochet
Pattern Notes
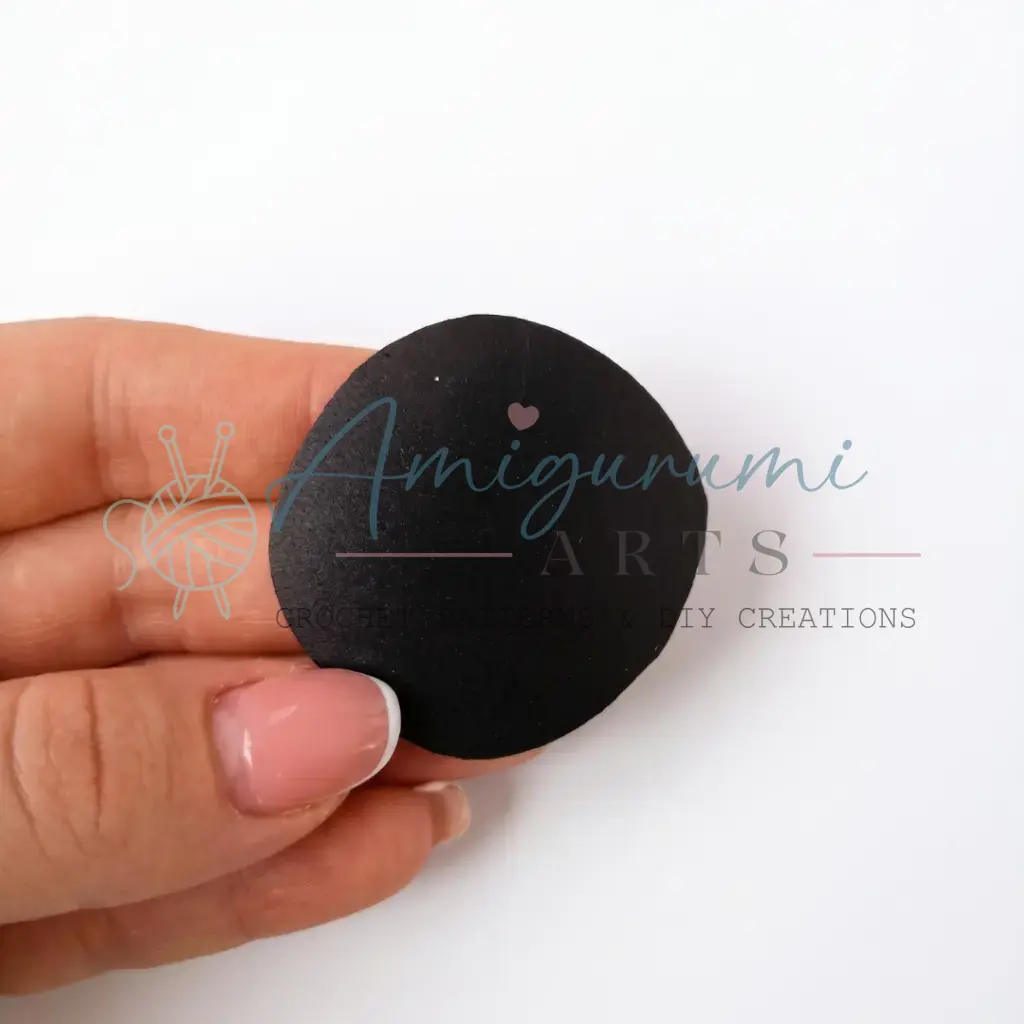
This cactus amigurumi crochet pattern is written in US crochet terminology. The pot and cactus are worked as one continuous piece in a continuous spiral — do not join rounds unless instructed. Use a stitch marker to track the beginning of each round. Stitch counts are given at the end of each round in parentheses: (##). A small piece of plastic is glued to the inside bottom of the pot after Round 14 to keep the base flat and stable. This step is optional but recommended. Safety eyes are not used in this pattern — the eyes are crocheted separately and sewn on, then highlighted with white acrylic paint or white yarn embroidery. Switch yarn and hook size as instructed at specific rounds: the pot uses fingering-weight cotton with a 1.75 mm hook, the cactus switches to plush yarn with a 2.5 mm hook.
Pattern Instructions
Pot
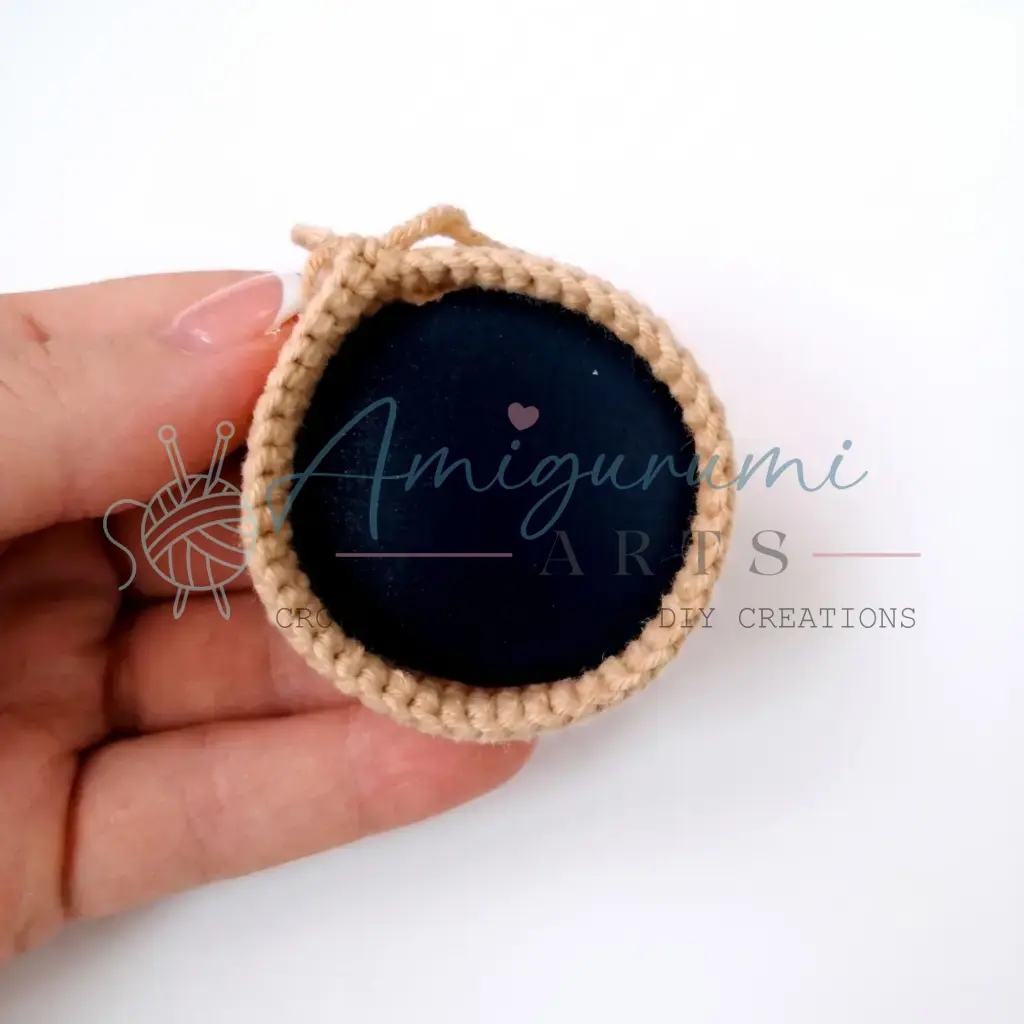
Rnd 1: 6 sc in MR. (6)
Rnd 2: inc in each st around. (12)
Rnd 3: sc, inc repeat 6 times around. (18)
Rnd 4: sc, inc, 2 sc, inc repeat 5 times, sc. (24)
Rnd 5: 3 sc, inc repeat 6 times around. (30)
Rnd 6: 2 sc, inc, 4 sc, inc repeat 5 times, 2 sc. (36)
Rnd 7: 5 sc, inc repeat 6 times around. (42)
Rnd 8: 3 sc, inc, 6 sc, inc repeat 5 times, 3 sc. (48)
Rnd 9: sc in BLO in each st around. (48)
Rnds 10–14: sc in each st around. (48)
At this point, hot-glue the plastic base to the bottom of the pot on the inside. Let it dry fully before continuing.
Rnd 15: 11 sc, inc repeat 4 times around. (52)
Rnd 16: sc in each st around. (52)
Rnd 17: 6 sc, inc, 12 sc, inc repeat 3 times, 6 sc. (56)
Rnds 18–20: sc in each st around. (56)
Rnd 21: 13 sc, inc repeat 4 times around. (60)
Rnds 22–24: sc in each st around. (60)
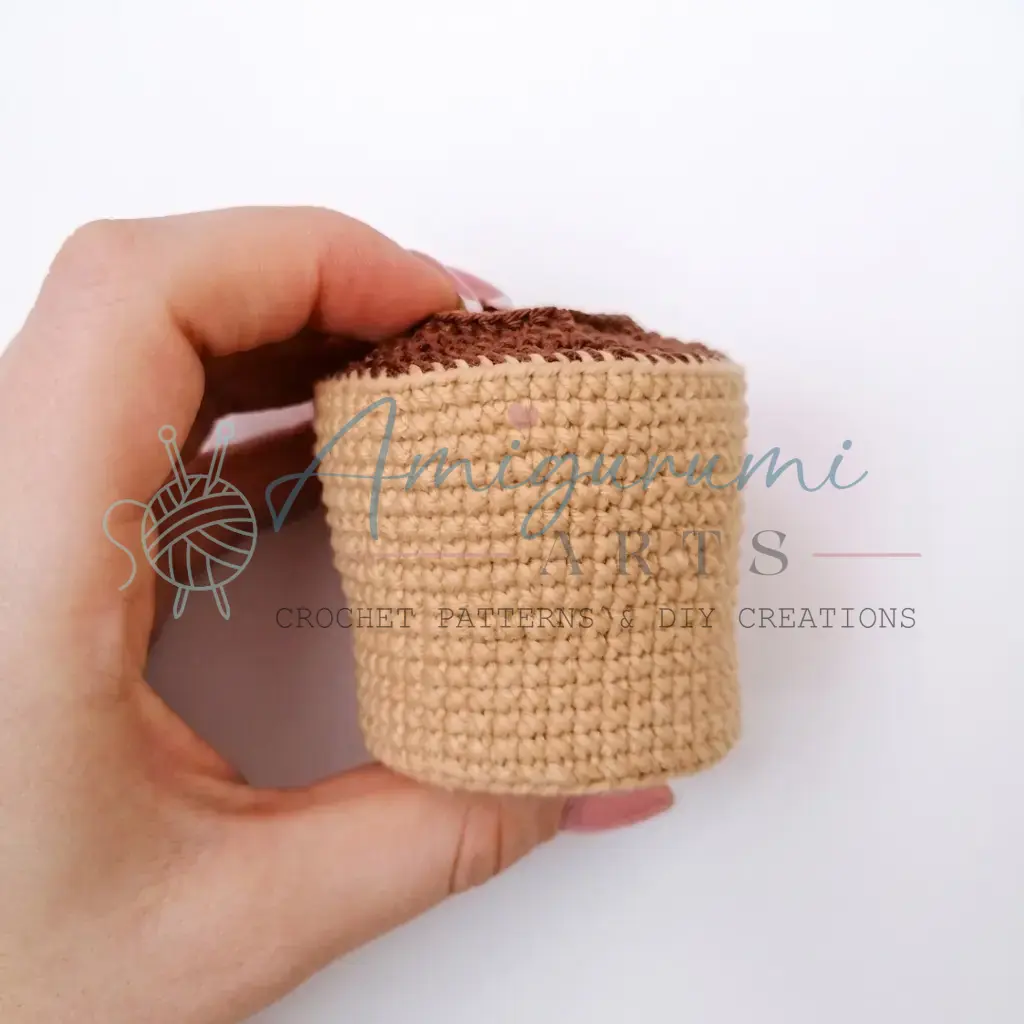
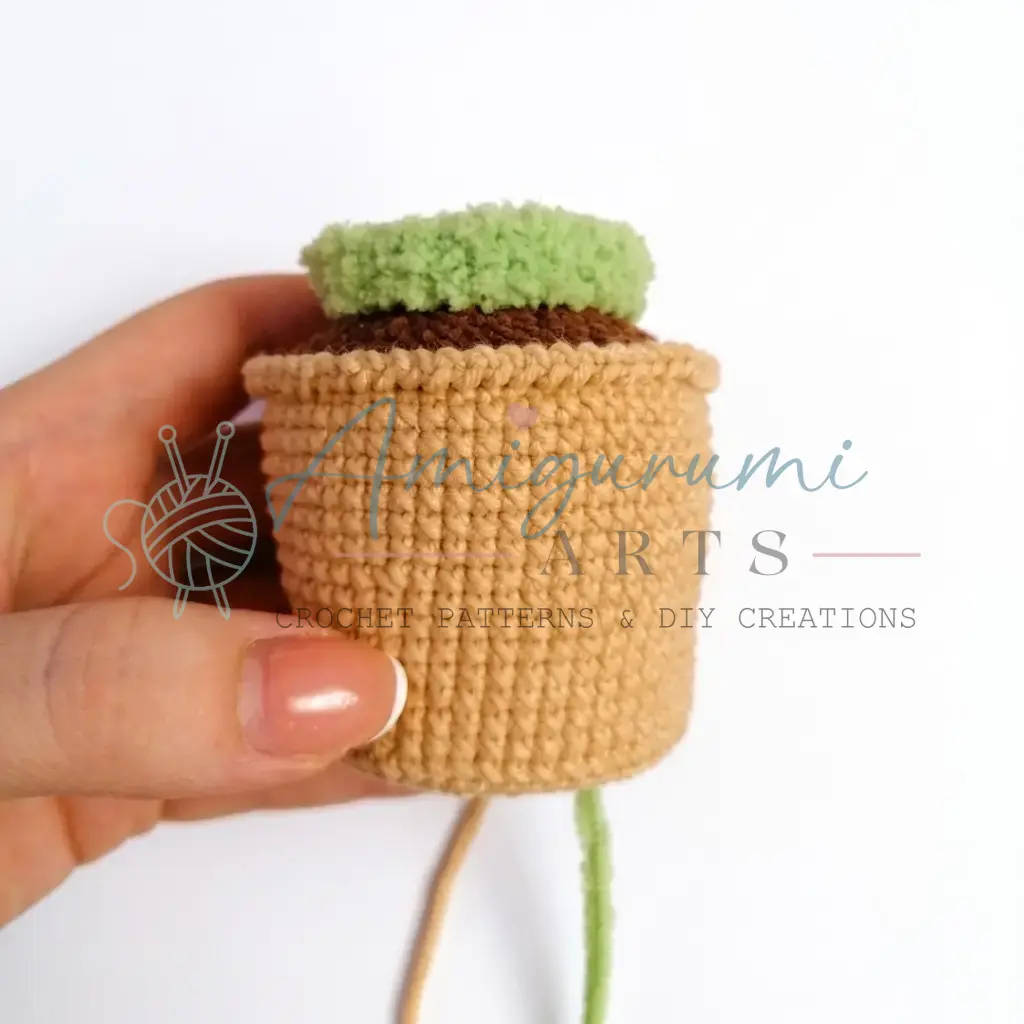
Switch to brown yarn (soil color).
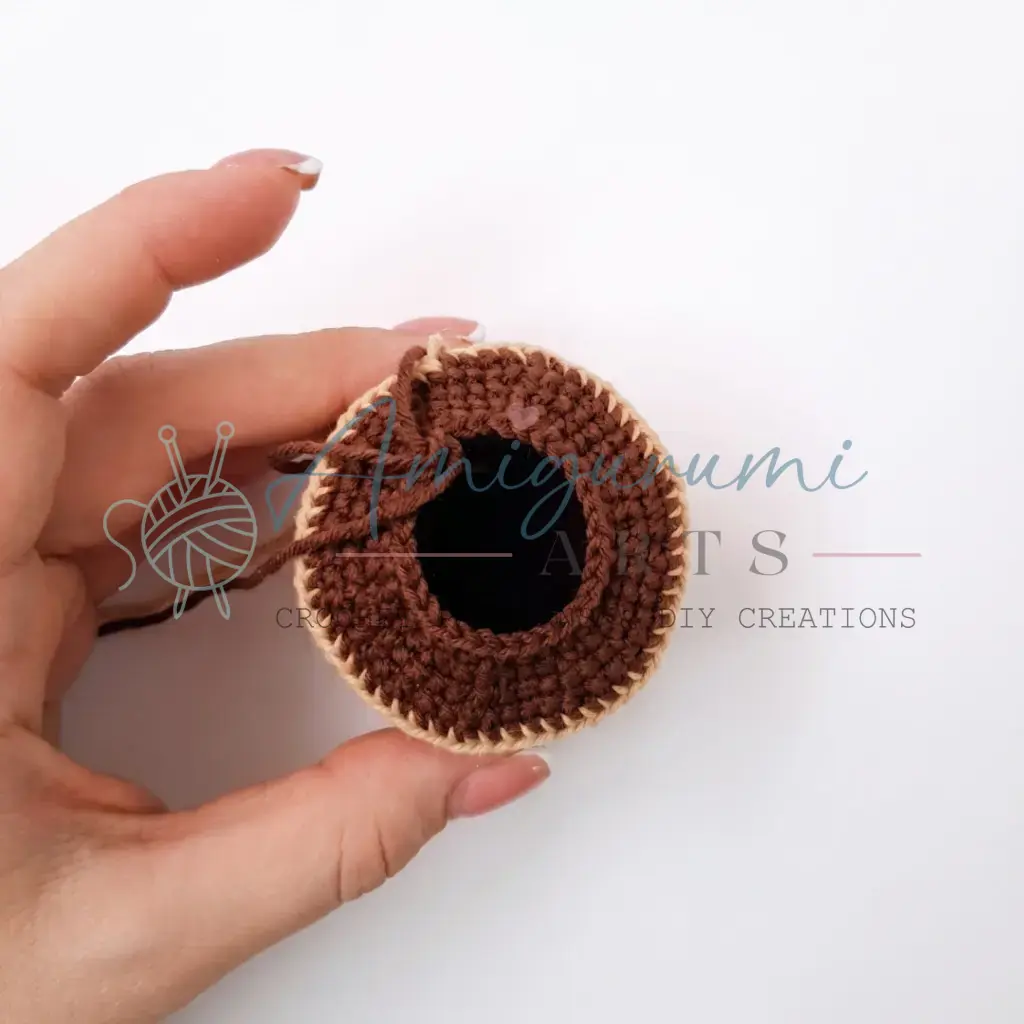
Rnd 25: Working in BLO: 4 sc, dec, 8 sc, dec repeat 5 times, 4 sc. (54)
Rnd 26: 7 sc, dec repeat 6 times around. (48)
Rnd 27: 3 sc, dec, 6 sc, dec repeat 5 times, 3 sc. (42)
Rnd 28: 5 sc, dec repeat 6 times around. (36)
Rnd 29: 2 sc, dec, 4 sc, dec repeat 5 times, 2 sc. (30)
Cactus Body
Switch to plush/fluffy green yarn and change hook to B-1 (2.5 mm). These rounds continue directly from the pot — the cactus grows up from the soil section.
Rnd 30: Working in FLO: sc in each st around. (30)
Rnds 31–32: sc in each st around. (30)
Rnd 33: 9 sc, inc repeat 3 times around. (33)
Rnds 34–35: sc in each st around. (33)
Rnd 36: 10 sc, inc repeat 3 times around. (36)
Rnd 37: sc in each st around. (36)
Rnd 38: 11 sc, inc repeat 3 times around. (39)
Rnd 39: 12 sc, inc repeat 3 times around. (42)
Rnd 40: sc in each st around. (42)
Rnd 41: 13 sc, inc repeat 3 times around. (45)
Rnd 42: 14 sc, inc repeat 3 times around. (48)
Rnds 43–50: sc in each st around. (48)
Begin stuffing the cactus firmly. Continue adding stuffing as you close the top.
Rnd 51: 6 sc, dec repeat 6 times around. (42)
Rnd 52: 5 sc, dec repeat 6 times around. (36)
Rnd 53: 4 sc, dec repeat 6 times around. (30)
Rnd 54: 3 sc, dec repeat 6 times around. (24)
Rnd 55: 2 sc, dec repeat 6 times around. (18)
Rnd 56: sc, dec repeat 6 times around. (12)
Rnd 57: dec 6 times around. (6)
Pull the opening closed. Fasten off and weave in the end.
Small Cactus Arms (Make 2)
Rnd 1: 6 sc in MR. (6)
Rnd 2: inc in each st around. (12)
Rnds 3–7: sc in each st around. (12)
Fasten off. Leave a long yarn tail for sewing. Do not stuff these pieces — or stuff very lightly if you prefer a rounder arm.
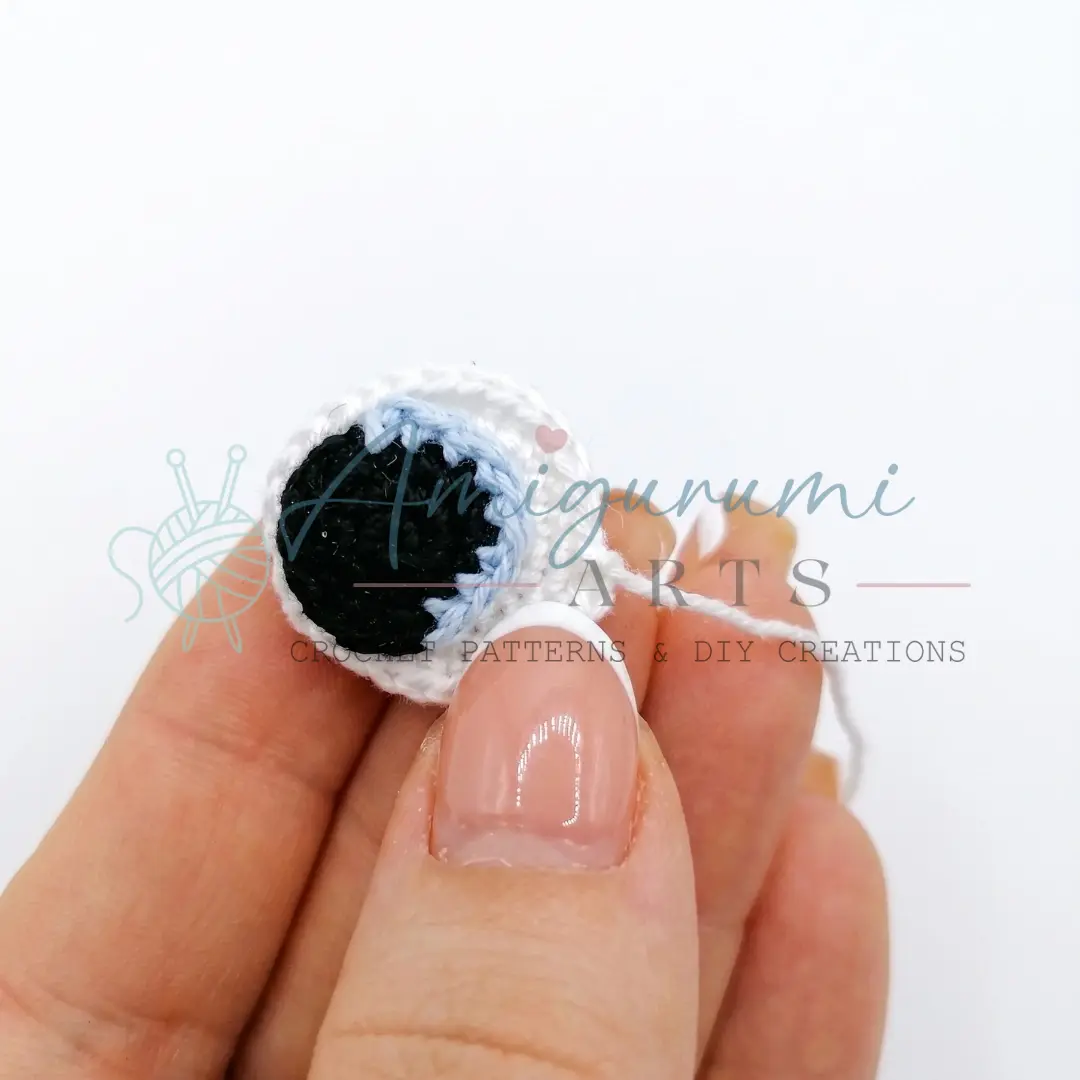
Eyes — White Part (Make 2)
Use hook size 1.0 mm and fine white cotton yarn.
Rnd 1: 6 sc in MR. (6)
Rnd 2: inc in each st around. (12)
Rnd 3: sc, inc repeat 6 times around. (18)
Rnd 4: sc, inc, 2 sc, inc repeat 5 times, sc. (24)
Rnd 5: 5 sc, inc repeat 4 times around. (28)
Fasten off. Leave a long yarn tail for sewing.
Eyes — Dark Pupil/Iris Part (Make 2)
Use hook size 1.0 mm and fine black cotton yarn.
Rnd 1: 6 sc in MR. (6)
Rnd 2: inc in each st around. (12)
Rnd 3: 3 sc, inc repeat 3 times around. (15)
Switch to light blue yarn.
Rnd 4: 8 sc. (8)
Fasten off. Leave a long yarn tail for sewing.
Flowers
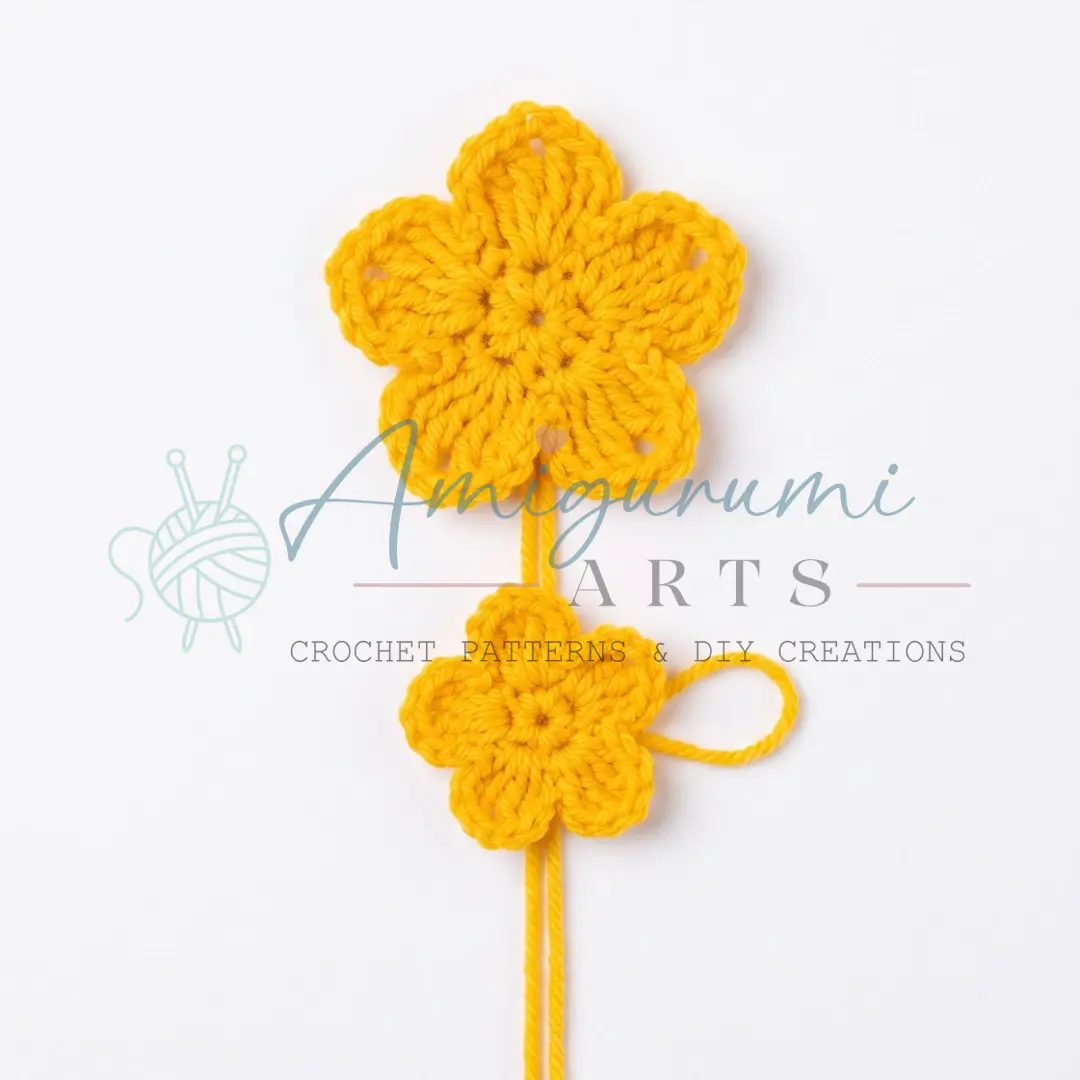
Small Flower: Use hook size 1.0 mm and YarnArt Jeans yarn split in half.
Large Flower: Use hook size 1.75 mm and full-weight YarnArt Jeans yarn.
Both flowers are worked the same way — only the hook and yarn weight differ.
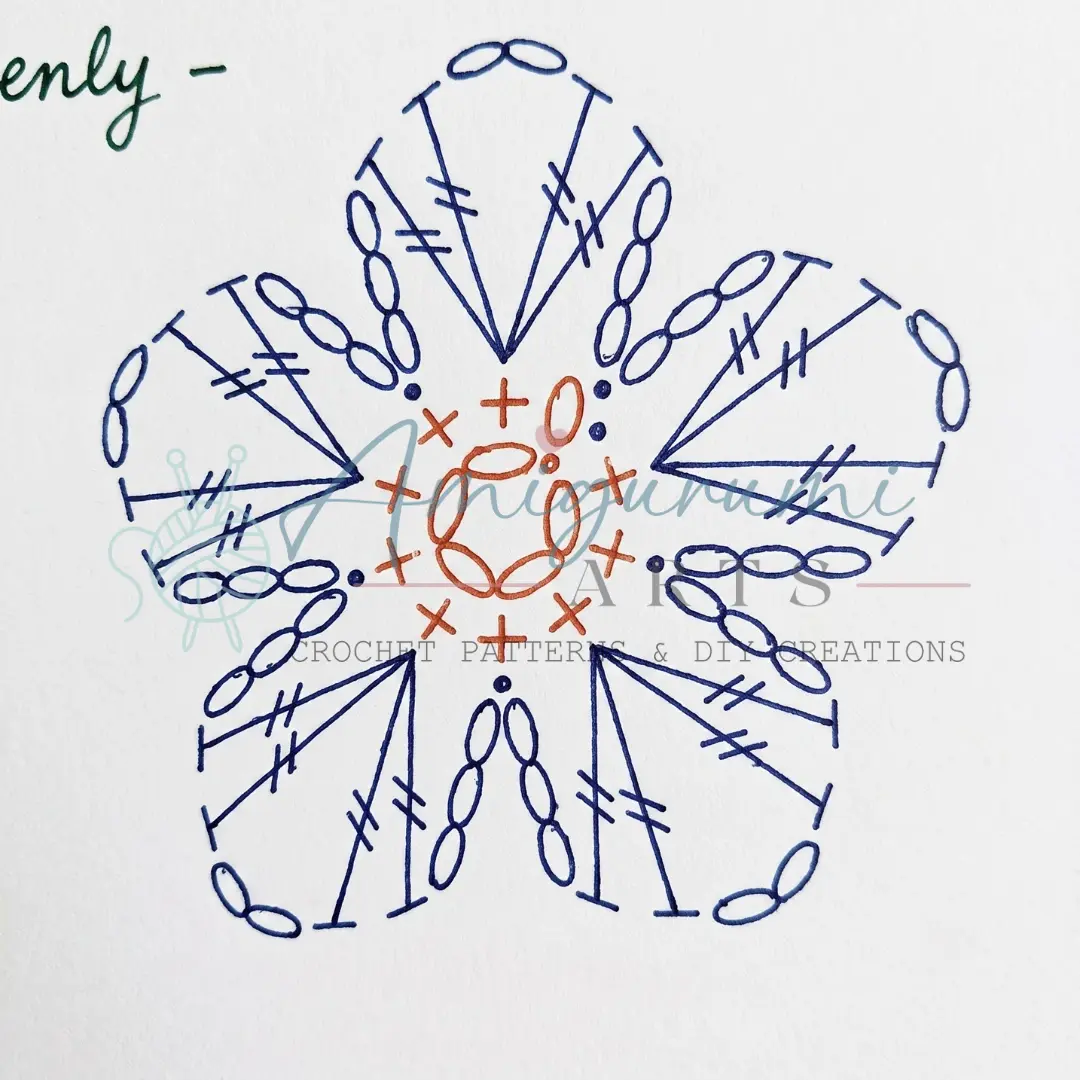
Foundation: ch 5, join with sl st to form a ring.
Rnd 1: ch 1, work 9 sc into the ring, sl st to first sc to join. (9)
Rnd 2: ch 3, work (2 tr, ch 2, 2 tr) all into the next st, ch 3, sl st into the following st repeat 5 times around. (5 petals made)
Fasten off. Leave a tail for sewing.
Assembly
Sew the dark pupil/iris piece onto the center of the white eye piece for each eye, using the yarn tail and a whipstitch around the edge. Add eye highlights using white acrylic paint — dab a small dot onto each eye once assembled — or embroider a tiny highlight with white yarn. Position both finished eyes on the upper front of the cactus body (approximately between Rounds 44–47) and sew them on firmly using the yarn tails. Embroider the eyelashes above each eye and a small curved mouth between them using fine black yarn.
Sew the two small cactus arms onto the sides of the cactus body at your preferred height, using the long yarn tails. Secure tightly so they hold their position.
Sew or hot-glue the flowers to the top of the cactus and/or onto the arms as desired.
Join beige/cream yarn to Round 25 of the pot (the front loops that were left unworked when you switched to brown) and work an edging of ch 1, sl st into each front loop around. Fasten off and weave in the end. This creates a tidy ridge where the soil meets the pot rim.
Weave in all remaining yarn tails securely.
Tips & Tricks
- Keep your tension tight throughout the pot. Fingering-weight cotton on a 1.75 mm hook should produce a very firm, dense fabric. If you can see gaps between stitches, go down a hook size. The pot needs to hold its cylindrical shape once stuffed and finished.
- The invisible decrease makes a real difference on the cactus. To work it, insert your hook under the front loop only of the first stitch, then under the front loop only of the next stitch, yarn over and pull through both front loops, yarn over and pull through the remaining 2 loops. This eliminates the telltale bump that a standard decrease leaves behind.
- Stuff the cactus progressively, not all at once. Once you pass Round 51 and begin decreasing, the opening closes quickly. Add fiberfill a little at a time as you work each decrease round so you can pack it evenly all the way to the top. Aim for firm — the cactus should feel solid, not squishy.
- Switching from cotton to plush yarn at Round 30 changes the feel of your hook entirely. Plush yarn grips differently and the stitches are harder to see. Use a stitch marker religiously and count every round. If you lose your place, the stitch count at the end of each round is your best reference point.
- For the flowers, splitting the yarn in half for the small version gives it a delicate, realistic scale. If your yarn is difficult to split cleanly, try holding a single strand of a lighter-weight cotton in the same color instead.
- The petal structure (2 treble crochets, chain 2, 2 treble crochets all in one stitch) creates a well-defined petal. Work slowly on the first petal to get the tension right and the rest will follow naturally.
Frequently Asked Questions
Can I use safety eyes instead of crocheted eyes?
The pattern is designed with crocheted eyes to achieve a specific embroidered look with eyelashes and highlights. While you can substitute safety eyes, you will need to adjust the placement and skip the embroidery steps for the eyes and mouth.
What is the best way to make the pot stand flat?
The pattern recommends gluing a small piece of plastic to the inside bottom of the pot after Round 14. This optional but recommended step ensures the base remains flat and stable once finished.
How do I fix gaps in my stitches?
If you see gaps, your tension may be too loose. Ensure you are working tightly, especially with the cotton yarn in the pot. If necessary, switch to a smaller hook size to create a denser fabric that hides the stuffing.
Can I make the cactus larger?
You can adjust the size by adding more rounds to the cactus body before the decrease rounds begin. However, be sure to stuff the cactus firmly as you go to maintain its shape.
What yarn is best for the cactus body?
The pattern suggests a plush or fluffy yarn to give the cactus a soft, textured appearance. This contrasts nicely with the smooth cotton used for the pot.
Pin This Crochet Pattern!